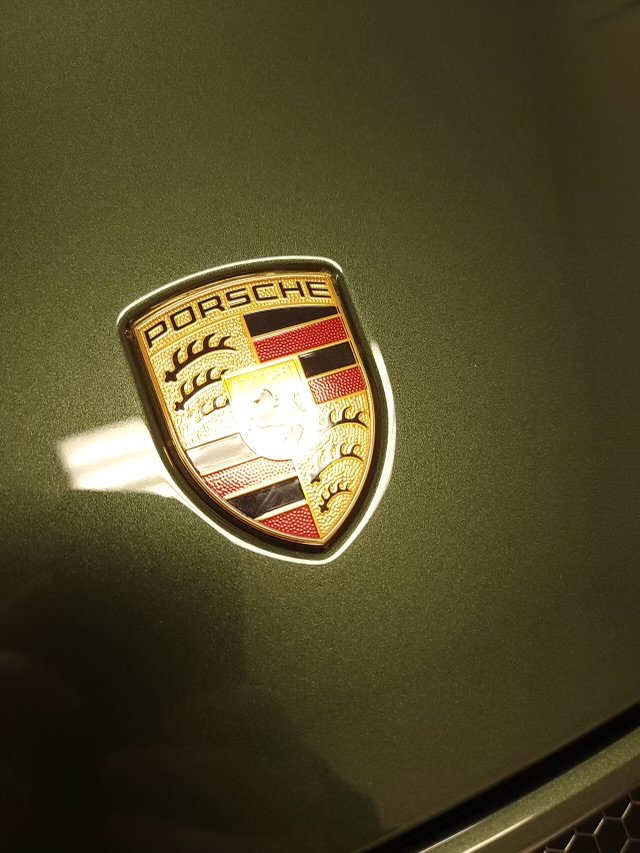
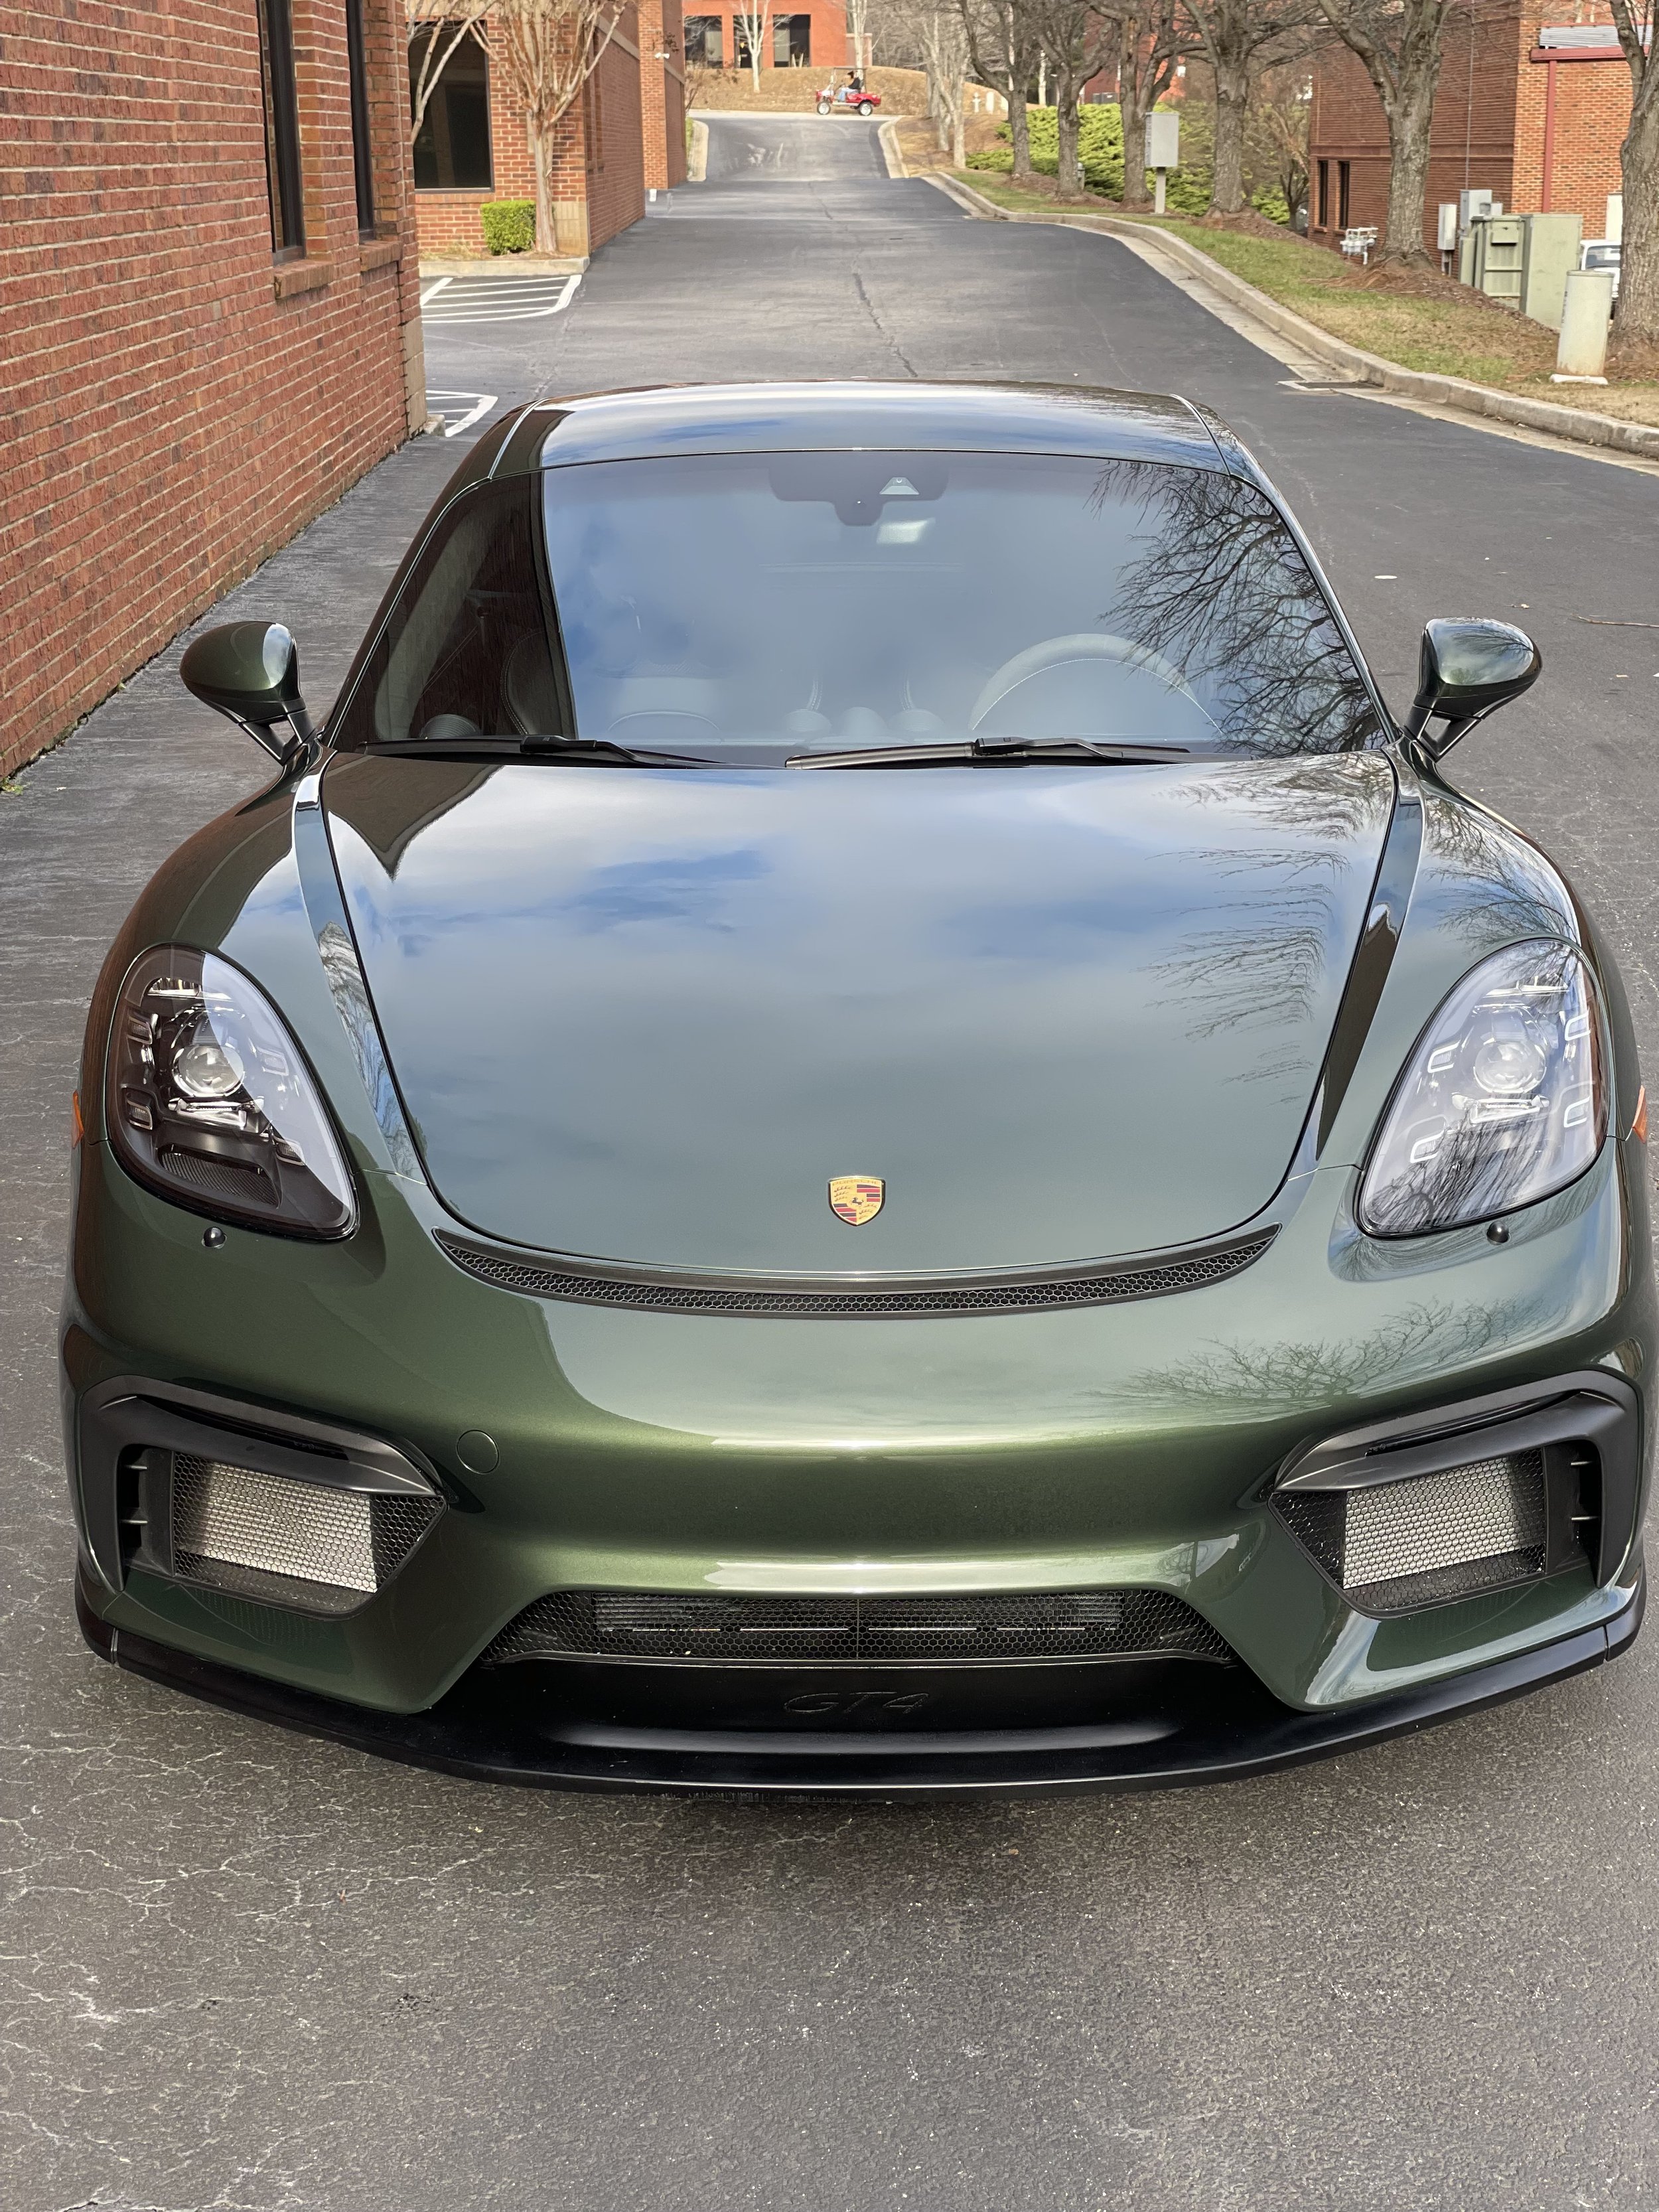
GT4 build

GT4 Build - Front Axle Lift Kit

The GT3, and some other 911s, have the option for a front axle lift system but the 718 GT4 does not allow for this factory option, at least it didn’t in 2021. I didn’t think it would be much of a problem but I quickly found out otherwise. Speed bumps, driveways, hell even pebbles strike fear into the heart of any GT4 owner. You end up getting use to the scraping sound of the front splitter.

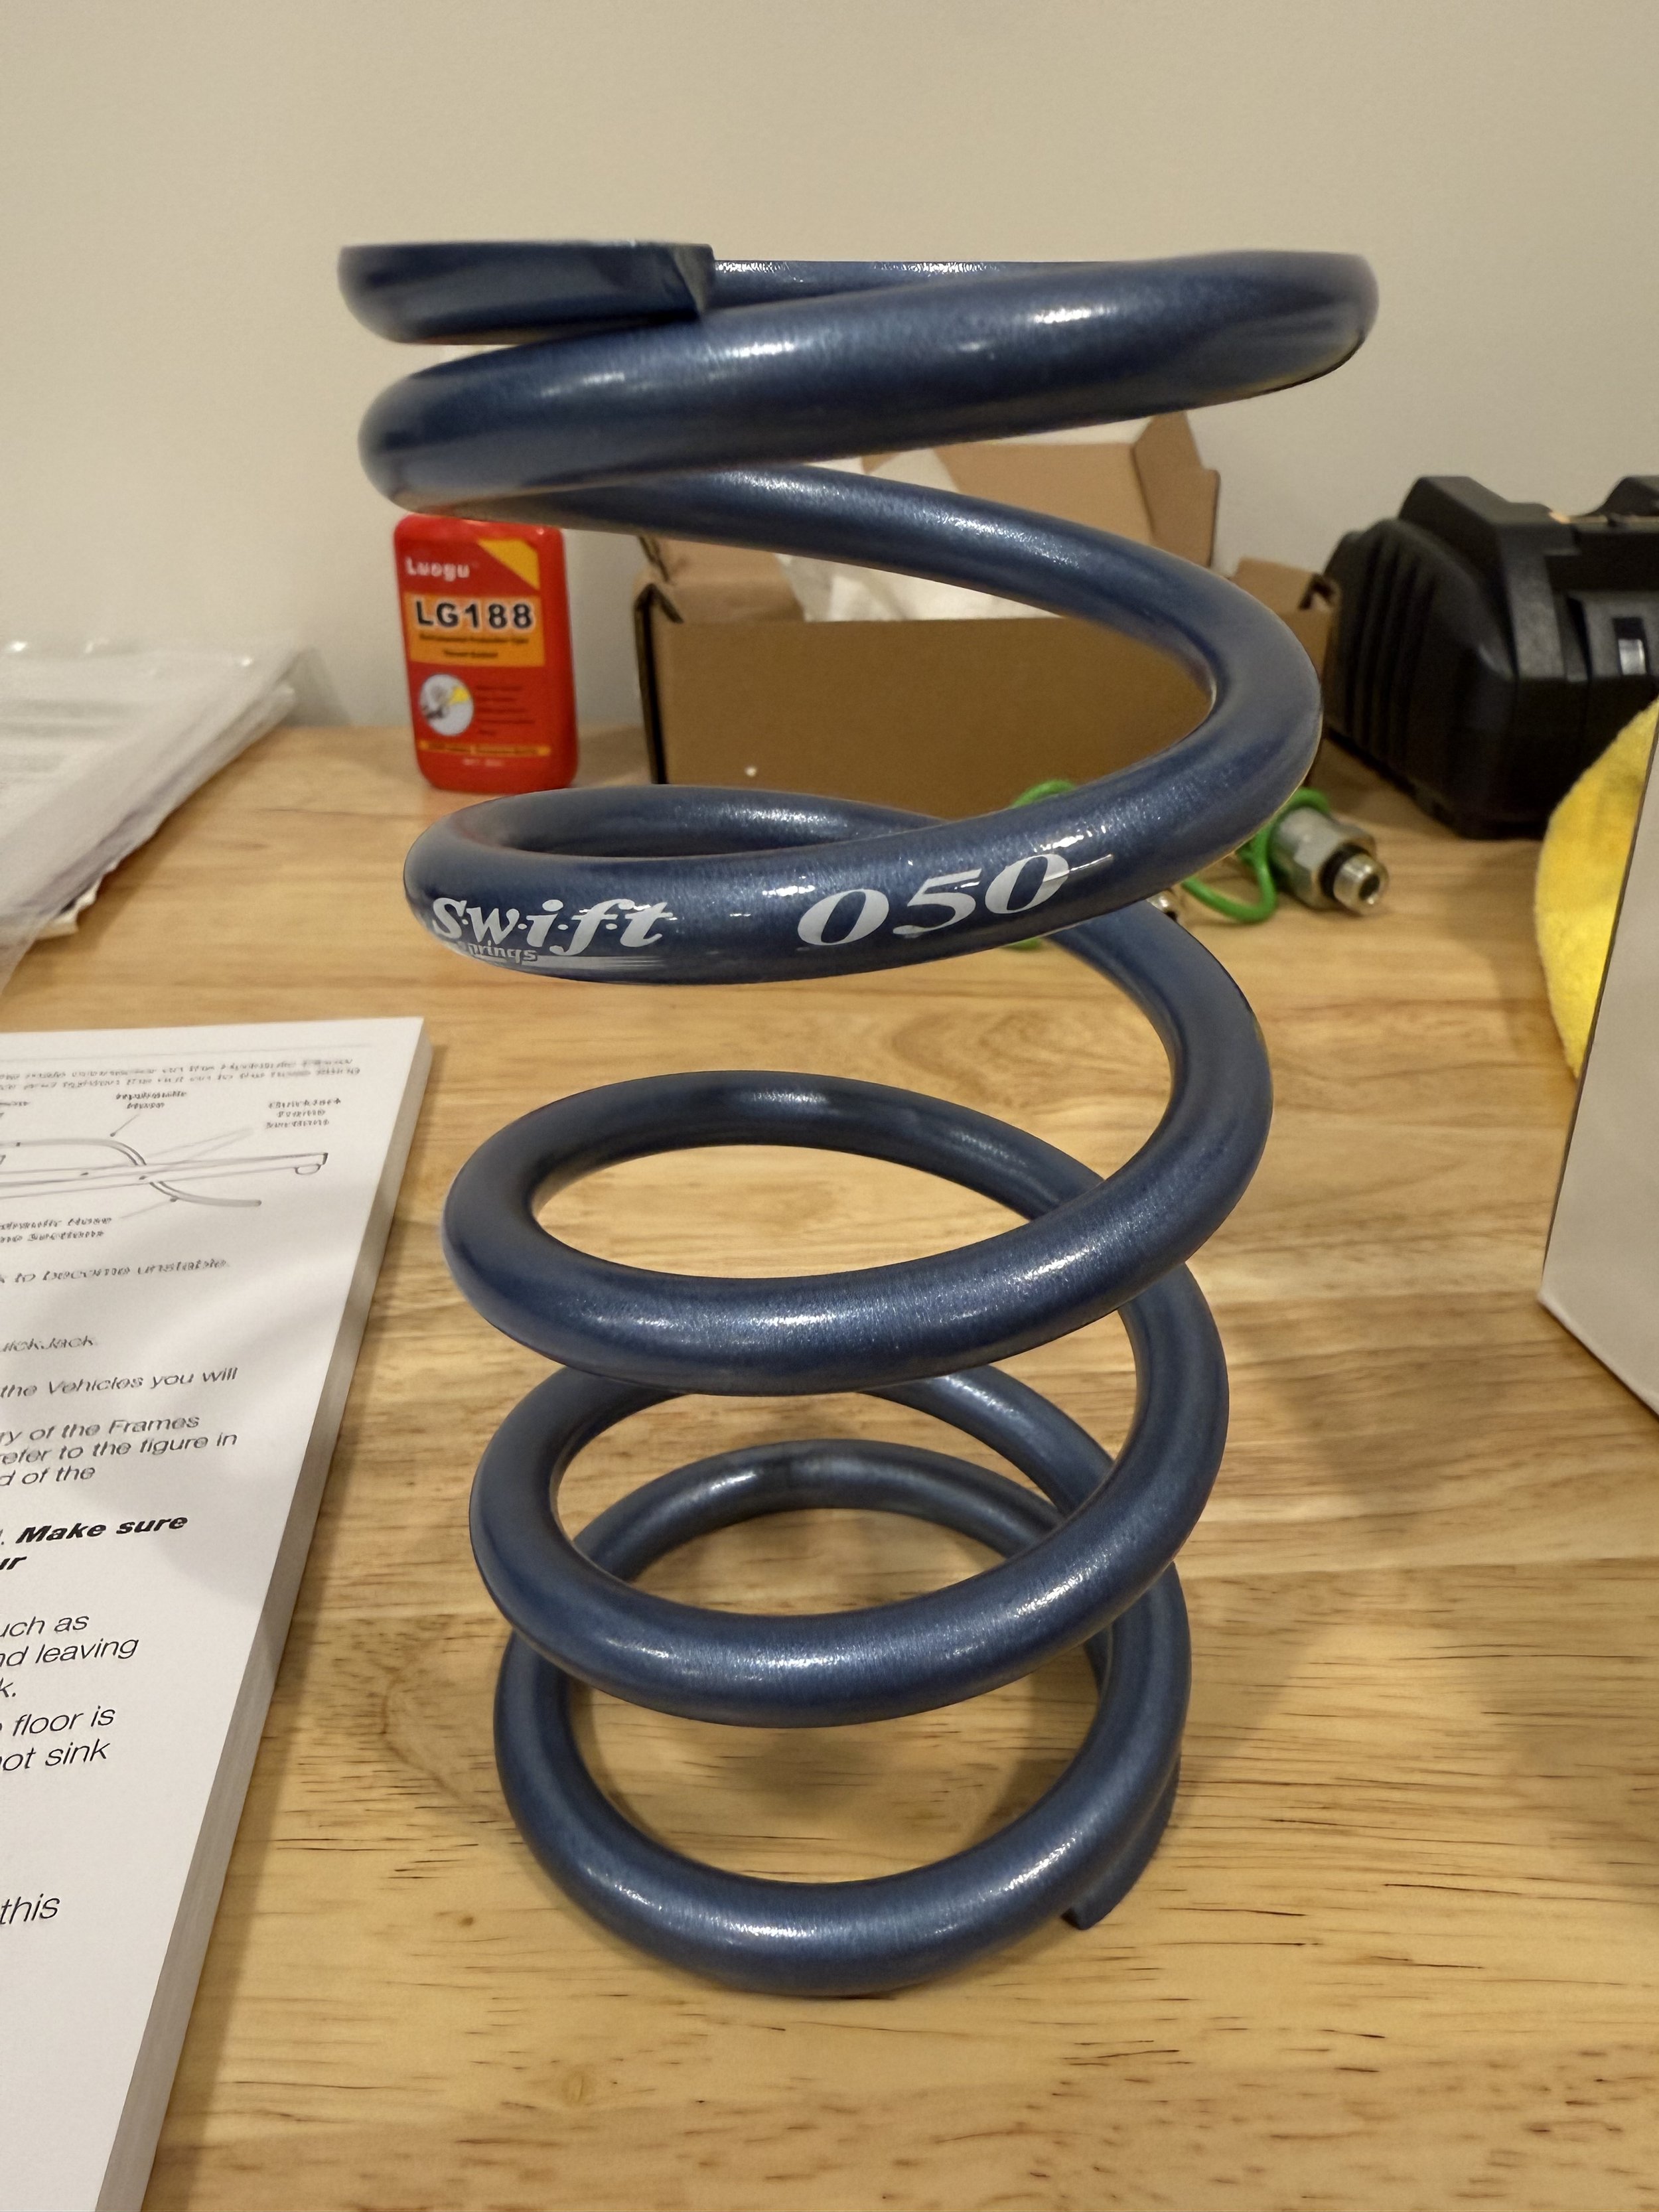
Because this is meant to be a dual purpose car I do want to drive it more on the street but at the moment the race pads (more on that later) and the constant scraping don’t allow it. I looked around and there are a couple different aftermarket front axle lift kits but most are $4k and above. I then found Designs by Jacob’s system that only costs $1,500. The system is rather simply in that it is an air compressor, air cups, some air lines, and a wireless remote. The net result is a simple way to lift the front of the GT4 40-50mm with a push of the button in about 5-6 seconds without sacrificing handling or alignment. The added weight is about 11 lbs in total which is a small weight tax for the added benefit of getting over speed bumps and driveways. Because it is a wireless system you can program the remote into one of your factory garage door buttons on the rearview mirror. You do lose about 20mm of adjustability in your shock but you can make that up by changing out the springs (which I did). After talking to Designs by Jacob I decided to get the front 280 lb springs by Swift which tighten up the front just a touch (stock is 257 lbs springs) but also recapture the lost adjustability caused by the air cups. I should be left with the same ride height I have today but with the courage to drive my car around the streets without fear.

Here are the Swift springs I bought from Designs by Jacob. Aren’t they beautiful?

Here is a short video of the lift in action.

While I was getting the lift kit installed I also swapping out the racing pads (Ferodo DS1.11) for some street pads (Ferodo DS2500). The DS1.11 are amazing on the track but just too loud on the street when cold which is most of the time. To make it easier to swap between the race pads and the street pads I had a stud kit installed for the calipers and the brake line mounts. For the calipers I installed the Girodisc stud kit. For the brake line mounts I installed the Tarett stud kit. I also installed recline brackets on the lightweight bucket seats (LWBS) to better accommodate my helmet when on the track.

All of these changes, plus the new street wheels and tires, are meant to give my car two distinct personalities…..an aggressive daily driver and a track monster.

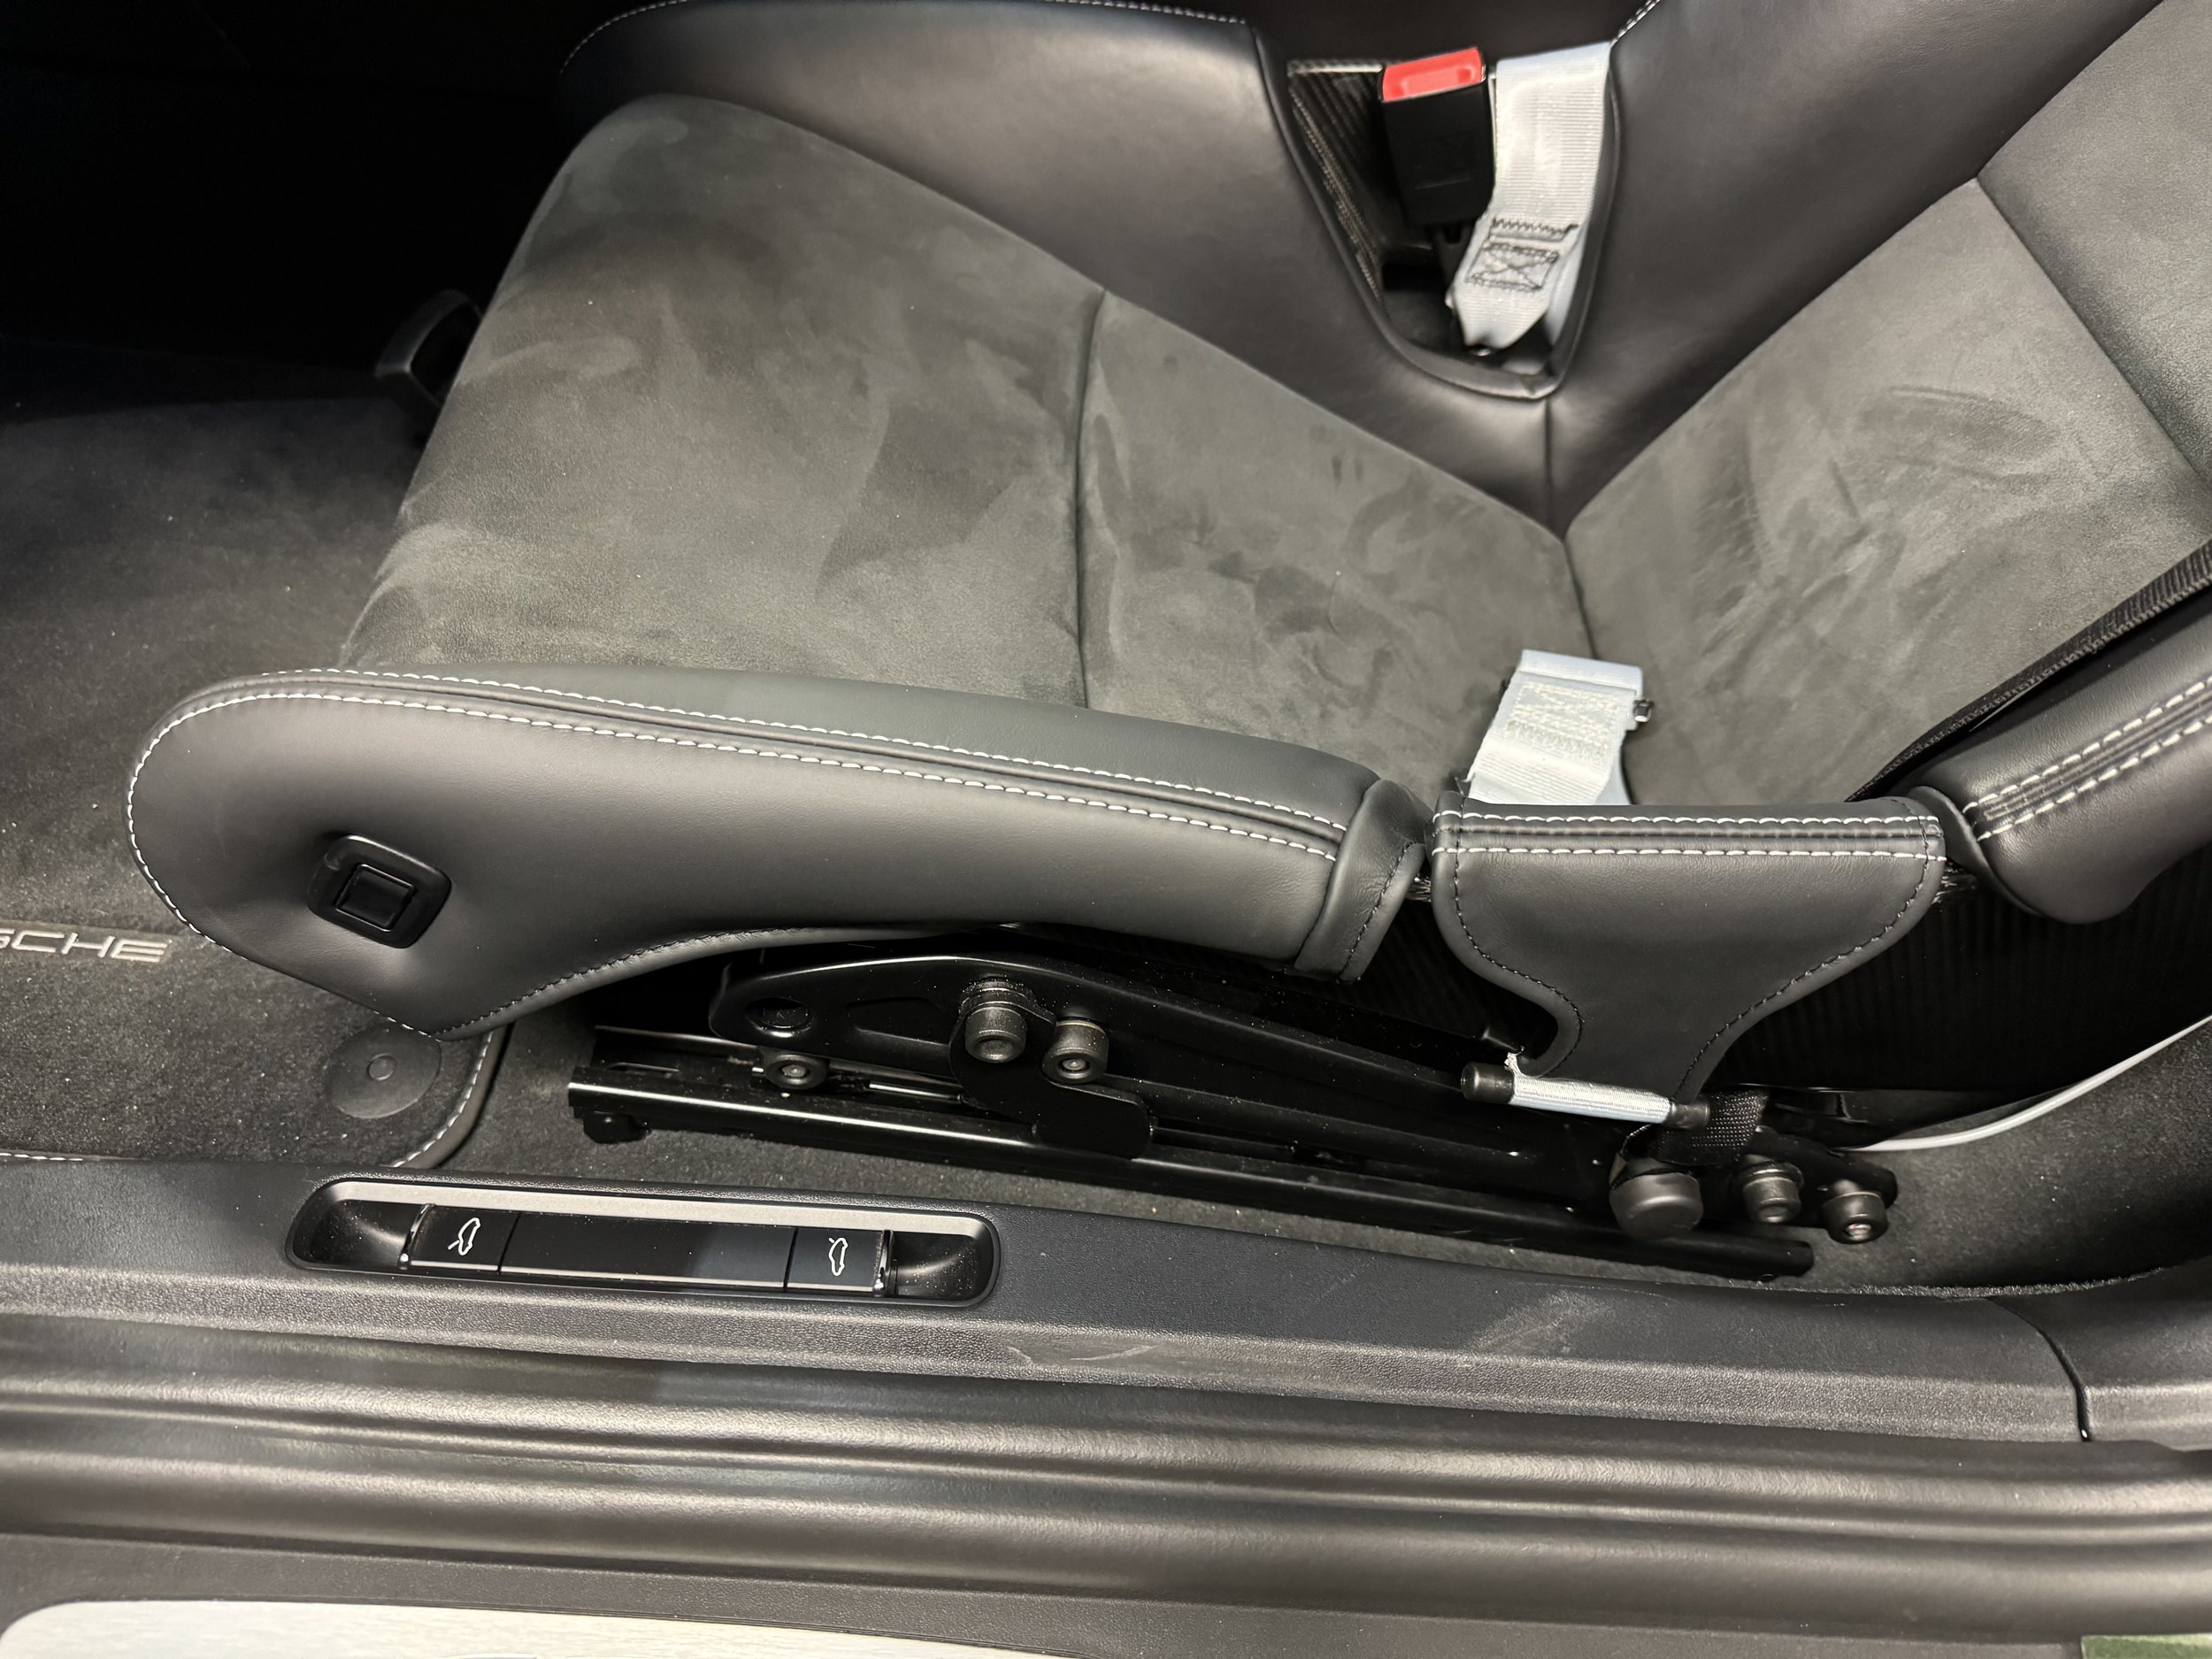
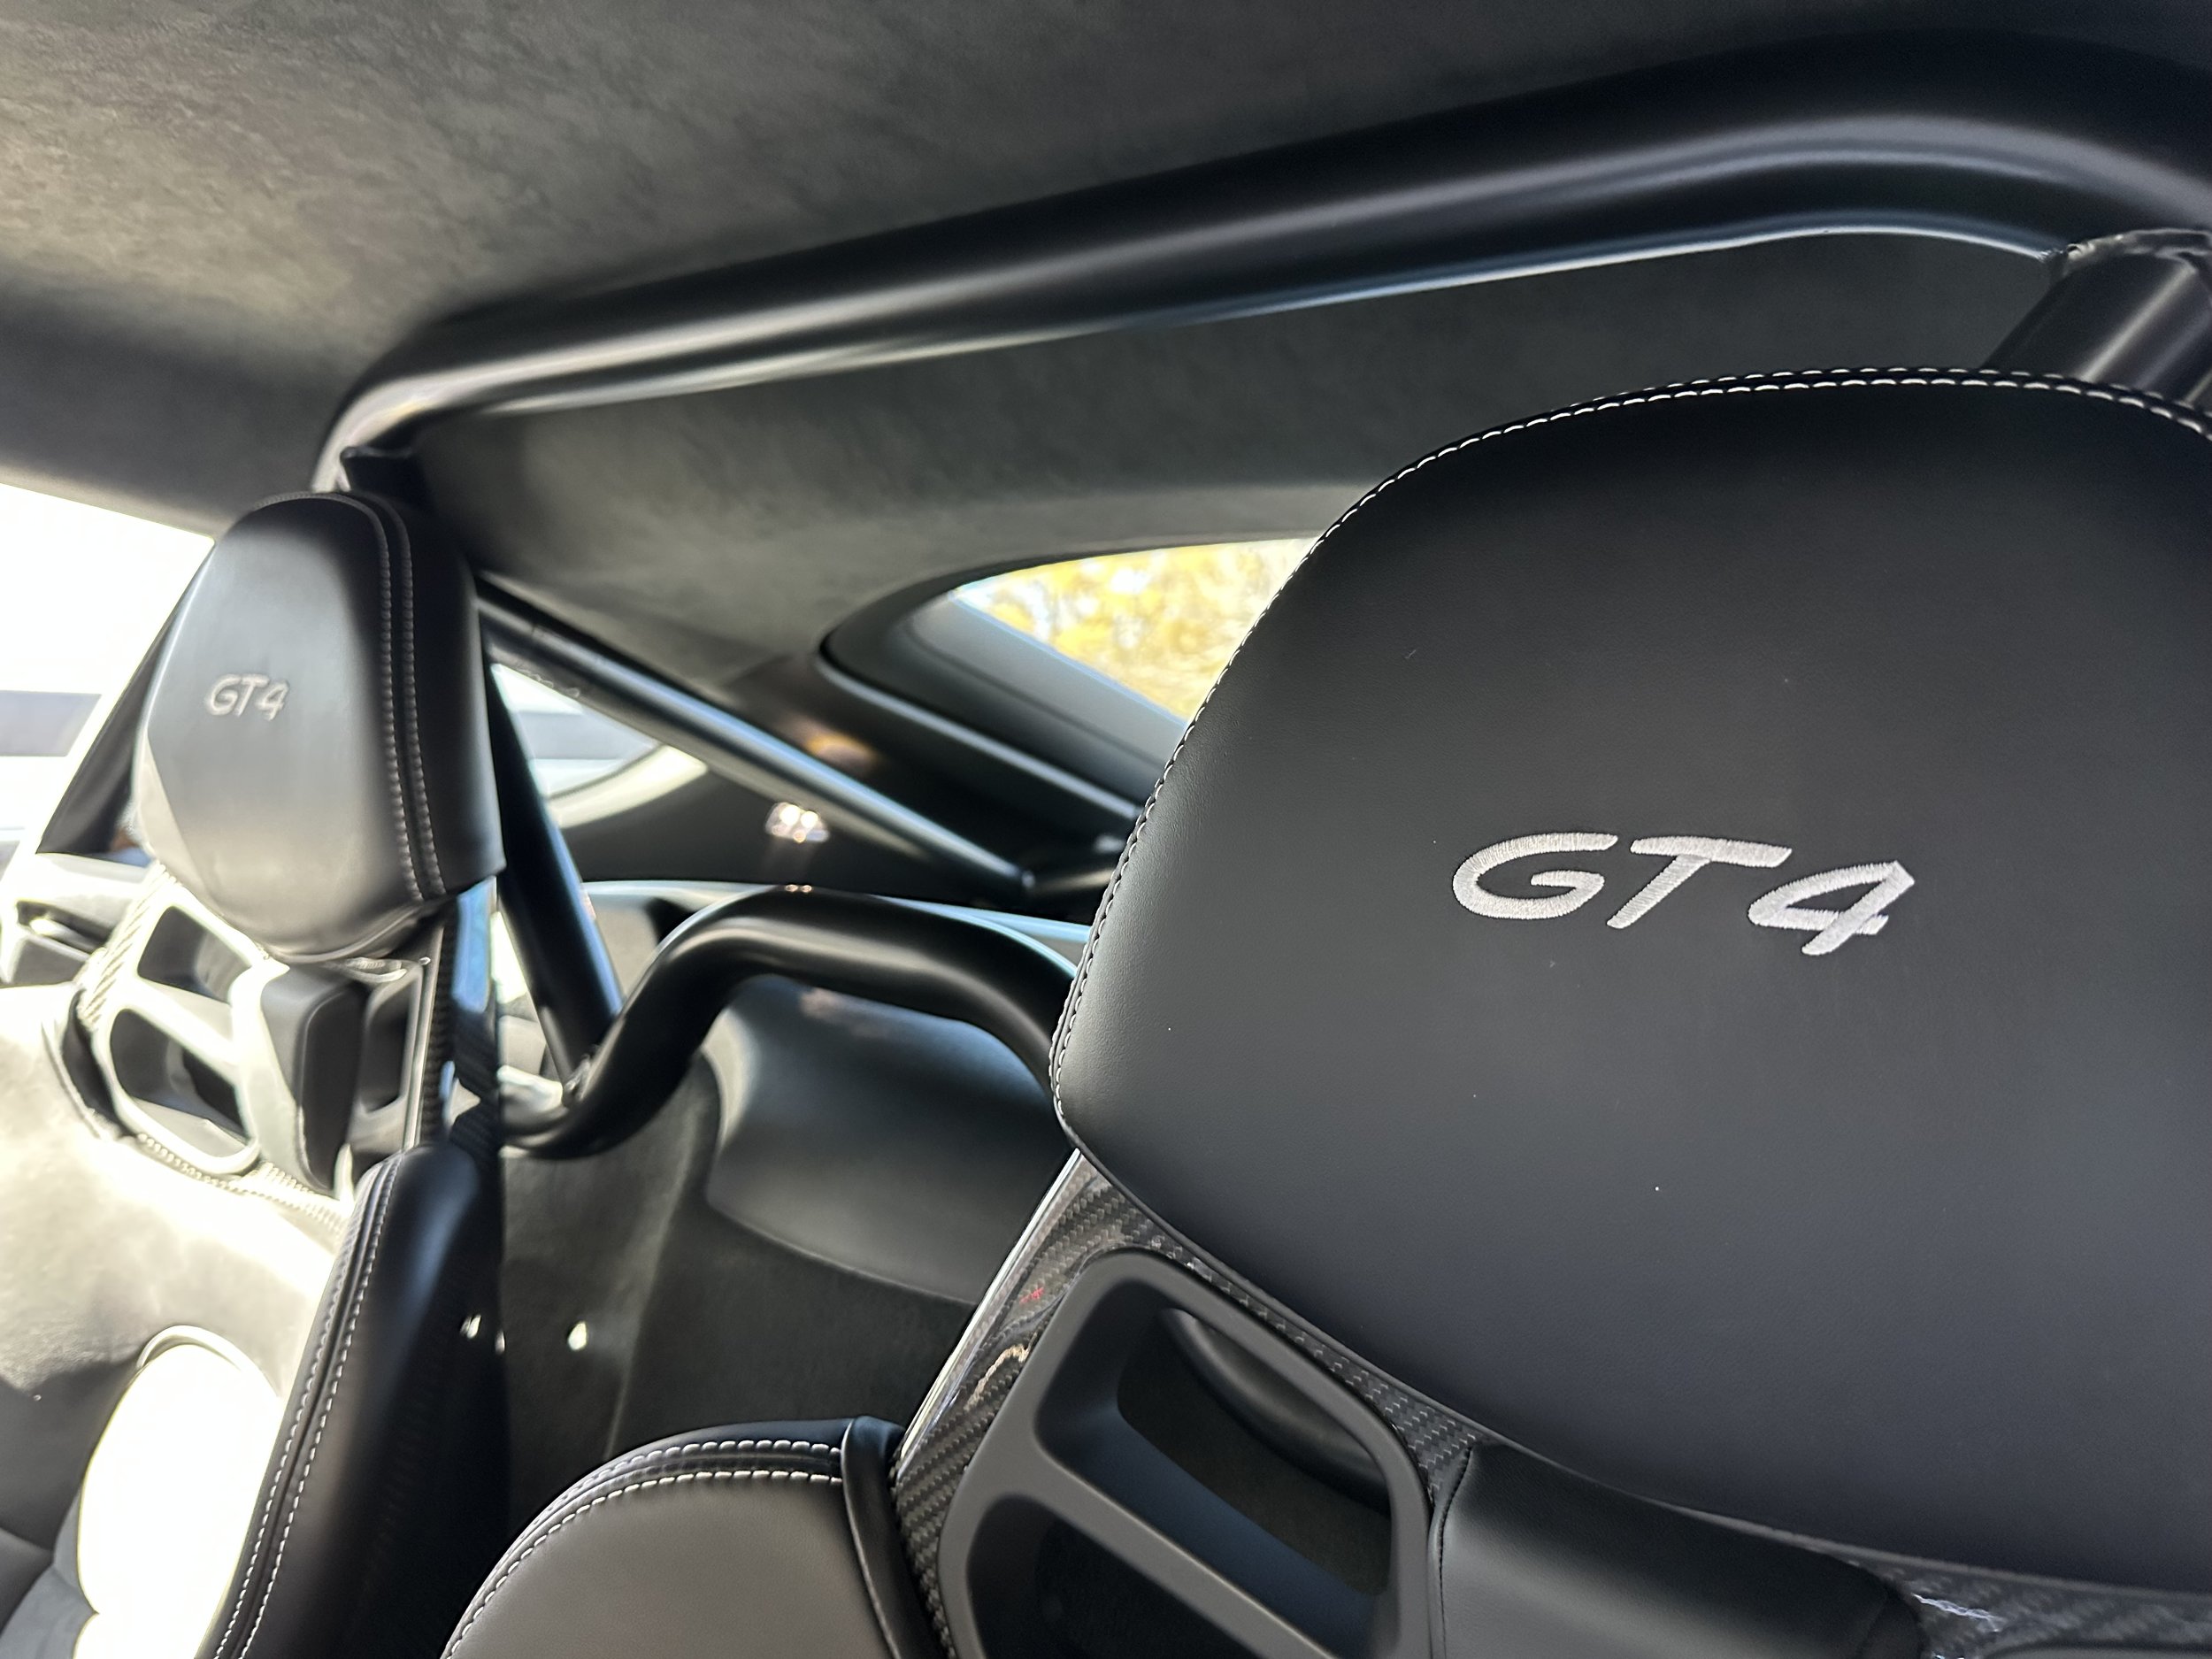
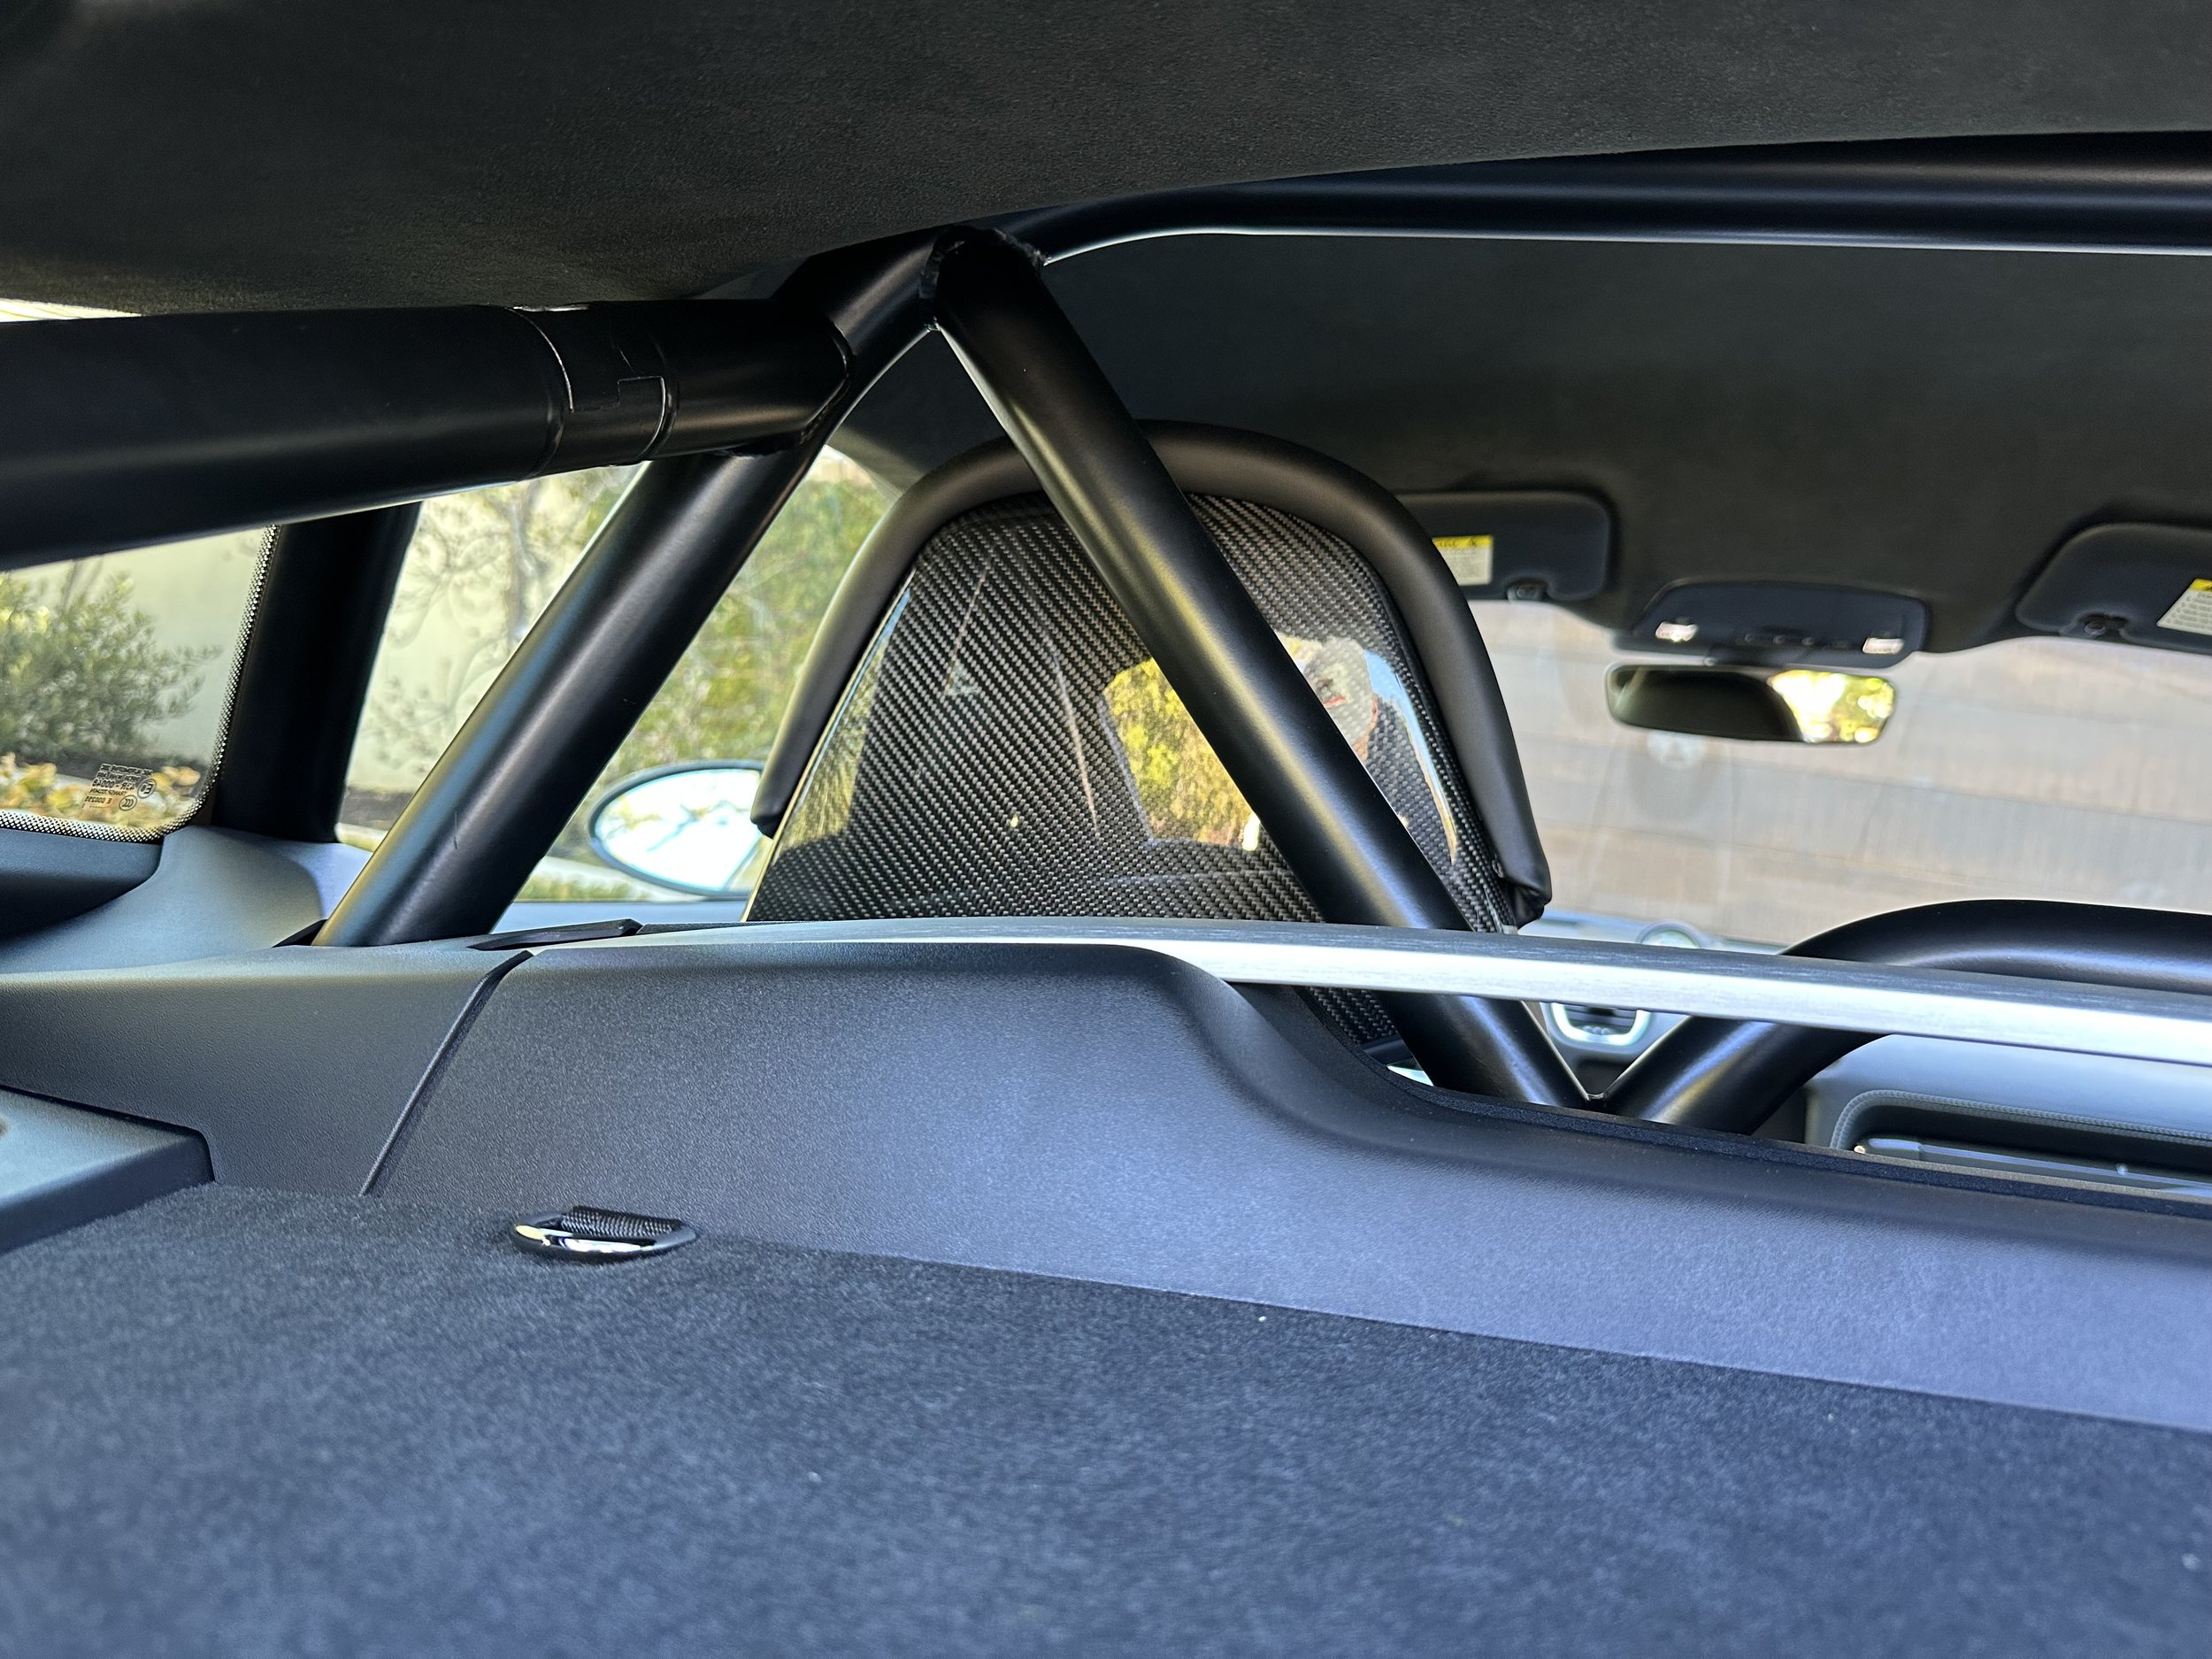
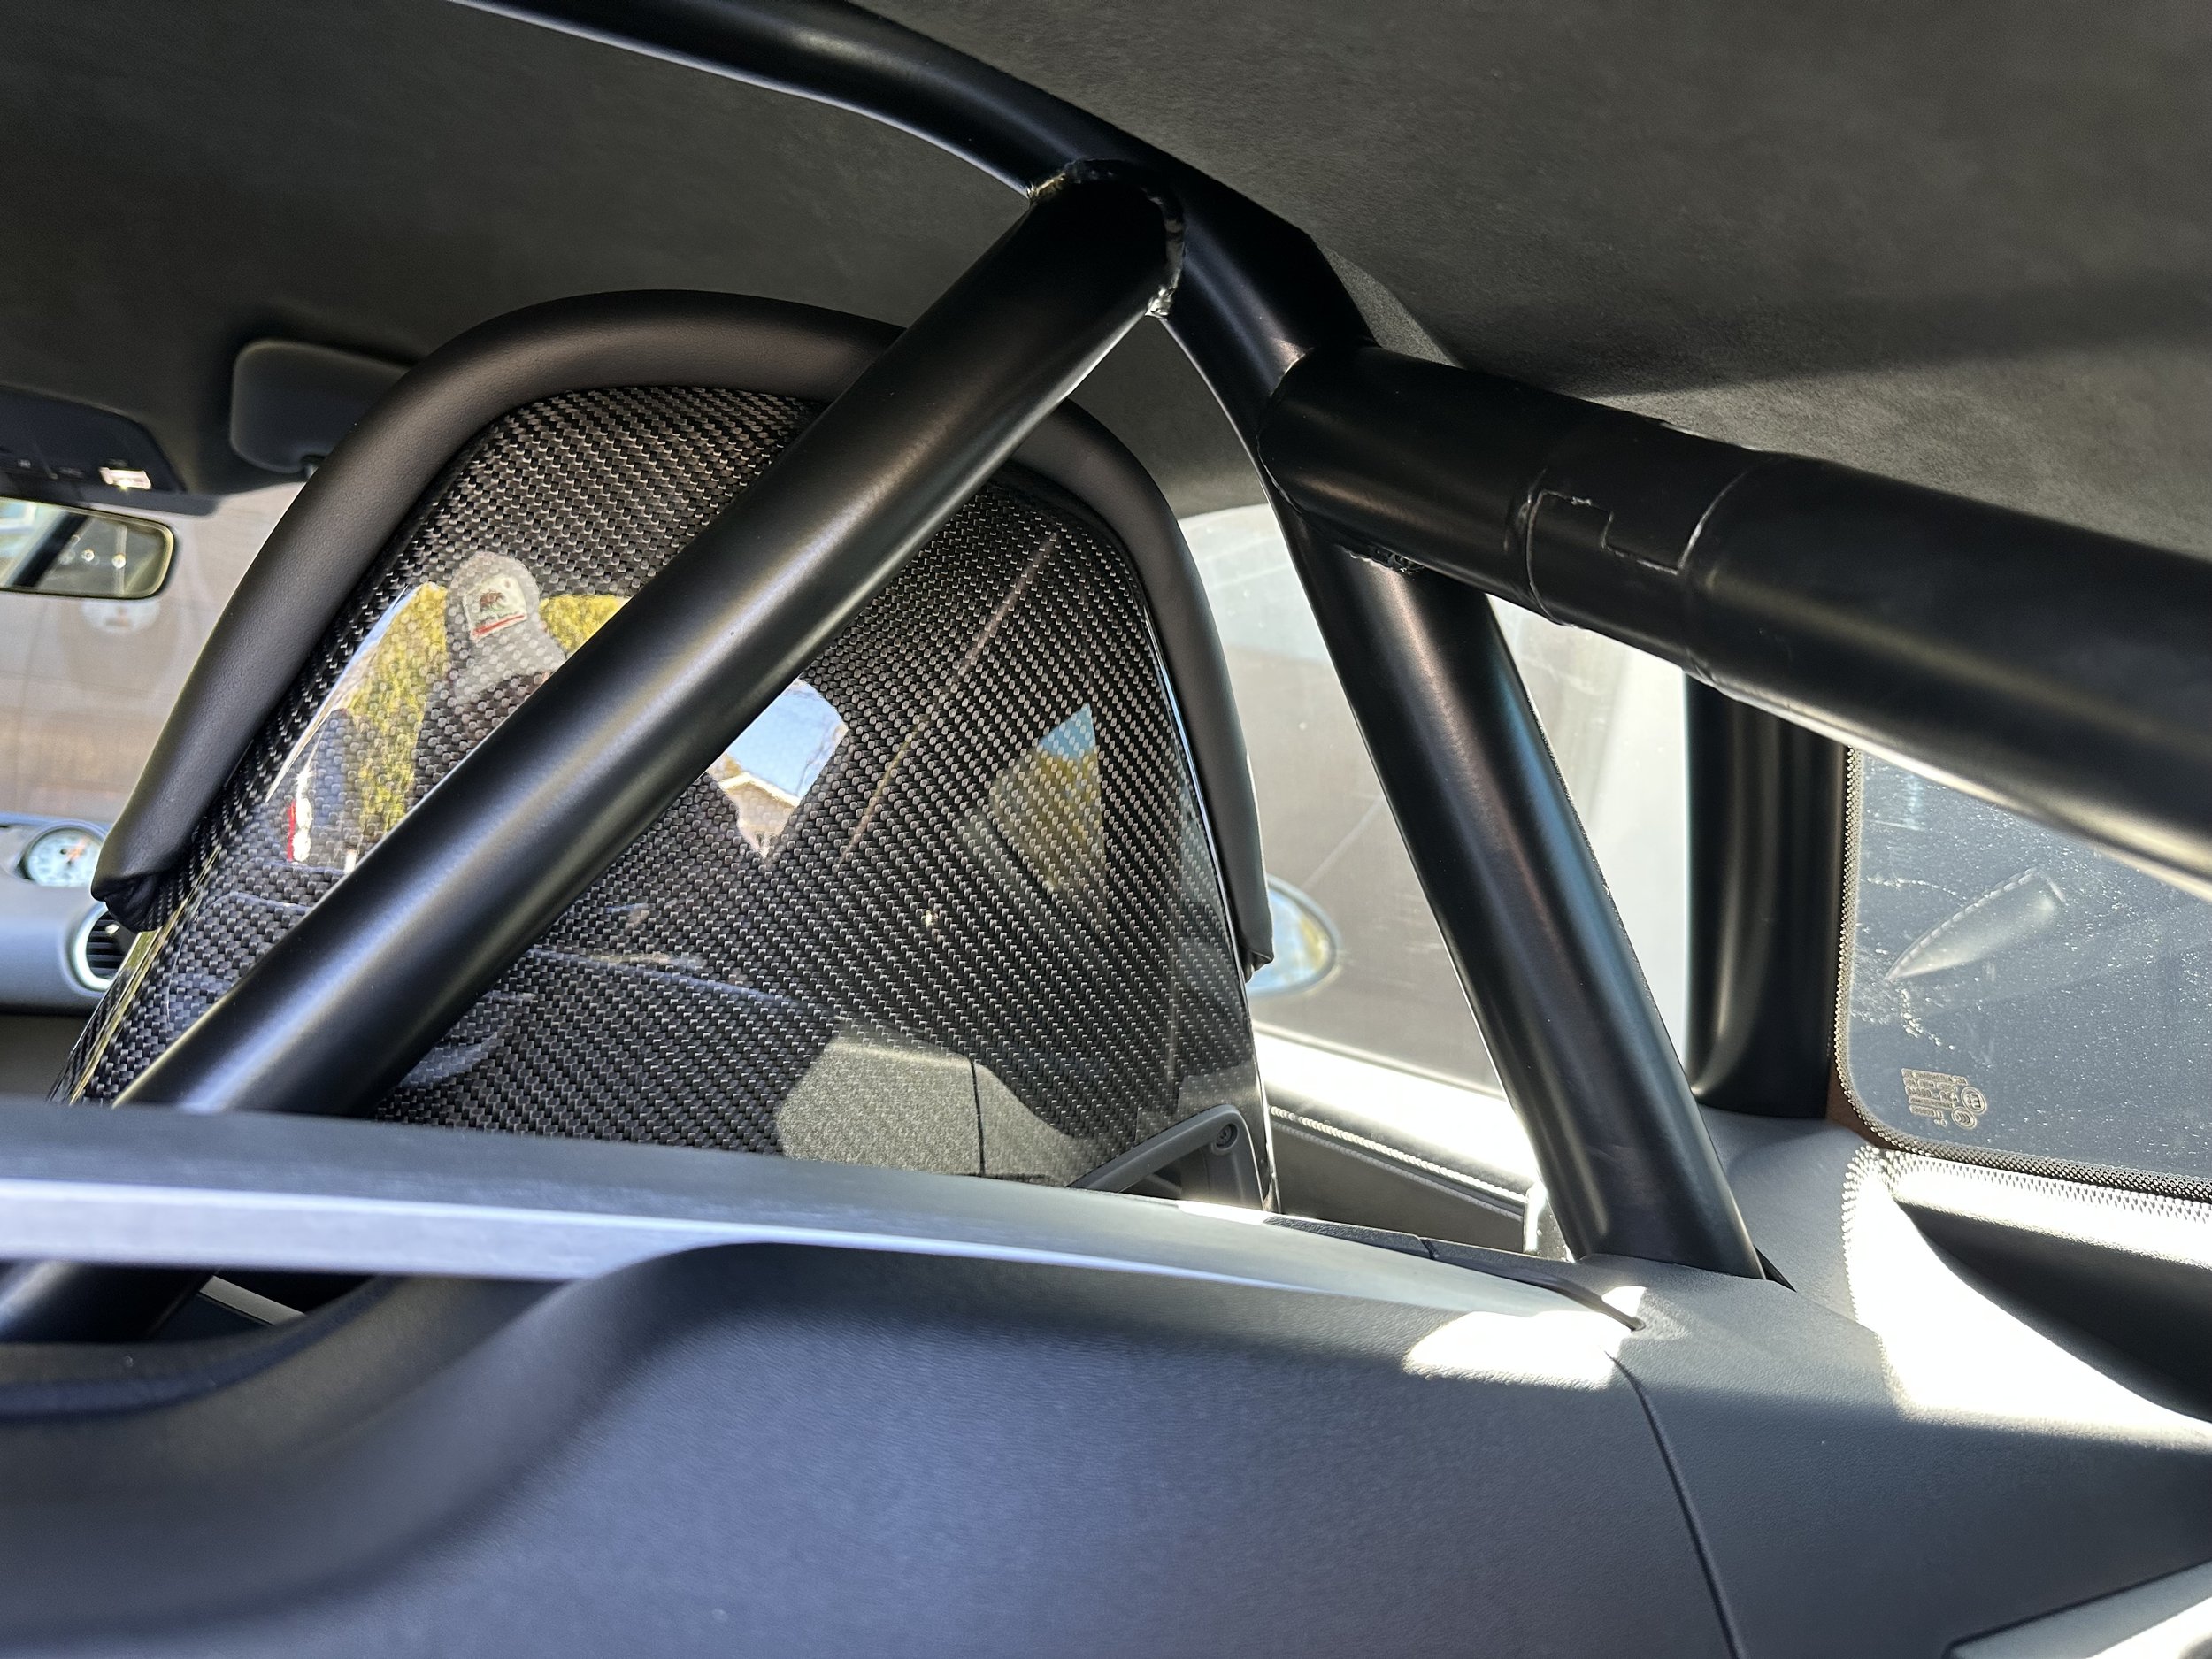
UPDATE: The front axle lift kit is amazing and well worth the money and effort. The kit comes with two remotes but you can program Porsche’s built-in garage door buttons to activate and deactivate the lift kit. It will require using two of the garage door buttons (out of three), one to lift and one to lower. Also it lifts the front of the car by 2 full inches at the front splitter, and just over 1 inch at the wheel well (see photos below). I have tested it out on a few of my local problem areas on my property and it works great. It takes 4-5 seconds to lift and only about 2 seconds to lower. Also with the front springs changed out we were able to get the alignment to match the pre-kit settings. So no loss of suspension tuning that we can find. Huge fan of the kit!!! During this install we also installed street pads which you can read about here under the 4th update. The quick read is that I love the Ferodo DS2500 pads for the street….no noise. We also installed reclining brackets for the LWBS (race seats). With these you do lose some seat travel, at least I did due to the head rest hitting my half cage. I am guessing we lost about 1-2 inches of rear travel but it wasn’t enough to be a problem. I am 6’1” and I can still move the seat back enough to be comfortable to get in and out and for leg travel between pedals. I am guessing that if you don’t have a half cage you wont lose any seat travel. I do find the seats more comfortable with the recline brackets. You sort of fall into them which makes getting in and out just as hard as before….maybe a touch more difficult. But that is worth the added comfort while driving. It will also make it more comfortable with a helmet and Hans device when on the track. Without the reclining brackets the headrest pushed your helmet forward a bit and after a day on the track I found my neck sore. This should resolve that. So in my opinion, just as other GT3 and GT4 owners have told me, this is a good upgrade.

GT4 Build - Street Wheels and Tires

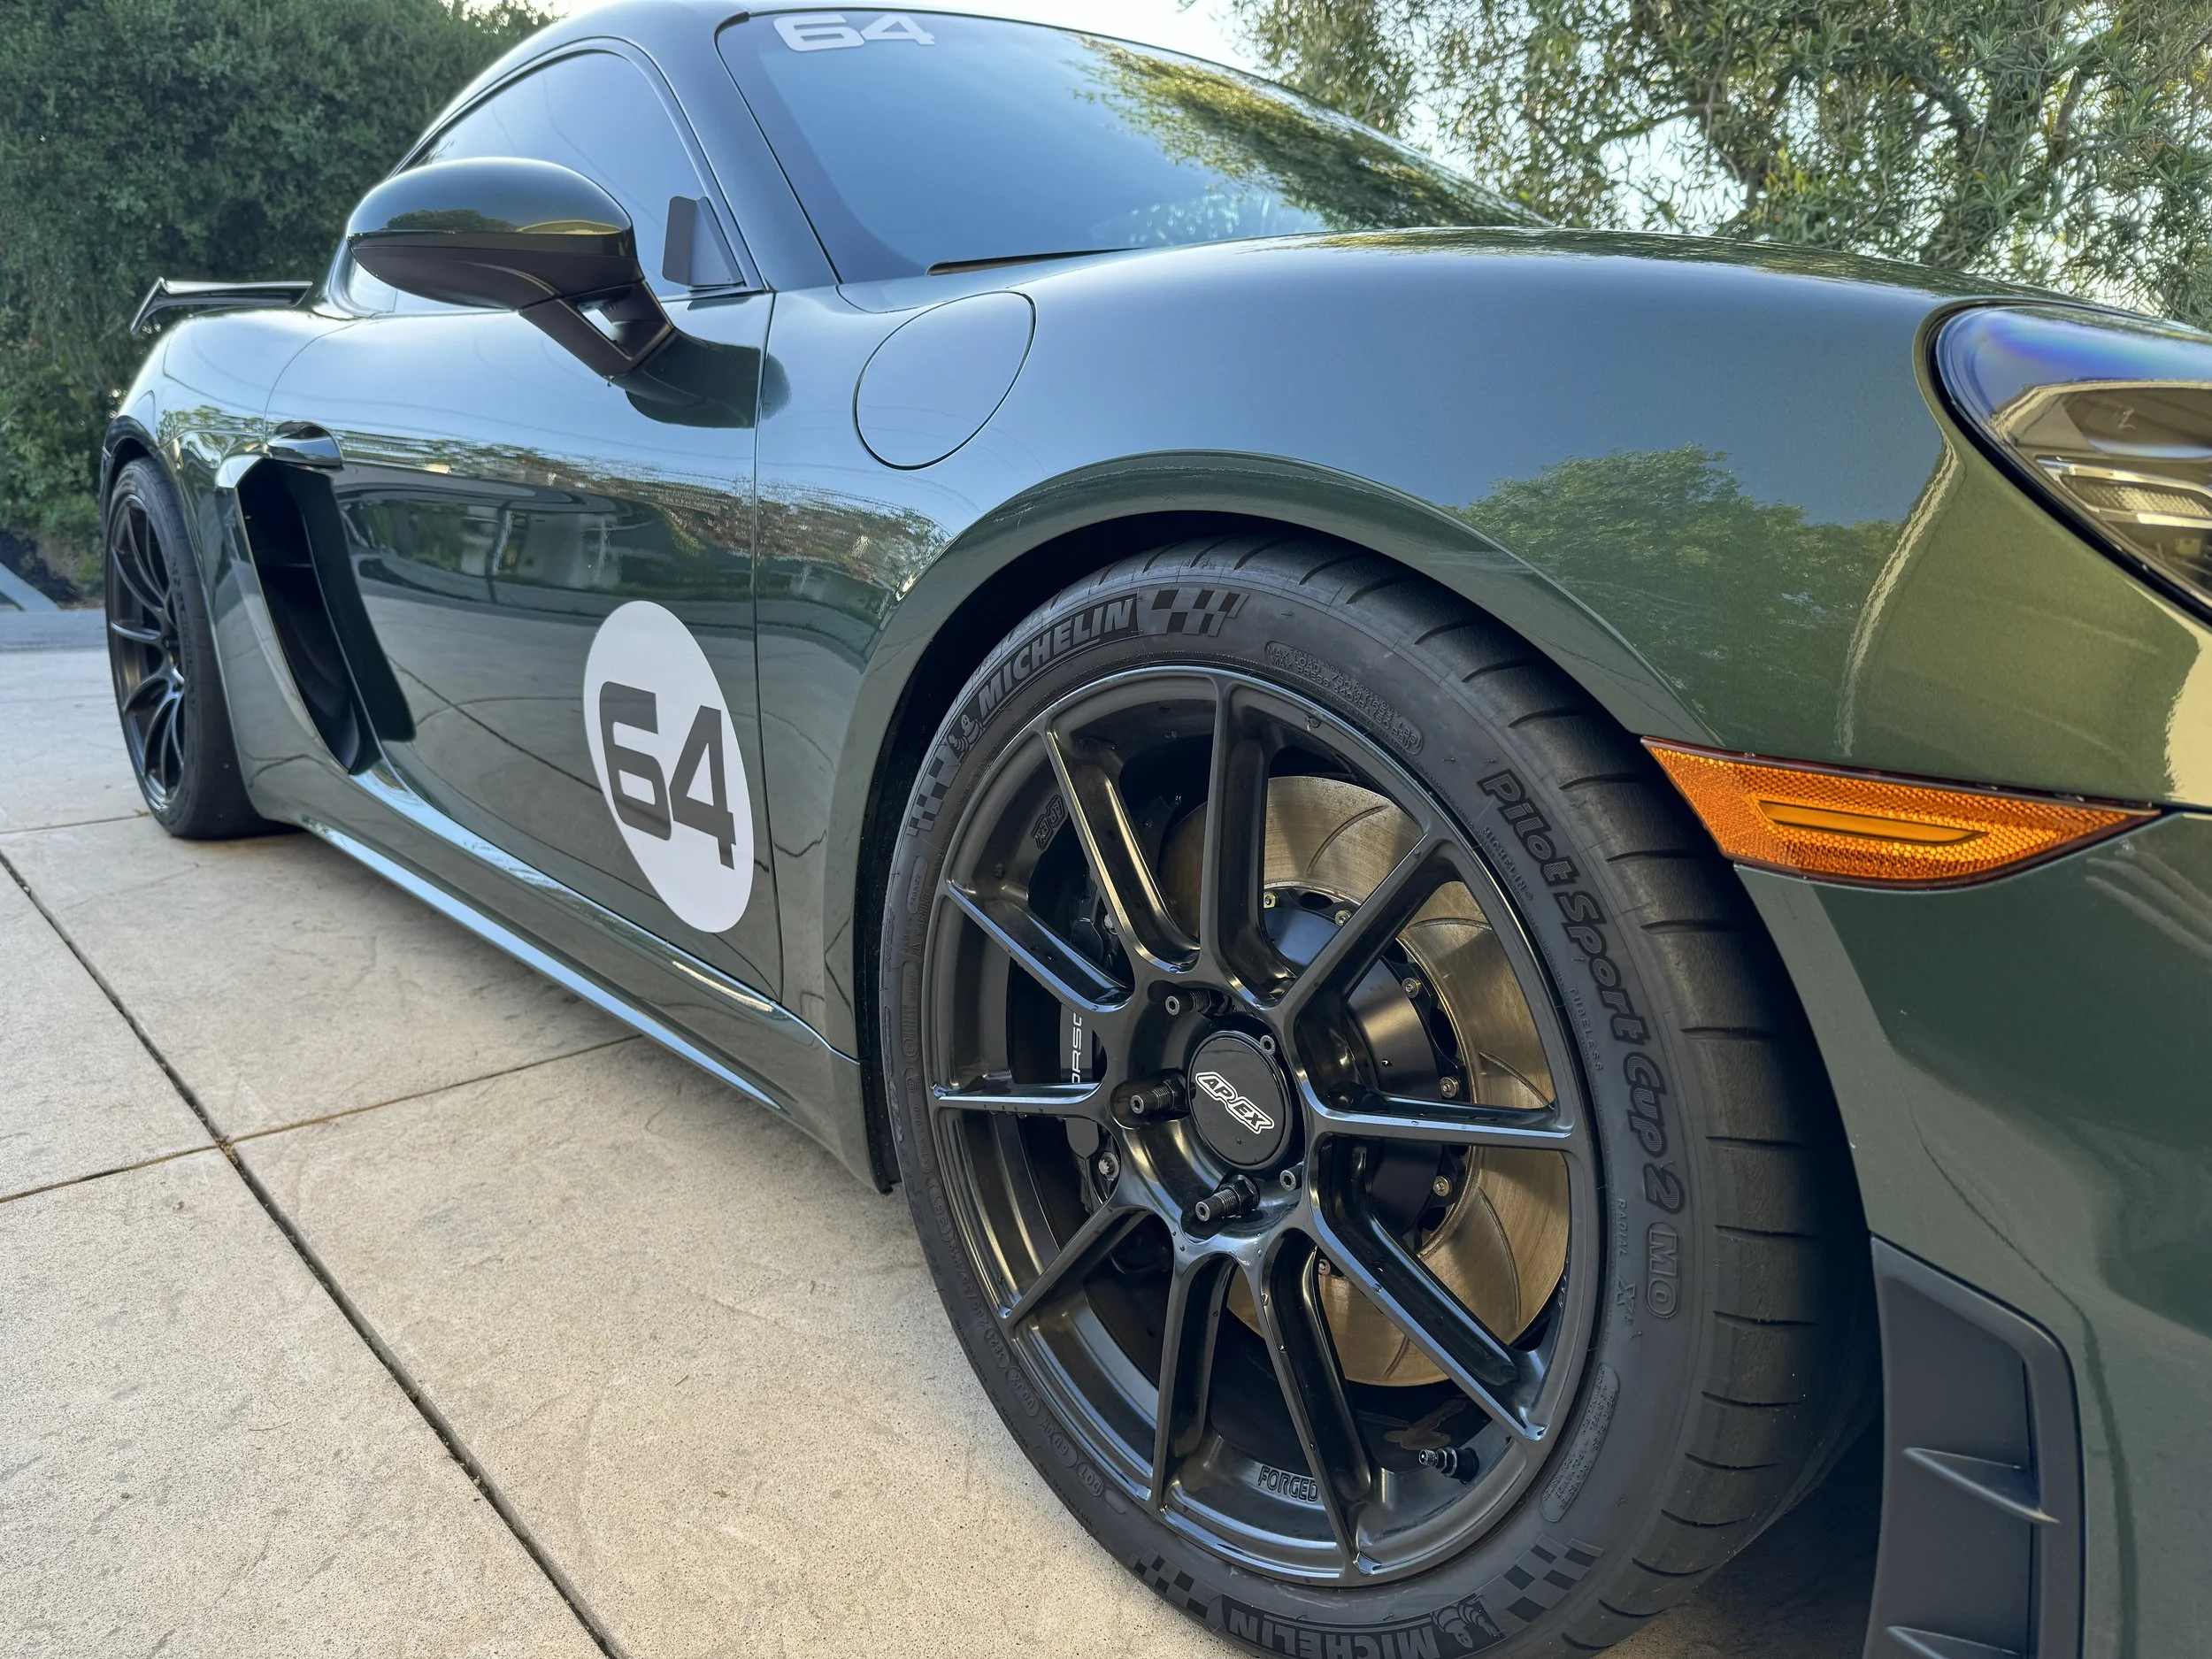
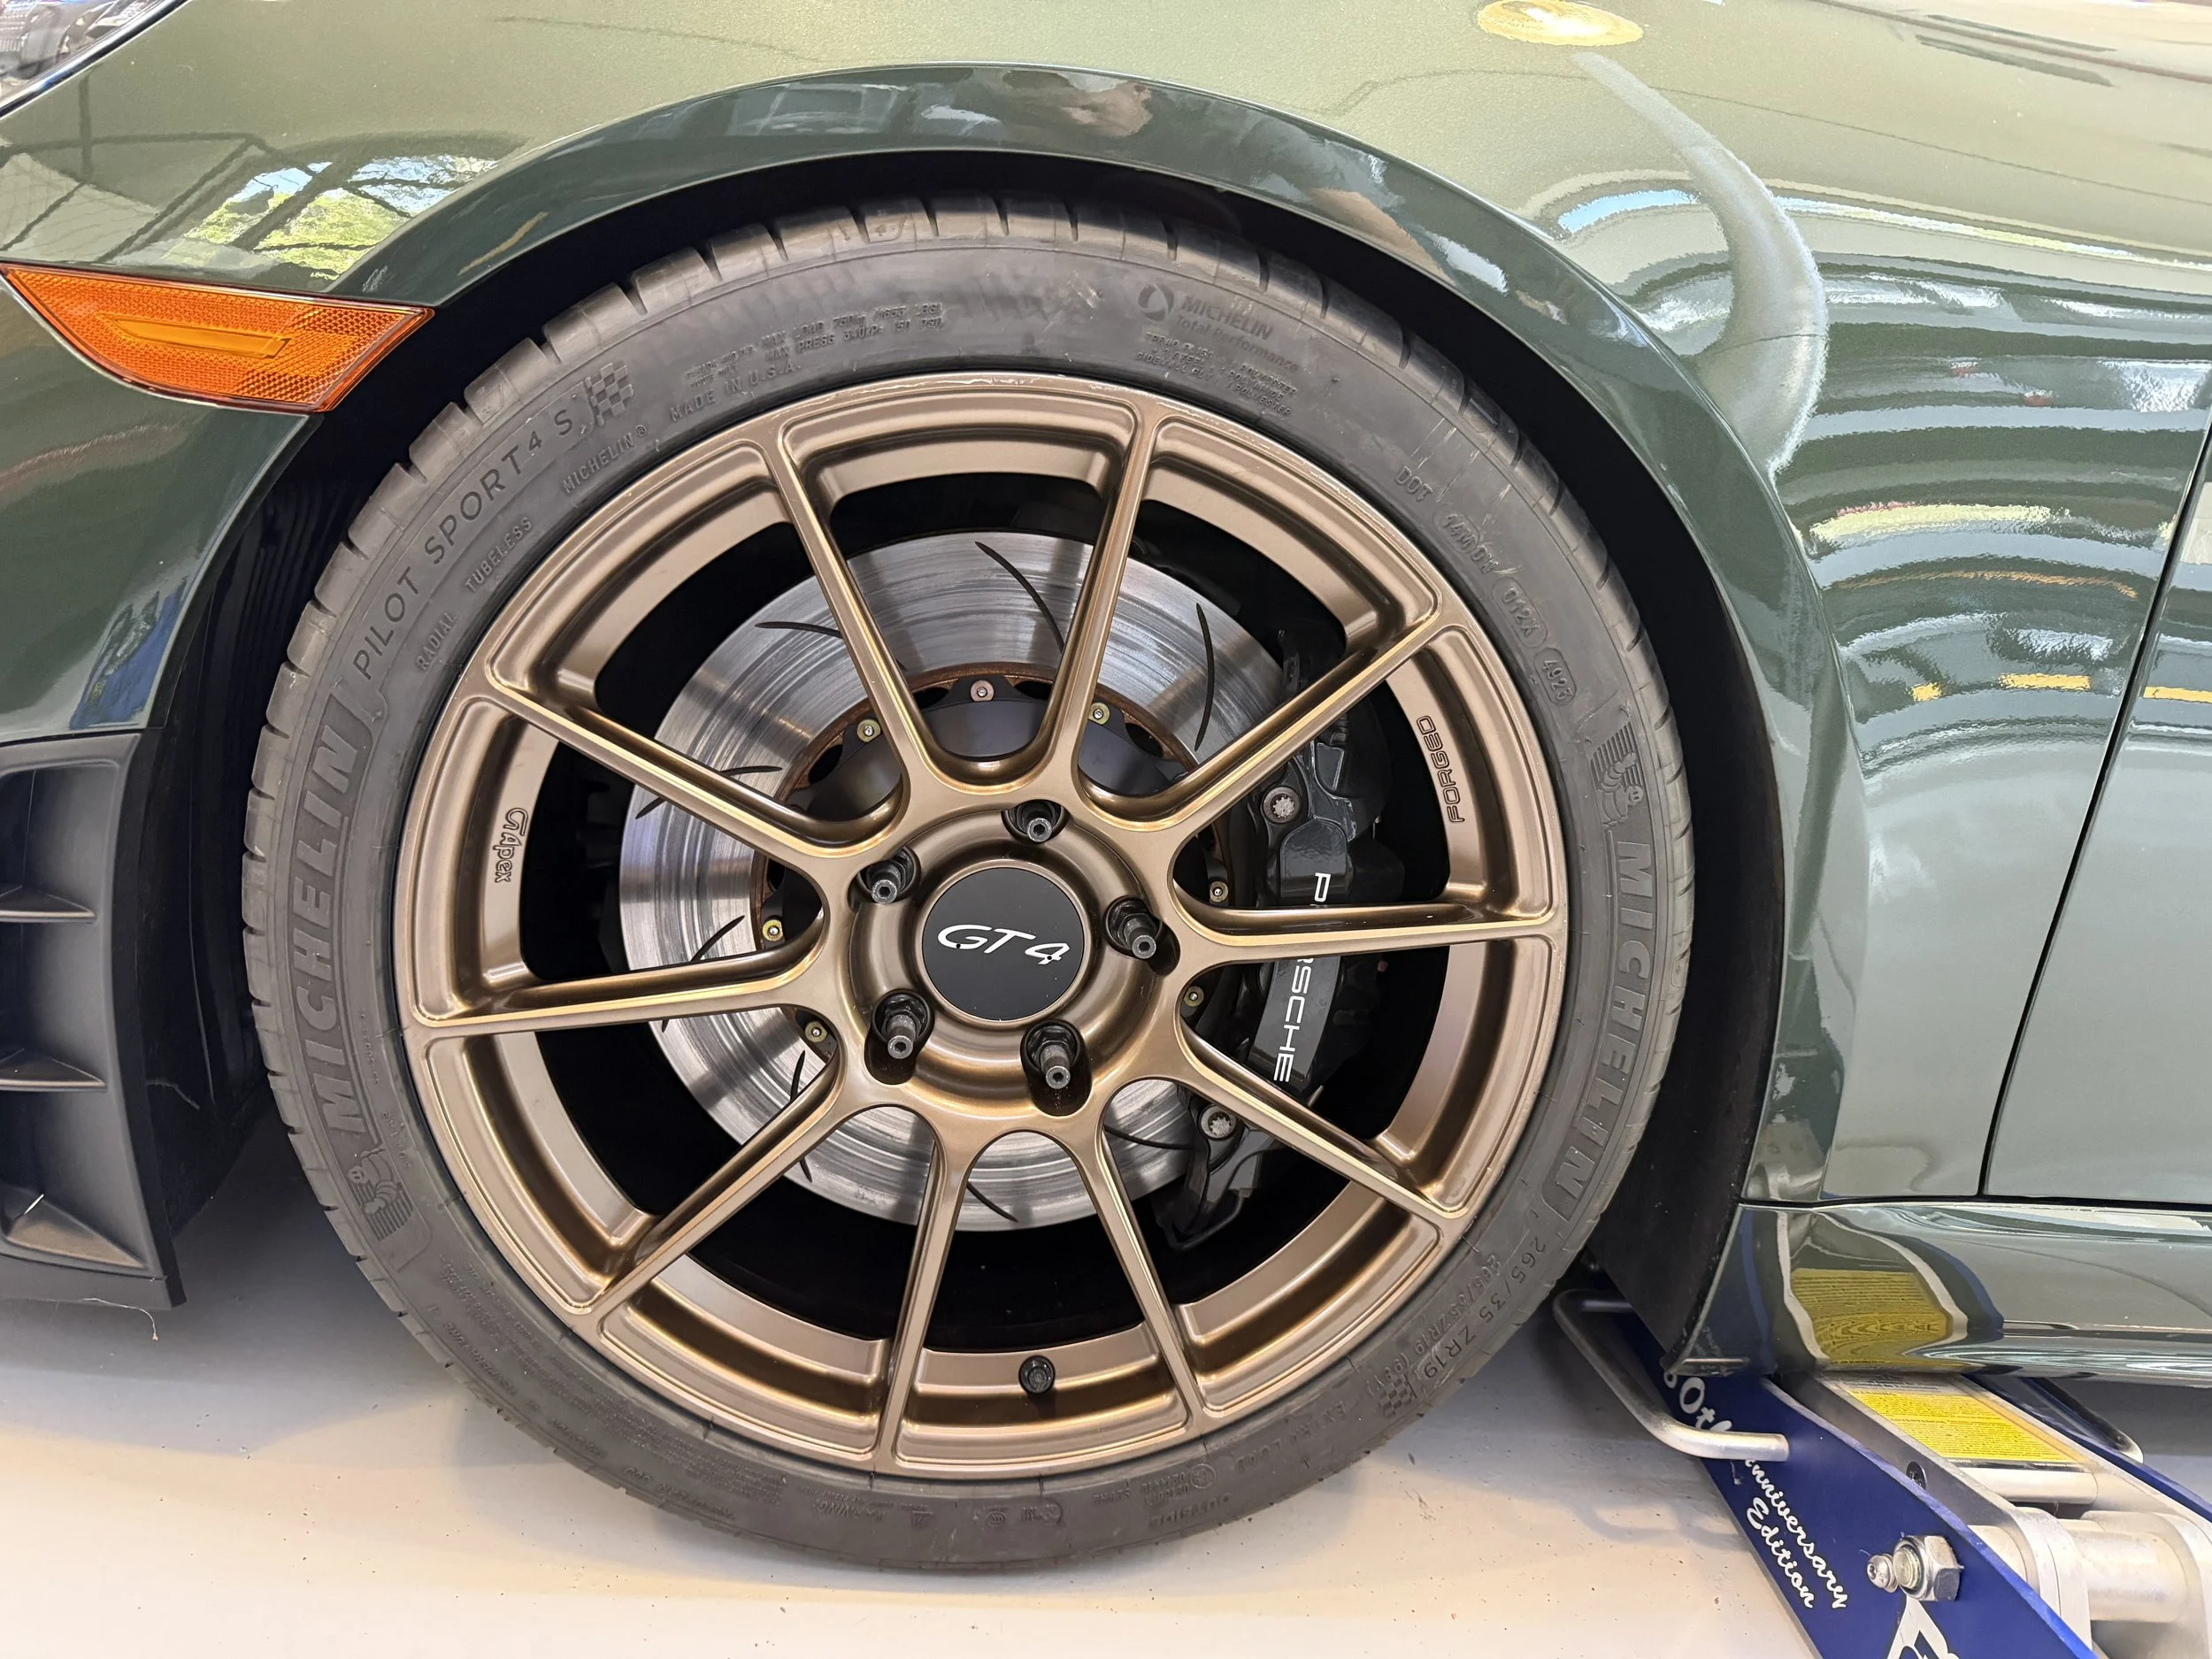
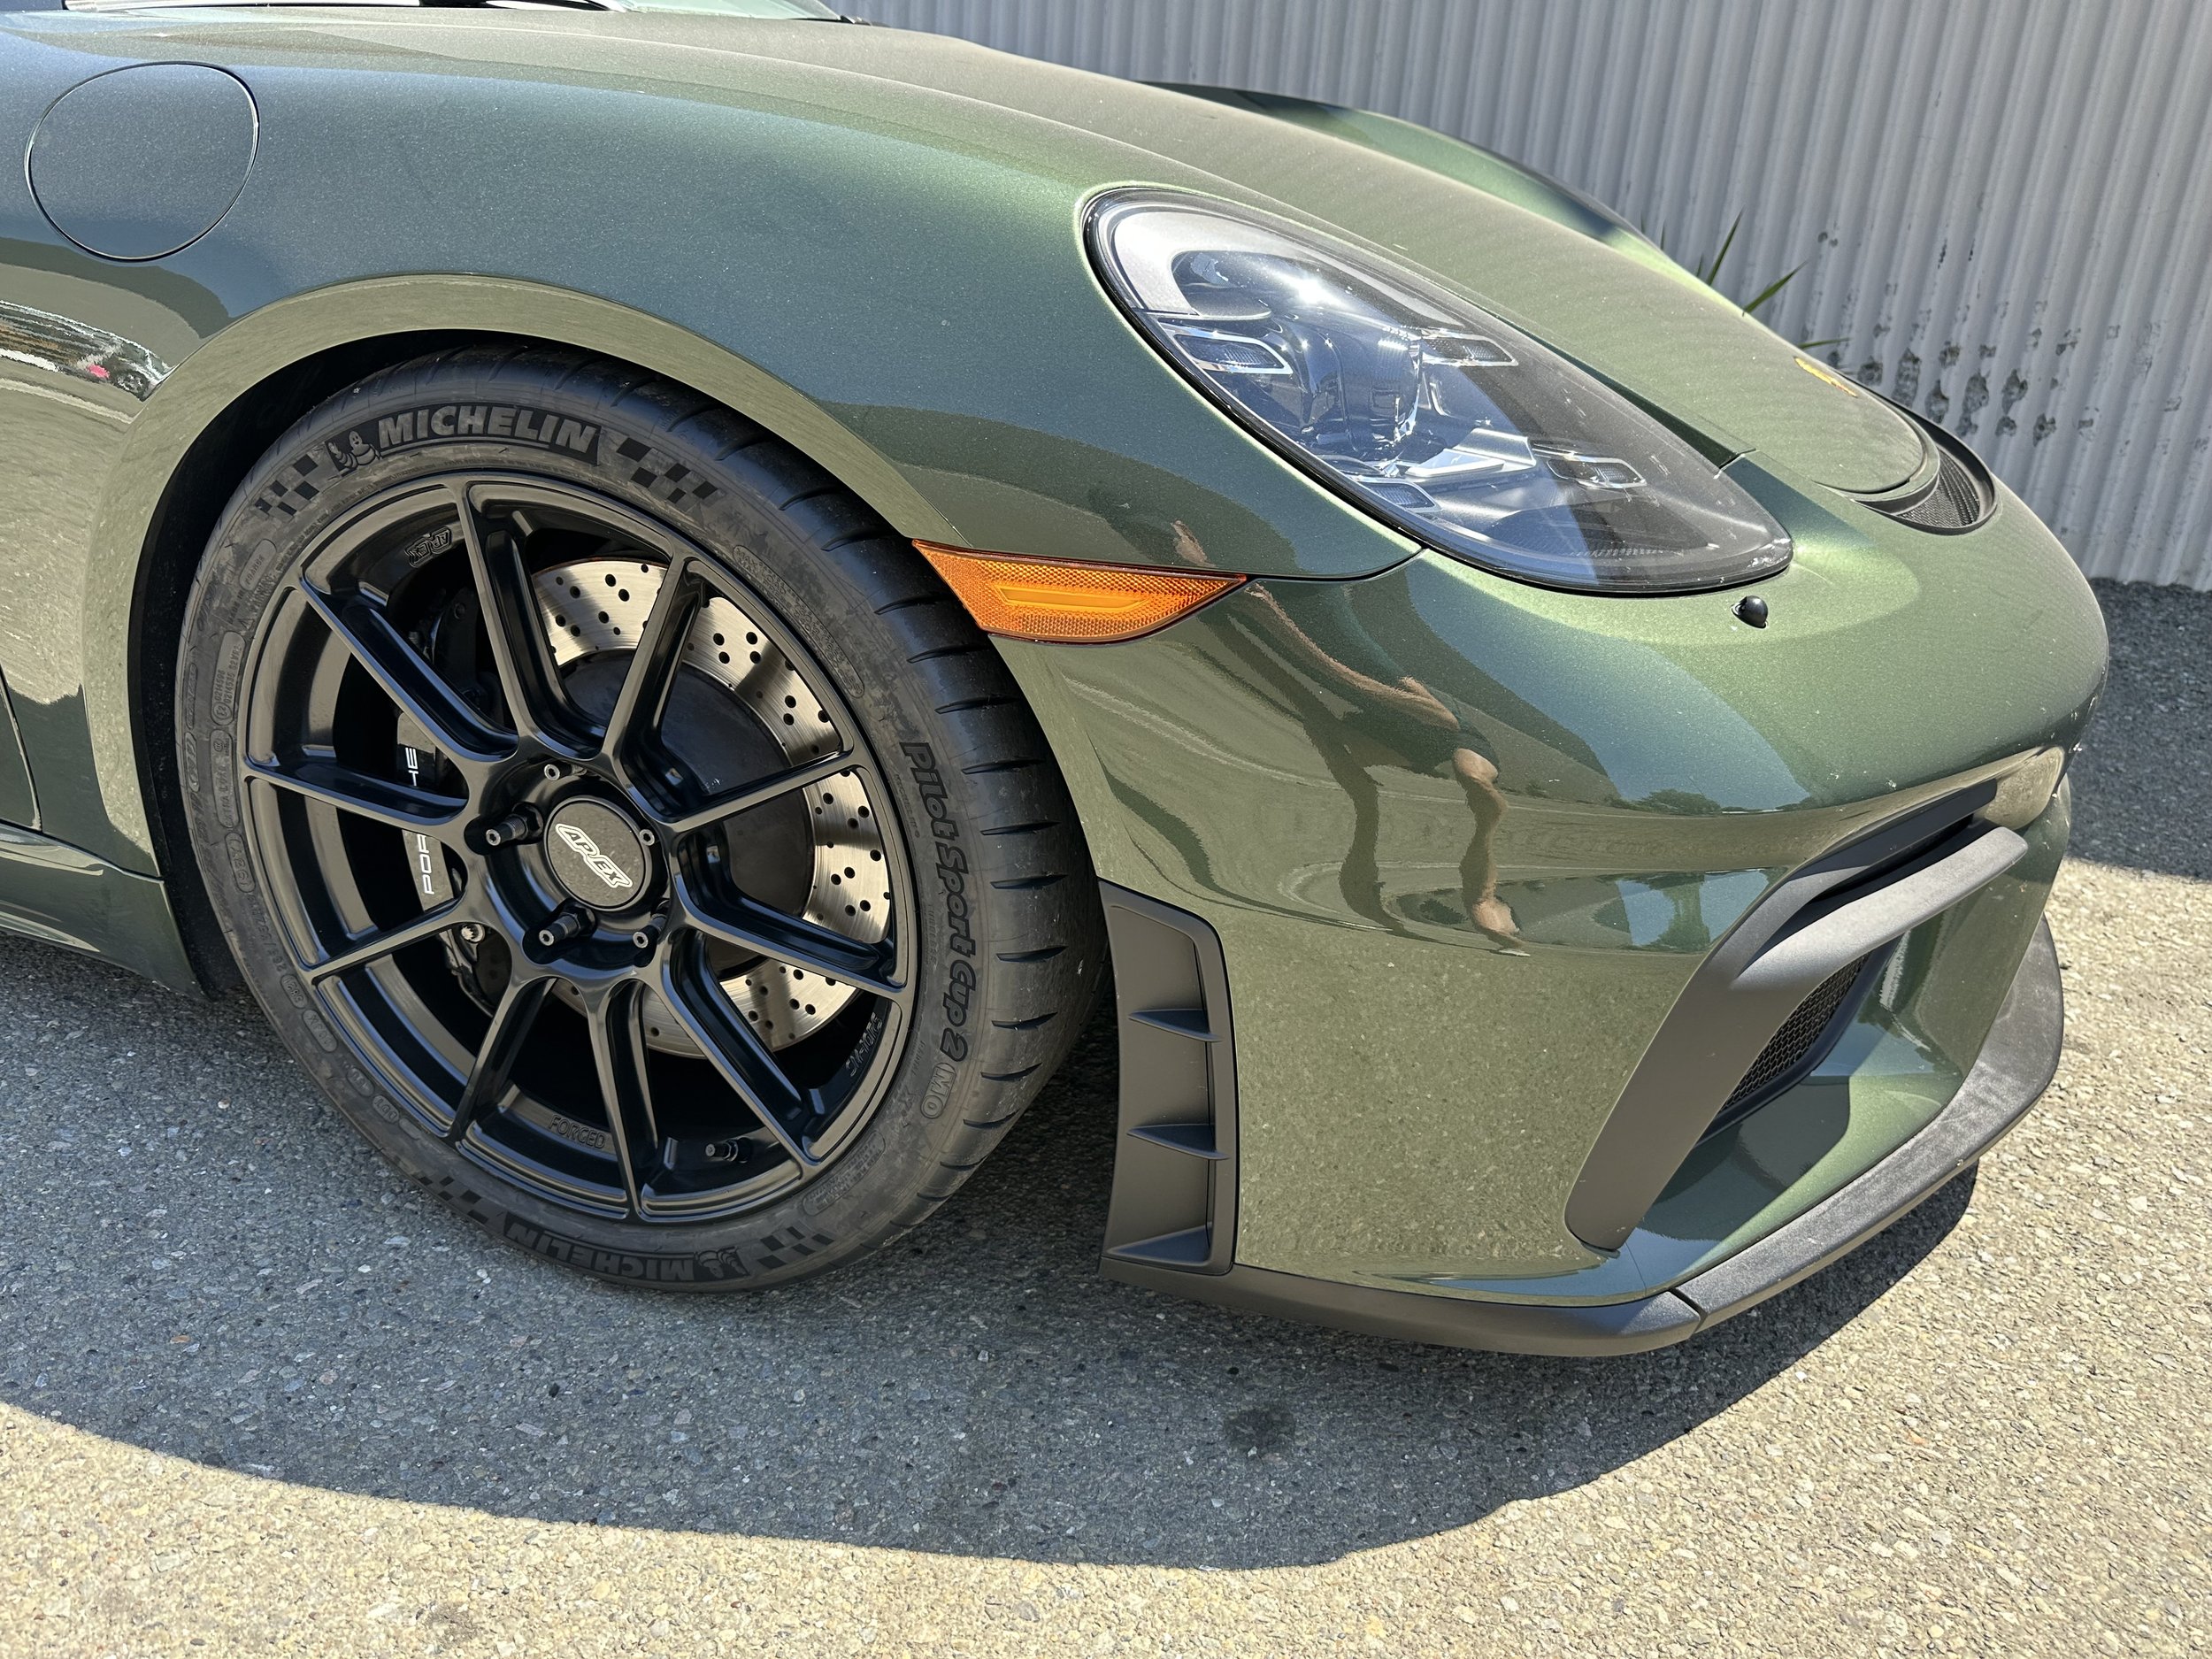
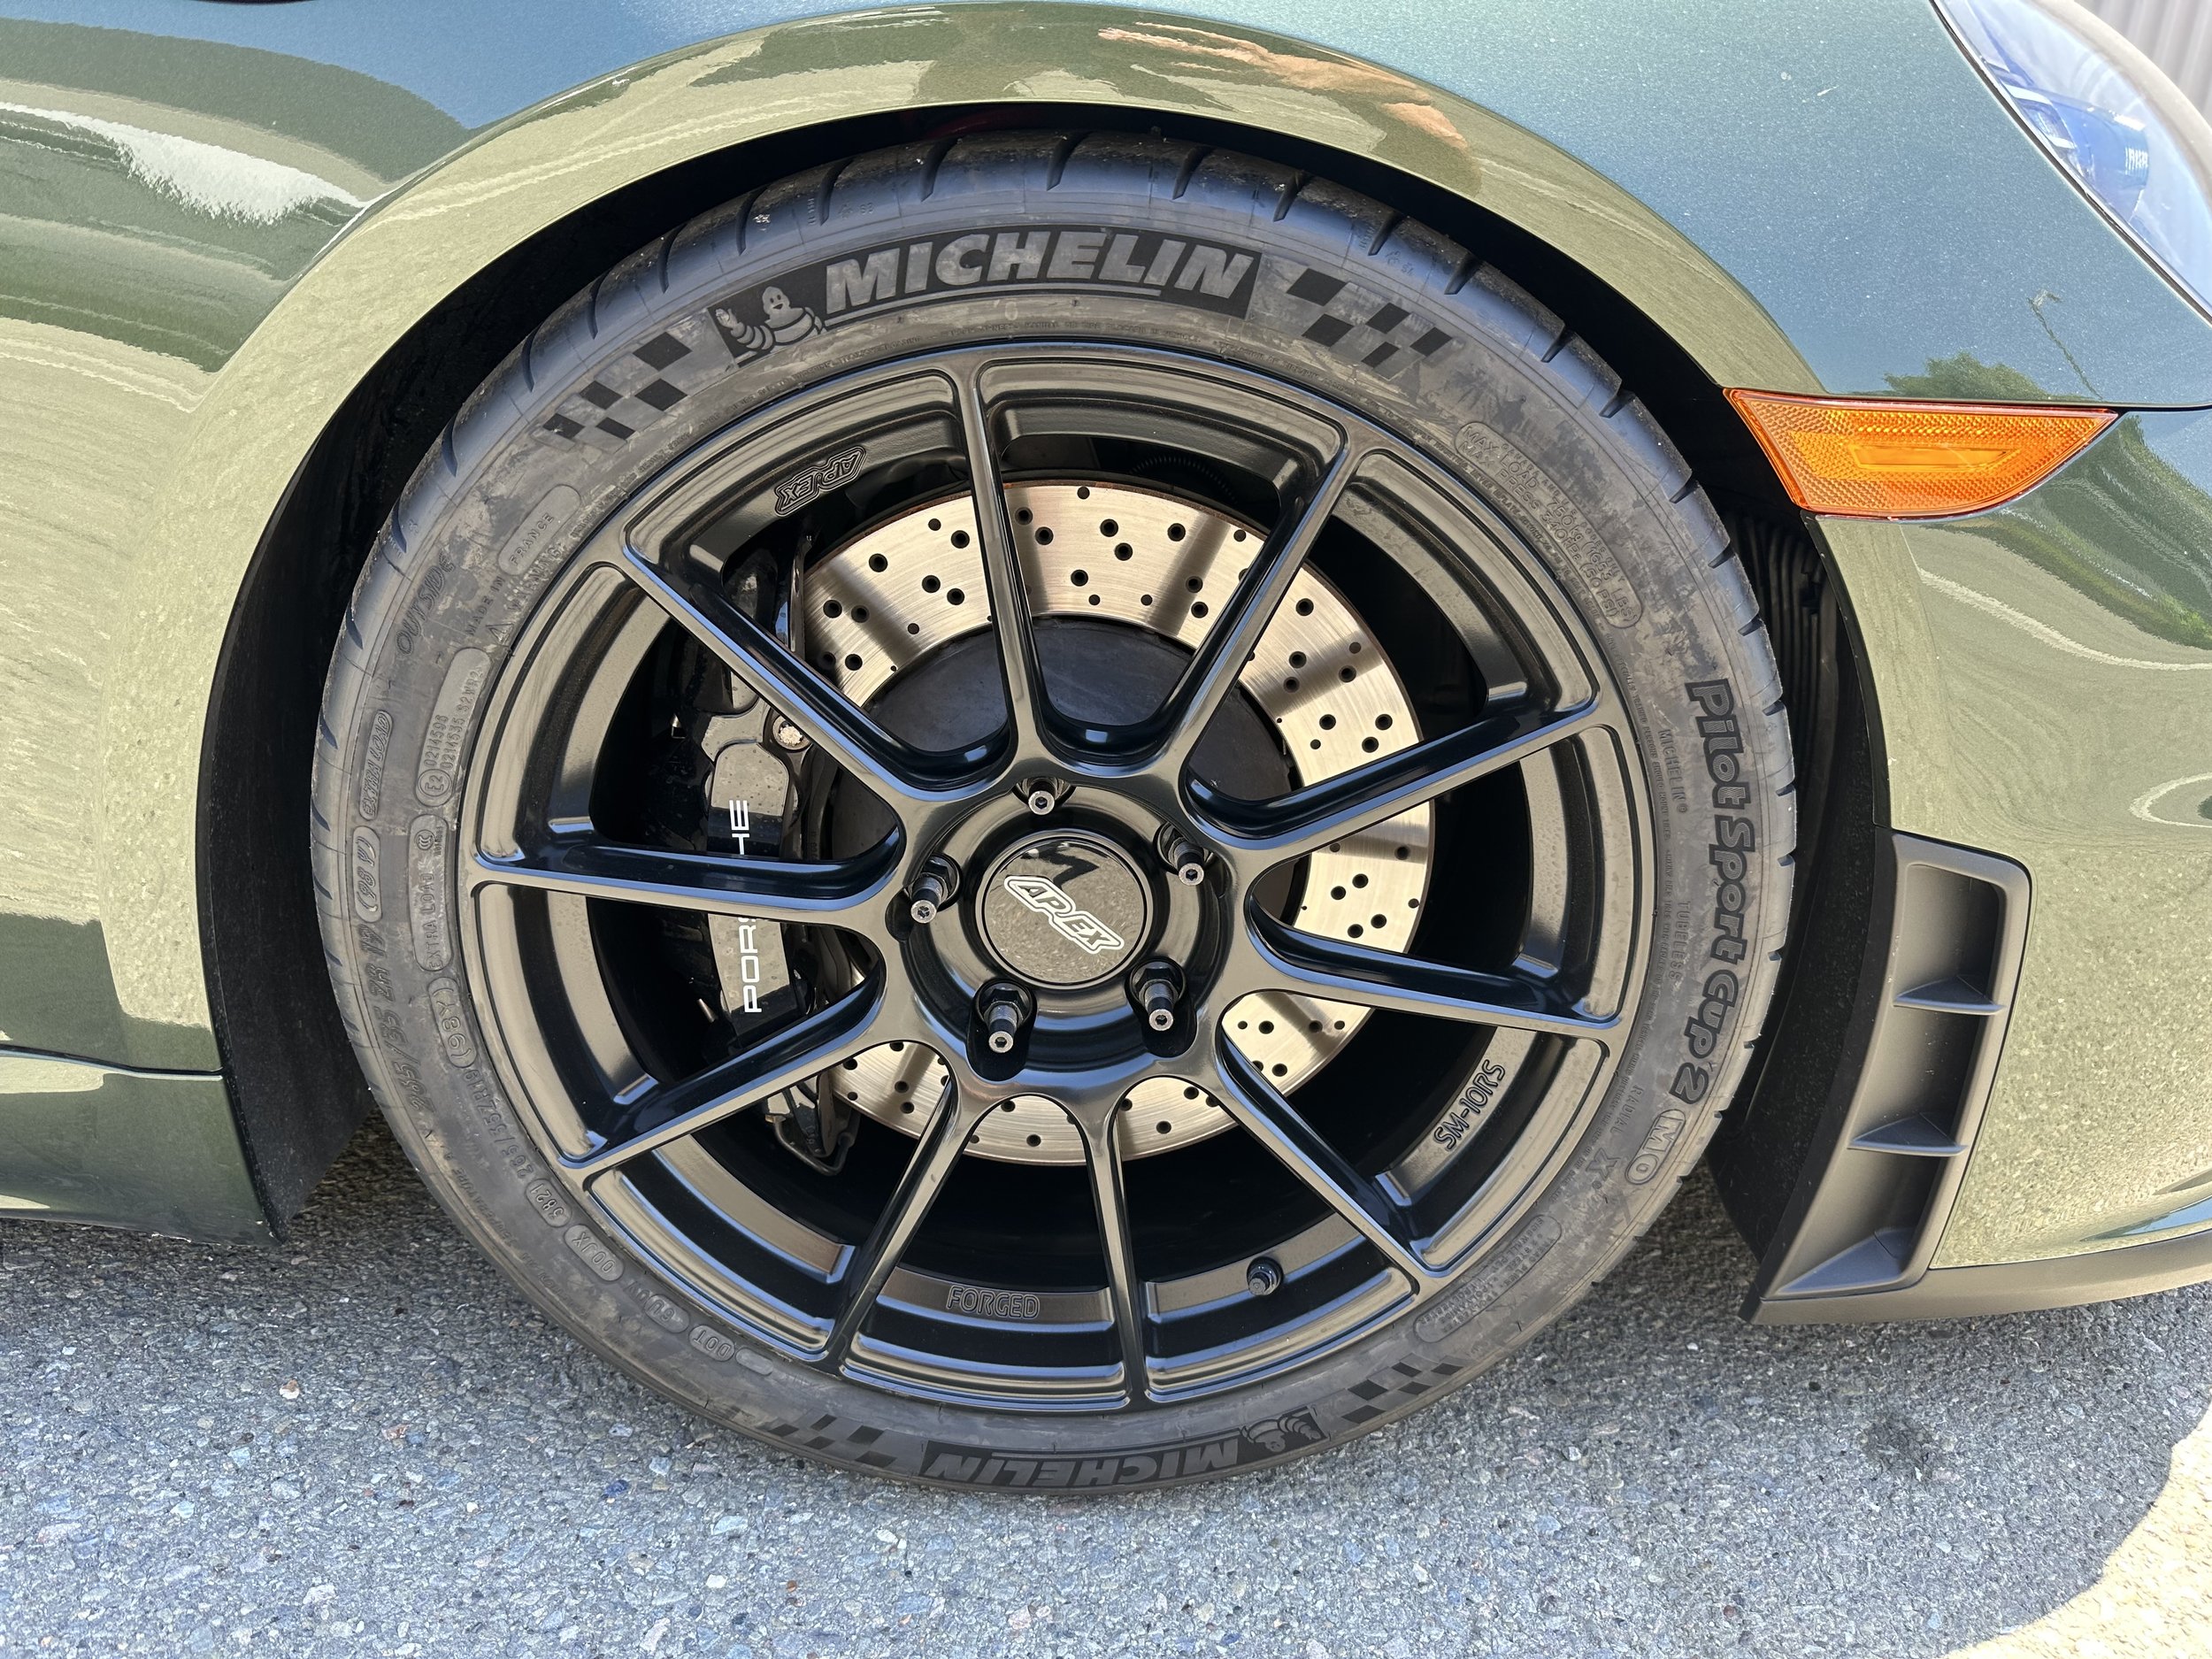
A while back I installed some satin black Apex SM-10RS wheels to accommodate much wider tires (265 in the front and 305 in the rear). I also wanted to drop down to 19” wheels versus 20” to get more sidewall. To fit that I had to modify the suspension. You can read about those projects here. The satin black wheels with Pilot Sport Cup 2 tires are a great dry track setup, but I wanted something for the street that could double as a wet track setup. So I decided to get another set of Apex SM-10RS wheels but this time in satin bronze. The bronze looks great against the Oak Green paint. For street tires I went with Pilot Sport 4 S. Now I can keep the bronze on the car most of the time and swap them out for the track set on dry days. I will store the OEM silver wheels in case the next owner wants to go back to stock. But before I store the wheels perhaps I should burn up the tires doing so autocross or burnouts :)
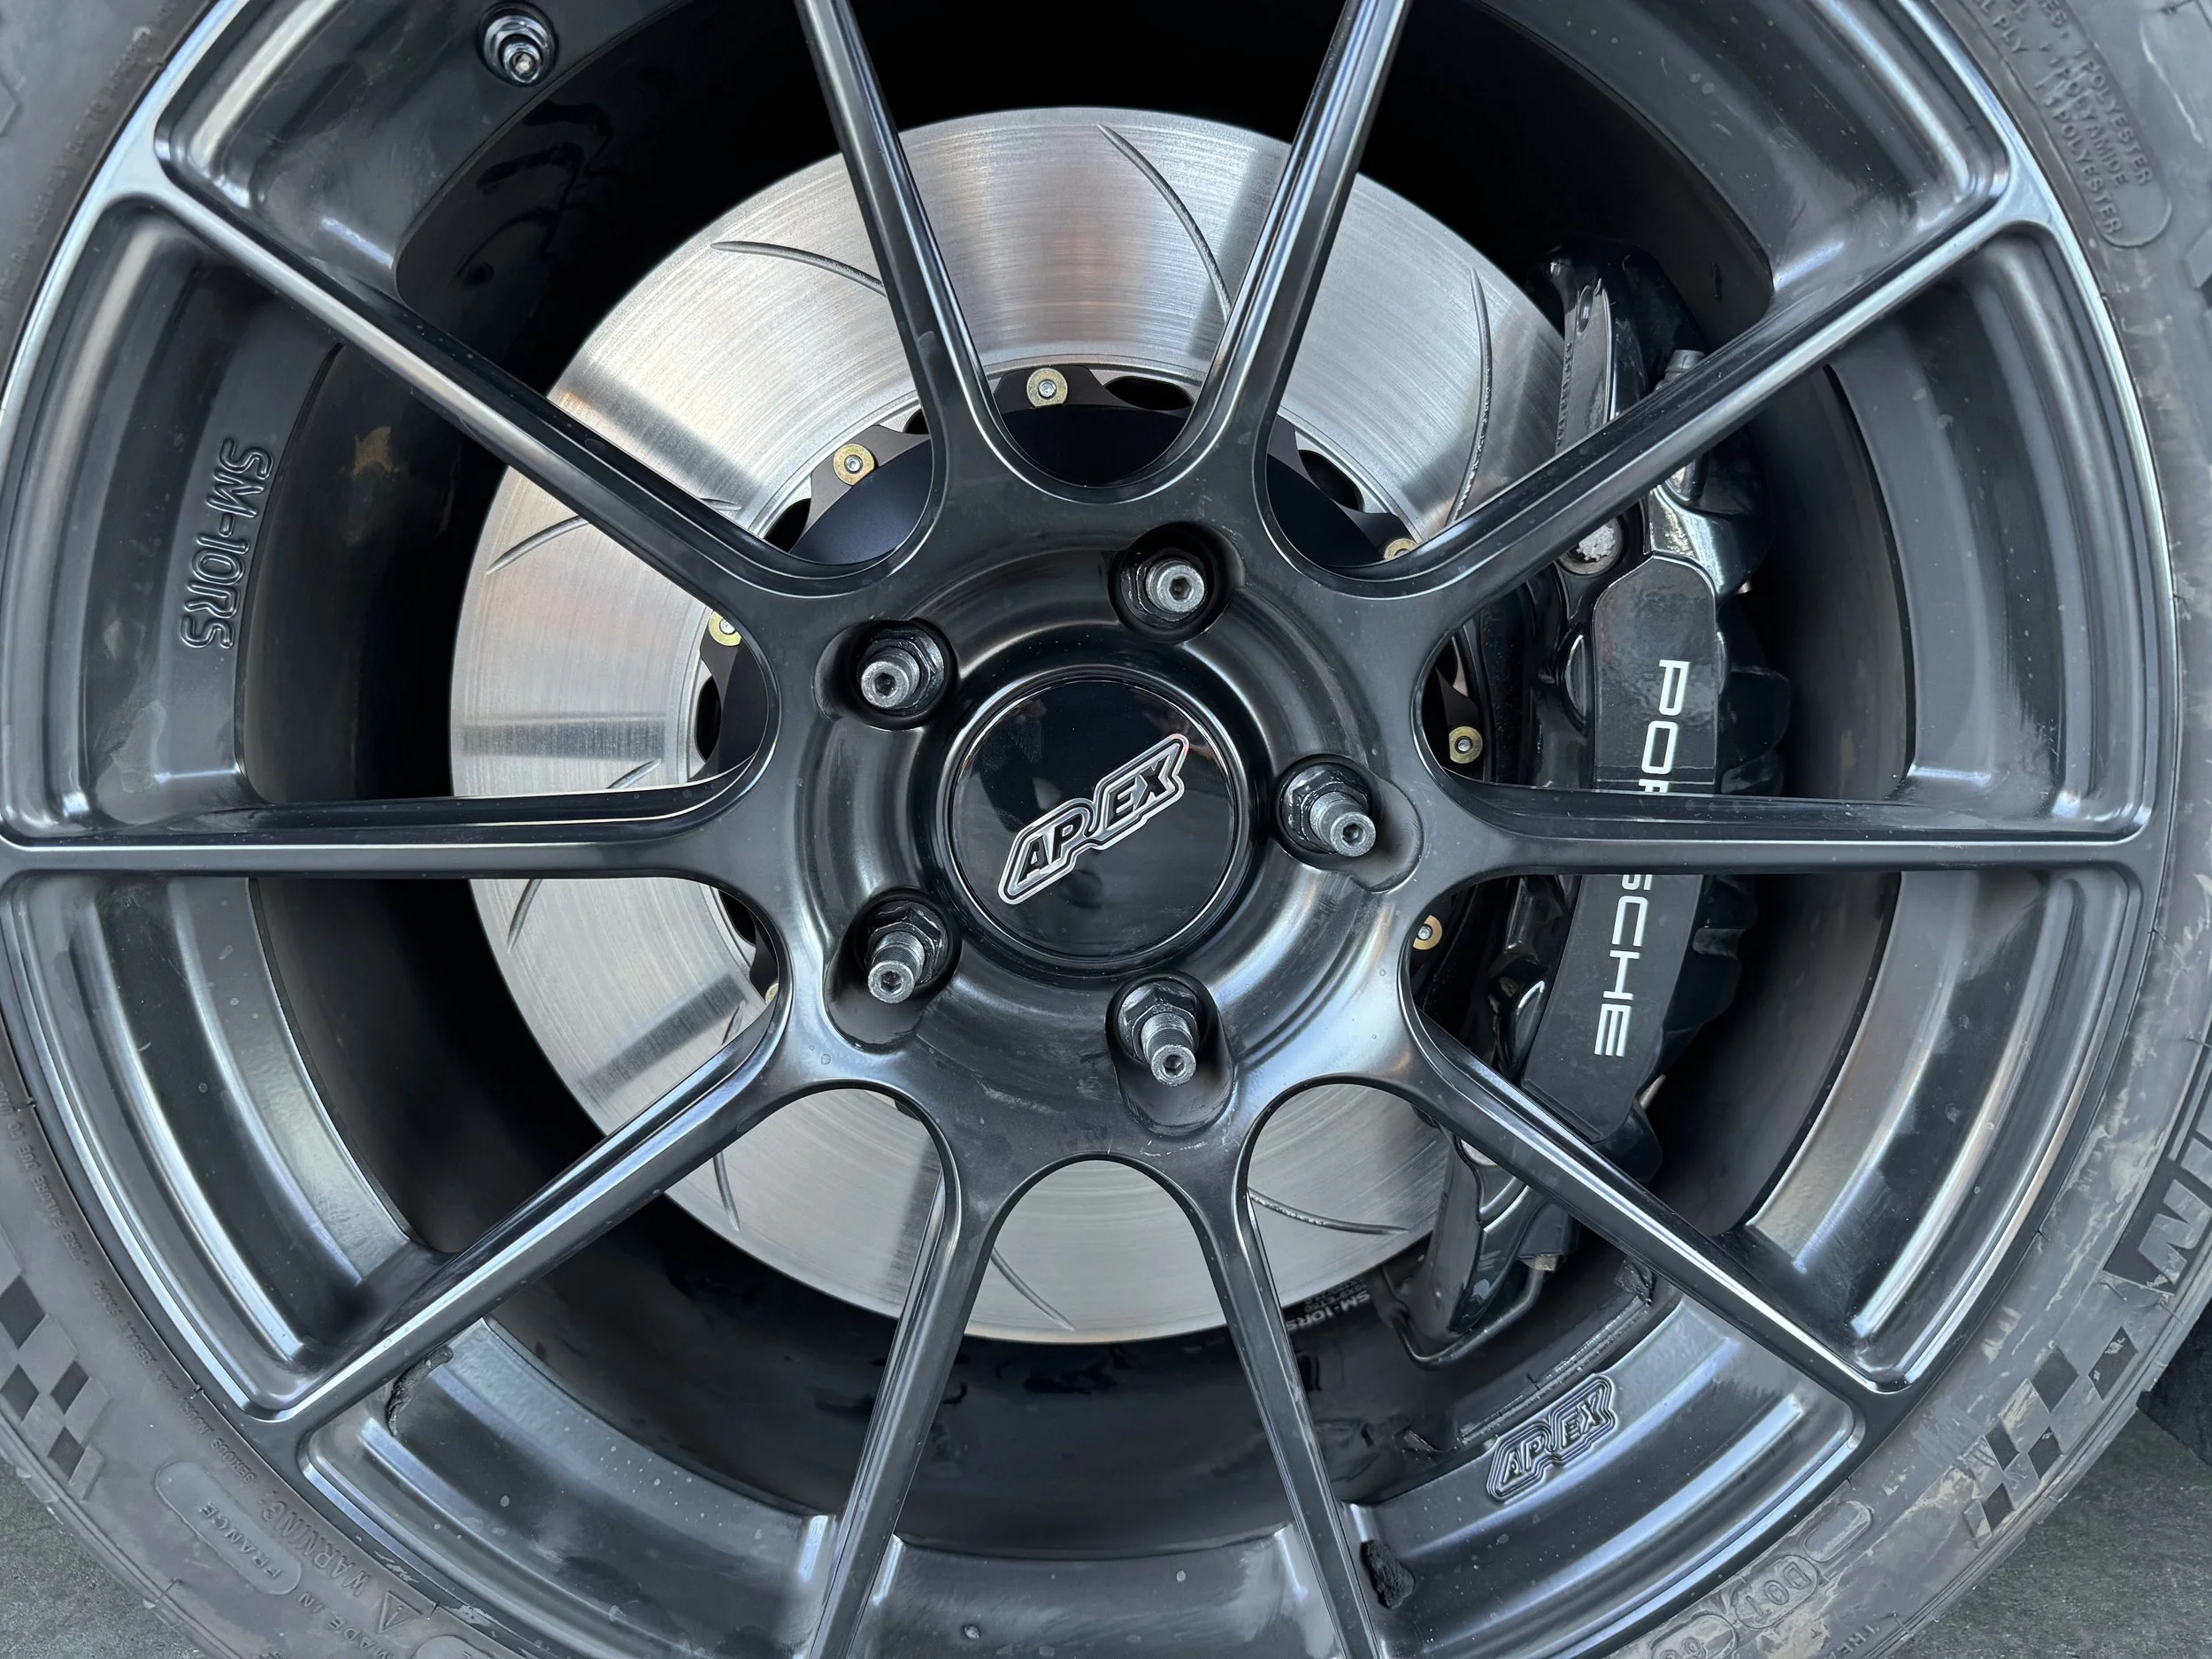
Here is the track setup (since this picture was taken I have removed the center caps because I melted the APEX ones while on the track).

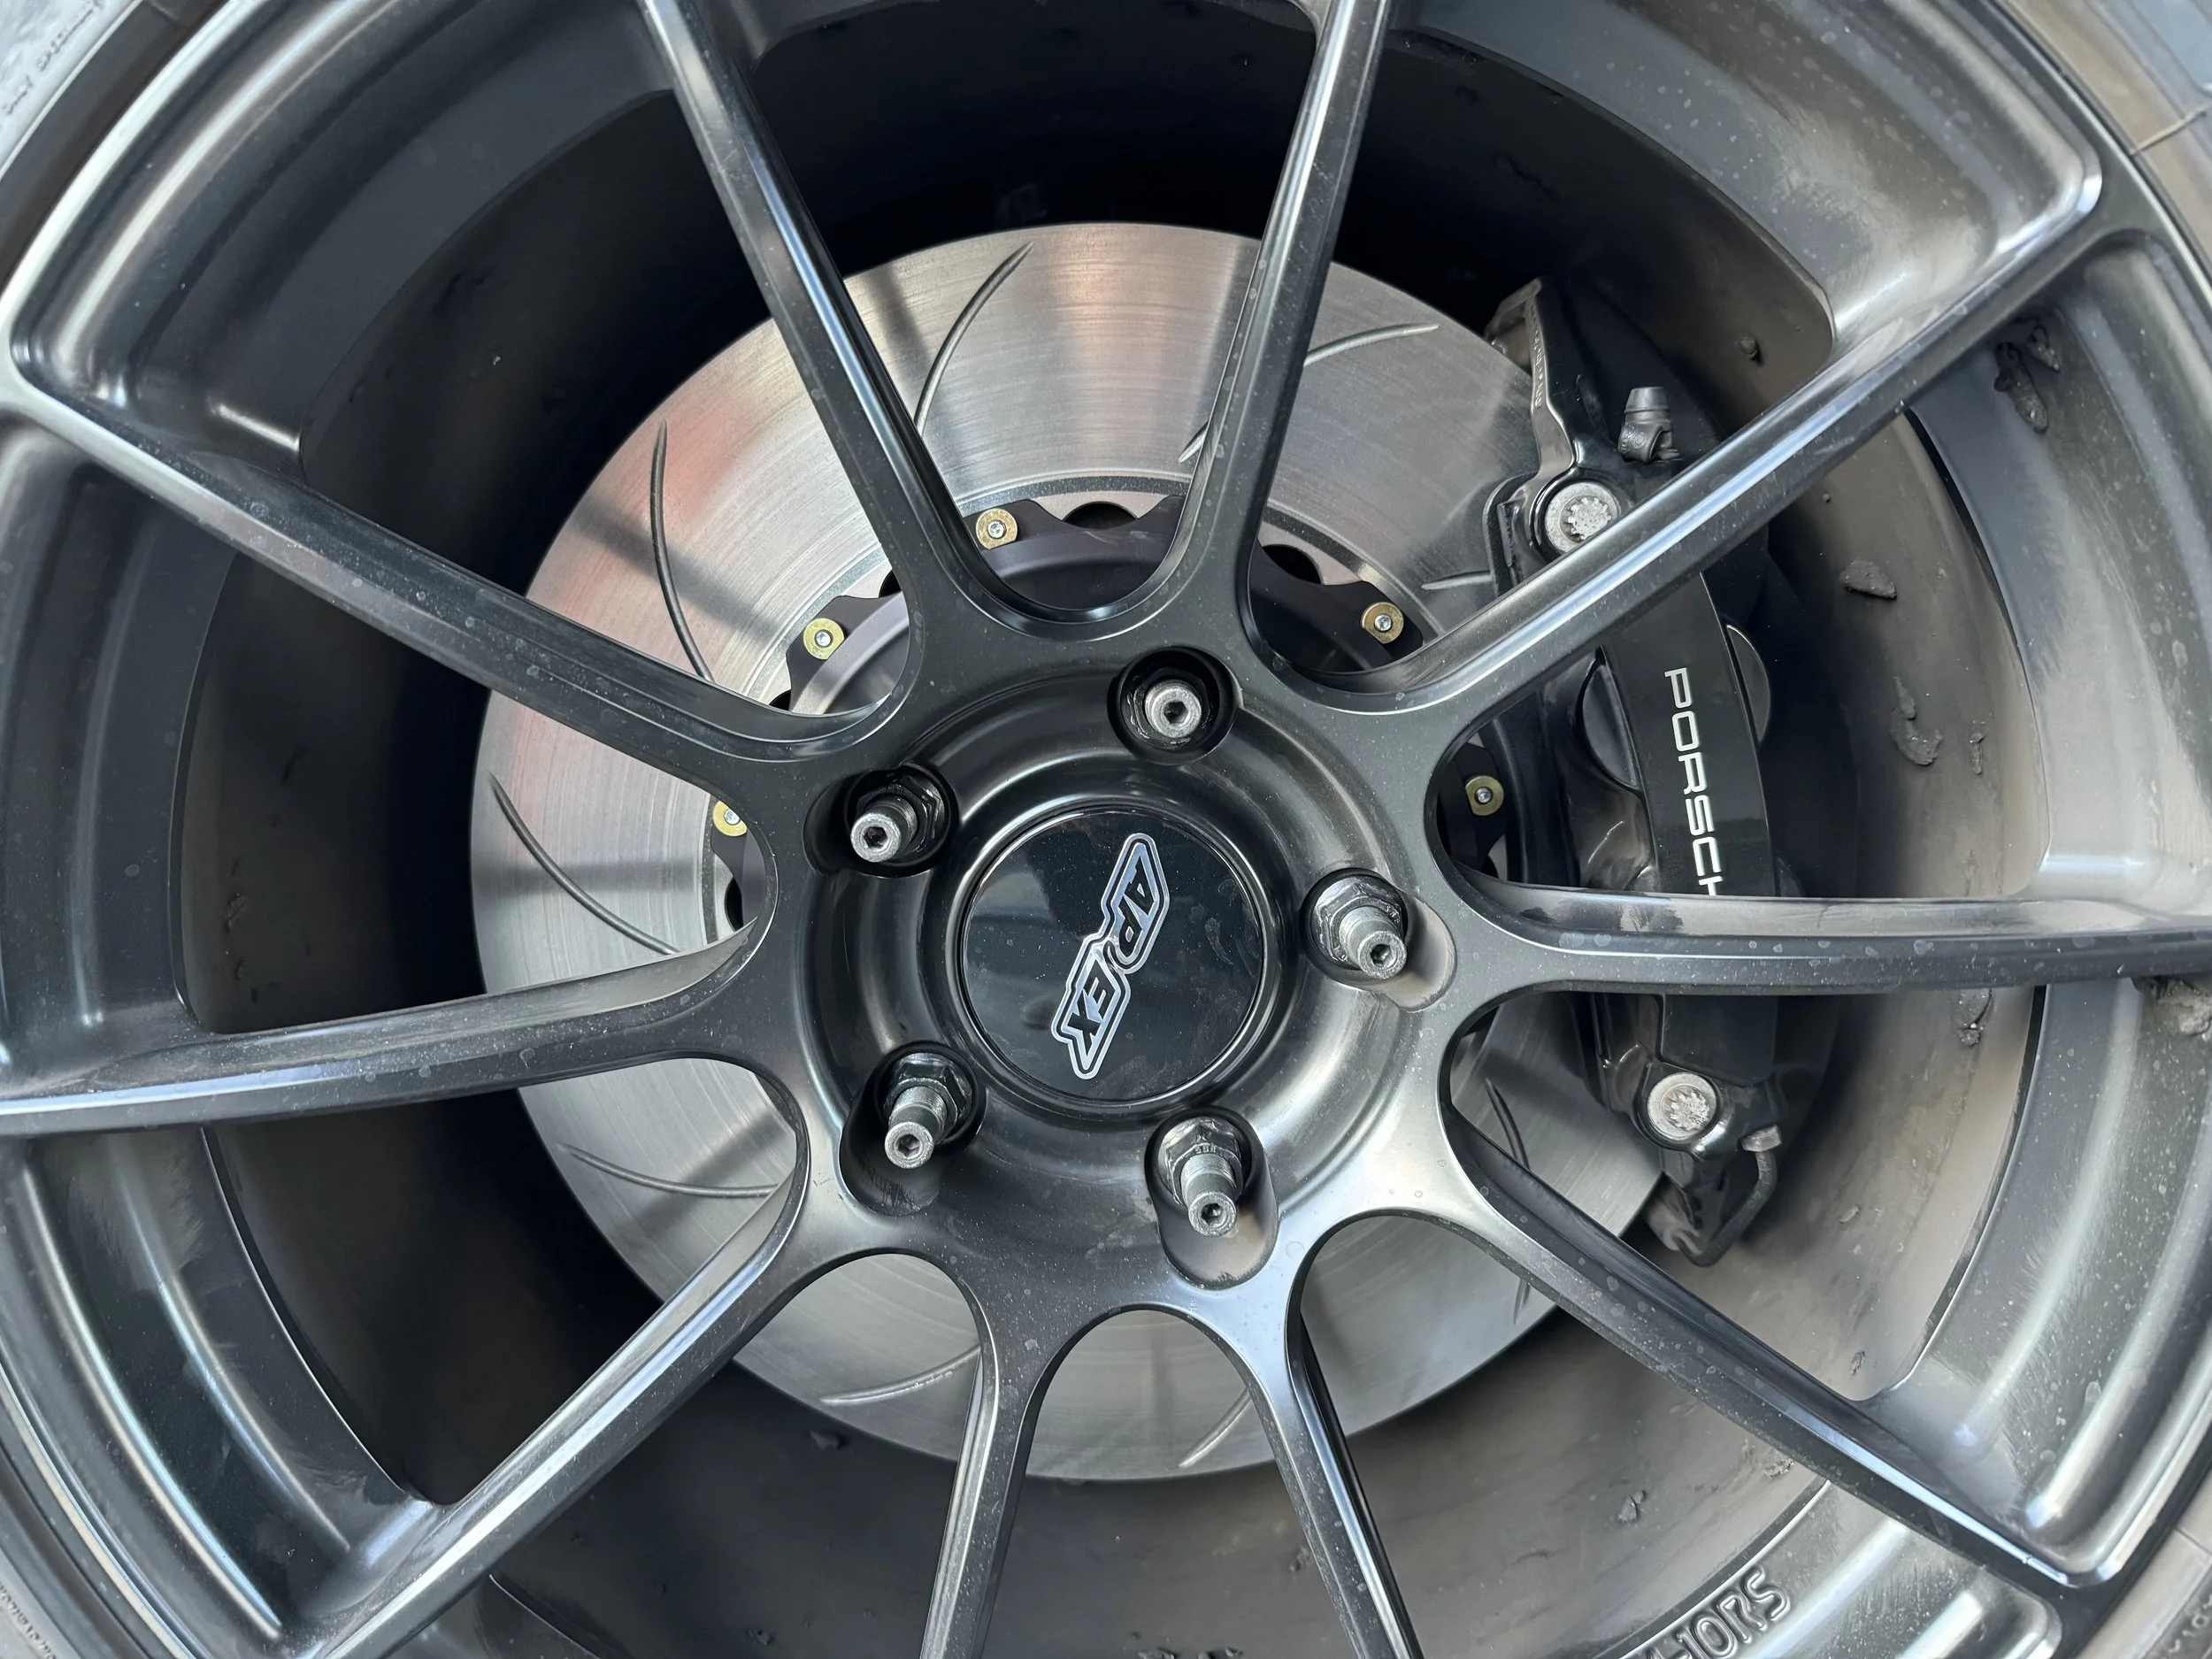
Here is the street setup (I put in OEM stain black GT4 center caps with I think is an interesting contrast).

Ride report: Its hard to know if the street tires are the sole contributor to this but the GT4 feels softer and more forgiving with these street tires compared to the track tires. That would make sense but it’s hard for me to prove it. I would guess that the Pilot Sport 4S has a softer sidewall. It certainly has more tread than the track tires. The compound is also different than the track tires, so my hypothesis is that the combination of these things creates a softer, tamer, more forgiving ride compared to the Pilot Sport Cup 2. So far I am very happy with this street setup just as I am happy with my track setup.

GT4 Build - LWBS Mods

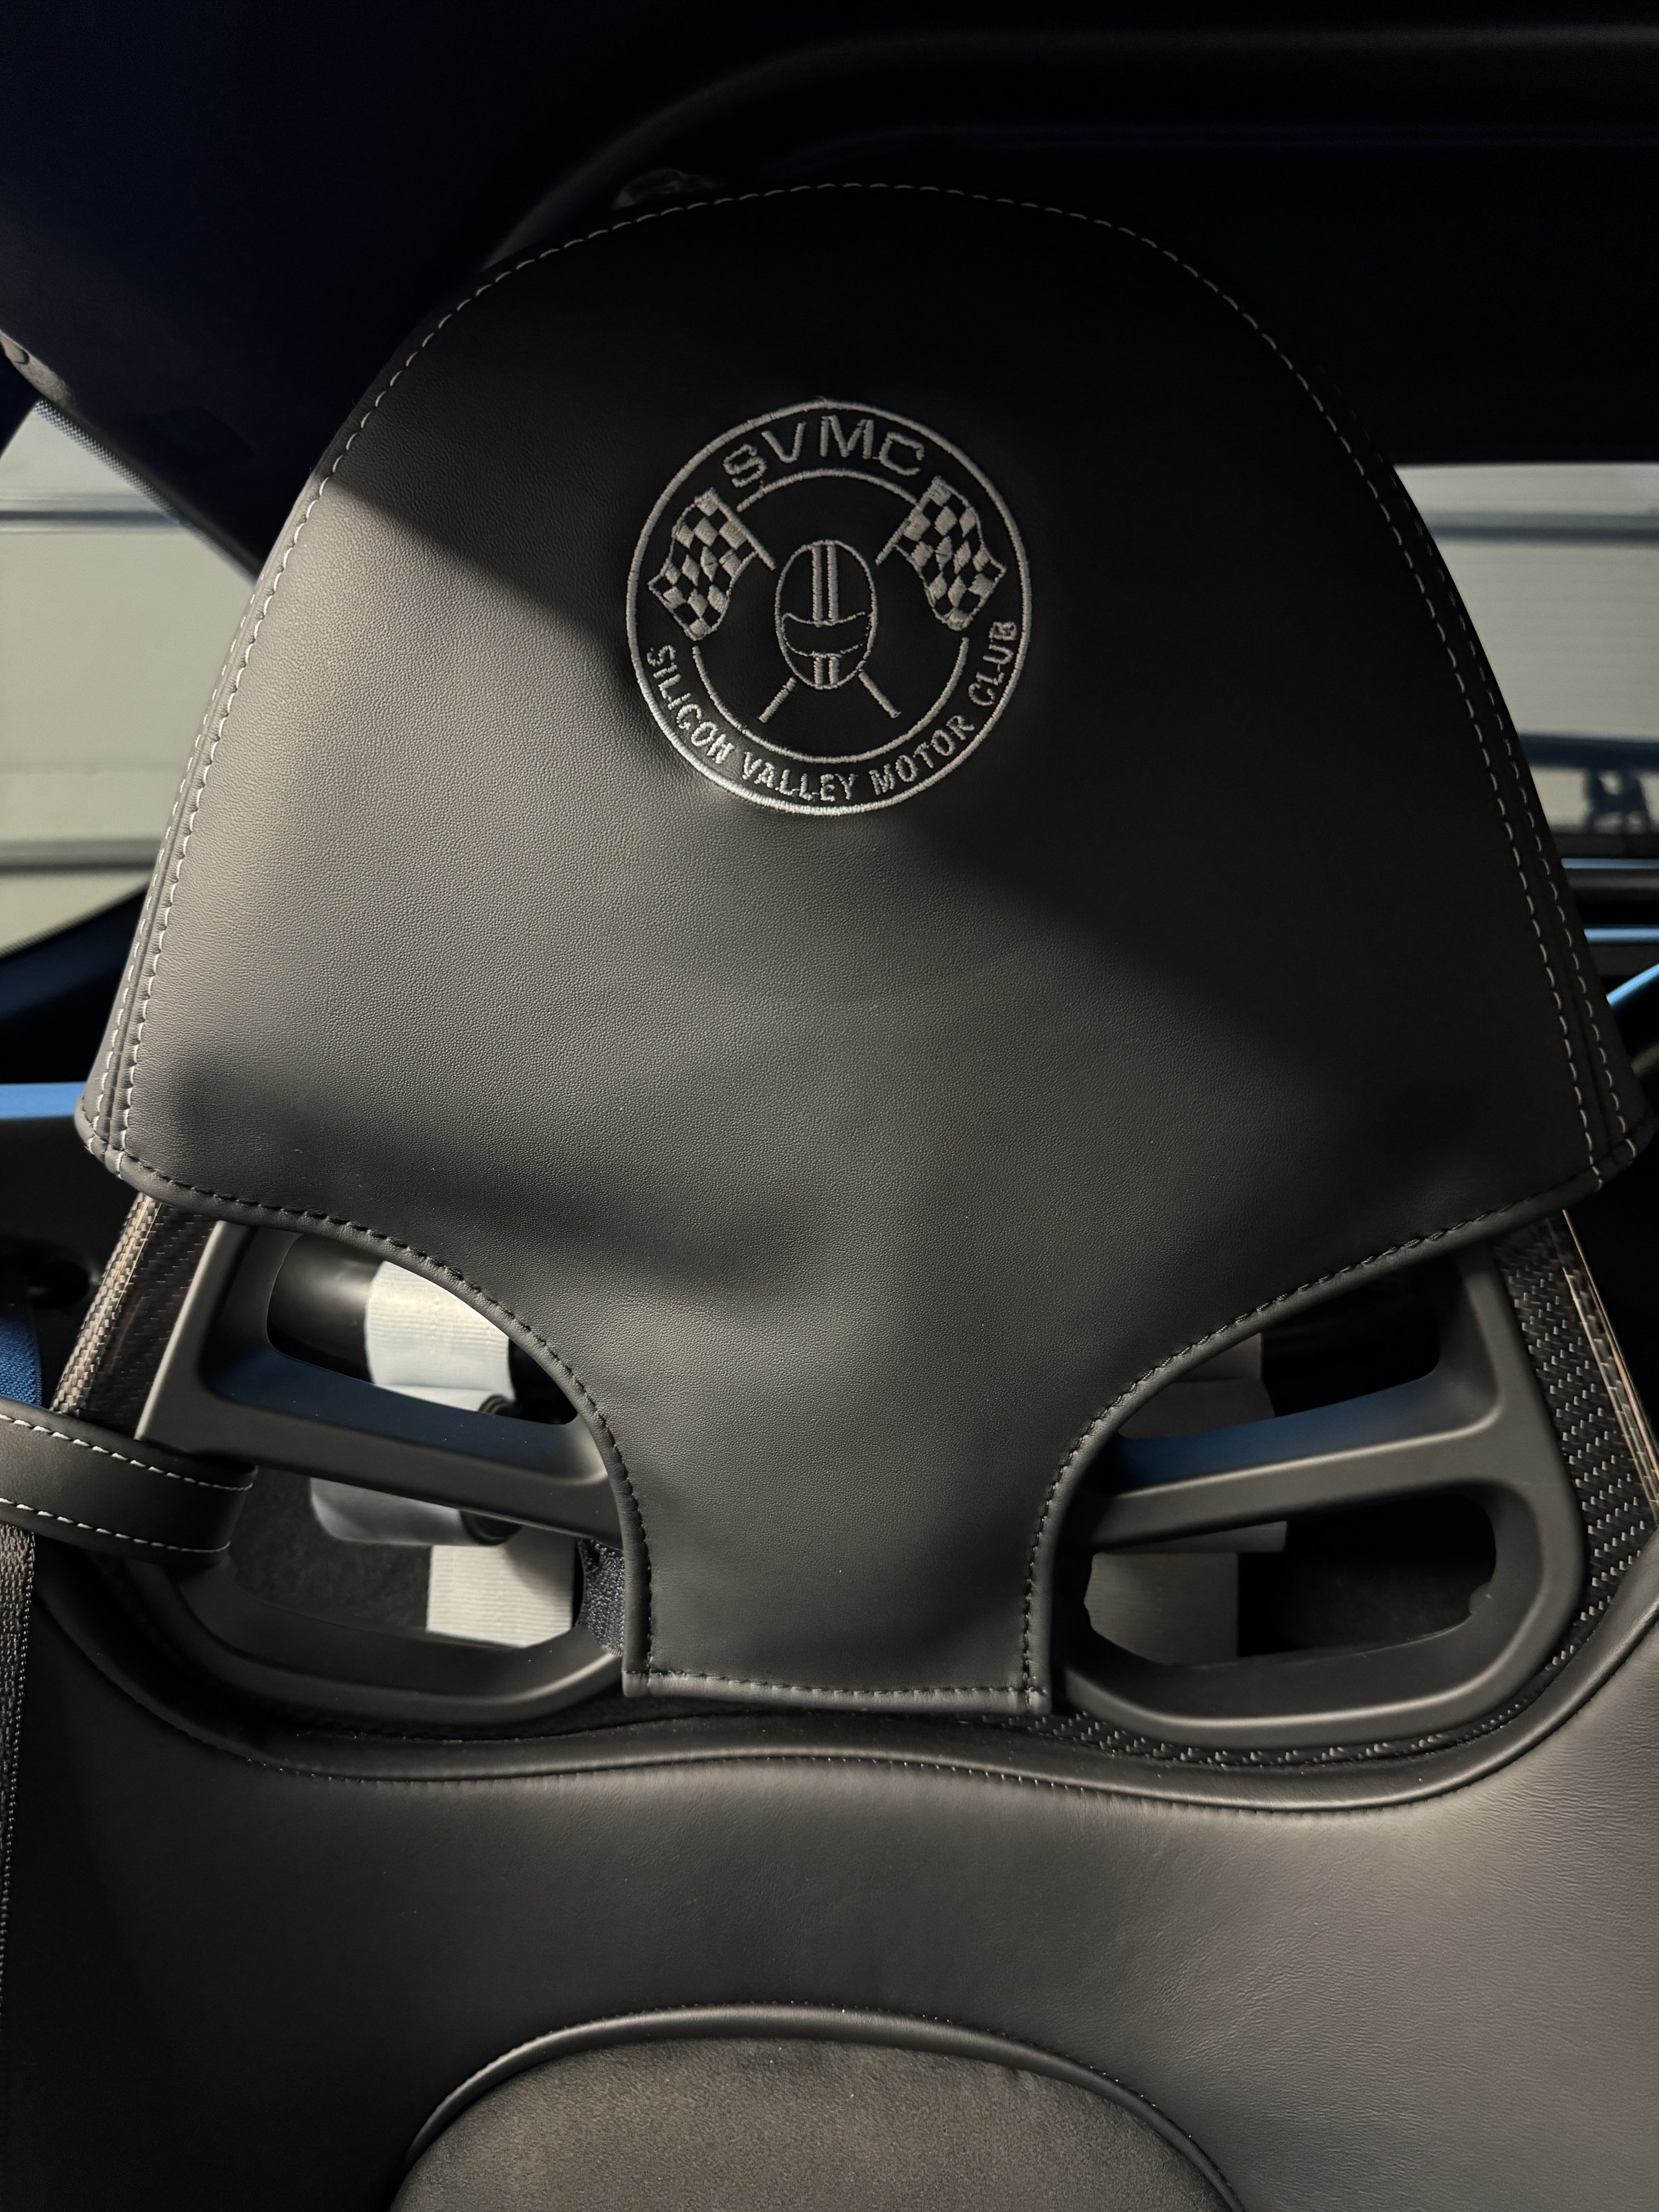
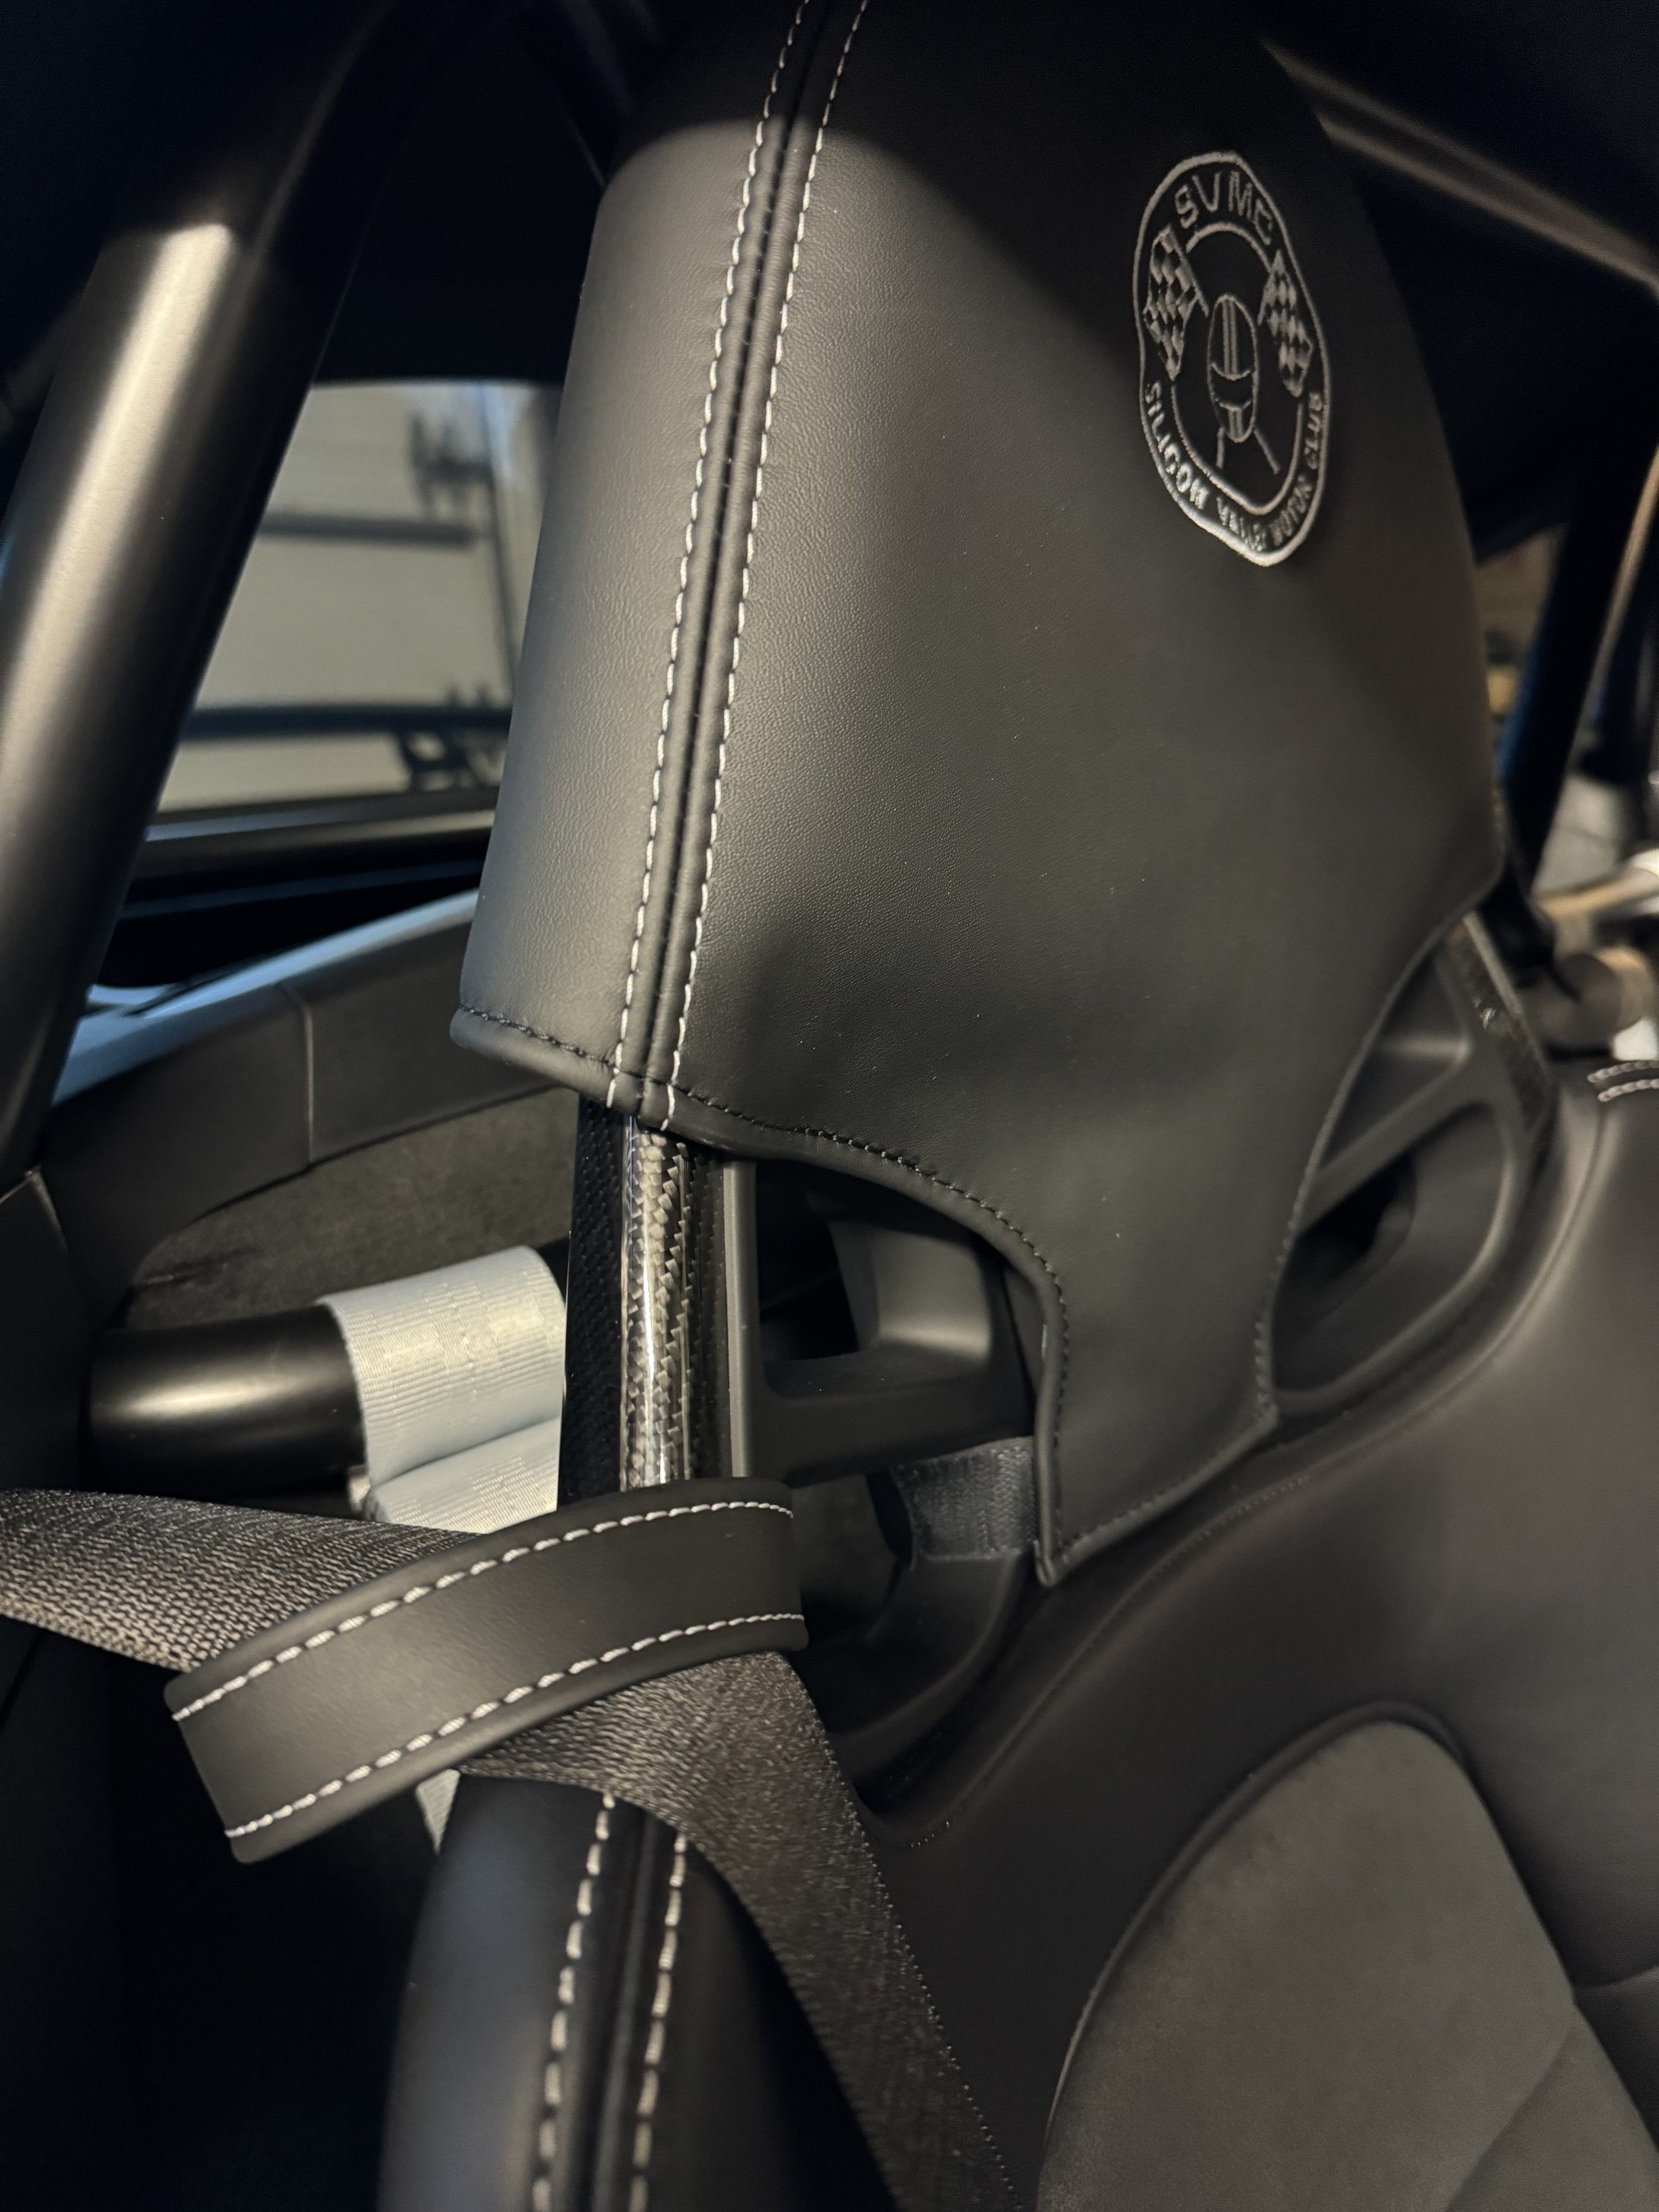
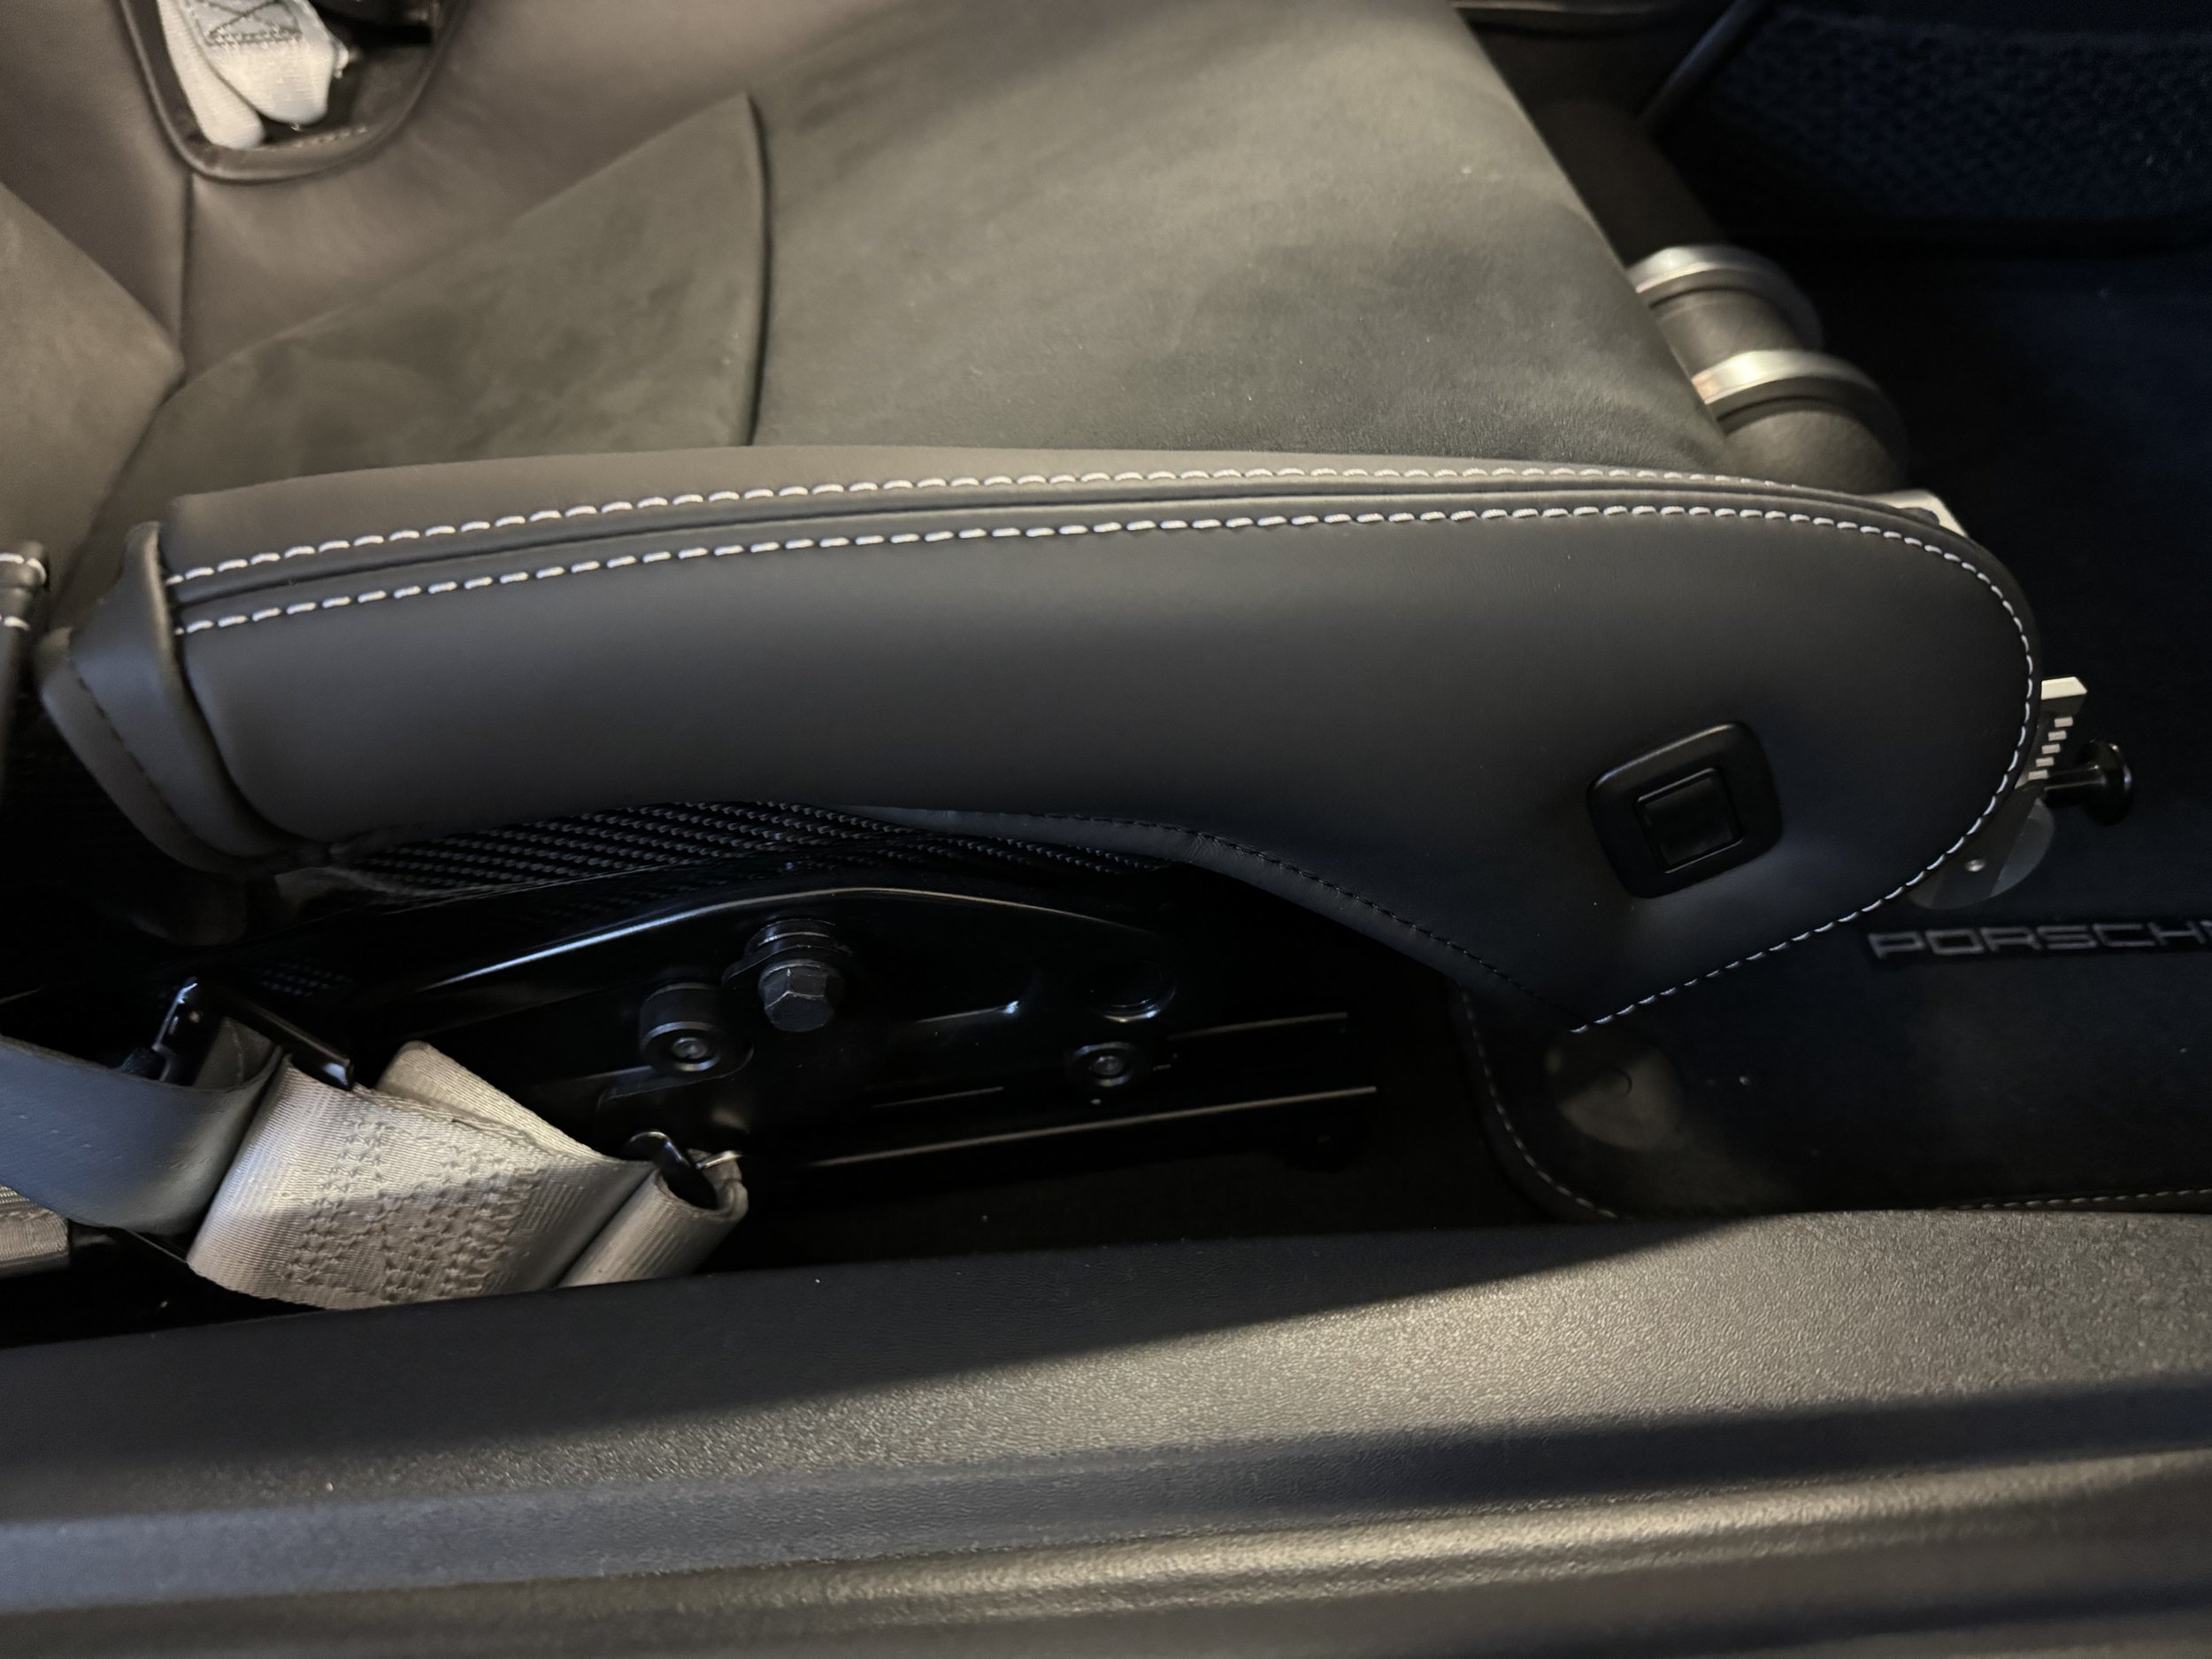
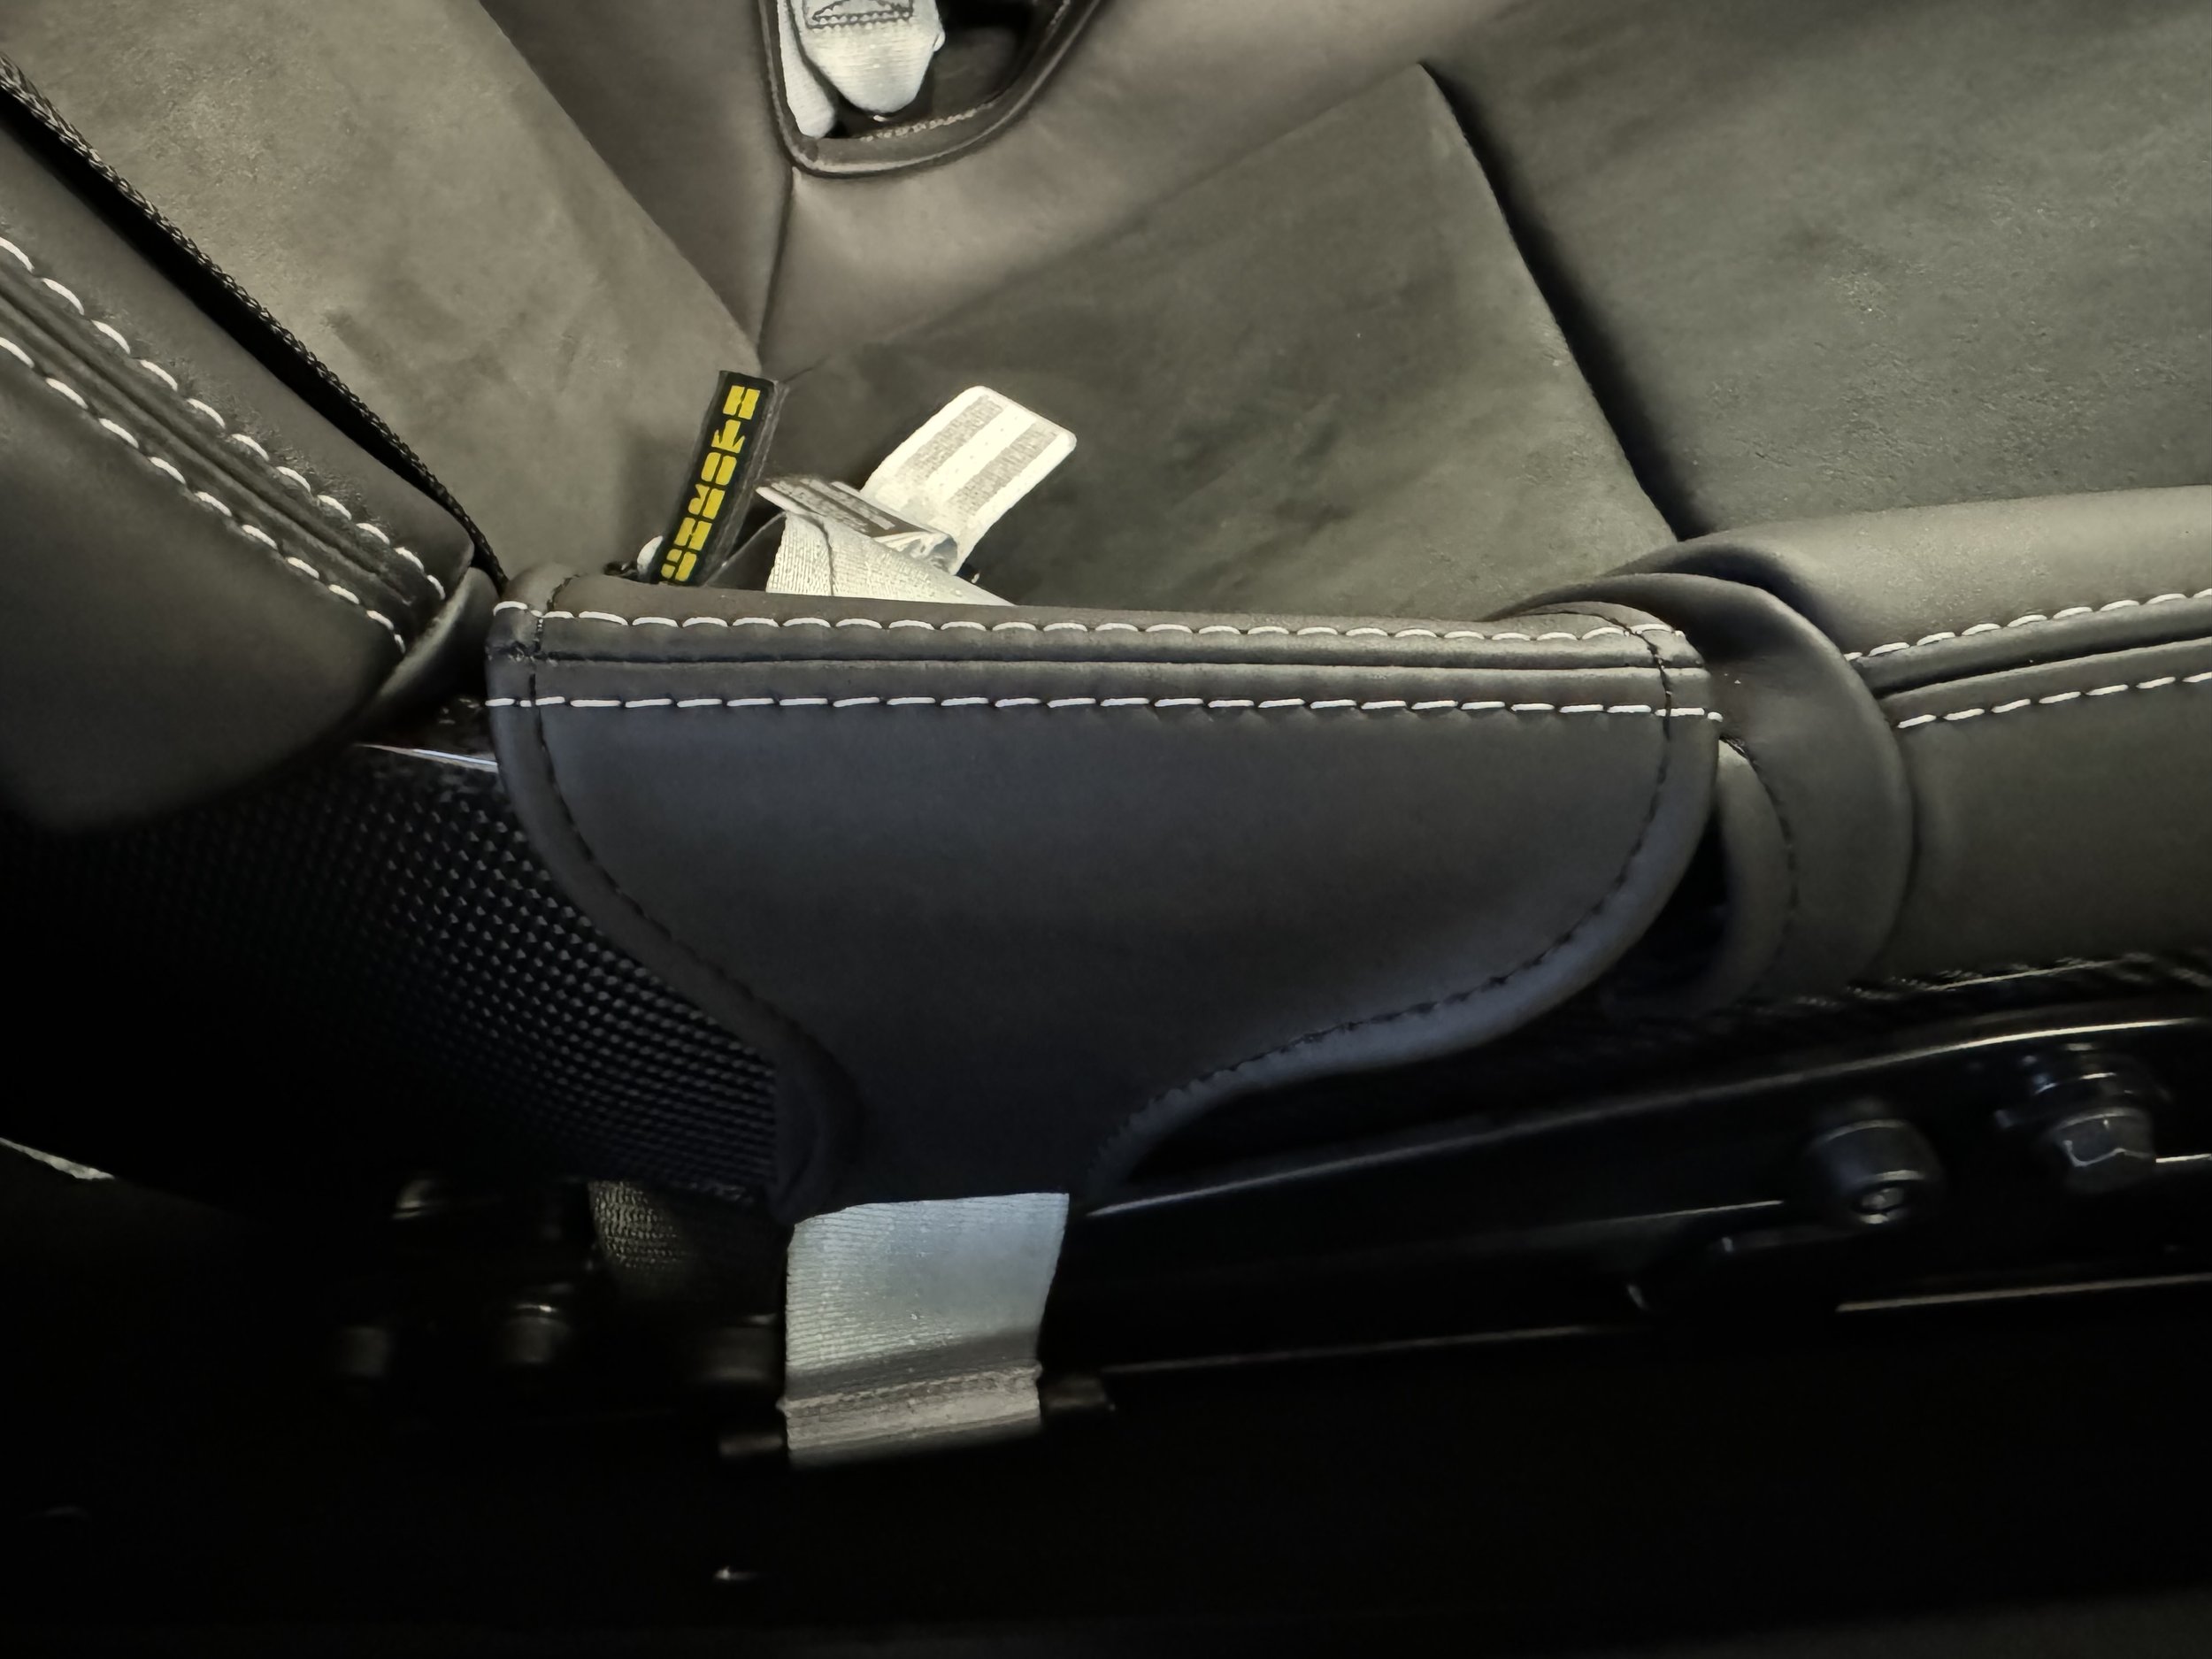
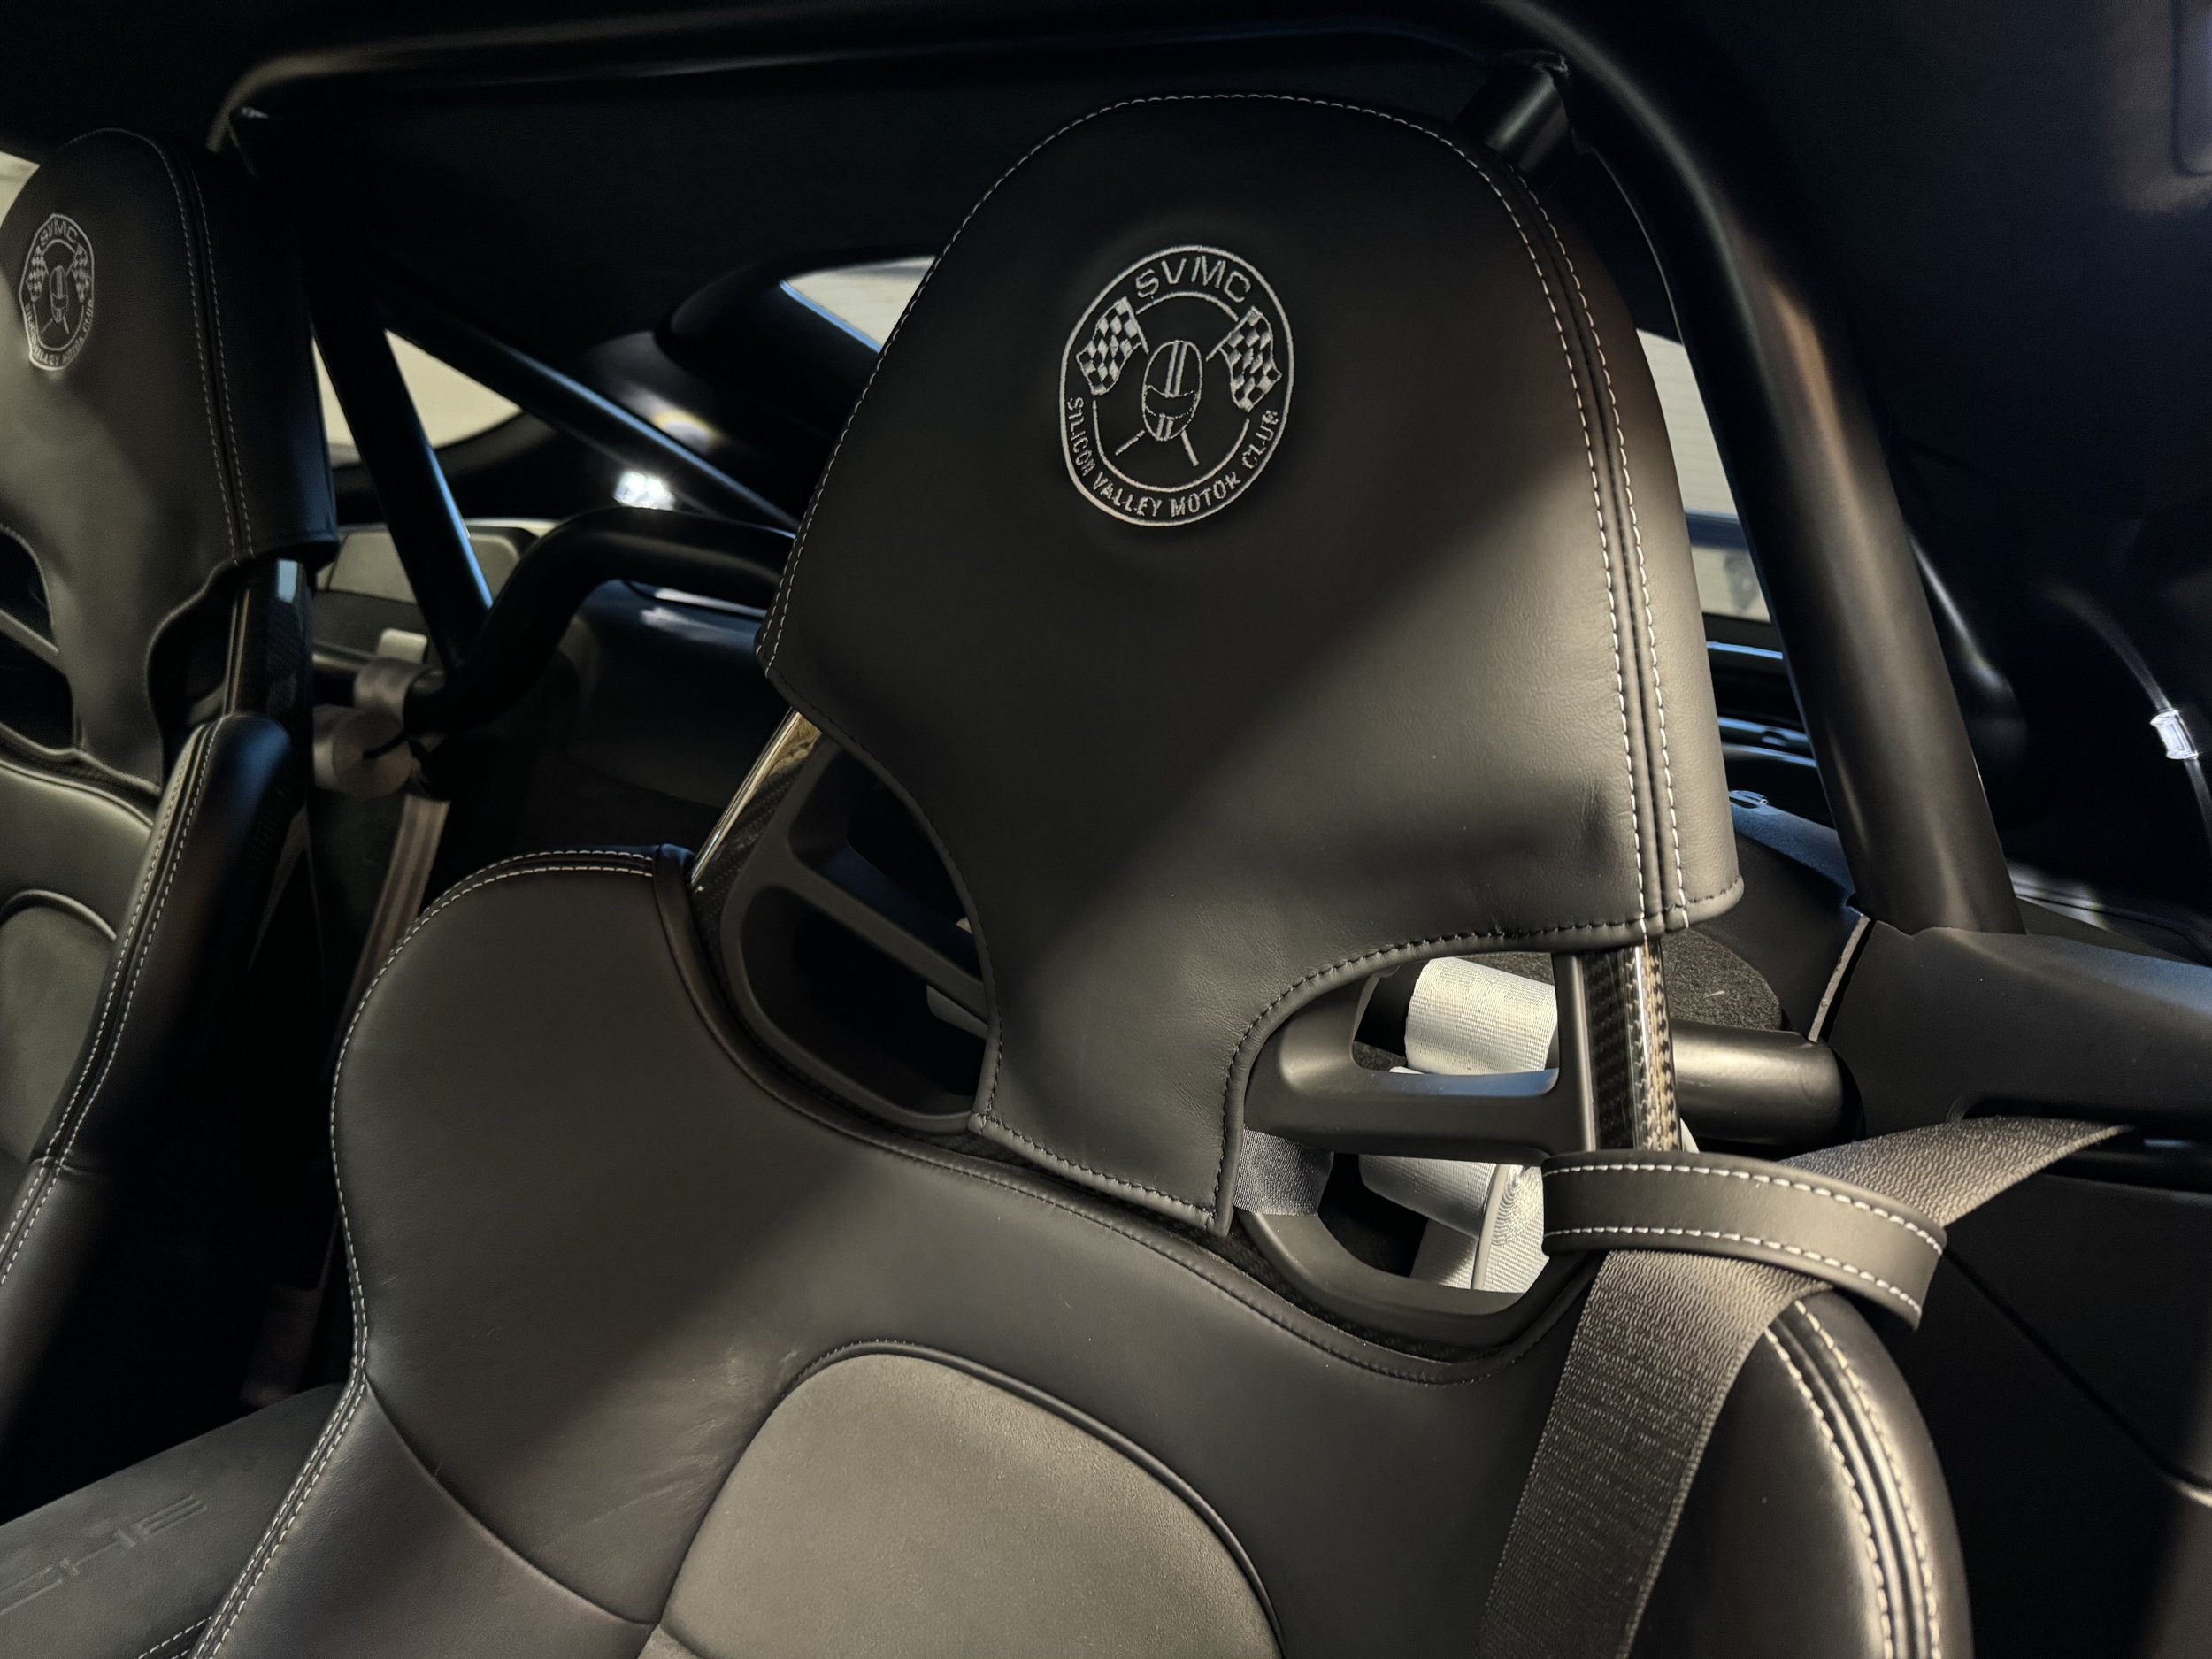
I, like many, love the Porsche LWBS. The only problem is that they are hard to get in and out. That is a small price to pay for nice carbon fixed back racing seats. But the issue is that you slowly damage the bolster leather of the seats and if you need to replace that later it is very expensive. The solve is to get leather covers of the bolsters from EdGuard. I decided to keep the GT Silver stitching theme and to add a couple more of EdGuard’s products. I picked up some seat belt loops to hold the belts in place as well as a headrest cover. I noticed when on the track with a helmet and HANS device you rub the headrest leather. EdGuard makes a short and full cover offering and given the car’s track us I went with the full covering. While I was at it I had him embroider the SVMC logo into the headrest cover also in GT Silver. Installation was easy (about 15 minutes per side) just follow EdGuard’s instructions carefully.

If you have haven’t read my other blog post, I also installed 6 point racing harnesses while keeping the street 3 point belts. To get the 6 points installed I needed a sub bar, I had to cut a hole in the bottom of the carbon fiber shell on the passenger seat, and modify the passenger seat cushion to create a slit for the sub belts to pass through. Read the write up here.

This completes my seat mods…..time to hit the track.

GT4 Build - Phone and Catalyst Mount

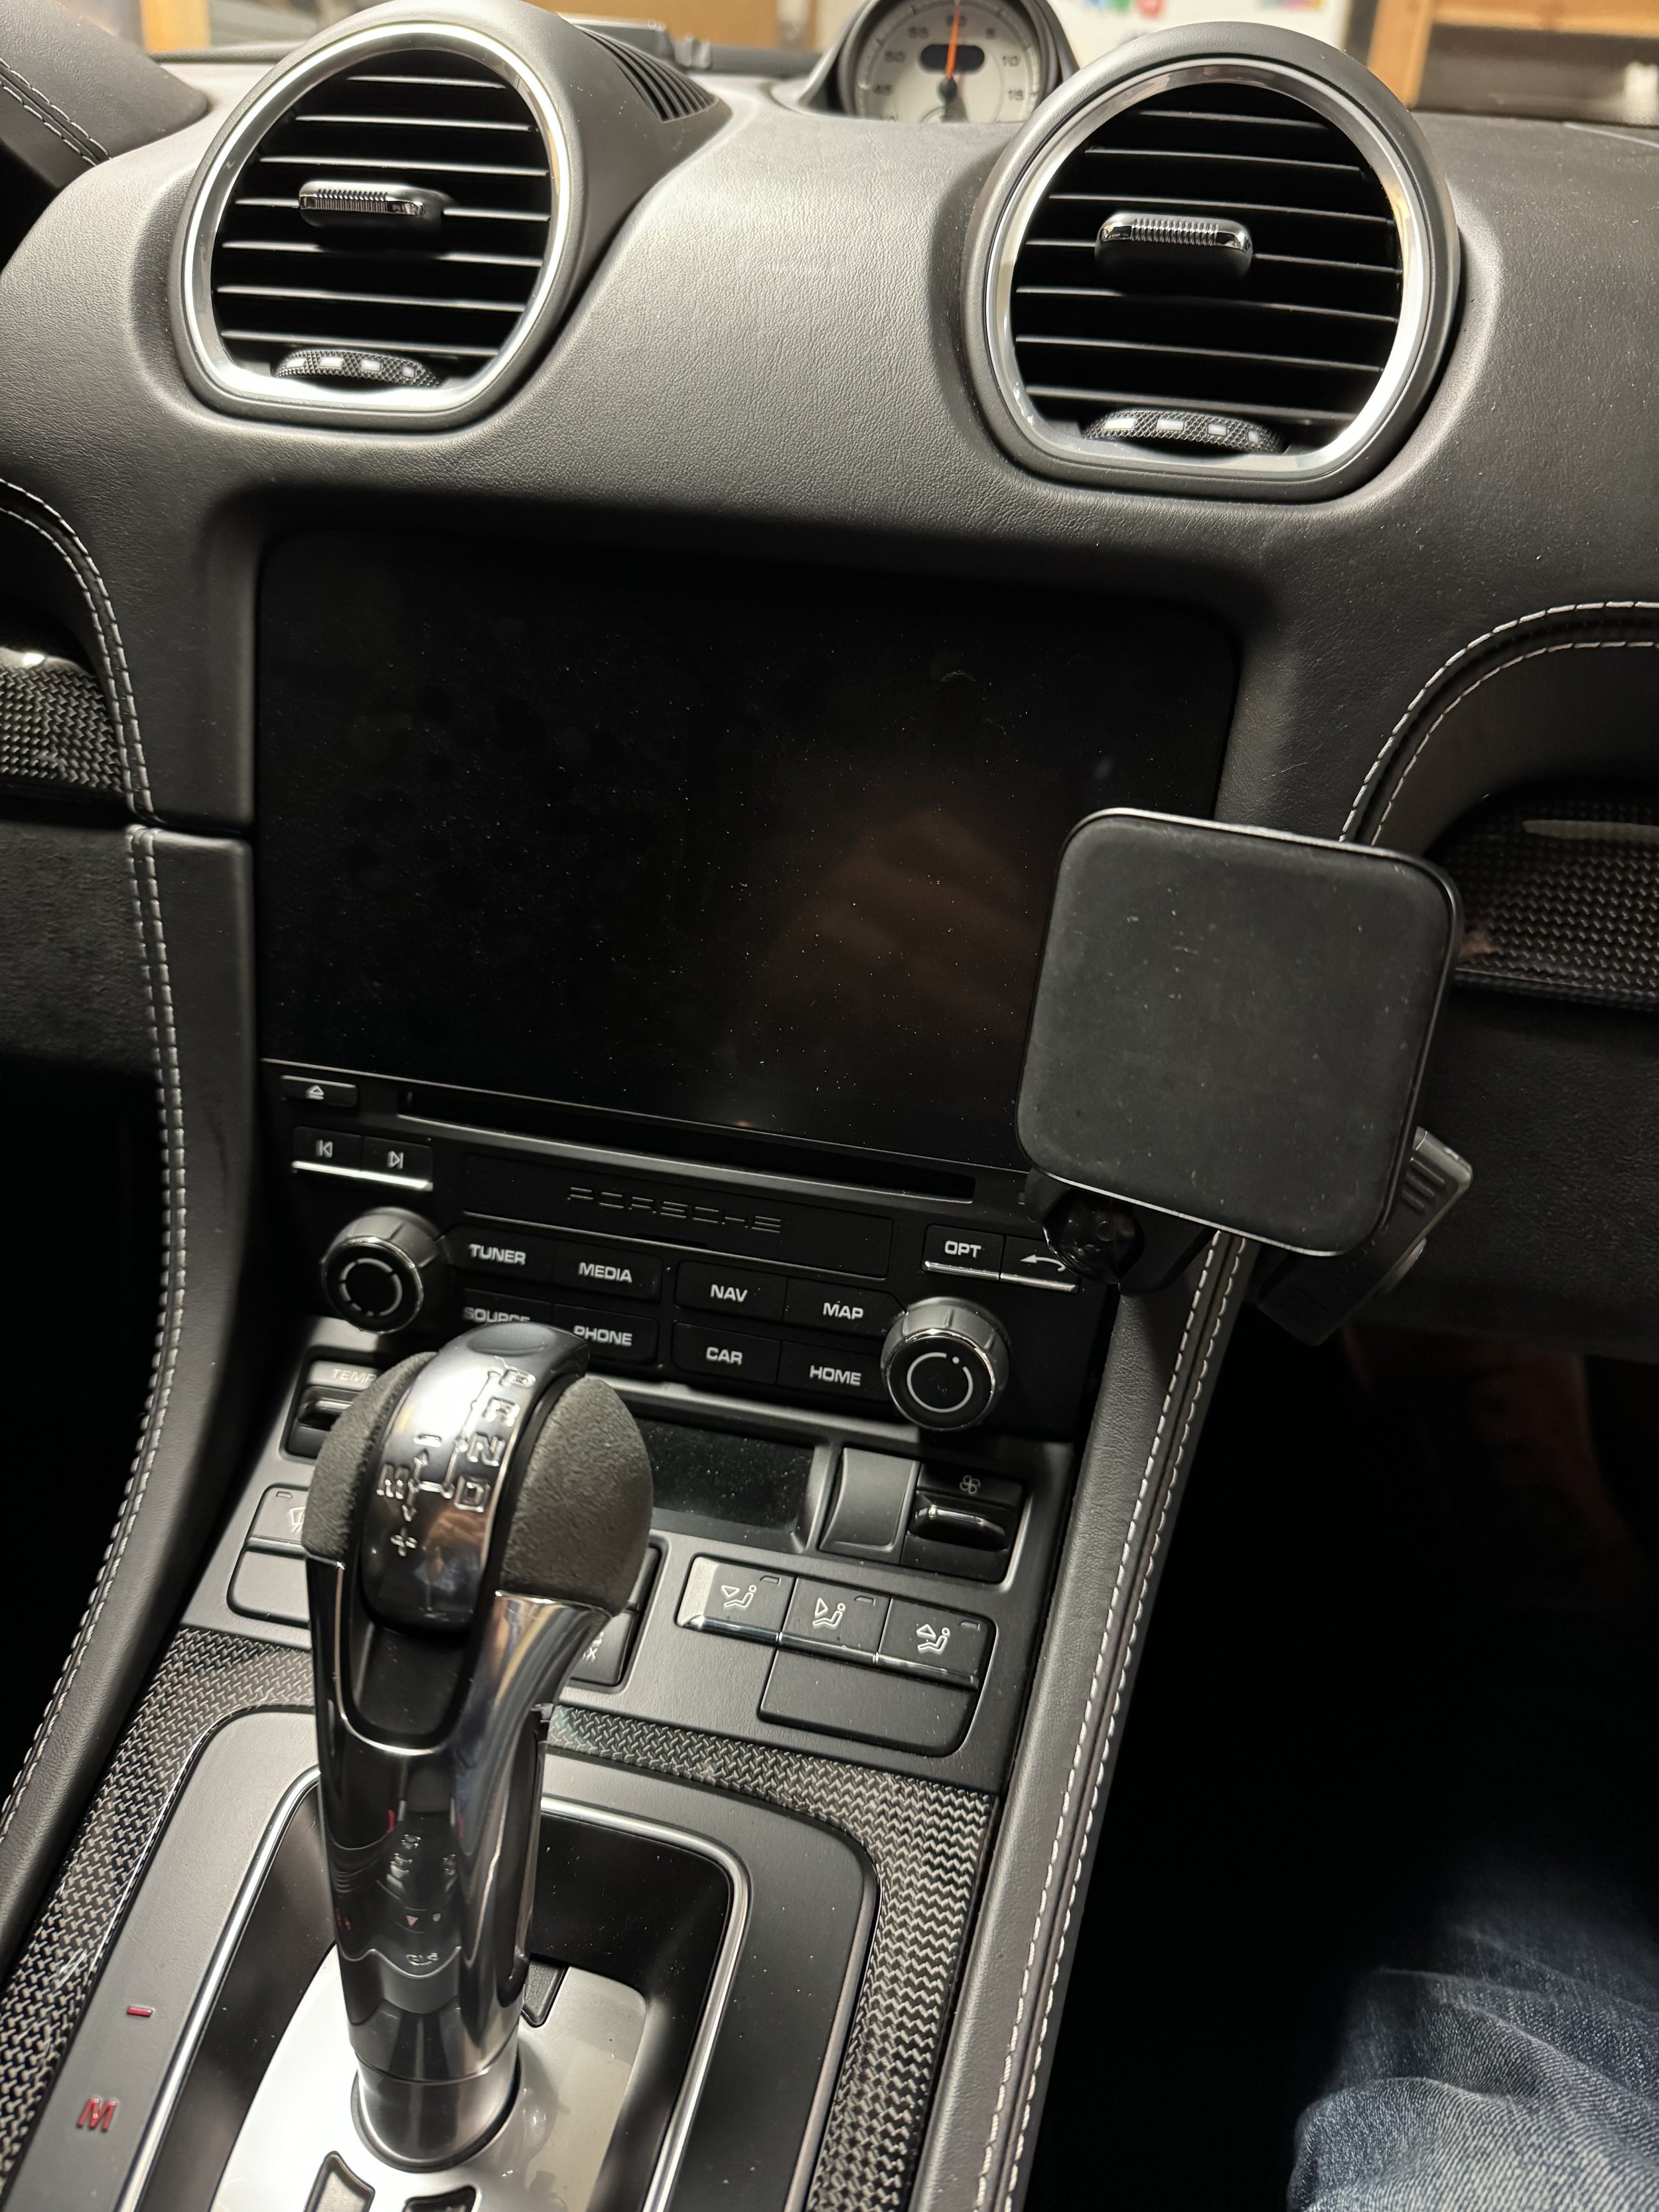
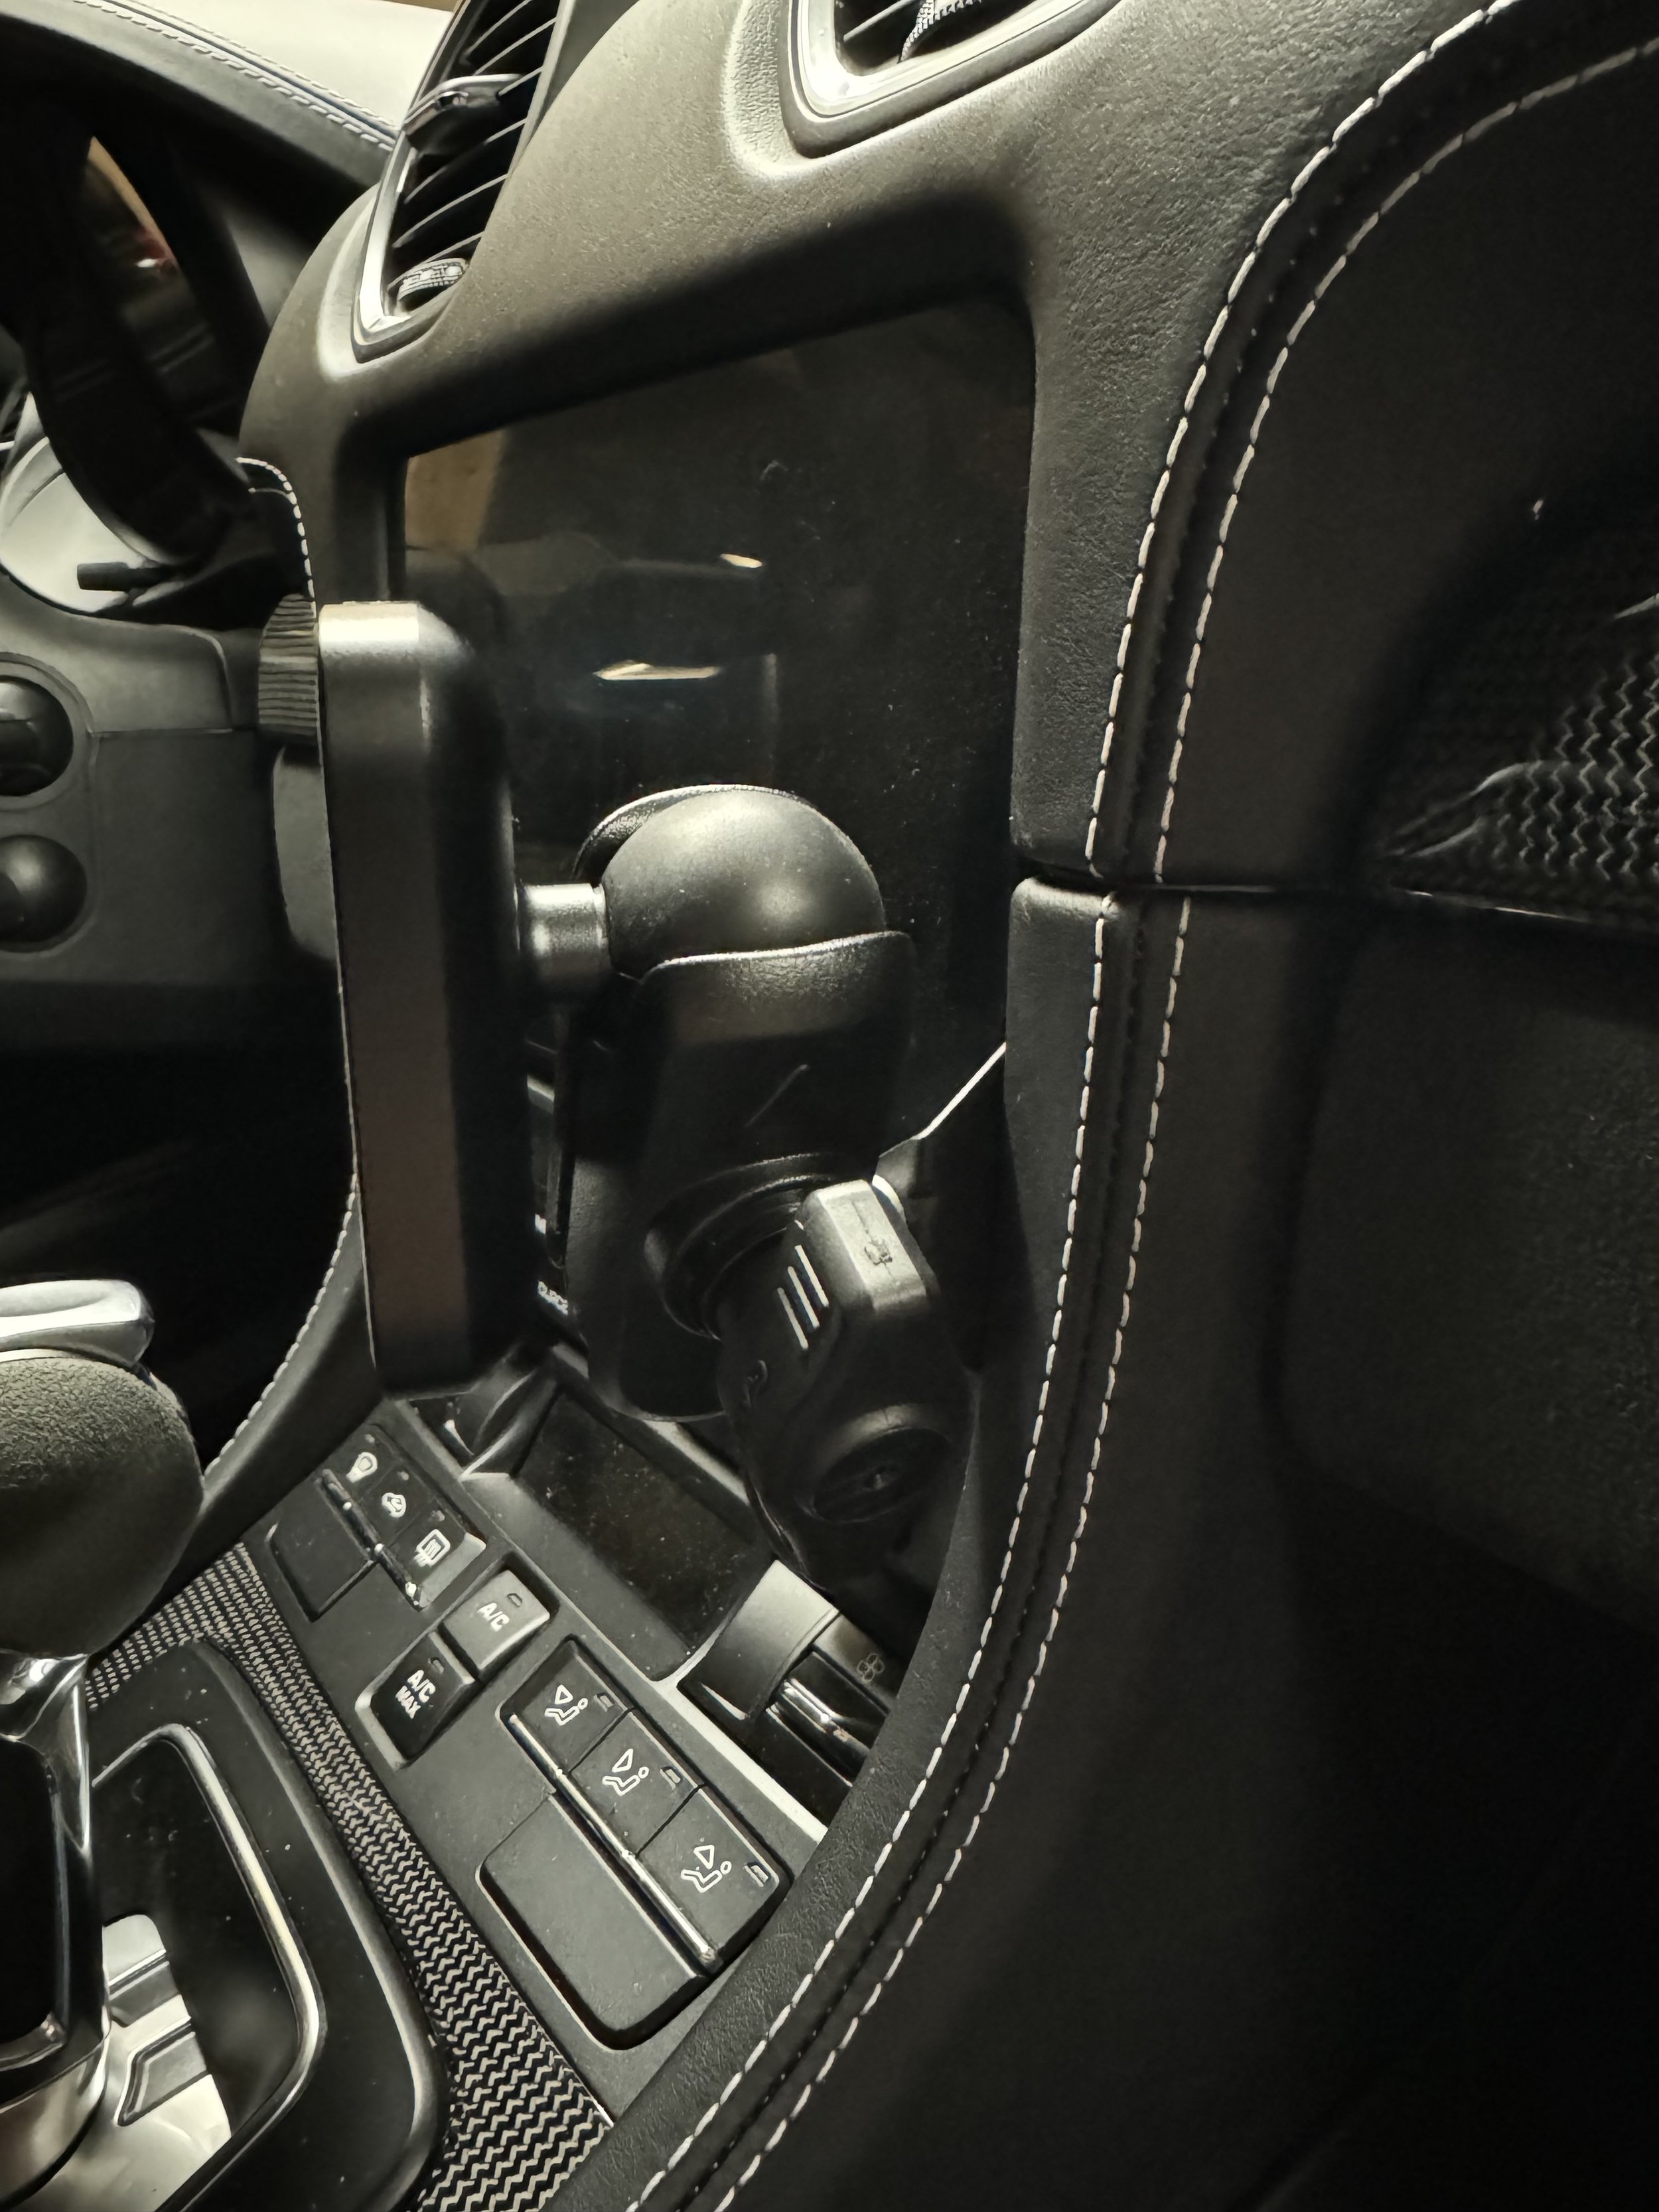
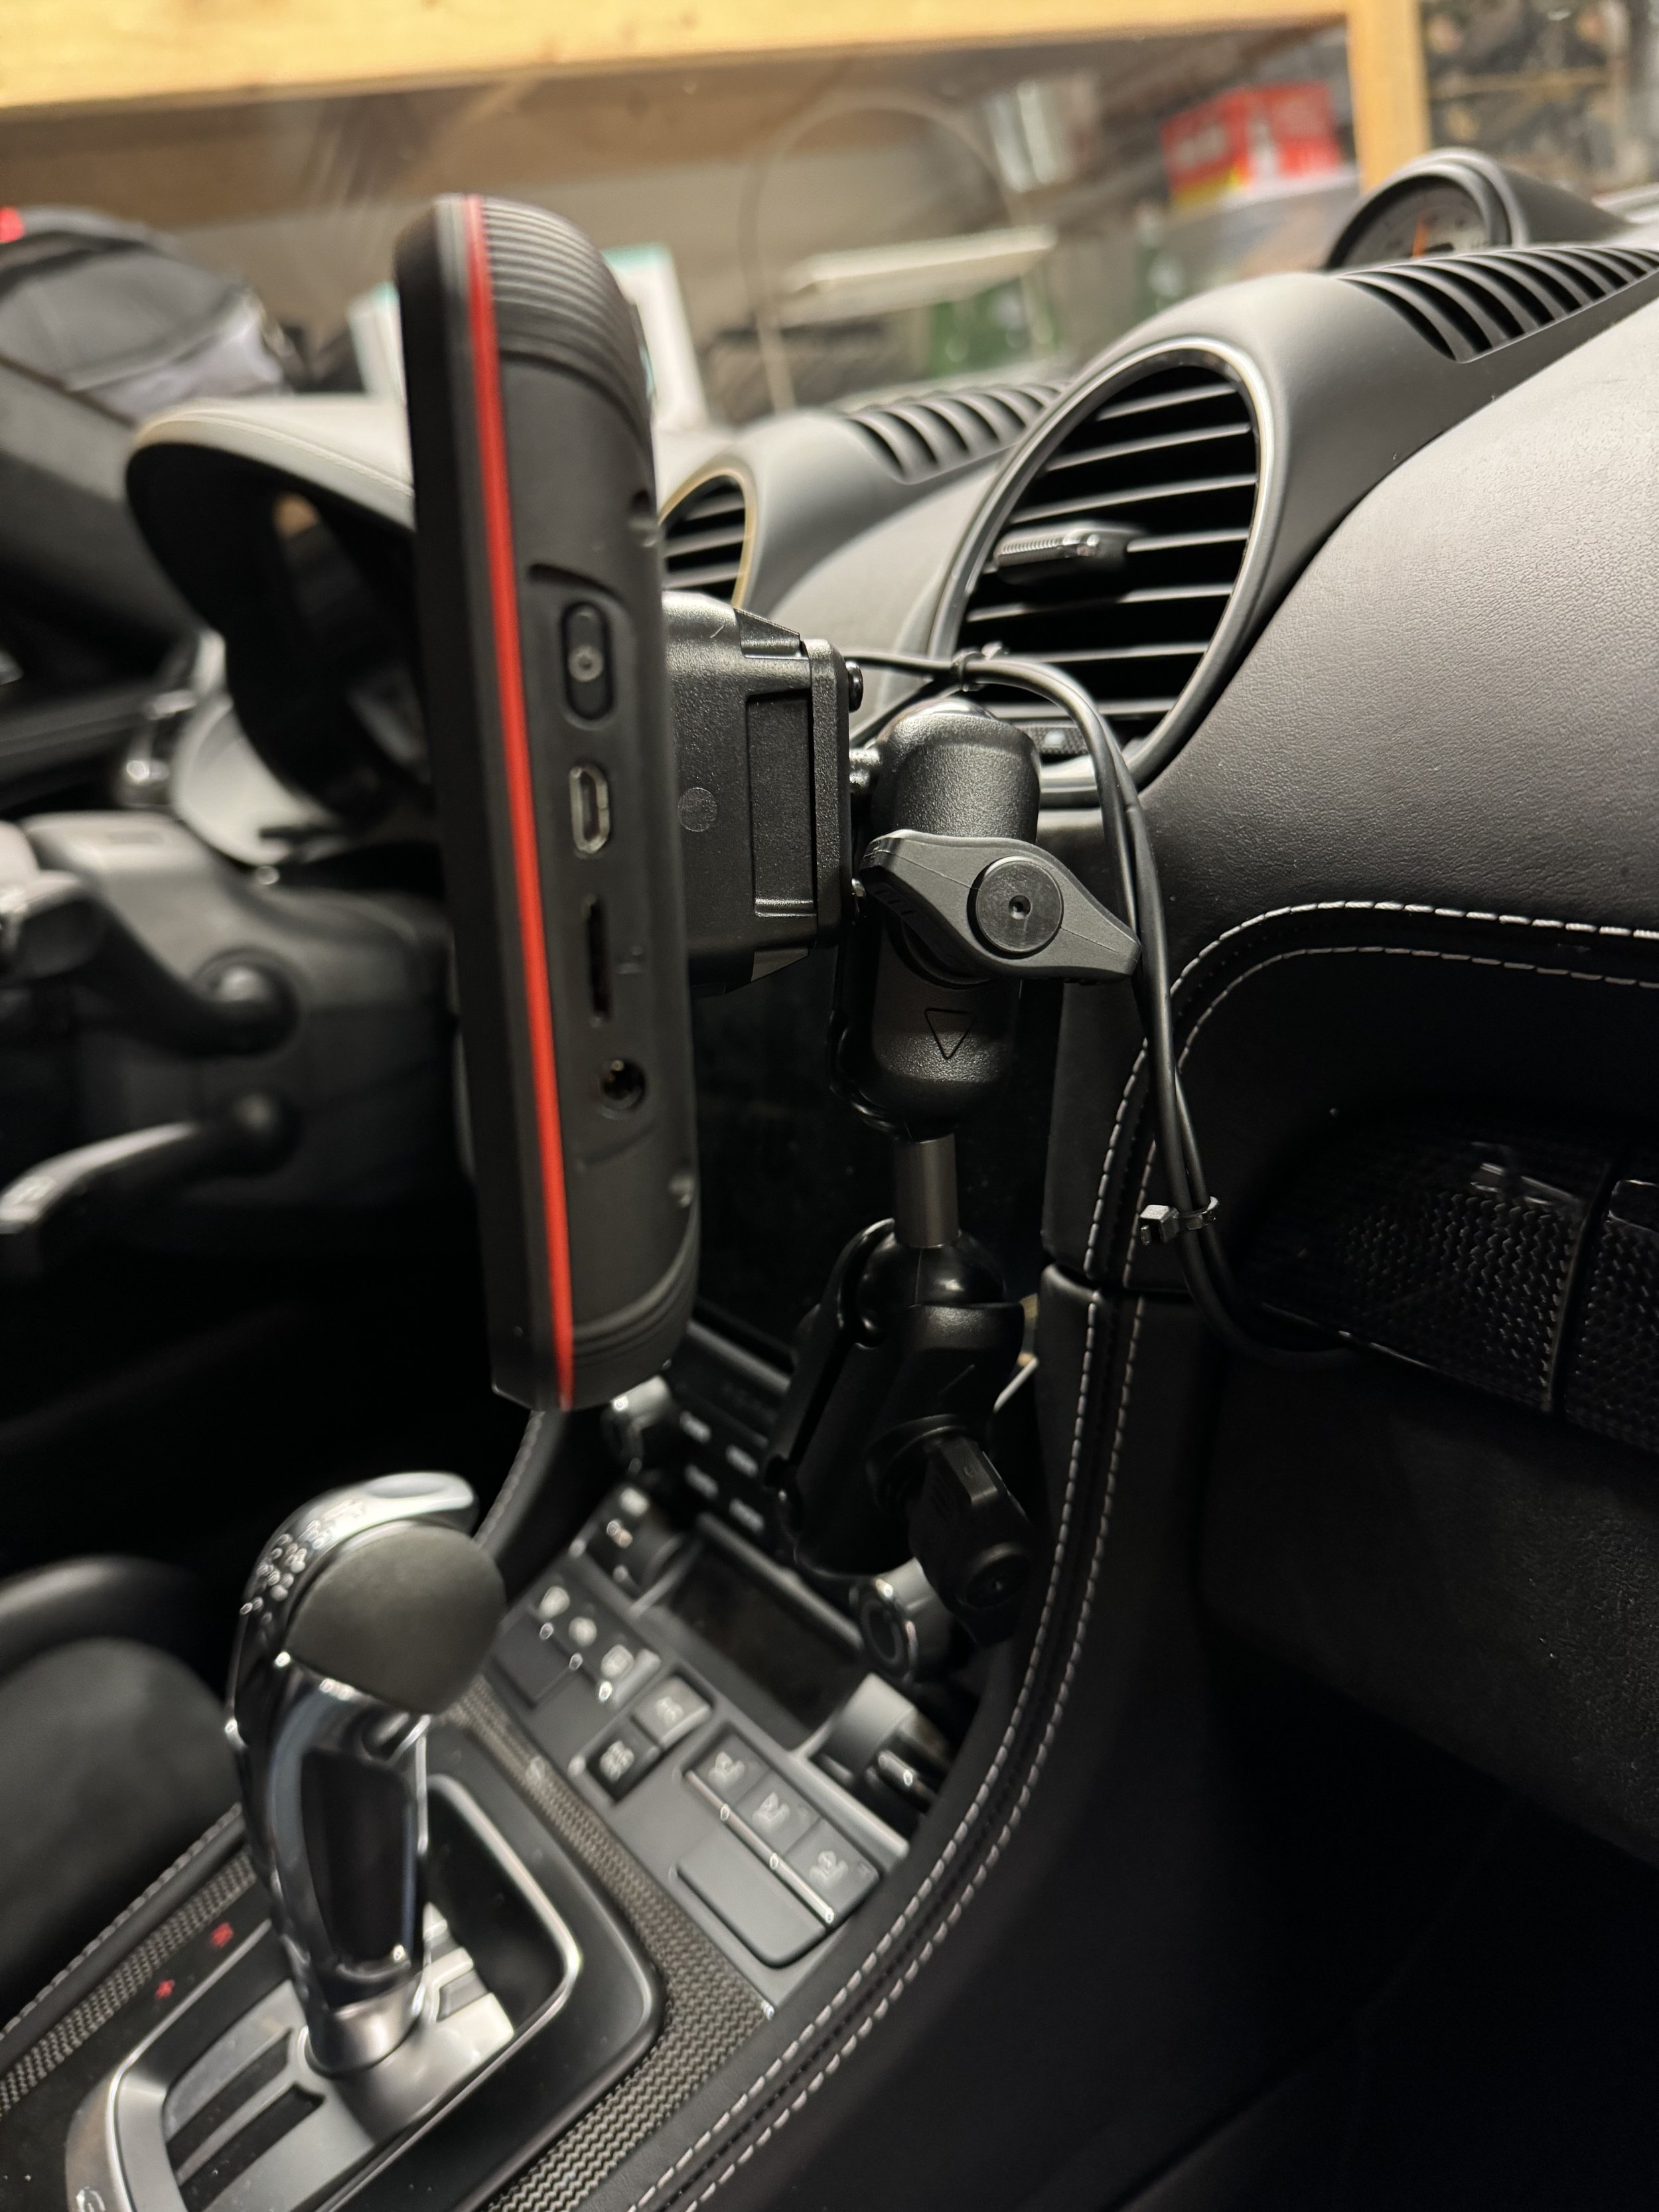
Quick mod…..a mounting system that will work for my iPhone when on the street but also my Garmin Catalyst when on the track. A track friend of mine had this and I felt it was a cleaver solution so I copied it. Here is what you need.

  • Rennline magnetic mount

  • Ram 1” mounting ball

  • Drill out the hole just a bit on the Rennline magnetic mount so you can use a bolt that fits the Ram 1” mounting ball

  • Peak Design 1” ball magnetic mount as the Rennline magnet is not strong enough. The Peak Design will also charge your iPhone. You can get cheap China knockoff versions on Amazon but I went with Peak Design as they are a quality company.

  • Any Ram double ball arm (there are a few different lengths and you can even do double arms if you want)

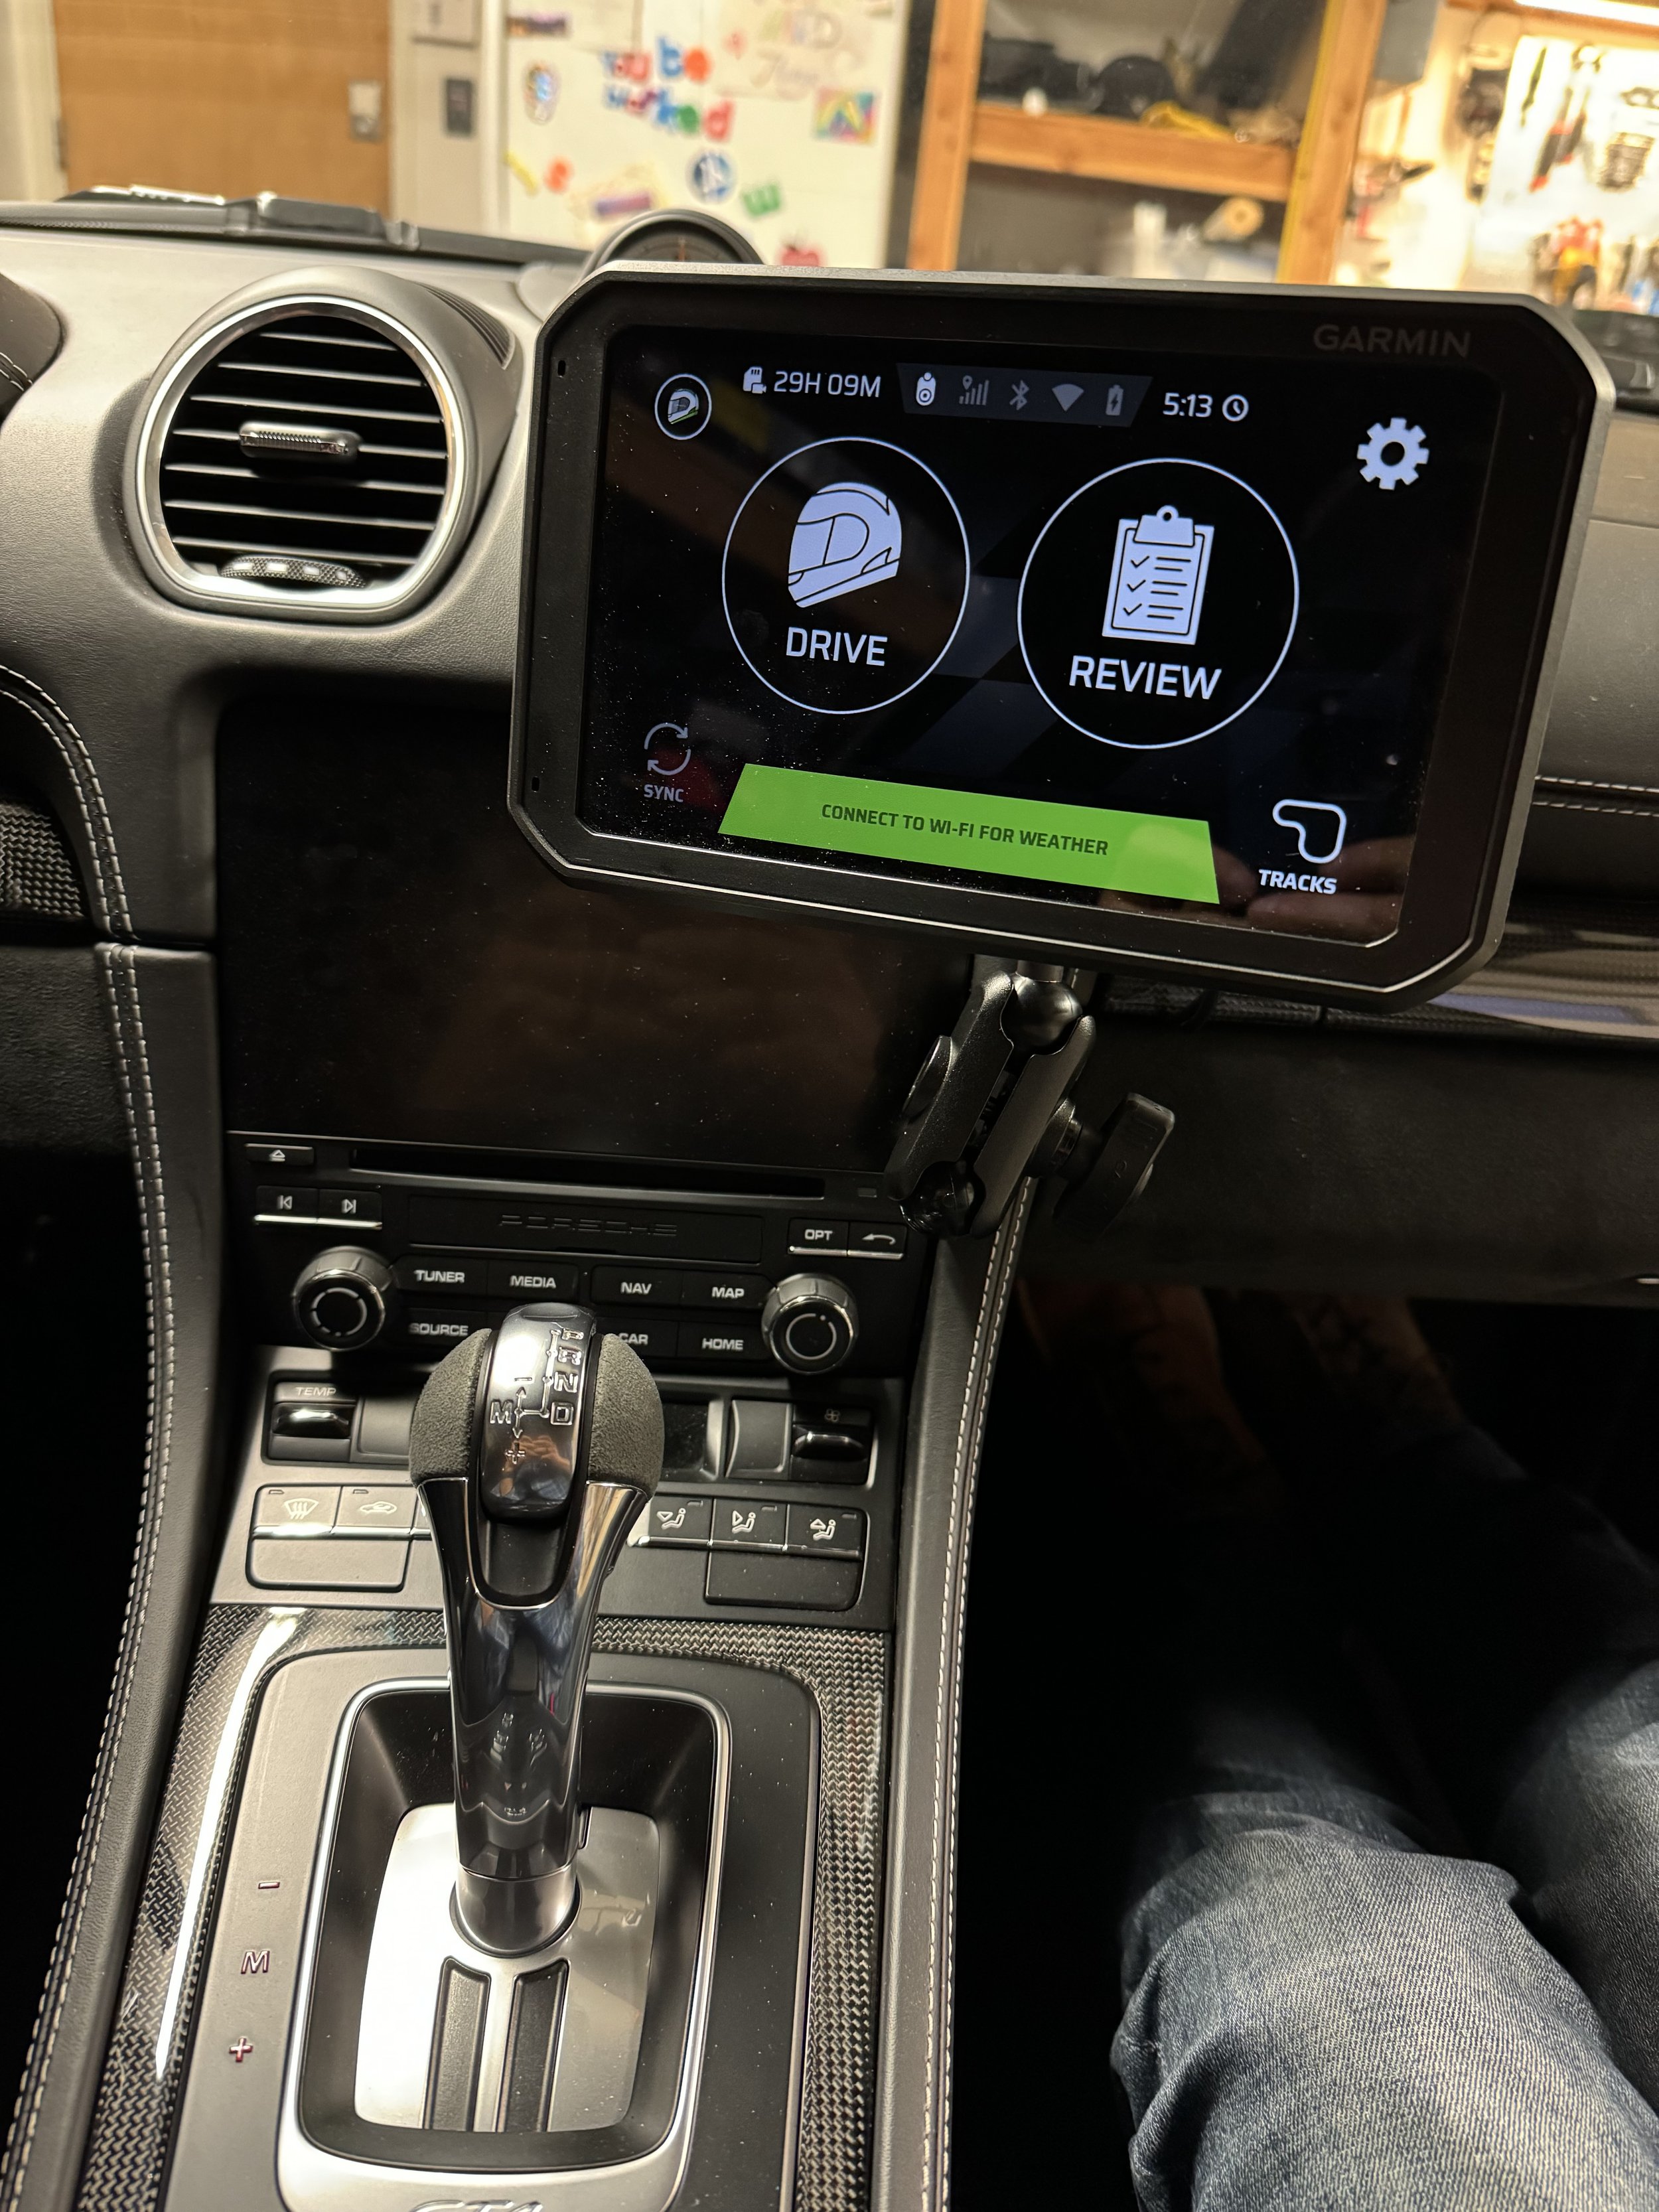
With this set up you can mount just about anything to the Rennline mounting plate. I decided to use the Peak Design magnetic charger for the street but then when I am on the track I can swap out the arm and mount the Garmin Catalyst.

GT4 Build - Track Ready Brakes

When I got the GT4 I had thought I could get away with doing very few upgrades to make this a dual duty street and track monster. I started out with racing belts and half cage, then did suspension, and then did wheels and tires. My hope was that I didn’t need to upgrade the brakes and after a couple days at Sonoma I felt that plan was possible. The stock brakes are surprisingly good and I was confident in their stopping power and feel.

That changed once I did a two day track event at Laguna. As I got faster I realized the stock setup was not up for the task of a true track car. I never had brake fade but my confidence was declining as the day went on and I could tell I was pushing the pads beyond their heat limit. By the end of the track weekend I had glazed the pads and the brake feel was terrible.

So I have decided to do the following upgrades:

Front Brakes

Rear Brakes

There are more aggressive pads but I was looking for a pad that still worked well on the street. The Girodisc rotors will allow me to lower my replacement costs in the future as I can simply replace the ring, and this design has better heat management and is lighter. I wasn’t sure if the brake lines really needed to be replaced with stainless but felt it was a low investment considering the other upgrades I was doing. I will report back on how this setup performs but at this point it wont be until the spring.

UPDATE 1: So now that the rotors and pads are installed I can report back on initial thoughts. The feel of the brakes is much improved. More responsive, higher bite, firmer feel in the pedal. The downside is that when cold and doing light braking the pads squeak which is fine for the track but annoying for the street as you rarely get the pads up to temperature. I will see if that squeak settles down after some wear. If not I might need to go to a two pad solution (driving season = squeaky race pads, non-driving season = quite boring pads).

UPDATE 2: I have completed a track day at Sonoma Raceway on the new brakes and I can report back that they are a big upgrade over stock. The real test will be when I go to Laguna and see how they perform on a brake heavy track, but I suspect they will perform extremely well. I did not have brake fade, I did not glaze my pads like I did on Laguna, and the brakes have become a bit more quite on the street (but not silent). These brakes allowed me to hit a new personal best at Sonoma at 1:52 so ya….I like the brakes.

UPDATE 3: Well as much as I like the Ferodo DS1.11 for the track I don’t like them for the street. They are simply too loud with too much bite. So I have decided to run two sets. The Ferodo DS1.11 will be the track day setup and for the street I will run Ferodo DS2500. The DS2500 are rated for light track use so there might be a touch of noise. To make pad change outs easier I am installing a Girodisc caliper stud kit and a Tarett brake line stud kit. This will allow me to rather quickly change out the pads without cross threading or stripping out the bolt holes (a common problem with Porsche). Once this is all installed and tested I will report back AGAIN.

UPDATE 4: Well the Ferodo DS2500 street pads (actually light track pads) are installed and they are great. No noise, easy to modulate on the street, and enough bite but not too much. I think they are a great street option and will compliment the Ferodo DS1.11 race set. In hindsight I wish I had just installed the VERY expensive AP Racing BBK as it would allow even easier pad changes (from the top so you don’t need to remove the caliper) but now that I have the Girodisc, stud kits, and the pads figured out it is hard to justify tossing all that out for the AP Racing kit. But knowing me I might end up with the AP Racing setup in a couple of years. For now I feel I have a near perfect dual purpose brake system.

GT4 Build - Garmin Catalyst

I feel like I have tried EVERY video and data logging system out there. I have done Harry’s LapTimer and many other iPhone based systems, RaceLogic VBOX HD2, Apex Pro, Swhoon, and more GoPro options than I care to admit. Anything that relies on a GoPro for video will fail if you ask me because GoPro remote turn on options rarely work consistently. Systems without video I find a bit boring as I like to relive the day. Some options require having GPS units or OBDII units to become more accurate. Some options require offline editing….who has the time for that? The best option I have ever used was the VBOX HD2 solution, but it is extremely expensive at $5k. When I had a race car it was worth it as you get motorsports grade data logging and 2 HD cameras and everything is spliced in real time for immediate playback on a Mac, iPad, iPhone, or a Windows machine if that is your thing. RaceLogic recently came out with an all in one unit called the VBOX HD Lite which captures data and video but doesn’t seem to splice it in real time. I think this could be an interesting option for many if you are willing to spend $900.

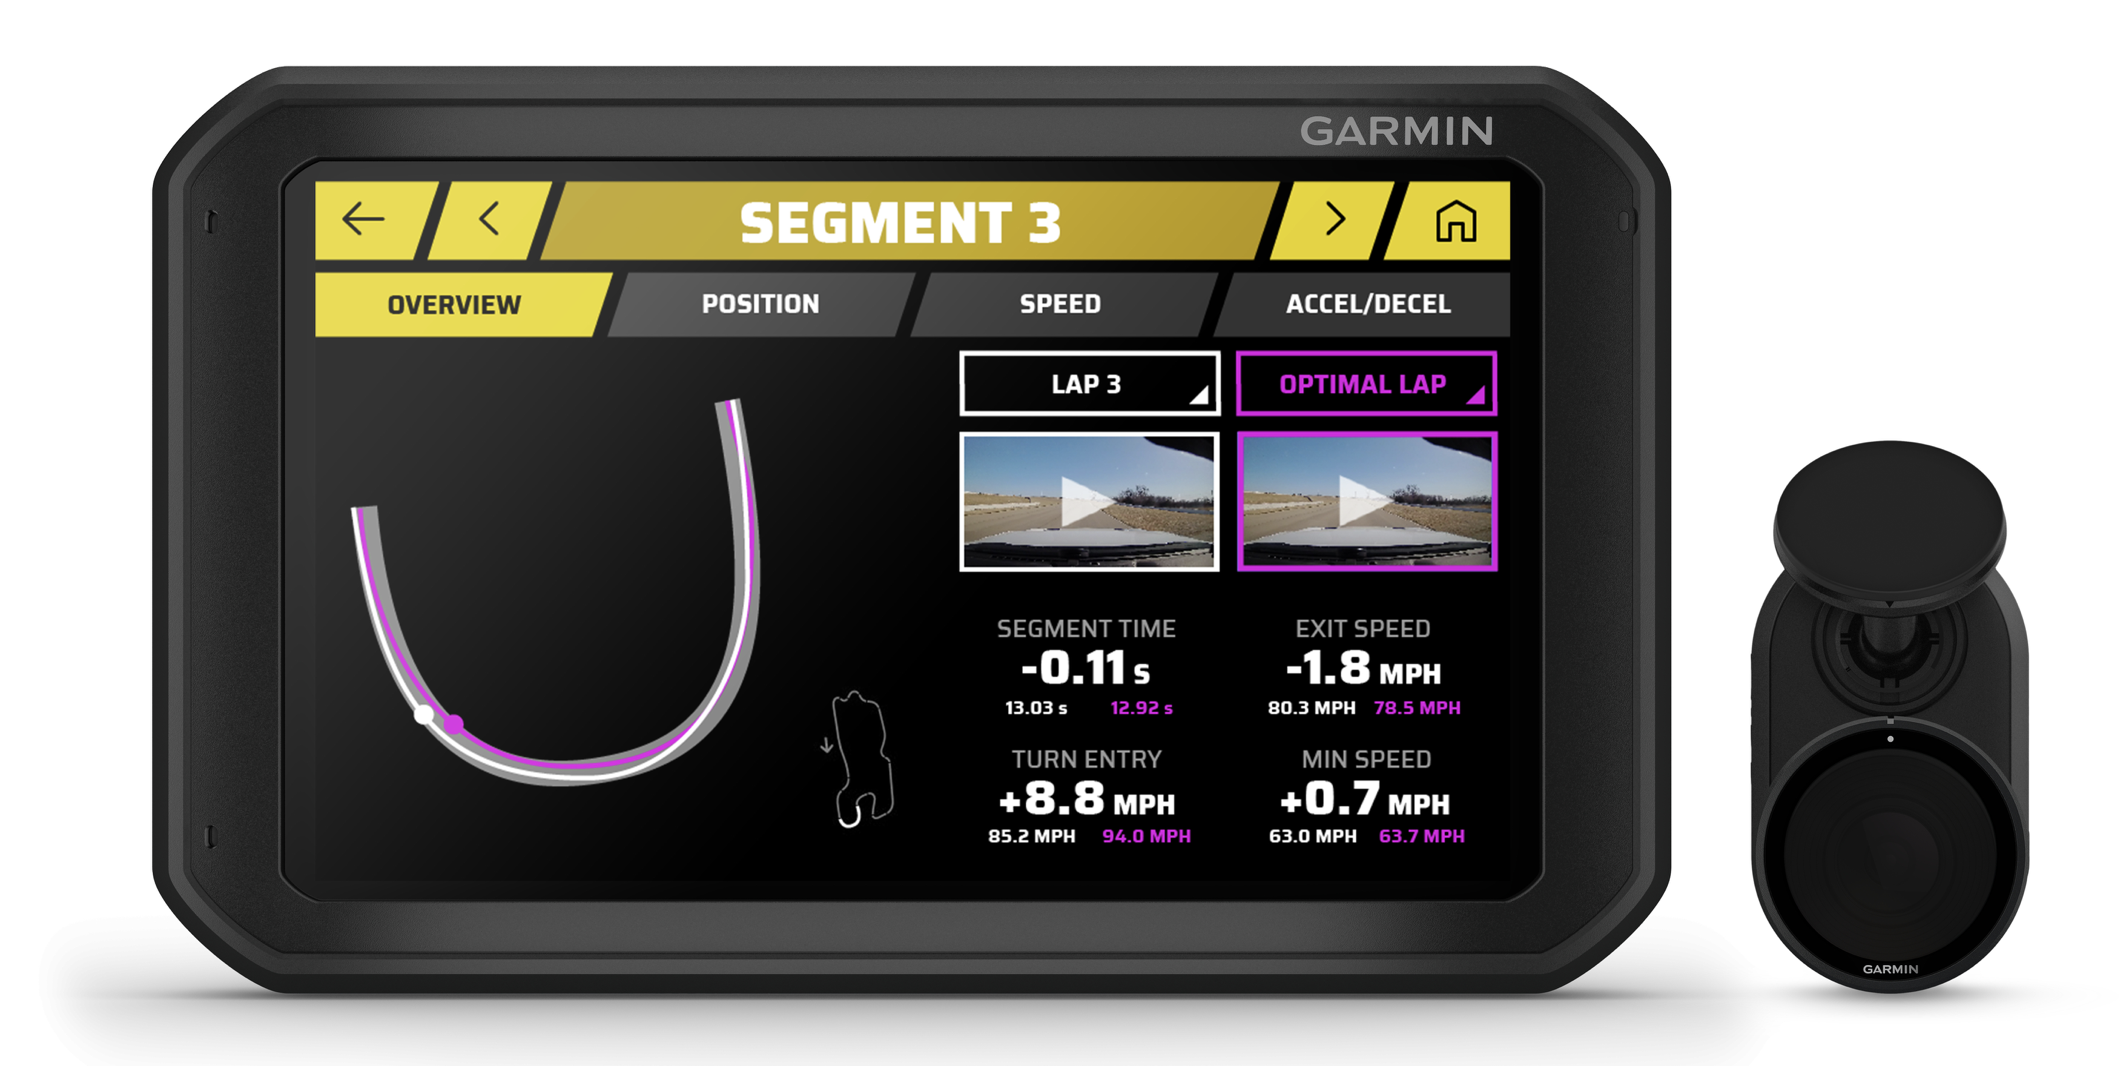
In a similar price point ($900) is the Garmin Catalyst which has a single camera and a large touch screen that has built-in GPS. This unit is becoming very popular for track days as it seems to be nearly an all in one system, with video capture, instant replay, data logging, and…….live coaching. The simplicity is attractive but what I am really interested in is the live coaching which you can play through the car stereo system, through the touch screen’s internal speaker, through a mic out, or if you are a dork like me through a bluetooth comms device that patches into your helmet speakers. The live coaching announces your track time, where you can push more, and where you can brake later based on your current lap time and line versus your previous lap time and line. That kind of AI based coaching could be valuable for those of us who mostly self coach.

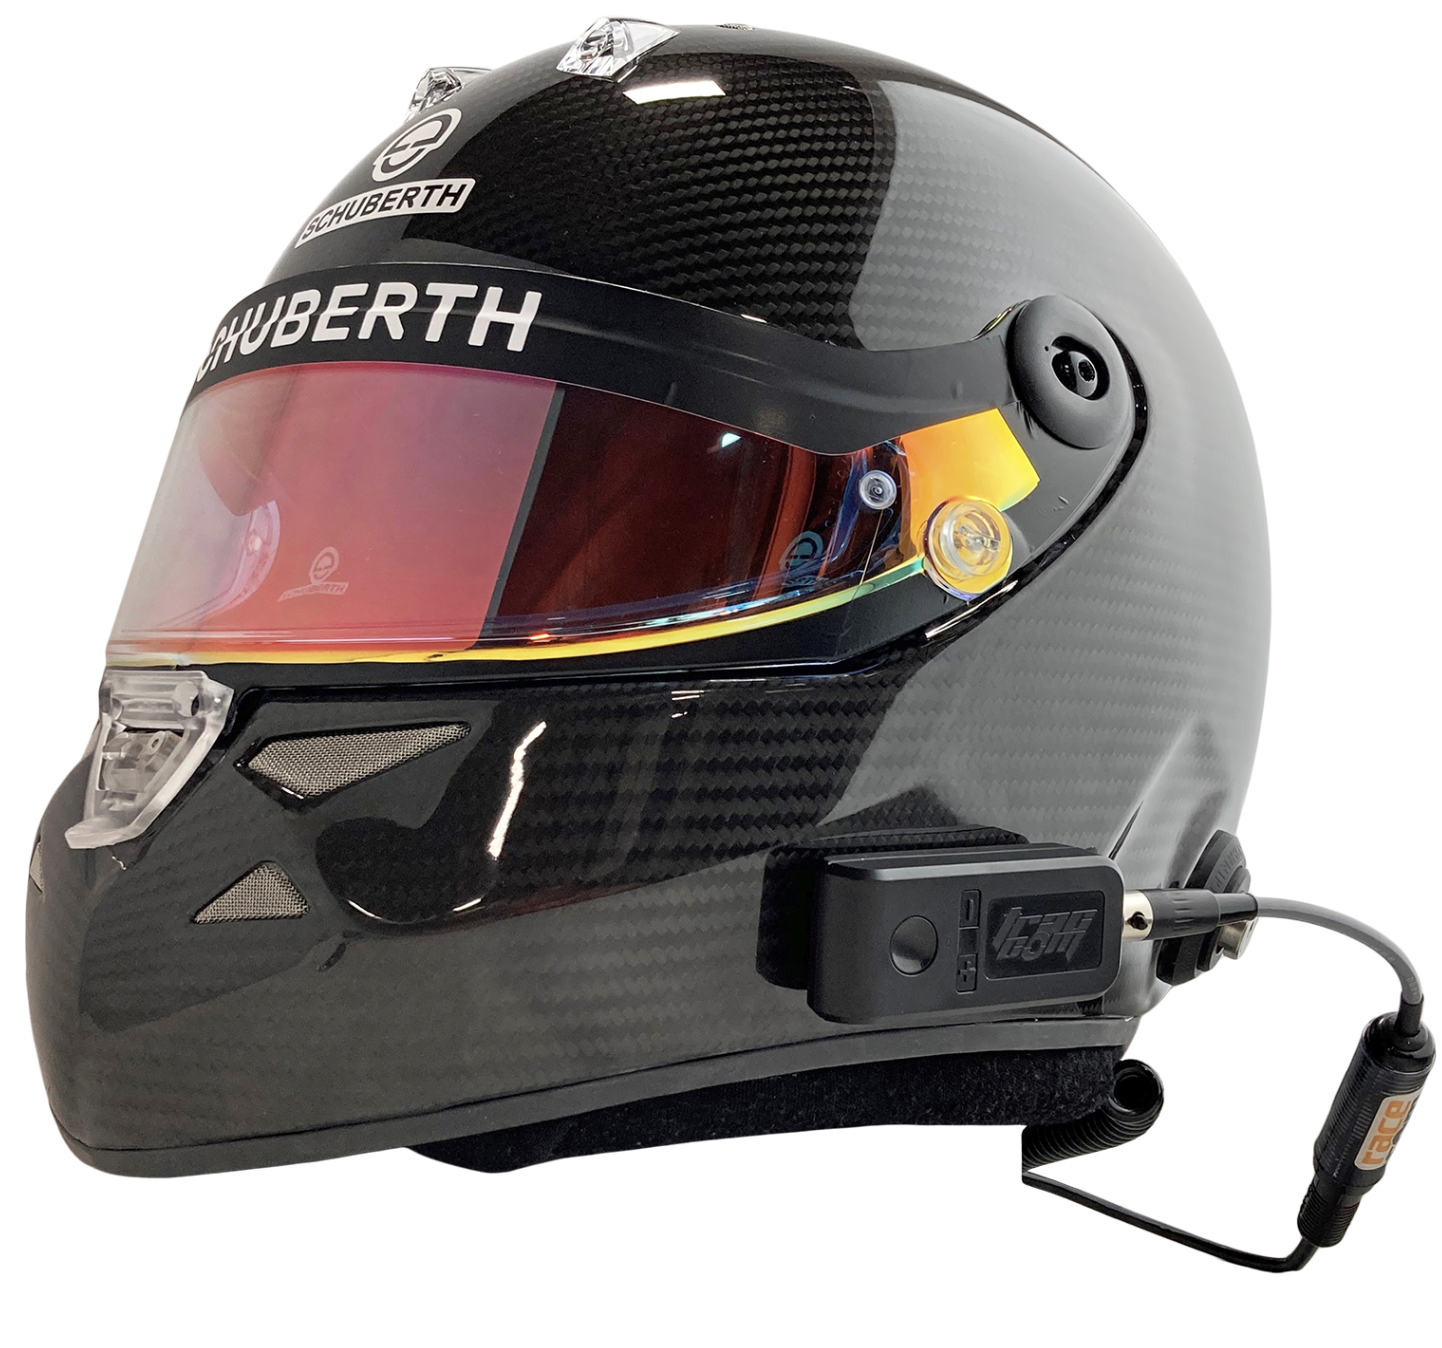
Here is the system I have pieced together and once I give it a shake down at Laguna Seca next month I will report back.

UPDATE: I have now taken out the Catalyst on the track and I have to say it is my favorite system so far in the $1,000 price range. It worked flawlessly which I can’t say about many systems I have used. Also the all-in-one package is really nice and easy to use. The video quality is really good, not as good as a GoPro but good enough. The real time analysis is quite good. I paired my system to a bluetooth module so that I could hear the system’s live coaching and time announcements (kind of game changing if you are looking for dynamic coaching without a right seat instructor). The ability to do data overlays to videos on the device back in the paddock is great. This allows you to not only review data and video right after a session you can grab that off the microSD card and share it to help others or to show off. In my case there isn’t much reason to show off :)

While it is extremely good there is room for some improvements over time. I would like all of my driving data to be stored in the cloud. At the moment it seems a subset of the driving data is stored (or at least accessible) in the cloud with the rest being stored locally on the device. As part of this I would like the free companion app to do more. Specially I would like to share more details of my driving data with my saved friends and be able to pull up a friend’s detailed driving data to use as a reference lap for some side by side comparisons. Another call out is that some of the coaching and optimal line recommendations are off so you need to know when to ignore and when to agree, but honestly it is very good so you can mostly agree. I found that at times it was asking me to track out more on turn 11 at Laguna when I was already tracking out as far as there is pavement. I would love them to offer an OBD II accessory that pulled in additional data from the car (RPM, gear, wheel speeds, brake position, throttle position, and steering angle). This would take the system from a casual track day device to an amateur racing device. Other systems have predictive lap time calculated in the moment as you drive, this would be a nice feature to have. I would like there to be two way audio over bluetooth. This would allow me to capture my real time driving comments on Garmin’s video recording. At the moment it does have a good built-in mic so if you are yelling your voice will be picked up but the ideal would be to make the bluetooth connection 2-way versus 1-way, or to have the option of an external mic jack. This would also allow you to patch into a helmet to helmet communication system between a driver and coach, thus allowing you to capture more coaching instructions.

Some of those requests are more niche and would make the device $100 to $200 more expensive and thus perhaps shift the target market from track rat to racer. Other systems have all of these features yet cost $5k (VBOX HD is an example) which is why if Garmin did these improvements they could offer a robust system for $1,200 and sweep more of the market. In some regards they already have swept the market as the number of Catalysts I see on track days is starting to overshadow the other systems. Well done Garmin!!!! I can honestly say I highly recommend the Garmin Catalyst. I also have the Garmin Overlander for my off-road toys and while that is good I think the Catalyst is more thought out and easier to use. For the record Garmin didn’t support this review but I would love them to sponsor the club in case anyone has a connection :)

This was my fastest lap of the day at Weathertech Raceway Laguna Seca. At 1:41 there isn’t much to write home about, but hey it’s good for me. Please ignore me congratulating myself on the video for doing a PR in this car at Laguna.

GT4 Build - Tow straps

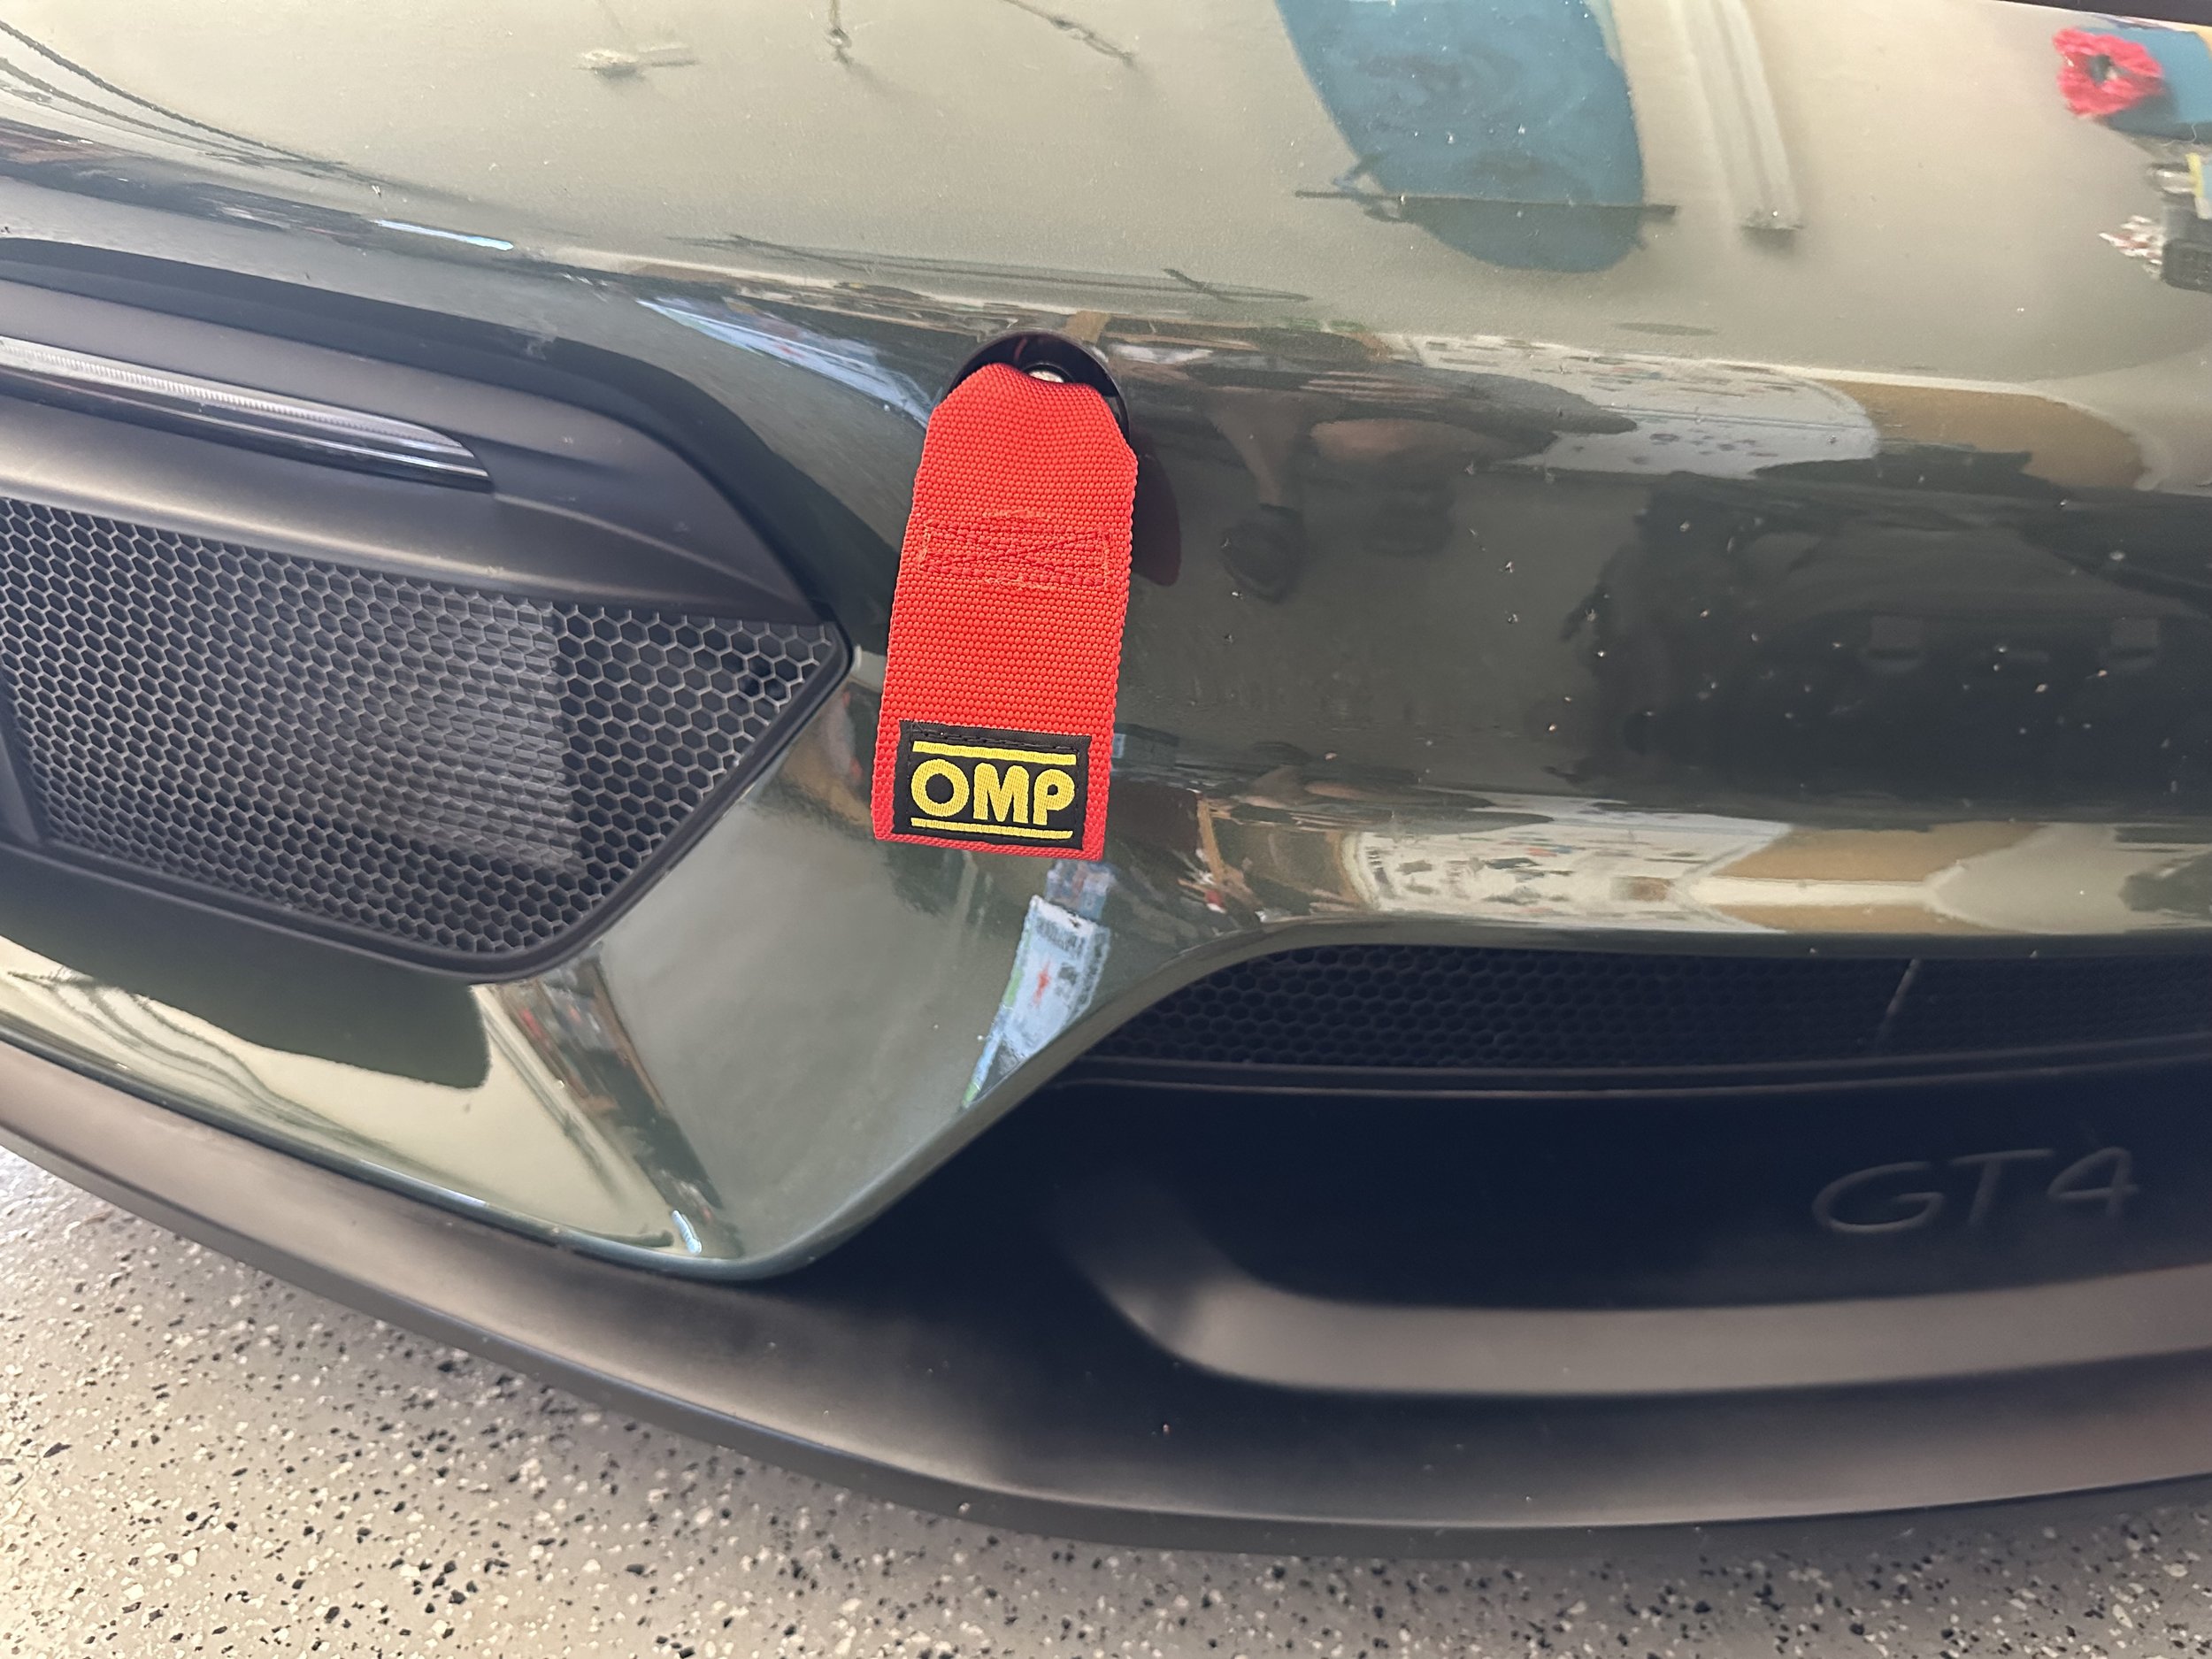
Most track organizations require or recommend tow hooks or tow straps. Tow hooks are falling out of favor given the extra damage they can cause in a crash, so I decided to get the OMP GT4 Clubsport tow straps. The front tow strap is easy to install as you simply remove the bumper cover and screw in the tow strap.

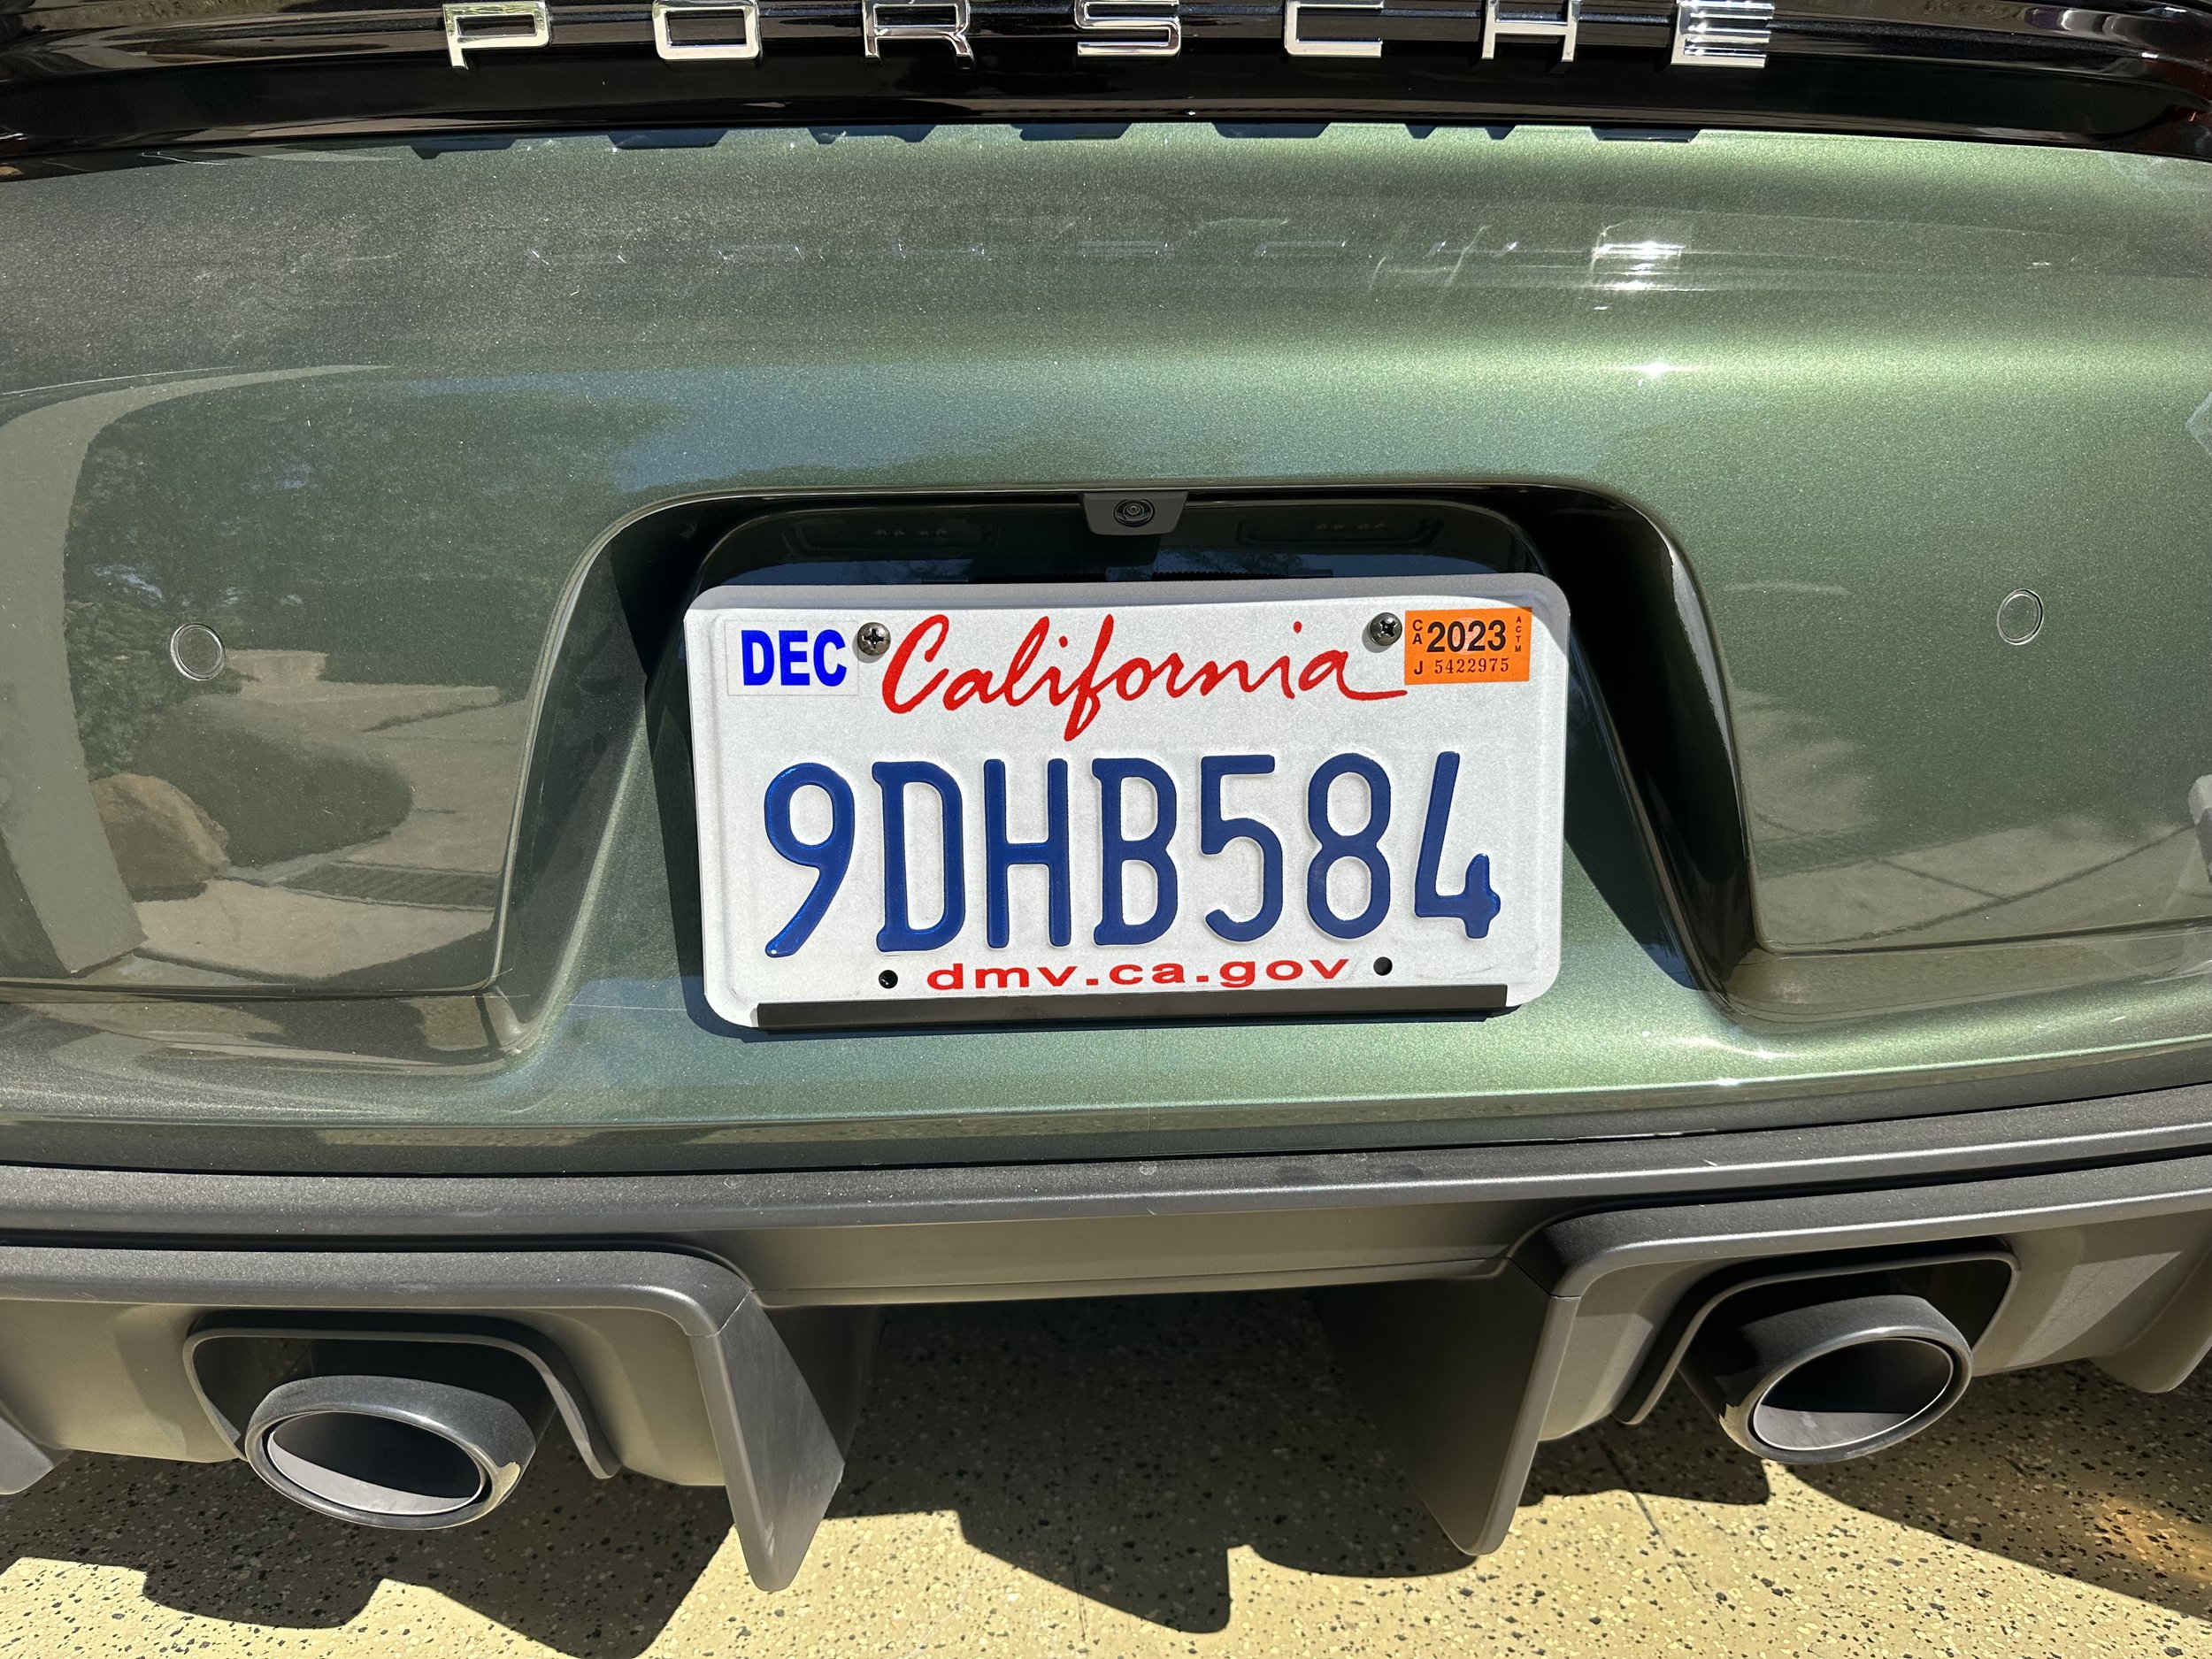
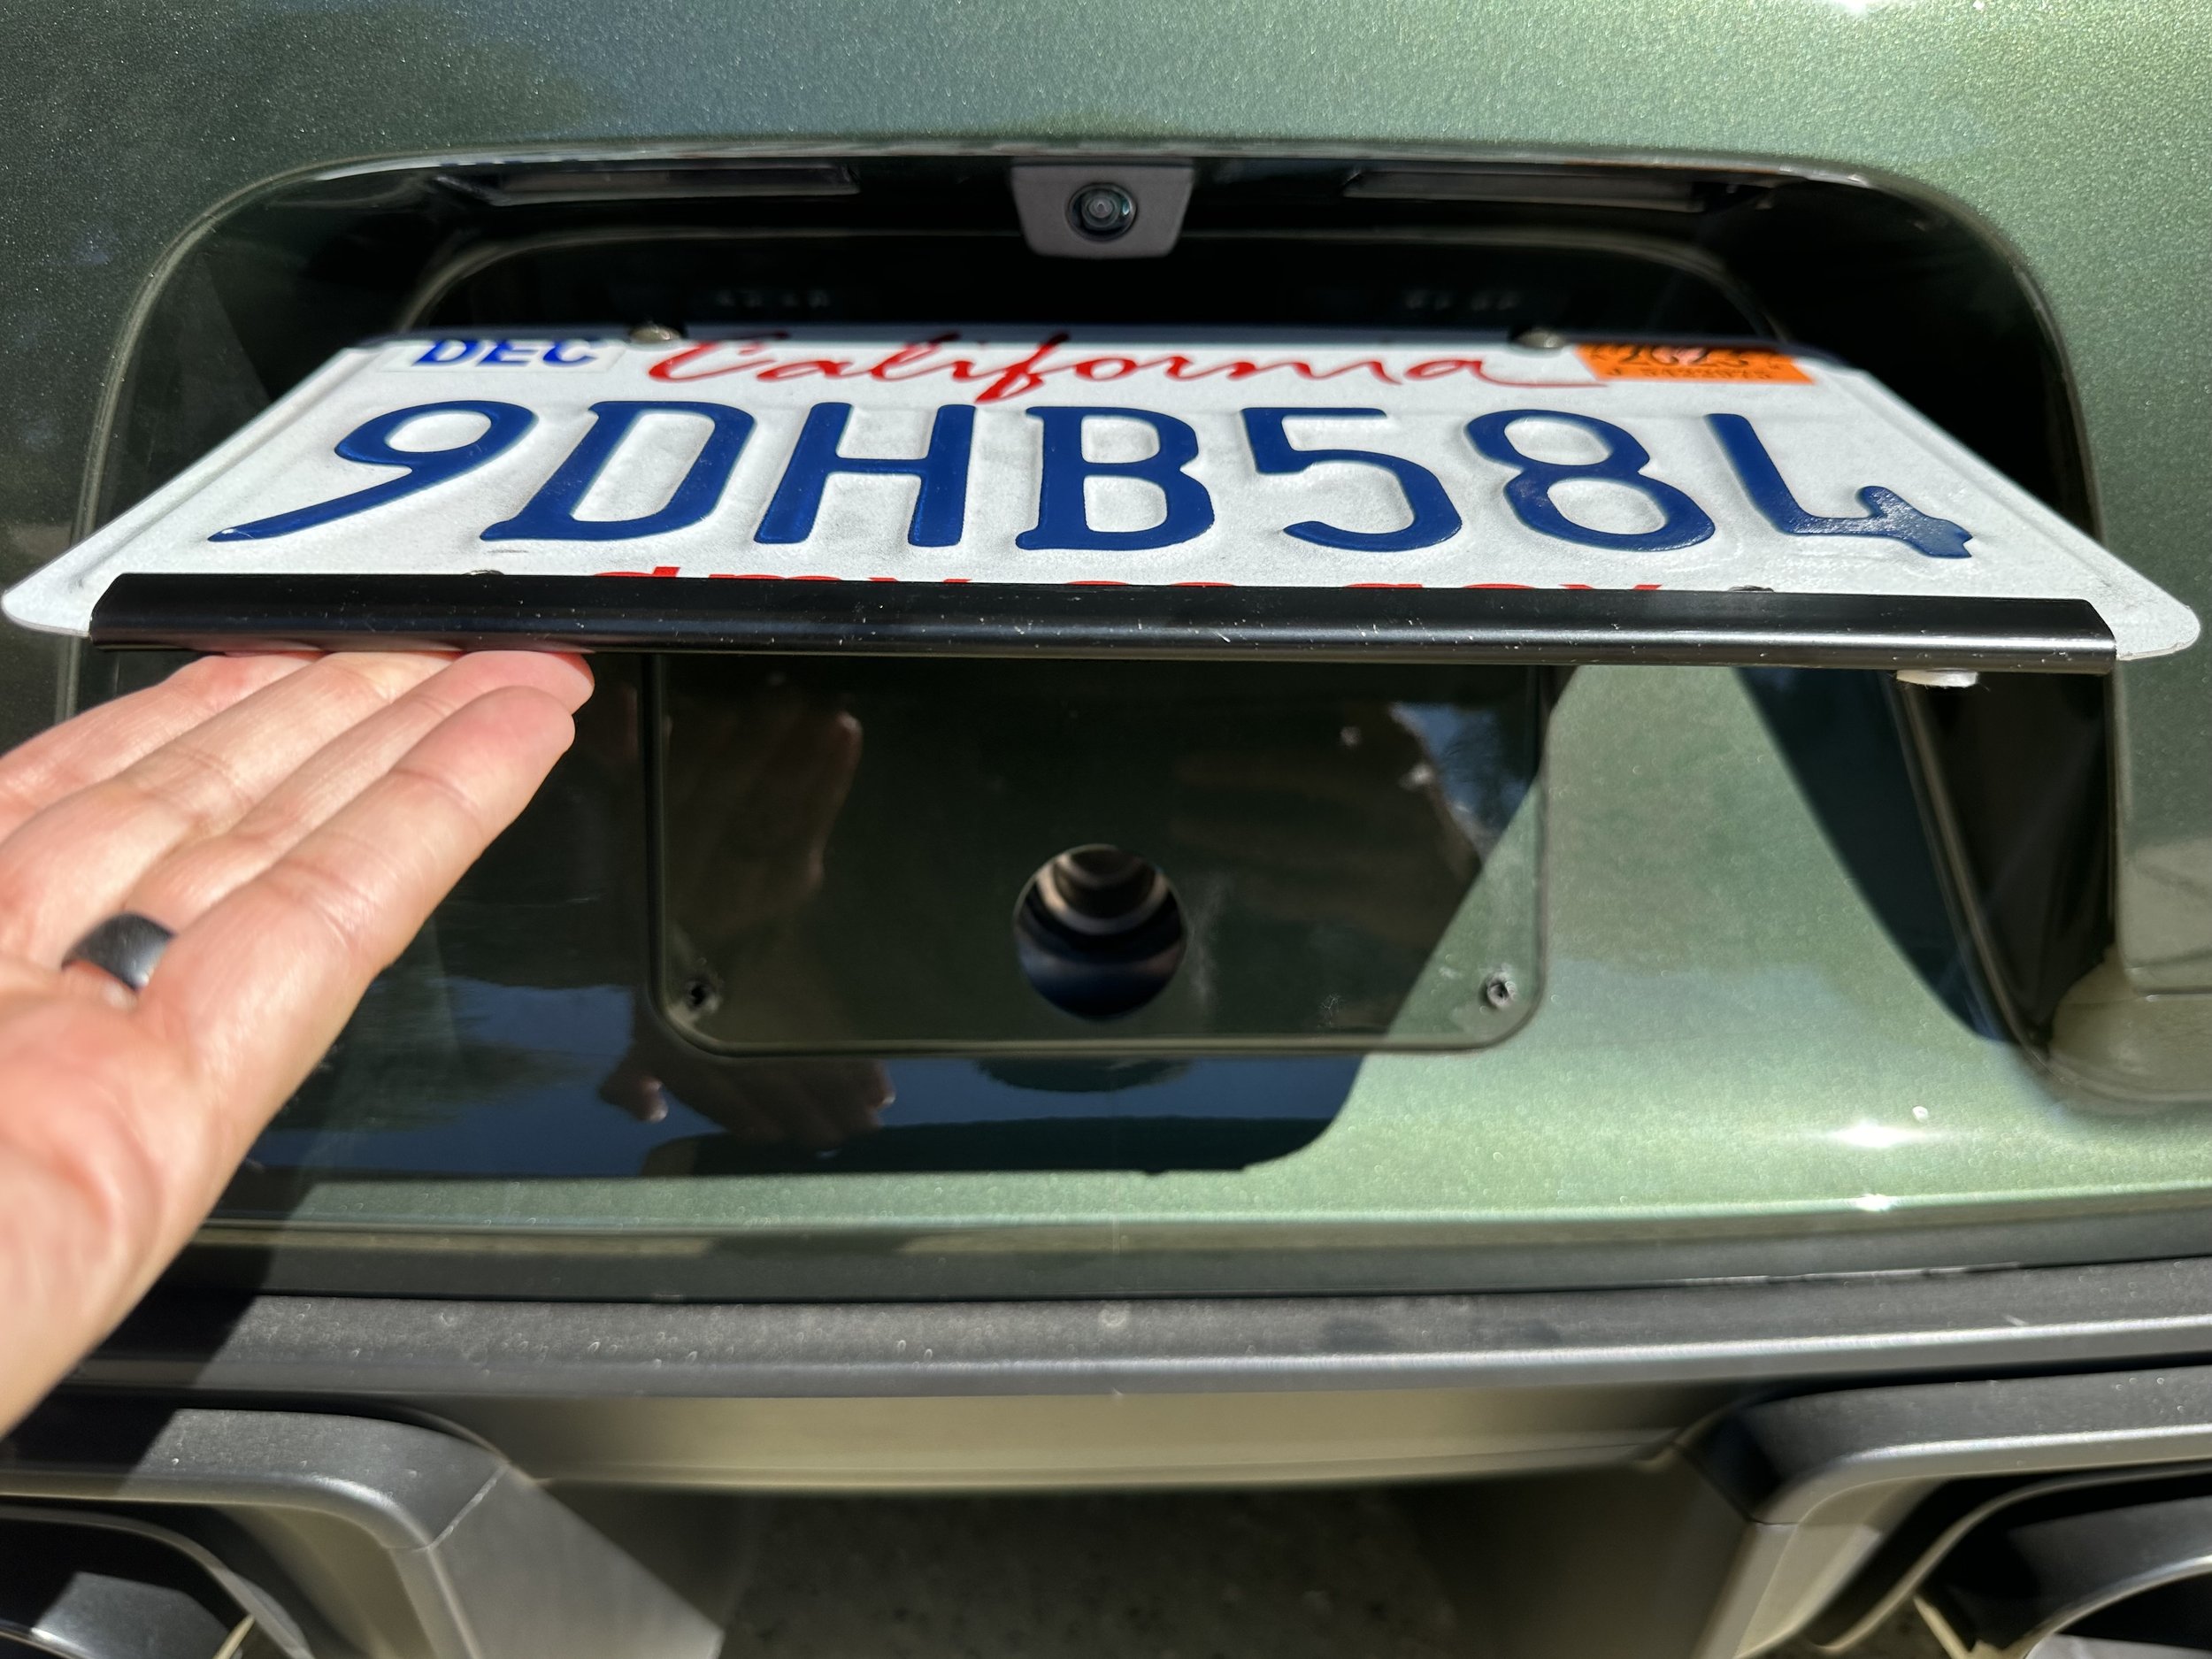
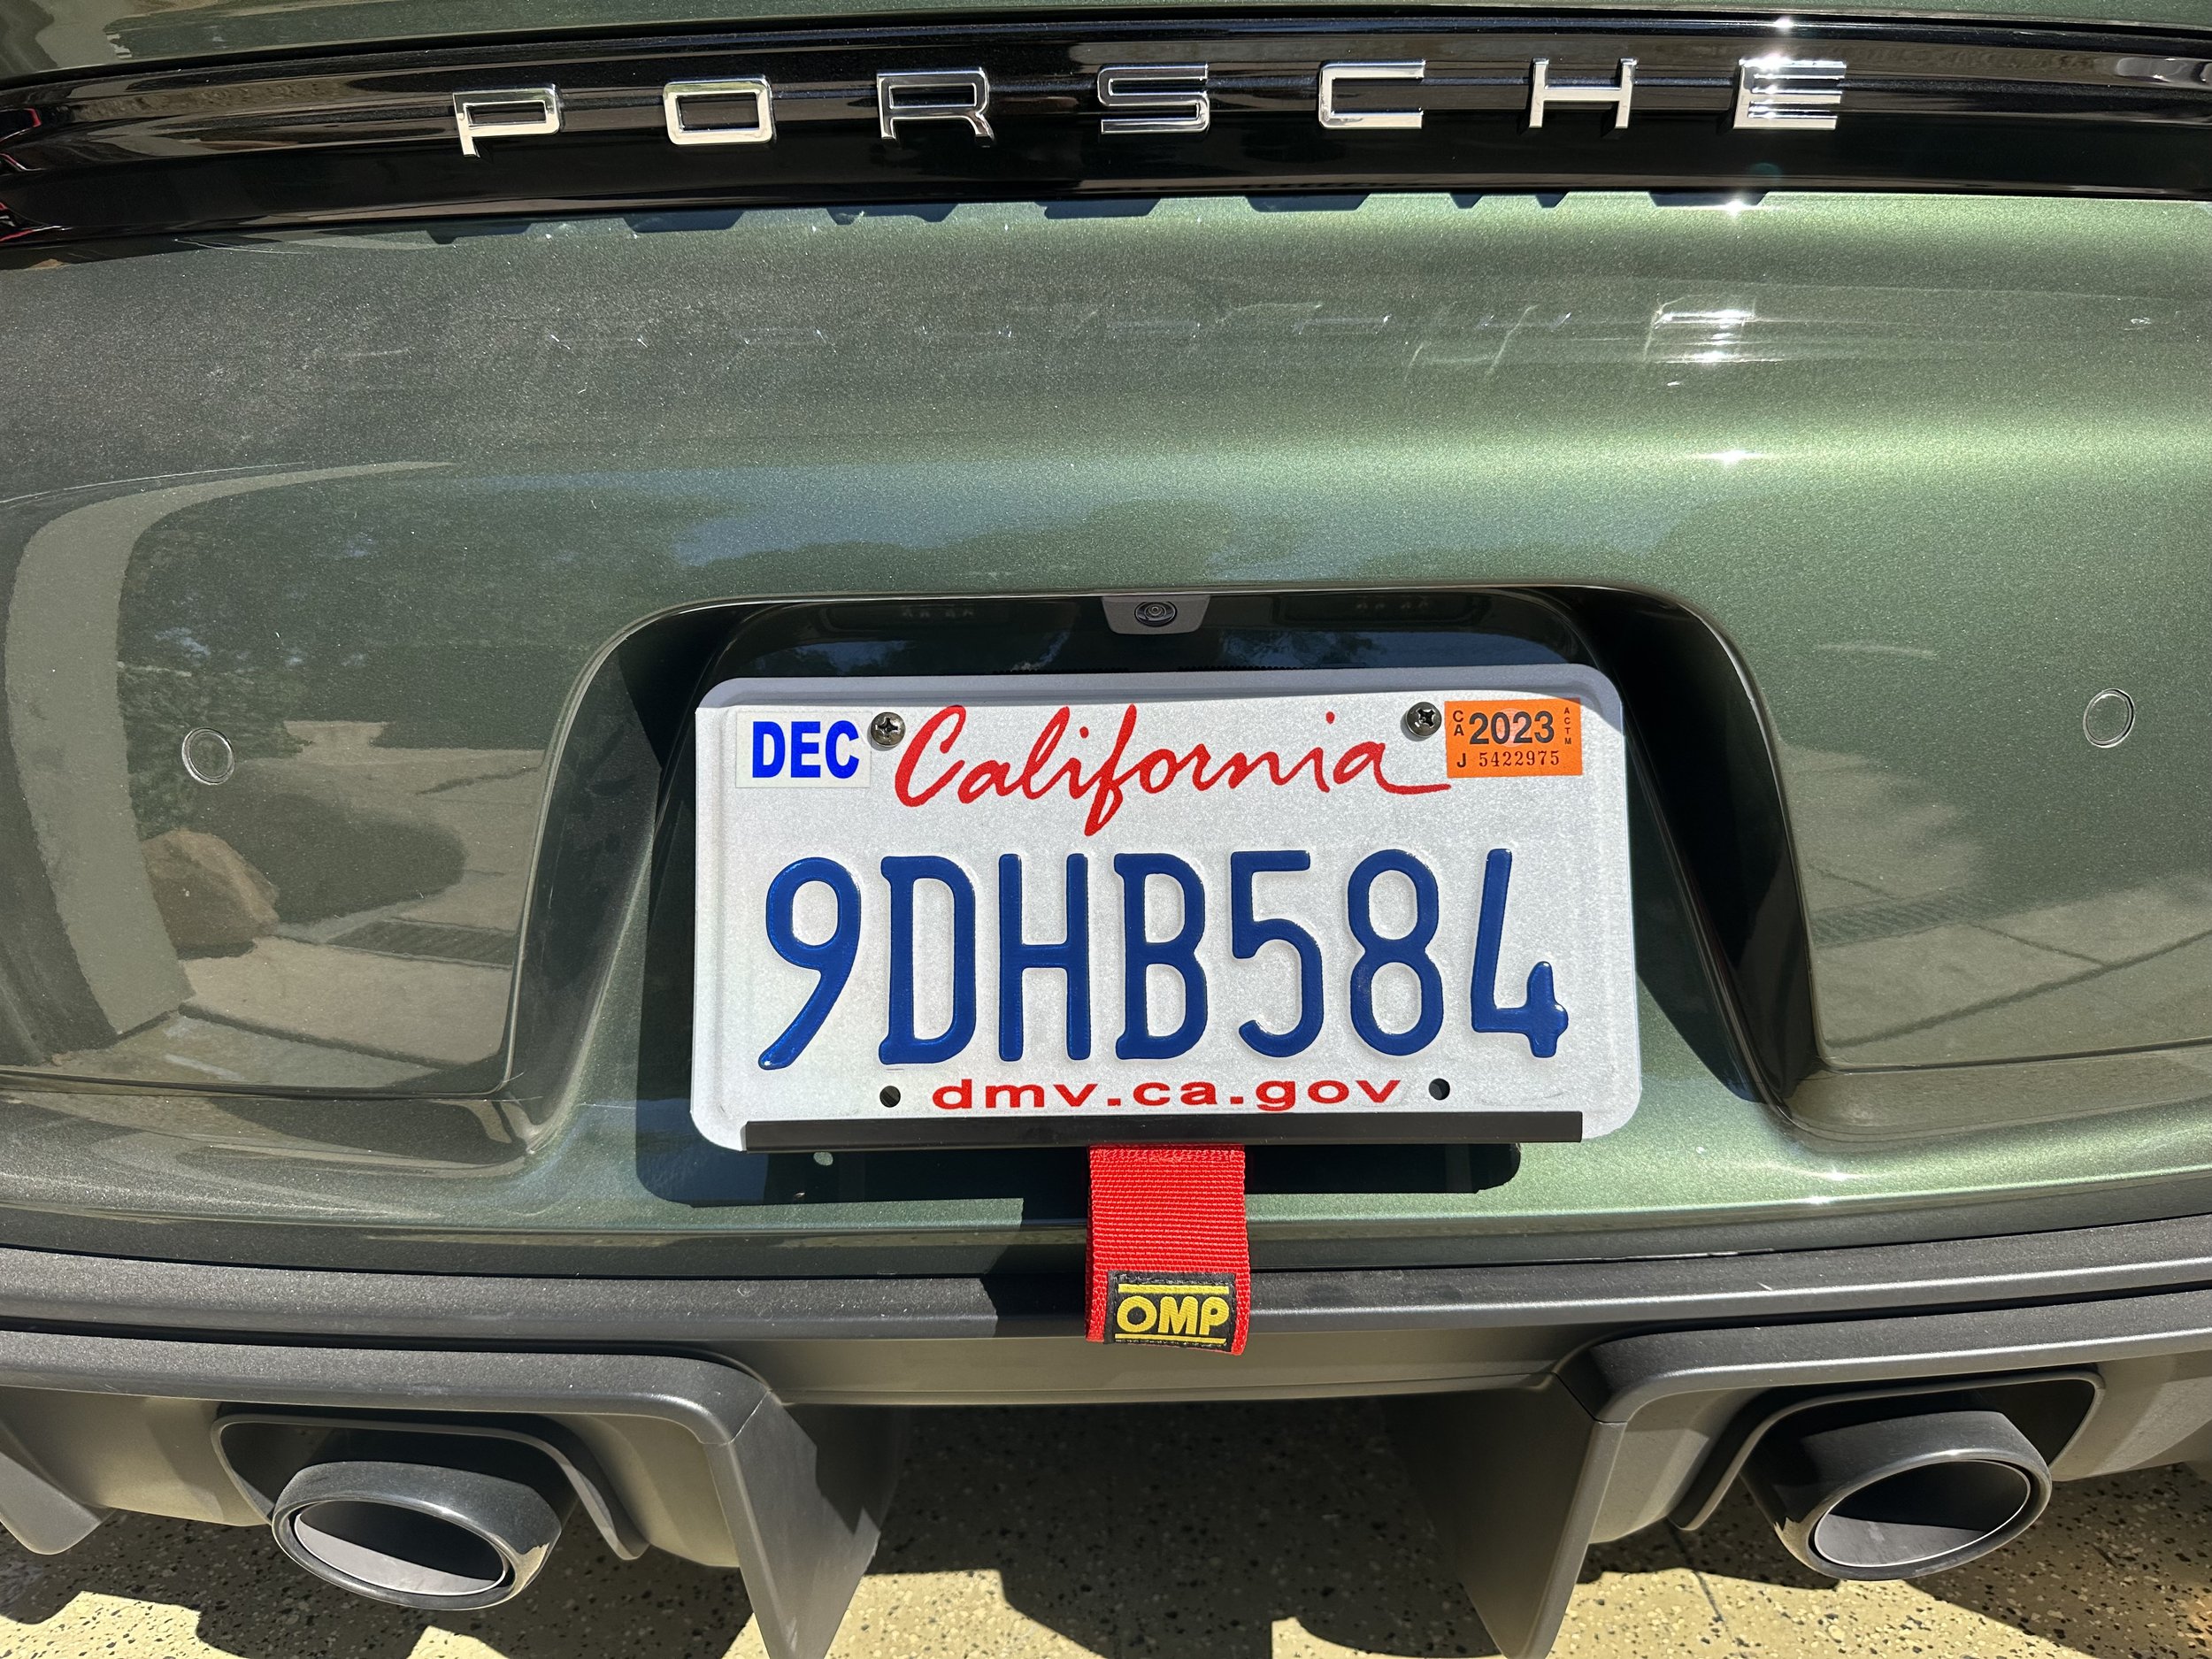
The rear two strap is BEHIND the license plate. I guess Porsche thought we would all love to remove and reinstall our license plate for each track day. No thank you. So what I did was buy a hinged (spring loaded) license plate that was made for a Chevelle in the 60’s. You can buy this on eBay for about $30. Once installed you simply flip up the license plate, screw in the OMP tow strap, and let the license plate flip back down. In case you needed to get towed the strap is sticking out and ready for a grab and the tension on the strap would keep the license plate flipped up out of the way.

Now I can keep my license plate installed but quickly and easily install and remove front and rear tow straps for my track days. Thank god for 1960’s tech to help Porsche with an obvious design flaw.

GT4 Build - Suspension Upgrades

The GT4 out of the box is a great track car. There are however a couple areas where you can make improvements on the performance. BRRacing did a great write up on what they suggest you upgrade on the GT4 (read more here). Based on their advice I decided to upgrade the suspension to address these short comings but to also allow me to fit 305s in the rear and 265s in the front on 19” wheels. That extra rubber requires some suspension tuning to get everything to fit. Here is what I upgraded using Tarett parts. I basically went with Tarett’s Club-Sport “A” kit but added their adjustable camber plates (see kit here).

  • rear toe links

  • locking plate

  • front thrust arm bushing

  • thrust arm adapter

  • LCA shim kit

  • front tie rods

  • front adjustable camber plates

For wheels I went with APEX front 19x9 and rear 19x10.5 SM-10RS in black. I also added their stud kit for easy wheel changes. For tires I went with Michelin Pilot Sport Cup 2 with the front being 265 (stock is 245) and the rears being 305 (stock is 295). The car is already planted but this should make it stick.

GT4 Build - Racing harness

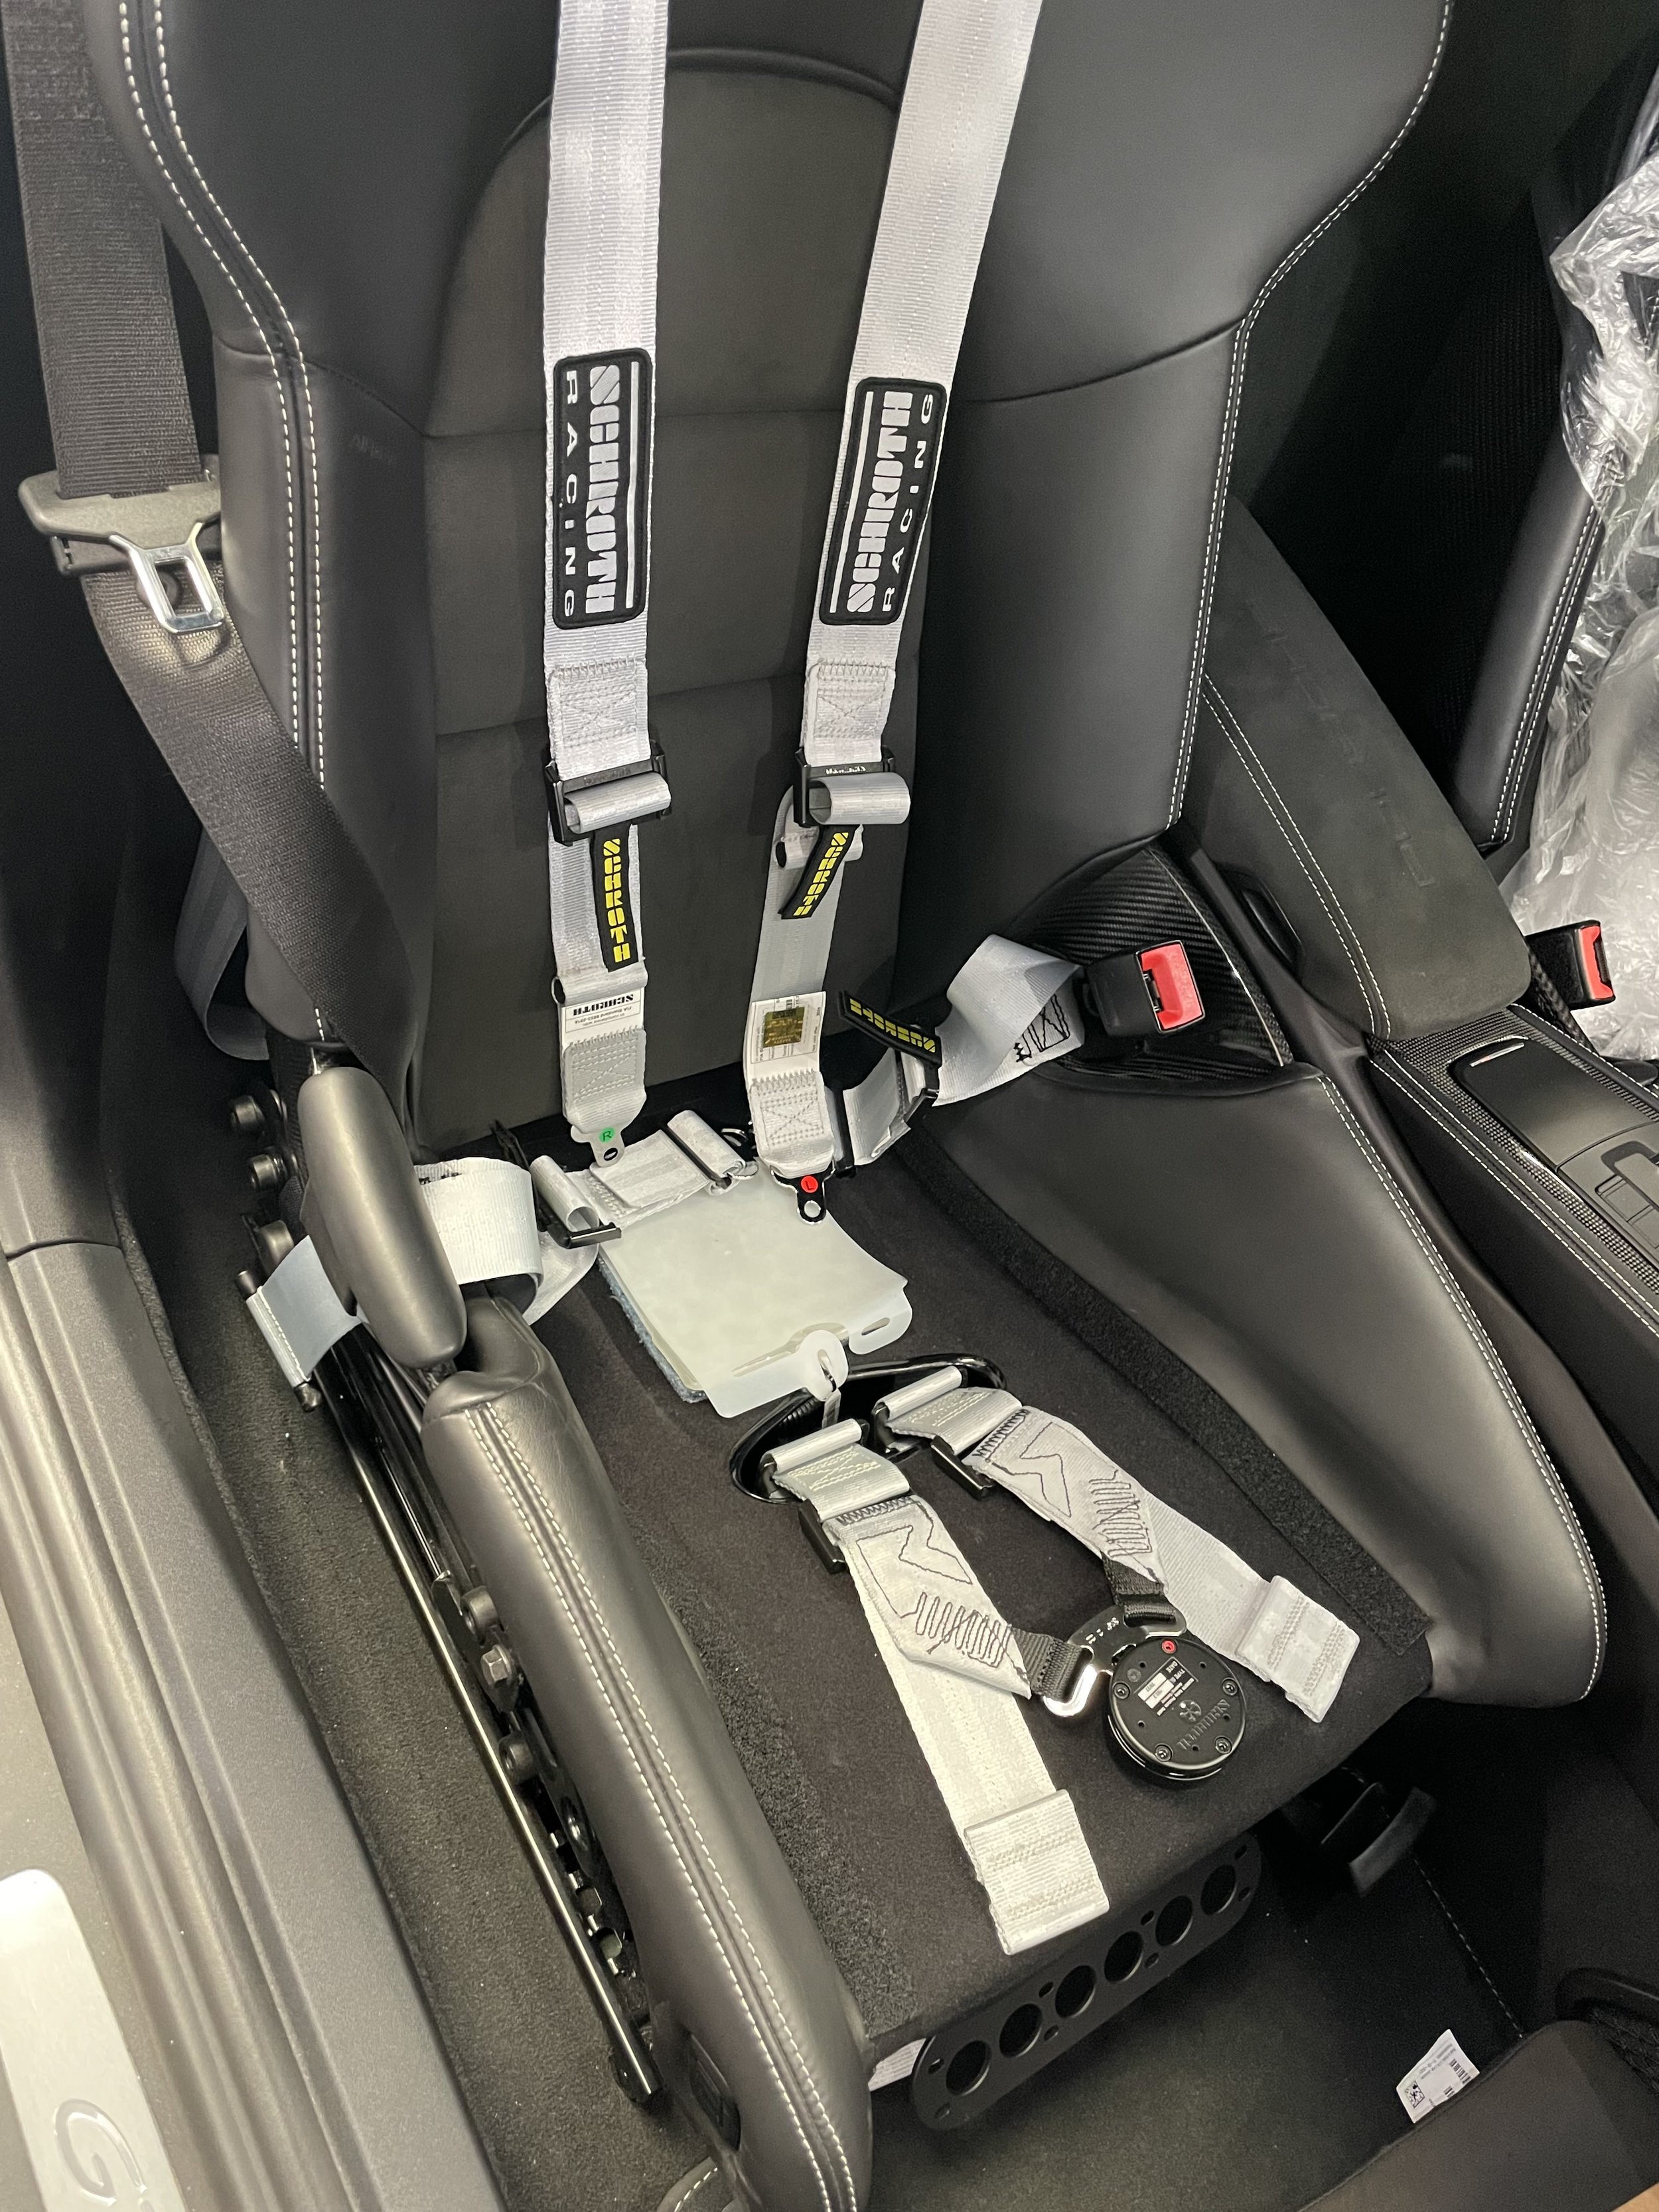
As I mentioned in one of my prior posts, I ordered Schroth Porsche GT3 2x2 silver 6 point harnesses. I have had these before and love them, plus they have metal ends made to fit Porsche’s carbon fiber seats OEM mounting points. These also allow you to keep your street 3 point belts so you can have a dual purpose car.

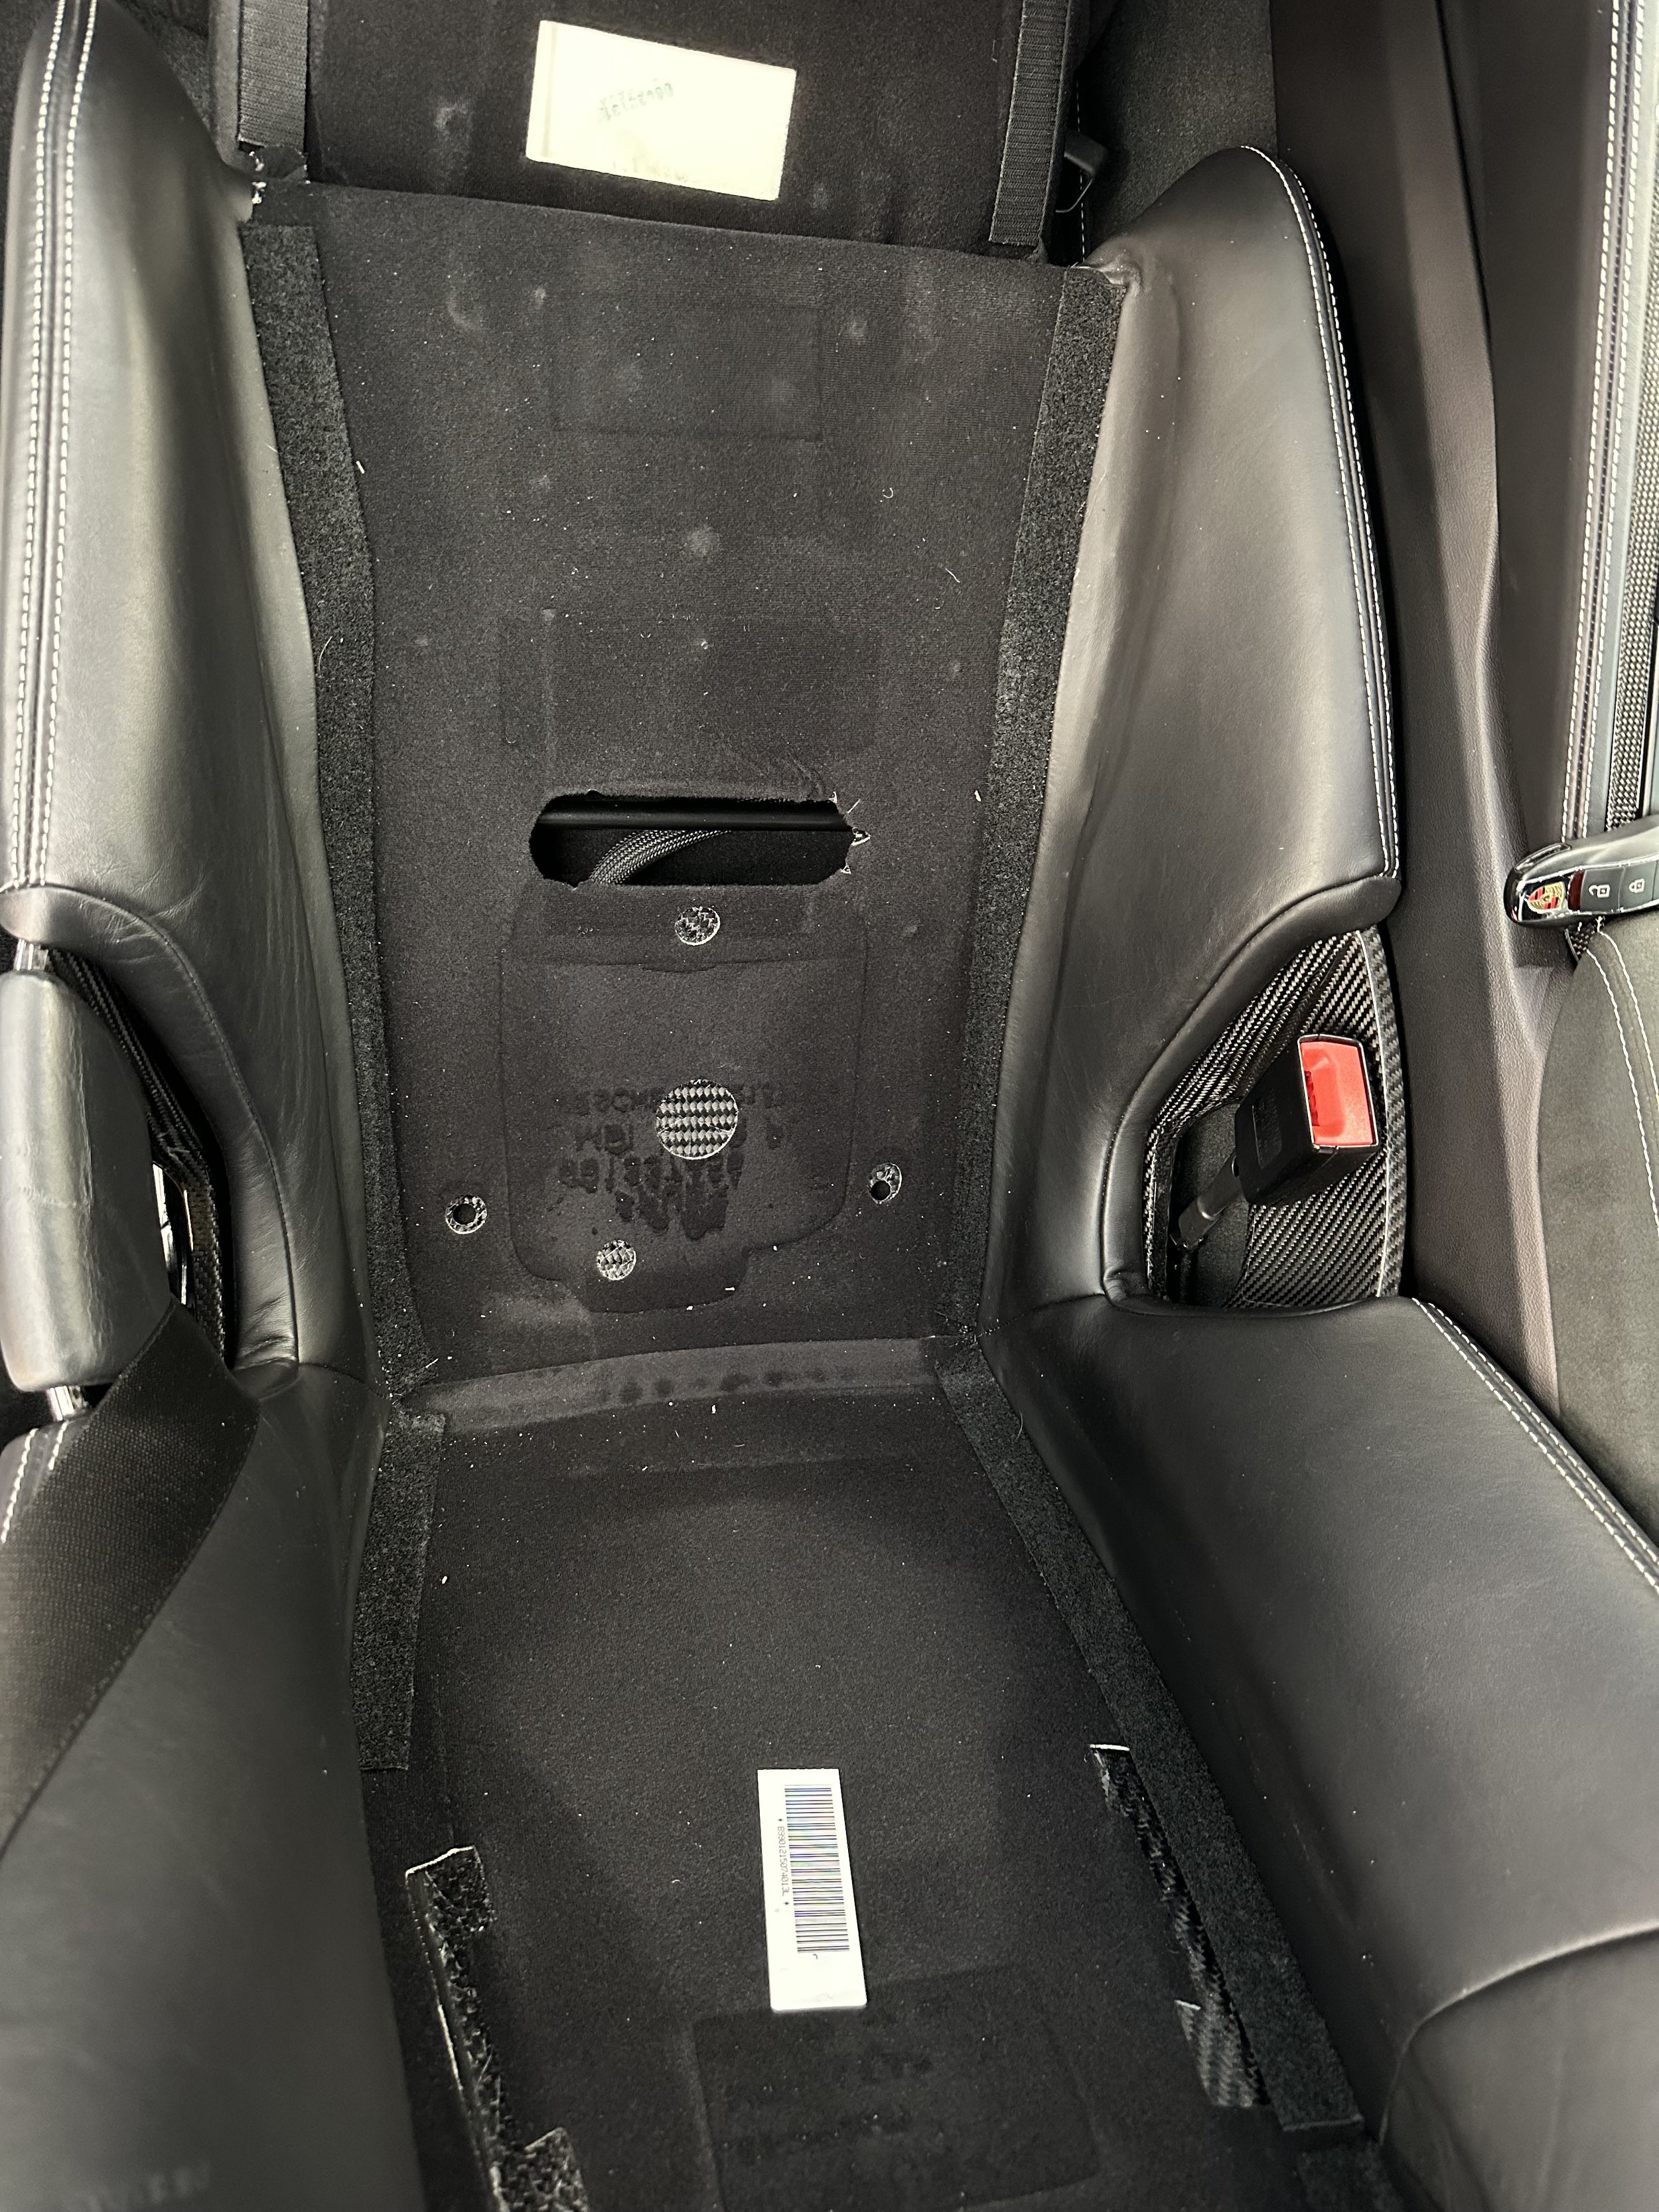
But there is a known problem that needs to be addressed. The driver seat has a cutout in the seat floor to allow the sub-belts to pass thru, but the passenger seat does not. The reason is due to DOT regulations where a pressure sensor is required in the passenger seat right where the cutout is meant to go. So your options are to have 5 or 6 point belts for the driver but then just street belts for the passenger, or you go with 4 point belts for both the driver and passenger, or you need to cut a hole into your expensive Porsche carbon fiber passenger seat.

The issue with just putting racing belts for the driver is that most HPDE and racing organizations require that the passenger seat and the driver seat must have matching belt configurations if you want to have a passenger with you on the track. The issue with just going for 4 points is that they are fundamentally less safe than 5 or 6 points (however the difference might be minor if you get the proper 4 point such as Schroth’s Porsche belts). That leaves the third option of cutting into your expensive passenger seat which sounds difficult but is actually easy if you take your time.

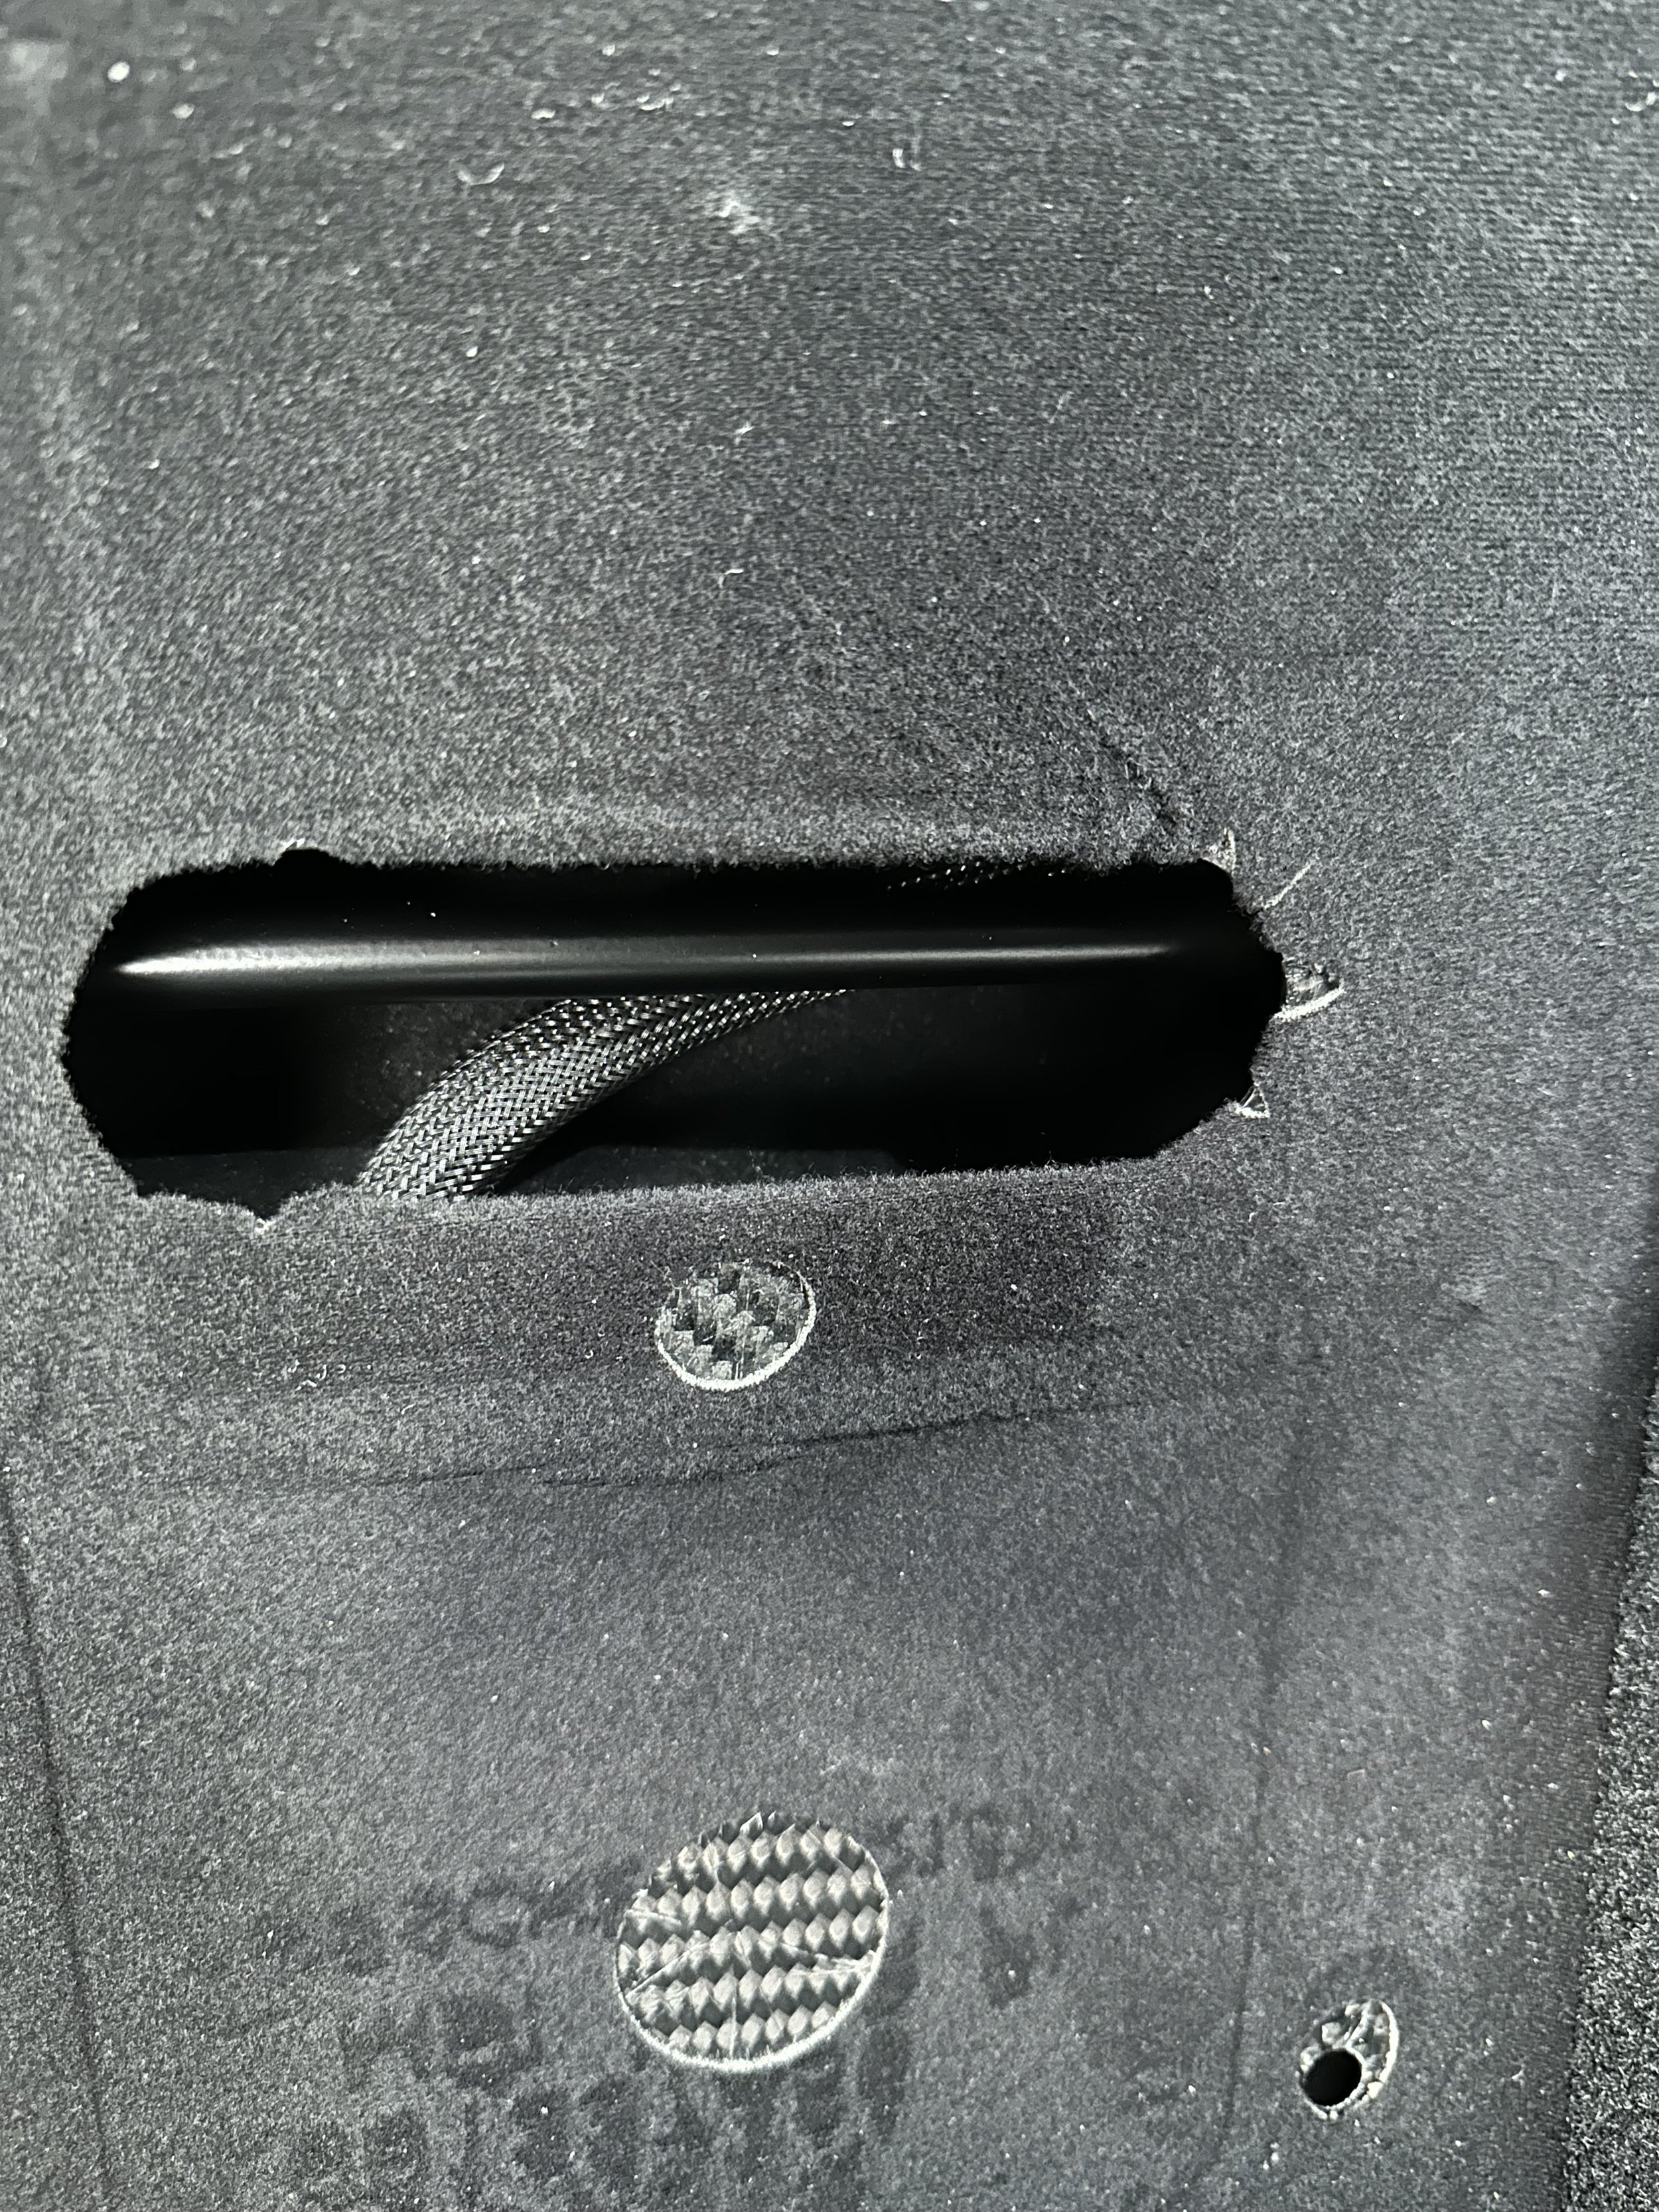
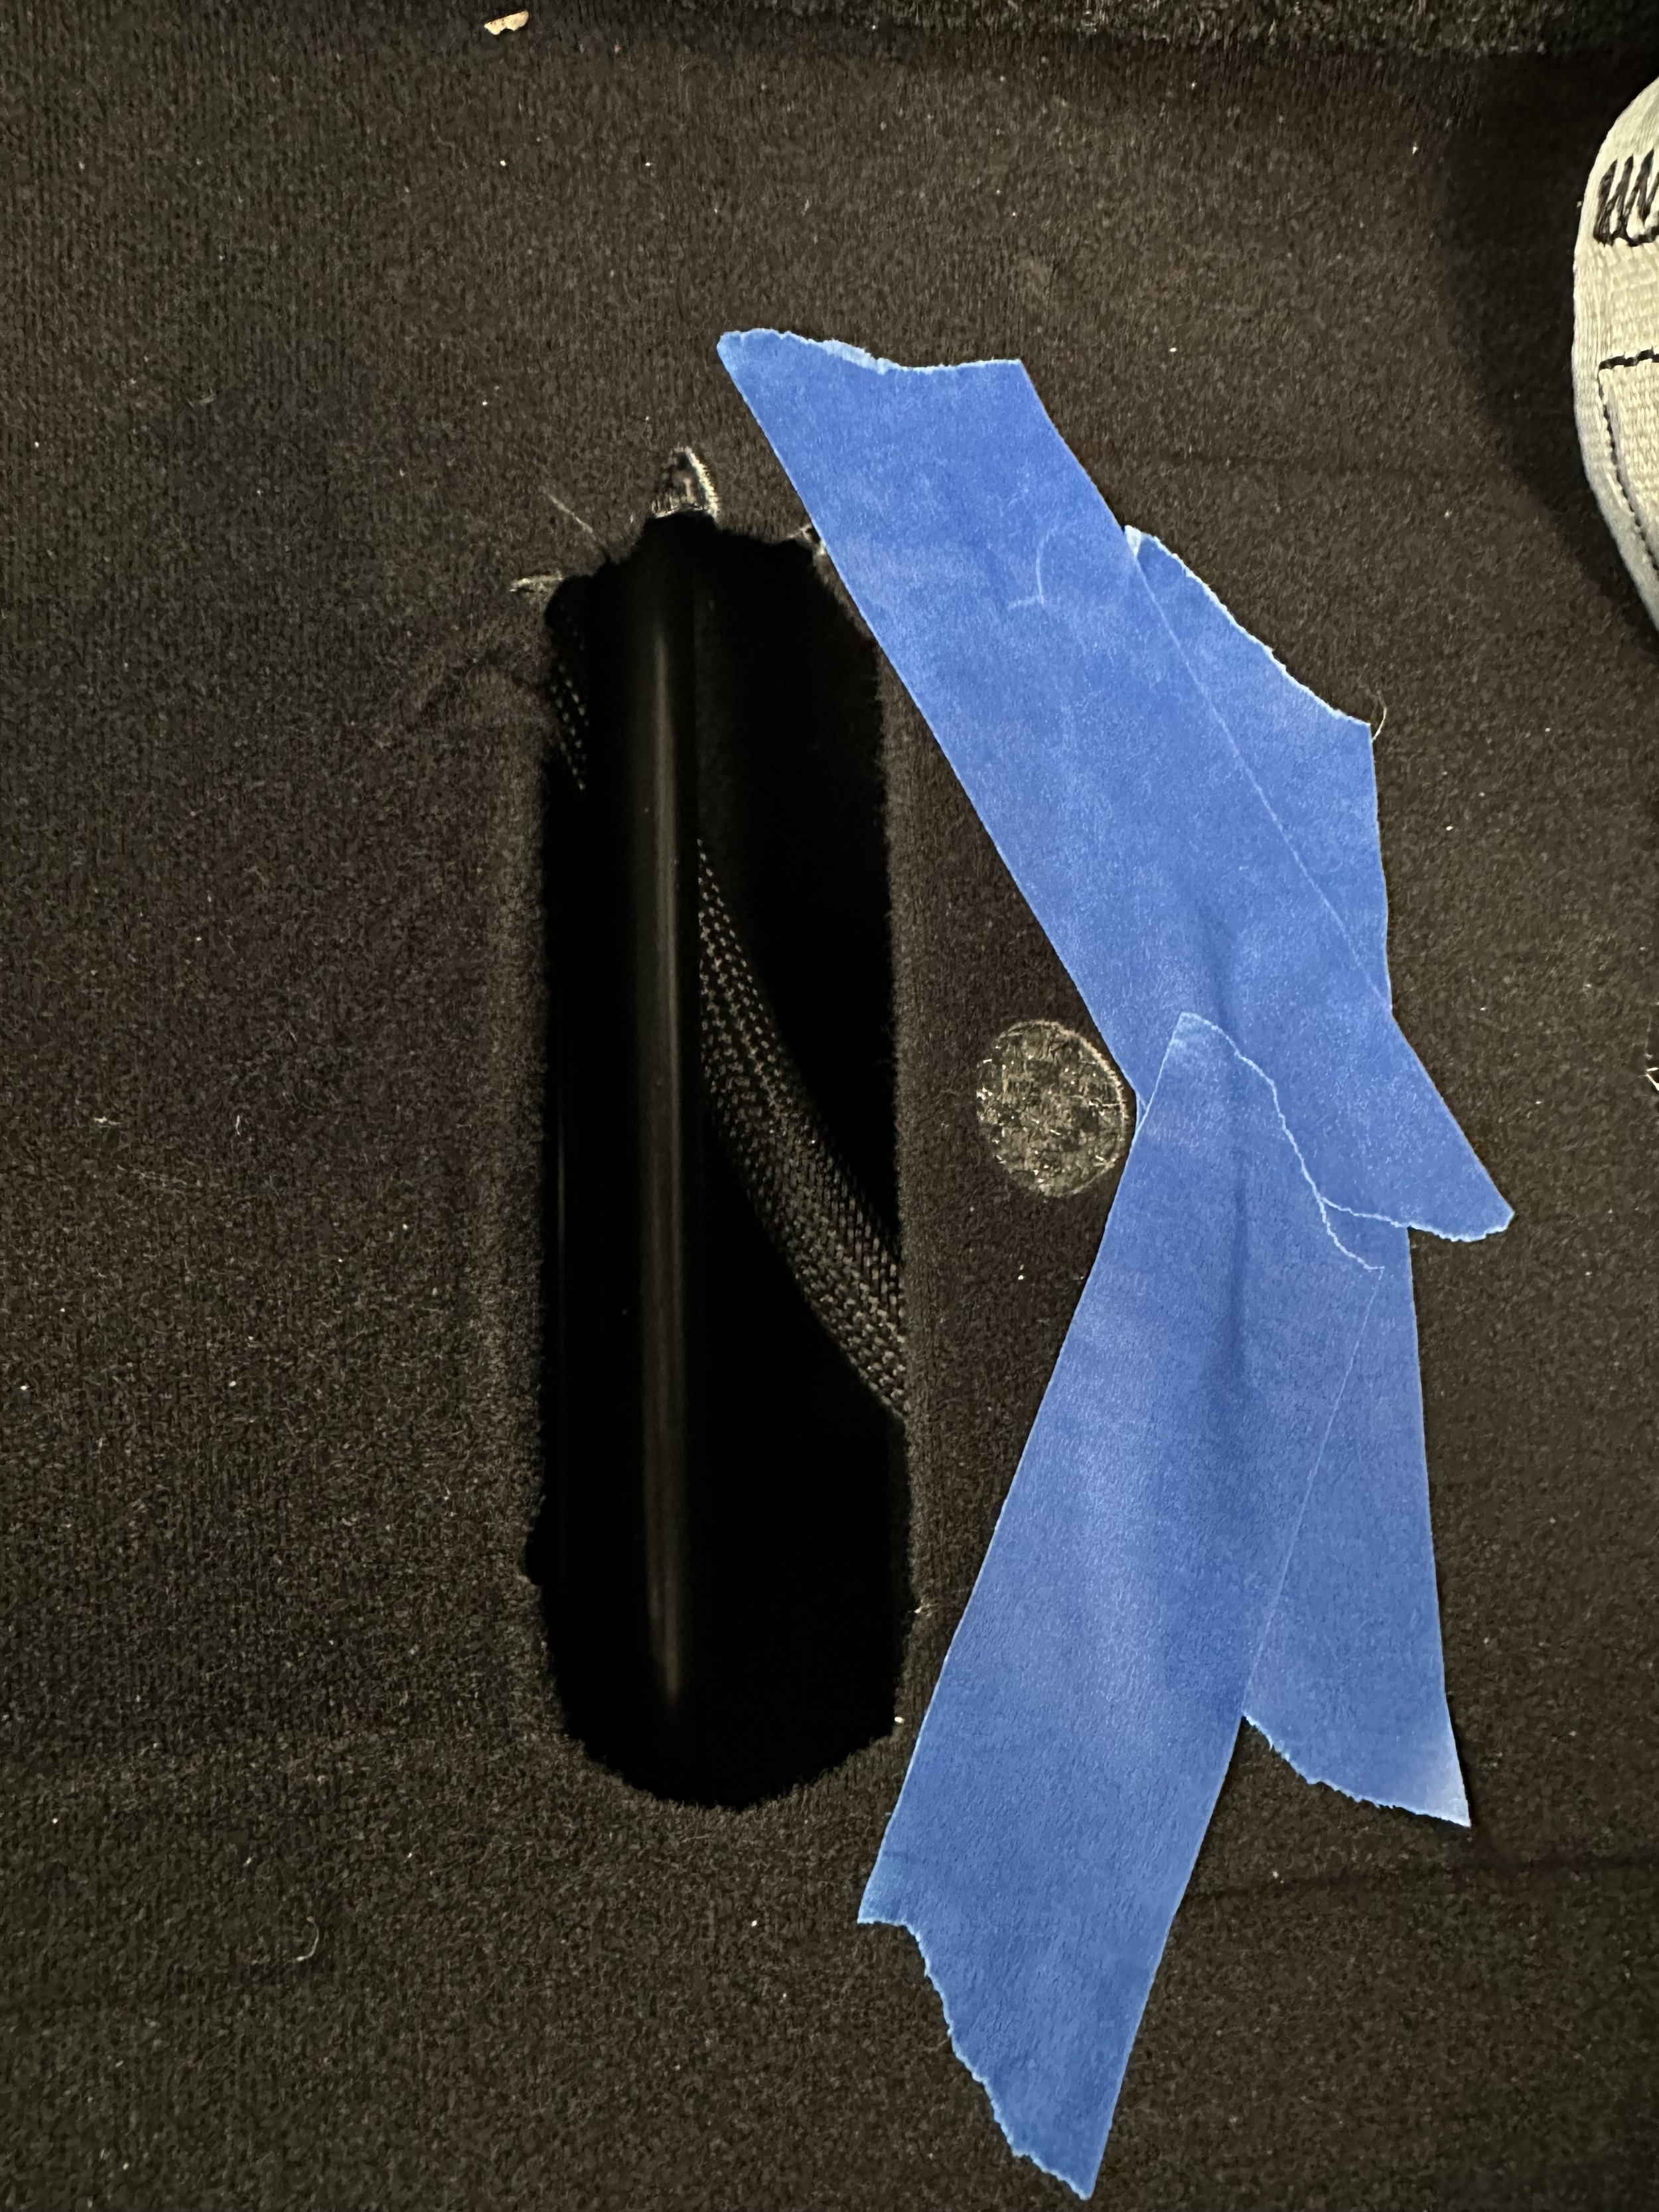
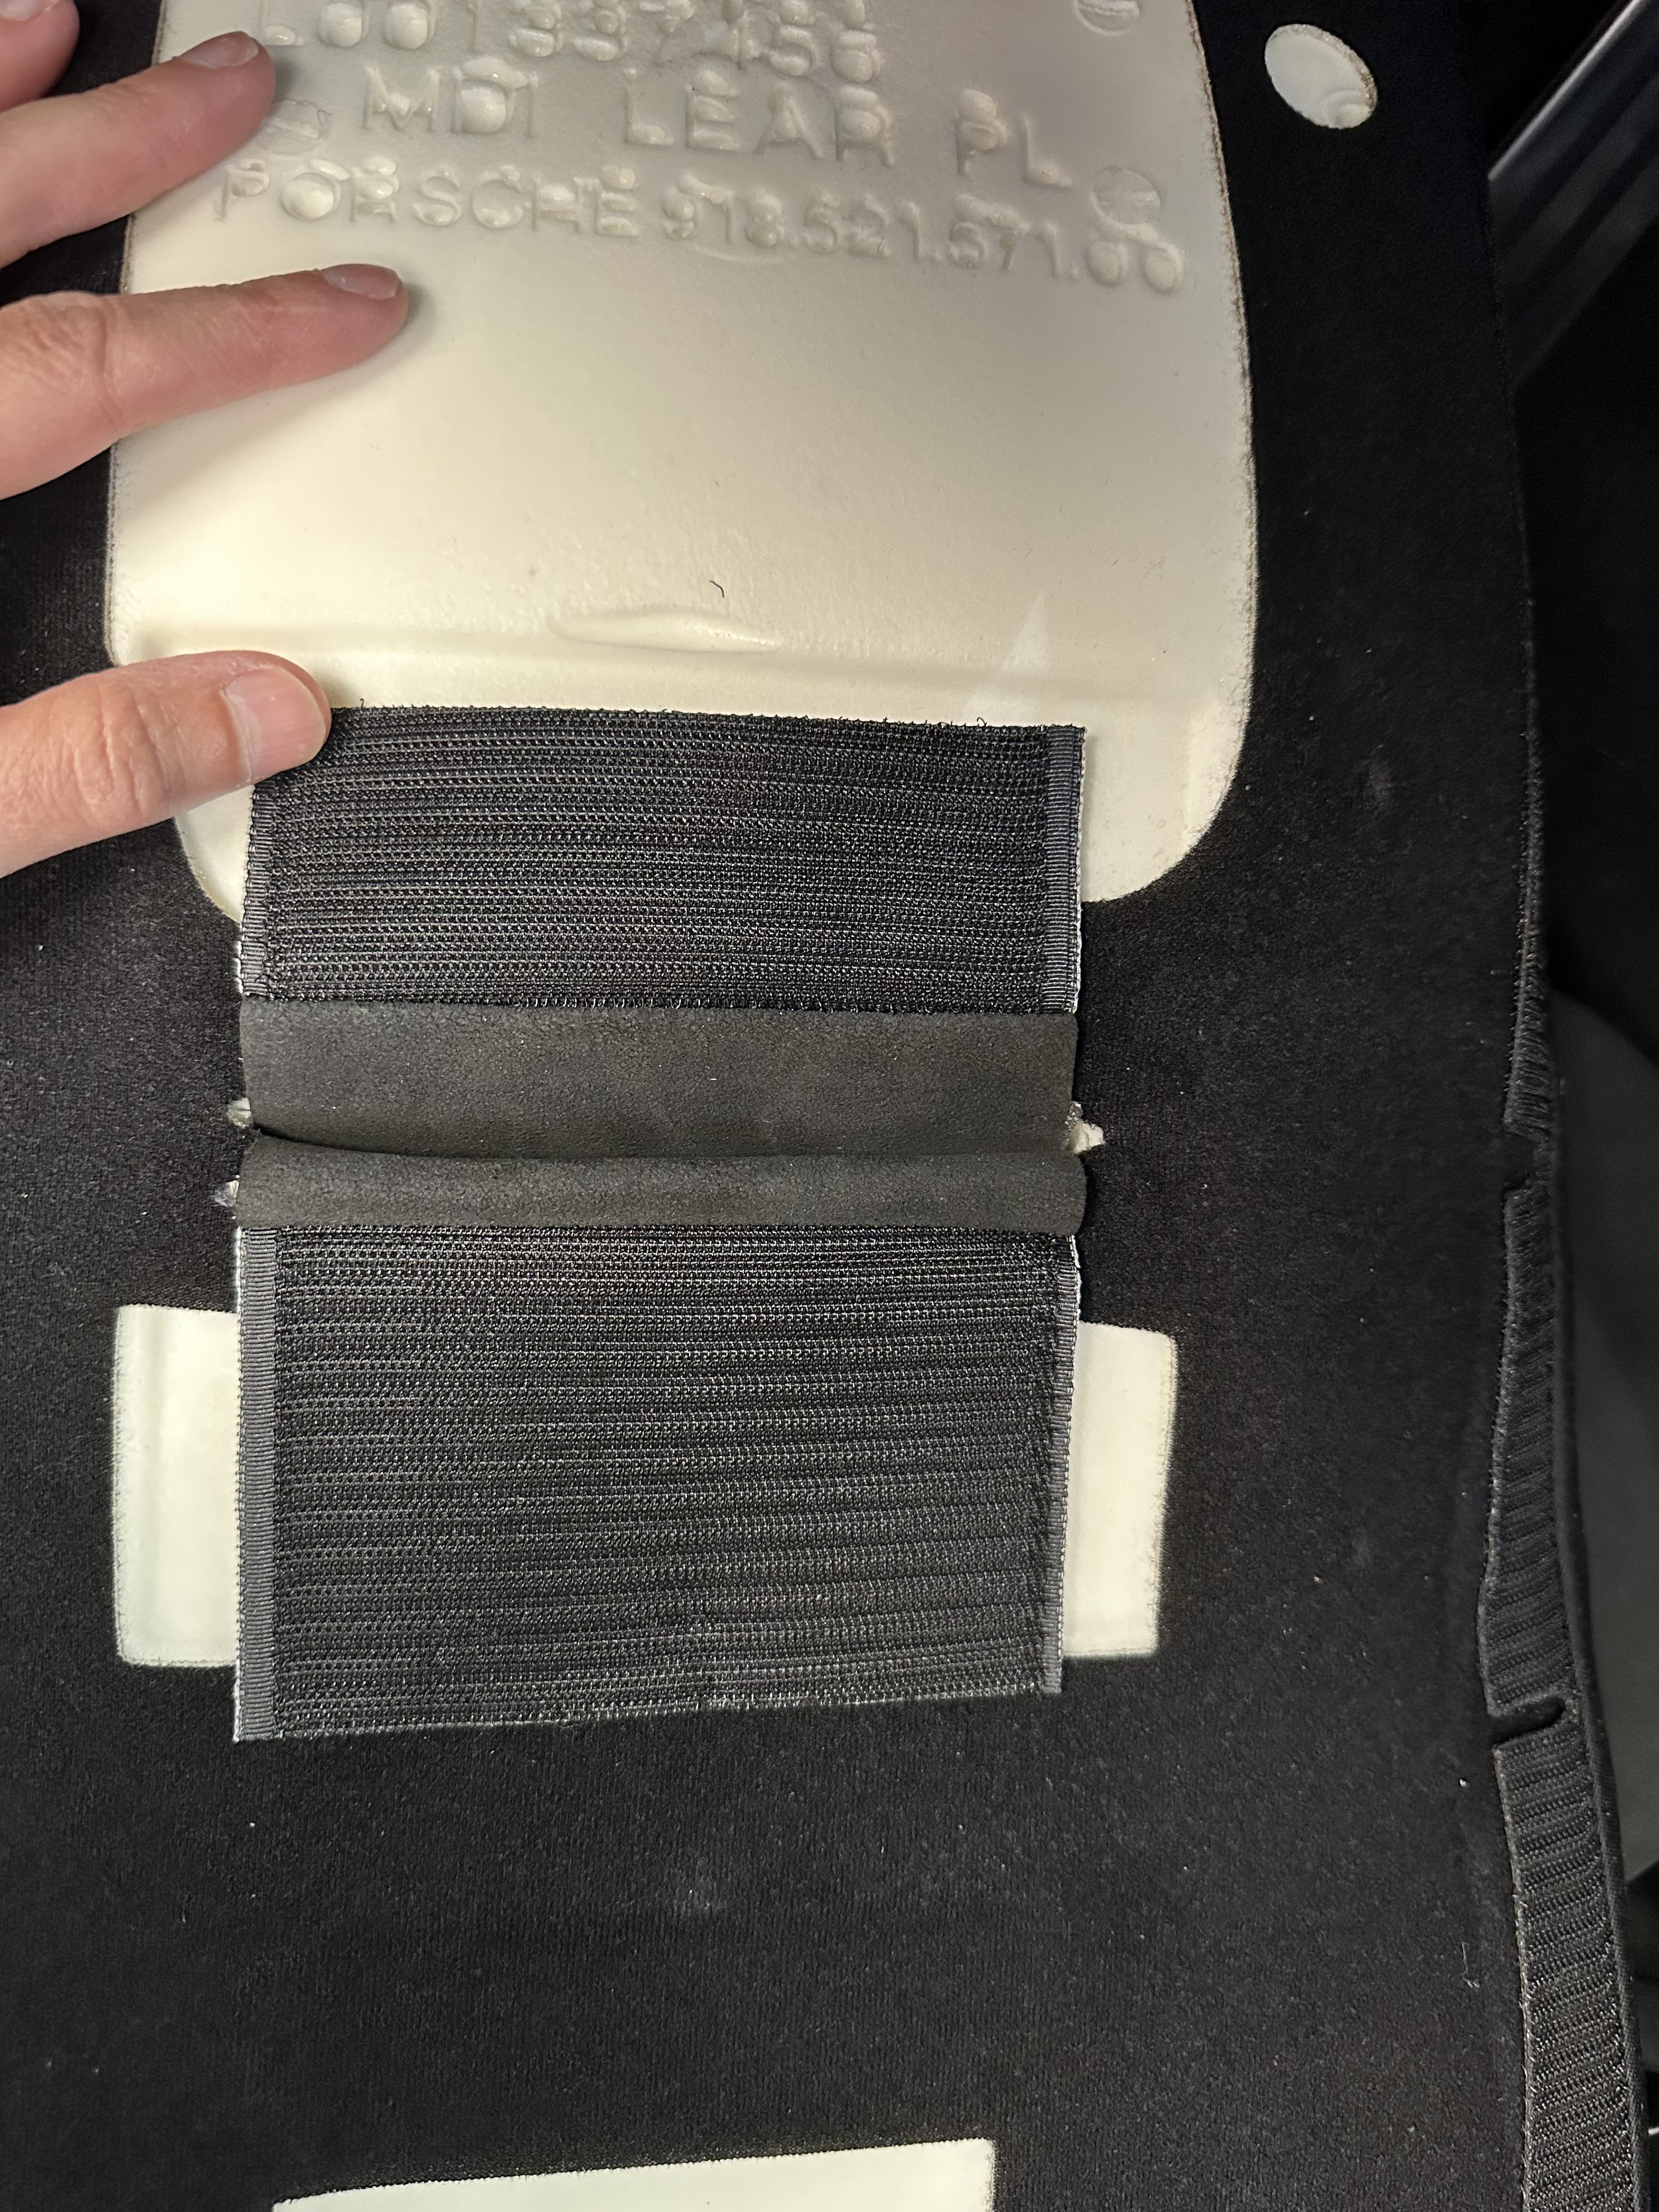
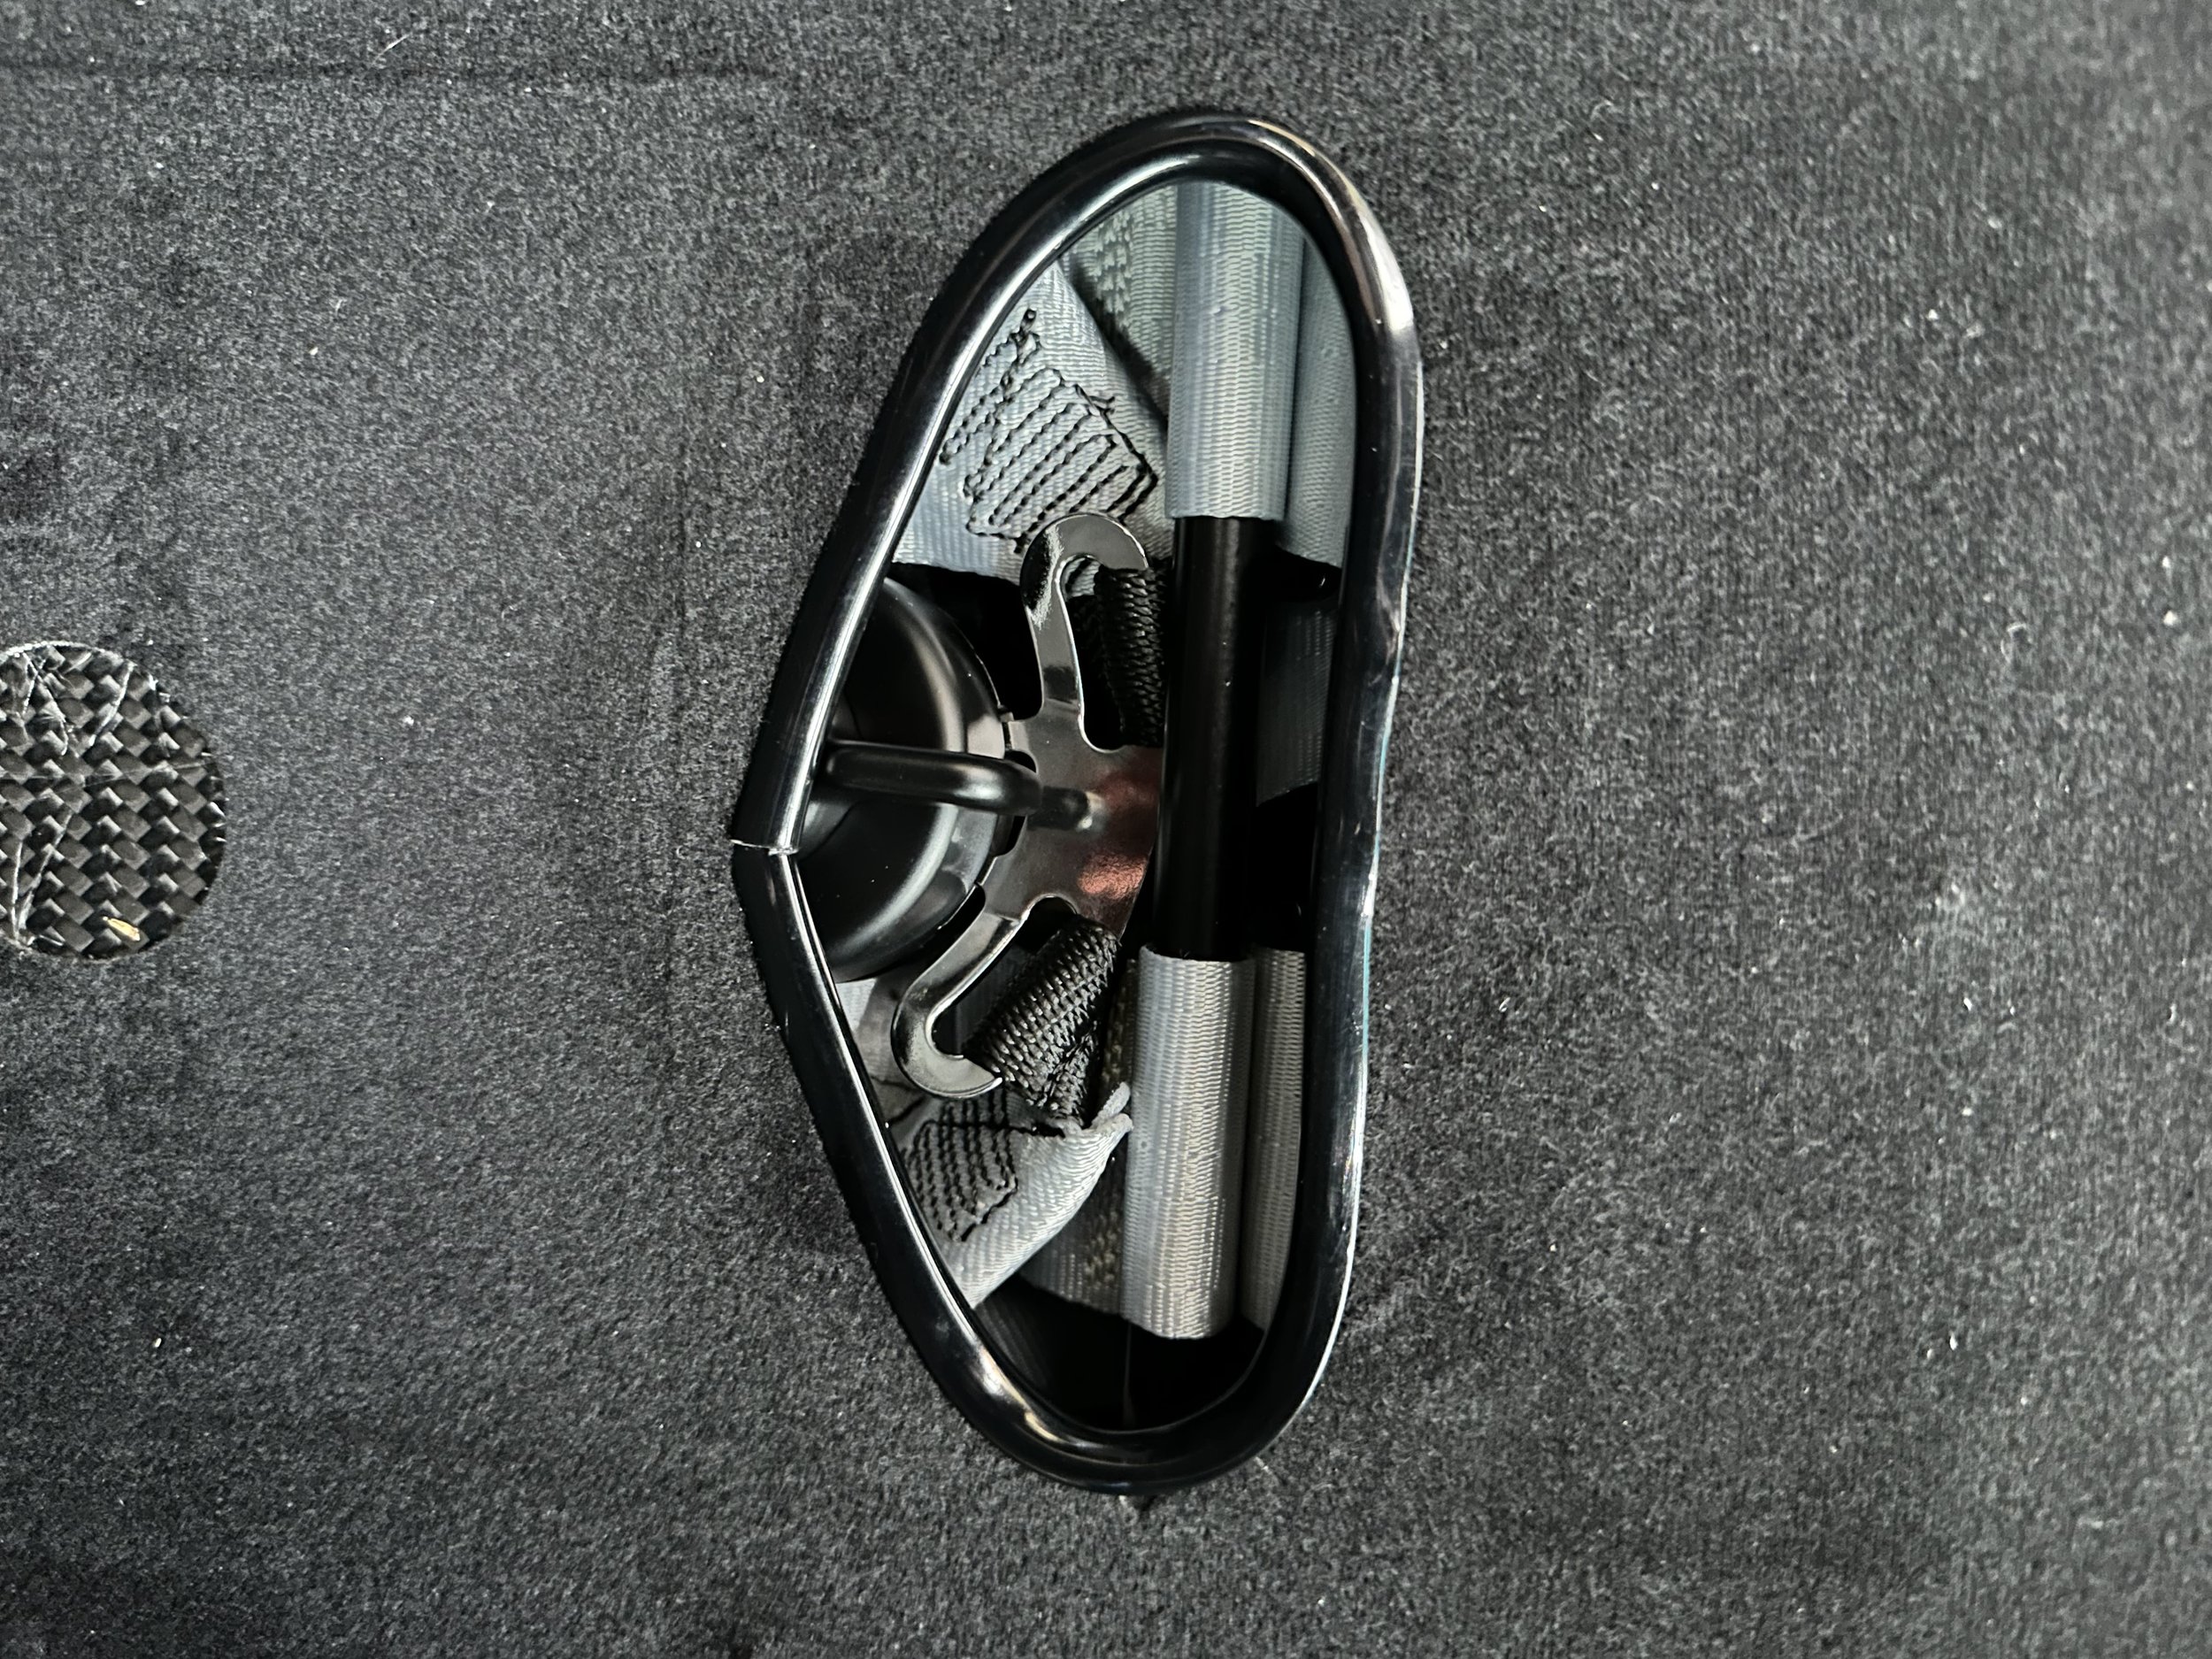
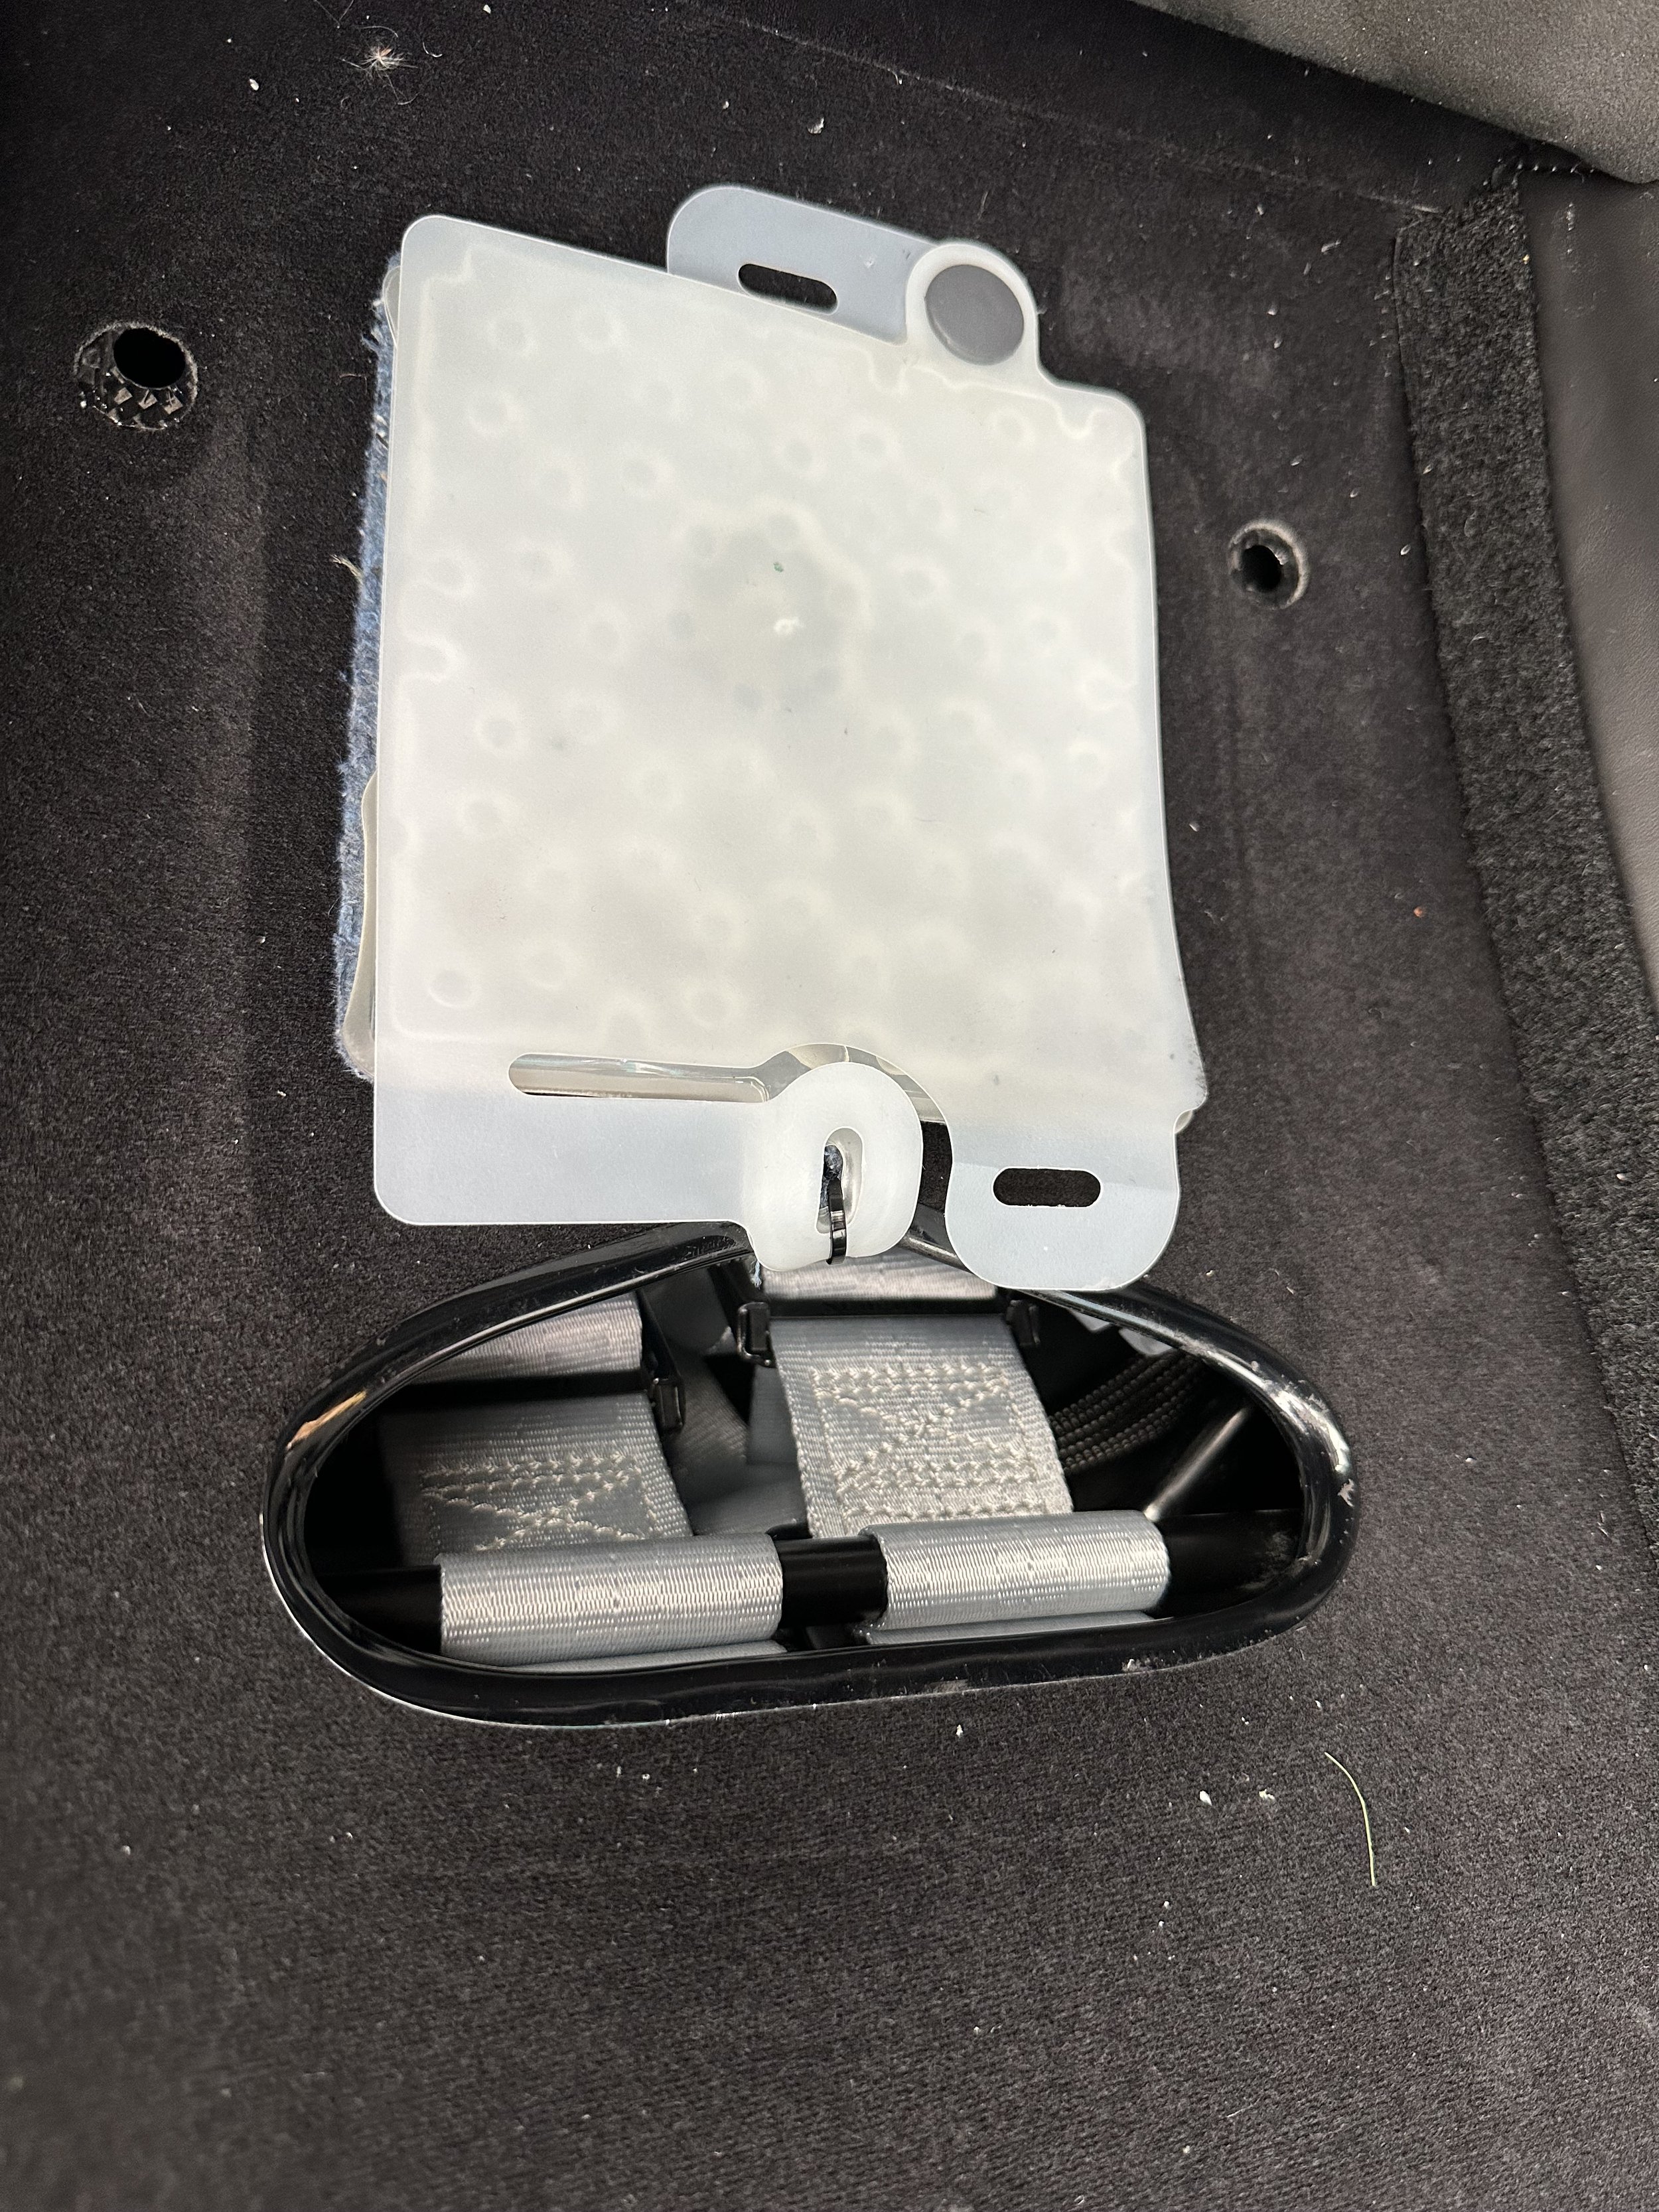
I wanted the maximum safety I could get for the track so I opted for cutting into the seat. I had my race shop (Edge Motorworks) do this for me after I researched how it needed to get done. I first removed the seat inserts which are just velcroed down. The driver side insert has a pass thru hole in the fabric to accommodate the sub-belts. The driver side seat has a pass thru hole in the seat shell but I wanted that widened so that the belts could be pushed thru and out of the way when on the street.

The passenger seat is more complicated. The first problem is that when you remove the seat insert you will notice there is no pass thru in the fabric for the belts so you will need an upholstery shop to modify the insert. Luckily it’s a small job as the insert is designed to make his rather easy. Alternatively you can buy custom made inserts with the pass thru already created. The next challenge is that you need to reposition the seat sensor so you have room for the cutout in the shell. Then you need to take your time and cut into the carbon fiber shell to make a pass thru hole for the belts (again for my purpose I wanted that large enough to hide the belts when on the street). When carbon fiber is cut it becomes very sharp which could damage the belts so we covered the edge of the hole with automotive rubber trimming.

Edge Motorworks did a great job. They took their time and made the cutouts perfect, in fact they look factory. I now have 6 points for both the driver and passenger that I can get out of the way for the street yet simply pull out for the track. The silver belts match the silver trim of the car perfectly. For what it’s worth this is the most expensive of the three options. The least expensive option that still increases your safety is to go with the specialty 4 points by Schroth, but as with all of my car builds I rarely go with the easy or less expensive option.

GT4 Build - Fire extinguisher

Our GT4 had an OEM fire extinguisher at one point but it has since been removed. The bracket was still mounted but the fire extinguisher itself was missing. That is a shame because it’s a nice feature to have, however the fire extinguisher itself was not that great (size or features). I decided to remove the OEM mount and replace it with a Rennline aluminum mount, quick release bracket, and Safecraft PB2 fire extinguisher. This not only looks better than the OEM but it is a larger capacity fire extinguisher that uses a better fire extinguishing agent.

GT4 Build - Electrical hookup

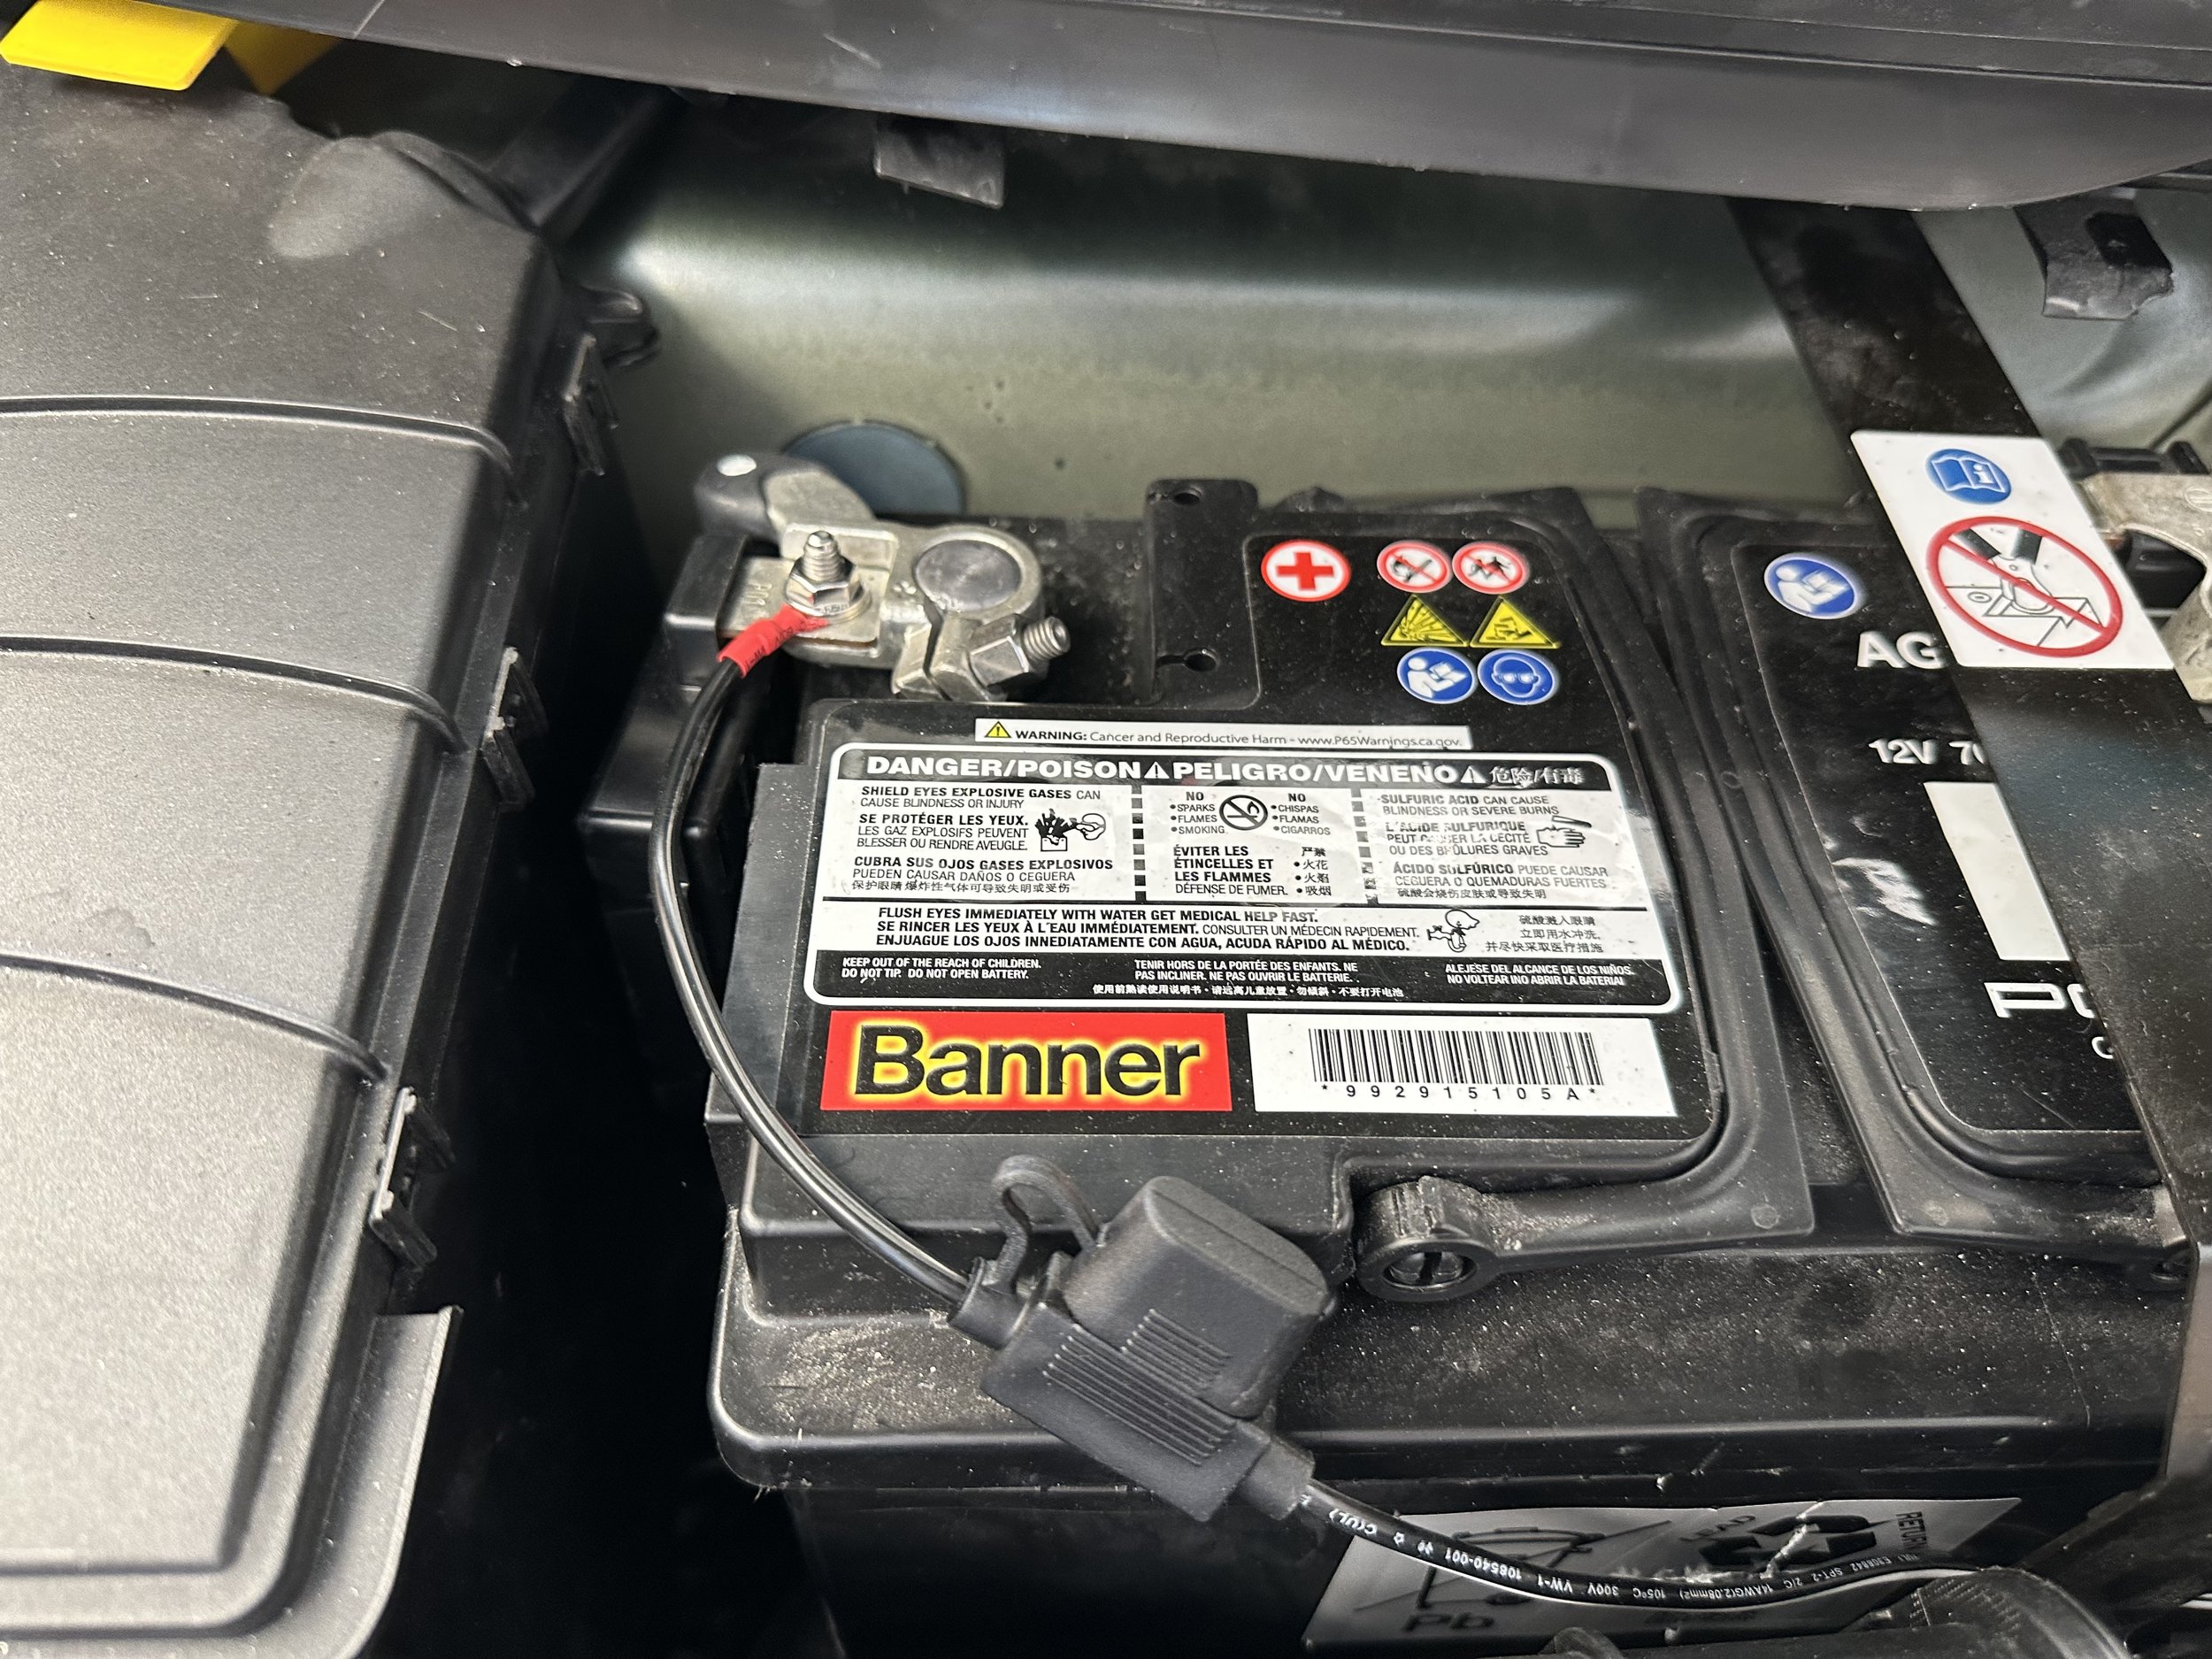
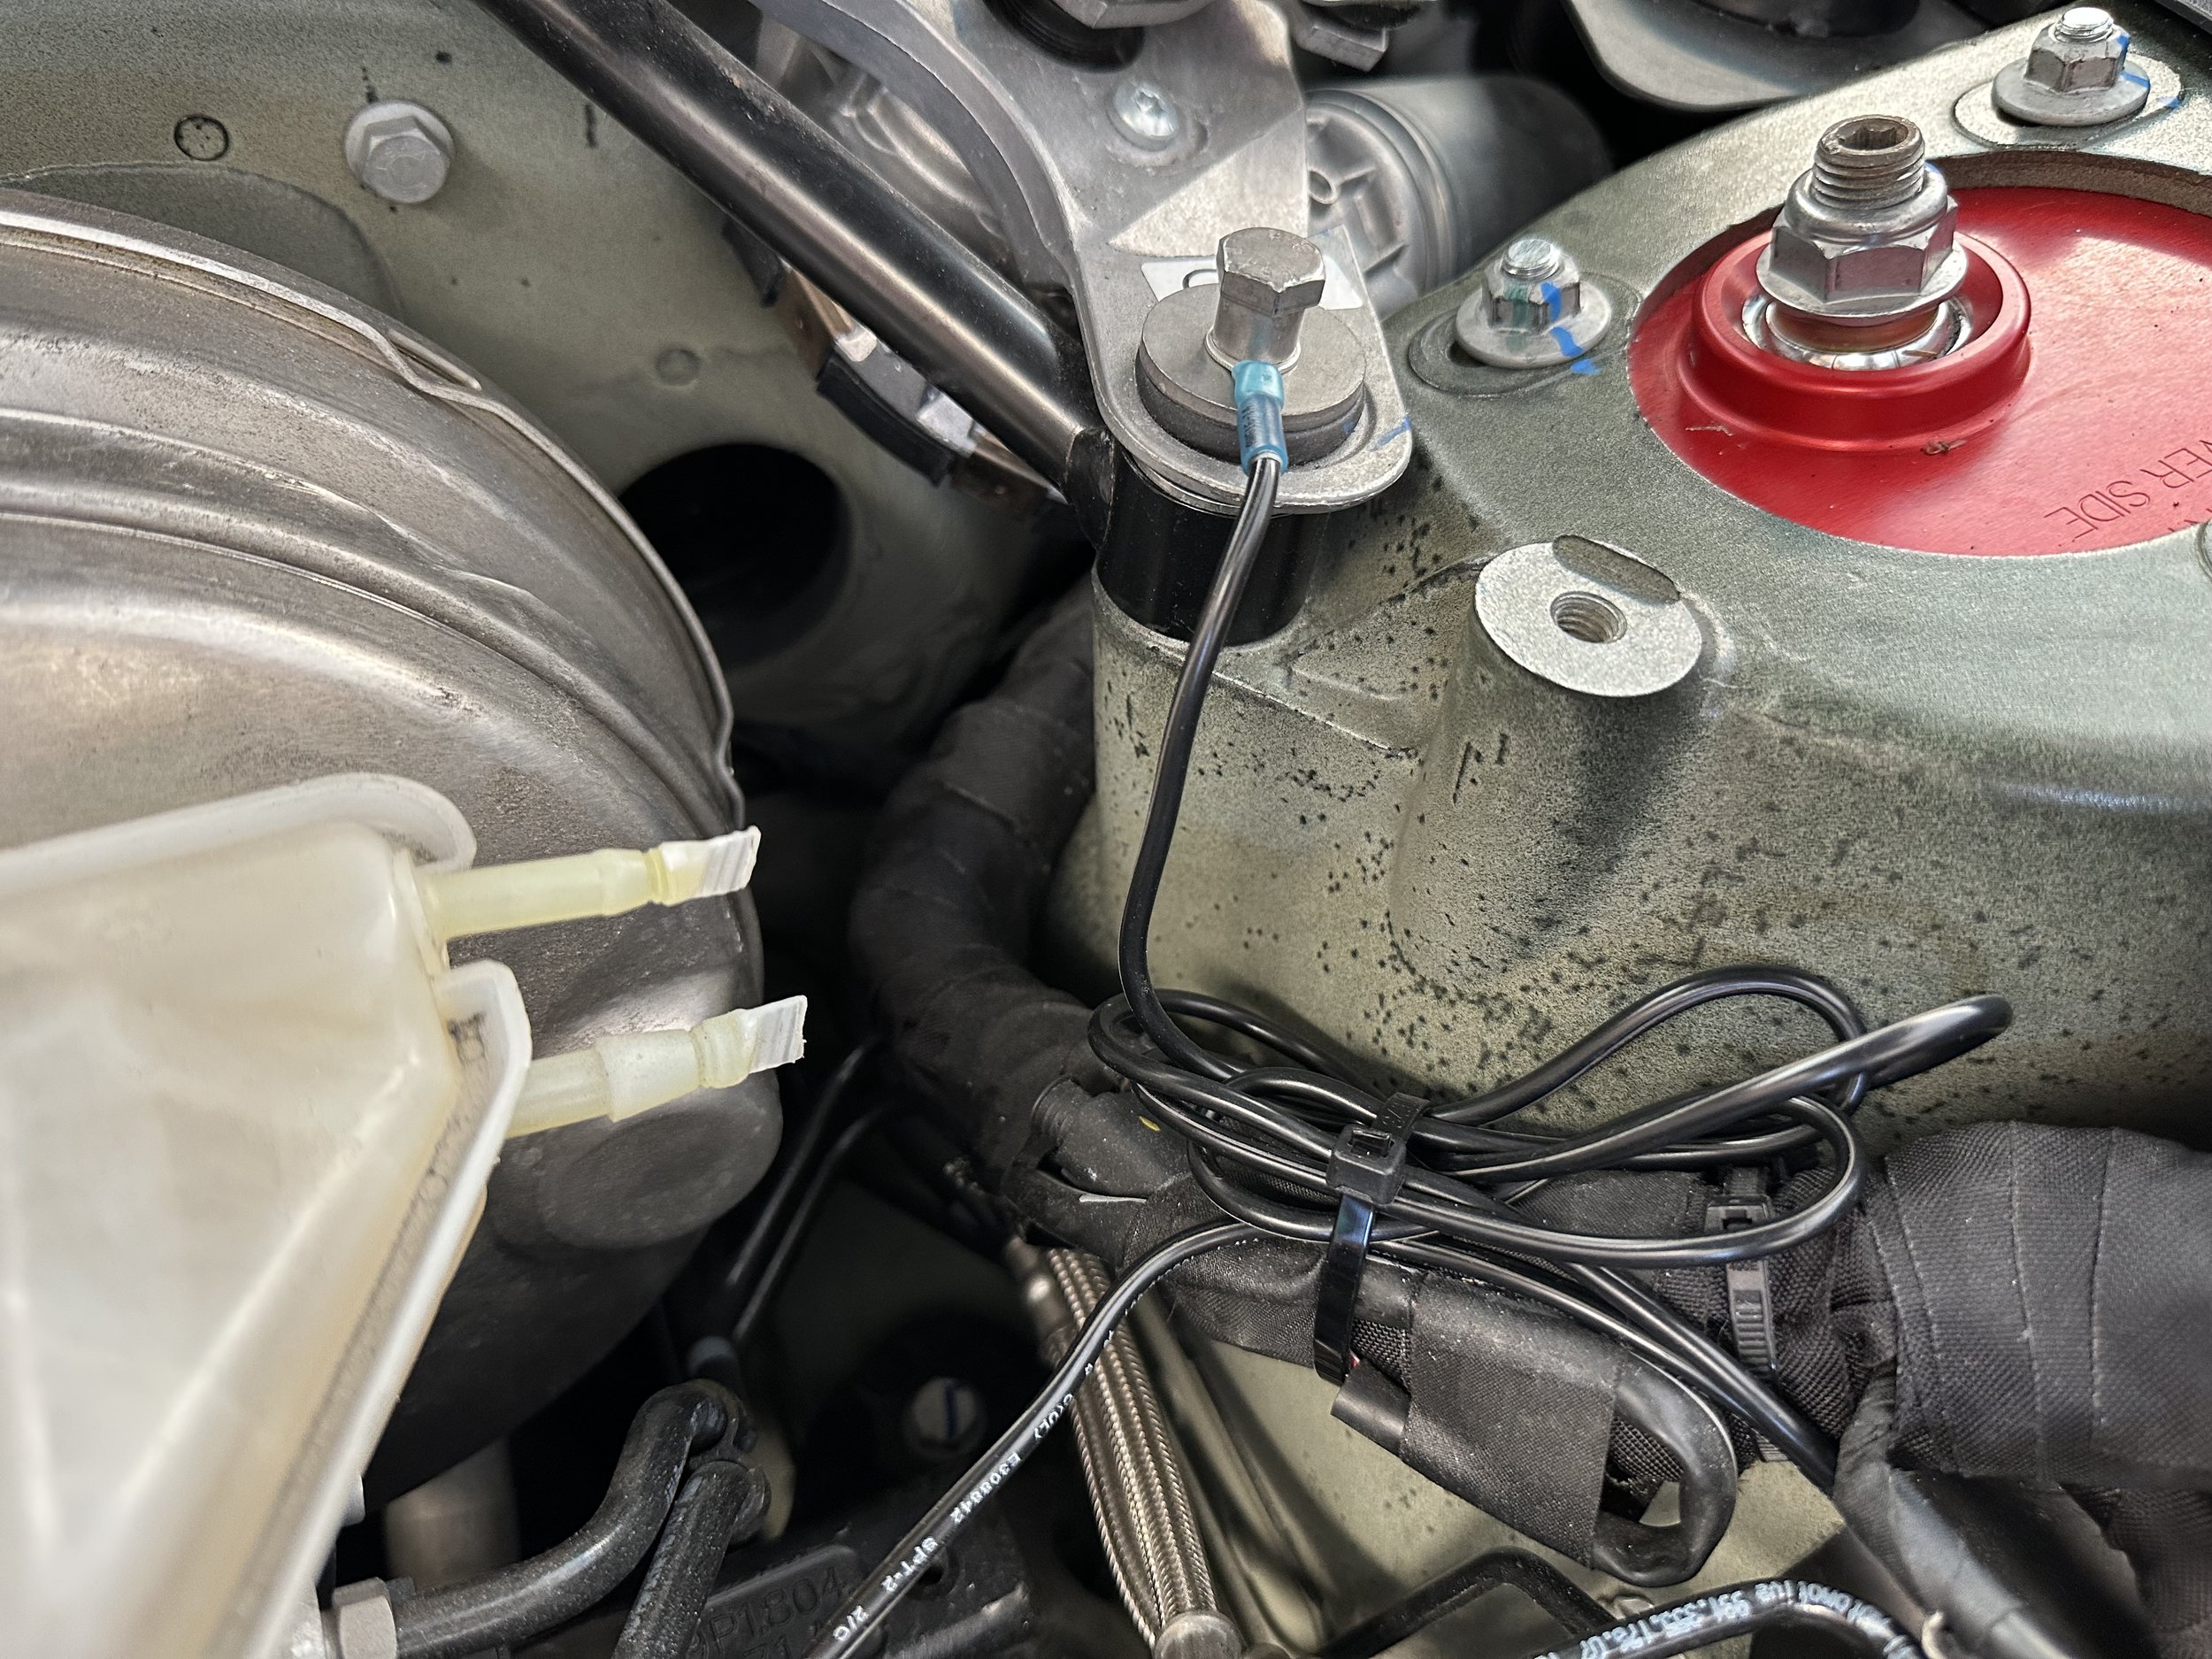
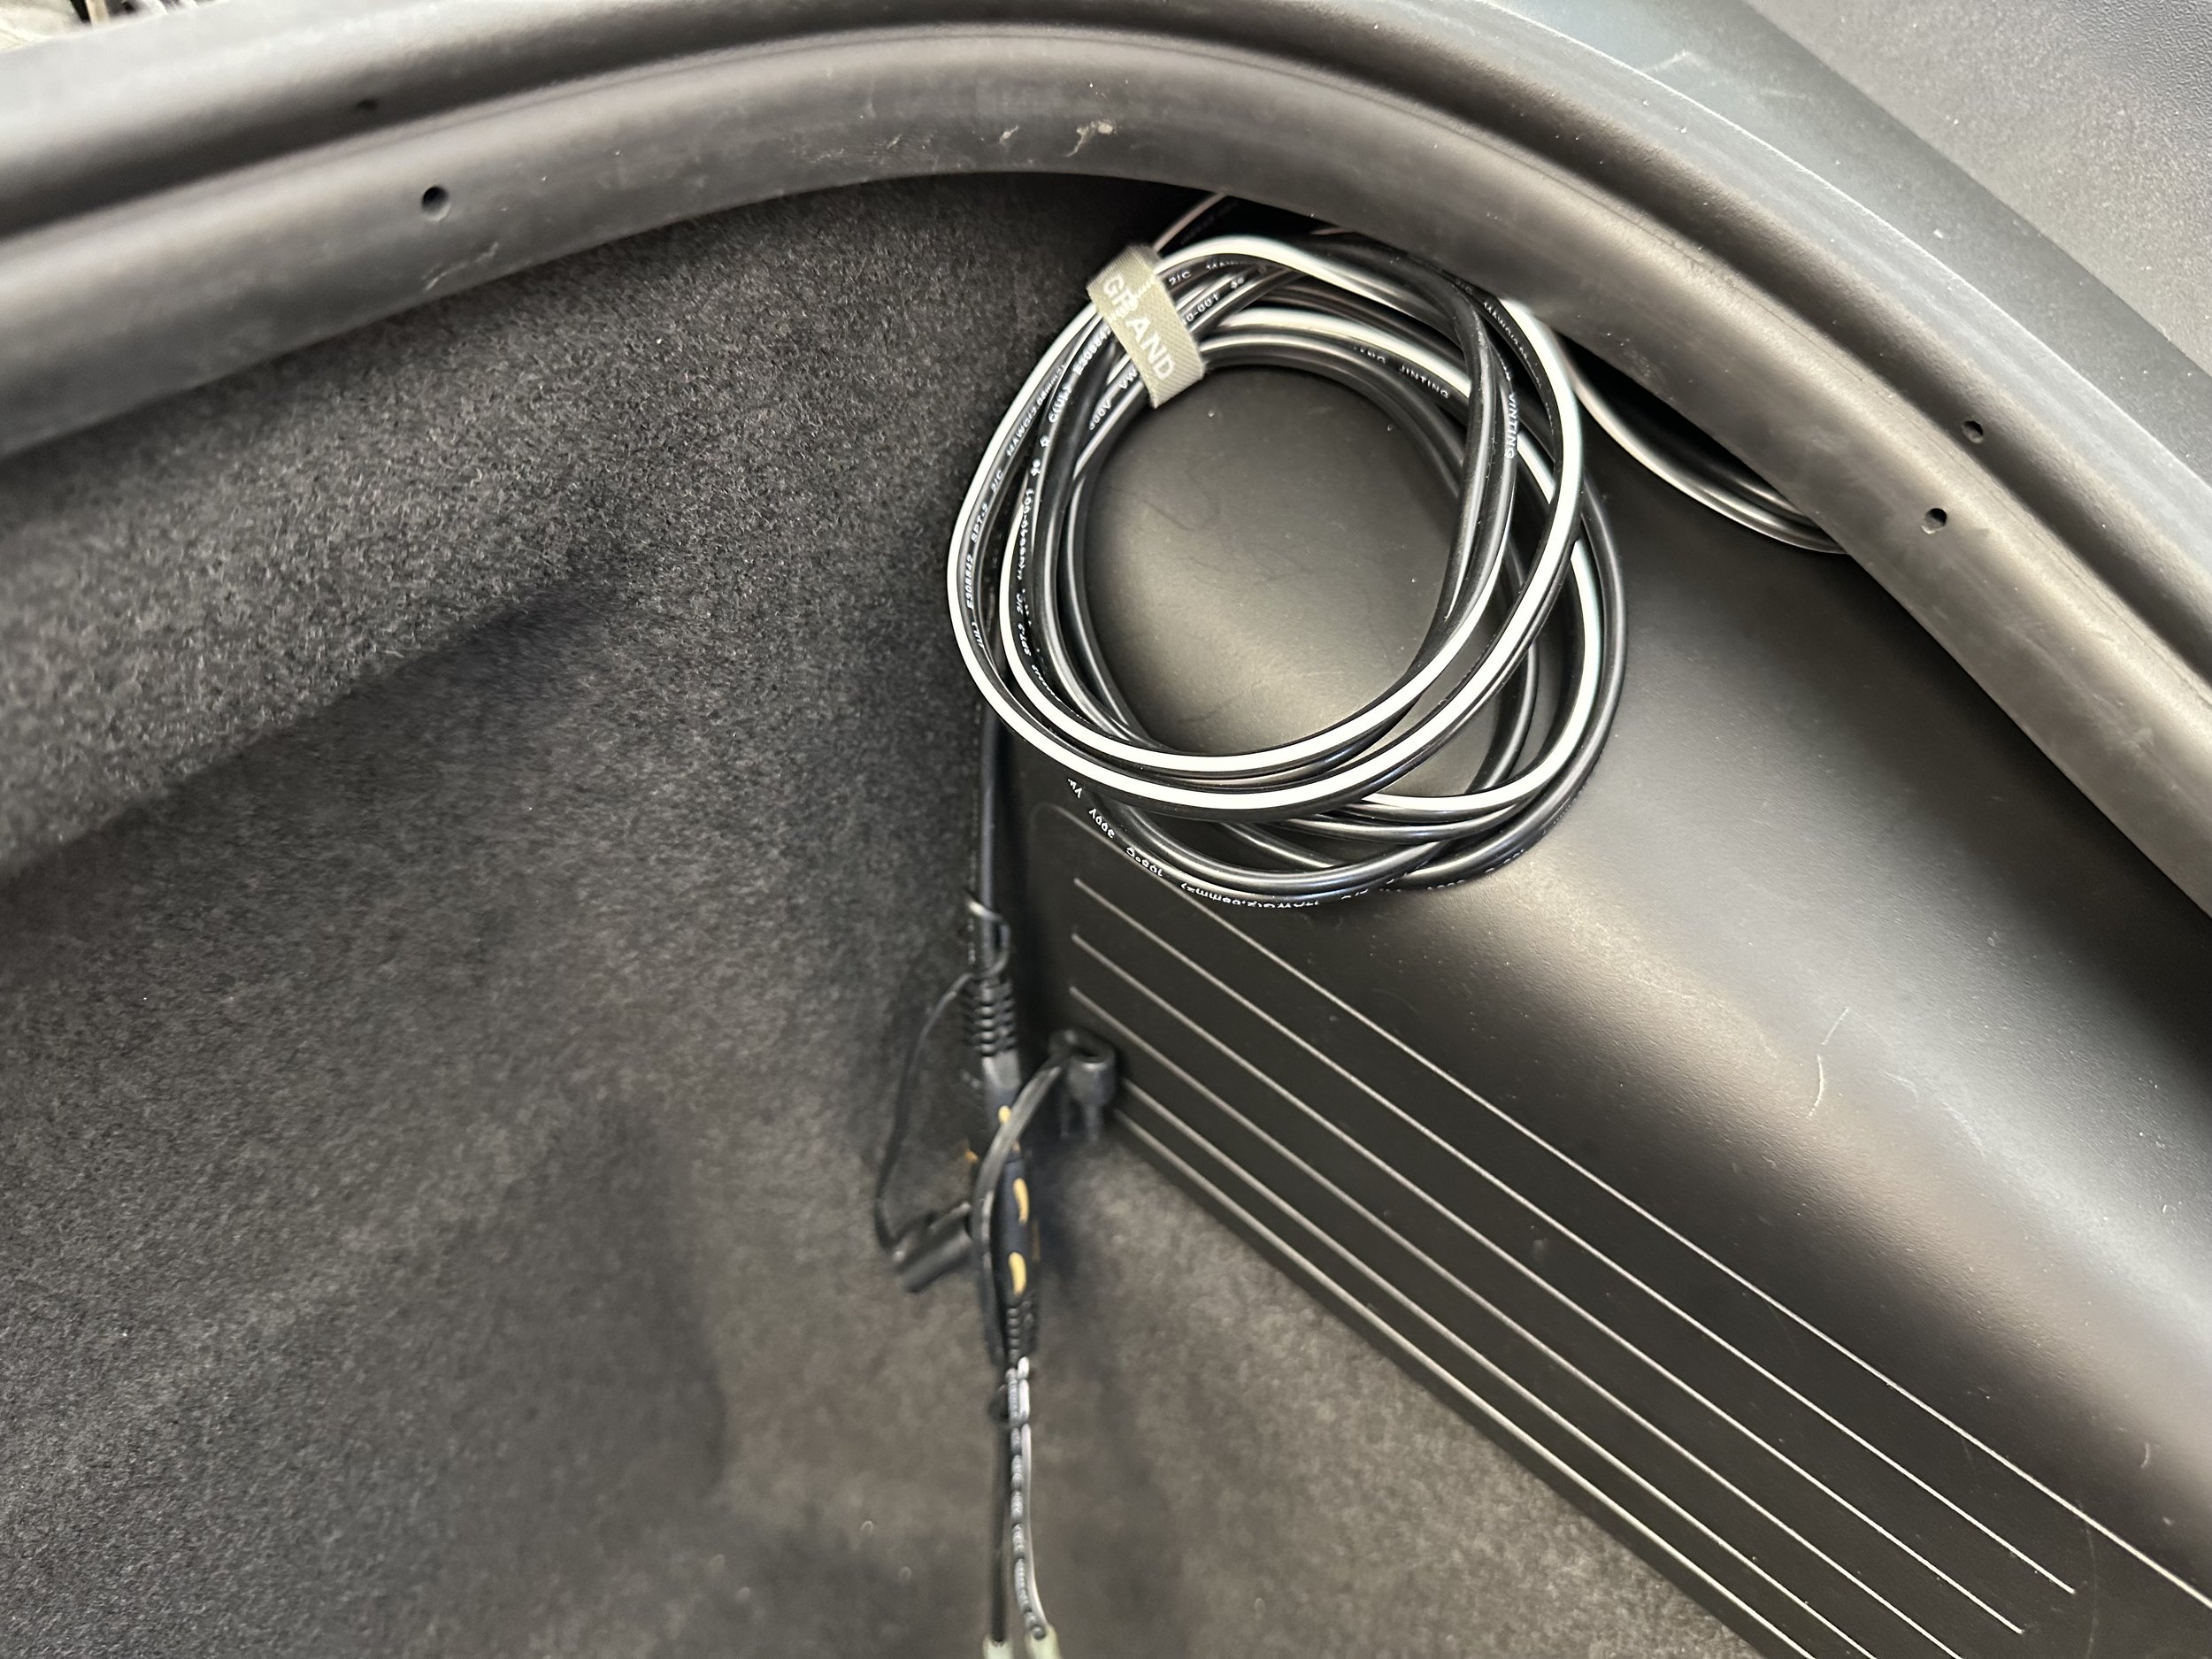
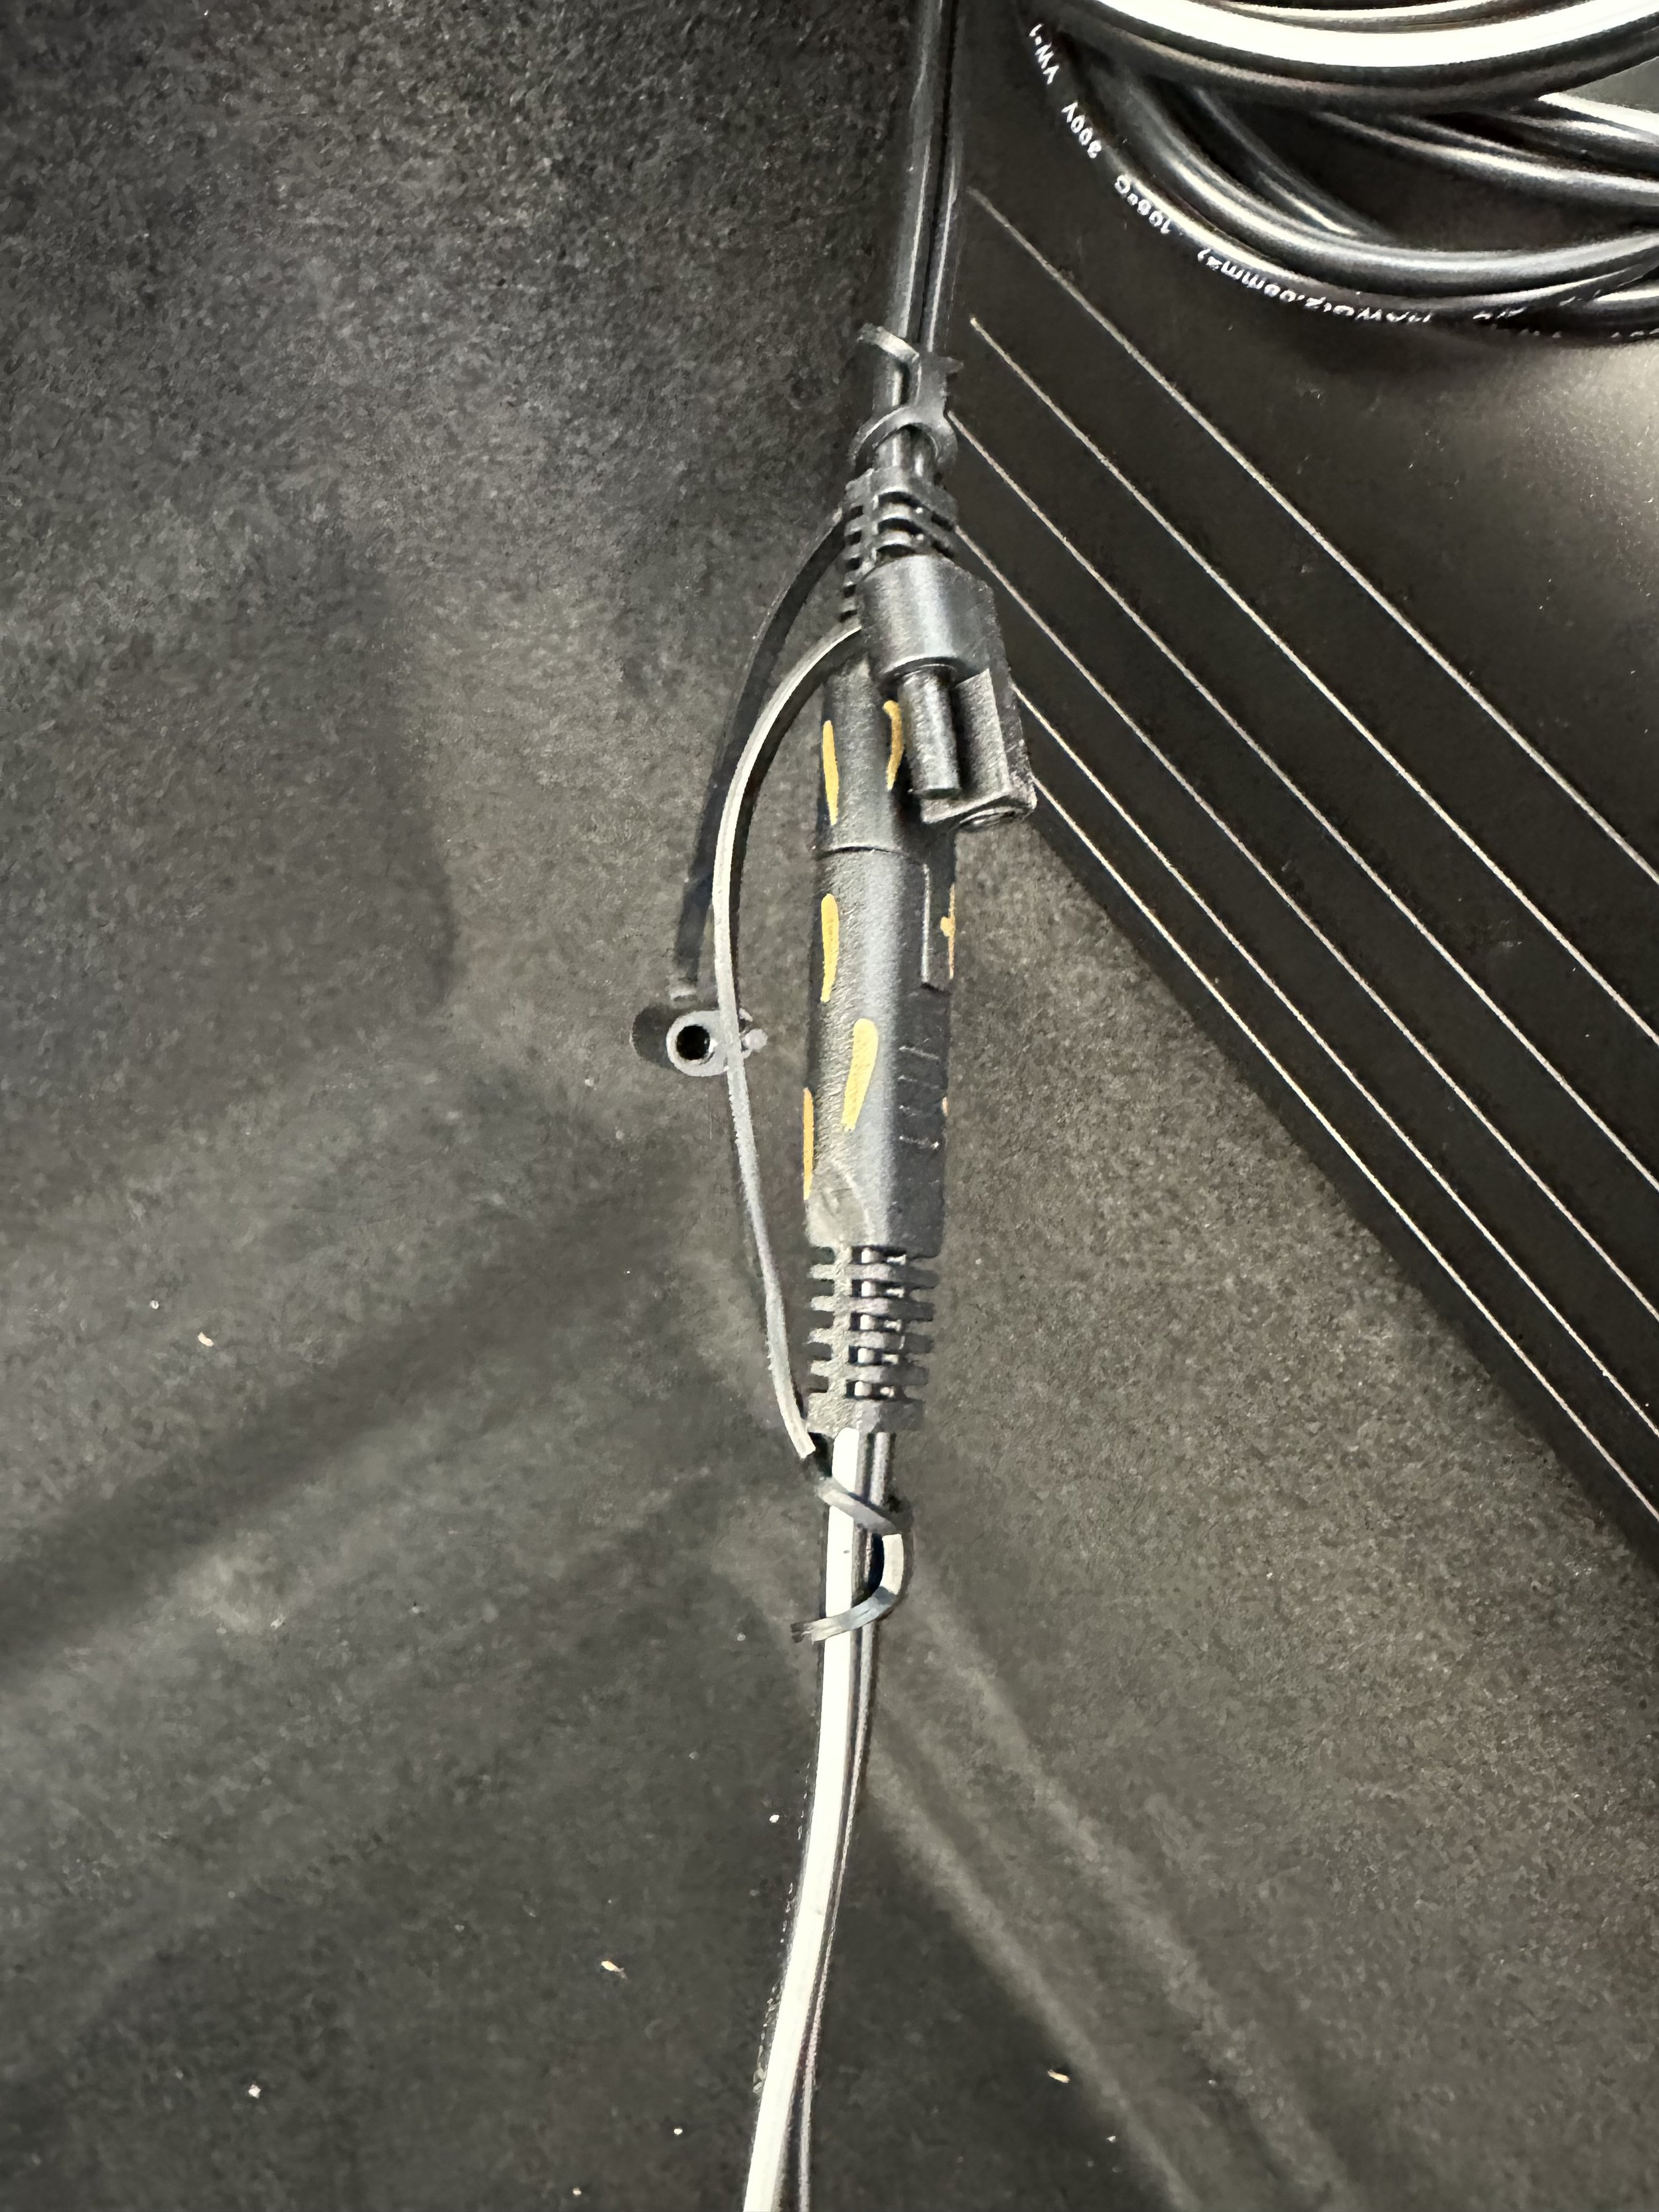
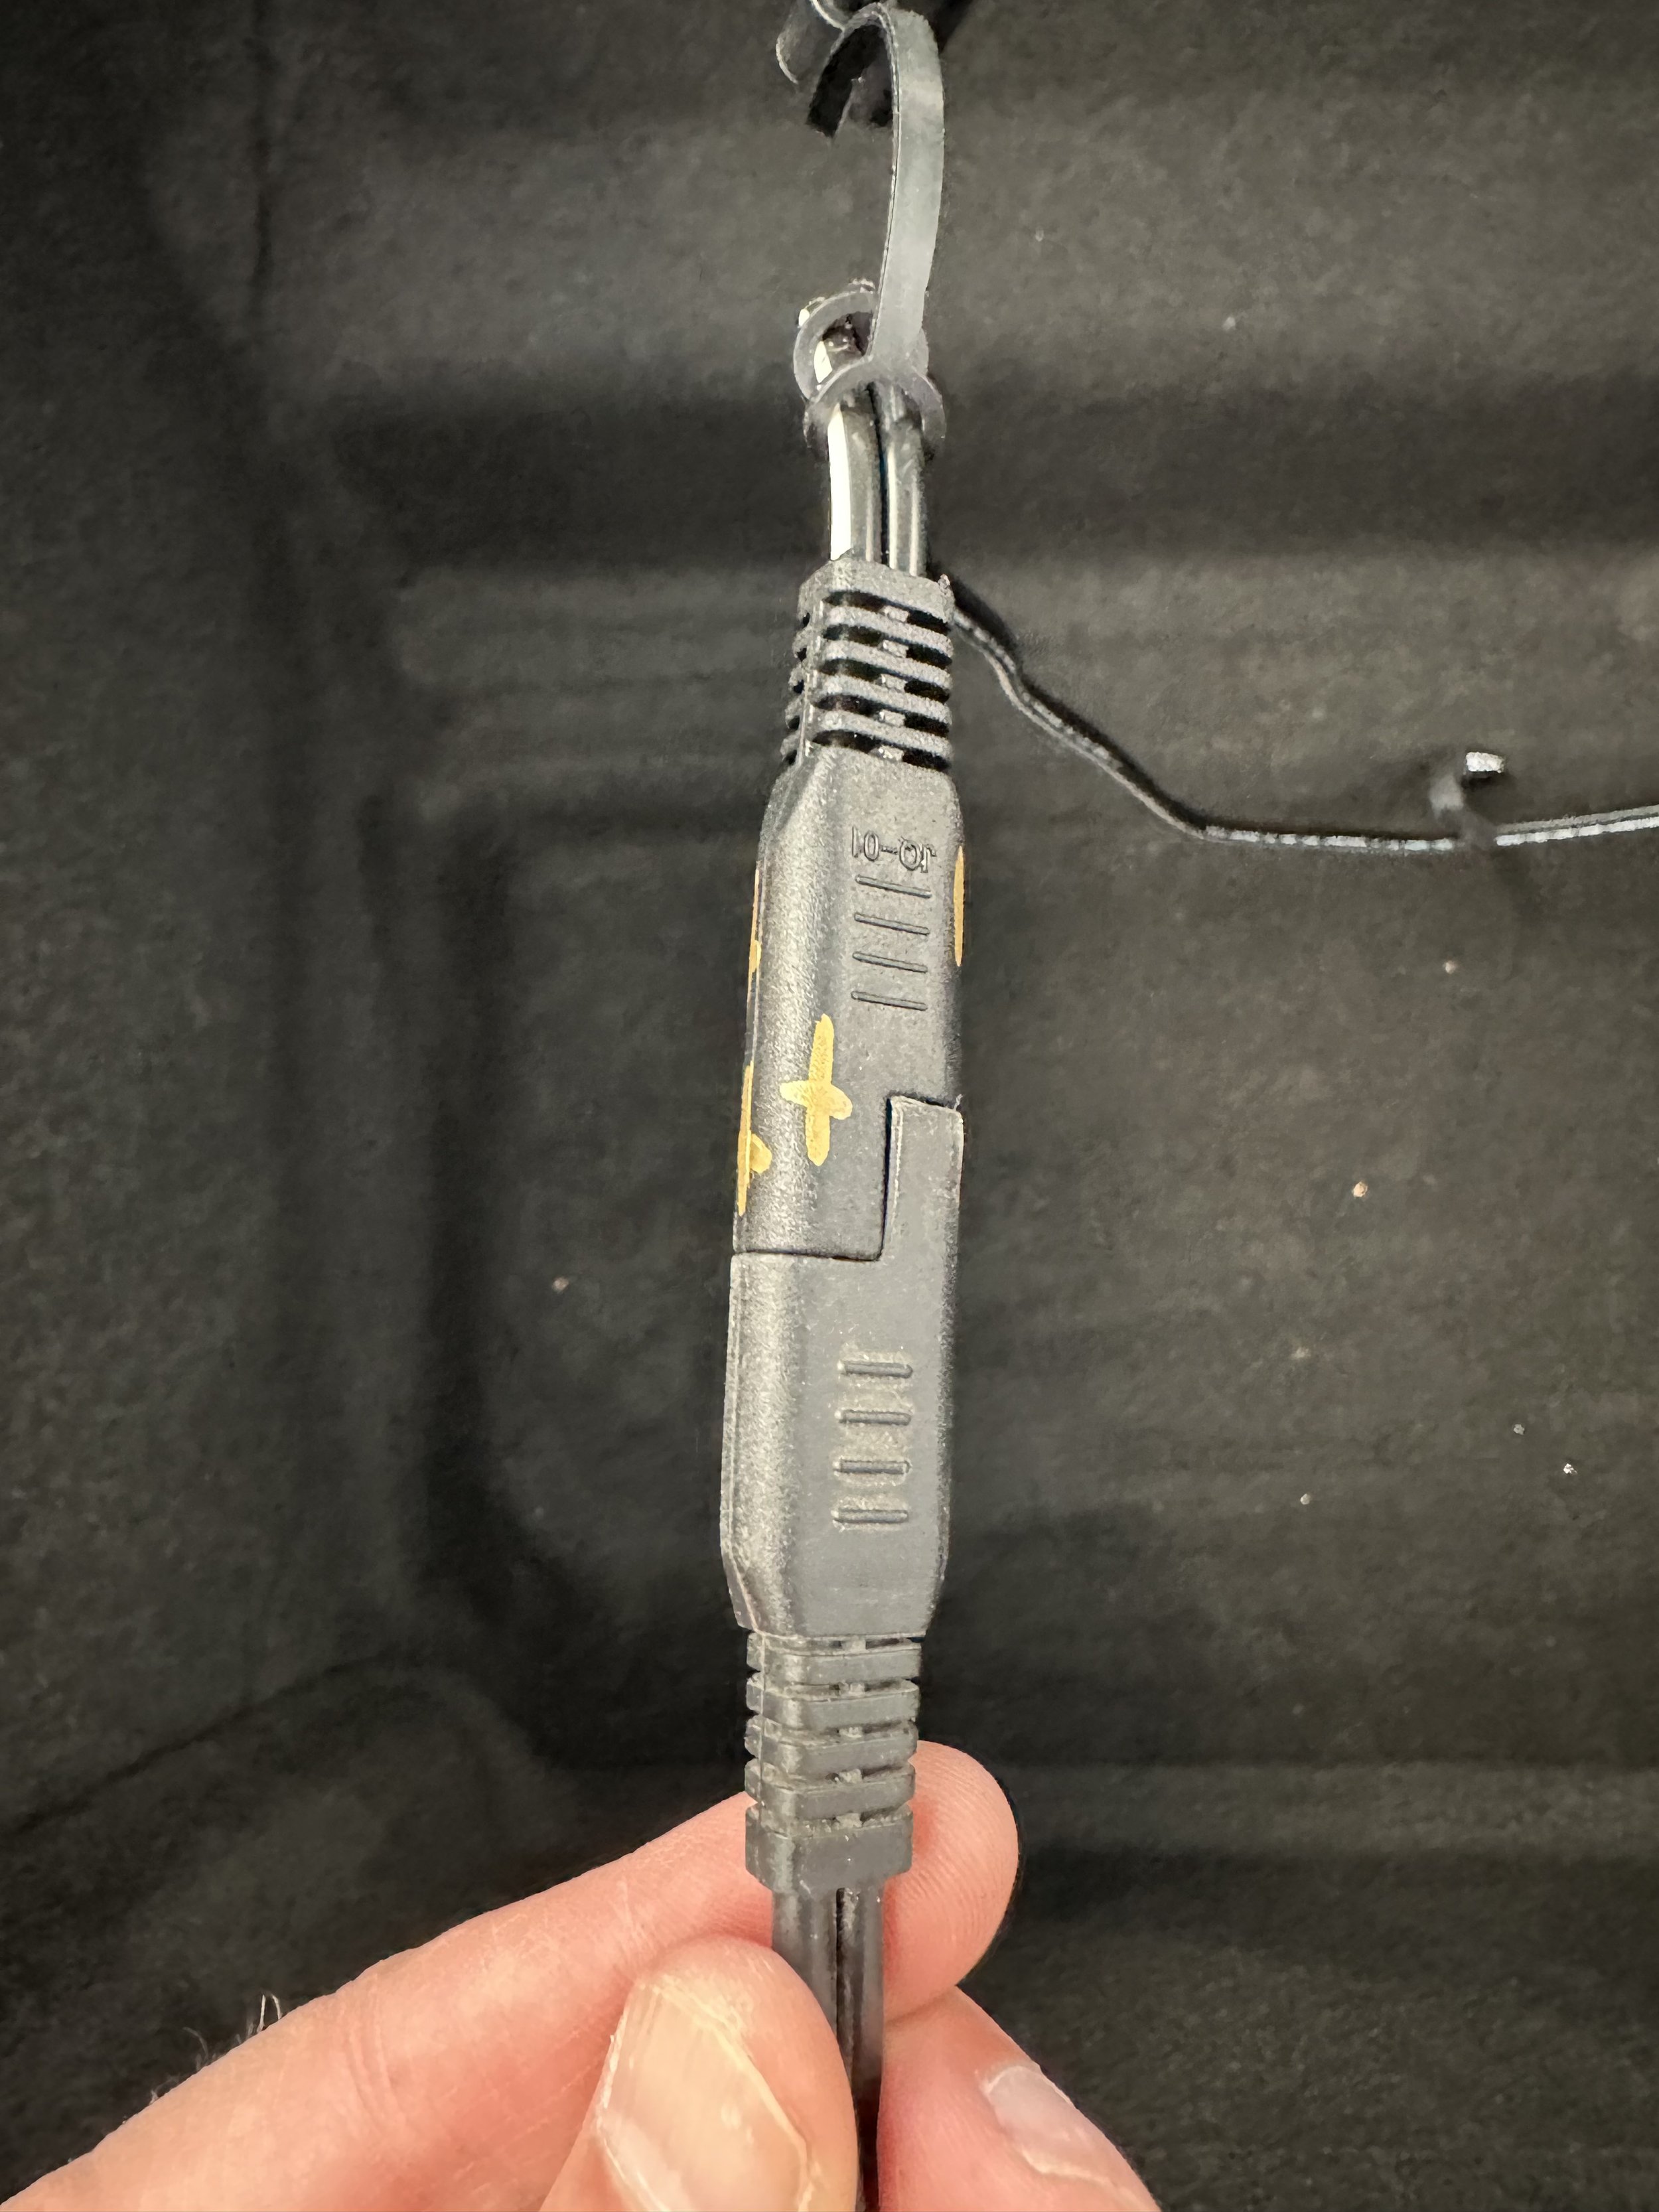
I wanted to wire an easy hook up for both a battery tender and an air compressor for the GT4. This car will be stored part of the year so having a battery tender is a good idea. This car will also be tracked so having an air compressor for my air ups and air downs is needed. The GT4 battery is under a plastic fascia in the frunk and I didn’t want to have to remove that fascia each time I needed to hook up the battery tender or air compressor. So I bought an SAE battery lead that was 10 feet long, wired it to the battery, and then it passes through a hole (that preexisted) in the frunk so I can access it. The lead has a 30 amp in-line fuse to protect the battery from a short. I then had to cut the alligator clips off of the air compressor and change that to an SAE style hookup. Now I can simply open my frunk, hookup the air compressor, and air up. For the battery tender I am using the same SAE lead off of the battery, but since the battery tender requires a lower amp rated fuse I created an adapter cable which has an in-line fuse of 7 amps that fits between the main lead and the battery tender. Everything uses SAE ends so it is simple plug and play. Now I have one battery lead that can be used for two different functions.

GT4 Build - Half Cage

On past track projects I have started my upgrades with power, then went to suspension, then safety. A true “safety third” approach. I no longer do that as I have learned that approach is ass backwards. The biggest improvement on any cars’s lap times is to upgrade the nut behind the wheel (the driver). I am a decent driver but not a great racer with god given talents with endless confidence and no fear. I also am realistic that I am simply a track rat that wants to go fast and develop my race craft……I am not on the road to Le Mans. So my plan is to spend as much on professional coaches and track time as I do on car upgrades. Its a new approach for me but it seems like the right one.

Luckily the GT4 is a highly capable car out of the box so not much is needed for a driver like me. If you are a semi-pro driver I could see how heavily modifying the GT4 would make sense (upgraded suspension, more power, more aero, less weight, upgraded brakes, etc). But for my goals I feel I need to make the car a bit safer on the track, a bit more grip, and driving tools to help me develop as a driver.

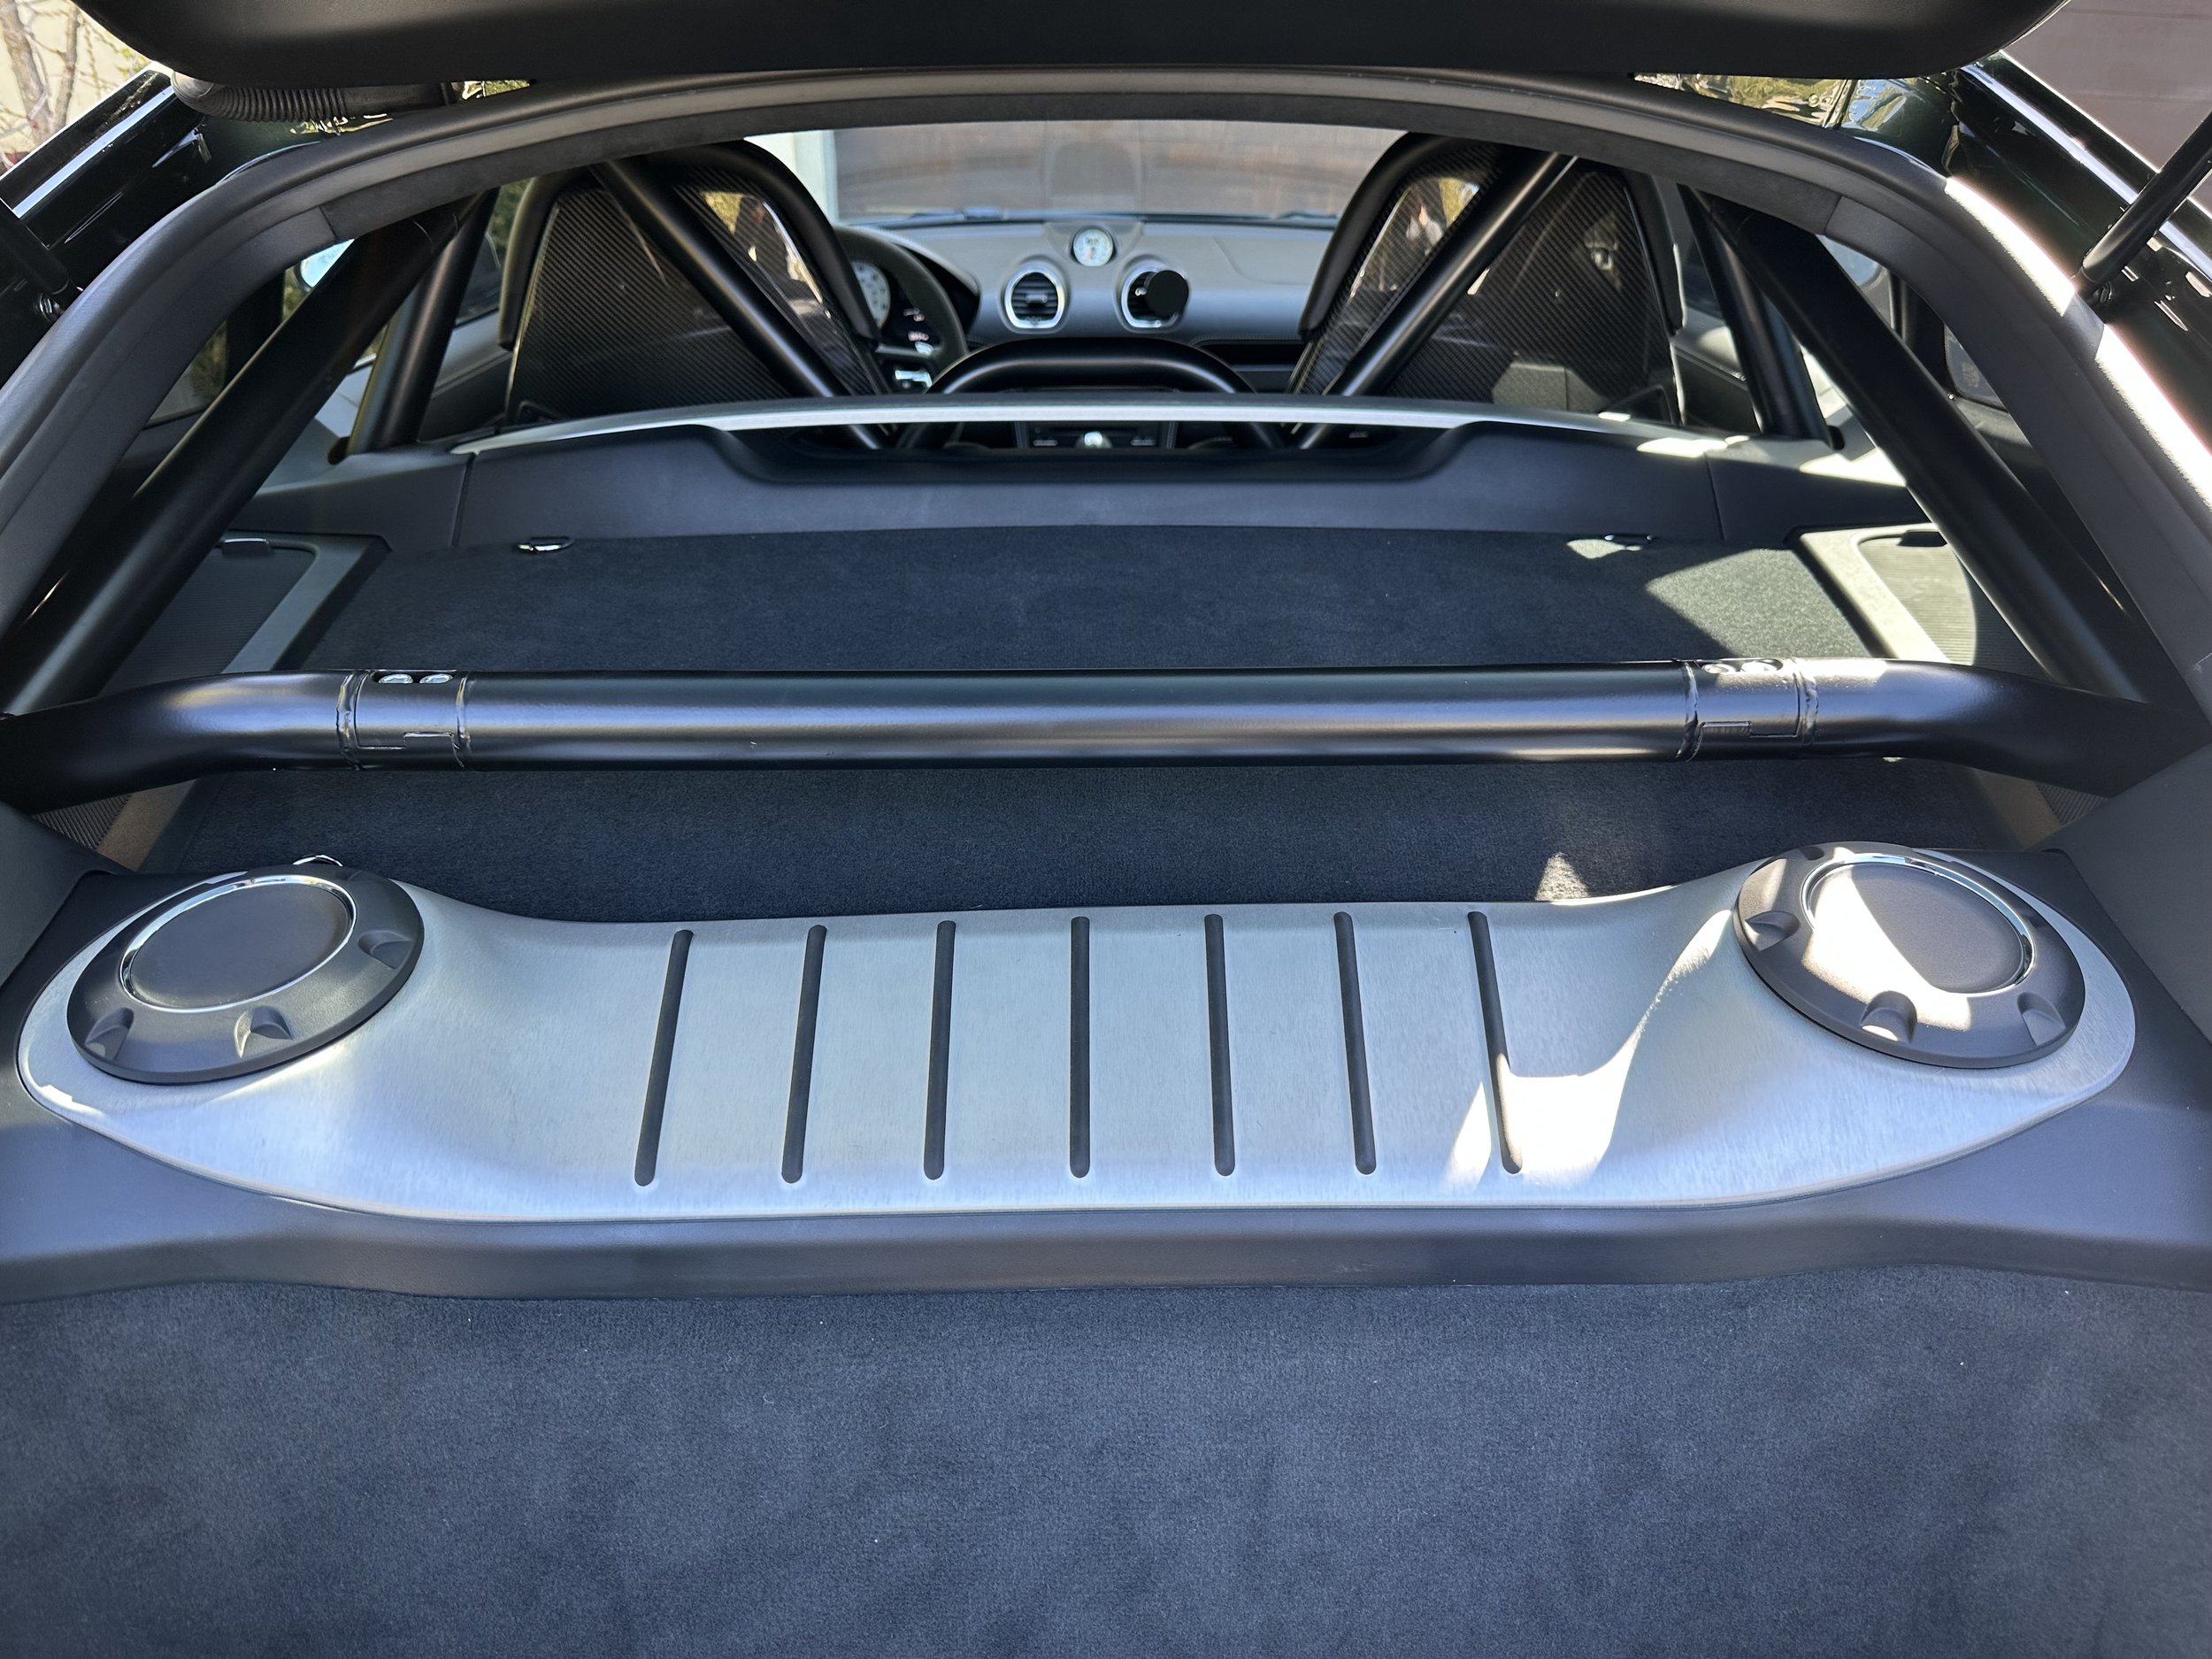
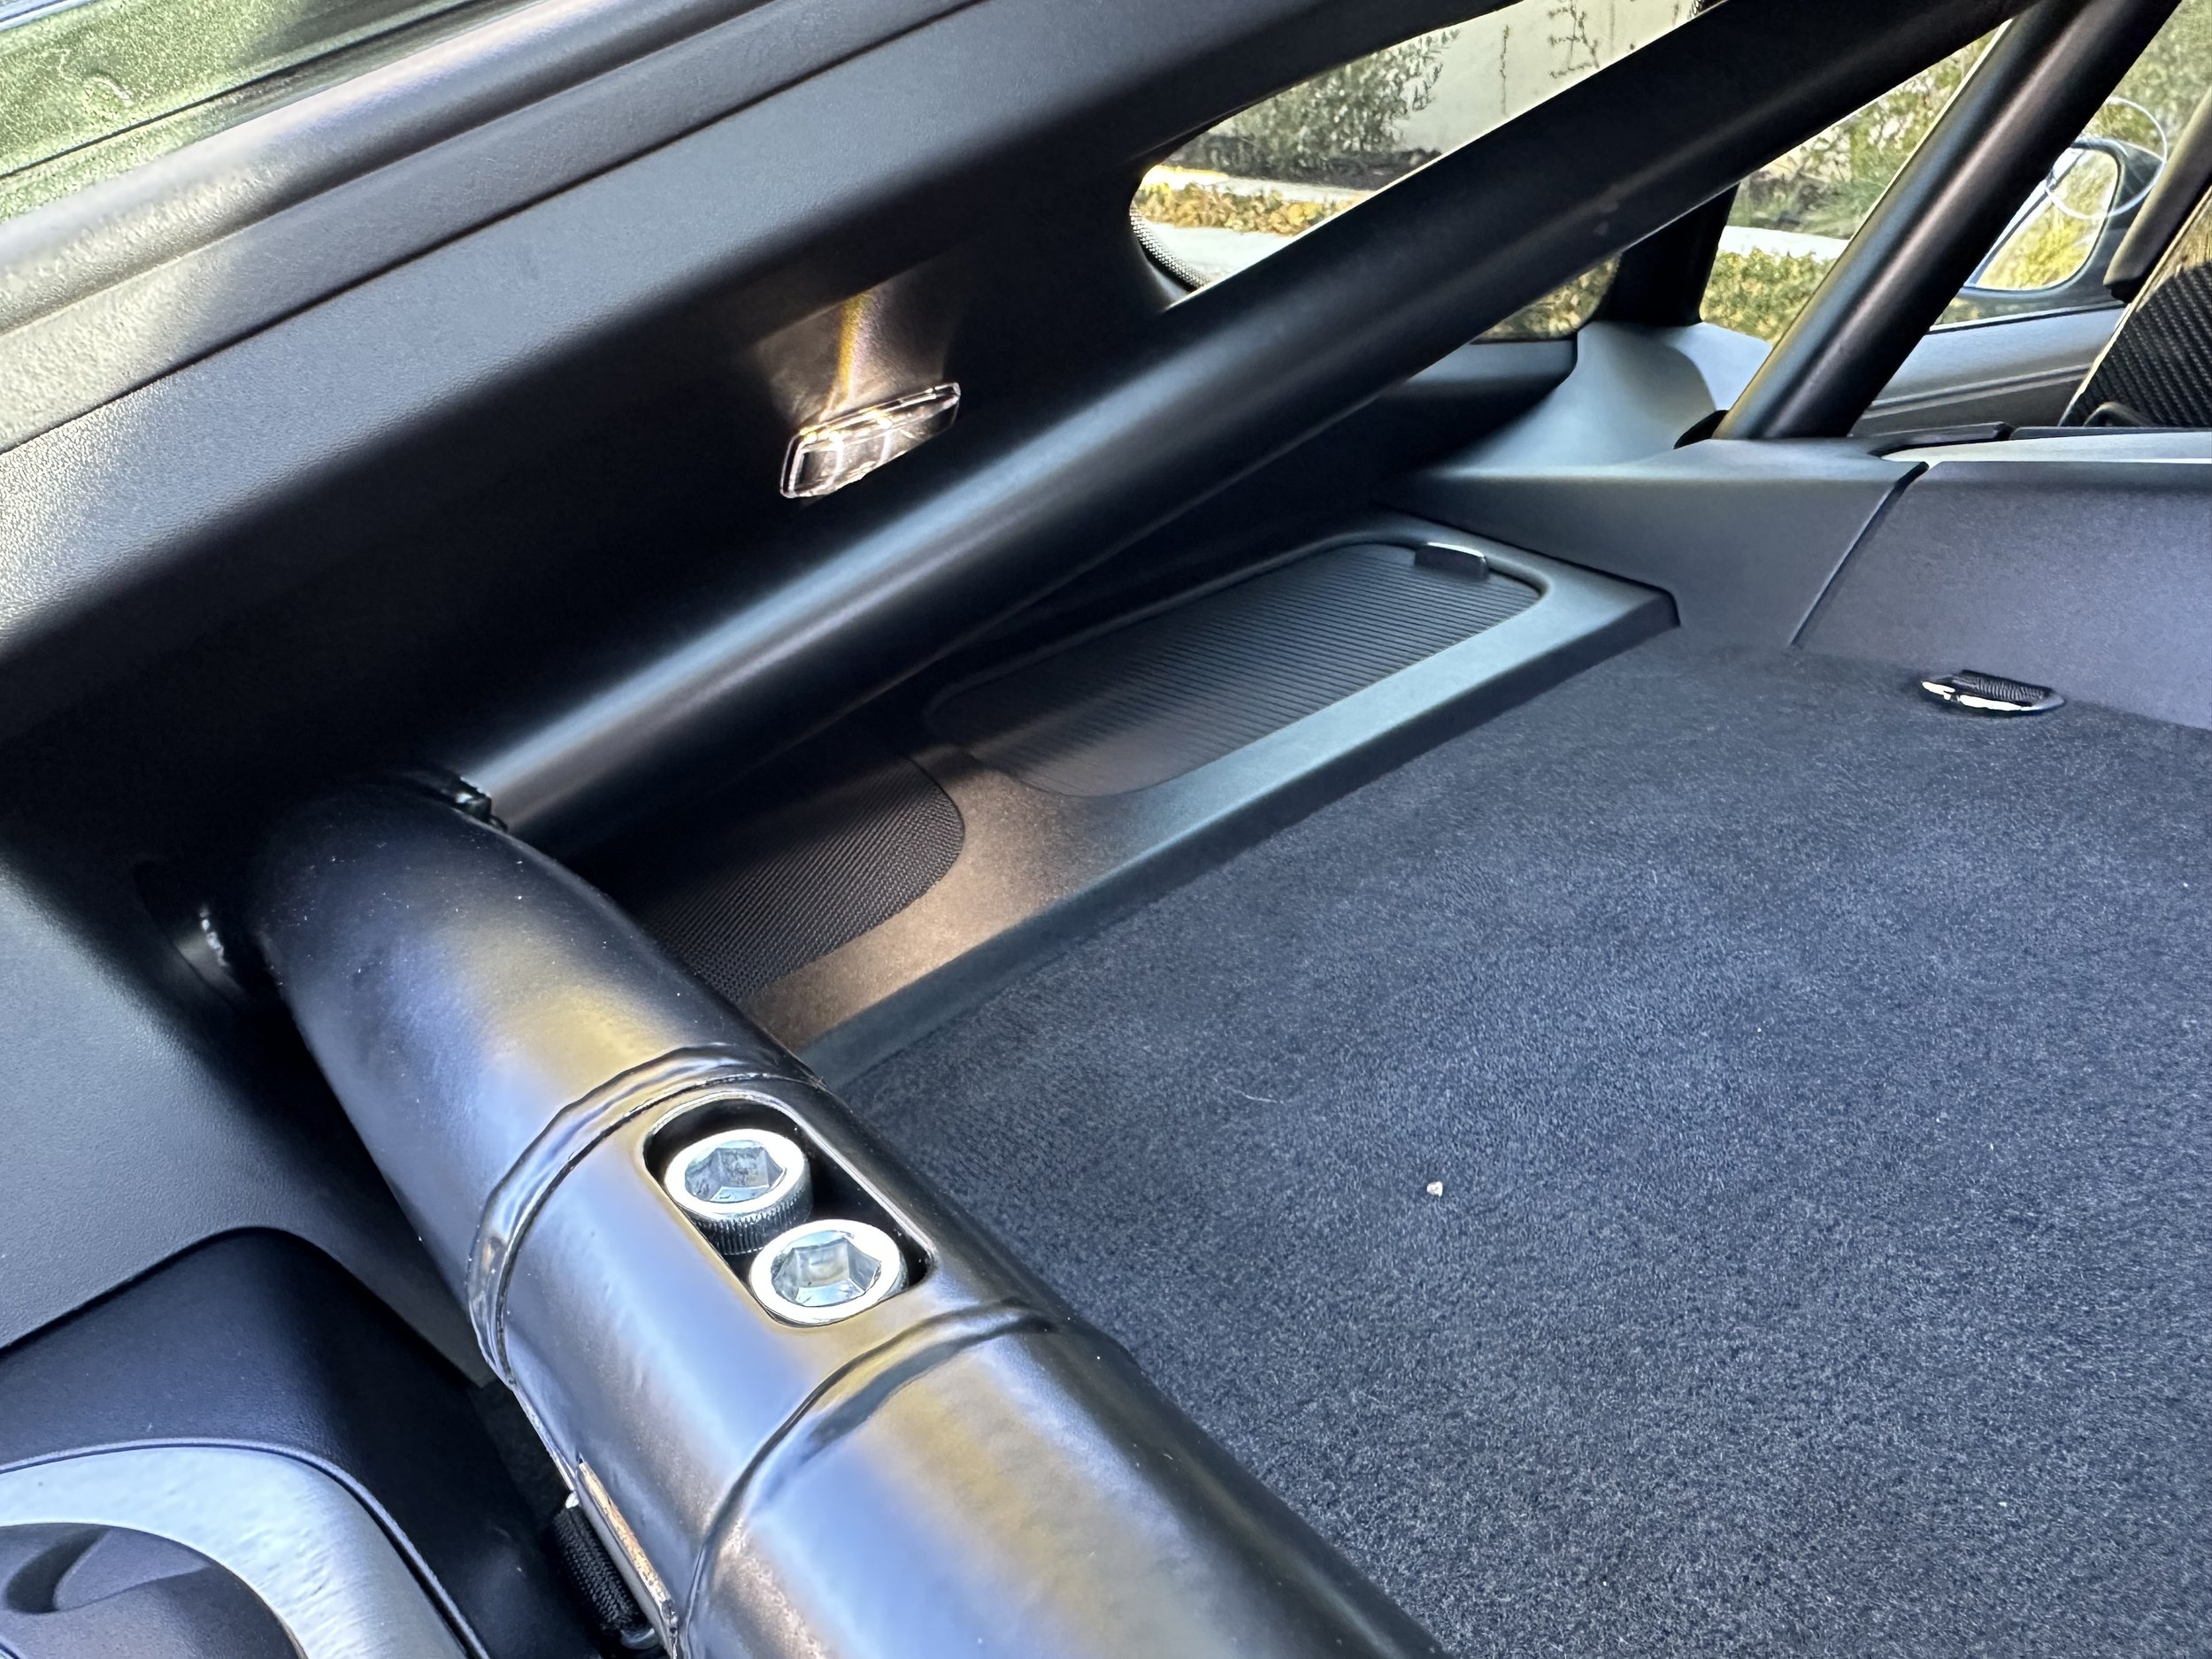
So my first purchase for the GT4 was a bolt in half cage so that I could install 6 point belts and use my HANS device. In the past I have done custom weld-in and bolt-in cages but fortunately there are a couple off the shelf options for the GT4 making this upgrade cheaper and easier. I don’t want to damage the interior so out of the options out there I went with the Competition Motorsports half cage which requires less trim cutting as well as pre-cut trim pieces so you can retain your factory trim. I went with the satin black finish to match the interior design as well as sub bars for under the seats so I can have 6 points.

For the belts I went with the classic Schroth Porsche GT3 Profi 2x2. These have Porsche specific mounting tabs for the factory carbon fiber race seats making them the perfect match for the GT4. These will allow me to mount the 6 point belts along with the factory 3 points for dual street/track use. I opted for the silver belts to better match the factory silver upholstery thread and pull handles. As with all of our builds, these little decisions make all the difference in the world on the finished product.

GT4 Build - Track Wheels and Tires

Since this car is going to be a dual purpose car (street and track) we wanted a set of track wheels and tires. It also gave us the opportunity to move away from silver wheels and get some stealth black satin wheels. As we have done with other track builds we went with Apex Racing wheels. Apex recently came out with their RS line (a lighter version of their popular forged sprint line of wheels). So we went with the SM-10RS, in satin black. Not only are these light and look great, but it gives us the opportunity to down size from 20” wheels to 19” wheels. The OEM wheels are 20x9 in the front and 20x11 in the rear. By going with a 19x9 in the front and 19x10.5 in the rear we can increase the sidewall, go with less weight, clear the brakes, and stick some more rubber under the GT4 for added grip.

There are a few tire options depending on how much rubber you are trying to stuff under the GT4, but we ended up going from 245/35-20 in the front and 295/30-20 in the rear to an impressive 265/35-19 in the front and 305/30-19 in the rear. That is a material width increase in both the front and rear while keeping about the same stagger ratio. This size also comes in one of our favorite tires the r-compound Michelin Pilot Sport Cup 2 (180 TW). And to top off the package we will put in Porsche spec TPMS in the new wheels as well as an Apex stud kit for easy on and off applications.

No trimming or rolling will be needed for this setup, but we do need to upgrade the camber plates to allow us to dial in more negative camber. So for that we went with Targett front monoball racing camber plate designed for the 981/991/718. This should allow us to dial in -2.5 degrees which Apex recommends for this tire/wheel package.

Given the GT4 has a race car ethos, the OEM suspension is quite good. So we hope we can simply play around with the camber plates, alignment, and the wheel/tire package to get all the grip we need. Otherwise it’s going to get expensive quick and that is not the goal with this car. We will report back once we hit the track with this new setup later this summer.

GT4 Build - Cleaning Past Sins

If you have ever owned a modern Porsche sports car you know all about the horrible cup holders. They are so bad in my opinion they should simply not have them. If you are not going to do it well don’t do it at all Porsche.

When we took delivery of our GT4 what was not explained to us, or addressed by the seller, was that the prior owner had a soda explosion at some point. Our guess is that he had a coke in the cup holder and he must have slammed on his brakes or hit a pot hole and that coke went all over the dash and center console. We came to this conclusion when we noticed small stains on the dash leather and that a couple buttons on the center console were sticking. Upon closer inspection we found soda residue that was not properly cleaned up.

At first we thought we would have to simply replace the air control module to fix the sticking buttons but after some internet searches we attempted to fix it ourselves. After taking off some center console trim pieces we were able to remove the air button module and from there we could take it apart and separate the electronics from the moving parts. We could clean the buttons with mild soap and water and then let everything dry. Luckily the electronics are protected by a rubber barrier, so no issues with the electronics. Next we did a deep detail to remove the stains. I am not a fan of 6 hour detail jobs so I did my usual 2 hour detail and then had a pro come in and do another 6 hours.

Now everything works, it looks great, and we have a strict no food or drink policy for this car. It’s a Porsche GT car after all….there is no need to eat or drink while you are focused on the craft of driving.

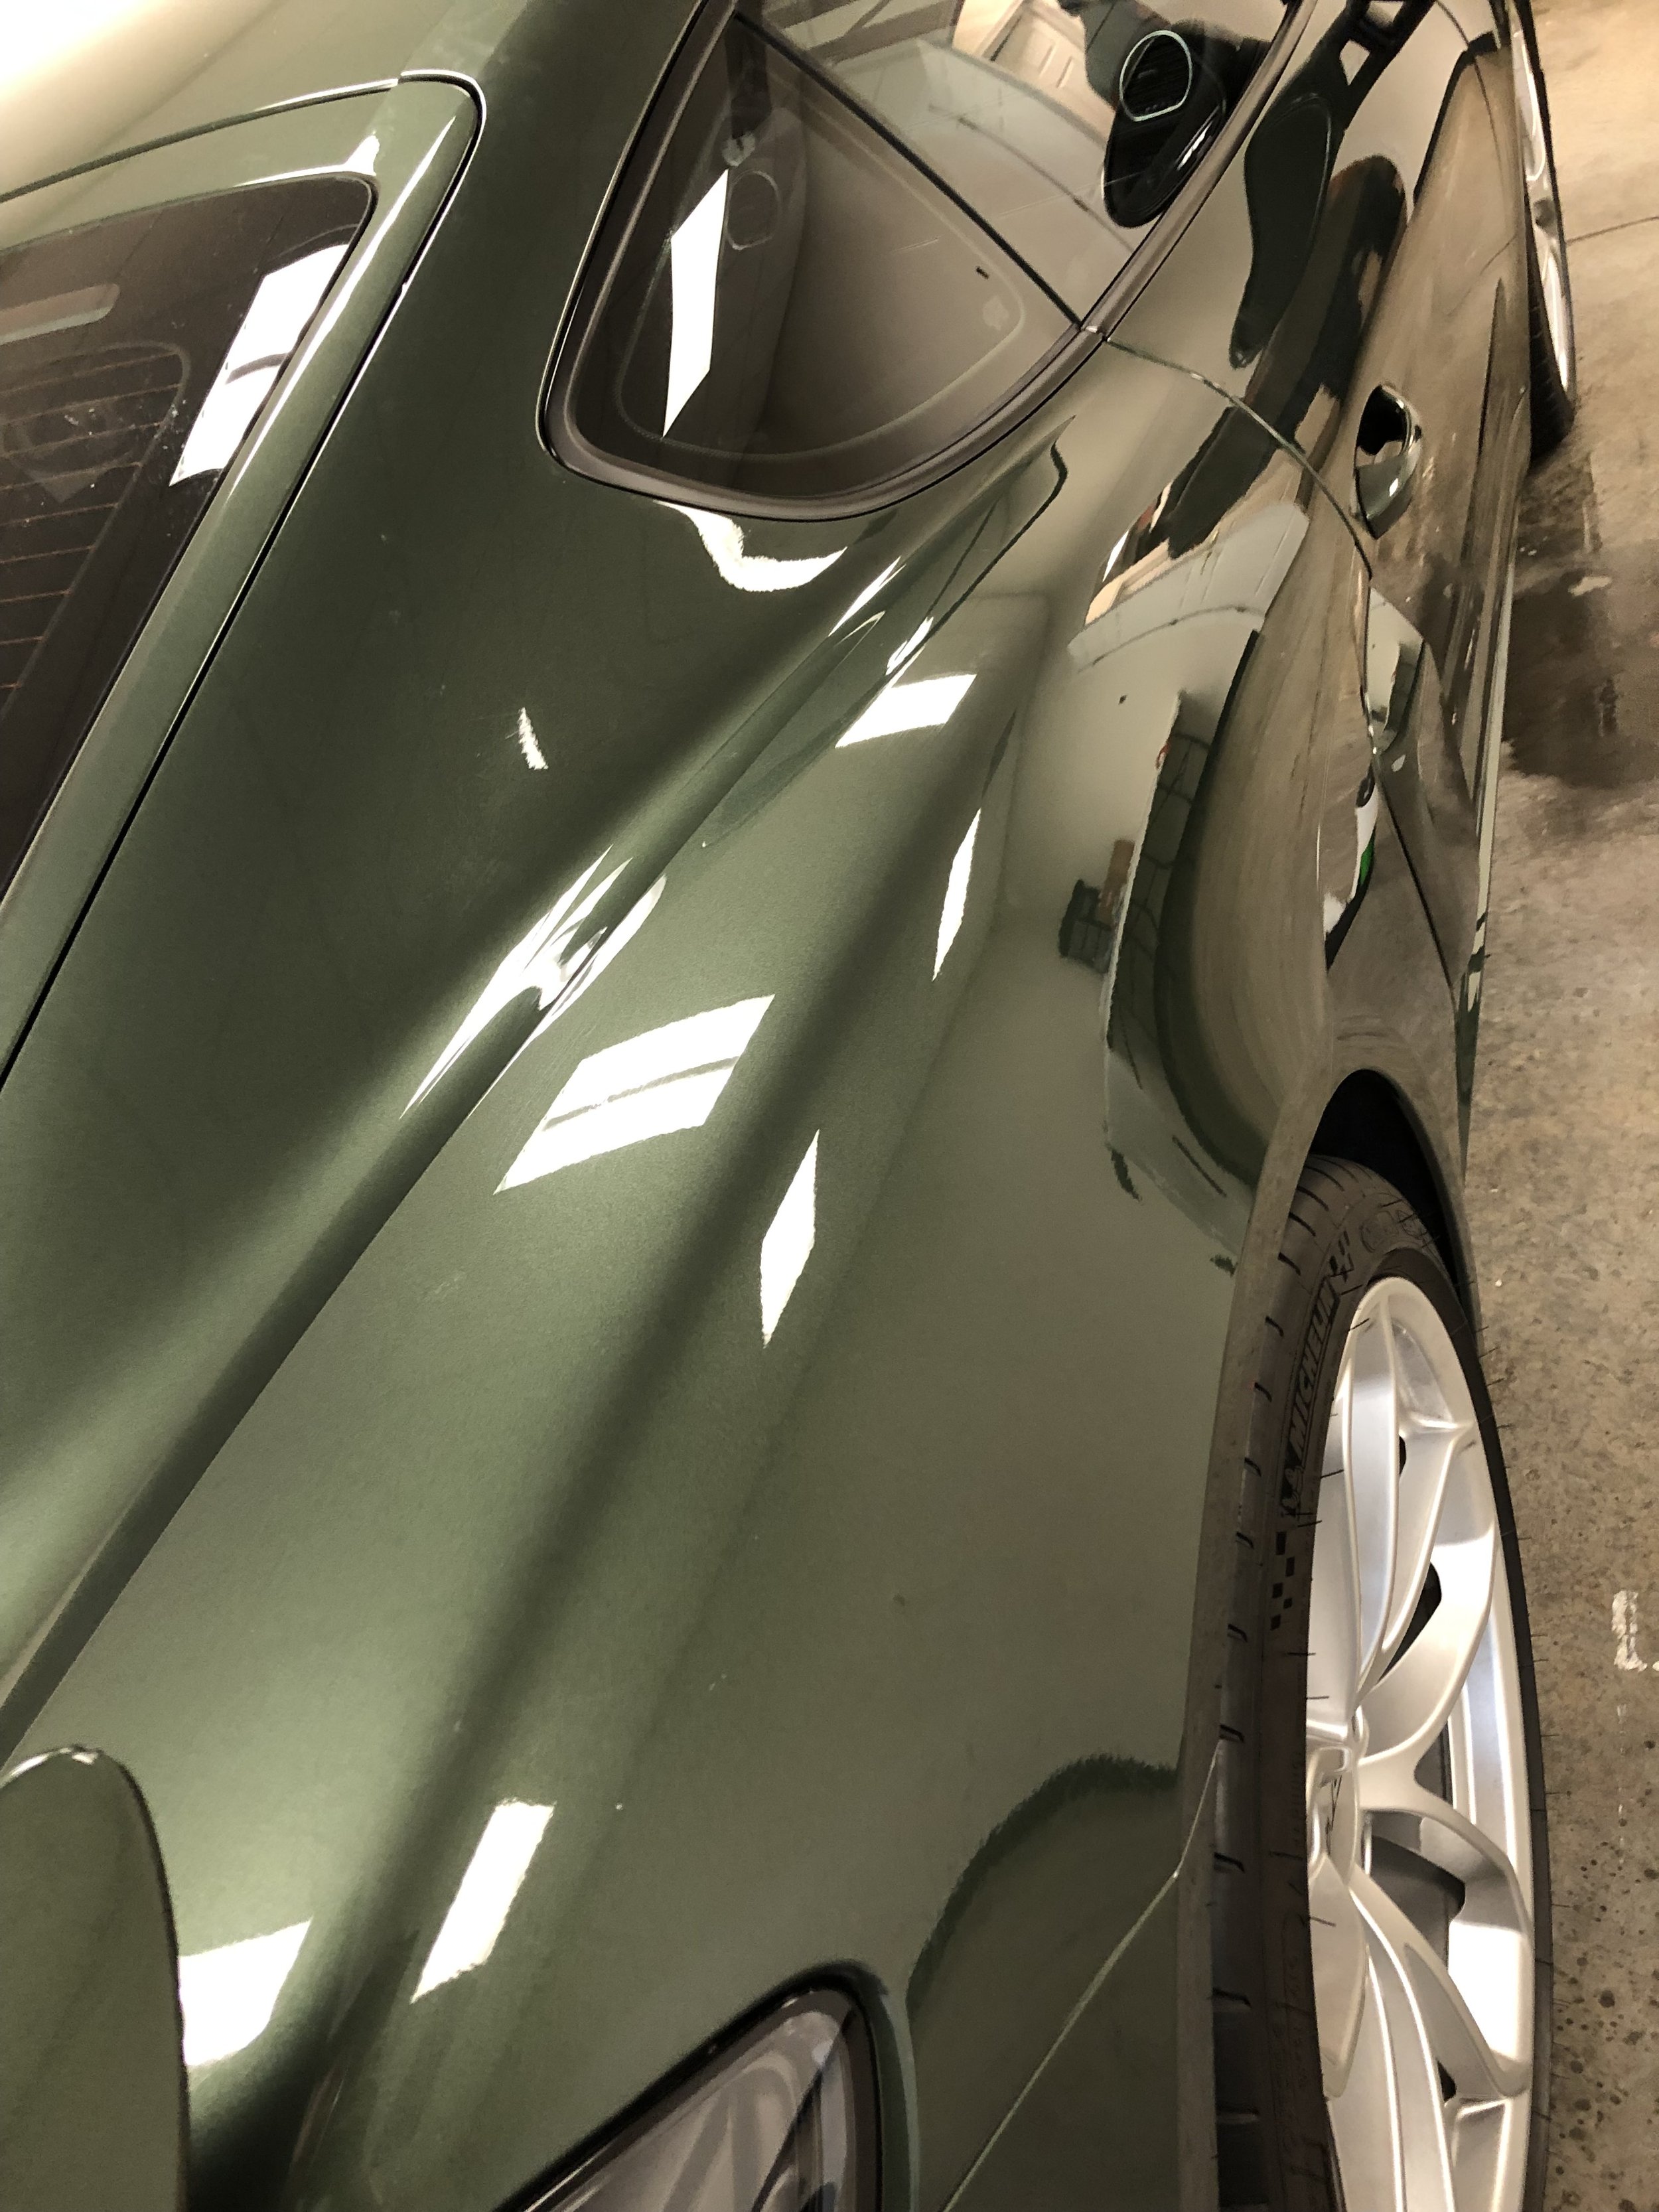
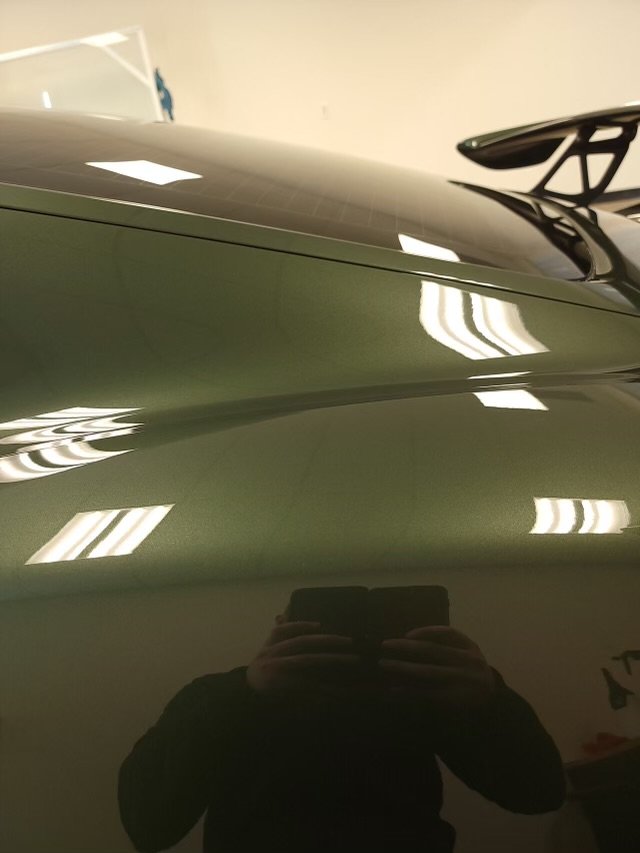
GT4 Build - PPF

I would never pay $13k extra to have a Porsche individual color, but our GT4 came with it (Laurel Oak) so we felt we might as well protect it. In the past we have only clear wrapped the front or all leading faces, but for this build we decided to go all in and wrap the entire car. In the Bay Area that would normally cost $7k - $9k but since we bought this GT4 in Georgia we found a local shop to wrap the car before it was shipped to CA. That meant it only cost $4.7k, still a lot but a great deal all things considered. We went with Llumar Platinum laser cut for a GT4 as this has self healing properties and a long warranty. The shop took over a week to install the PPF as it first had to get a deep clean, then paint correction in a couple of places, then a detail, then the wrap applied. I am very happy with the result although like most laser cut wraps there are a couple seams that can be seen if you hunt for them. But with that said I am happy with the level of protection this provides and the wrap does enhance the appearance of the paint by providing some additional depth.