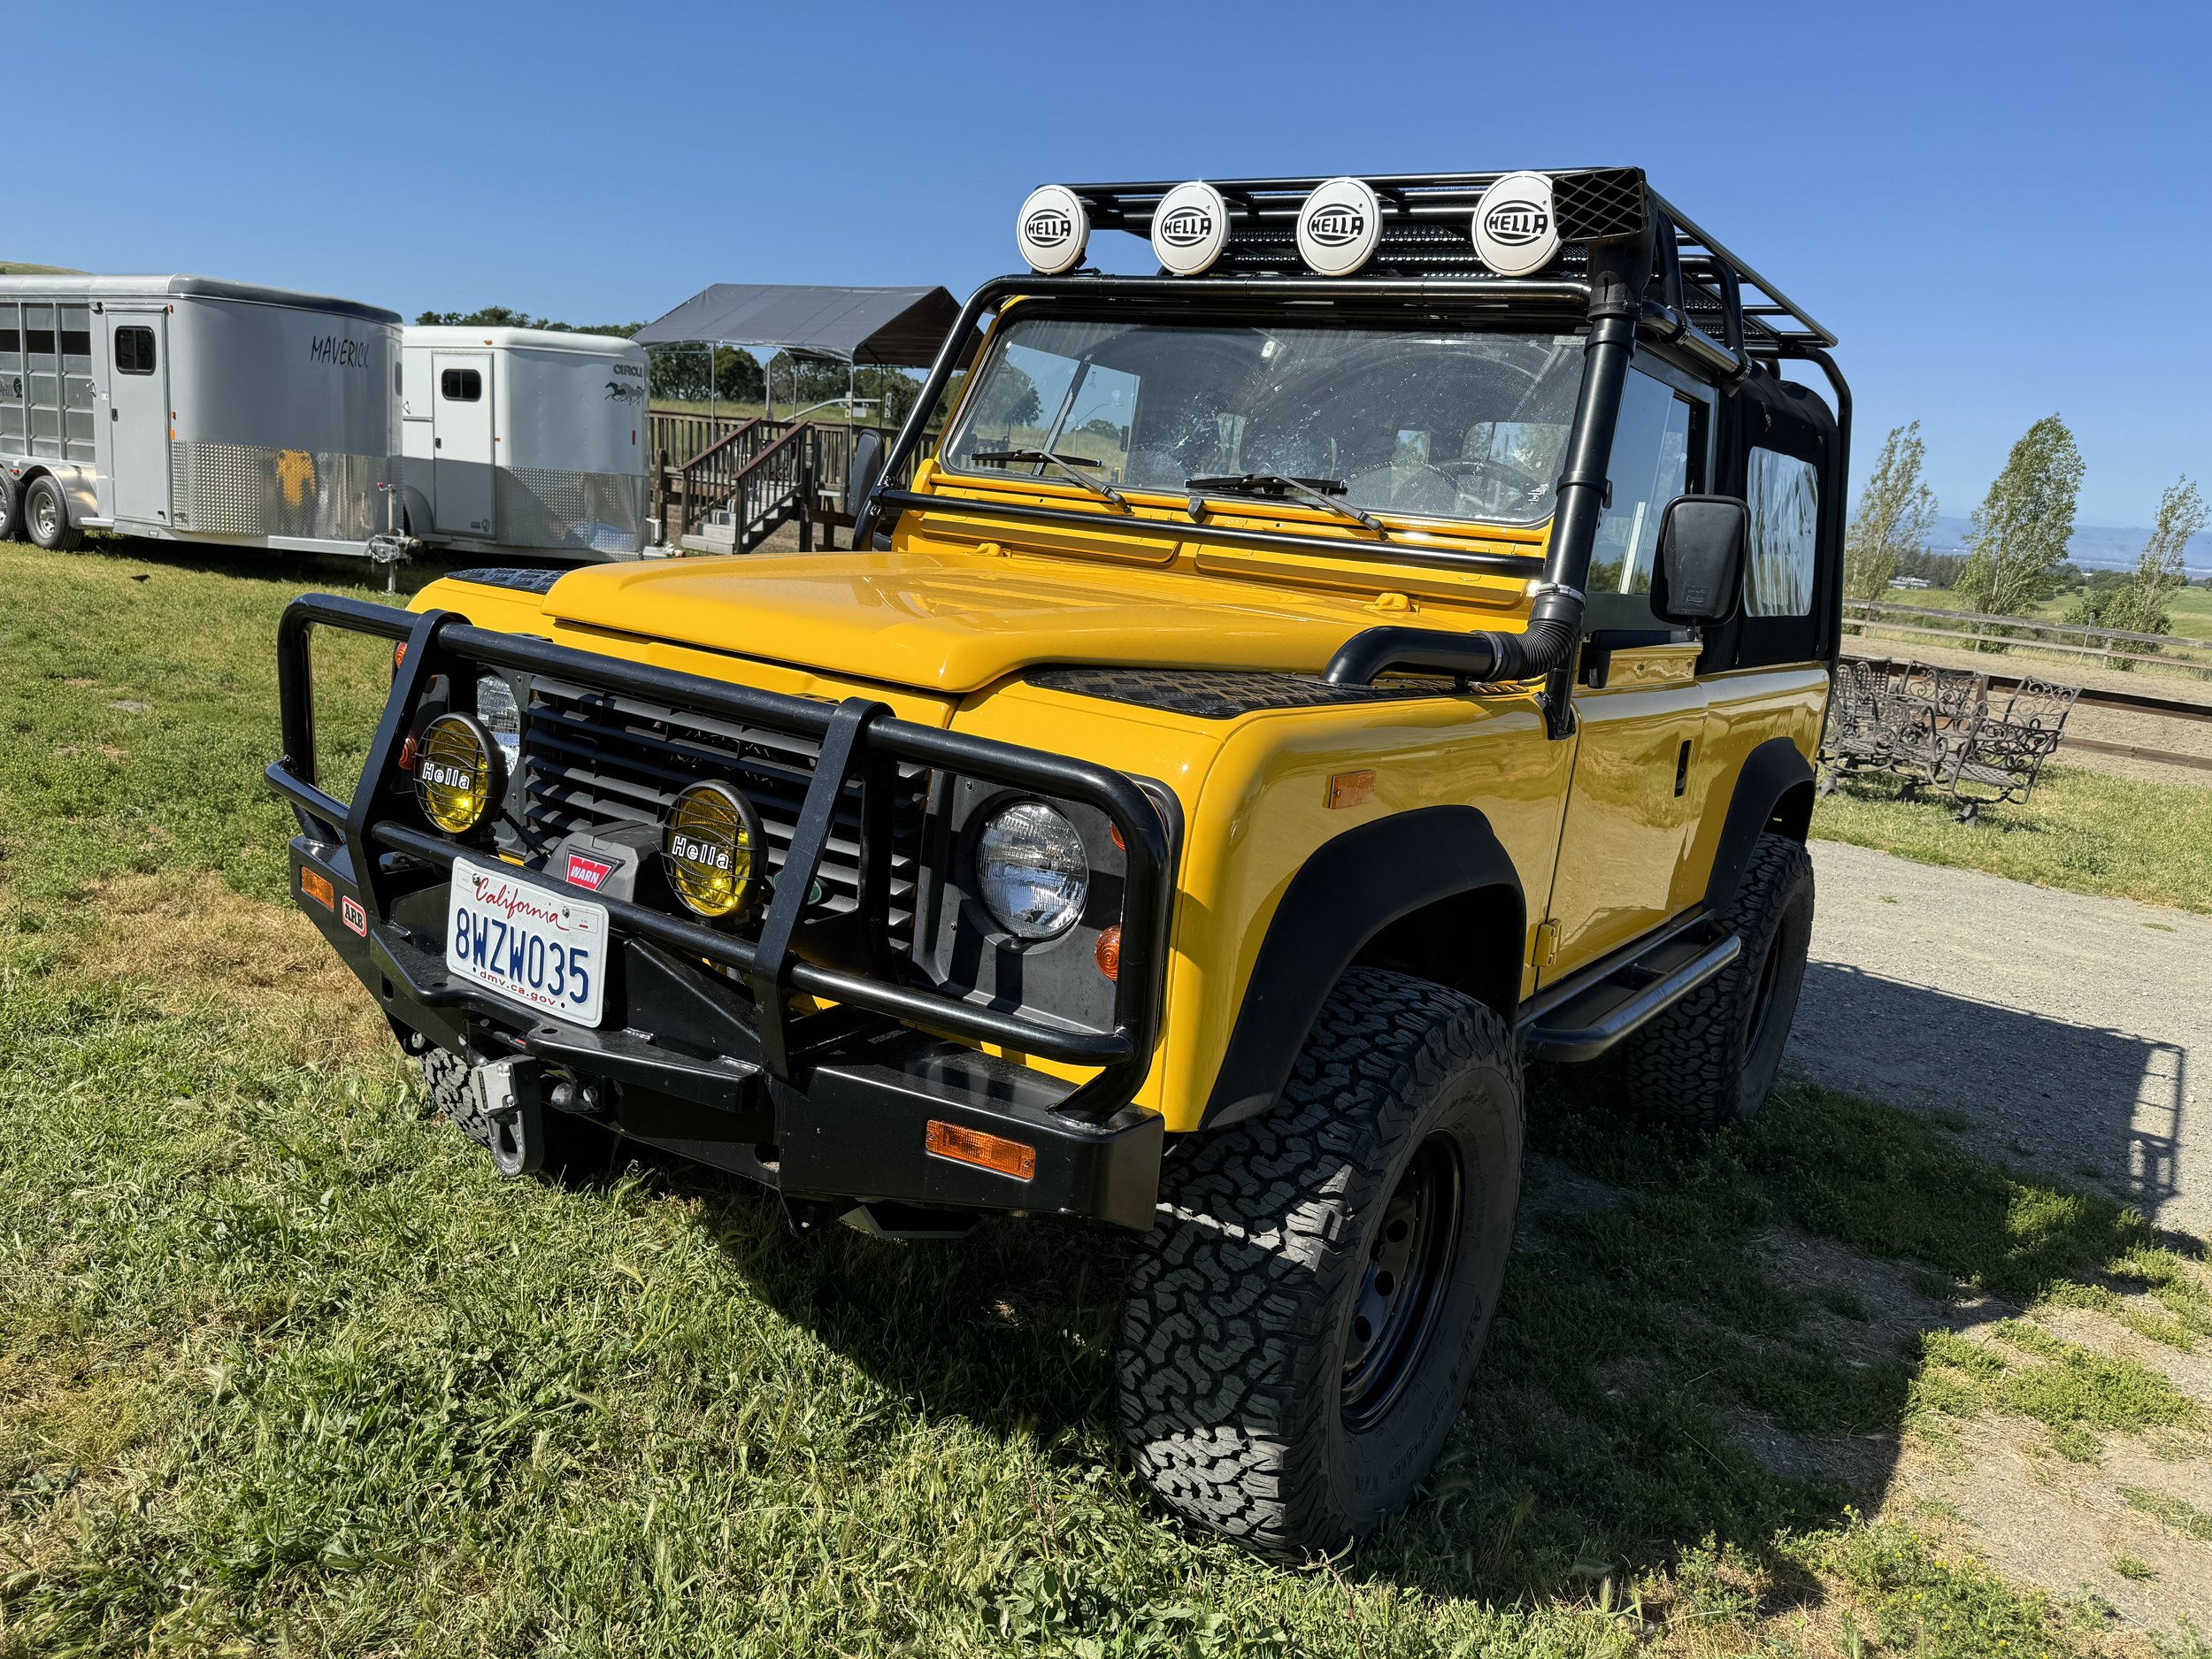
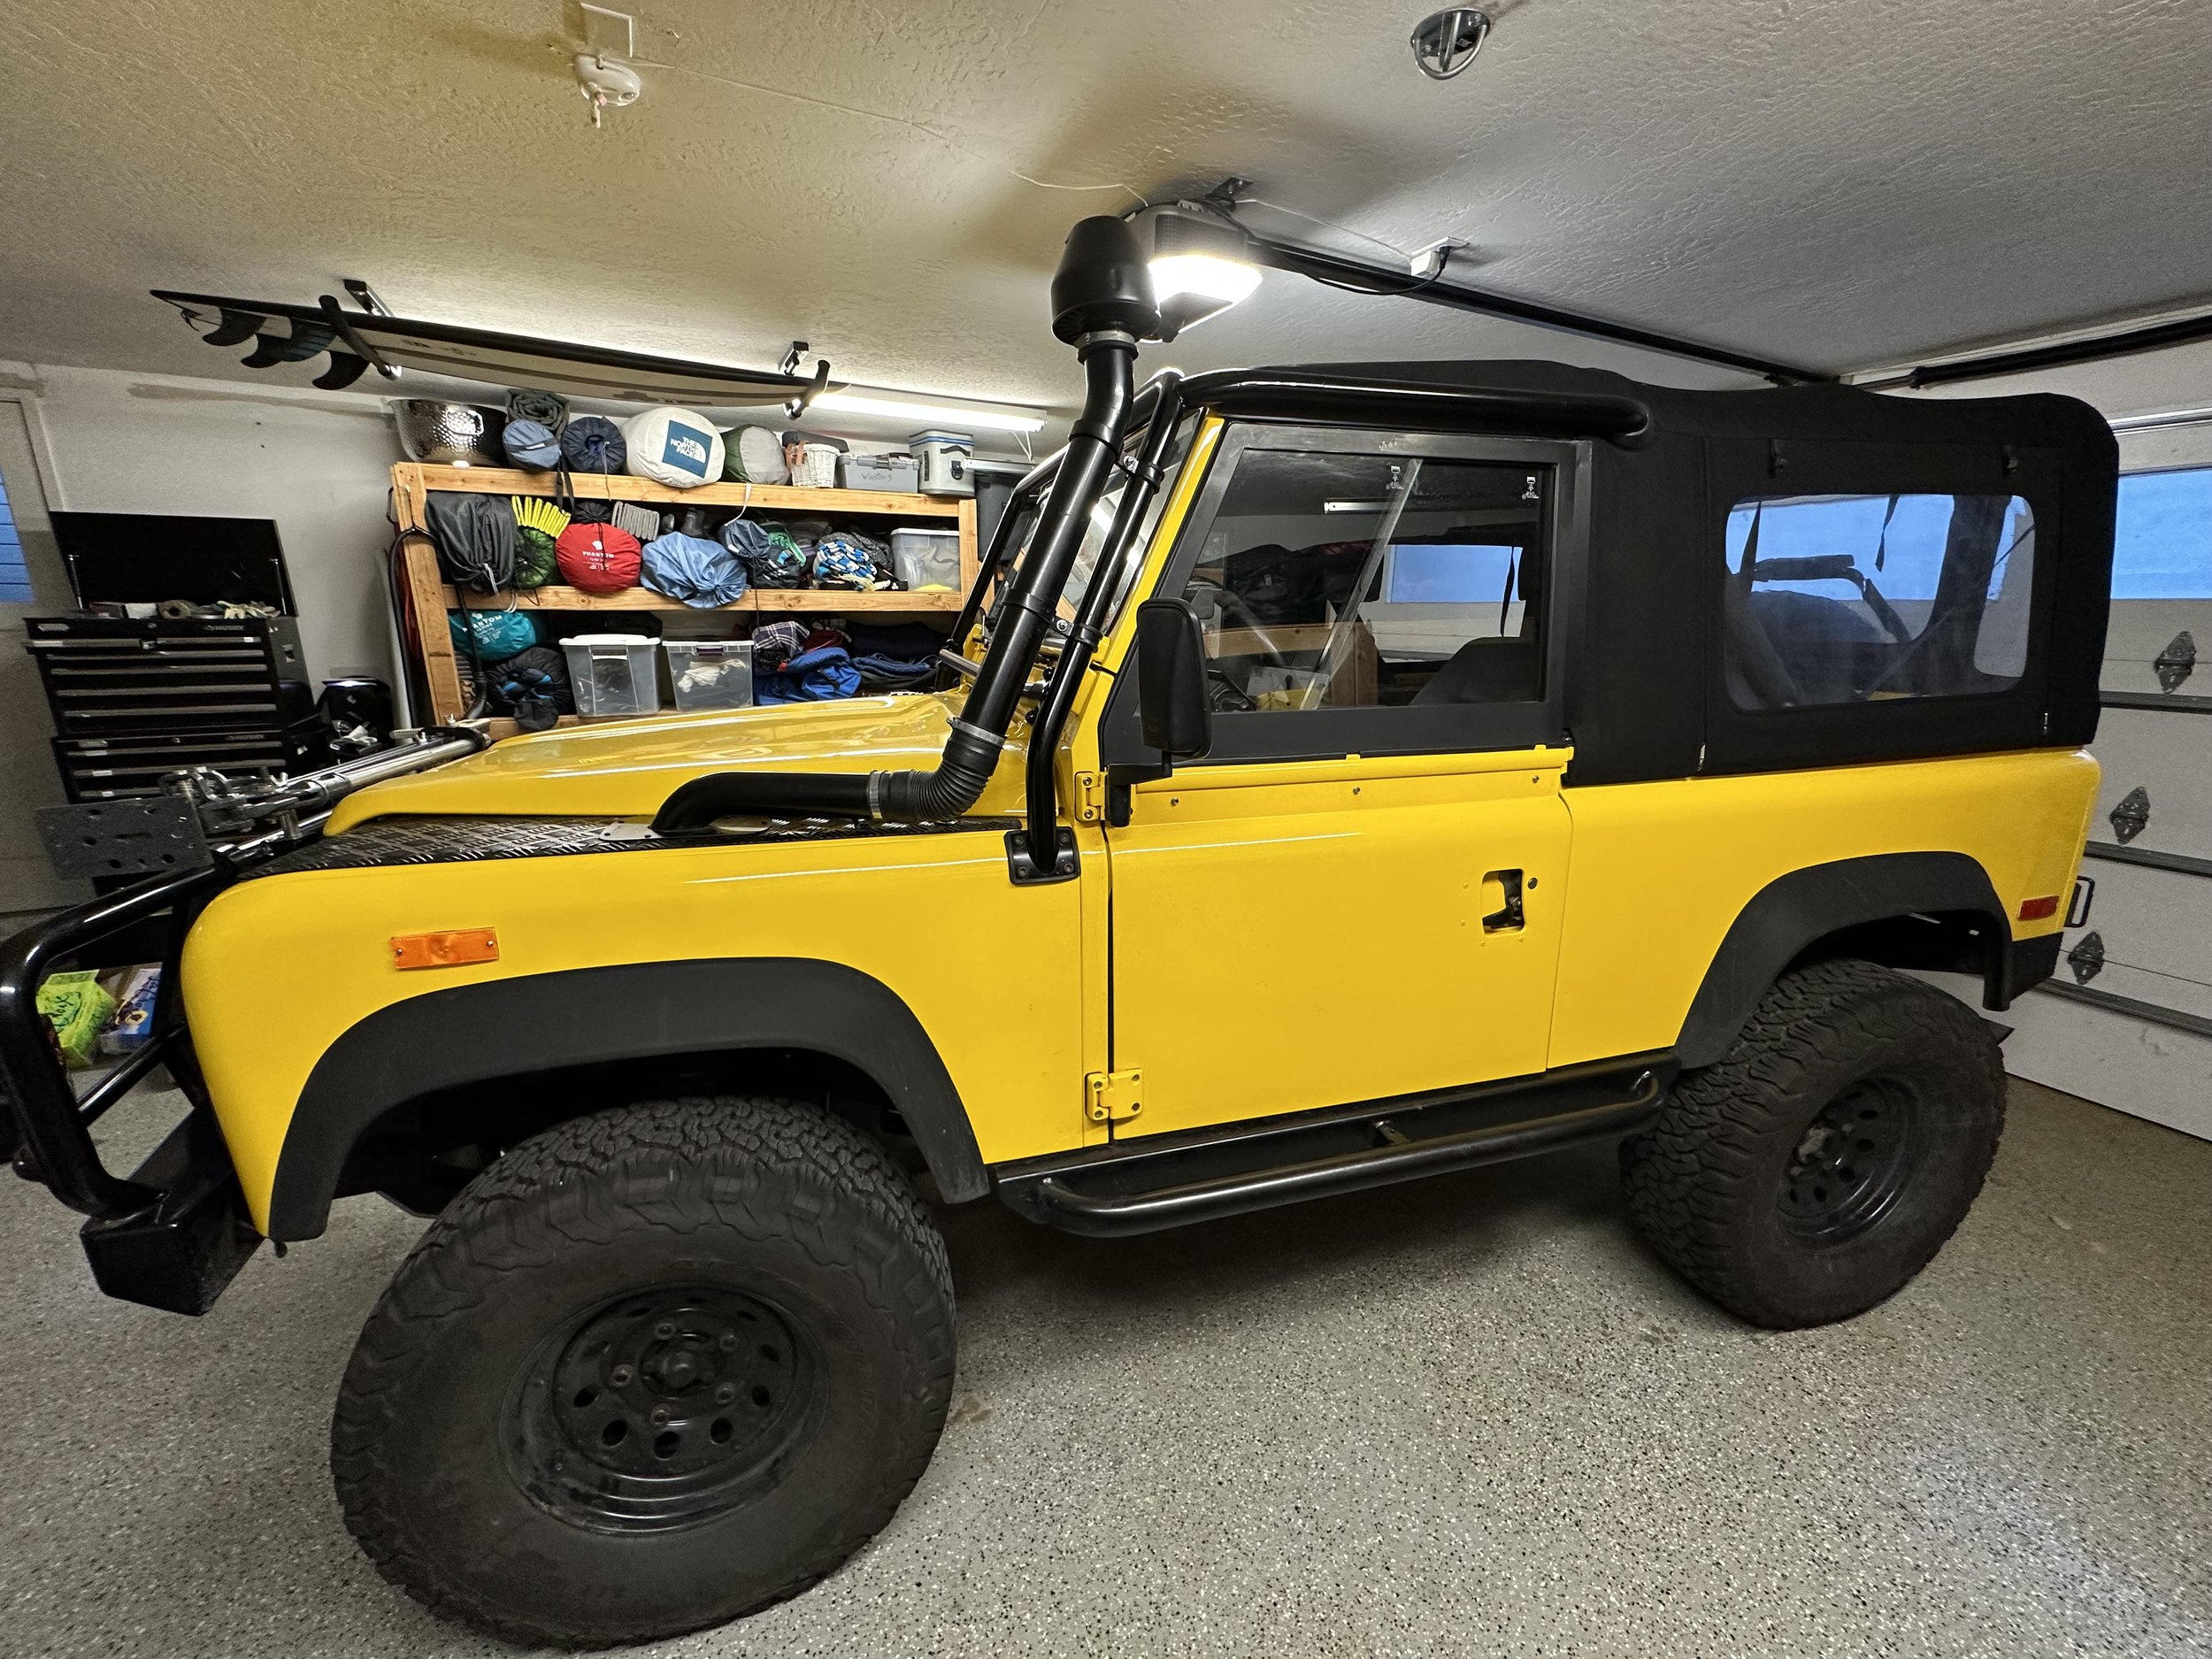
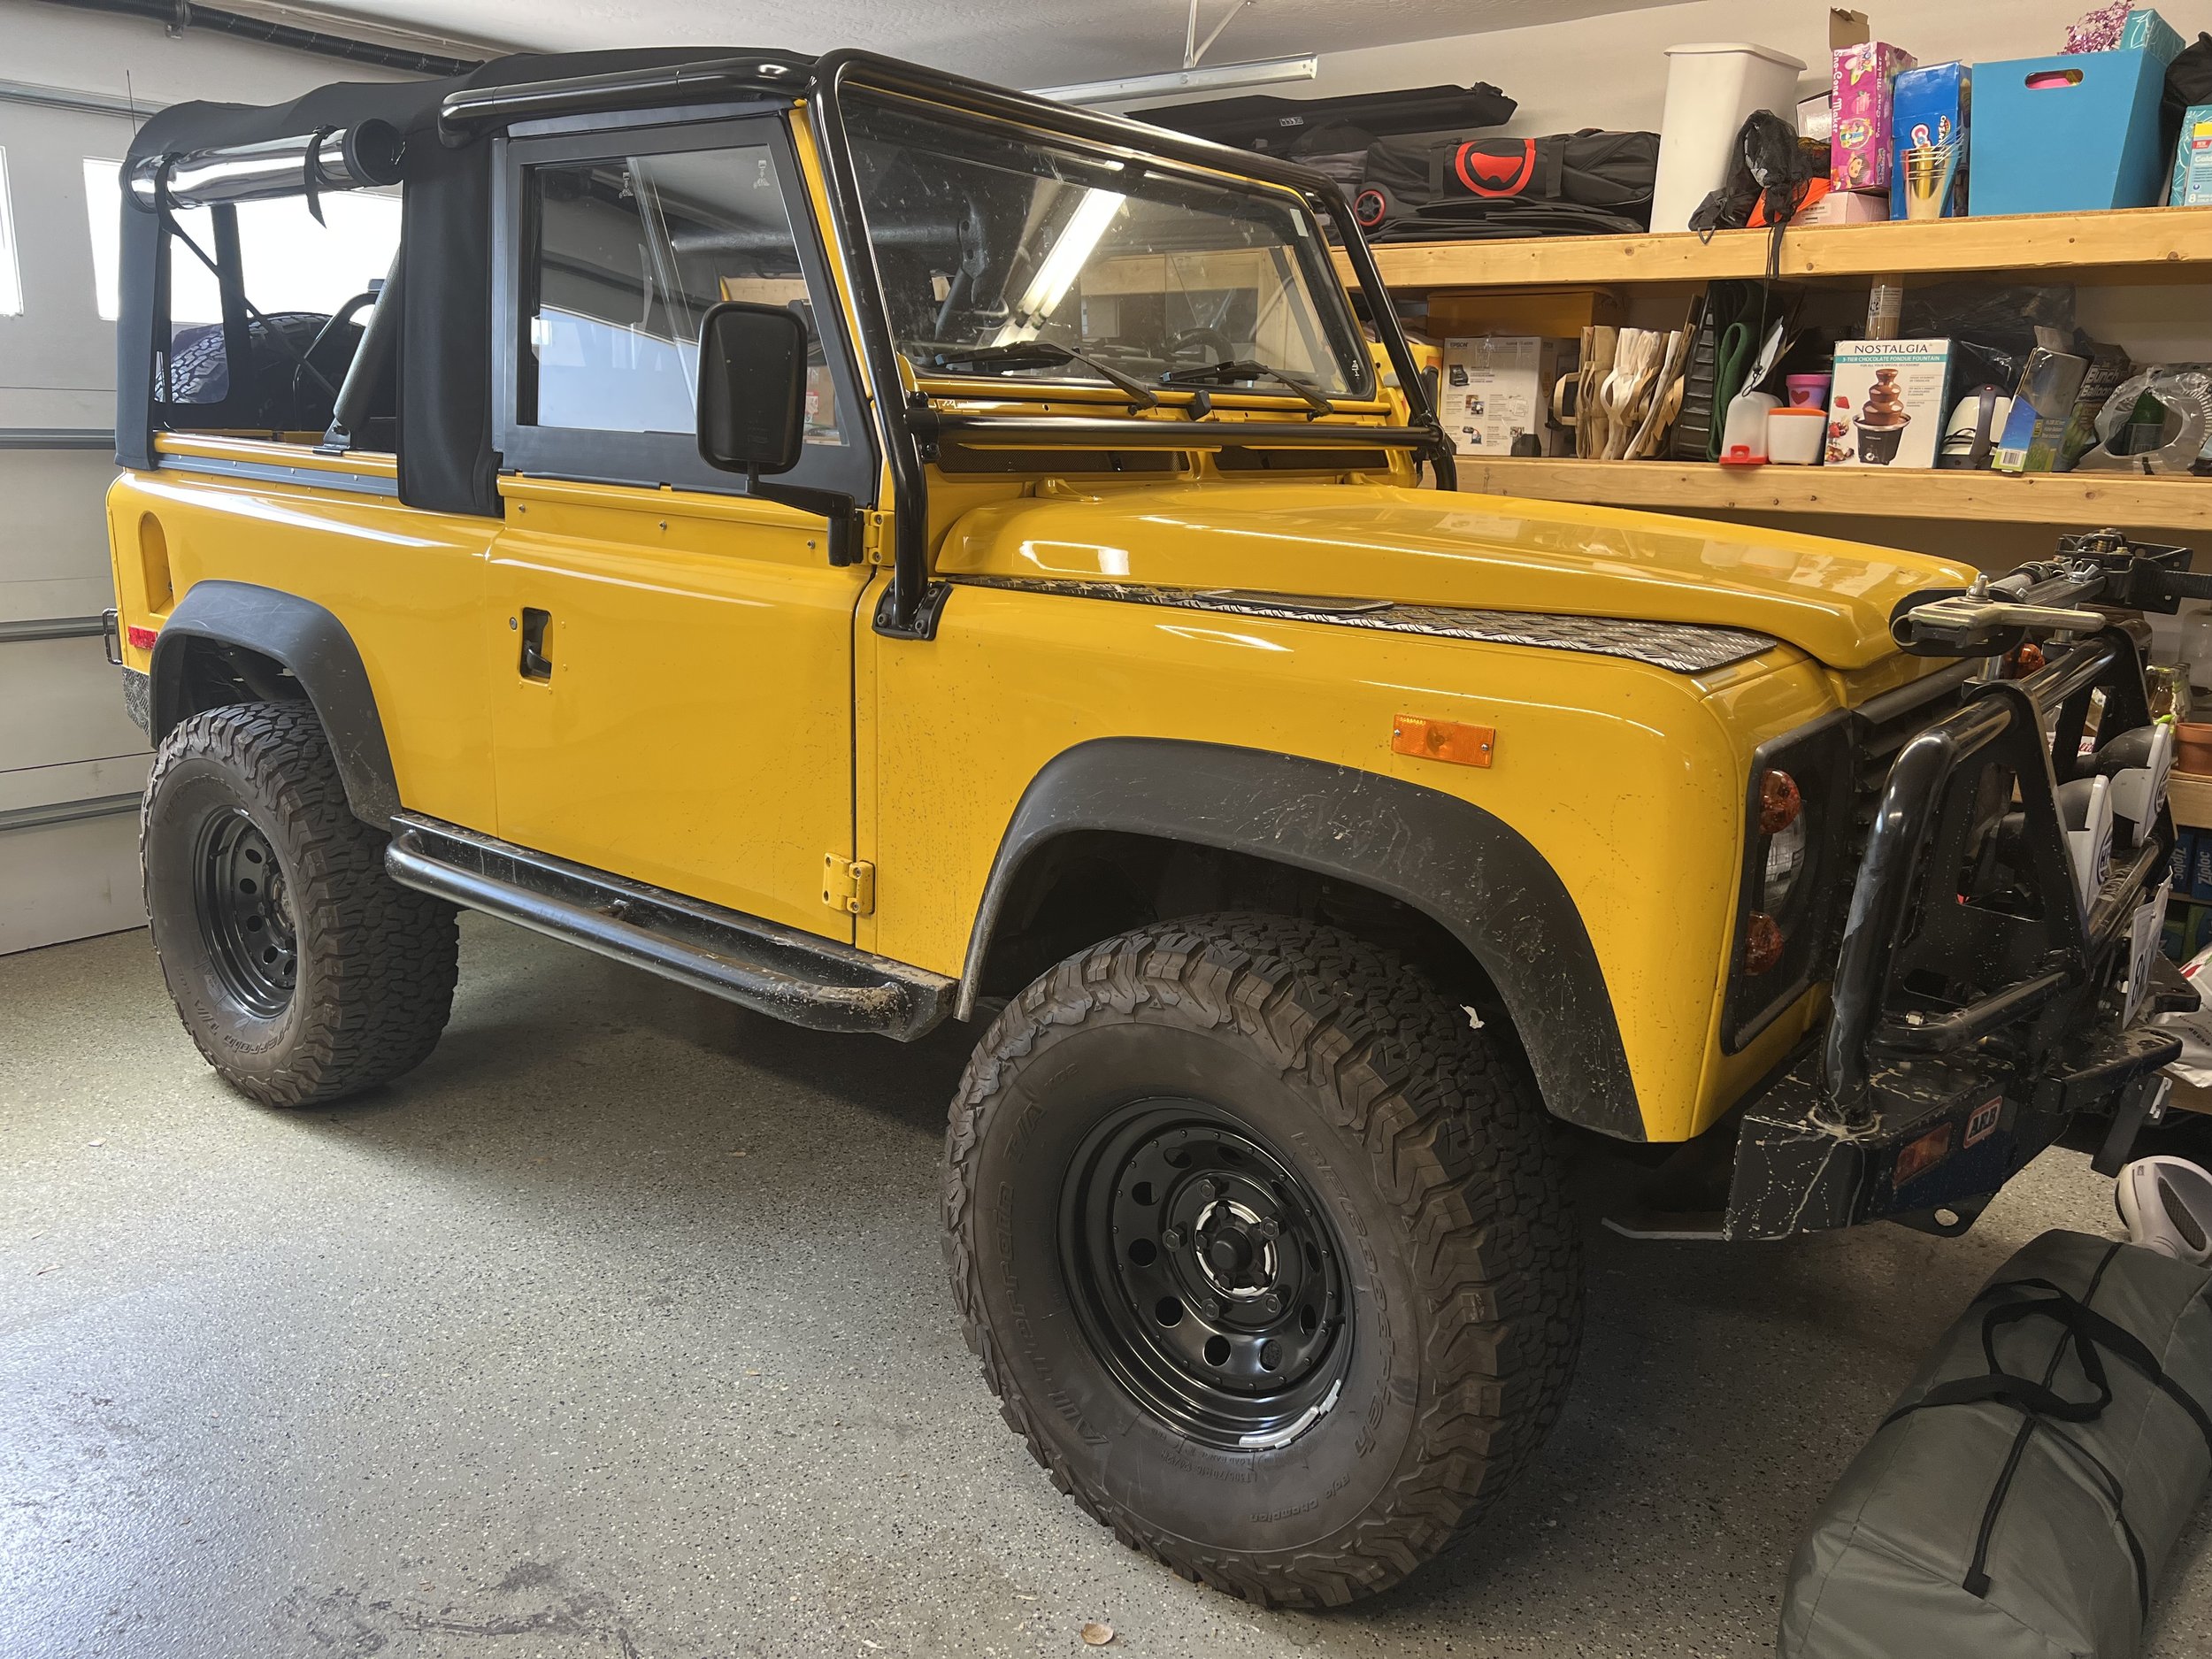
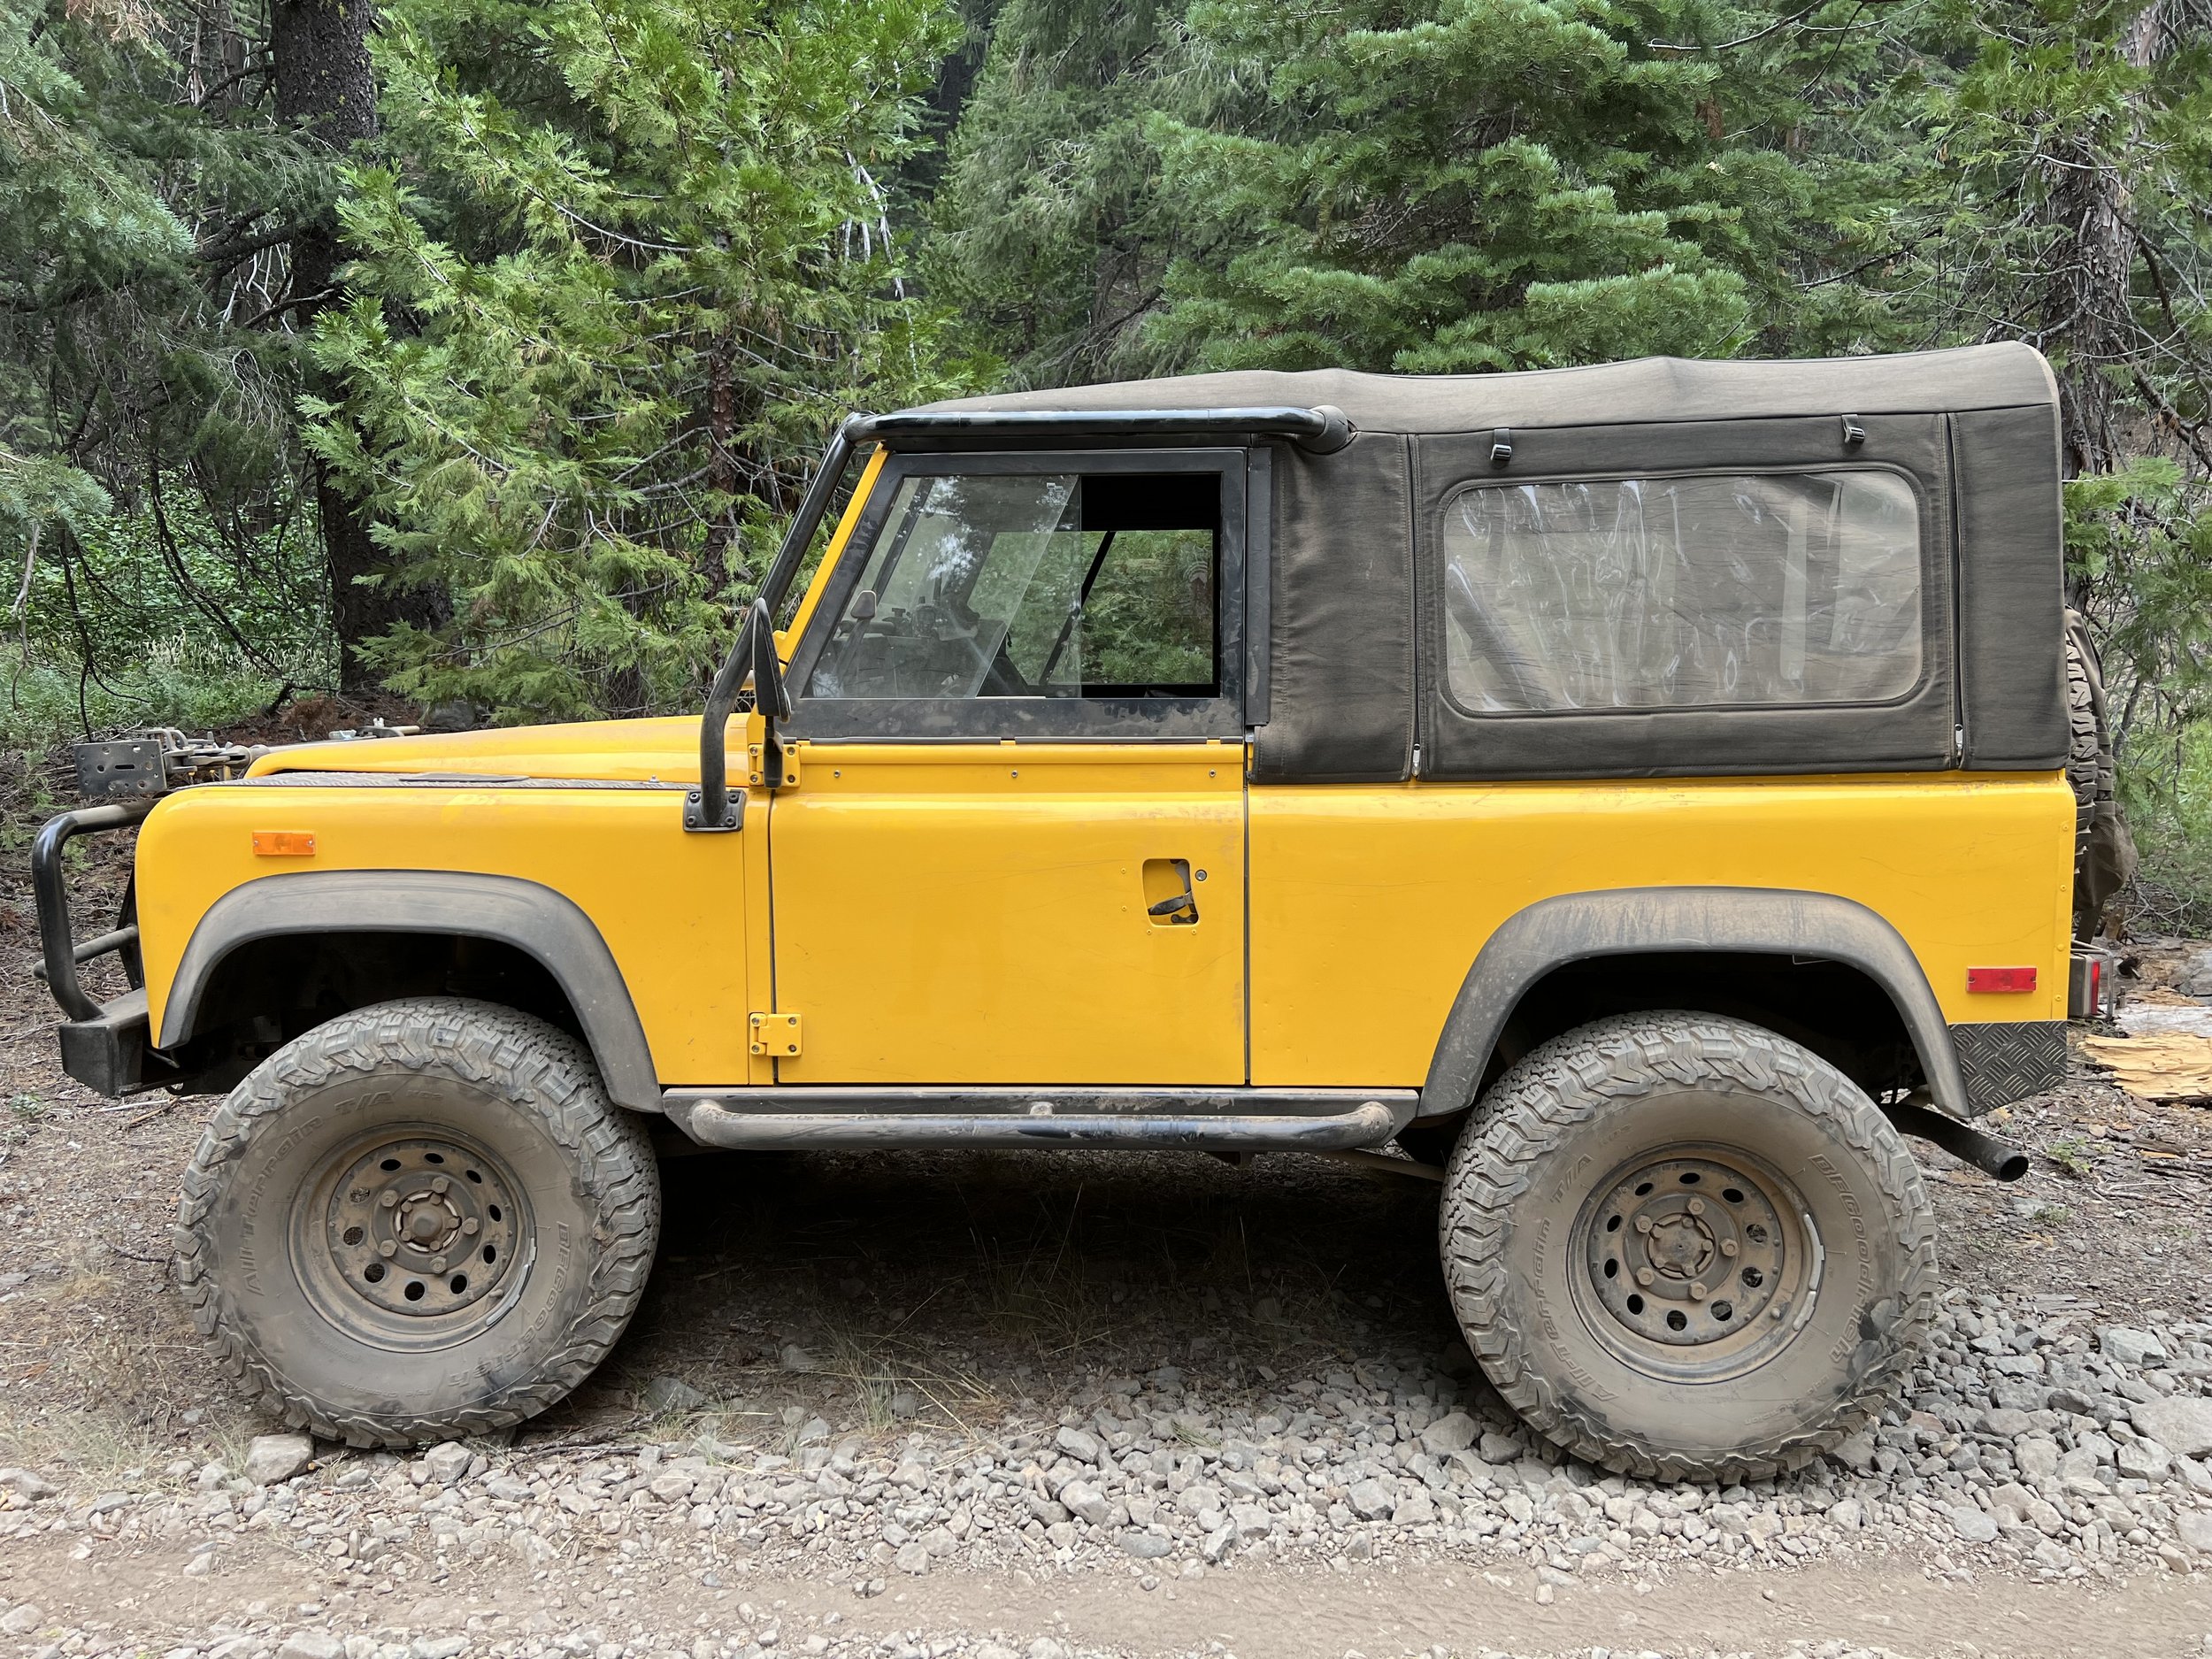
Defender 90 build

Defender Build - Cross Bars

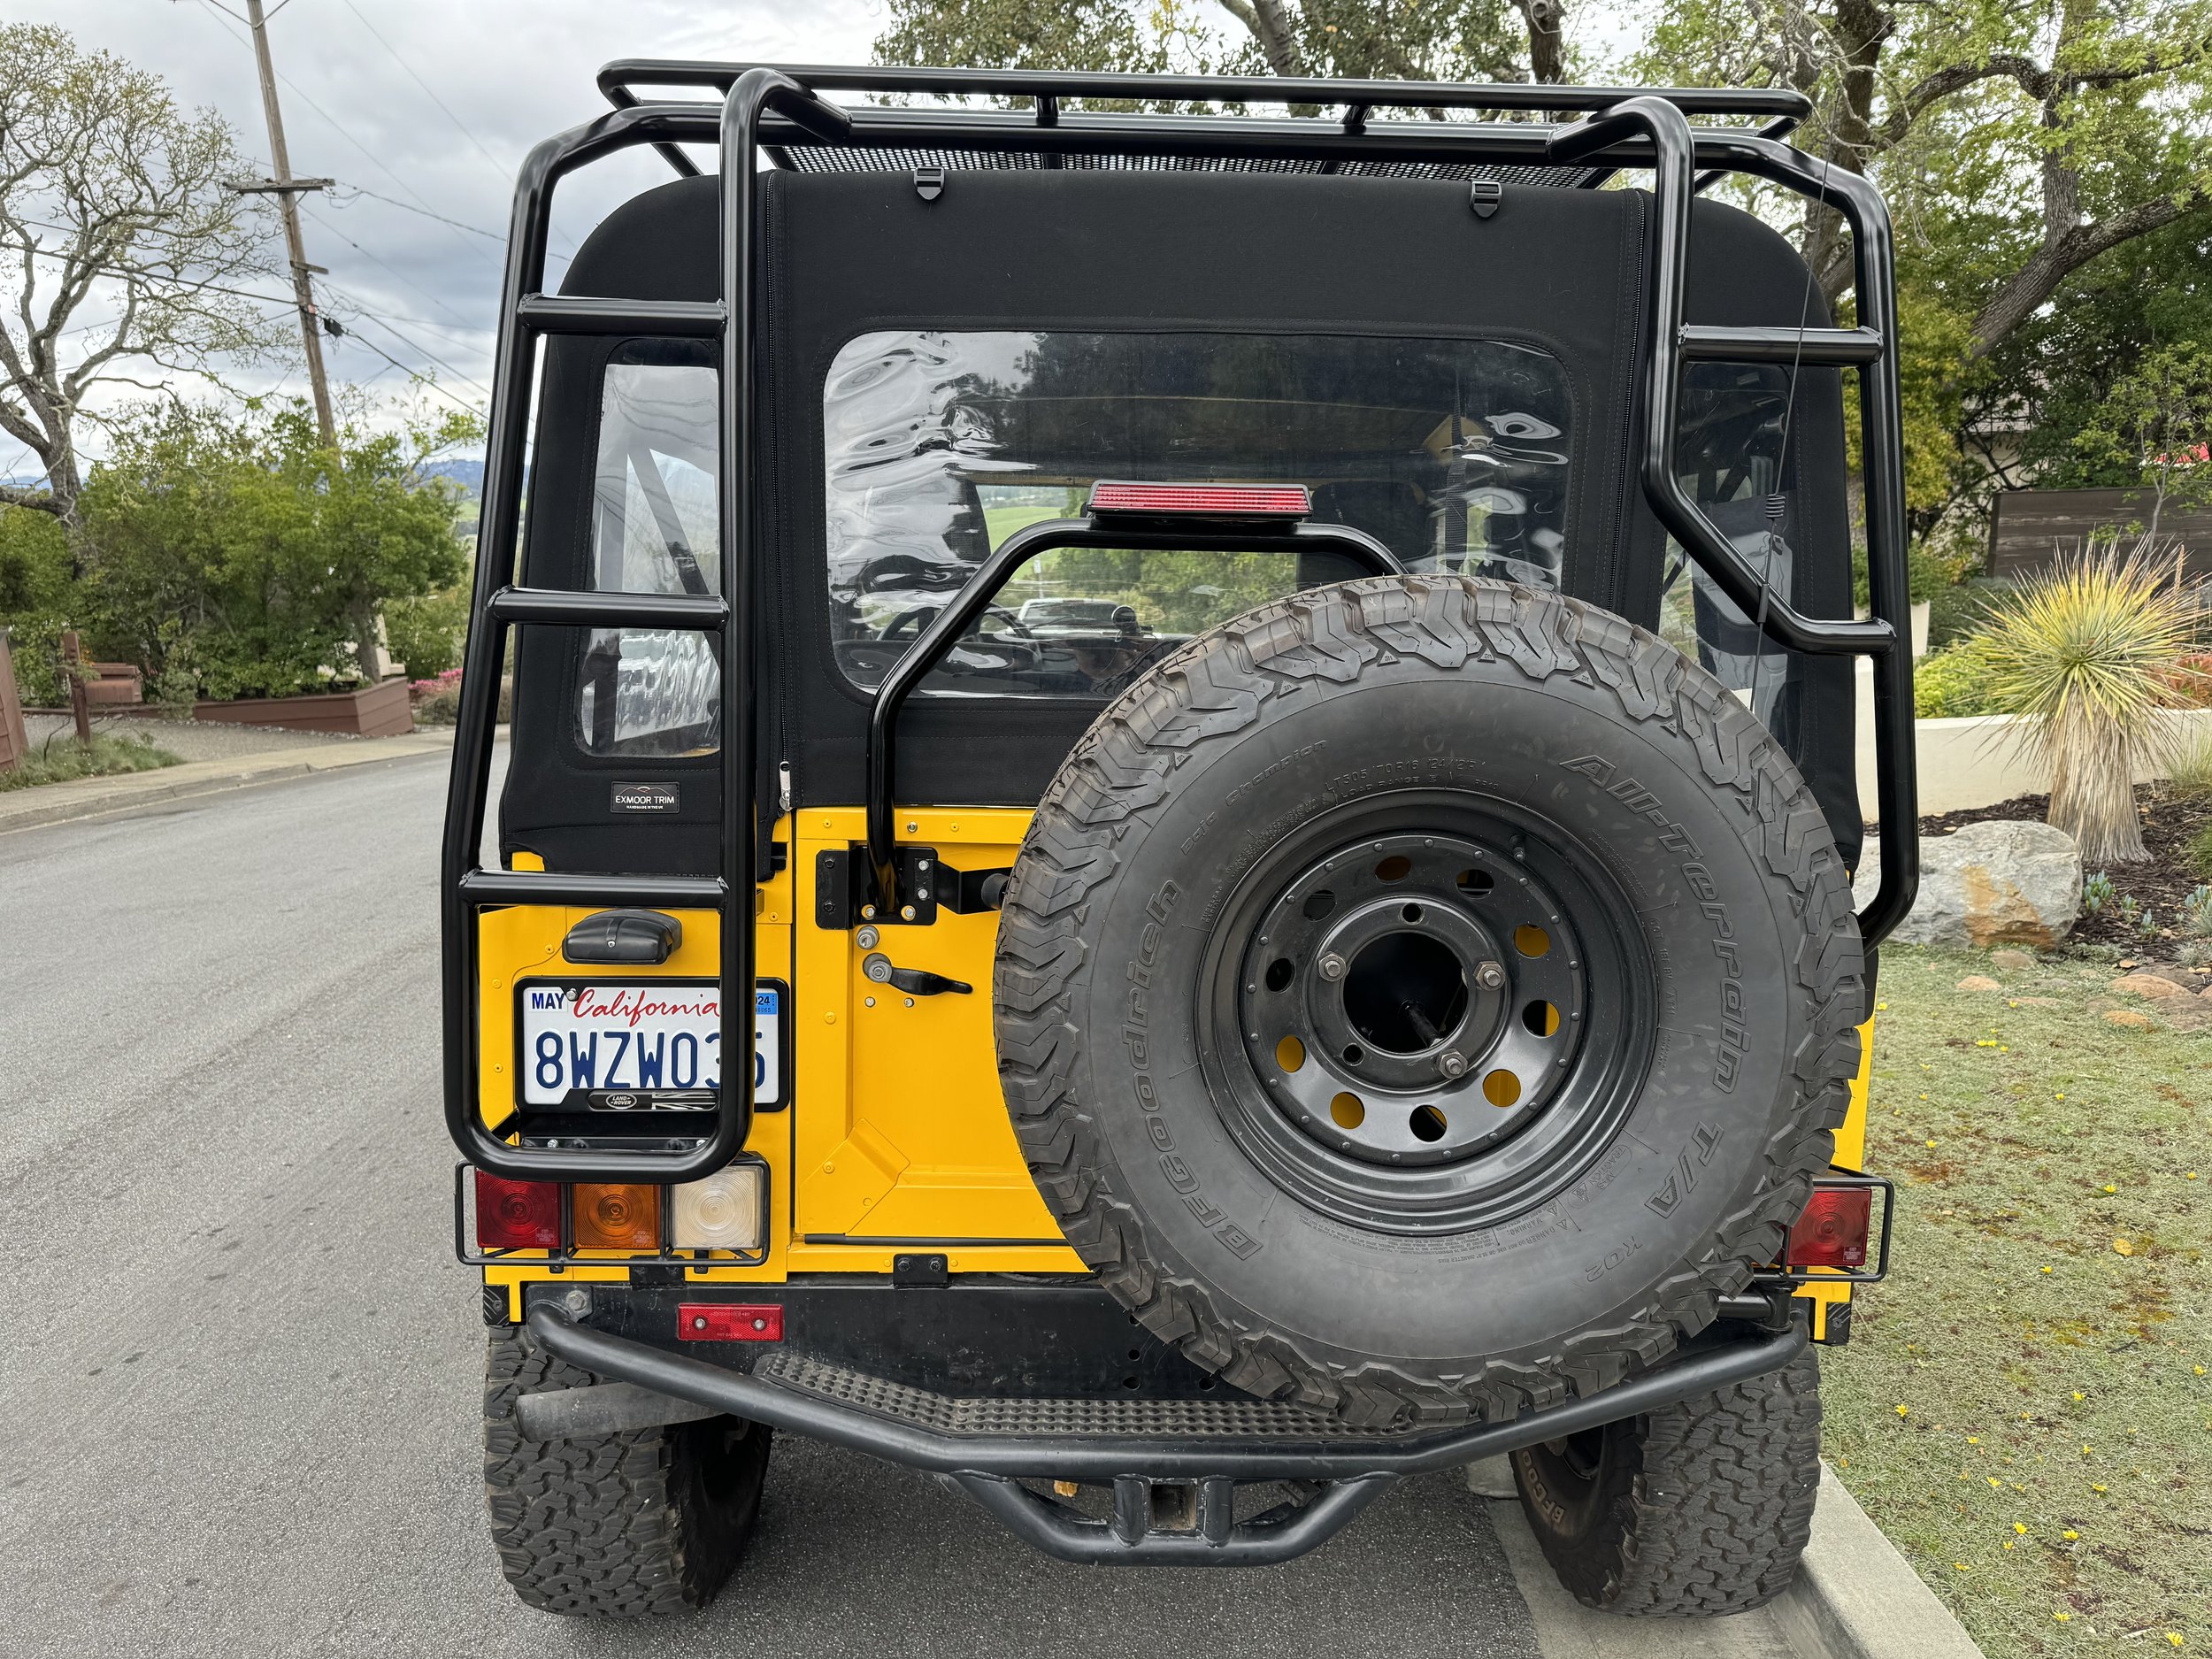
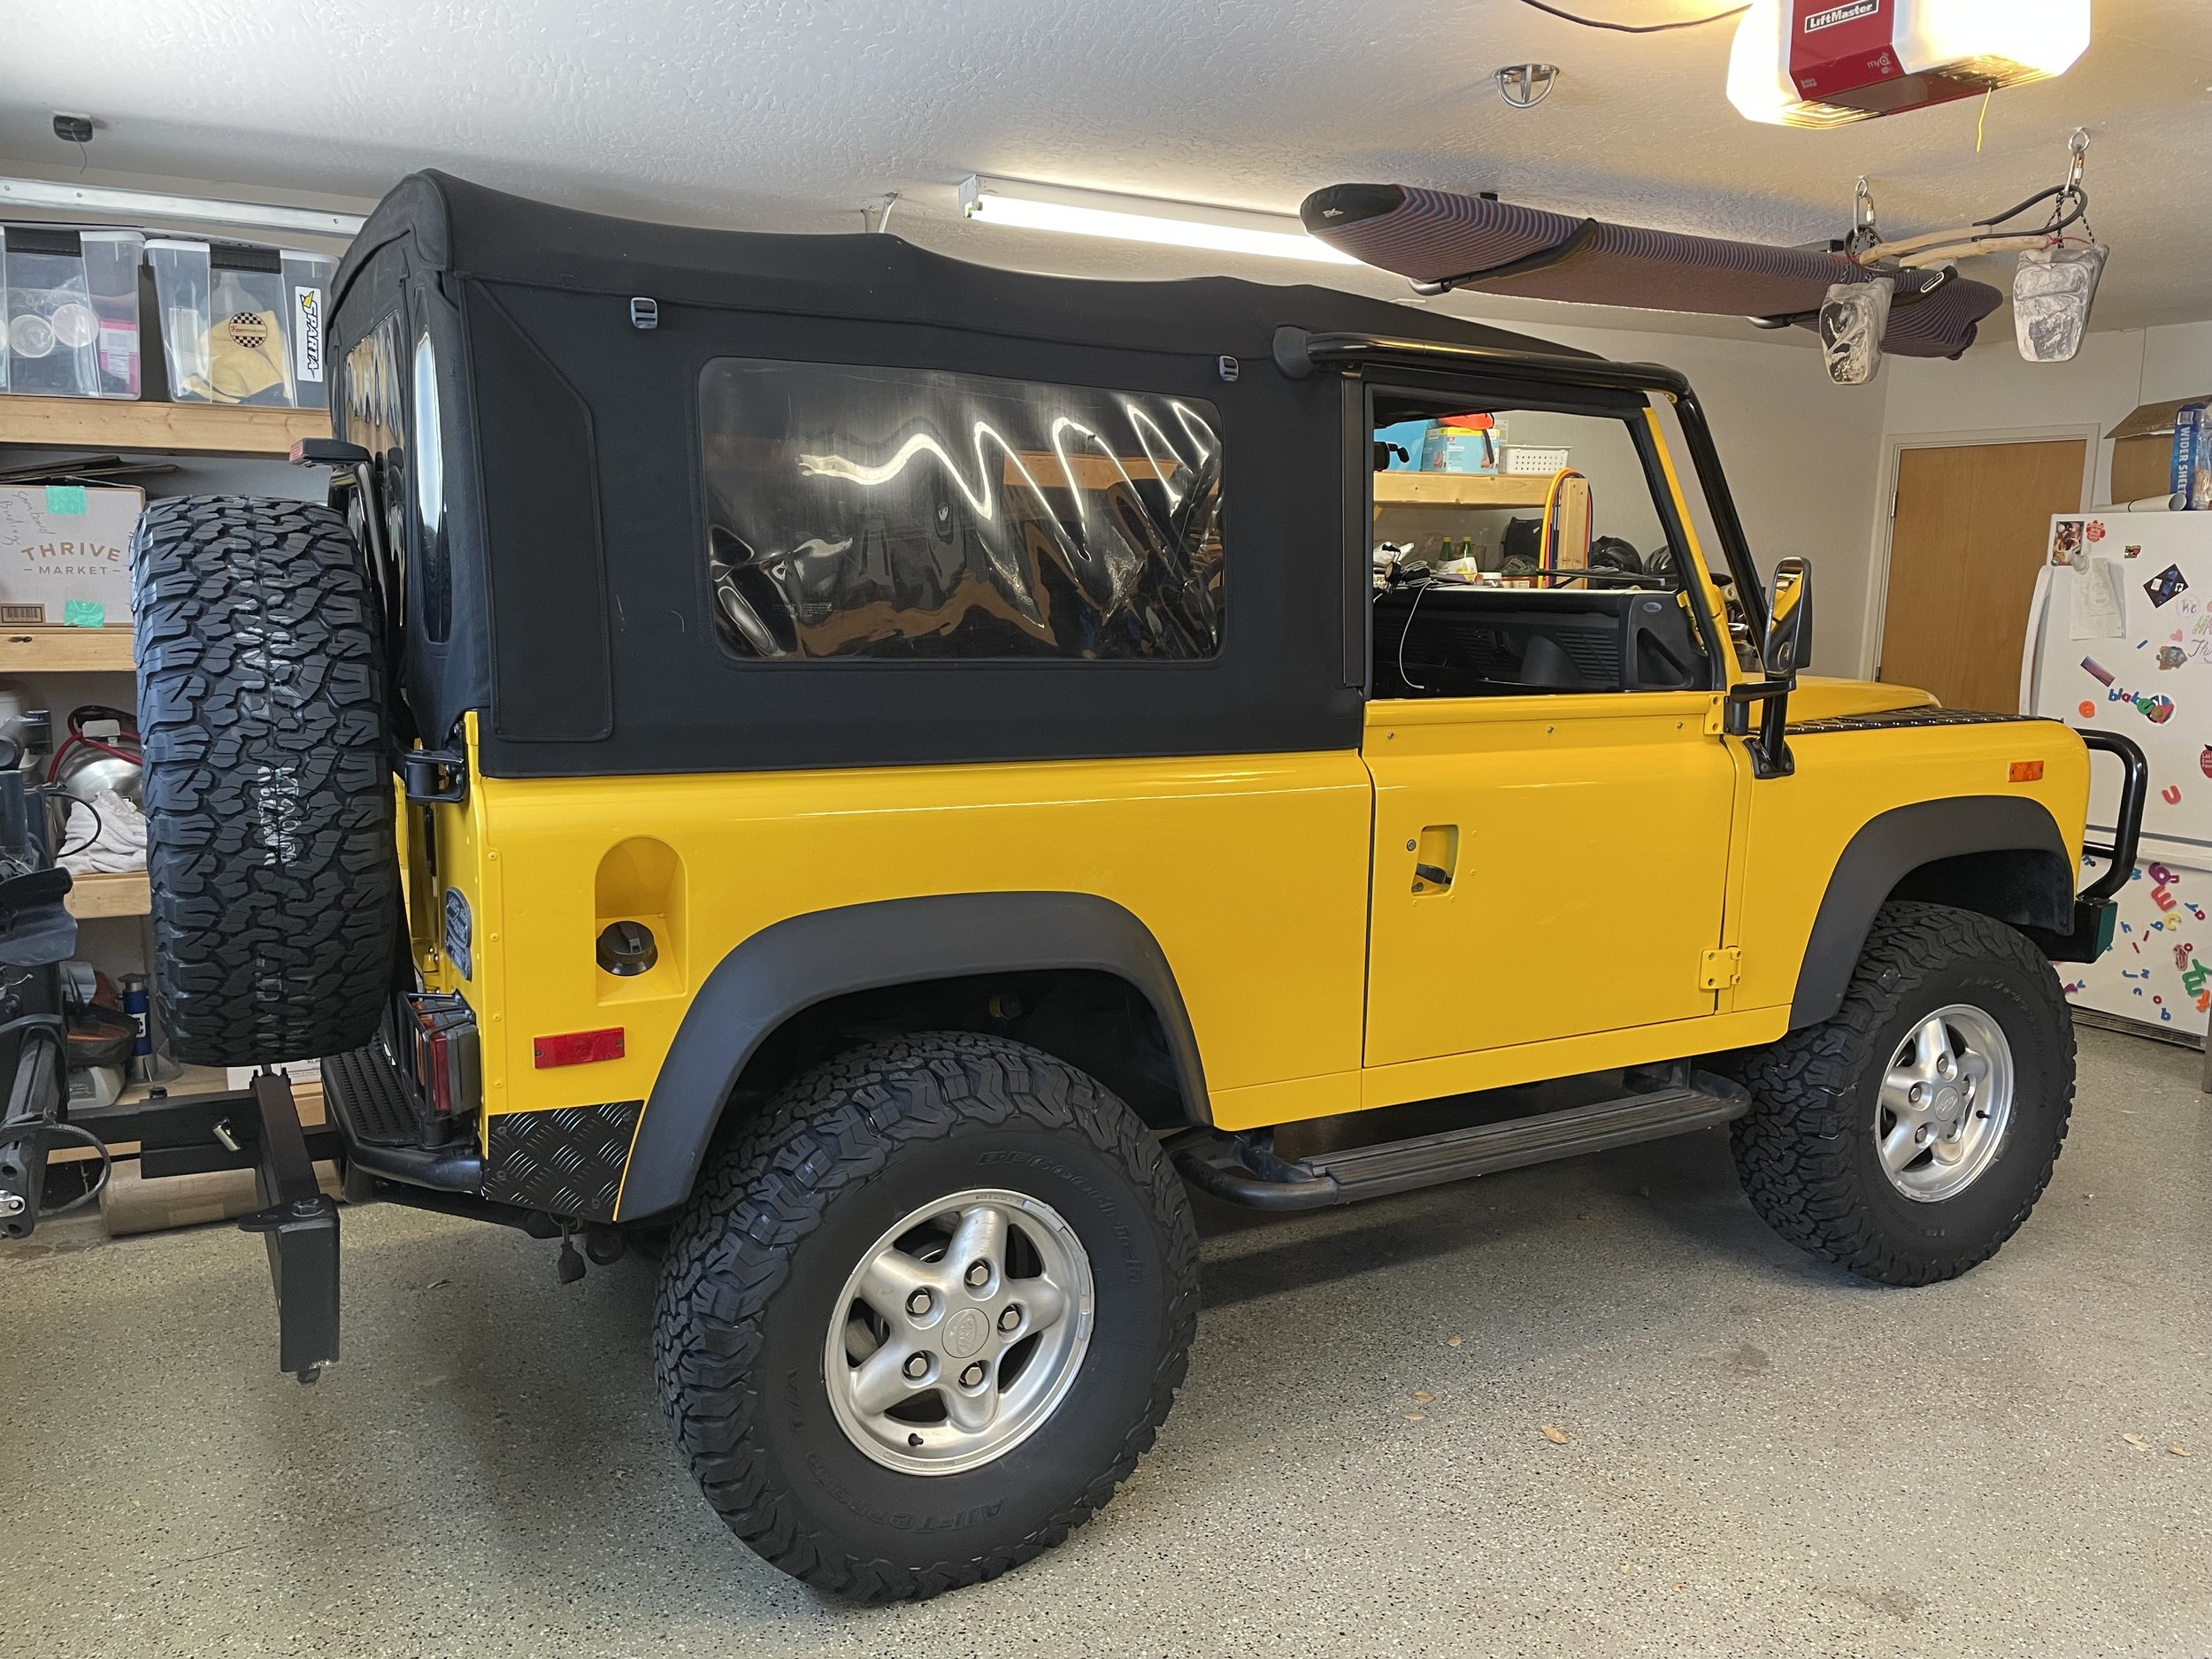
With a truck like a D90 you want to take it surfing, skiing, snowboarding, kayaking, or biking. It’s a truck built for adventure. But that means it needs to haul your gear. That can be a bit tricky with a soft top. I fixed the first problem by getting a custom fabricated safari rack that does not impact the soft top. To read about that project go here. The platform is great for roof top tents, cargo boxes, and kayaking…..but not so great for skis, snowboards, and surfboards. I wanted to find a solution to have cross bars mounted to the safari platform.

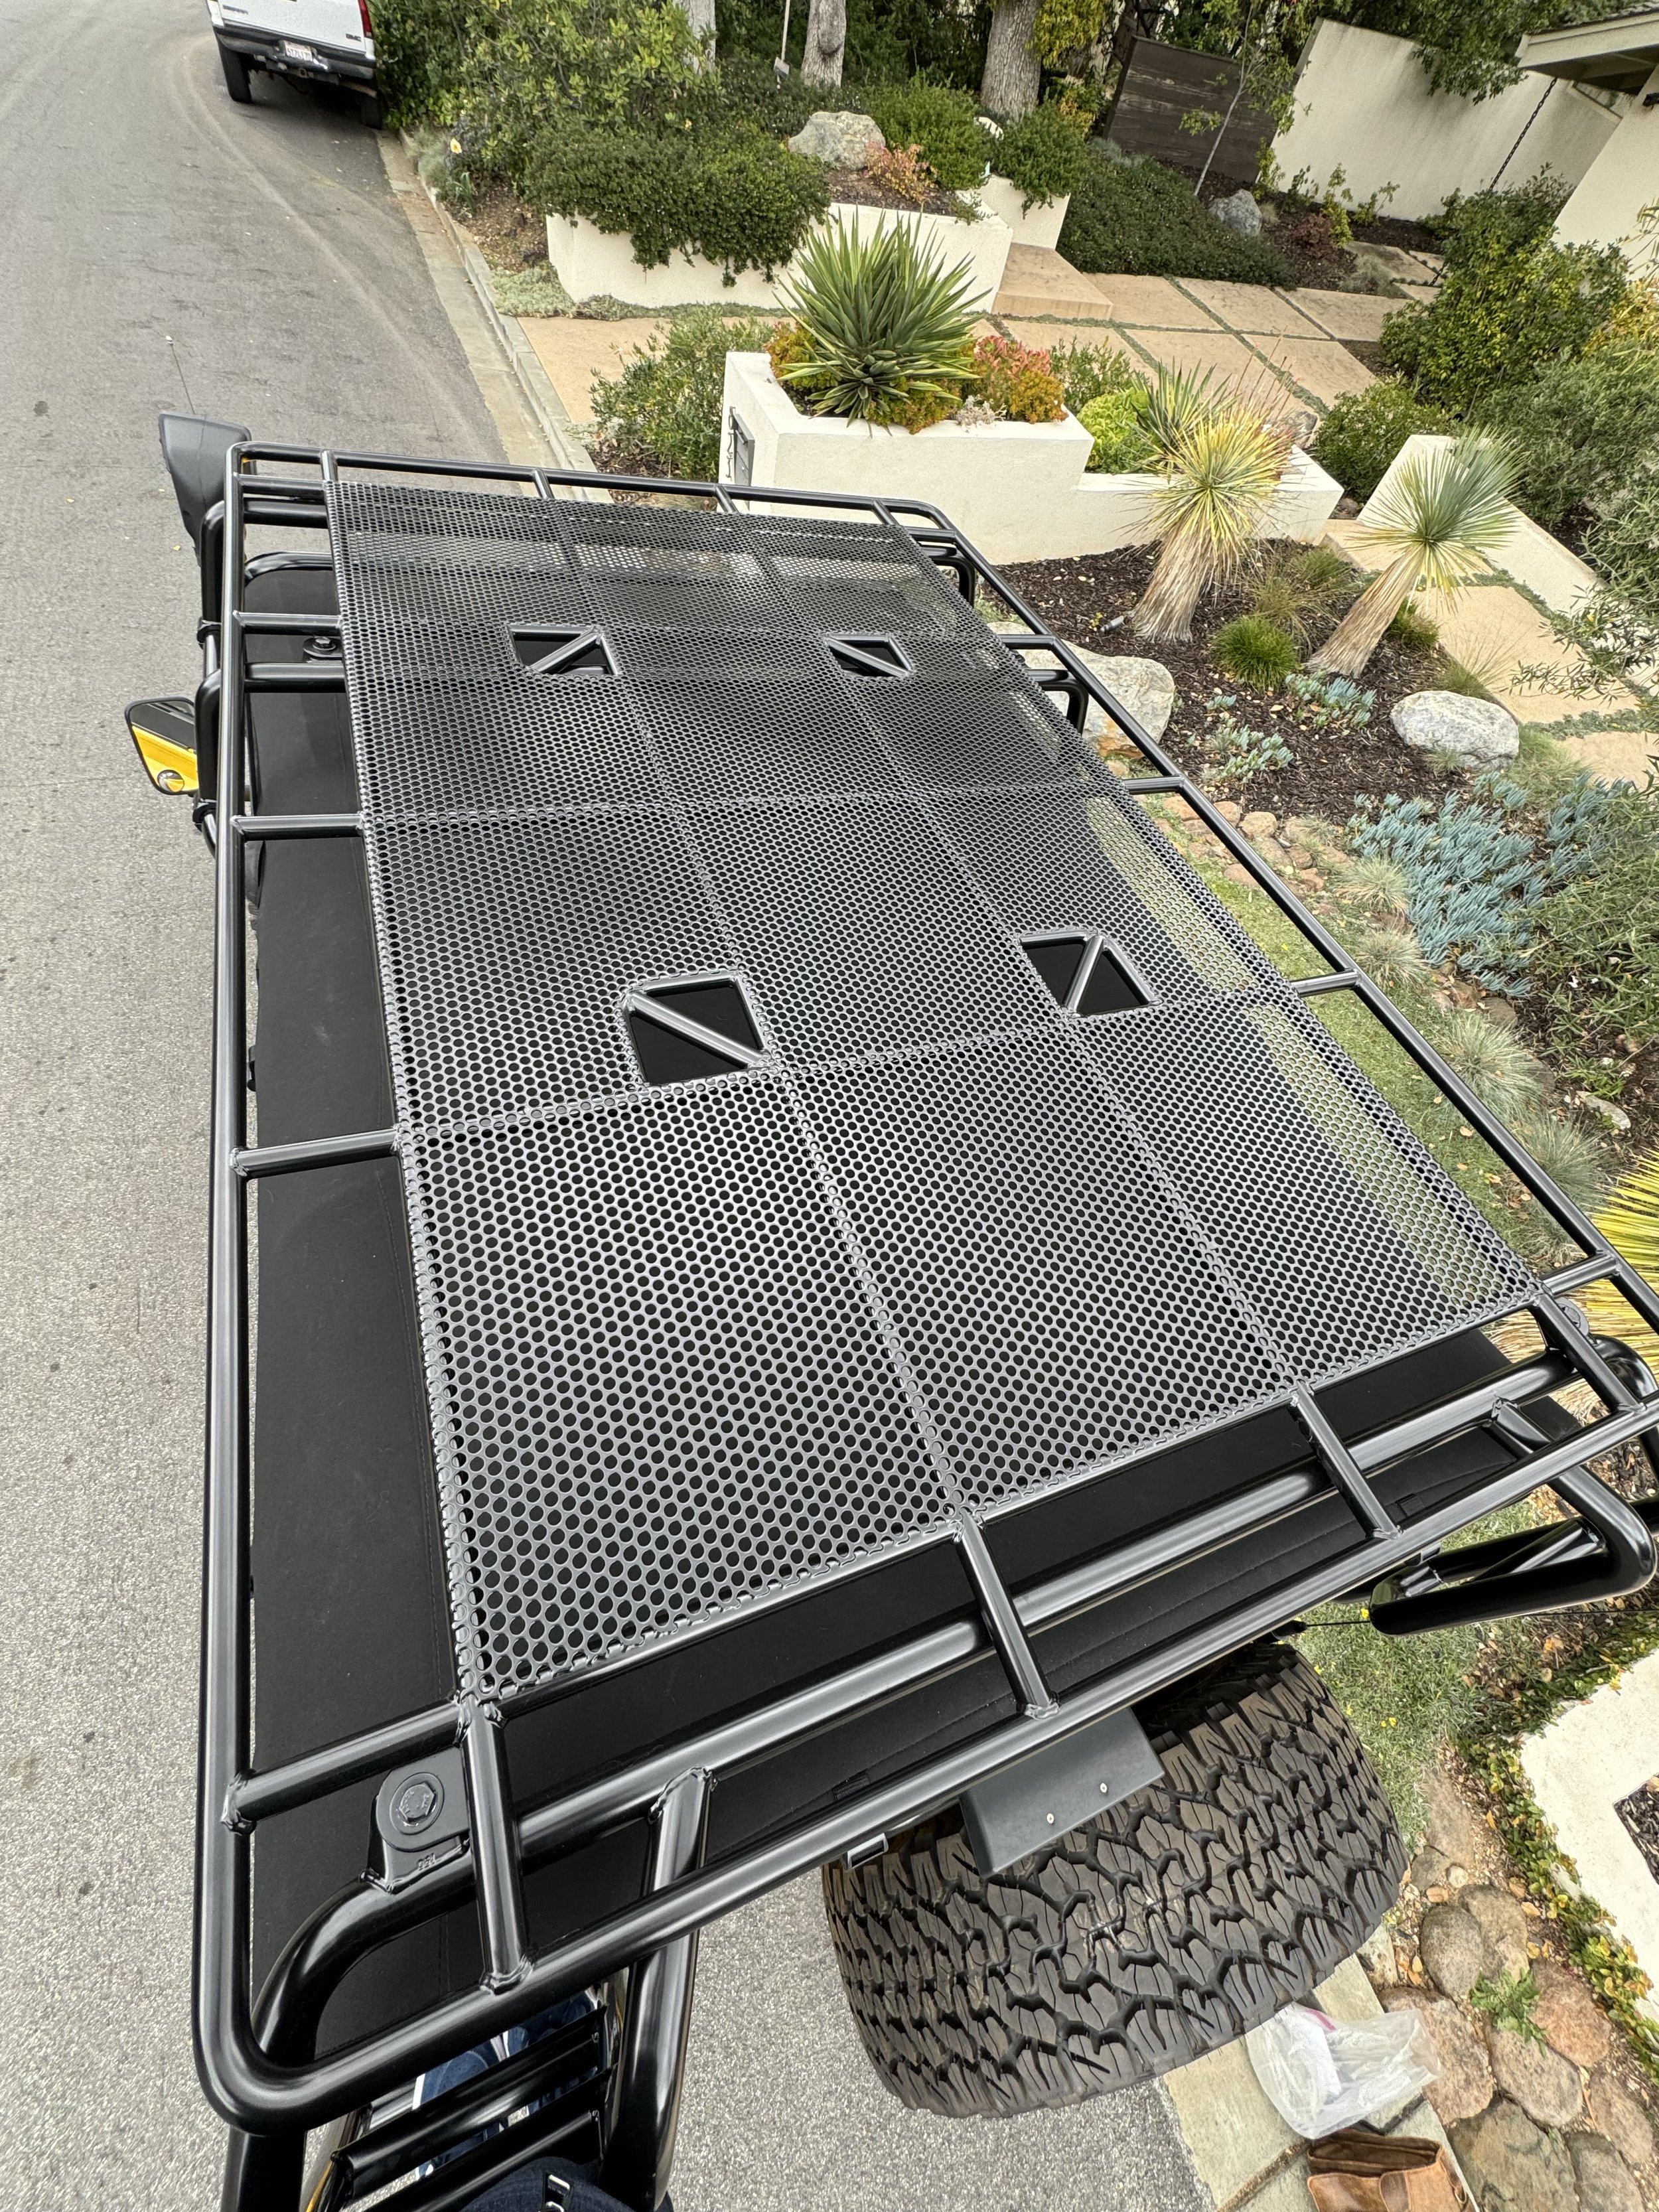
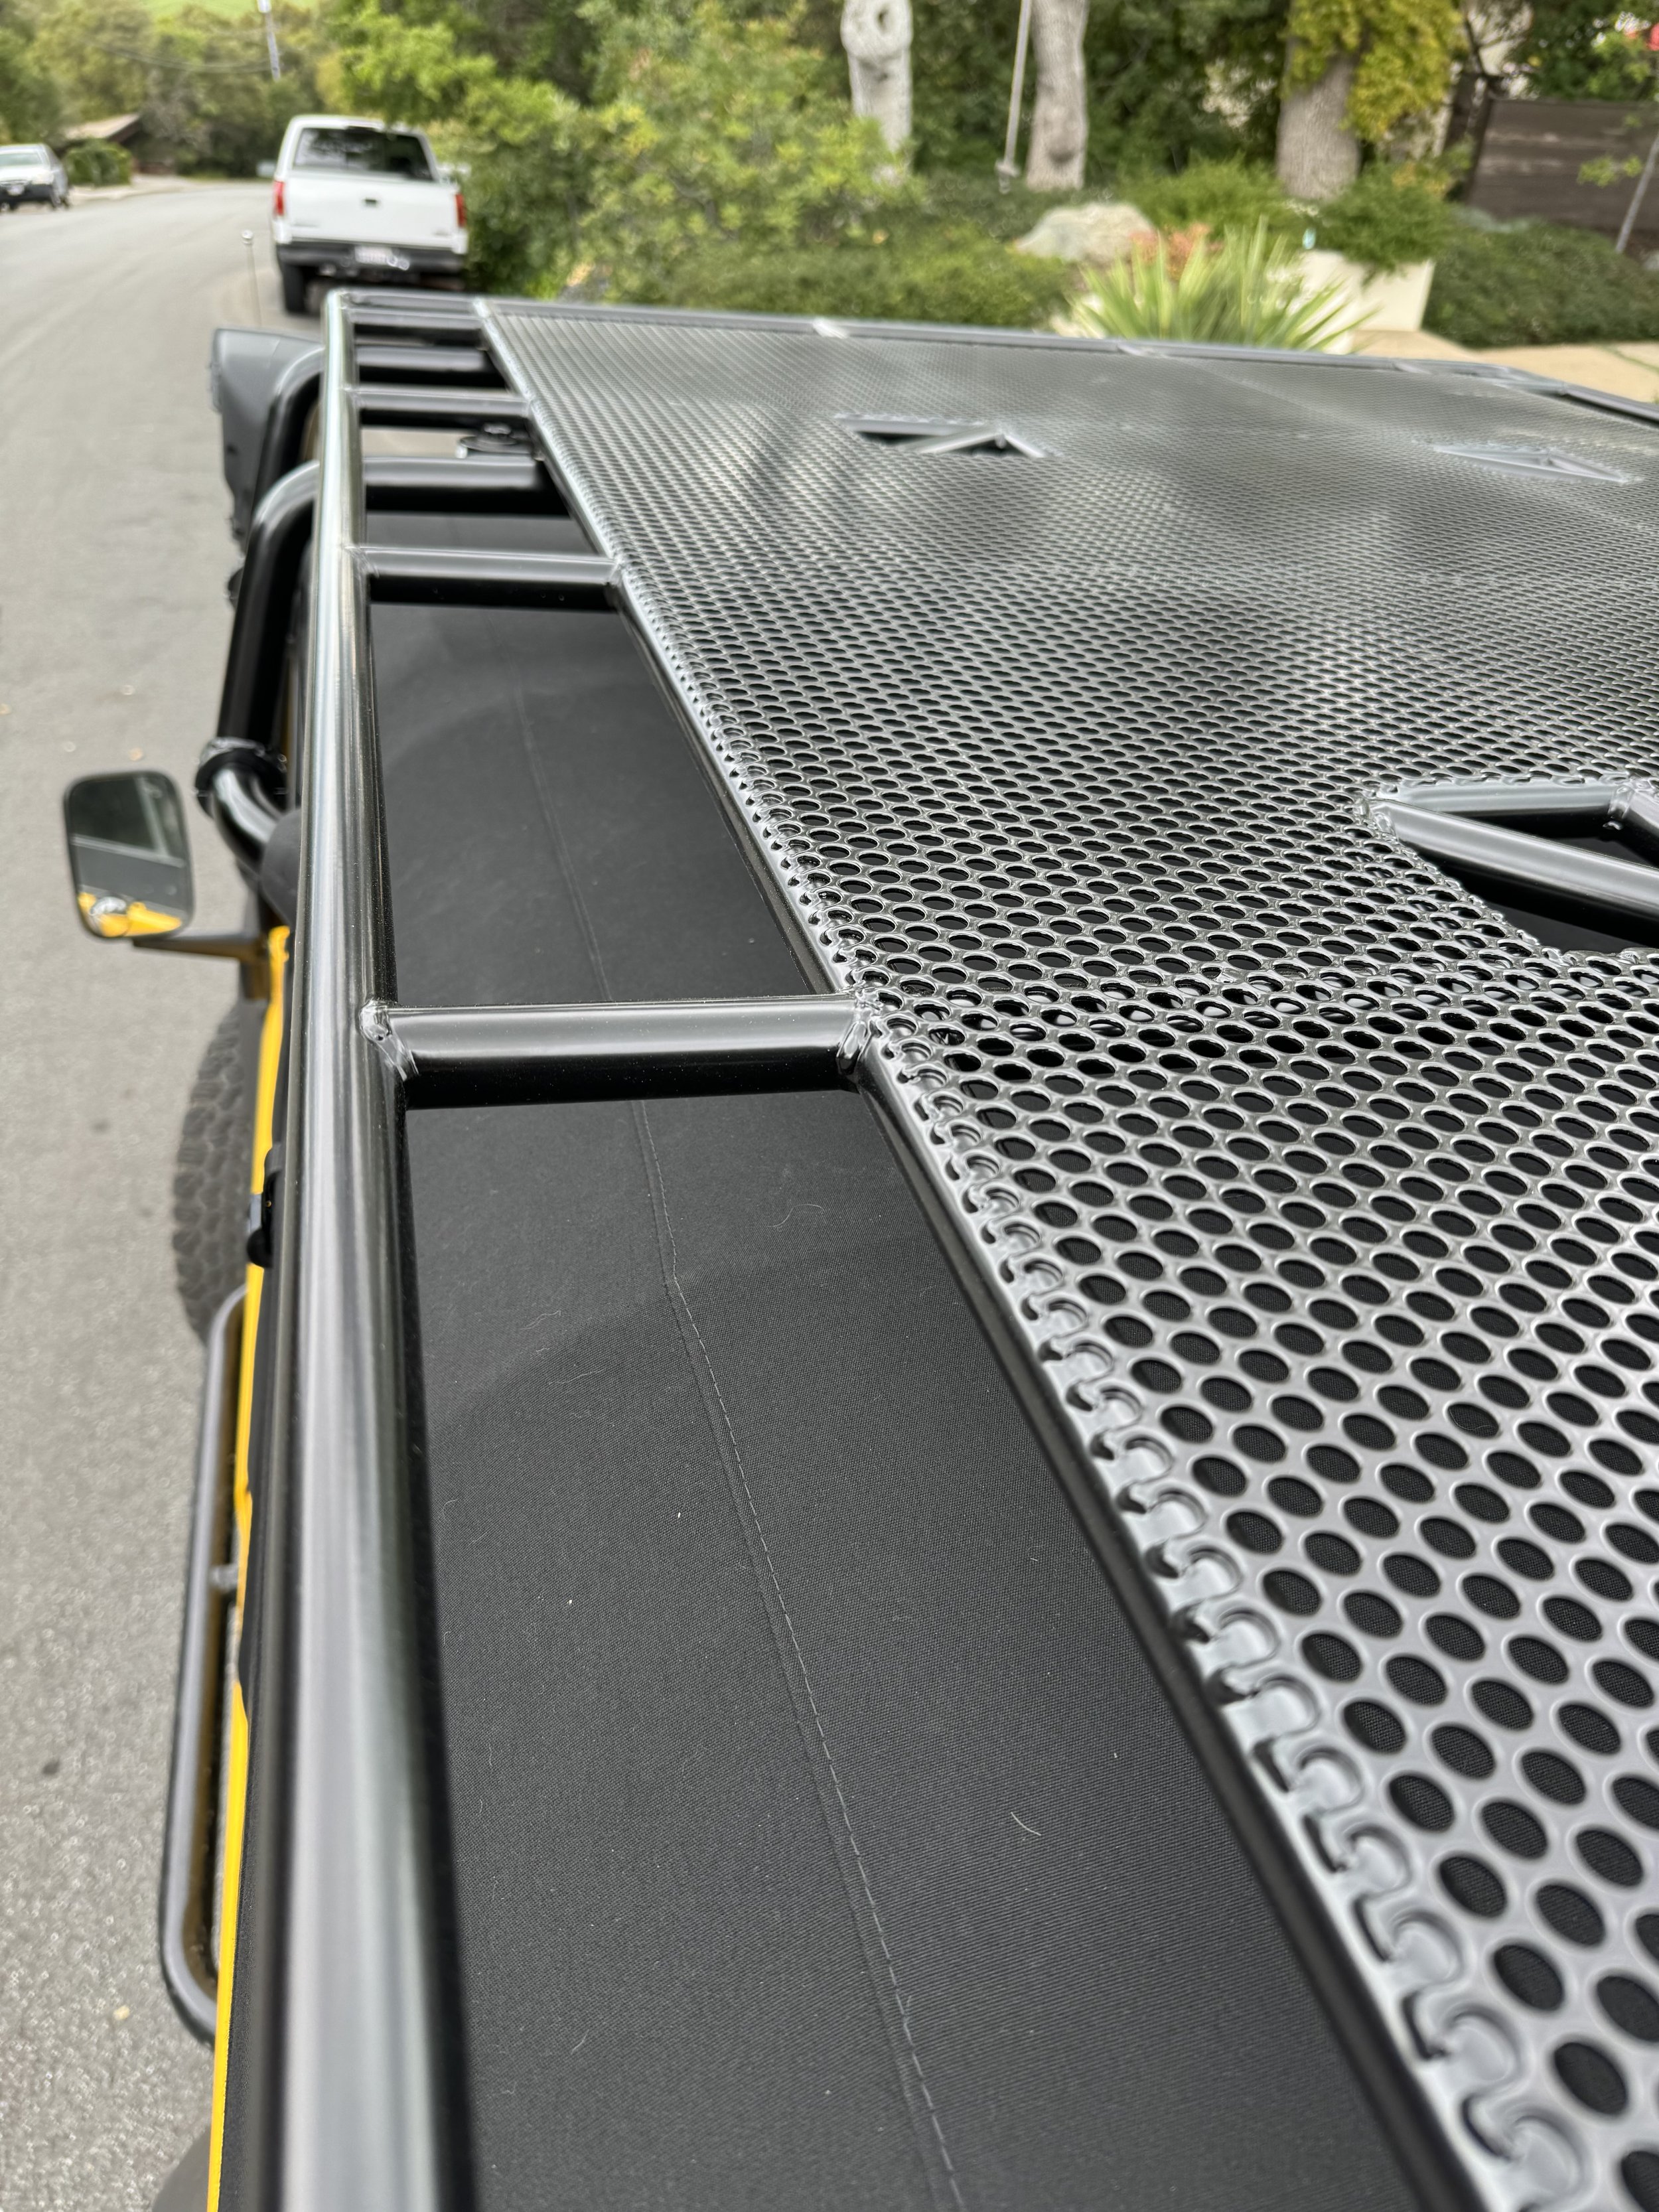
I ended up getting some Yakima HD rails and believe it or not the holes in the rails lined up perfectly with the perforated floor of the roof rack. I then got some Yakima launch pads that mount to the rails and then some Skyline towers. The final piece was to get some HD cross bars. The Skyline towers and cross bars can simply unclip from the rails in minutes for a sleek profile when you don’t need the cross bars. Is this setup overkill….yes just like the rest of the build :)

Defender Build - More Lights

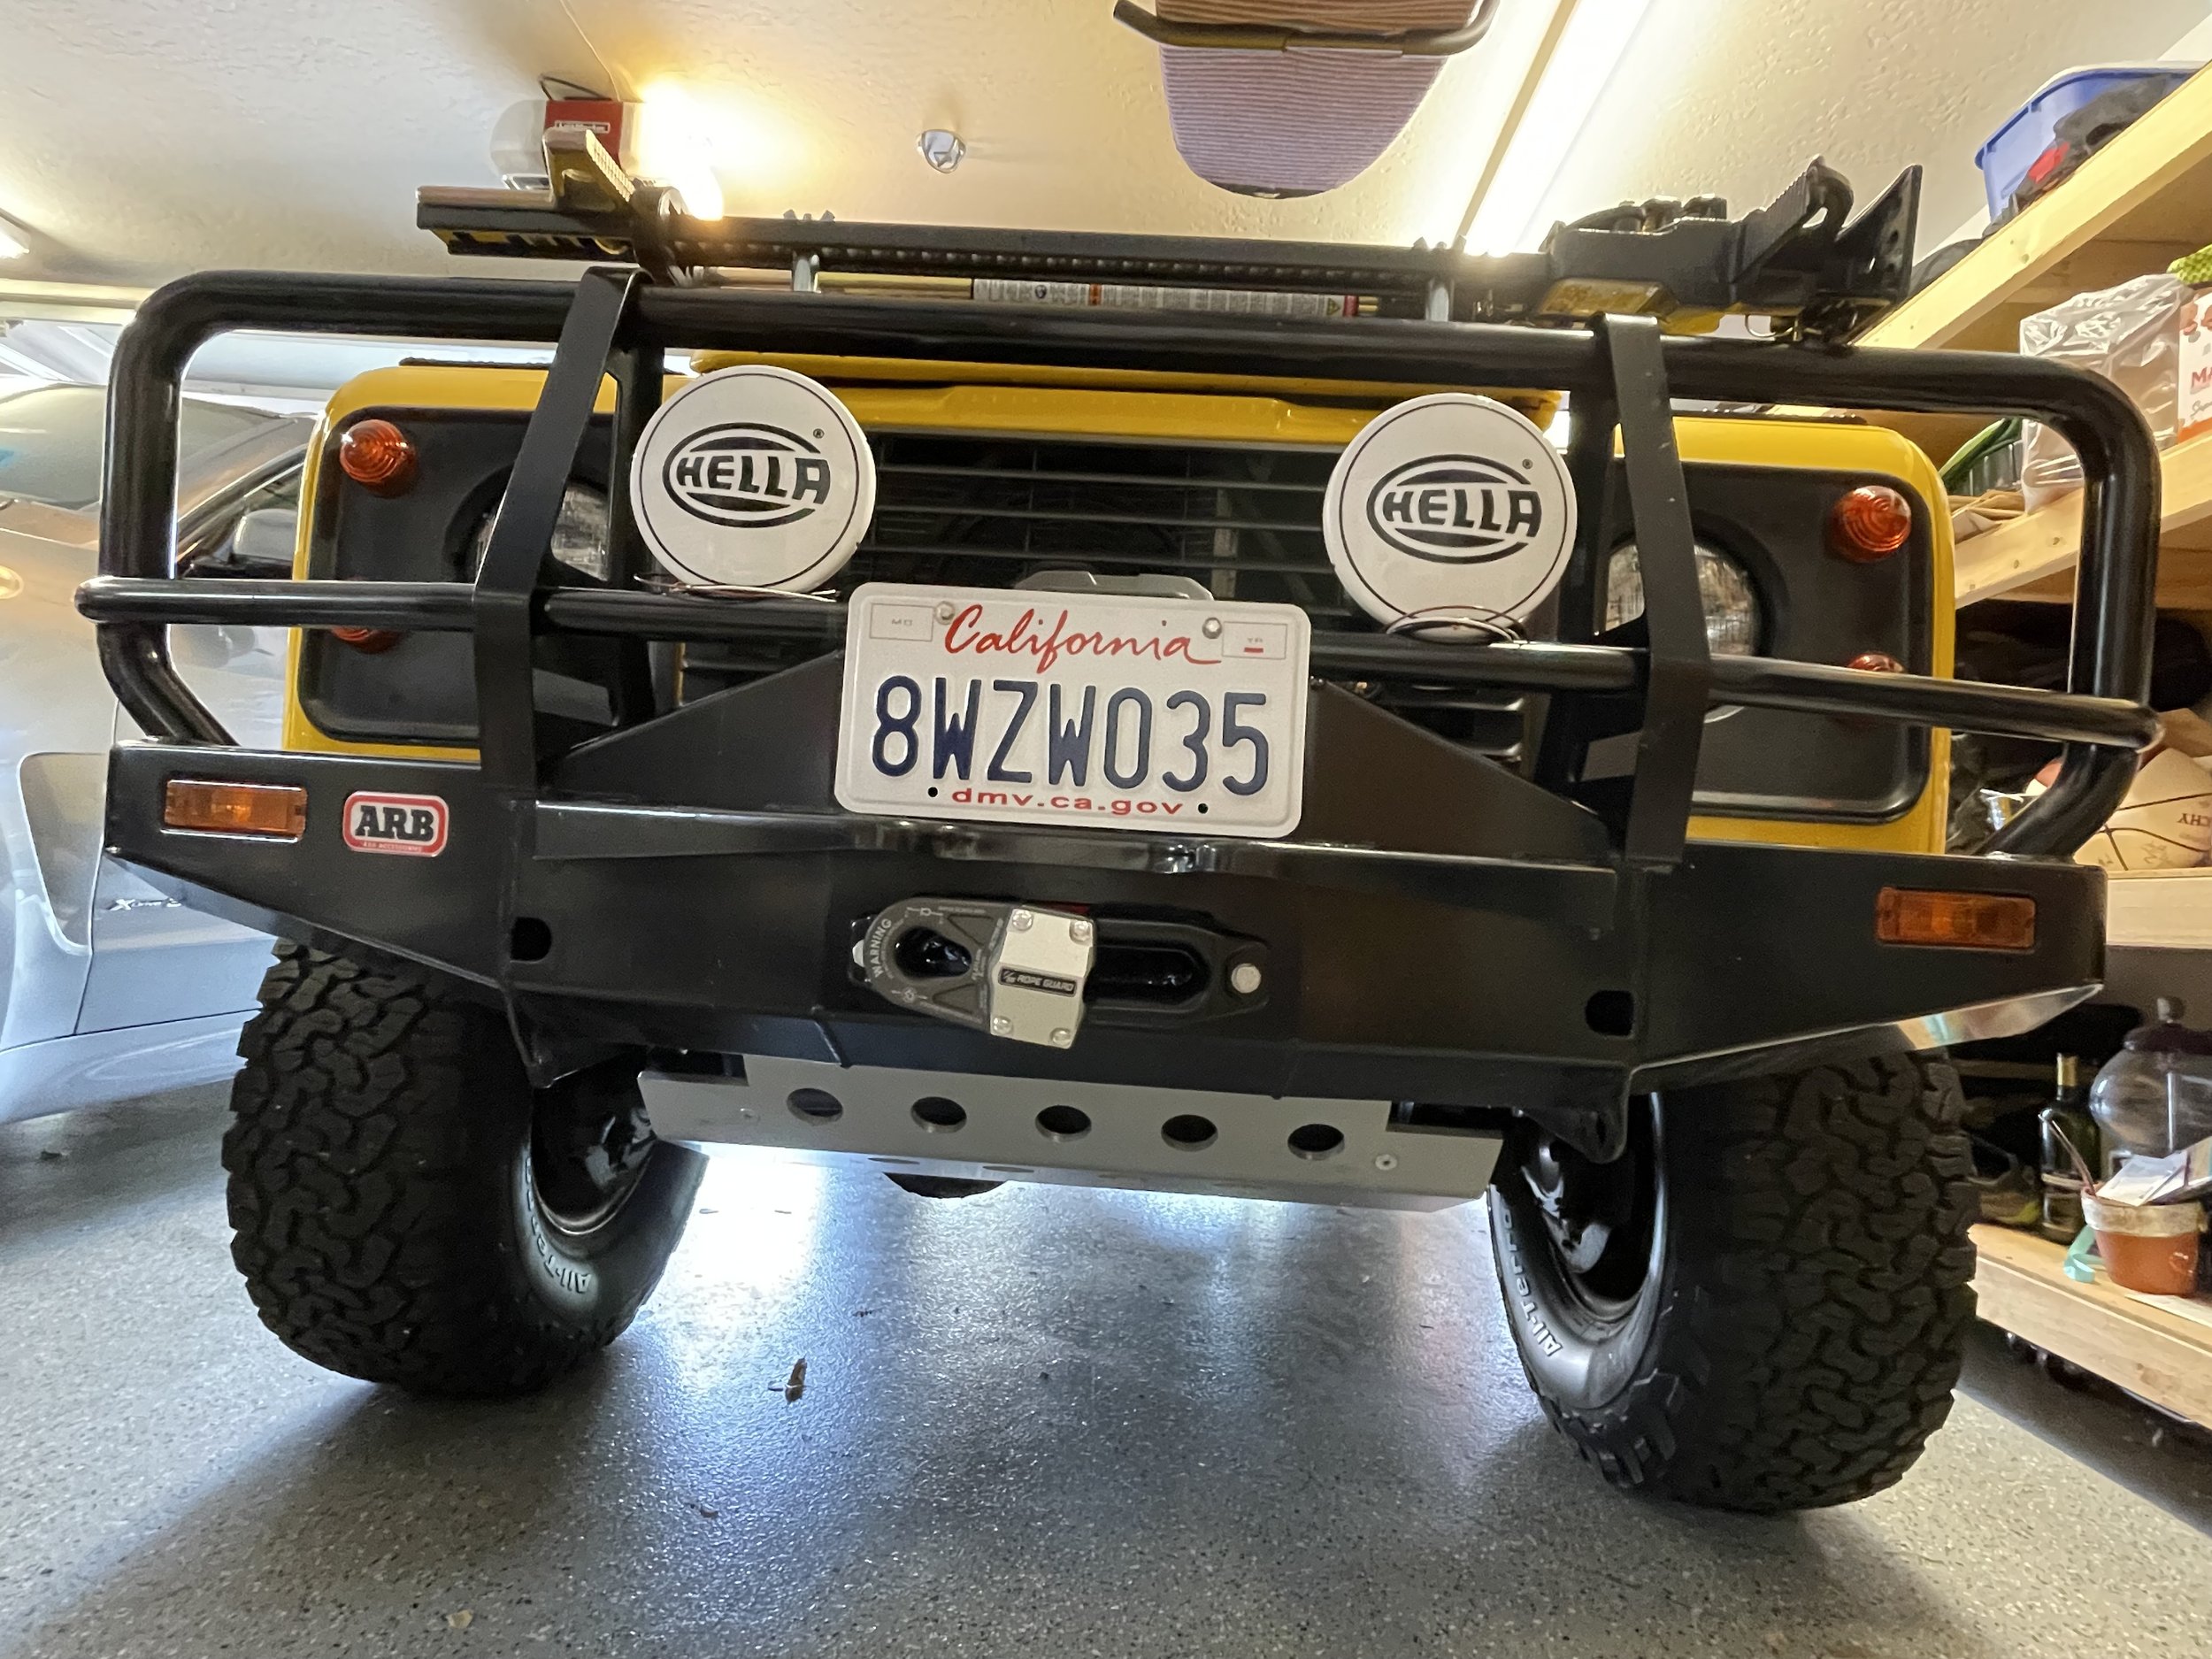
When I got the truck it had two large aux driving lights but they were old, mismatched, didn’t work, and were HUGE. The only thing I liked about them was that they were Hella which was the official brand Land Rover used back in the day for their Camel Trophy trucks. In fact there was even 4 special edition Hella Defenders made. So one might say Hella and Defenders are intertwined and thus when I pick out lights for the D90 I only use Hella.

1994 Hella Defender #1515

1994 Hella Defender #1235

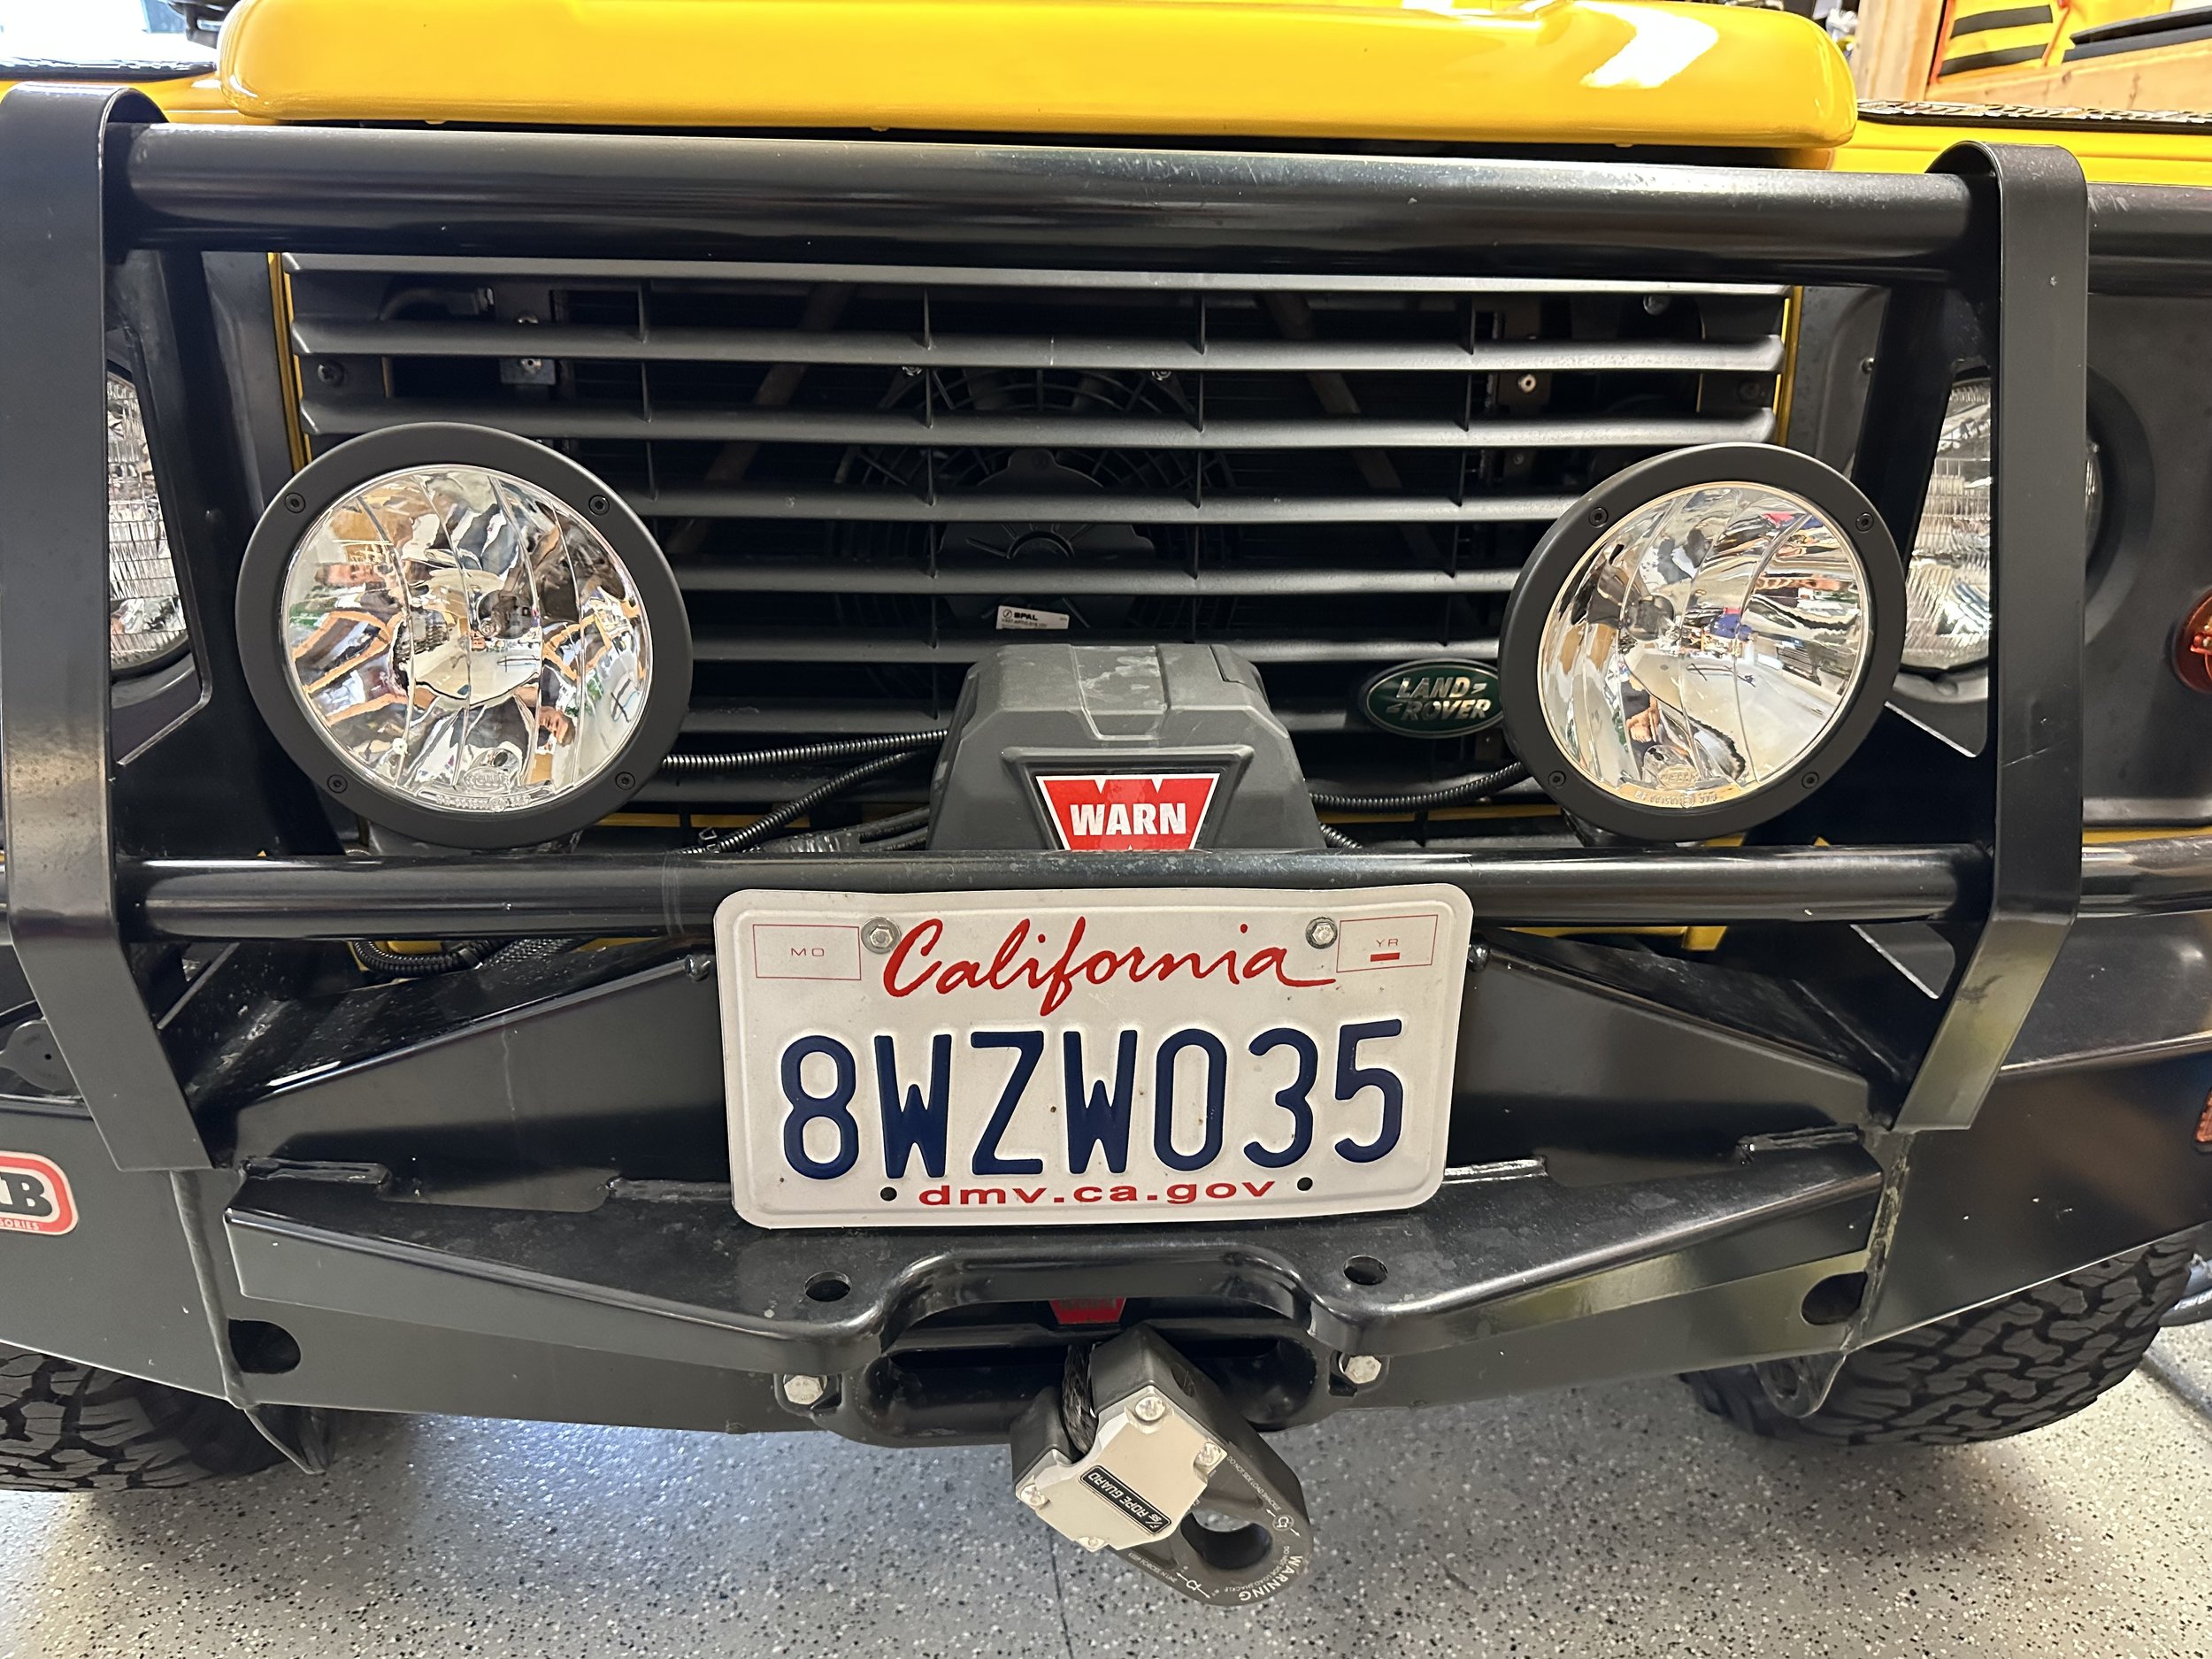
The original Hella lights used on Defenders were the 3000 series, but I find those a bit big at 7.6 inches tall and I am not a fan of the chrome housing. So I went with the 4000 compact black series which are 6.7 inches tall, thinner, with a black metal housing. I could have gone LED but I went with Halogen to keep a more retro look. I wired these up to the ARB bumper and put them on a new dedicated circuit using a fused relay and Carling switch. They are great lights but not as driving lights on the bumper. First off they are too bright if you want to use them on-road, they are really an off-road light only. Second, I wish they came with a rock guard versus a complete rock shield. I also wish you could get them in amber so they could act as a good fog light.

Original Hella 3000 lights

Hella 4000 compact black Halogen

Hella 500 amber driving light

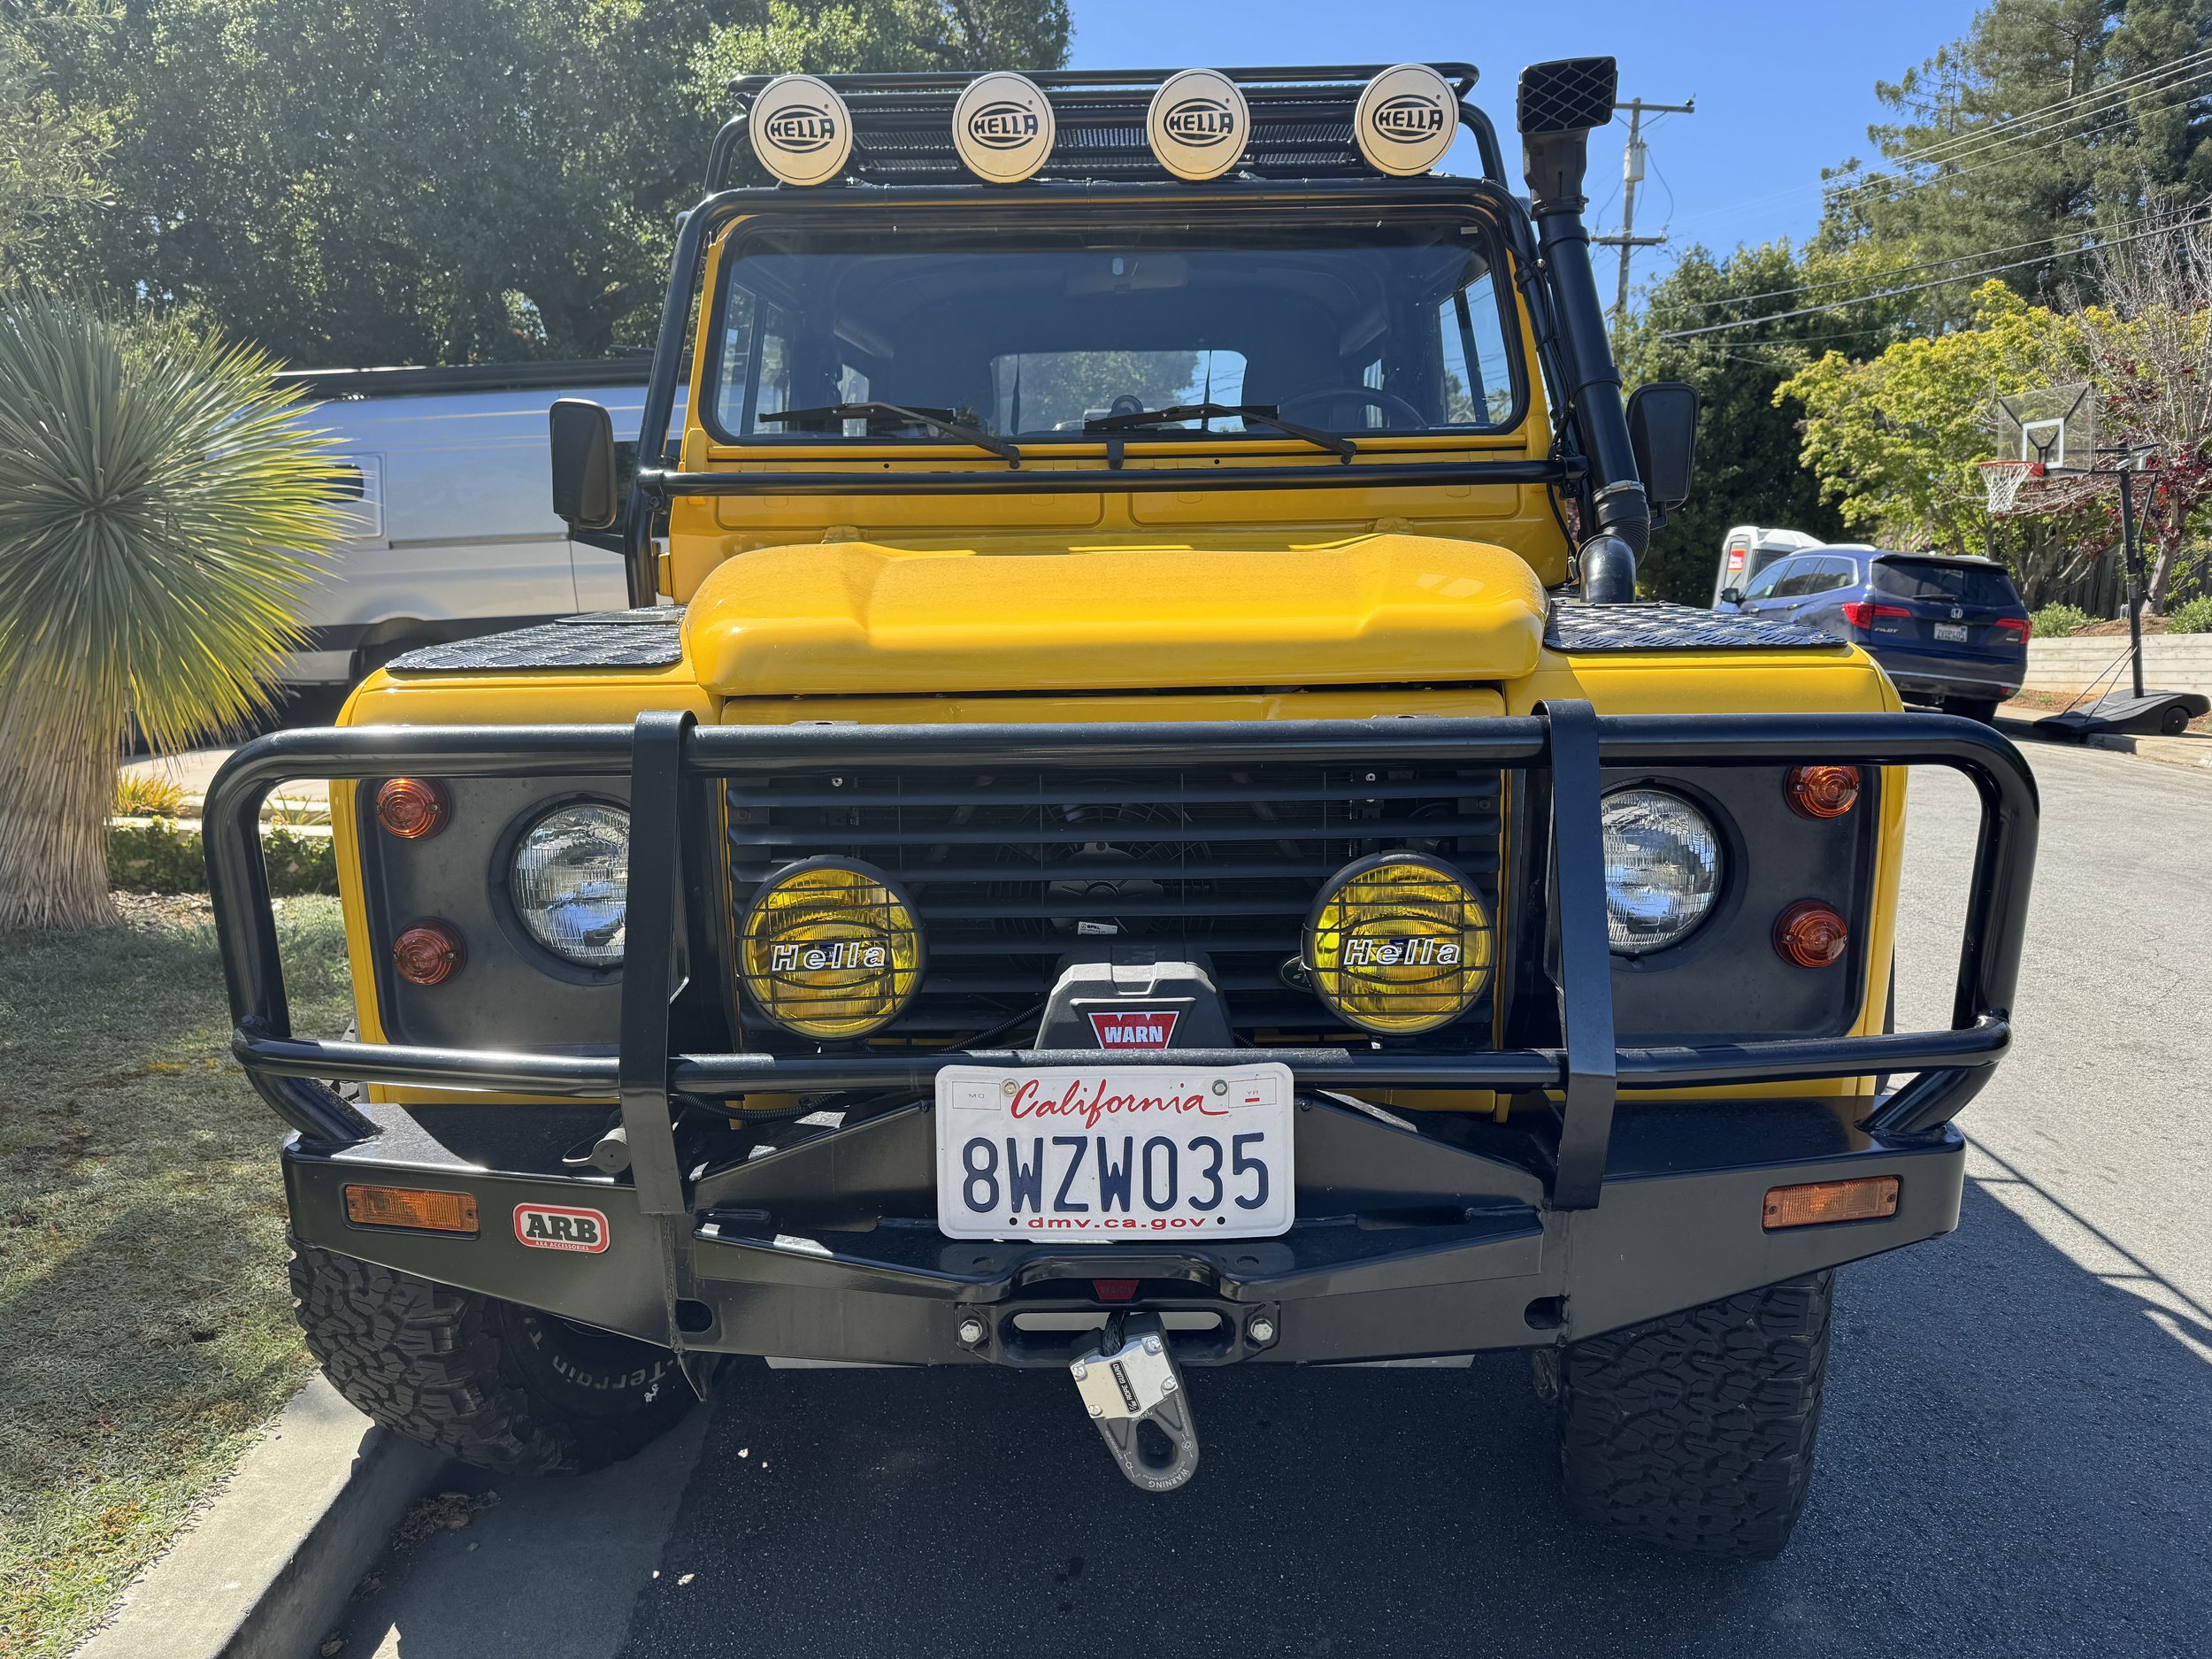
After lots of debating (with myself) I have decided to switch out my setup. I bought some Hella 500 amber lights which are 6.8 inches tall, very thin, with a black plastic housing. These do support rock guards and rock shields so you have options. Being amber will make them a bit more useful on the front bumper during storms or off-road driving in dust. And since the 500s are halogen they have a nice retro look and feel. They will be bright but not as bright as the 4000 series. I don’t love the plastic housing but its not a big deal and maybe an advantage because these lights are not expensive and thus very replaceable in case they get damaged.

Hella 500 amber driving lights test fitted

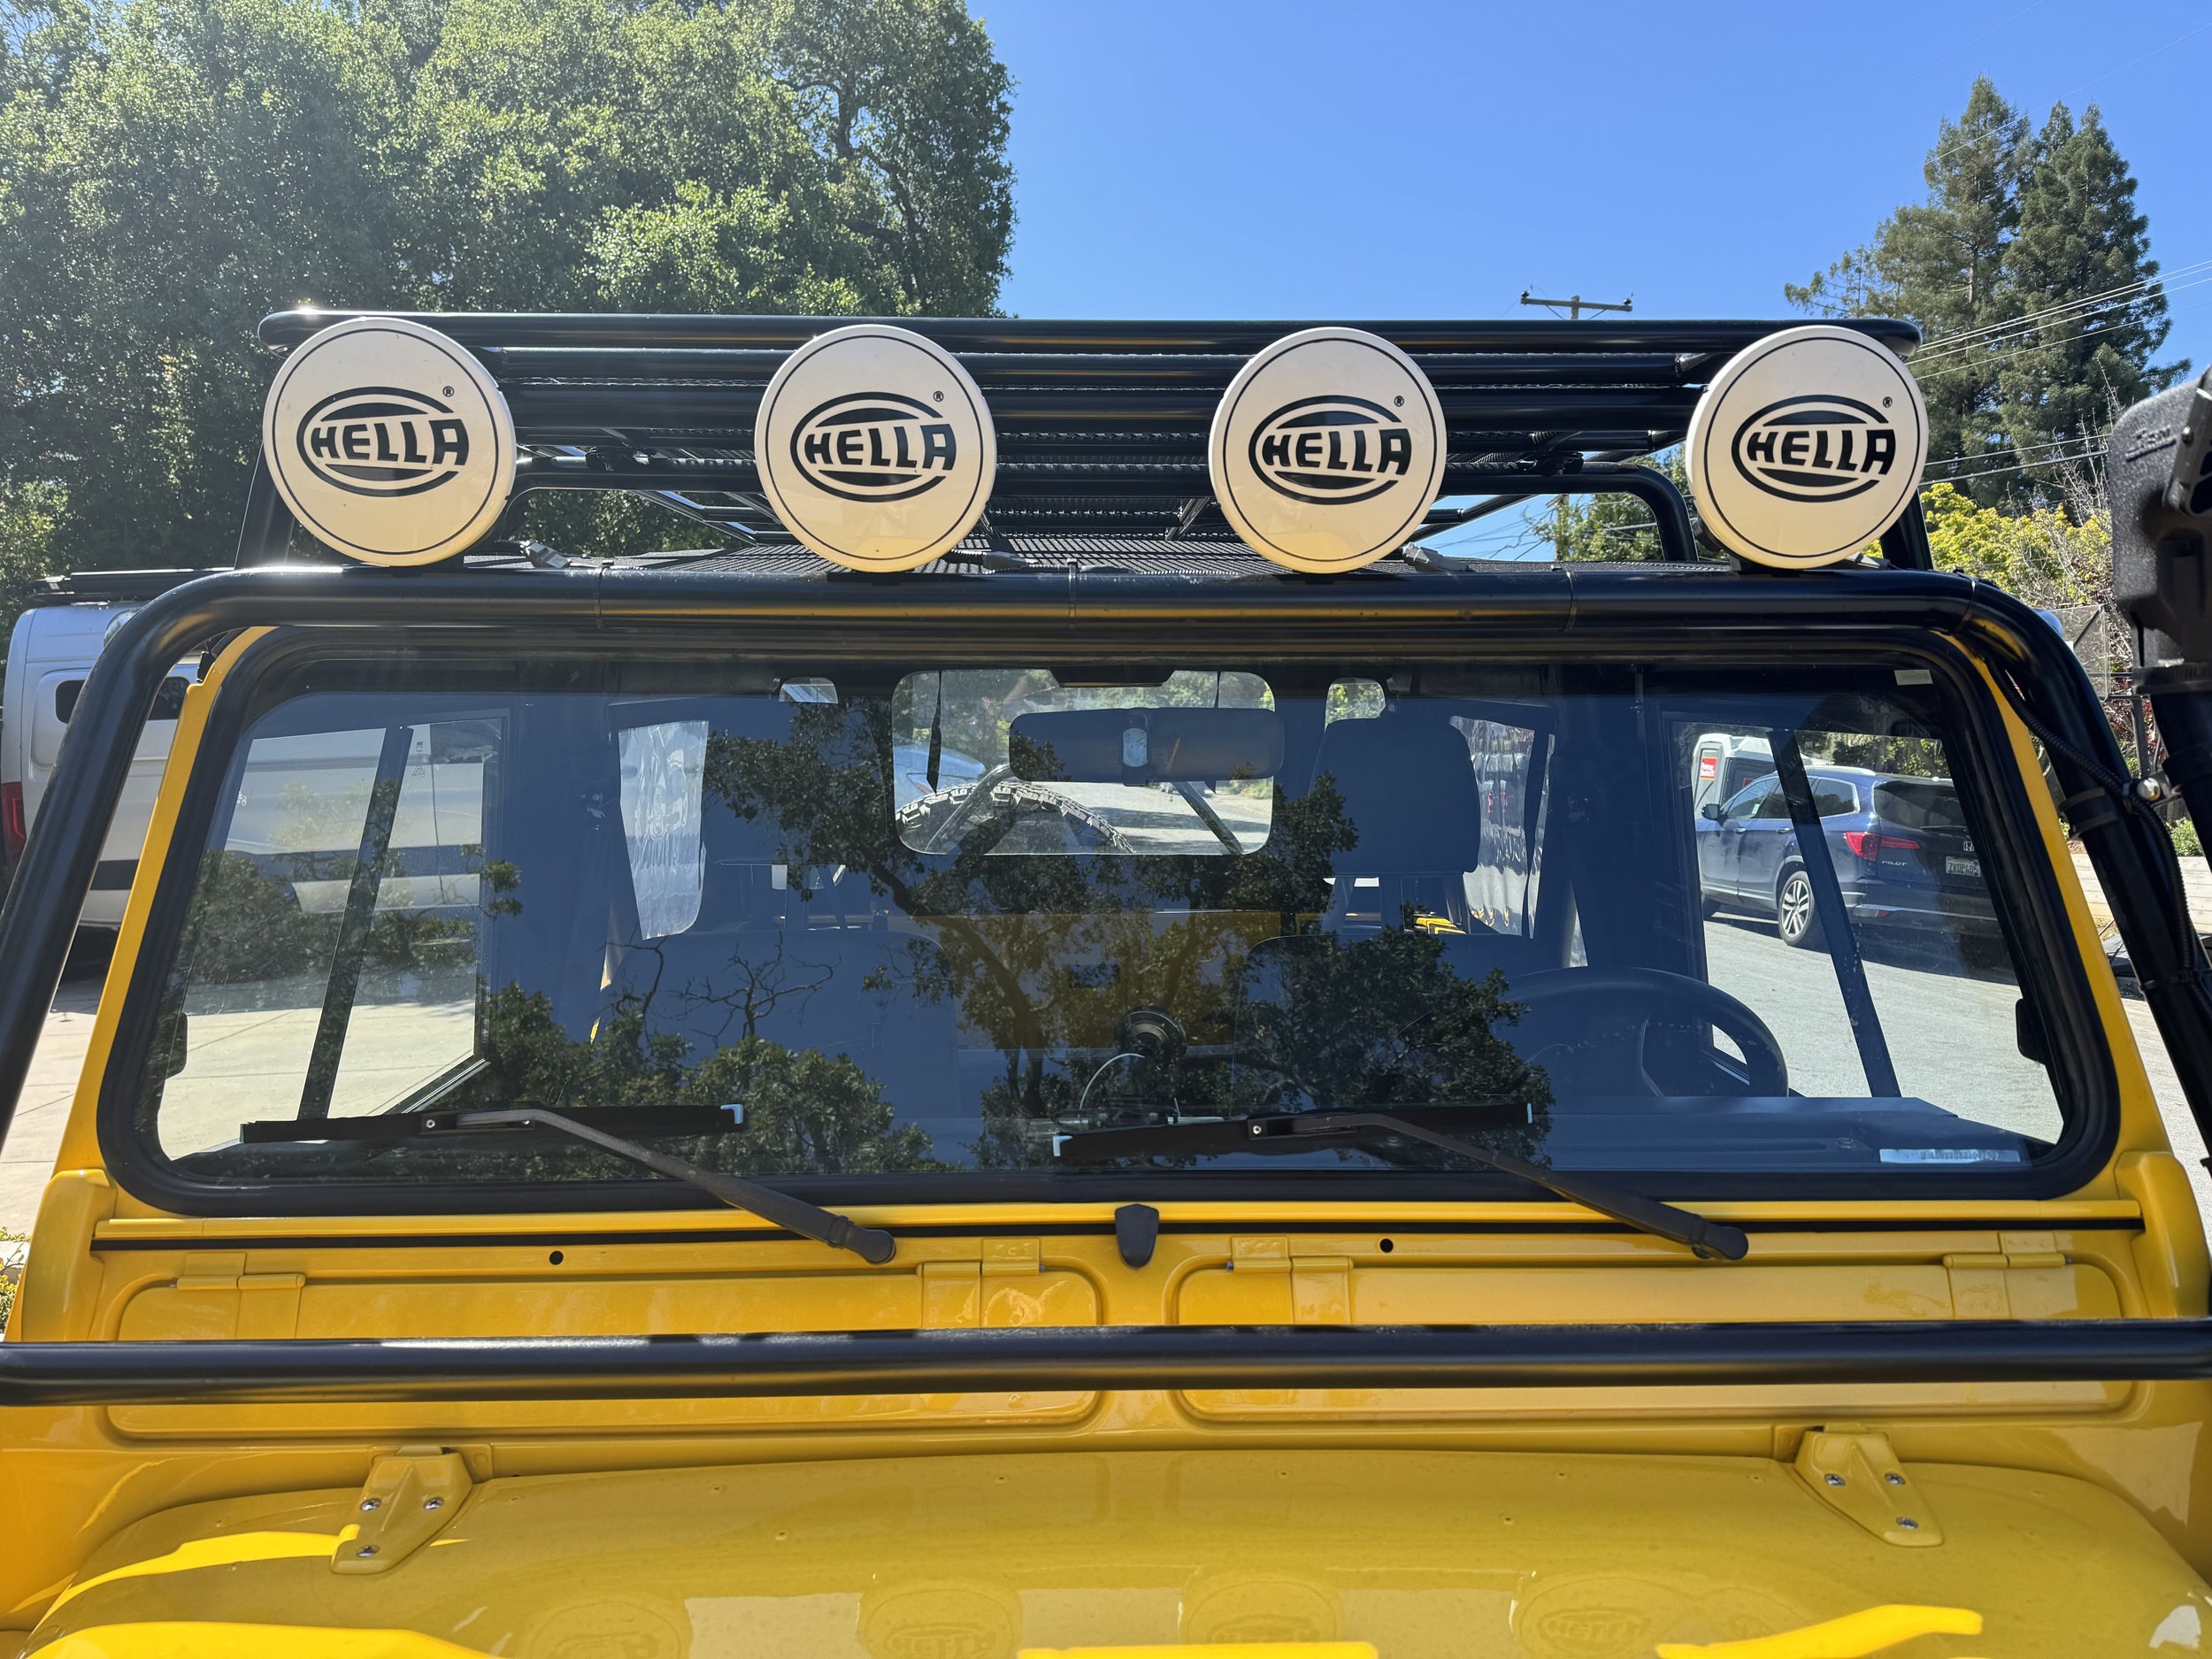
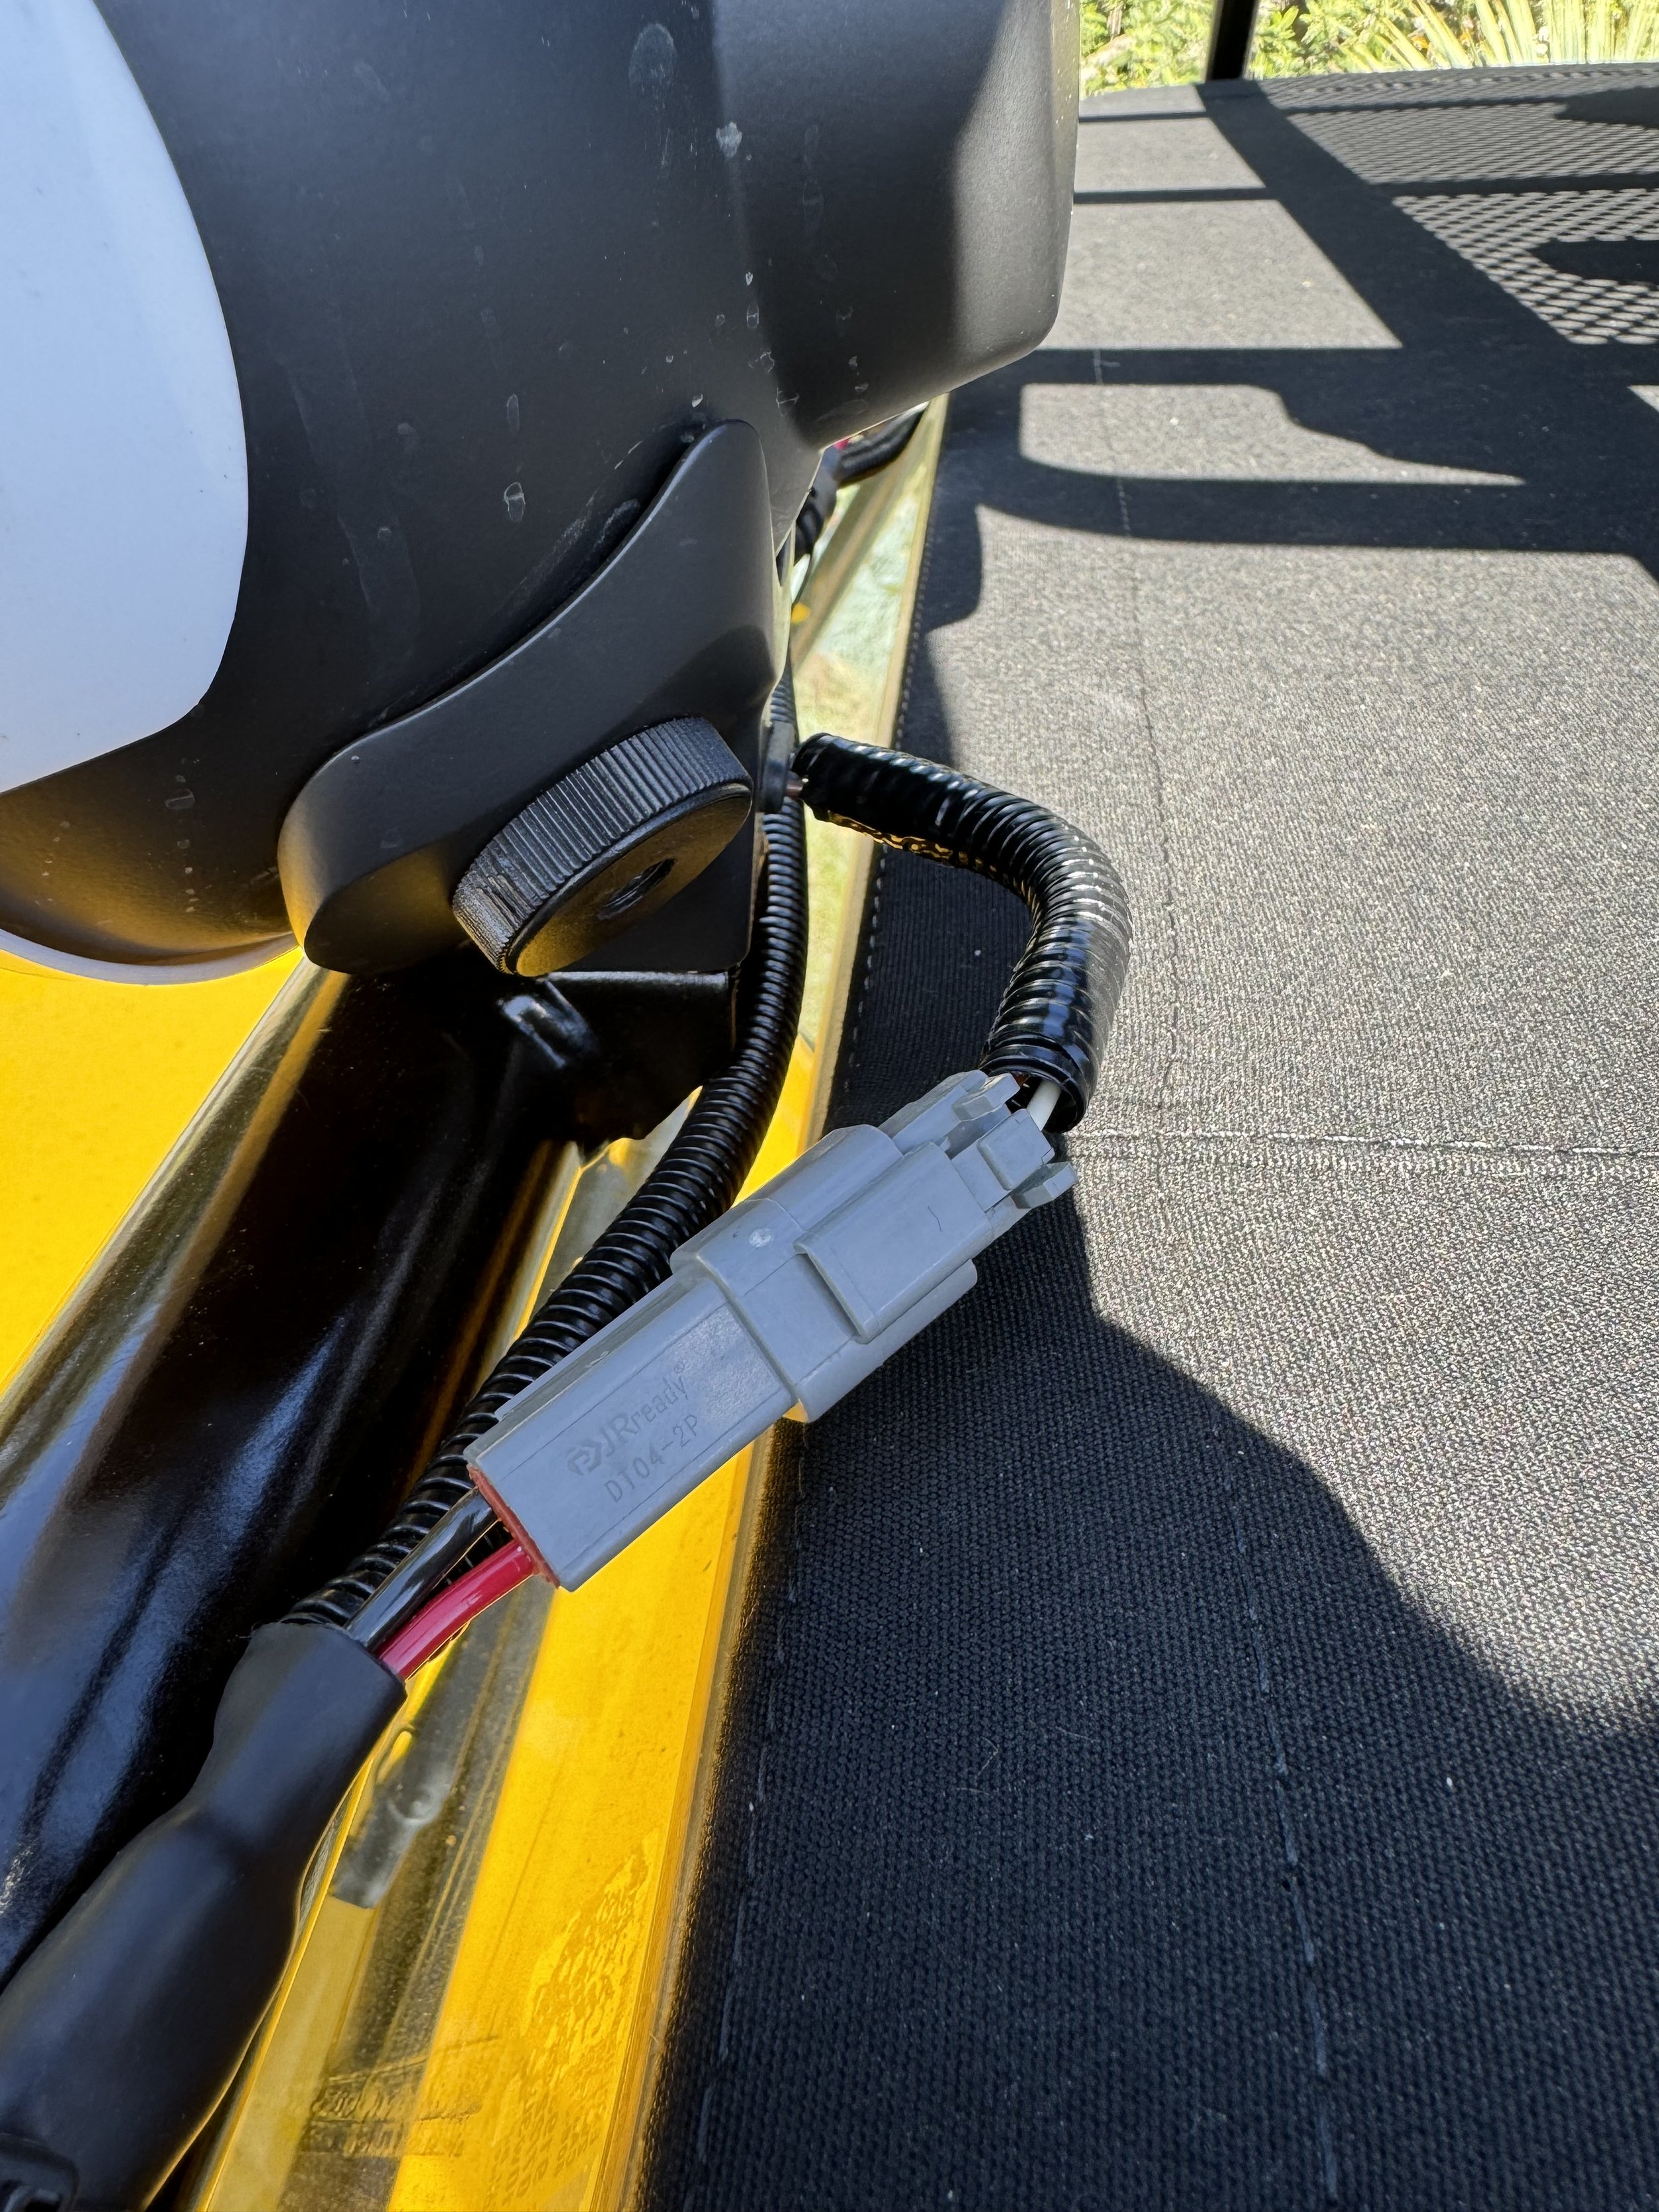
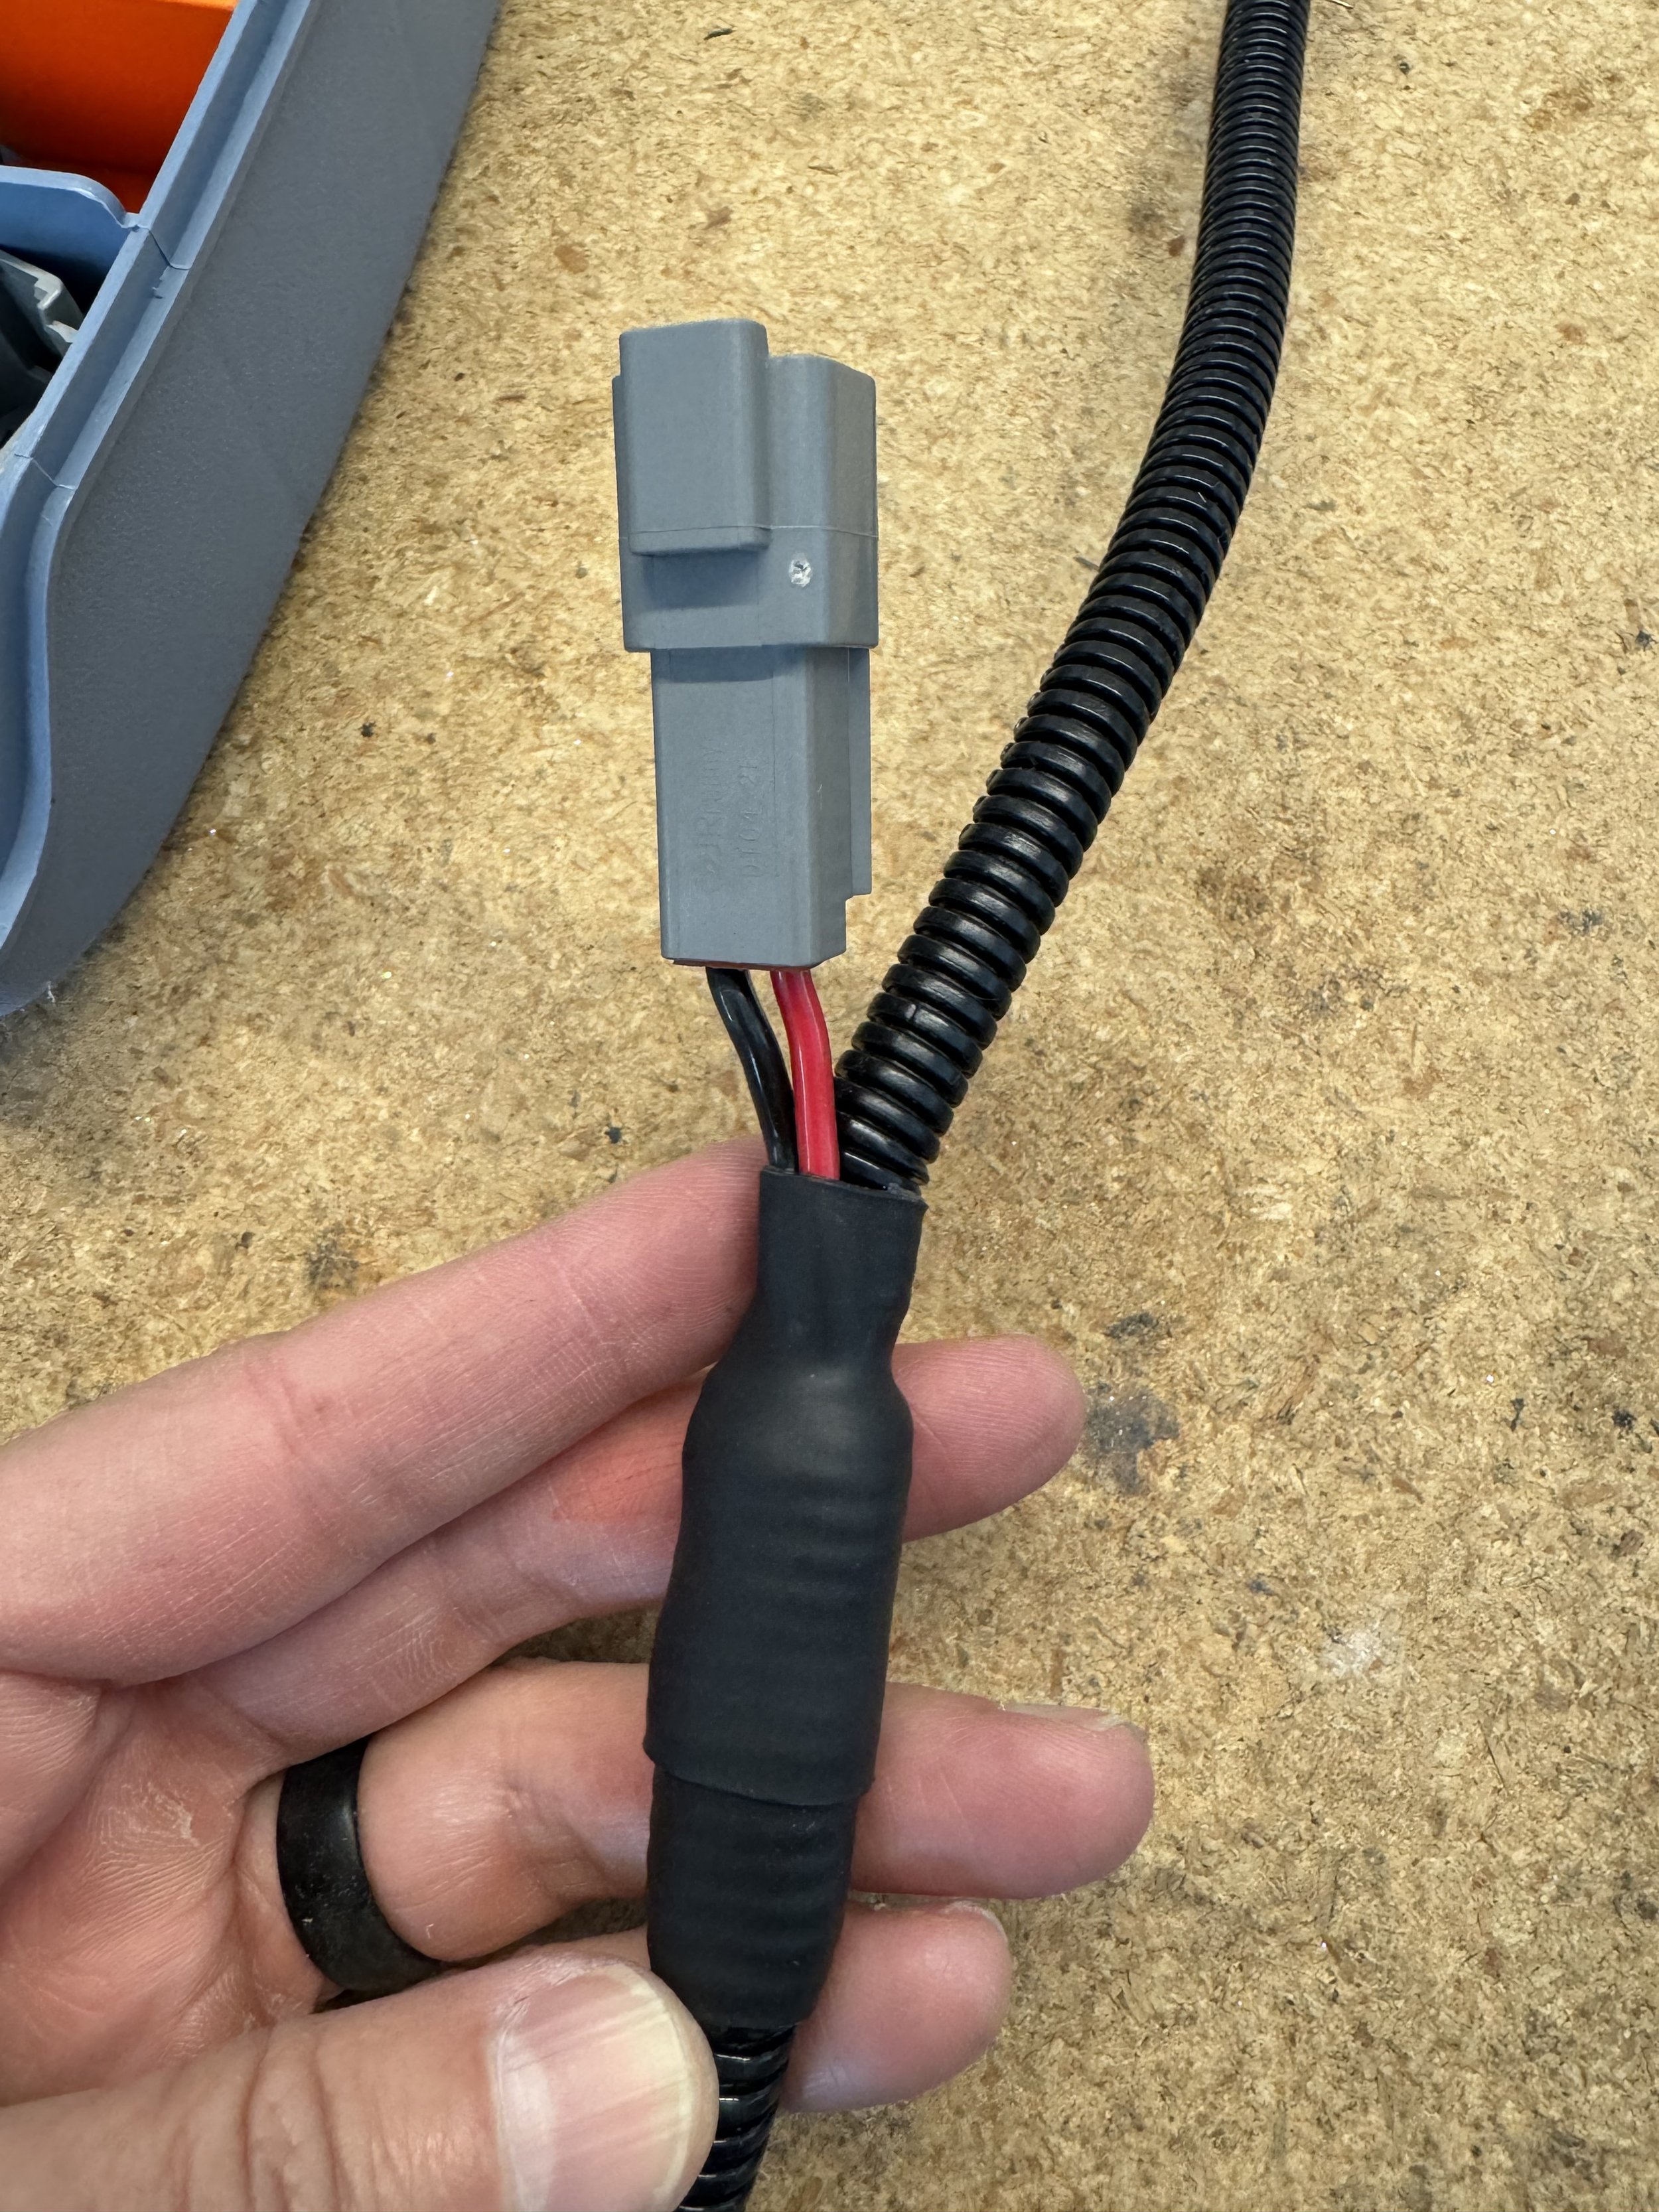
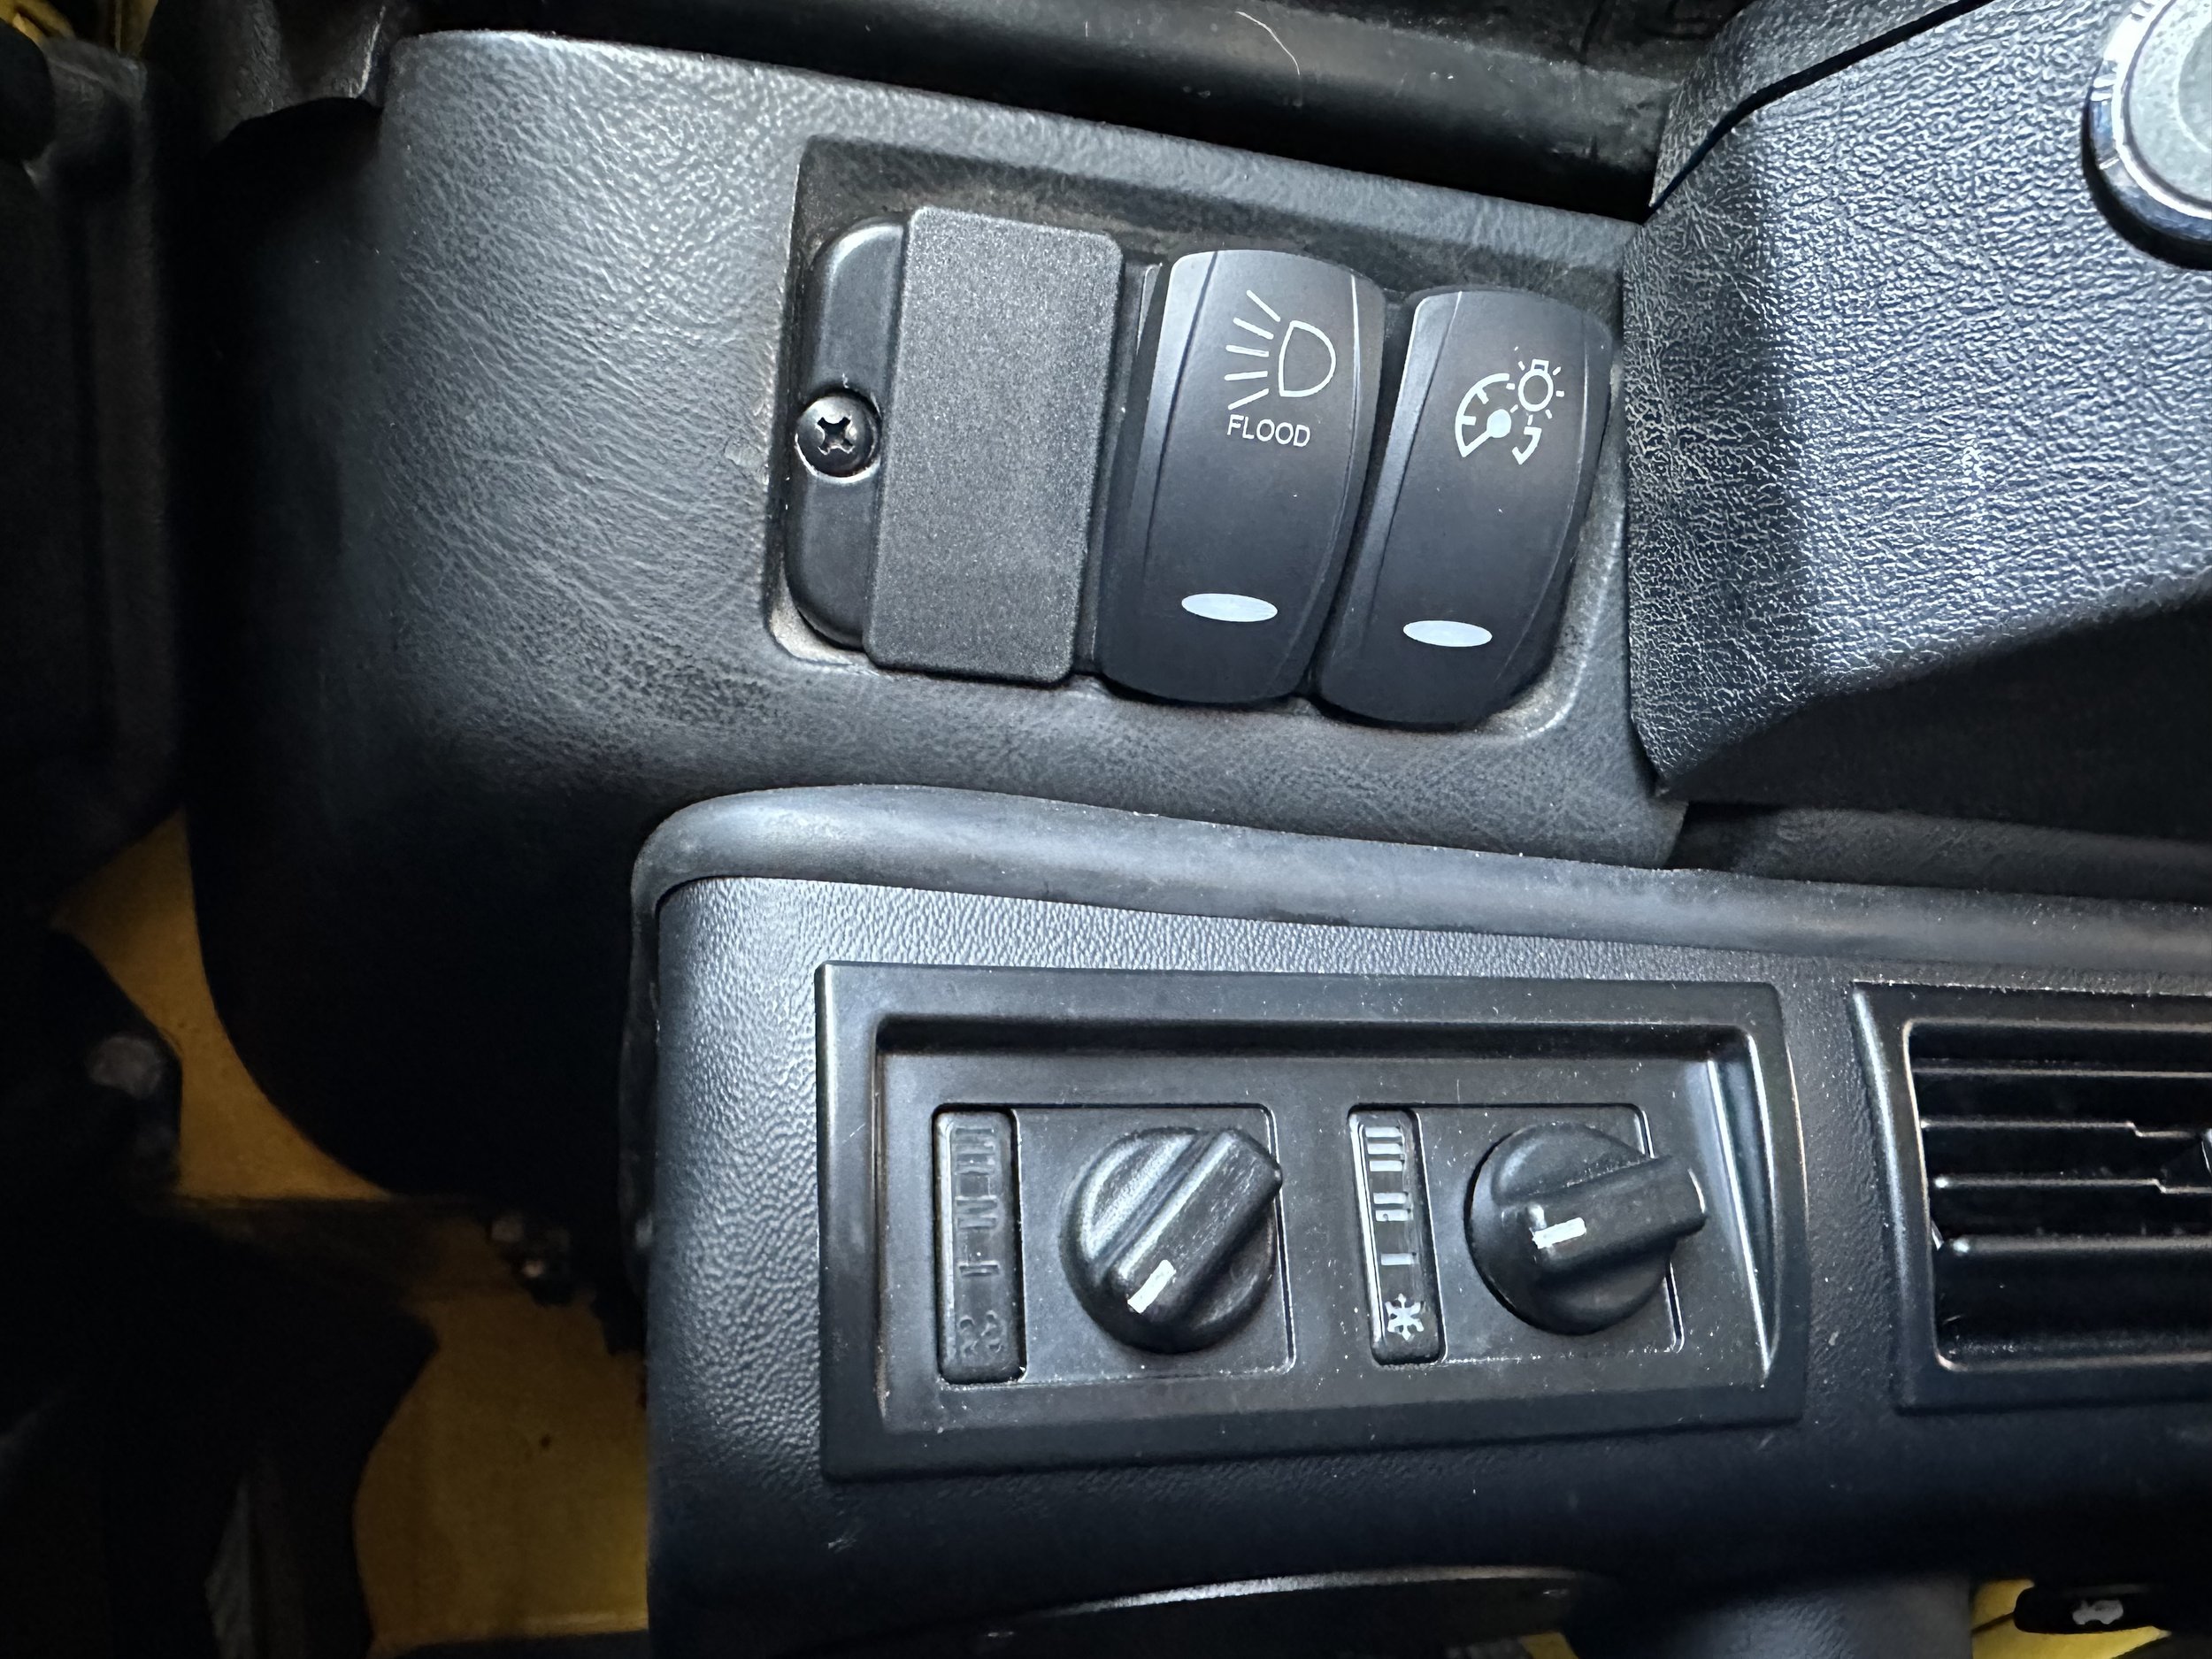
This allows me to move the 4000s I have to the top NAS roll cage and add two more which will mimic the Hella Defenders. I know the more modern solution would be to get an LED light bar but I think that would look odd on a 1994 Defender that has maintained its retro look. The 4000’s don’t need the rock guards only the rock shields because of the high placement. Fun fact, in CA you are required to have full covers (rock shields) for off-road lights when driving on-road to prevent accidentally turning on the lights and blinding other drivers. These off-road lights are on their own switch separate from the amber driving lights. I made a wire loom with waterproof plugs for easy repairs. The switch for the 4000’s is next to the fog light switch by the steering wheel.

Defender Build - Dome Light

If you have read this blog you know I am trying to keep the old school feel of this project while making it more drivable since it is my daily driver. I had already replaced all the dash lights with LED bulbs in OEM green. This made the dash actually readable at night. At that time I also replaced the dome light which was broken. That came with an incandescent bulb which was fine but I replaced that bulb with an LED bulb to make it brighter. The prior owner tried to fix the original dome light (which was obvious due to all the tape and glue) but when he/she put it back together the door switches were no longer turning on the light when the door was open. I lived with this for a couple of years and just used the dome light as a manual turn on, but it was on my list of things to address at some point.

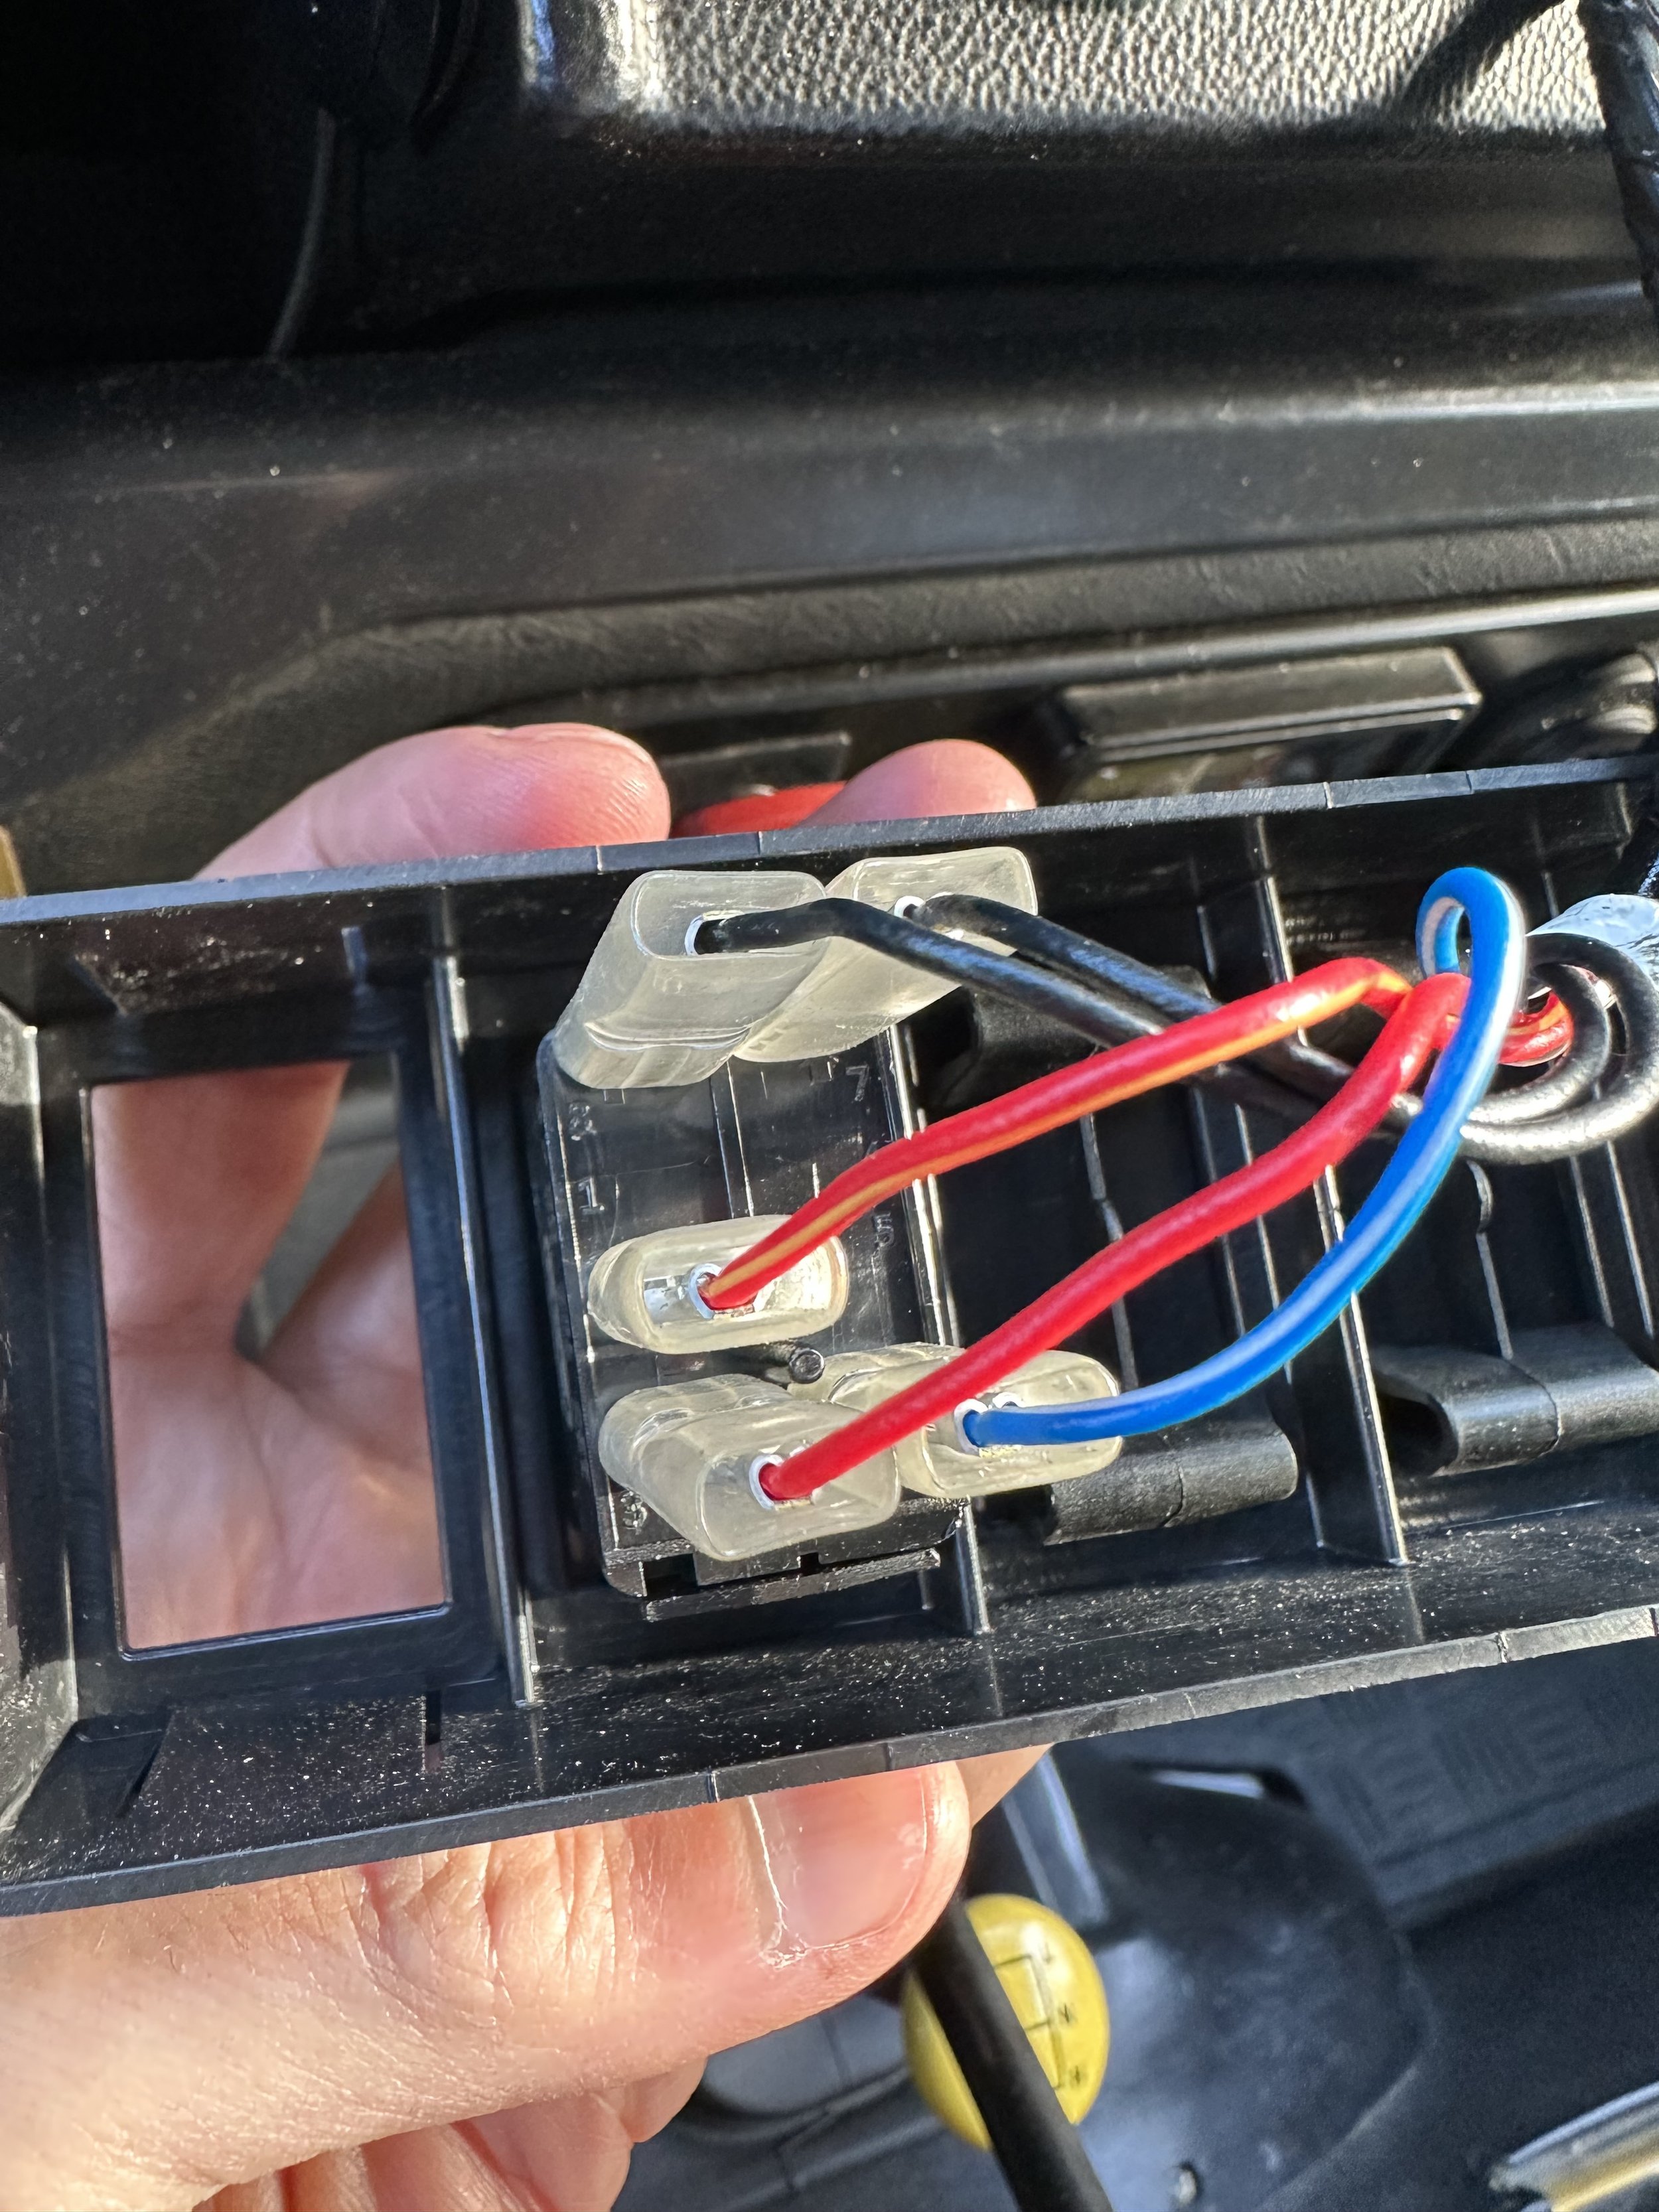
So on a lazy Saturday I decided to figure this out. The first thing was to ensure I understood the wiring. As it turns out there are three wires to the dome light (black = constant ground, purple = constant 12v, purple with a blue trace = door switches). The next thing was to understand how the door switches worked. They are actually ground switches not positive switches….meaning the door switches connect or break a ground to the chassis. The screw of the door switch creates a ground to the chassis but that ground is only passed through the wire when the shaft of the switch is not pressed in by the door. The ground wire from the passenger door switch runs to the driver door switch and then it runs to the dome light as the purple with blue trace wire.

With that understood, the next thing was to ensure the wires were hooked up properly to the dome light. Mine were not. It should be purple (constant 12v) plugged to the bulb body, dome light switch position 1 hooked up to the black (constant ground) wire, and the dome light switch position 2 hooked up to the purple with blue trace (door switch ground) wire. This way when you put the dome light switch in position 1 it will manually turn on, but when you put the dome light switch in position 2 it will turn on when either door is open.

In my case the light would come on with the manual switch but the door switches would still not turn on the light. Upon inspection of my door switches I notices they were corroded which is common with this design. I cleaned up the terminals and then everything worked. Since new door switches are only $20 I ordered two new ones to be safe. Now I have a fully functional dome light and with the LED bulb it is much brighter. With this fixed there is only one thing left in the entire car that is not working as it should and that is the driver seat belt warning light. So that is next on my list.

Defender Build - Roof Rack

There are lots of great things about having a soft top, like open air driving and the cool factor. But there is also a ton of downside like noise, not exactly air or water tight, and making it hard to have a roof rack solution. I have wanted a roof rack since the day I bought the truck so that I can carry surf boards, kayaks, skis and snowboards, and possibly a roof top tent for overlanding. But there are very few options on how to get a roof rack on a Defender 90 soft top. Safety Devices made a rack for soft top and hard top Defenders but they long stopped making the soft top version.

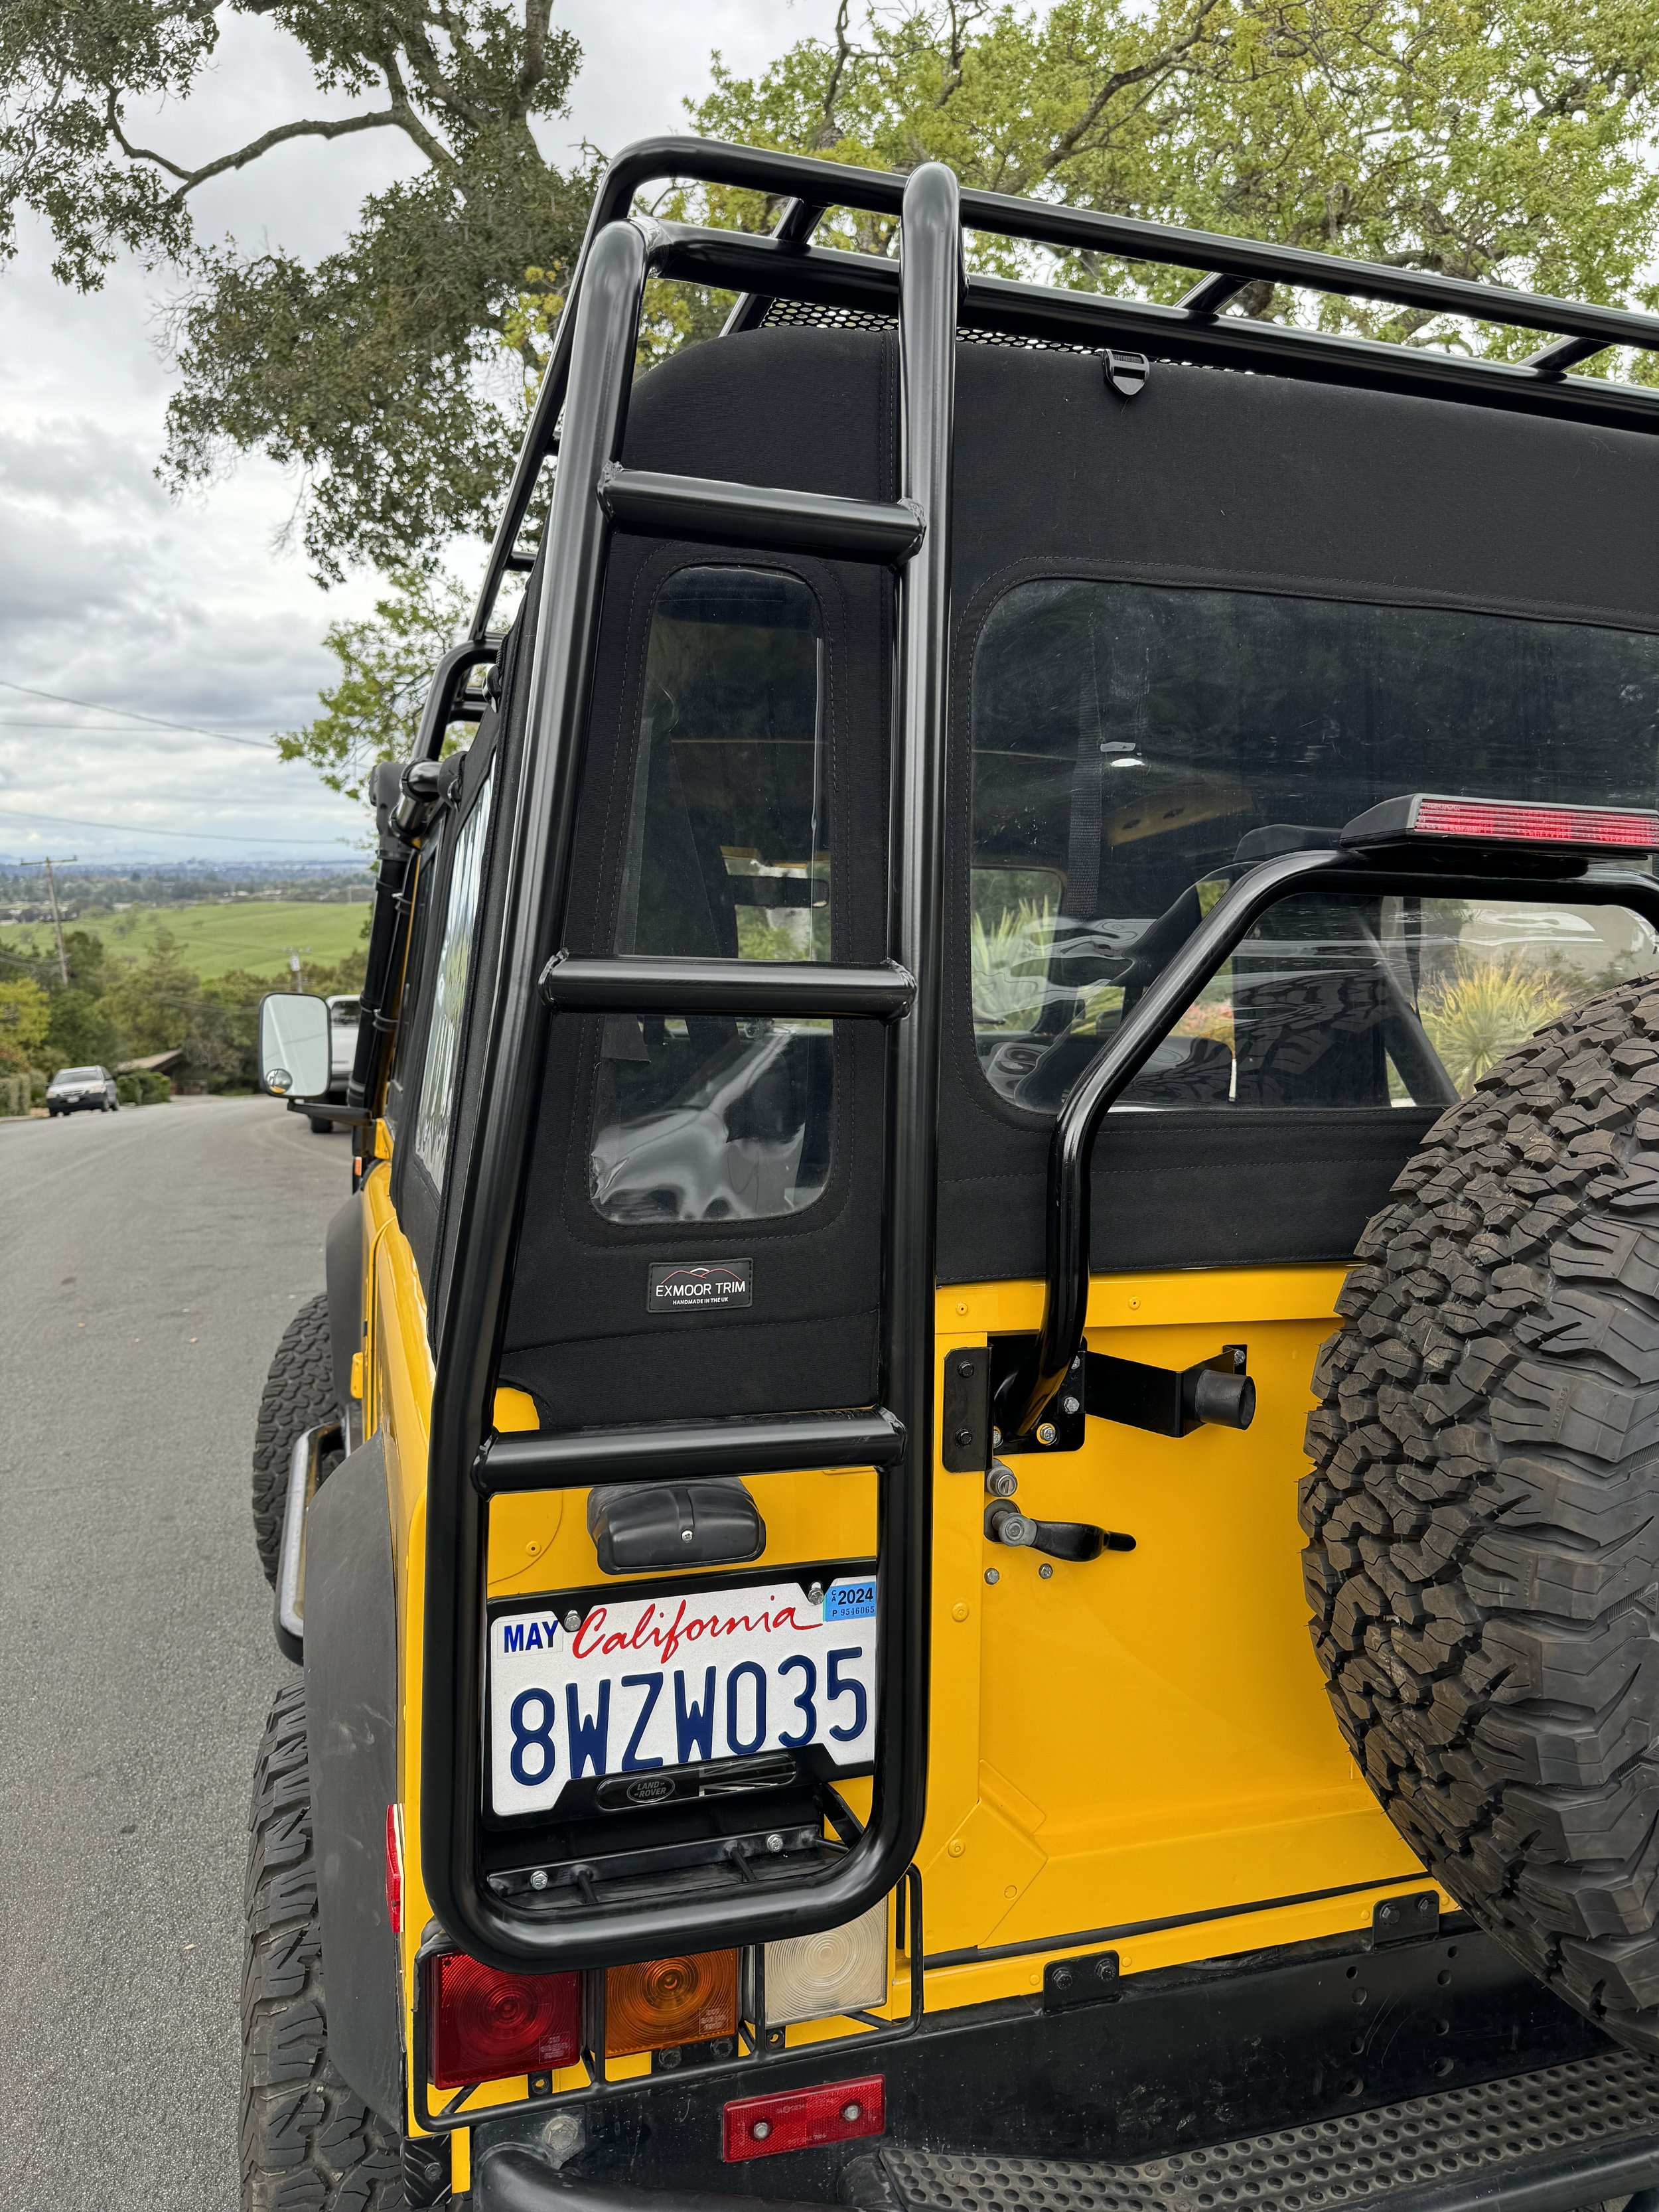
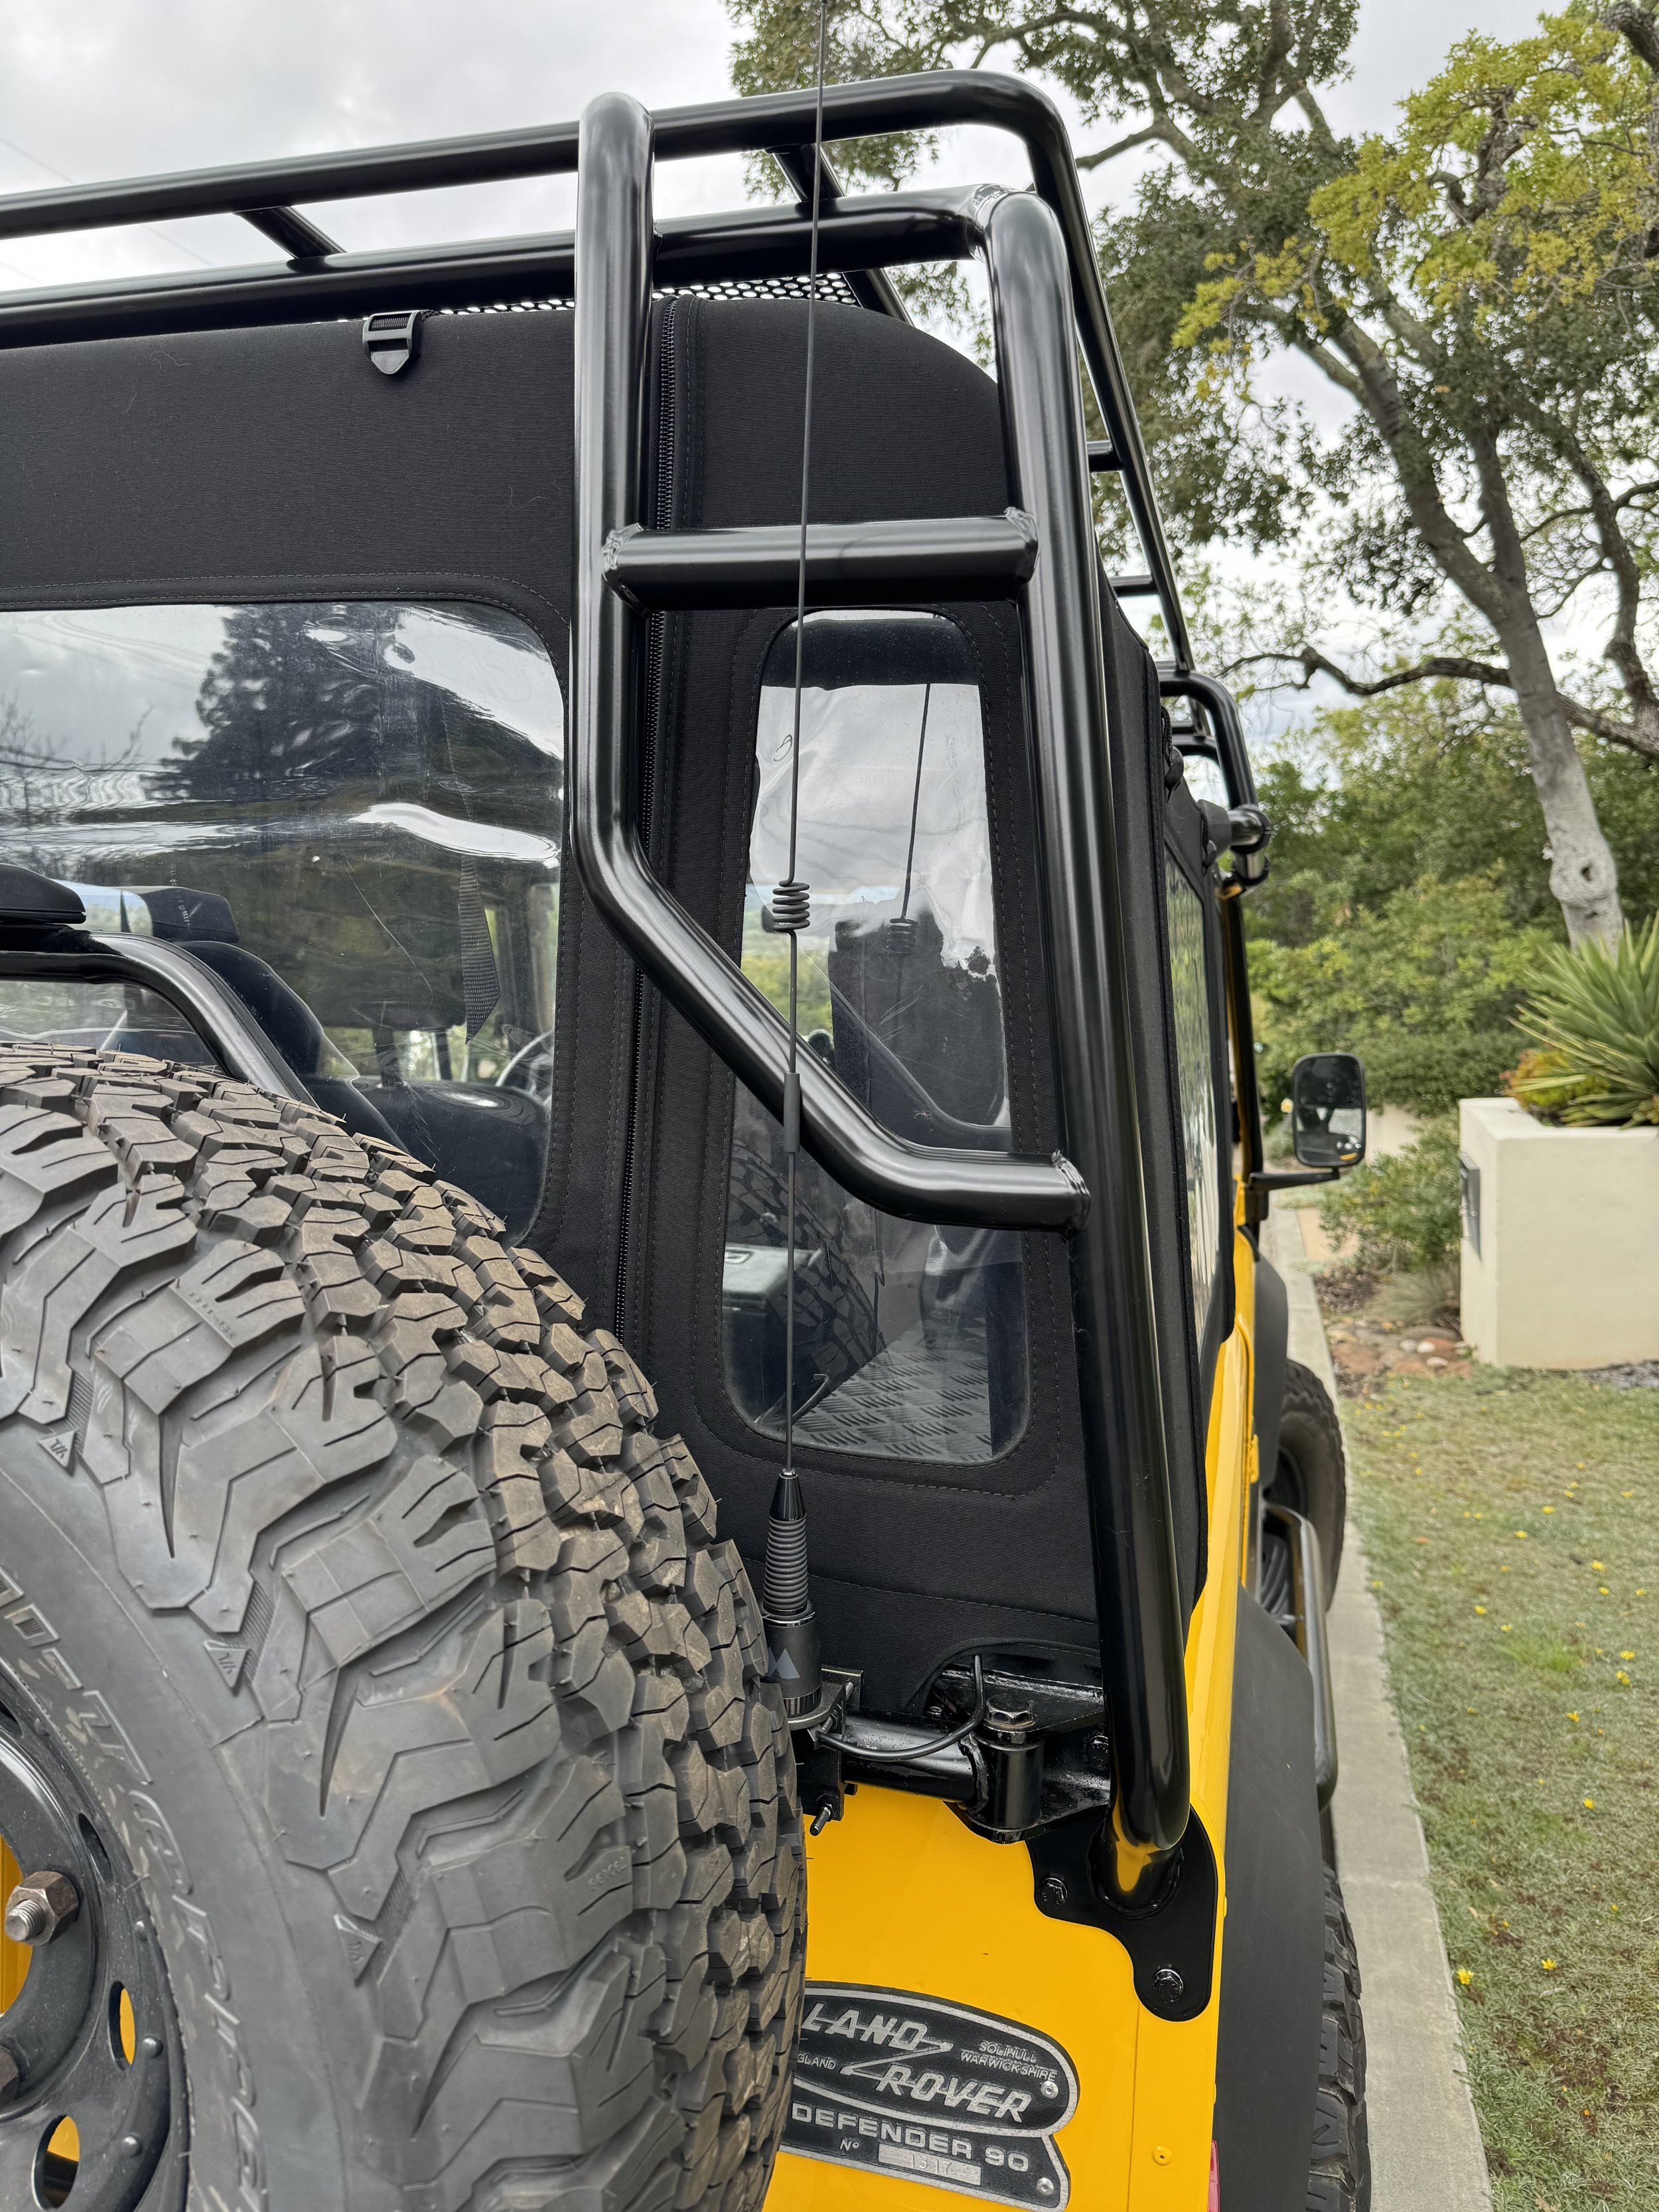
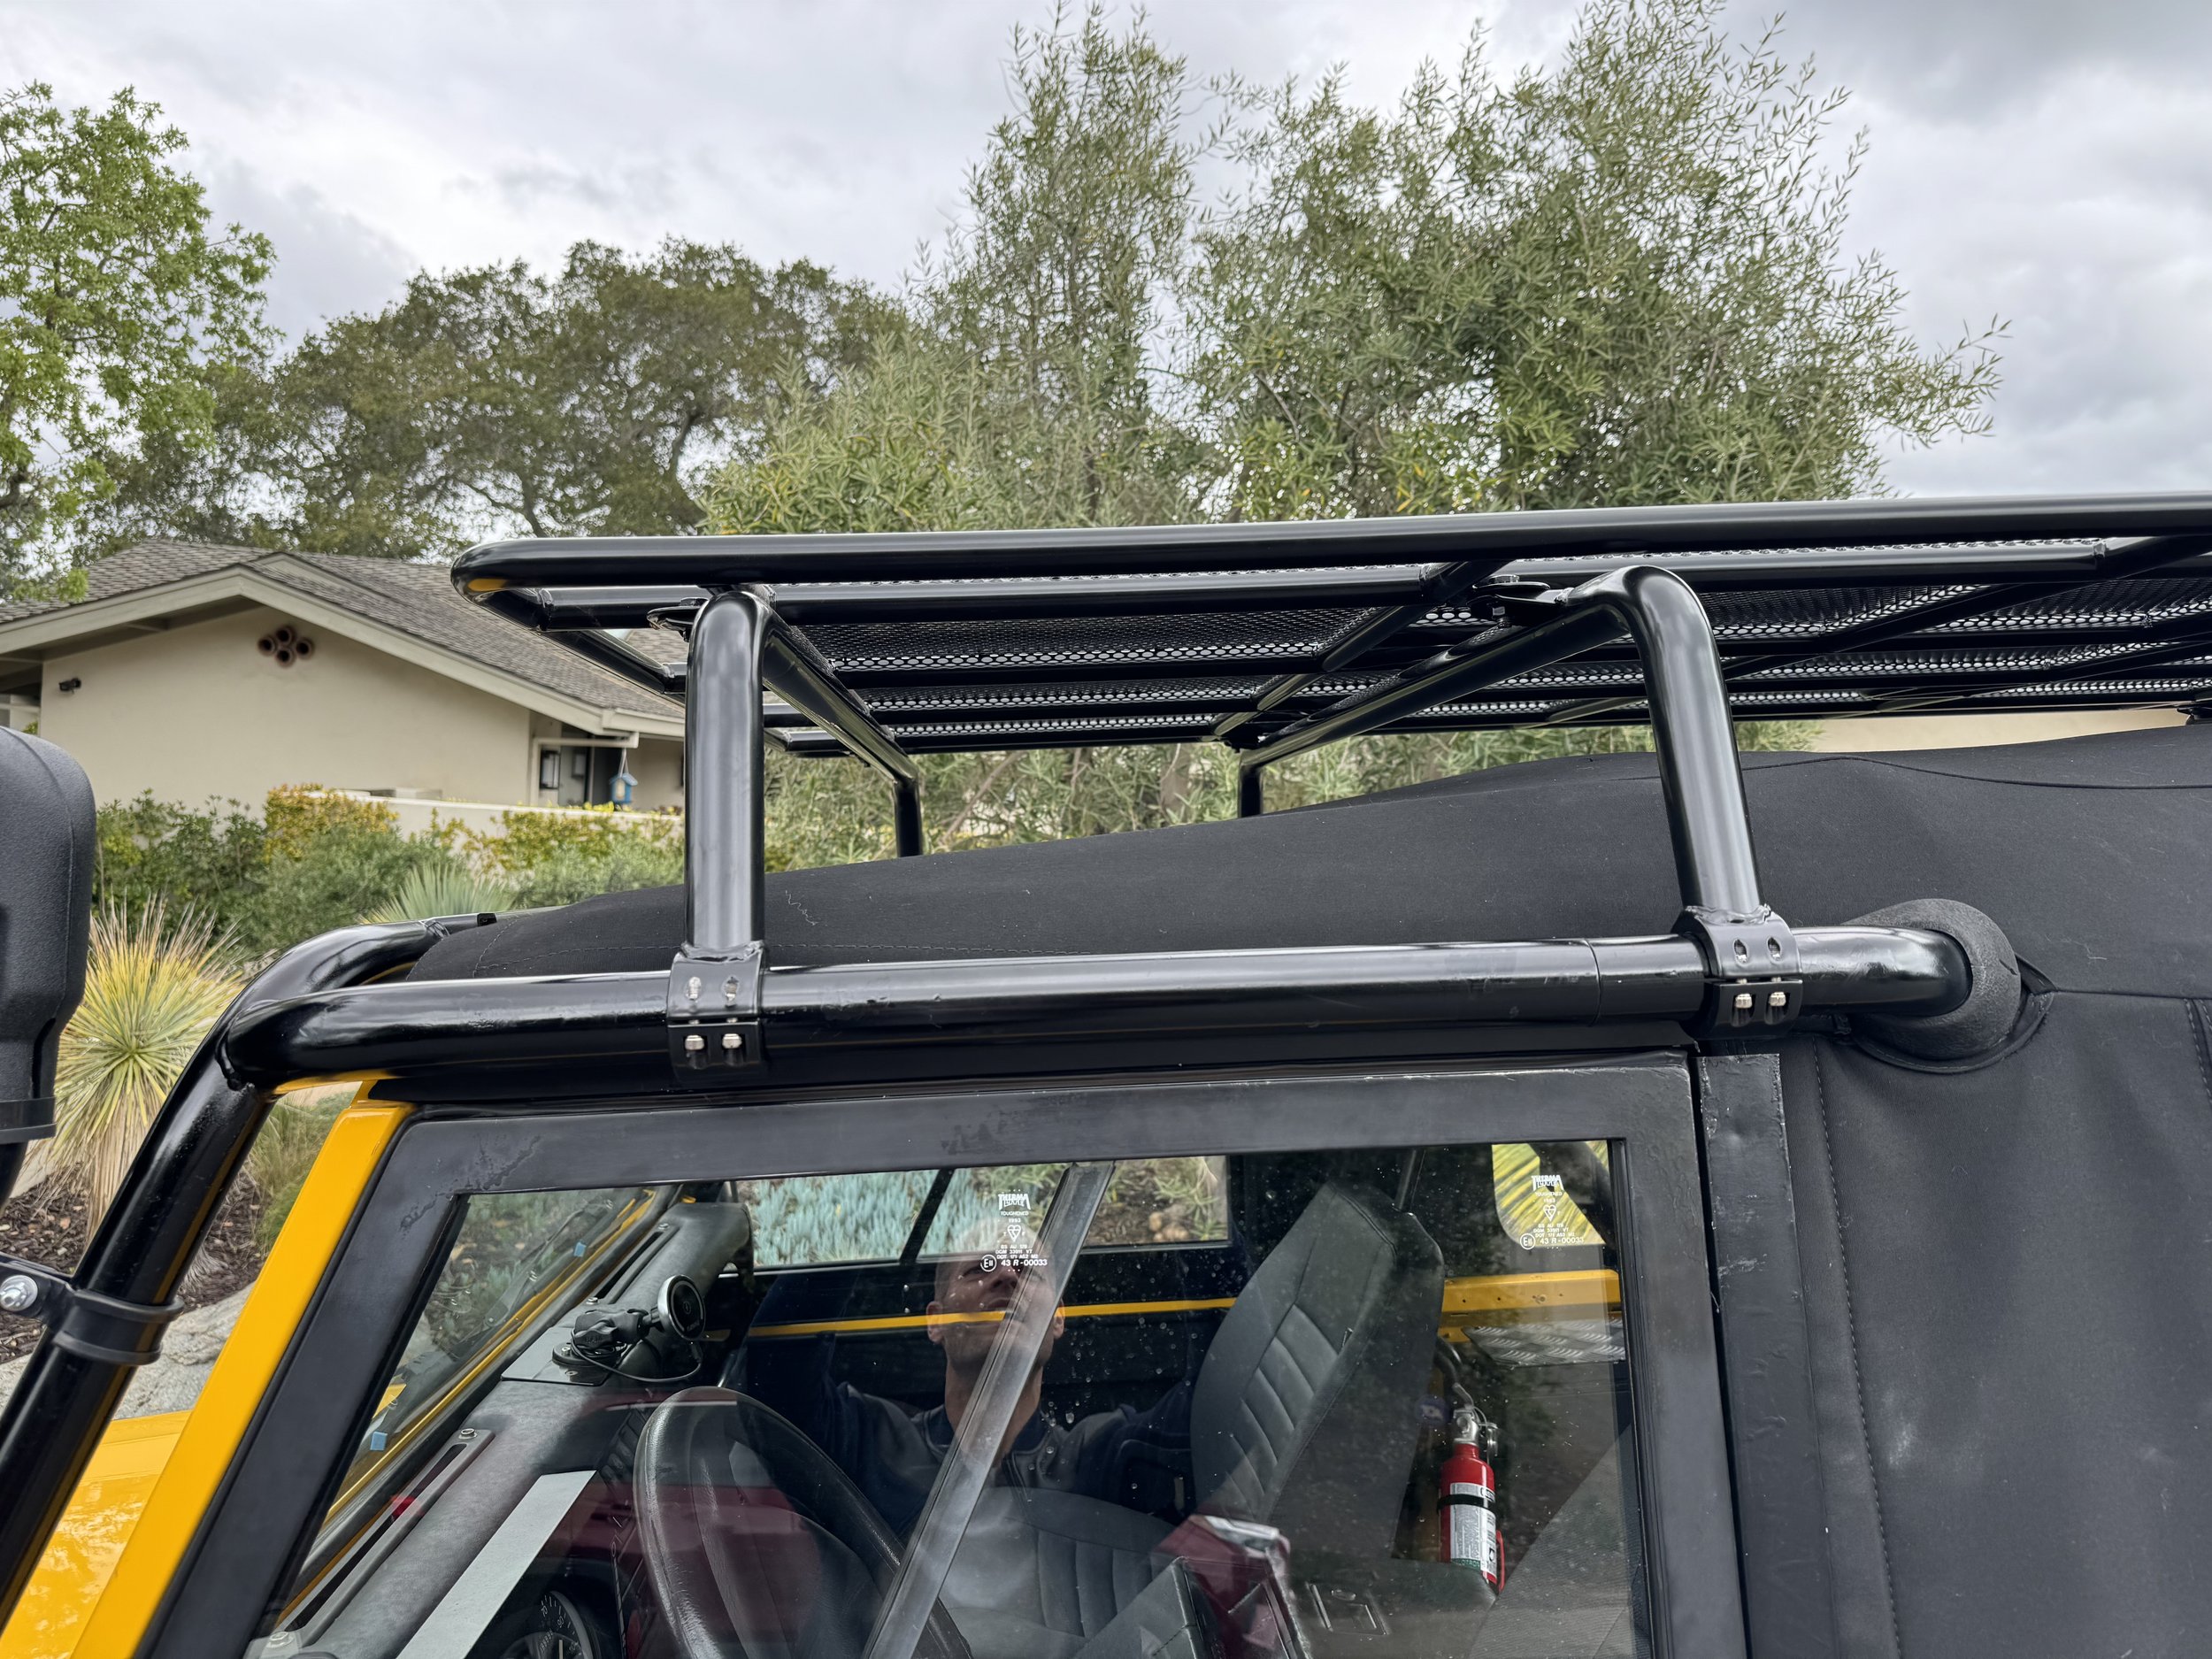
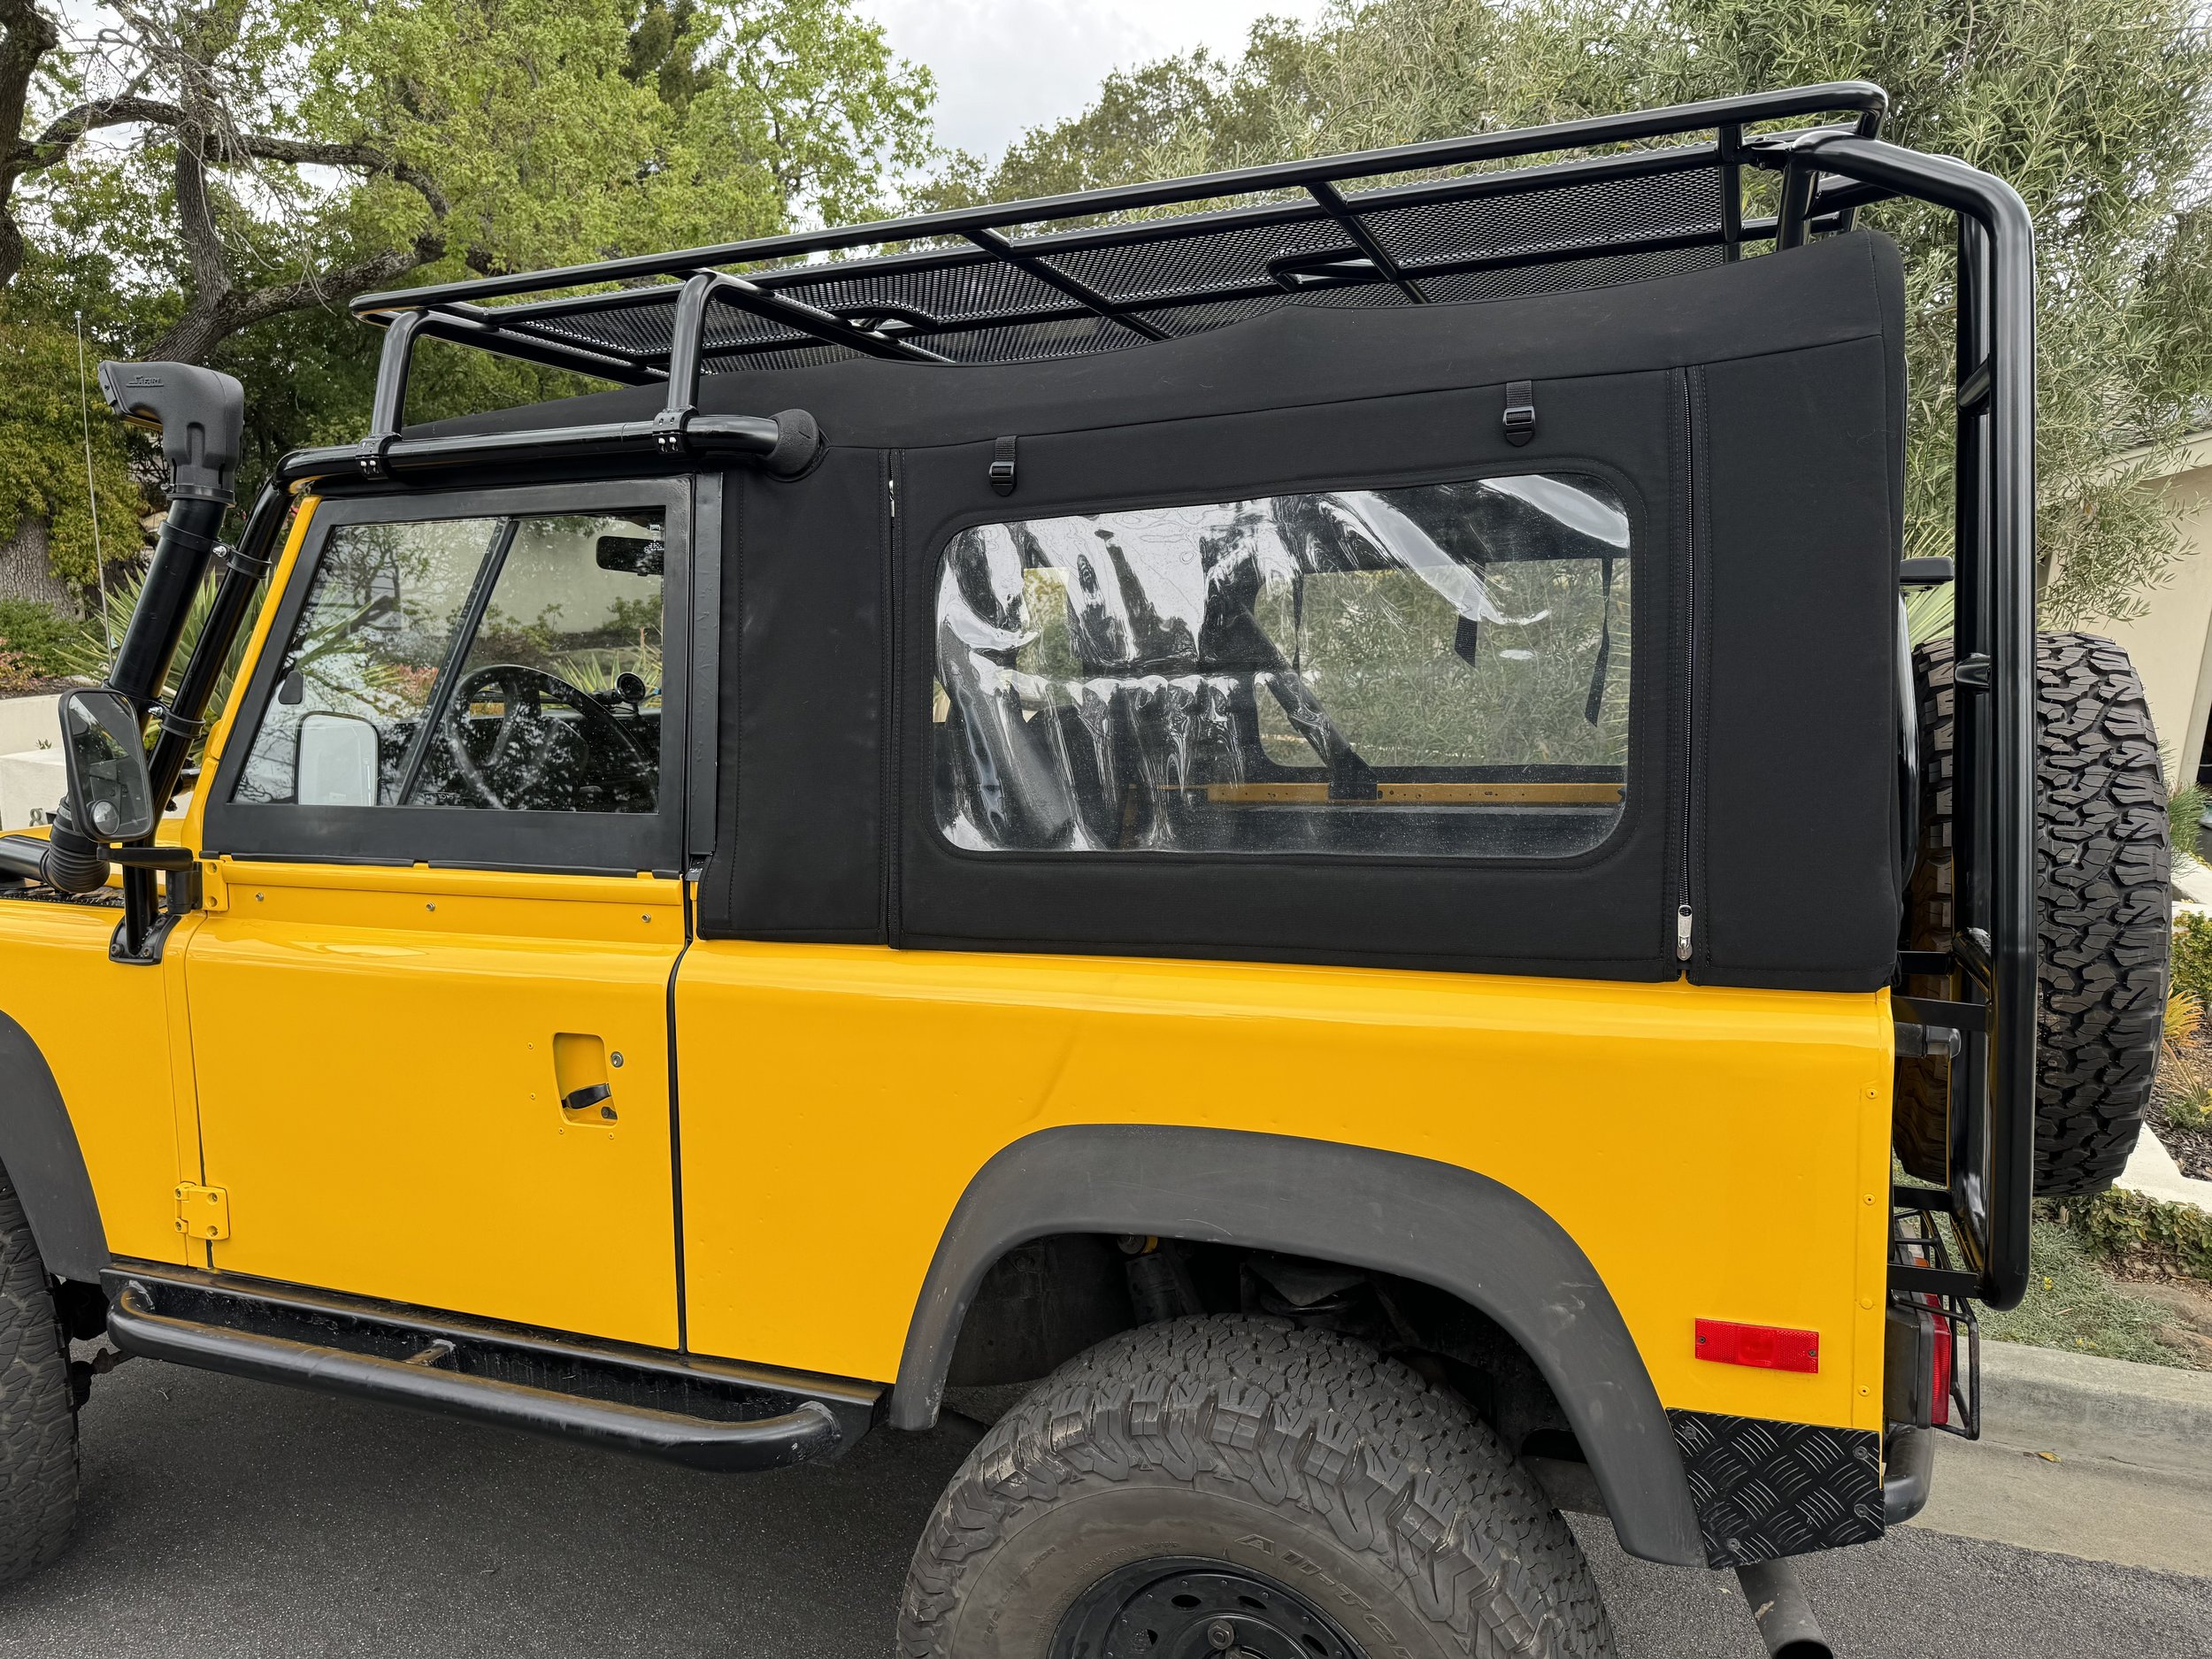
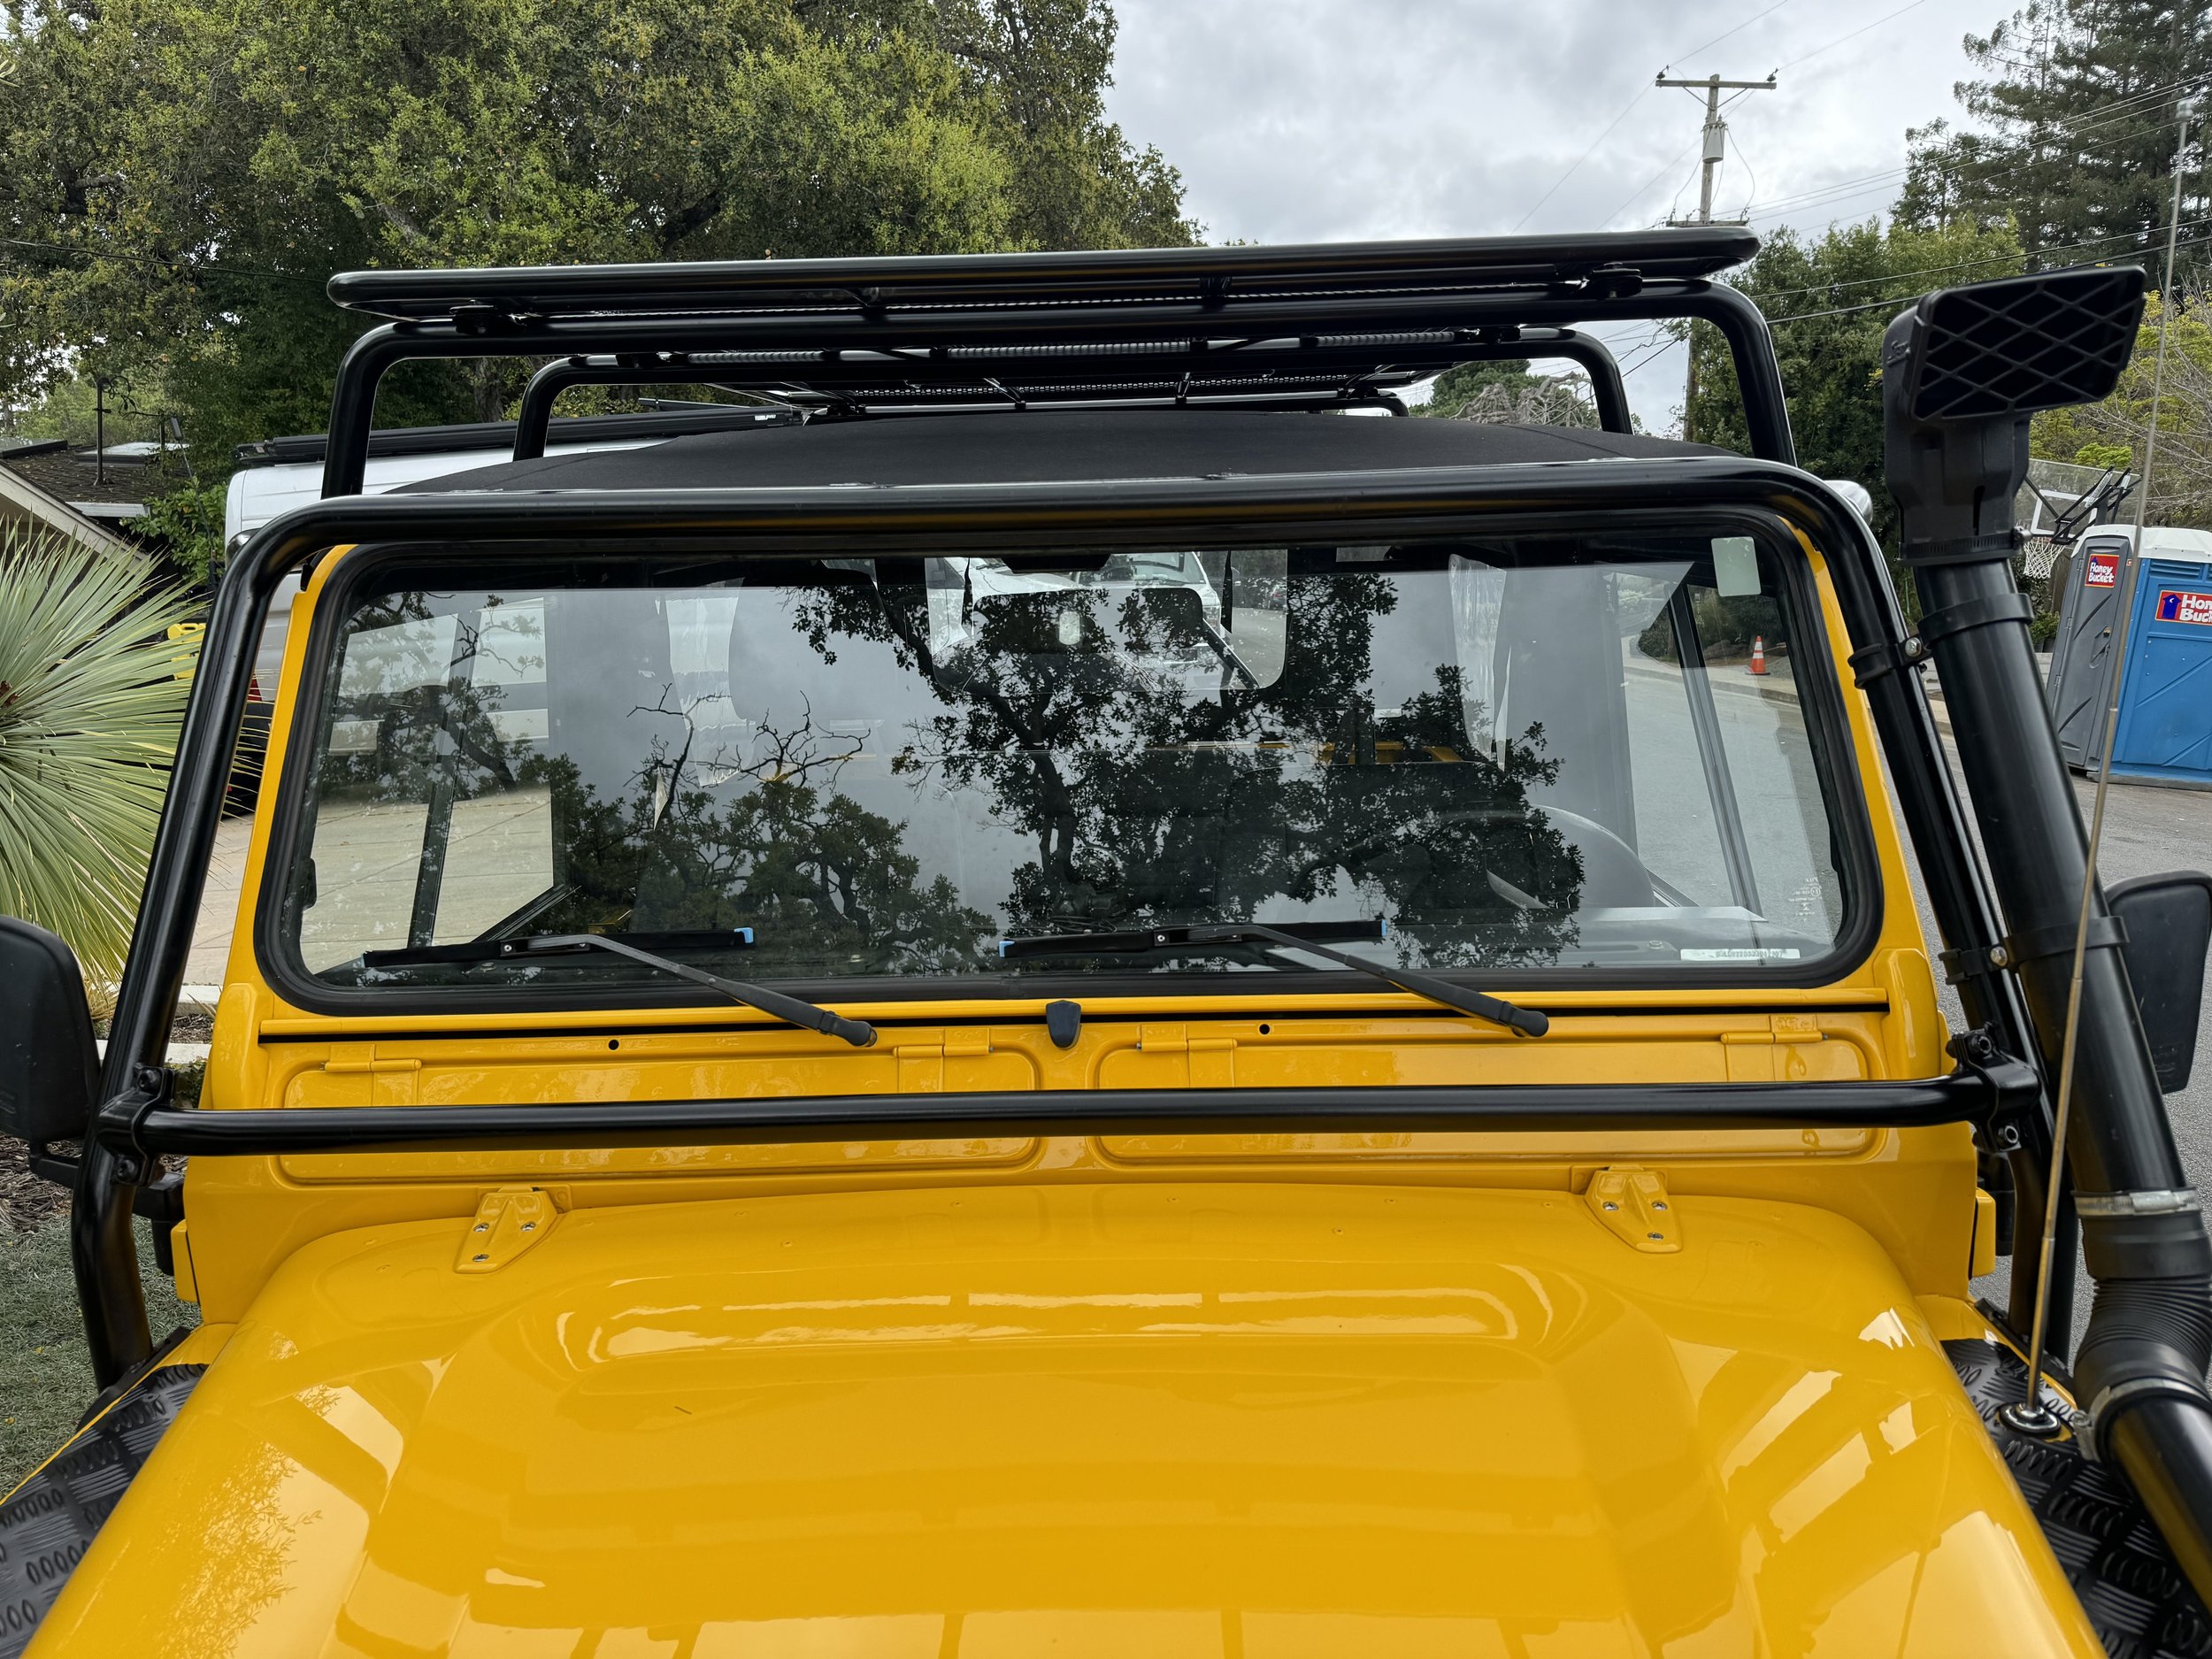
I could go with a fully custom unit but then I am paying to have someone figure it out. I could cut into the soft top to attach a traditional roof rack to the safari cage but that seems like the cheap solution. I wanted a rack that fit with the spirit of the Defender, did not impact the soft top functionality, but was also very functional. Luckily I found Chase Chop Shop & Urban Offroad who has already designed and built many Defender 90 soft top roof racks with a unique mounting solution using double ladders in the back and cross bars that mount to the external roll cage over the front doors. This design mimics the original Safety Devices version but uses better materials and some design tweaks. He makes a basket version of the roof rack which looks more traditional, but he also makes a flat roof rack which I think is more functional. With a basket the side bars tend to get in the way of mounting ski racks, surf boards, or roof top tents as you either need to mount inside the basket (which some things don't fit) or on top of the basket (which makes the truck extra tall). With a flat roof rack you can mount anything on the deck of the rack, thus minimizing the height while maximizing the versatility. The double ladder in the back also gives great access to the roof rack.
Because my truck is not perfectly square (most are not) I asked Derek @ Chase Chop Shop to keep the roof rack unfinished so that if I needed to grind, bend, or cut anything to get a good fit I can simply powder coat after the mods. I also wanted a walkable floor so Derek is welding on a metal floor with perforated holes. To give more lashing points he also built into the design some tie down points in the mid-section. So basically I was able to use Derek’s design but then customize it to my needs.

After a few weeks the rack arrived and we did a test fitting. It fit well but we needed to redo one of the brackets as it came damaged from shipping. Then it was off to the powder coater where we did a black 60% gloss to match the Defender’s external roll cage finish. Then it was time for the final finish which was easy at this point. I think this fits the original design of the truck while being highly functional. Next up is to mount 4 Hella off-road lights on the external roll cage just below the roof rack platform.
Defender Build - Door Adjustment

This is not a frame off restoration project where every nut and bolt is replaced and the truck comes out better than when it was originally built. This is a high-end restomod. I think a little wear and patina fits this car better than it being a garage queen. With that said there are three things that have always driven me nuts and that I have spent countless hours trying to figure out and improve.

  1. making the doors fit better with tight seals (let’s be clear a Land Rover is never waterproof but it should be highly water resistant)

  2. the mystery non-OEM C pillar bar that is very functional but not the stock padded NAS bar

  3. a soft top that is as quite as possible

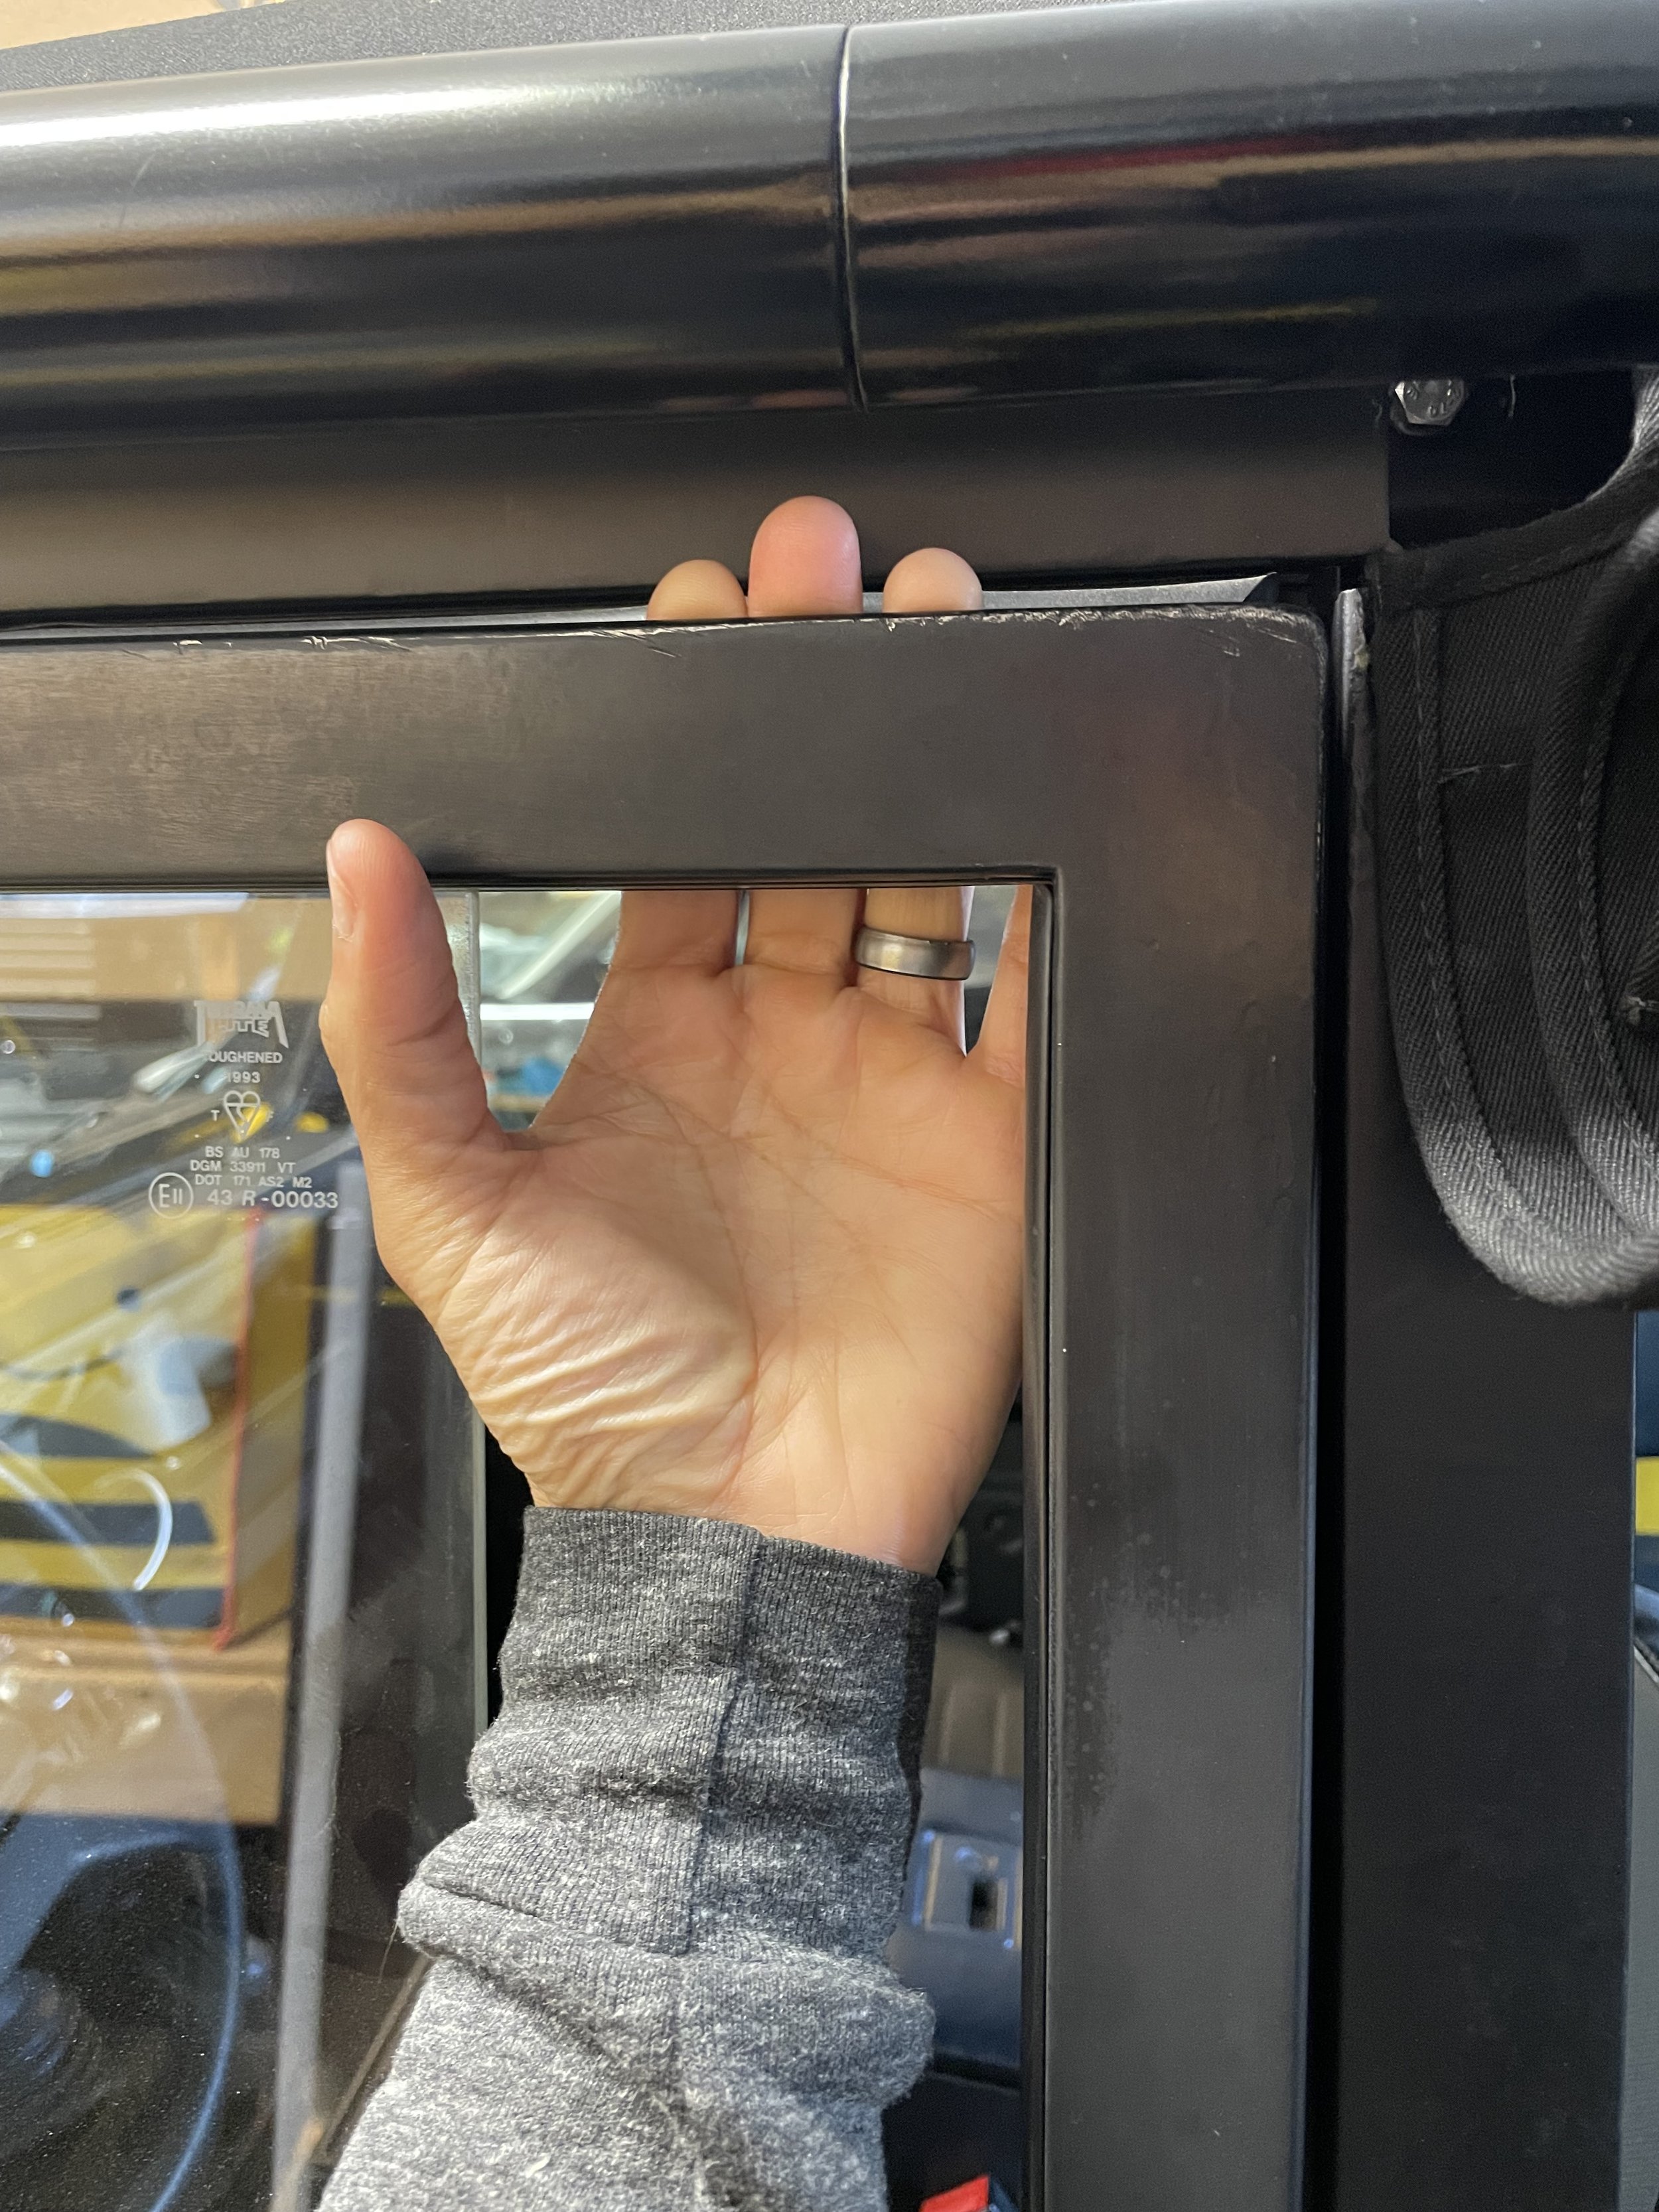
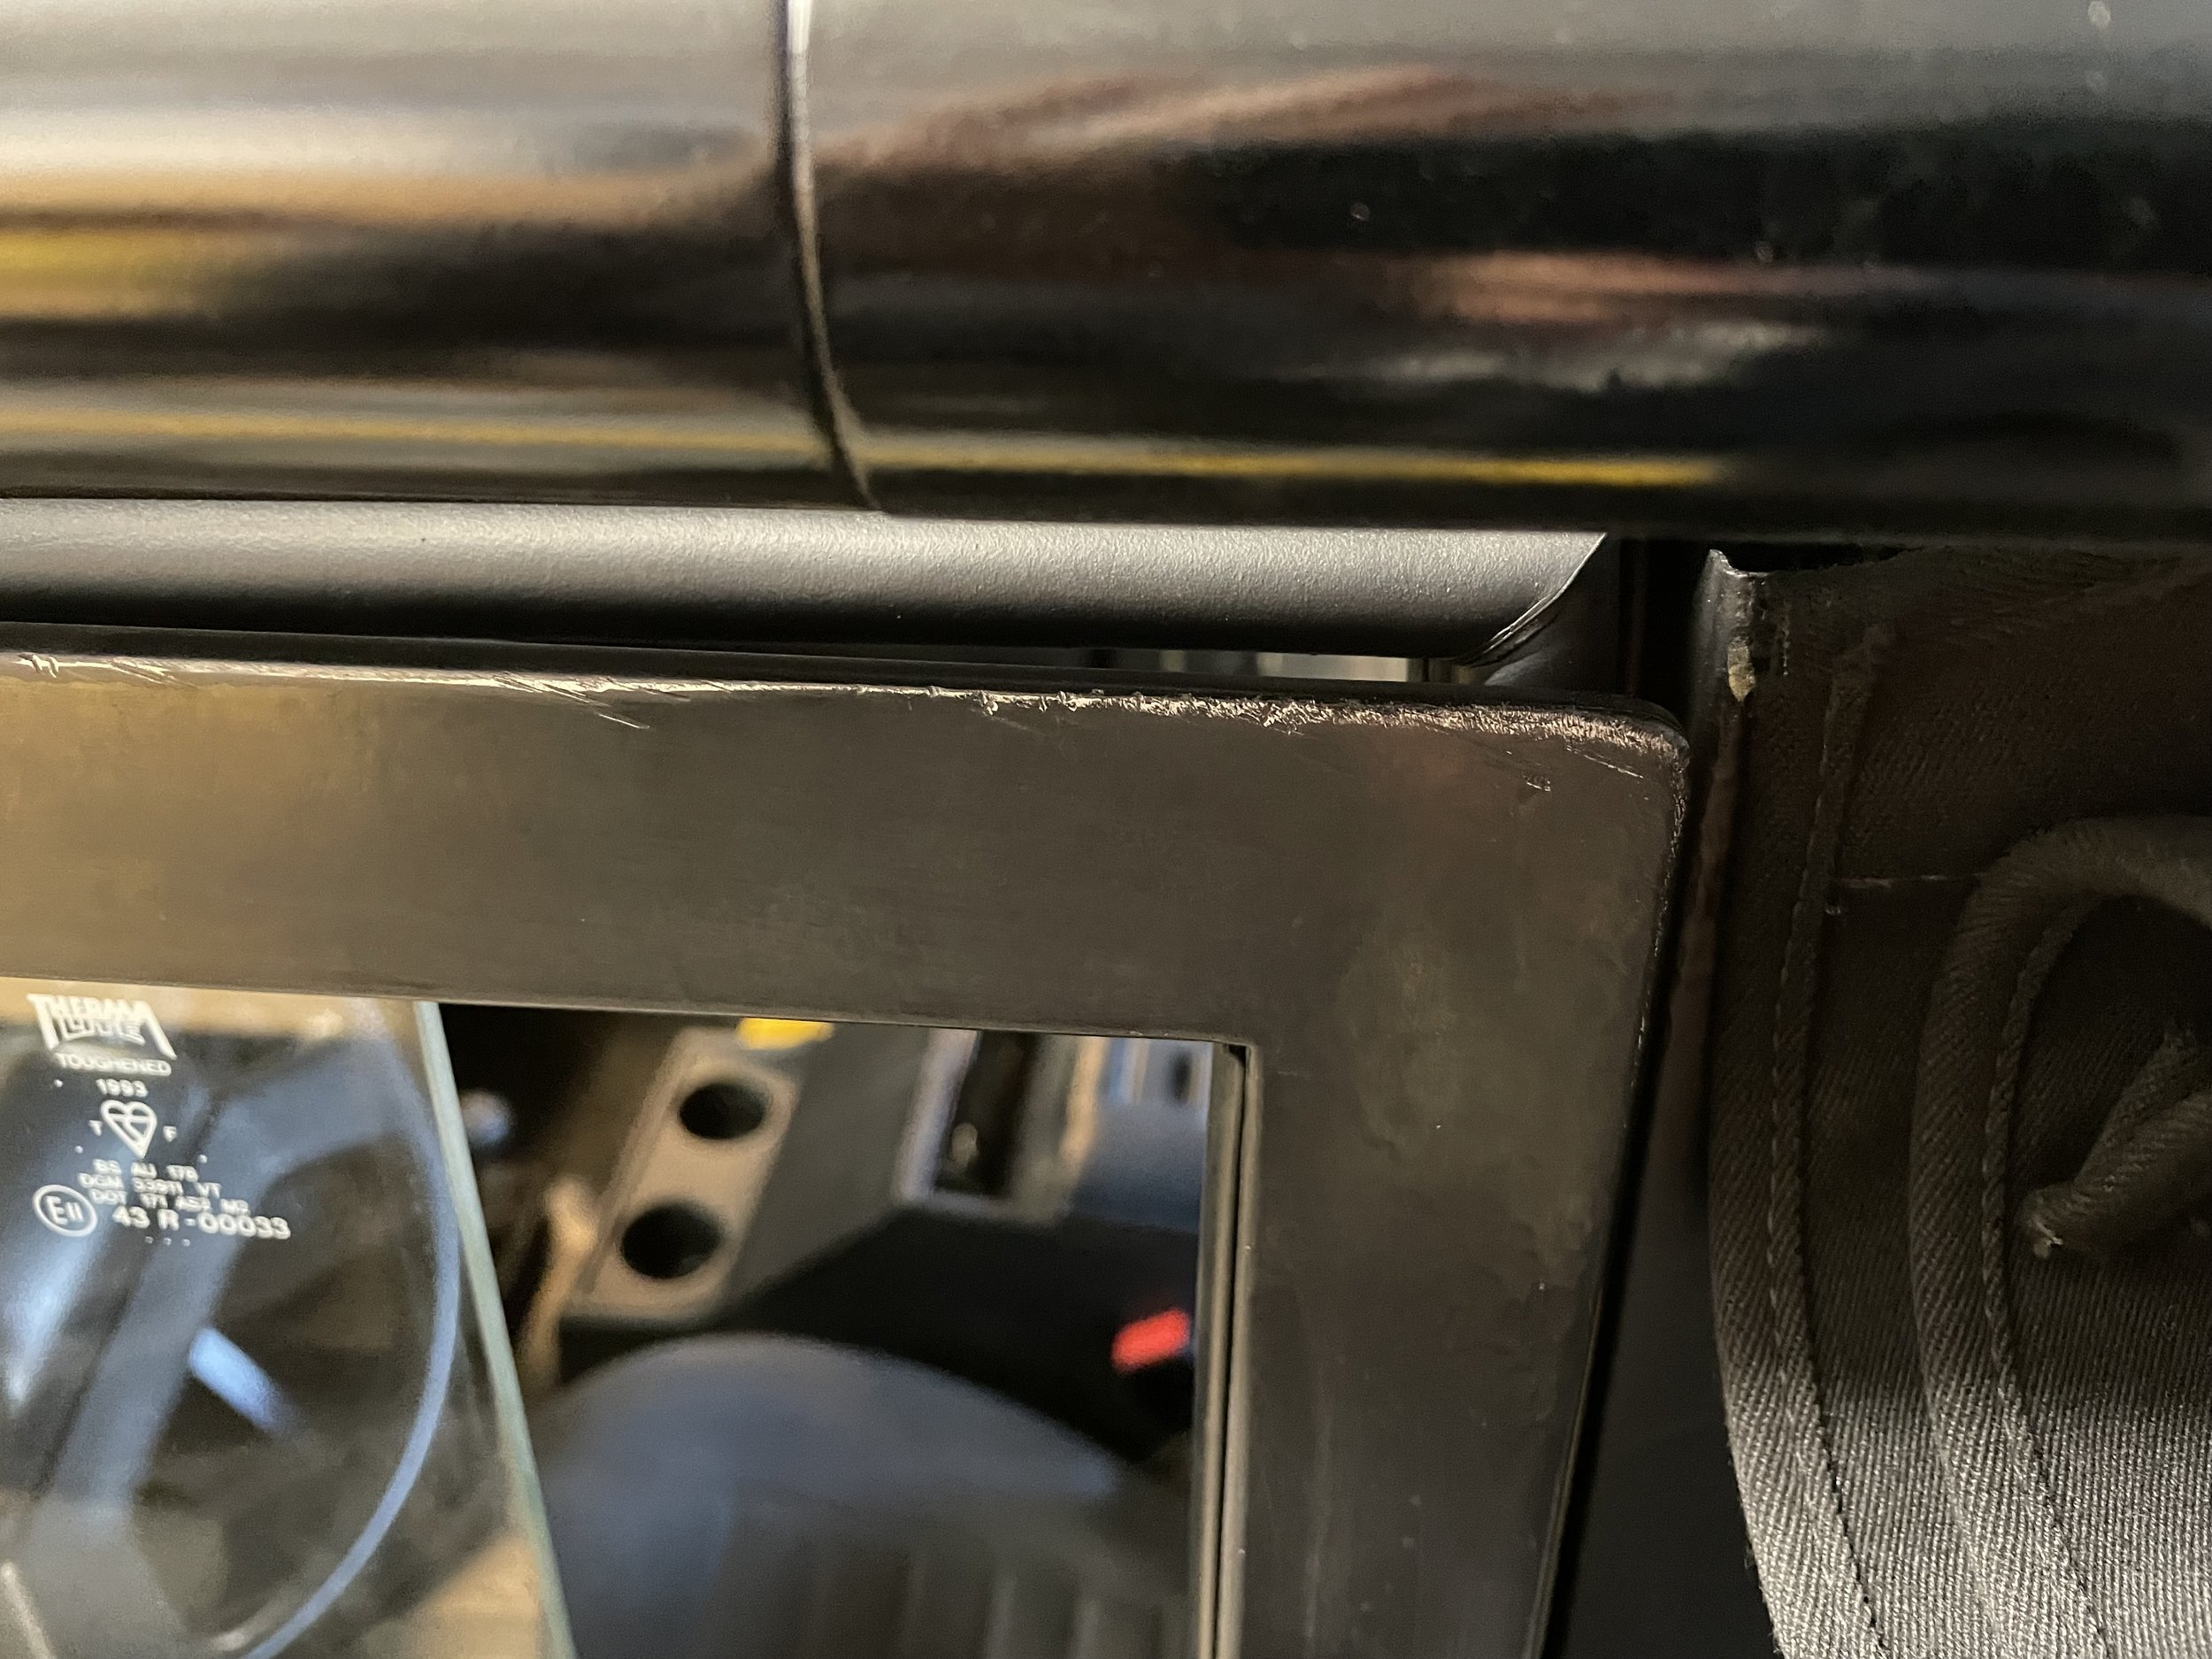
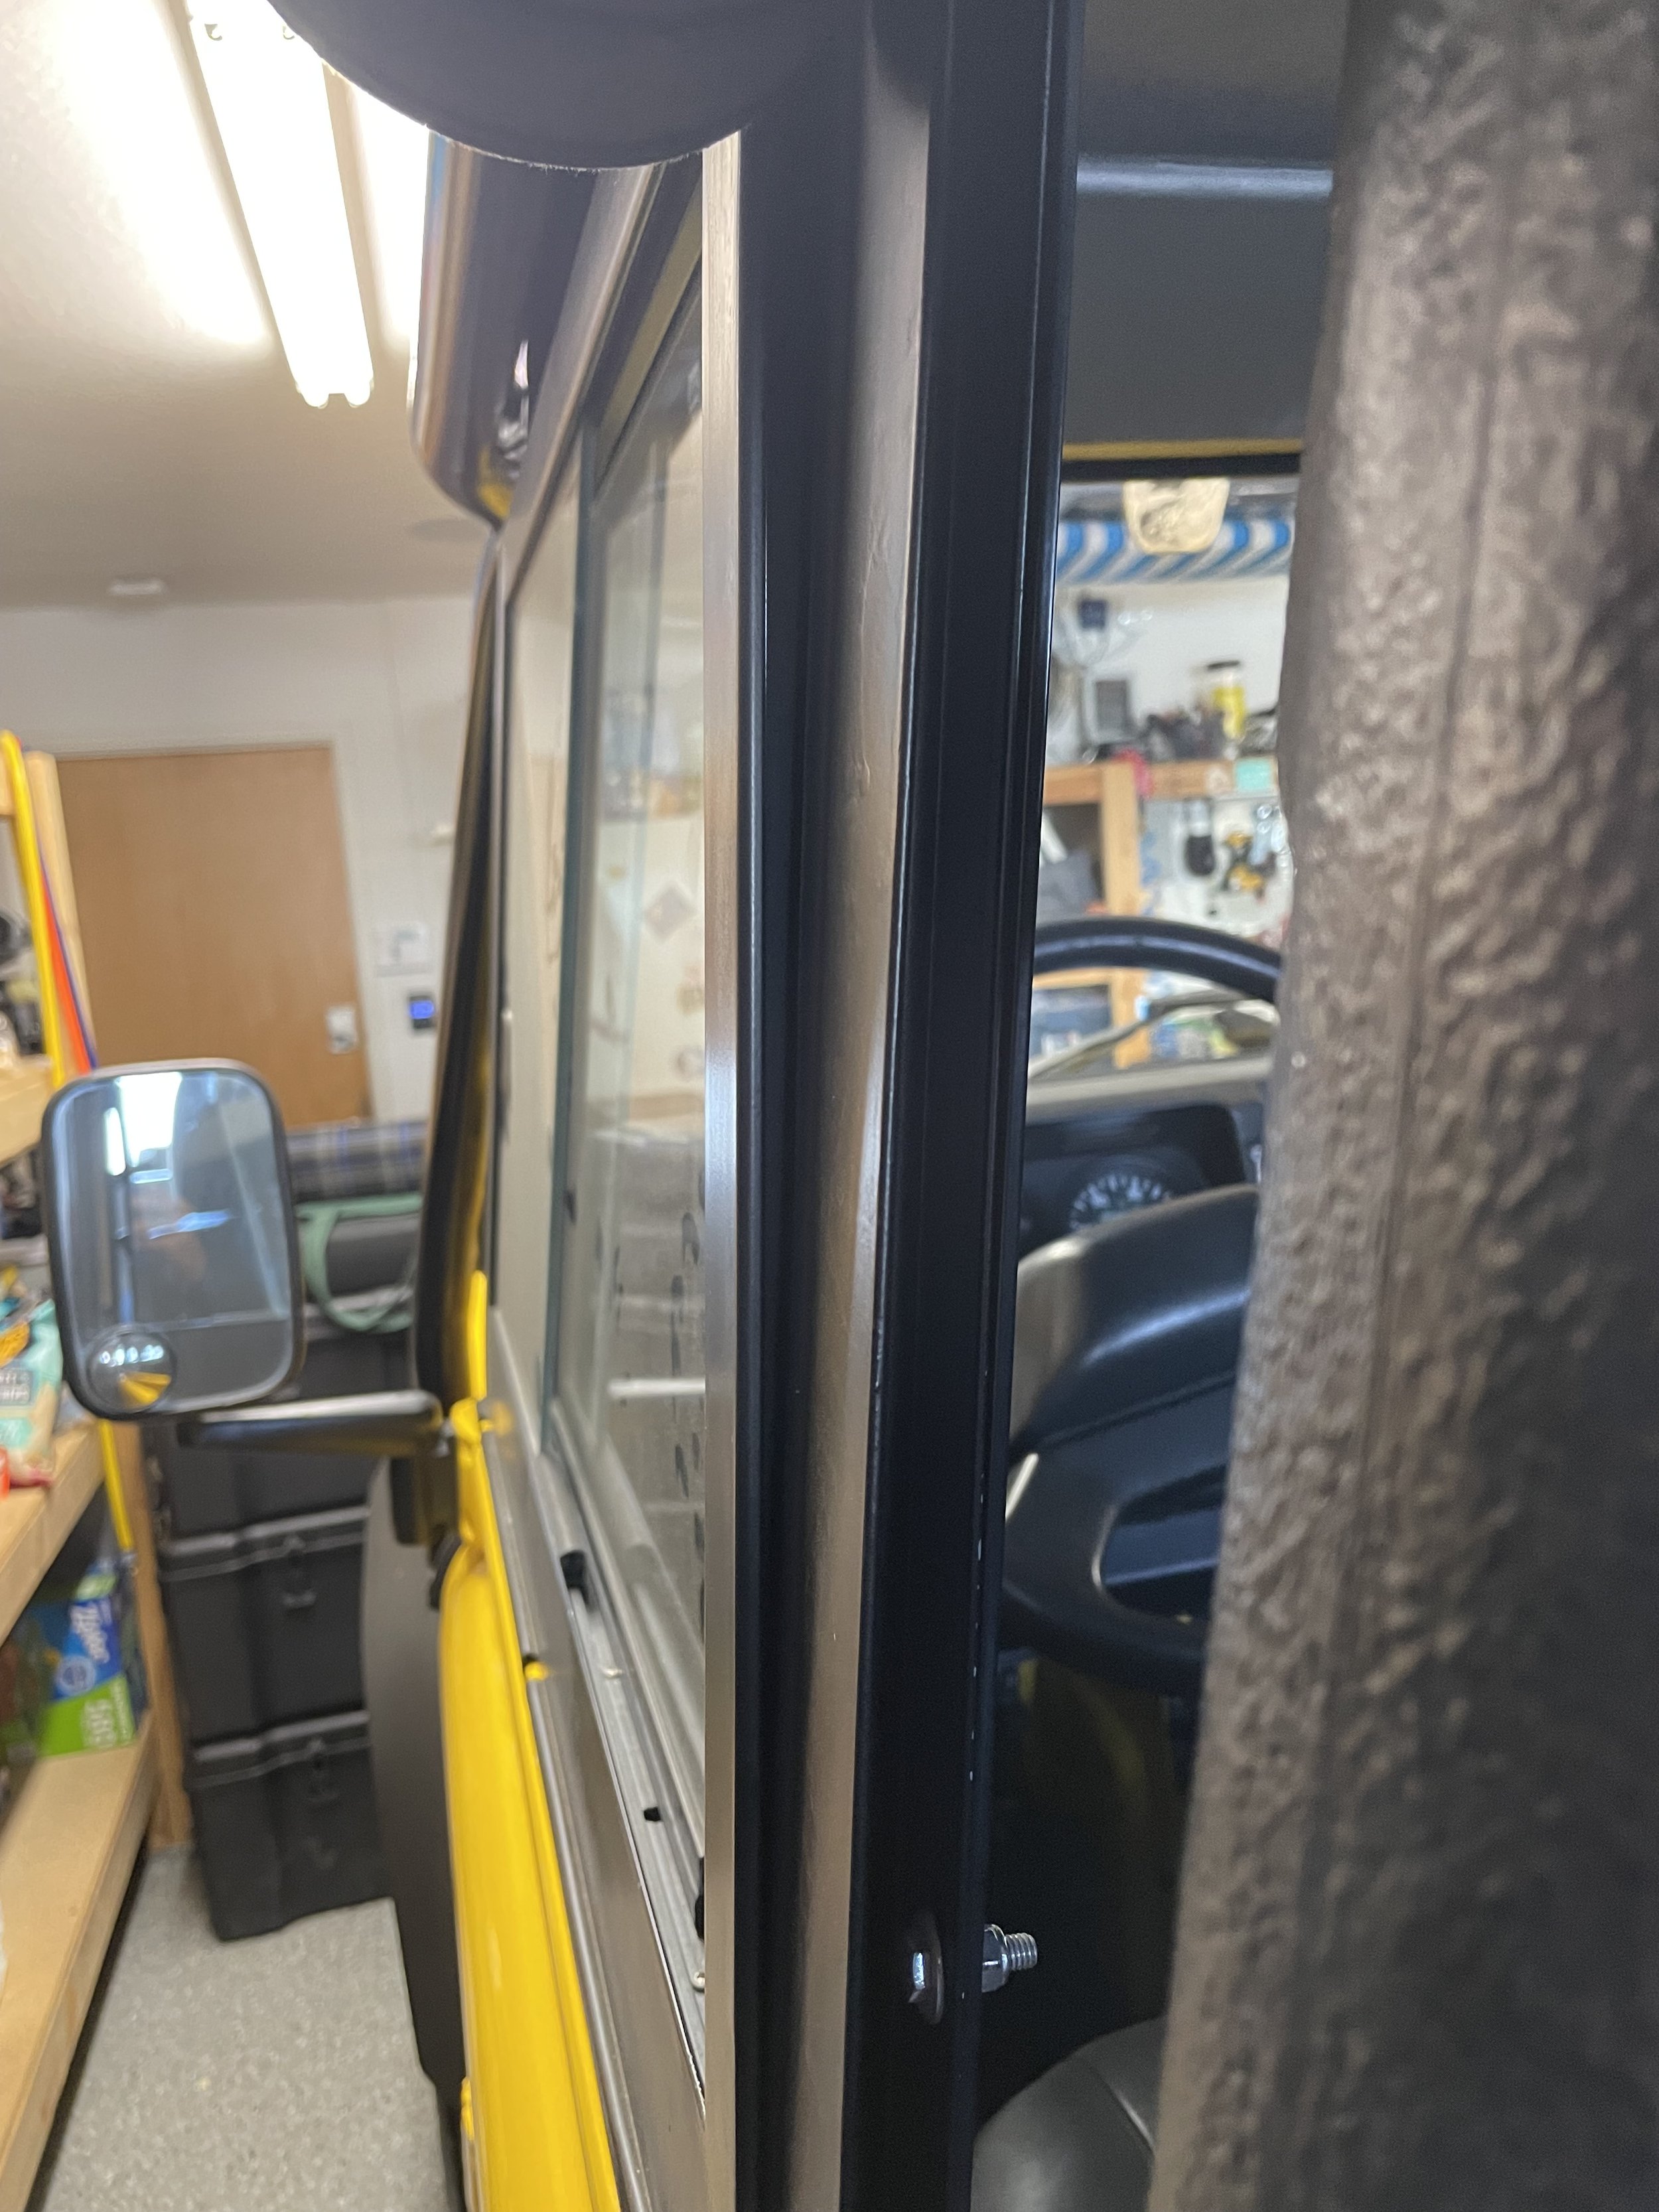
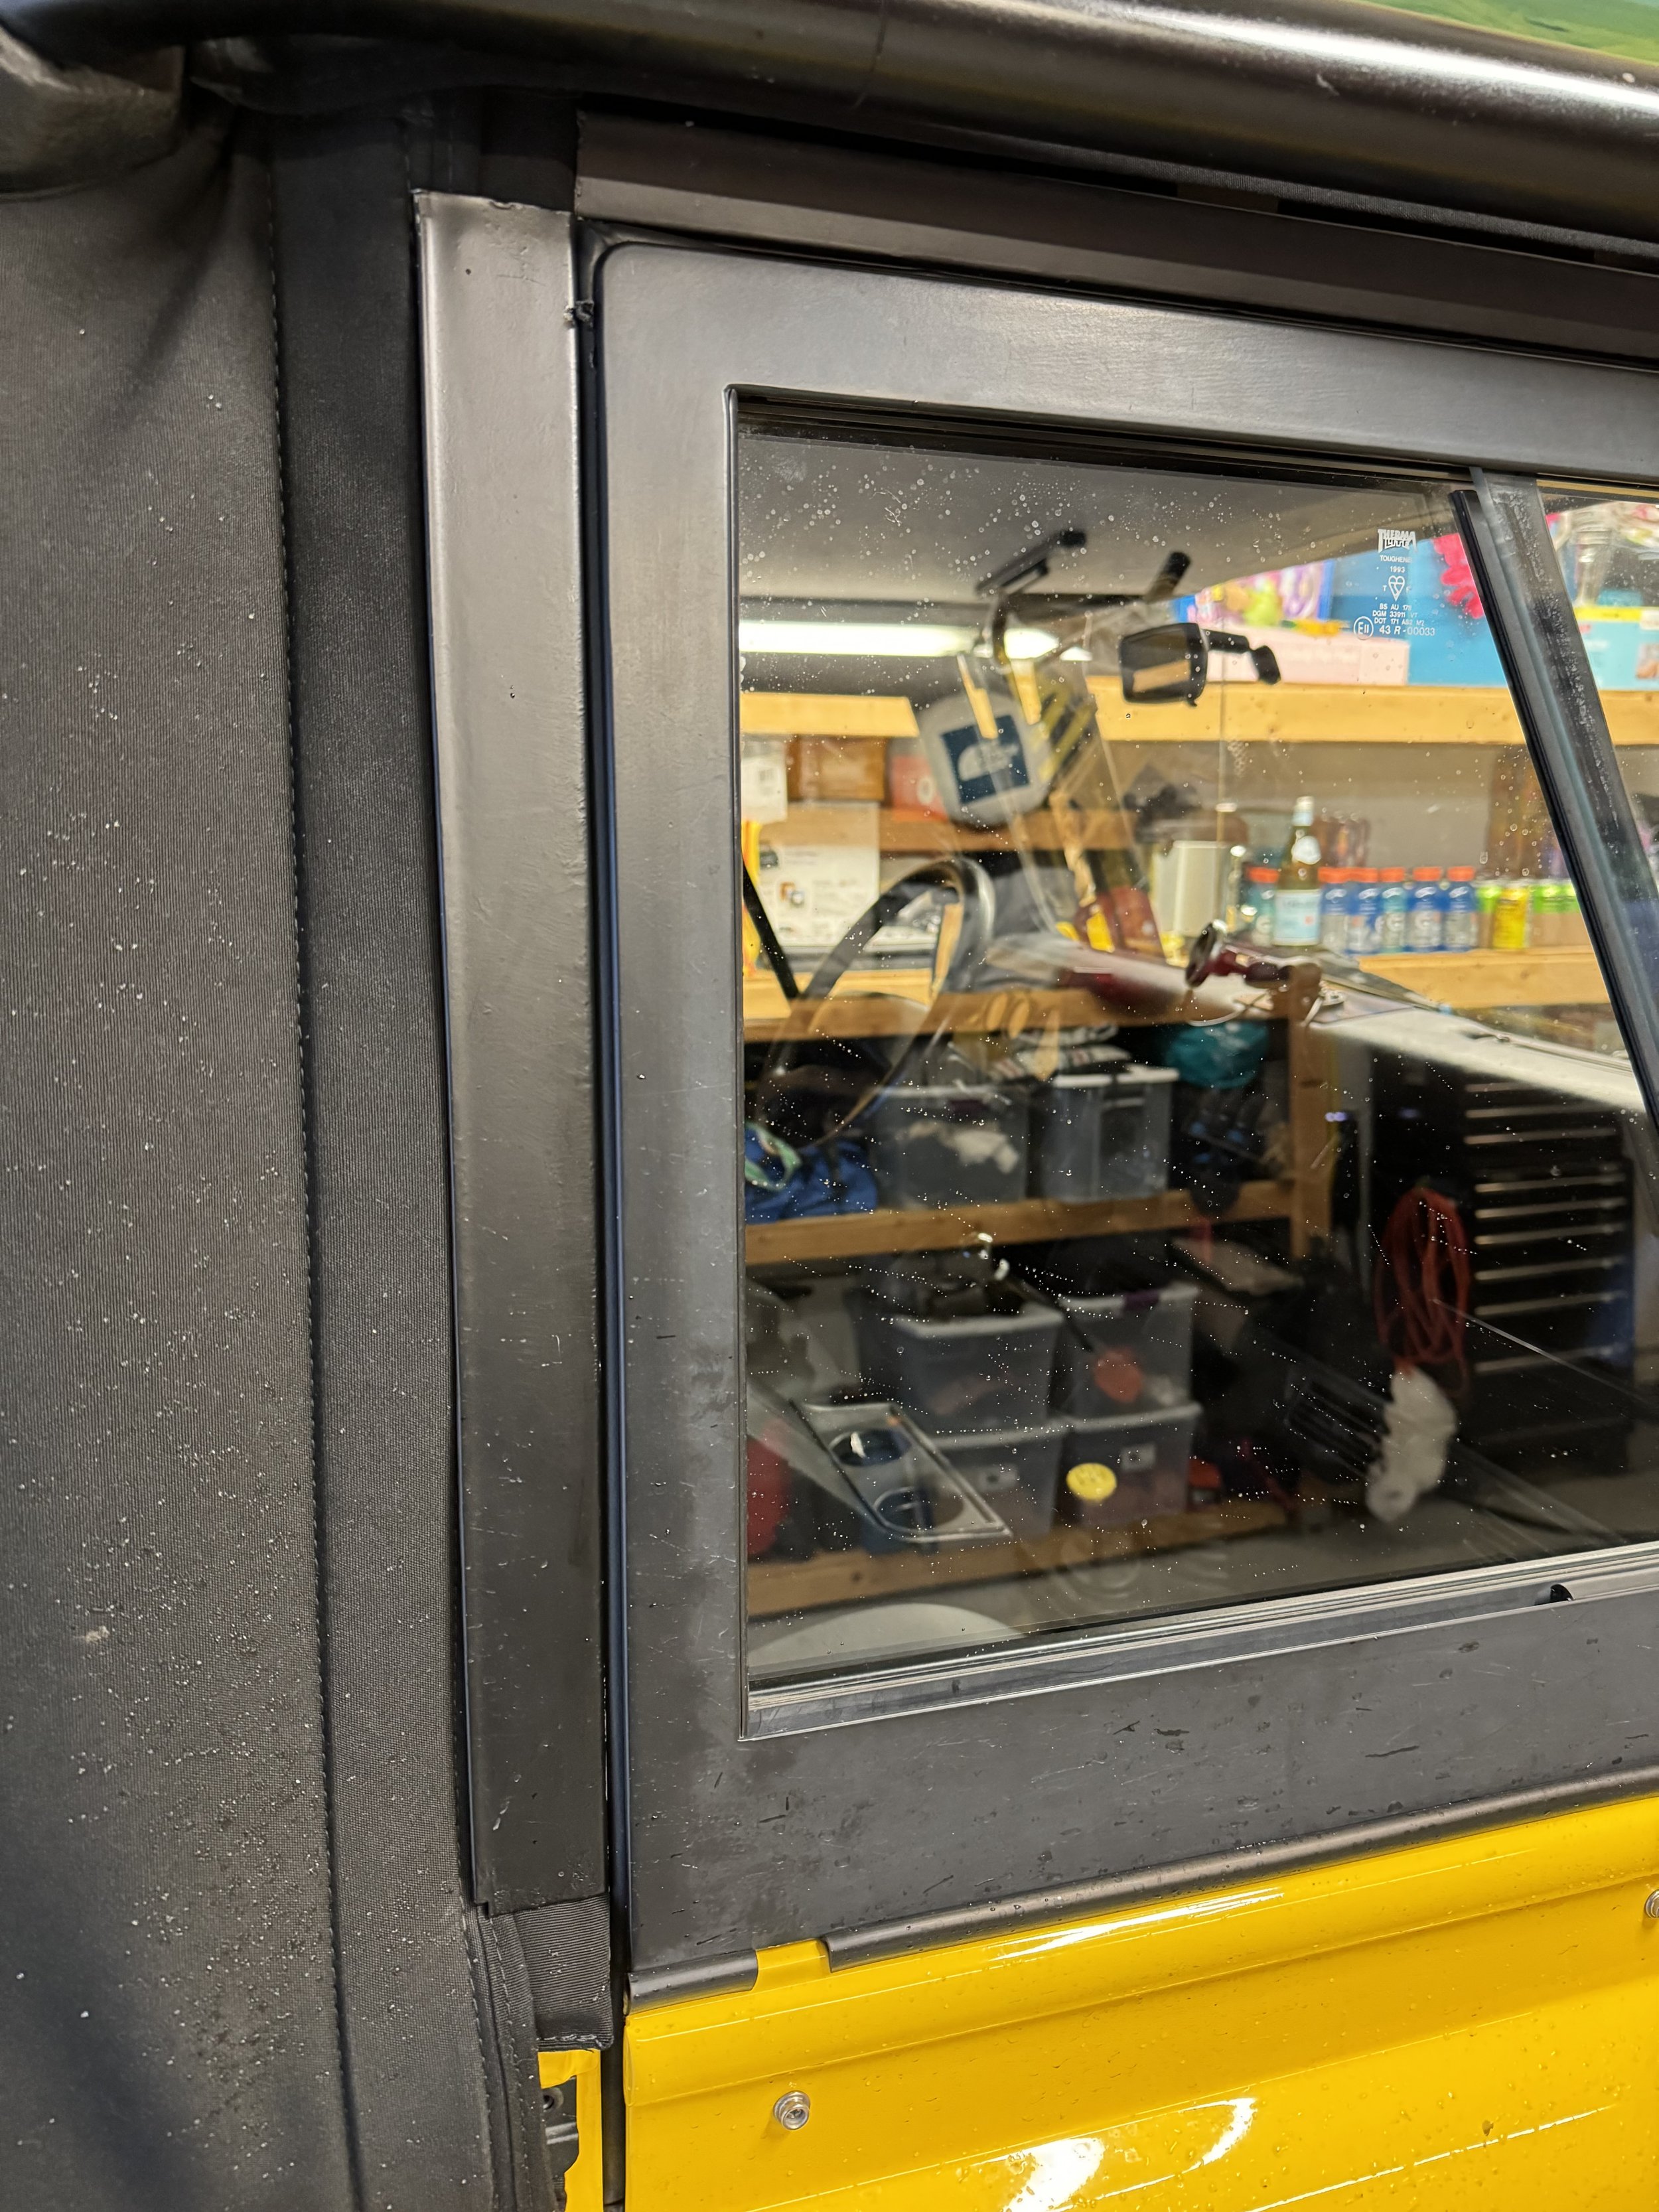
I can’t explain why my doors did not fit well, but I finally have them nearly perfect. It took Exclusive British European 3-4 hours of bending, adjusting, rebending, and readjusting but they did it. My doors are tight, latch well, are mostly waterproof and nearly air tight. This is no small accomplishment for a 94 soft top Defender with 2 part doors. As it turns out the bottom half needed hinge adjustments and the top half needed bending (in) to match up to the door frame better. I could not be happier with the result. The paint was slightly damaged in the process on one door but it is an easy fix with a respray. Before the Defender watch dogs jump all over me….keep in mind my truck has already been resprayed.

BEFORE

AFTER

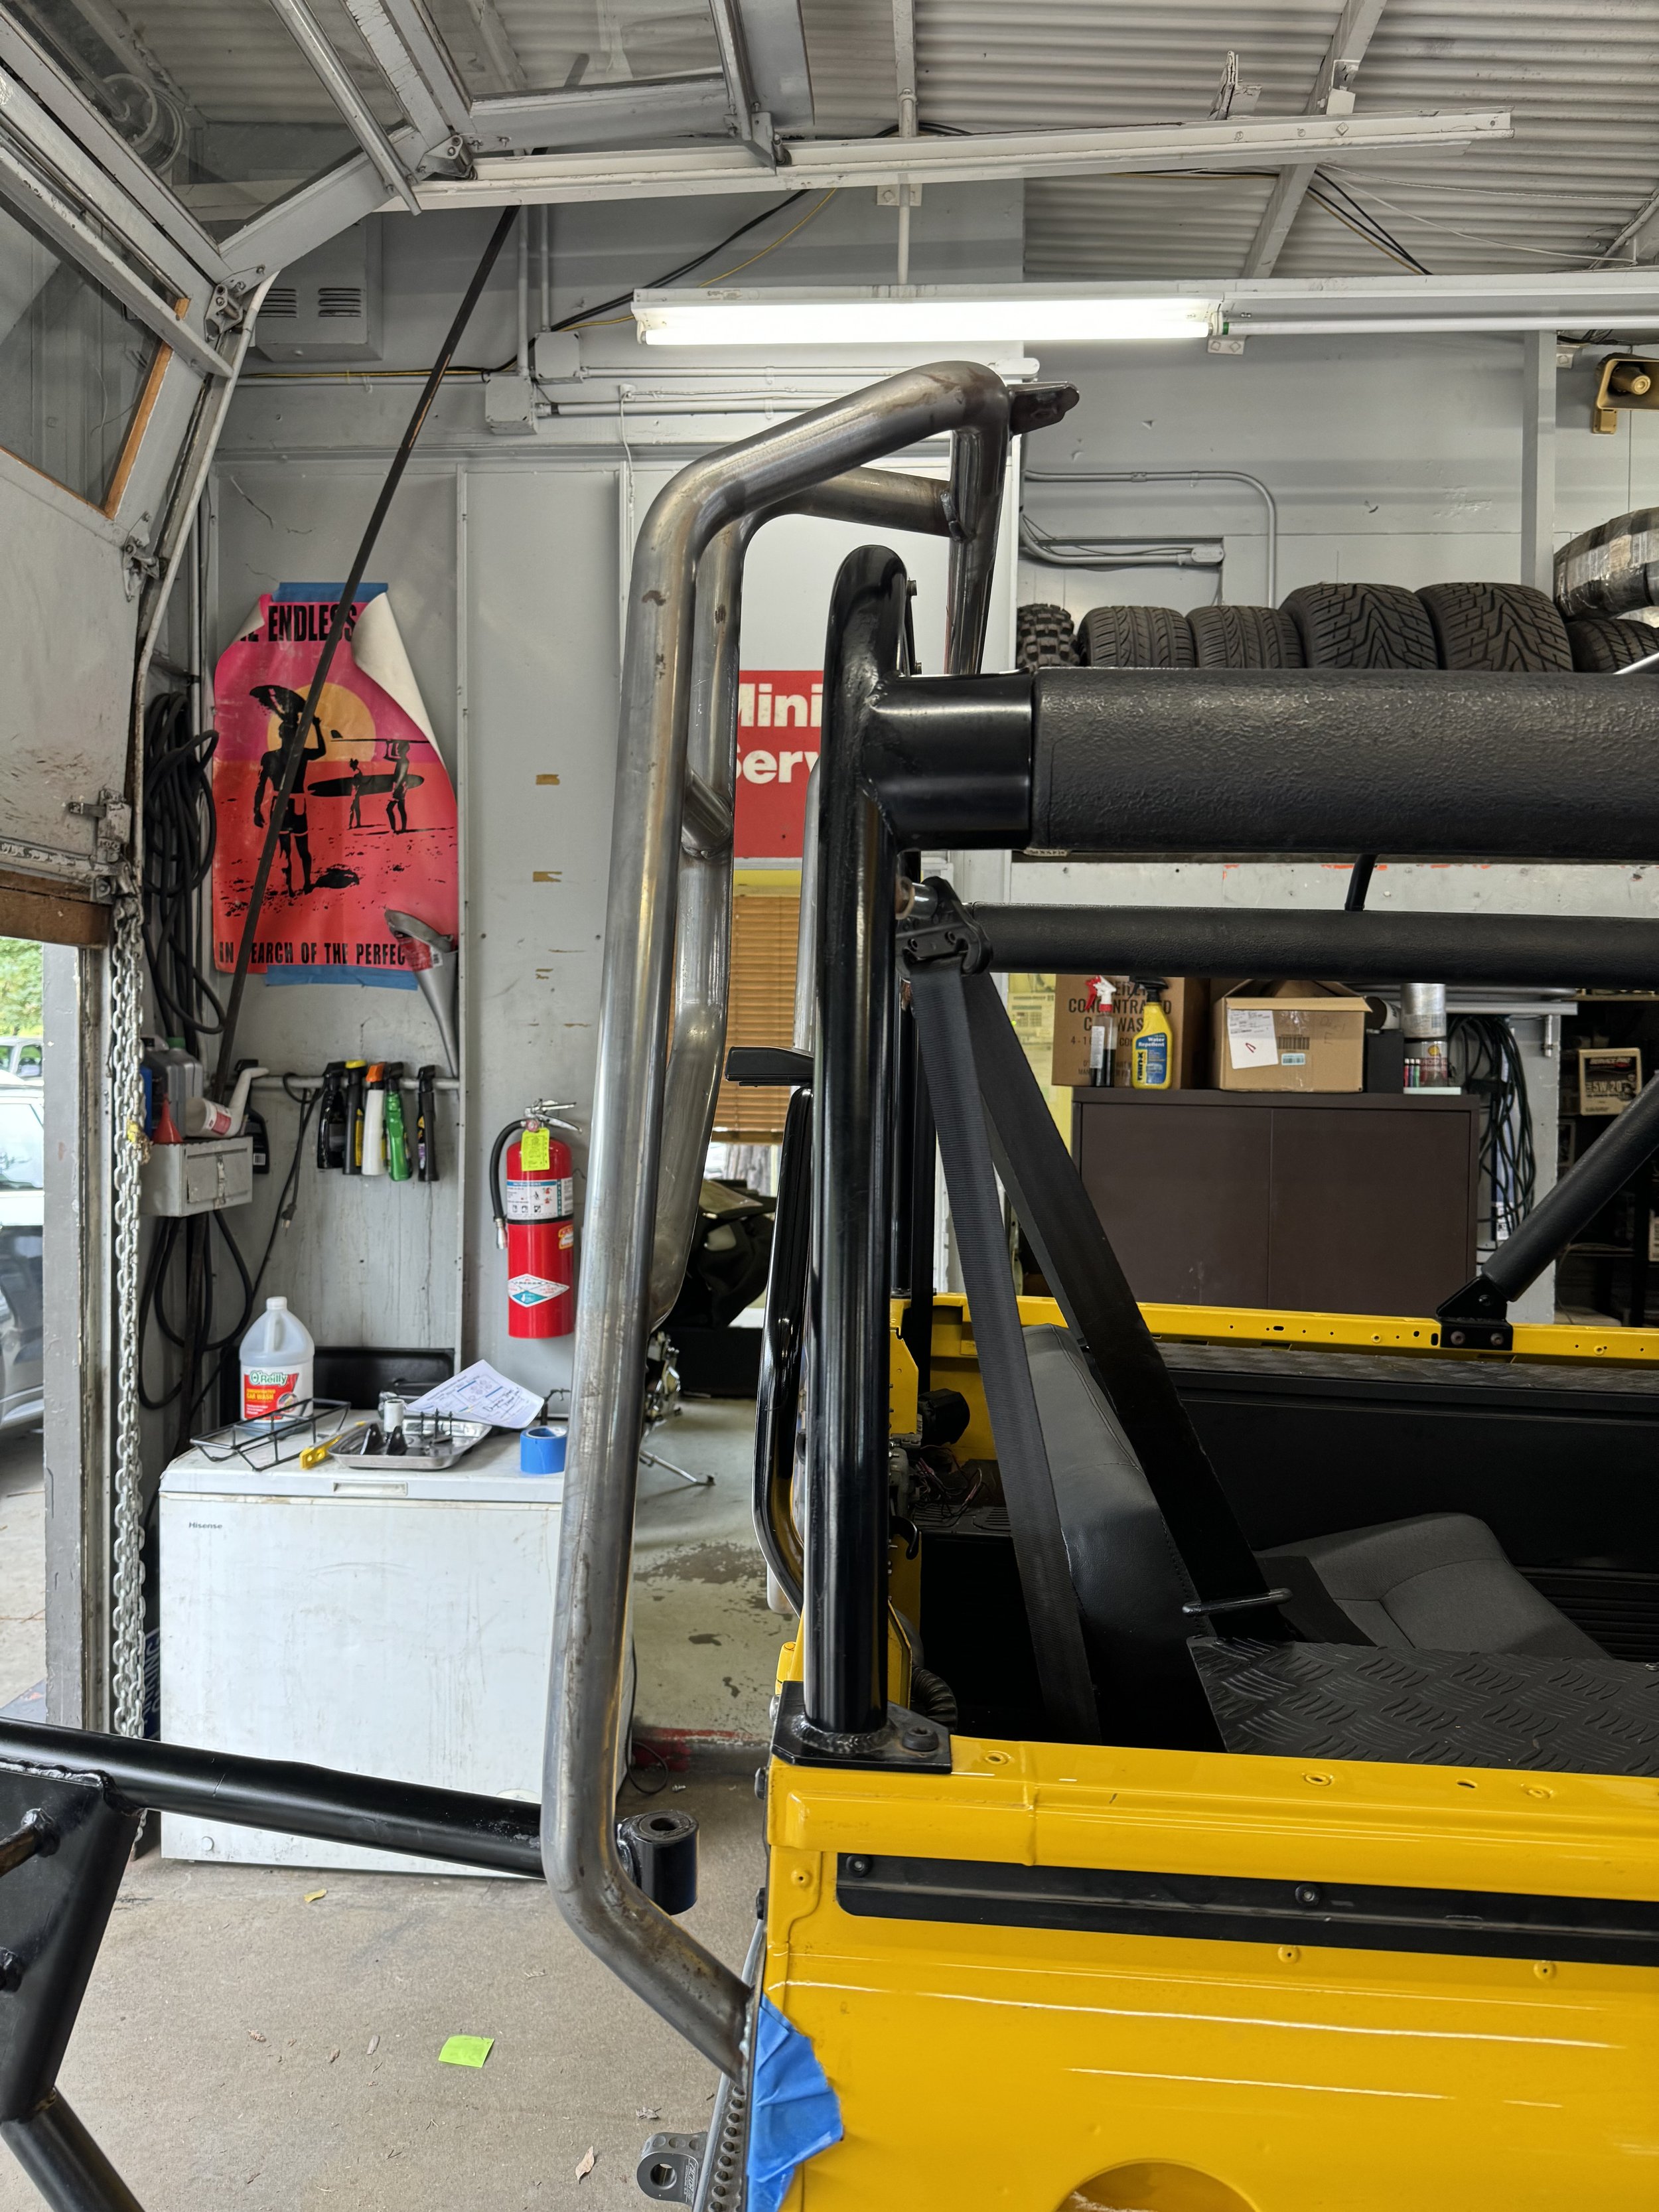
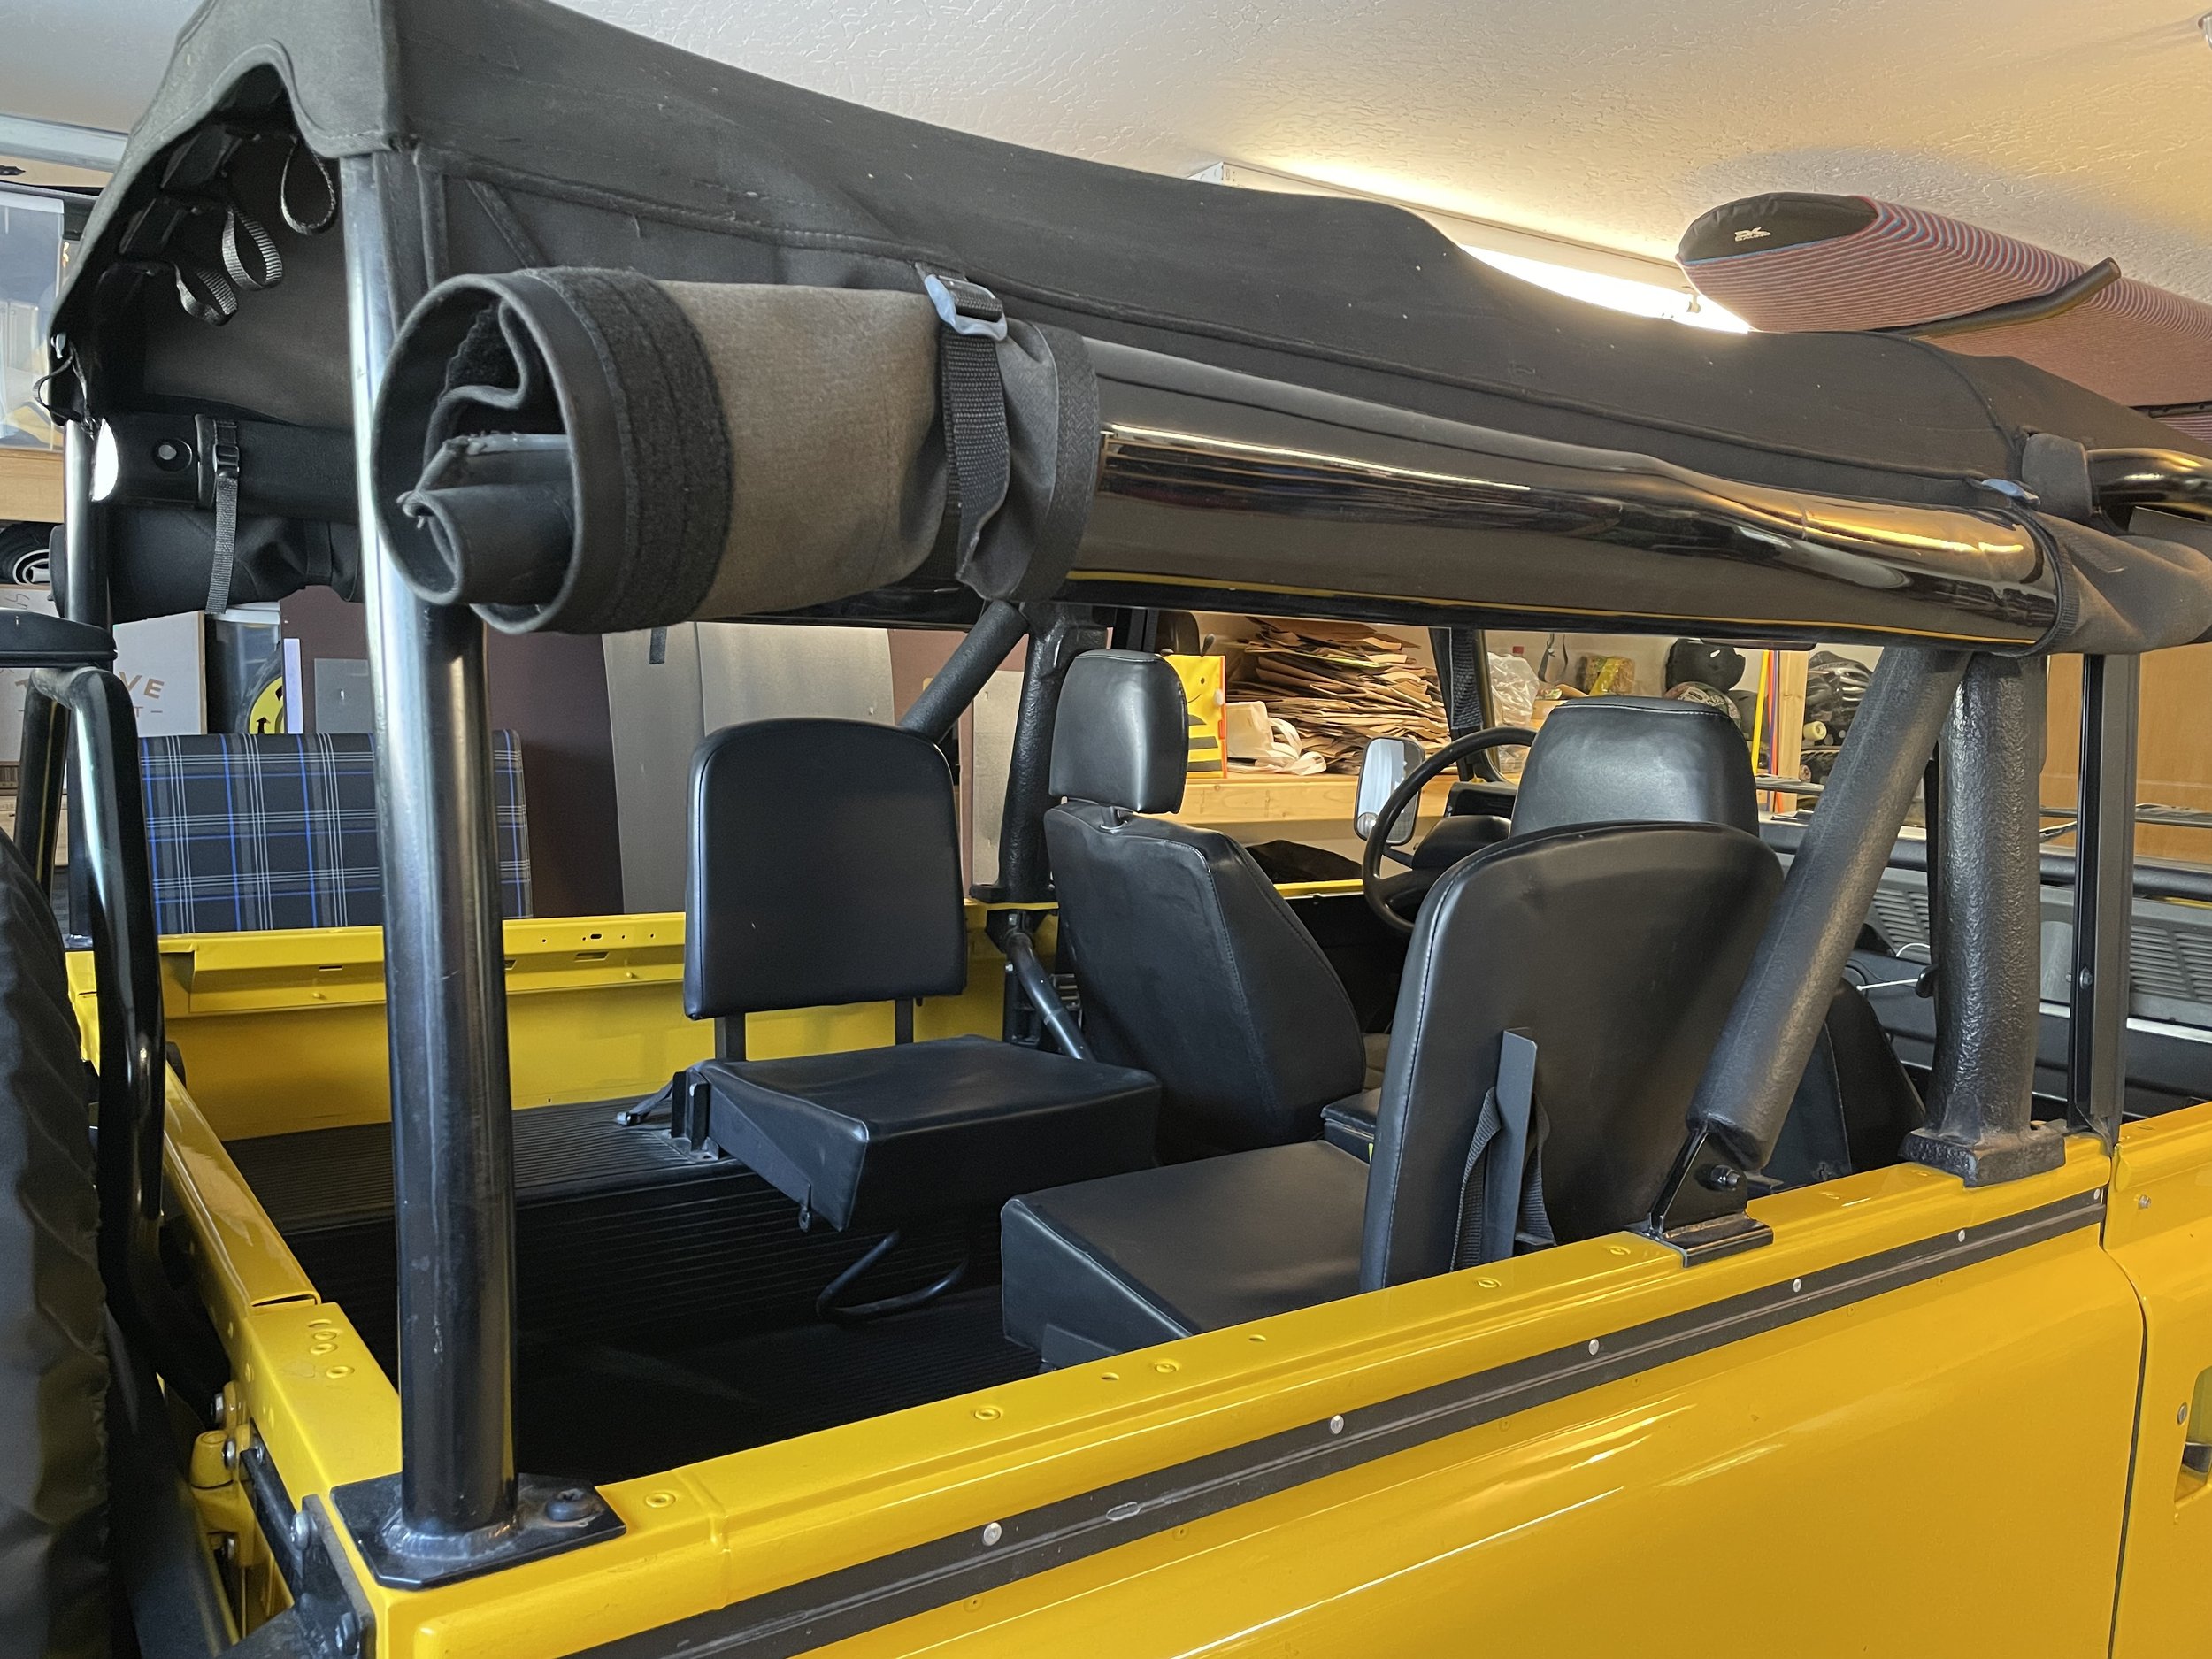
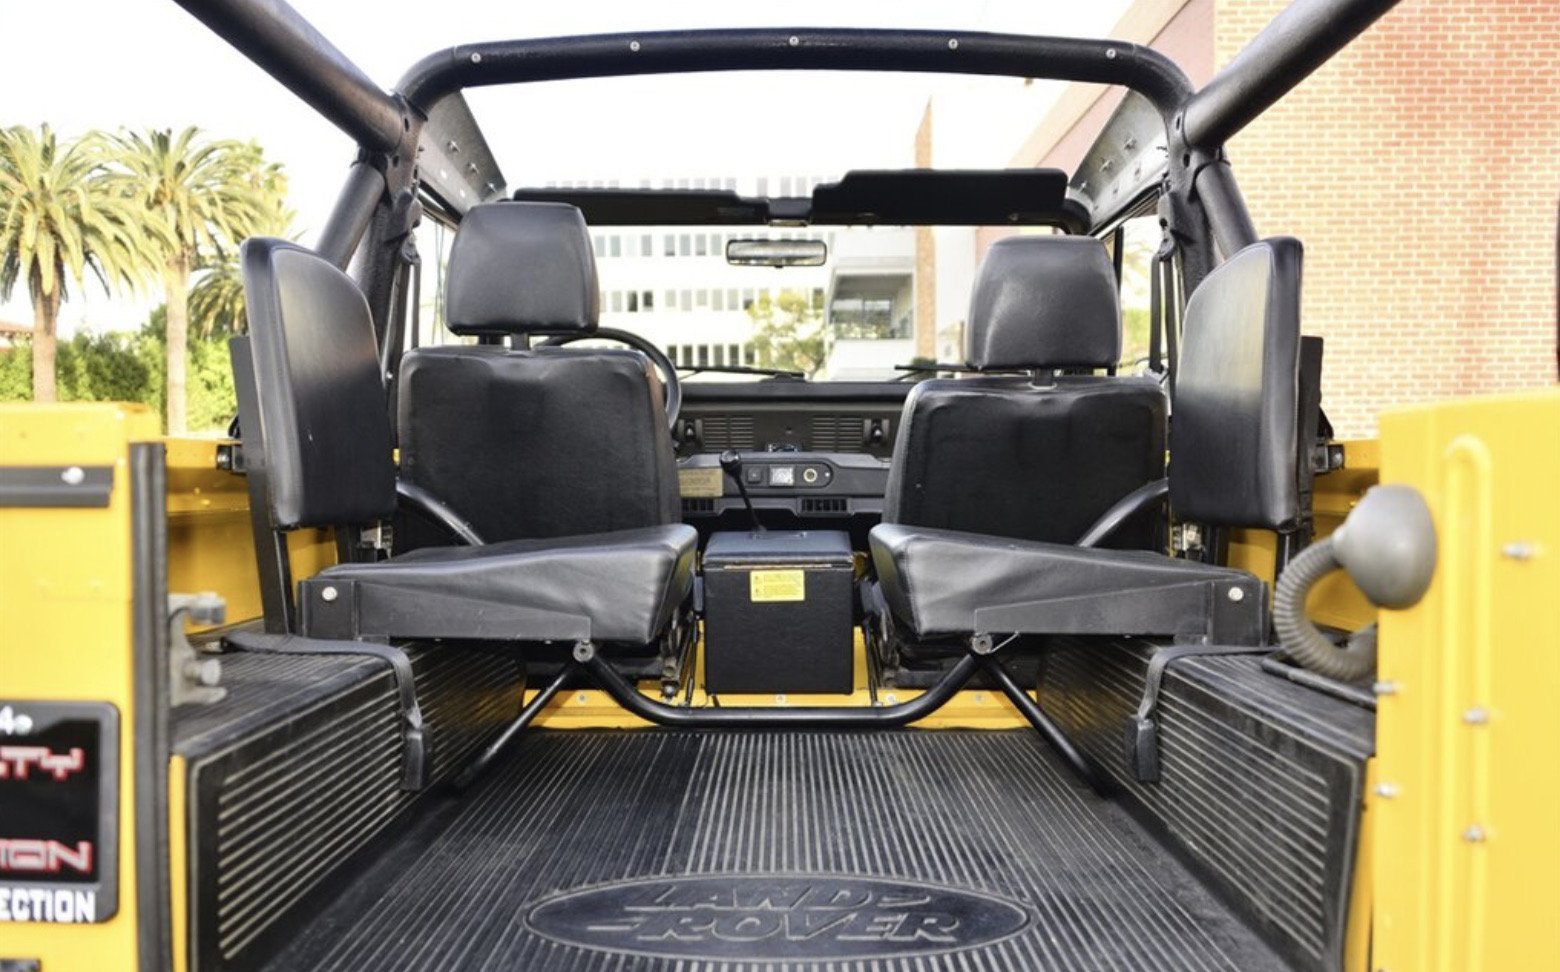
I have given up trying to figure out the C pillar. What I have is strong, works well, looks fine, and not worth chasing any further. The mystery gives the truck character. If I ever come across a NAS safari cage in good shape that I can pick up I will. And if my non-stock C pillar bothers me later I could always spend a ton of money and get the Rovers North remake. But like I said, this is not a frame off restoration project. This is about making the Defender a nice driver. This is an old picture as the rear jump seat have been replaced with an OEM rear bench. But as you can see my C pillar is all metal while all the other parts of my cage are padded…and no my C pillar is not simply missing the padding, it never came with any. I have even talked to Safety Devices who manufactured the cages for Land Rover and they claim this is not their product.

For the soft top I have a fix. I just need to work with an upholstery shop to add 6 straps and one flap which will turn this Exmoor top into an Exmoor / Badger hybrid design of my own making. It will be the best of both designs and make it as quite as possible. More on that later once I get the work done.

Defender Build - Dual Amps

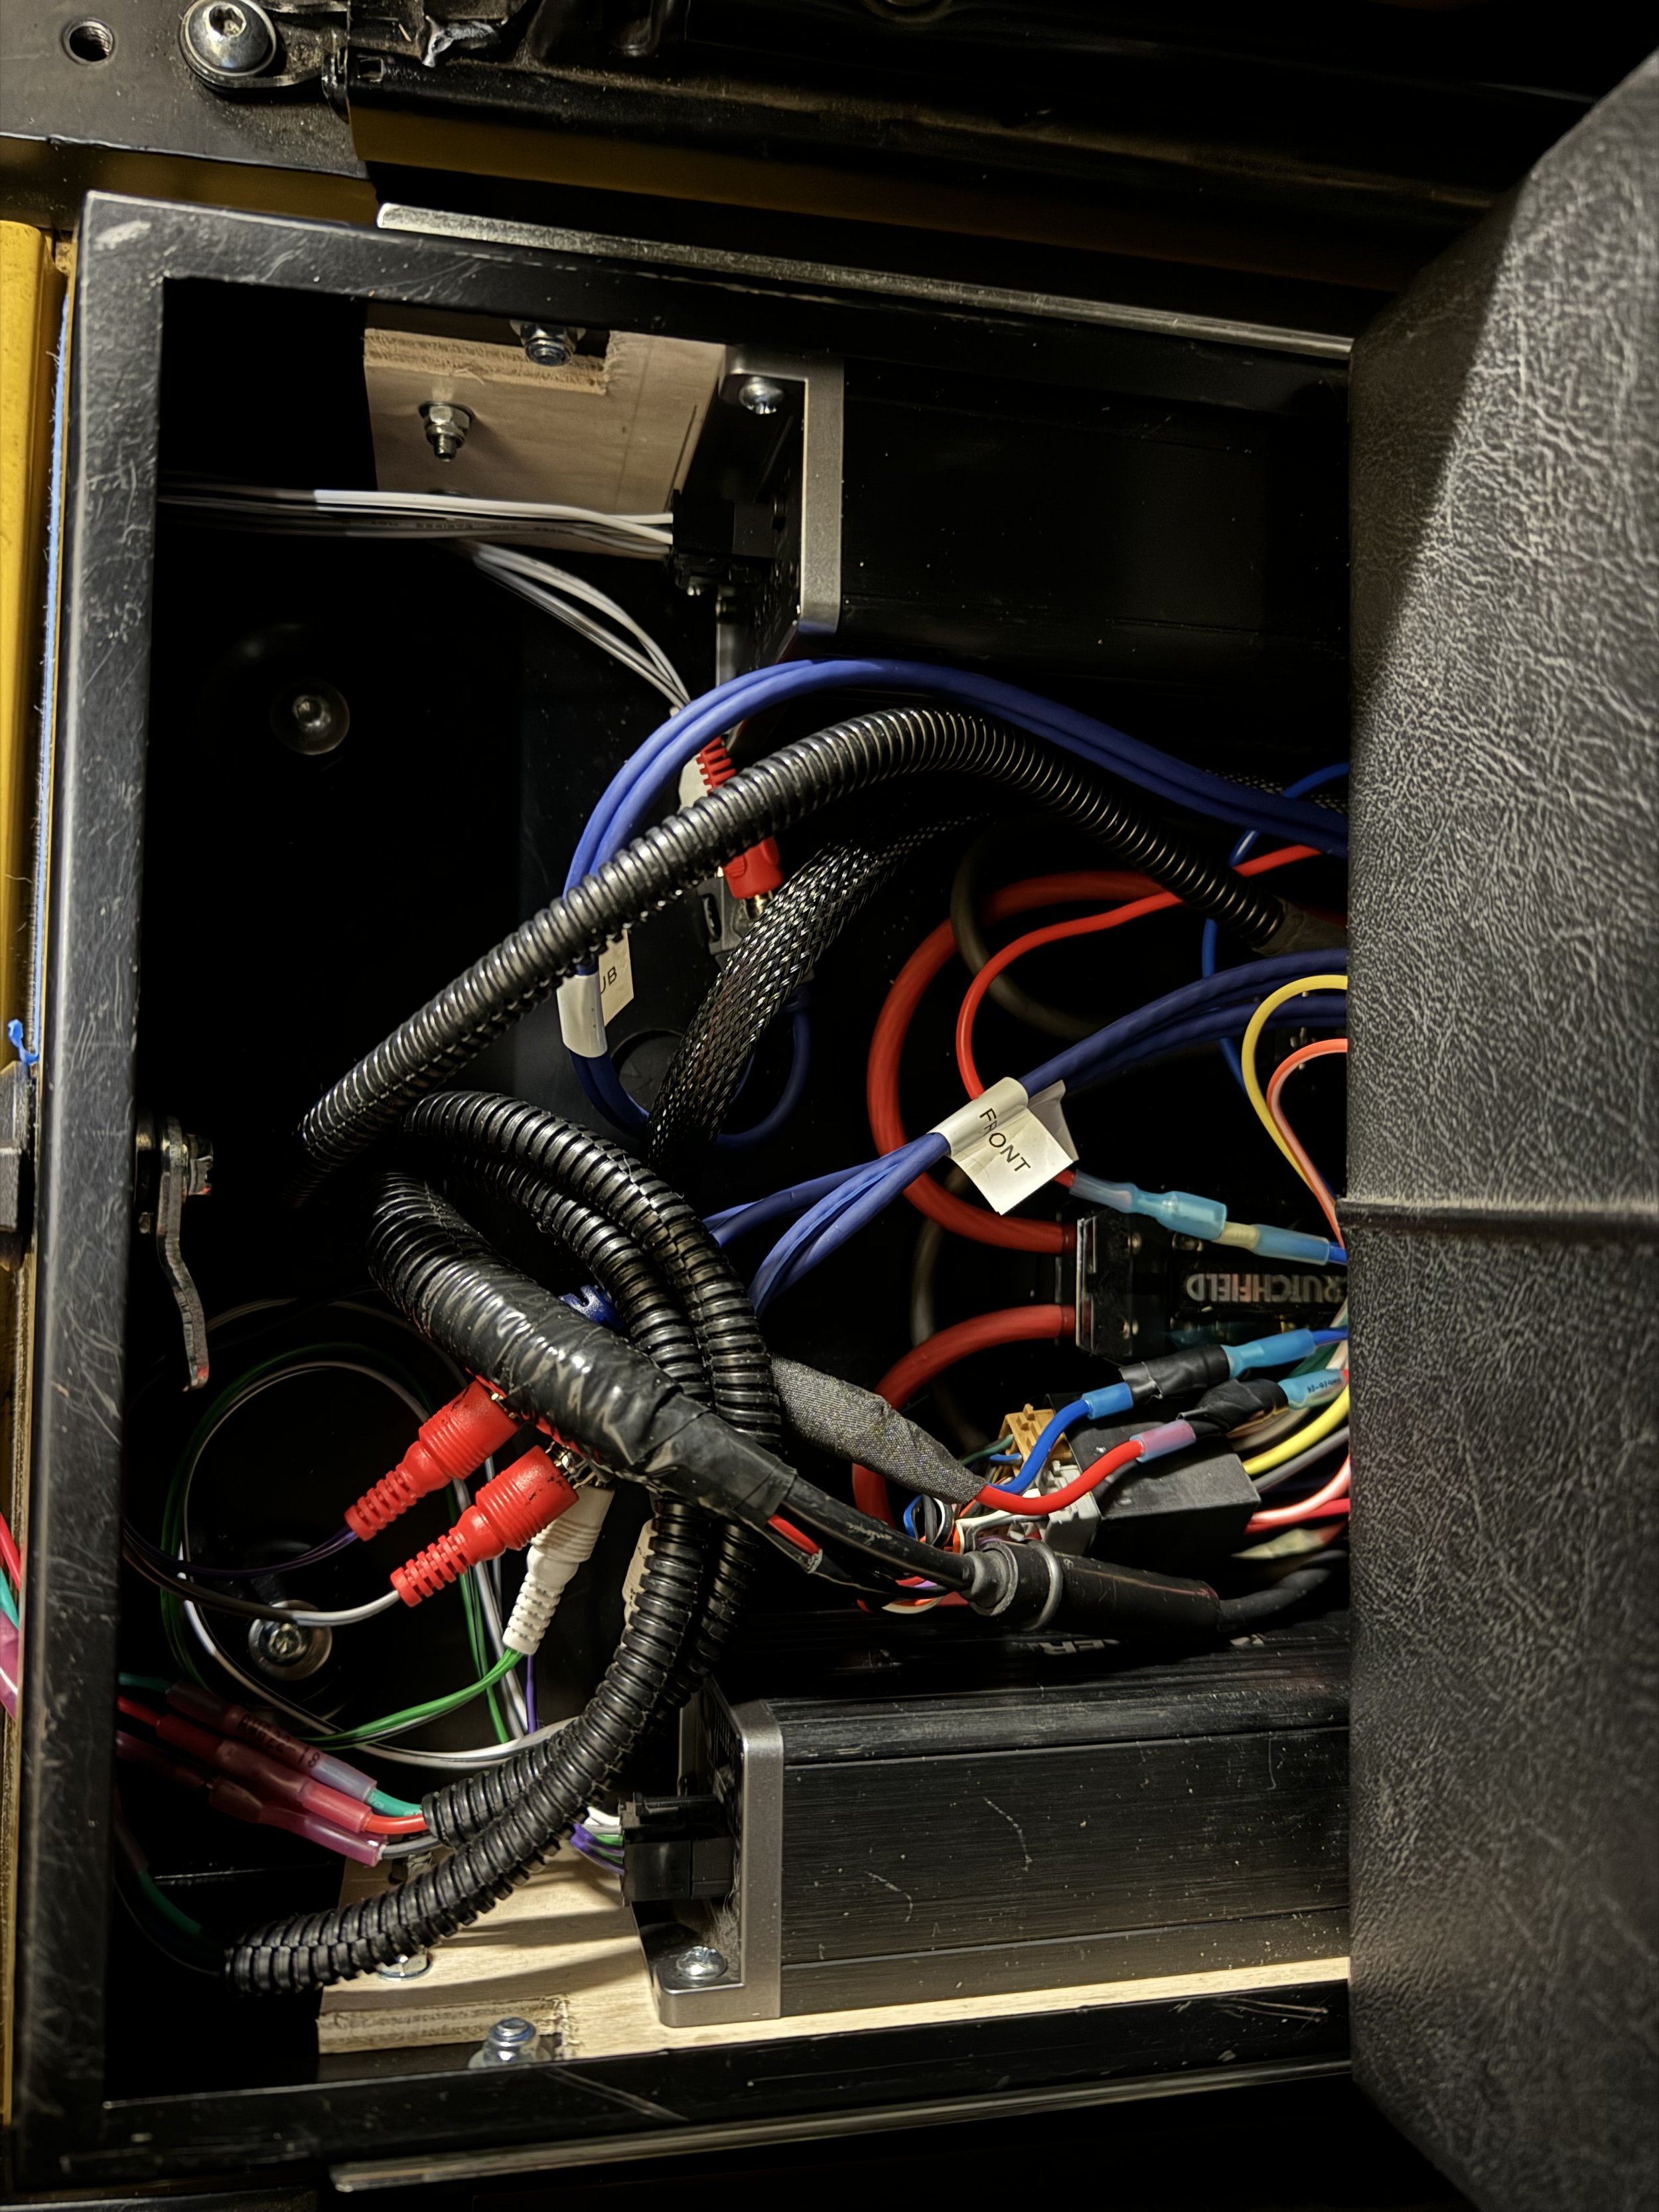
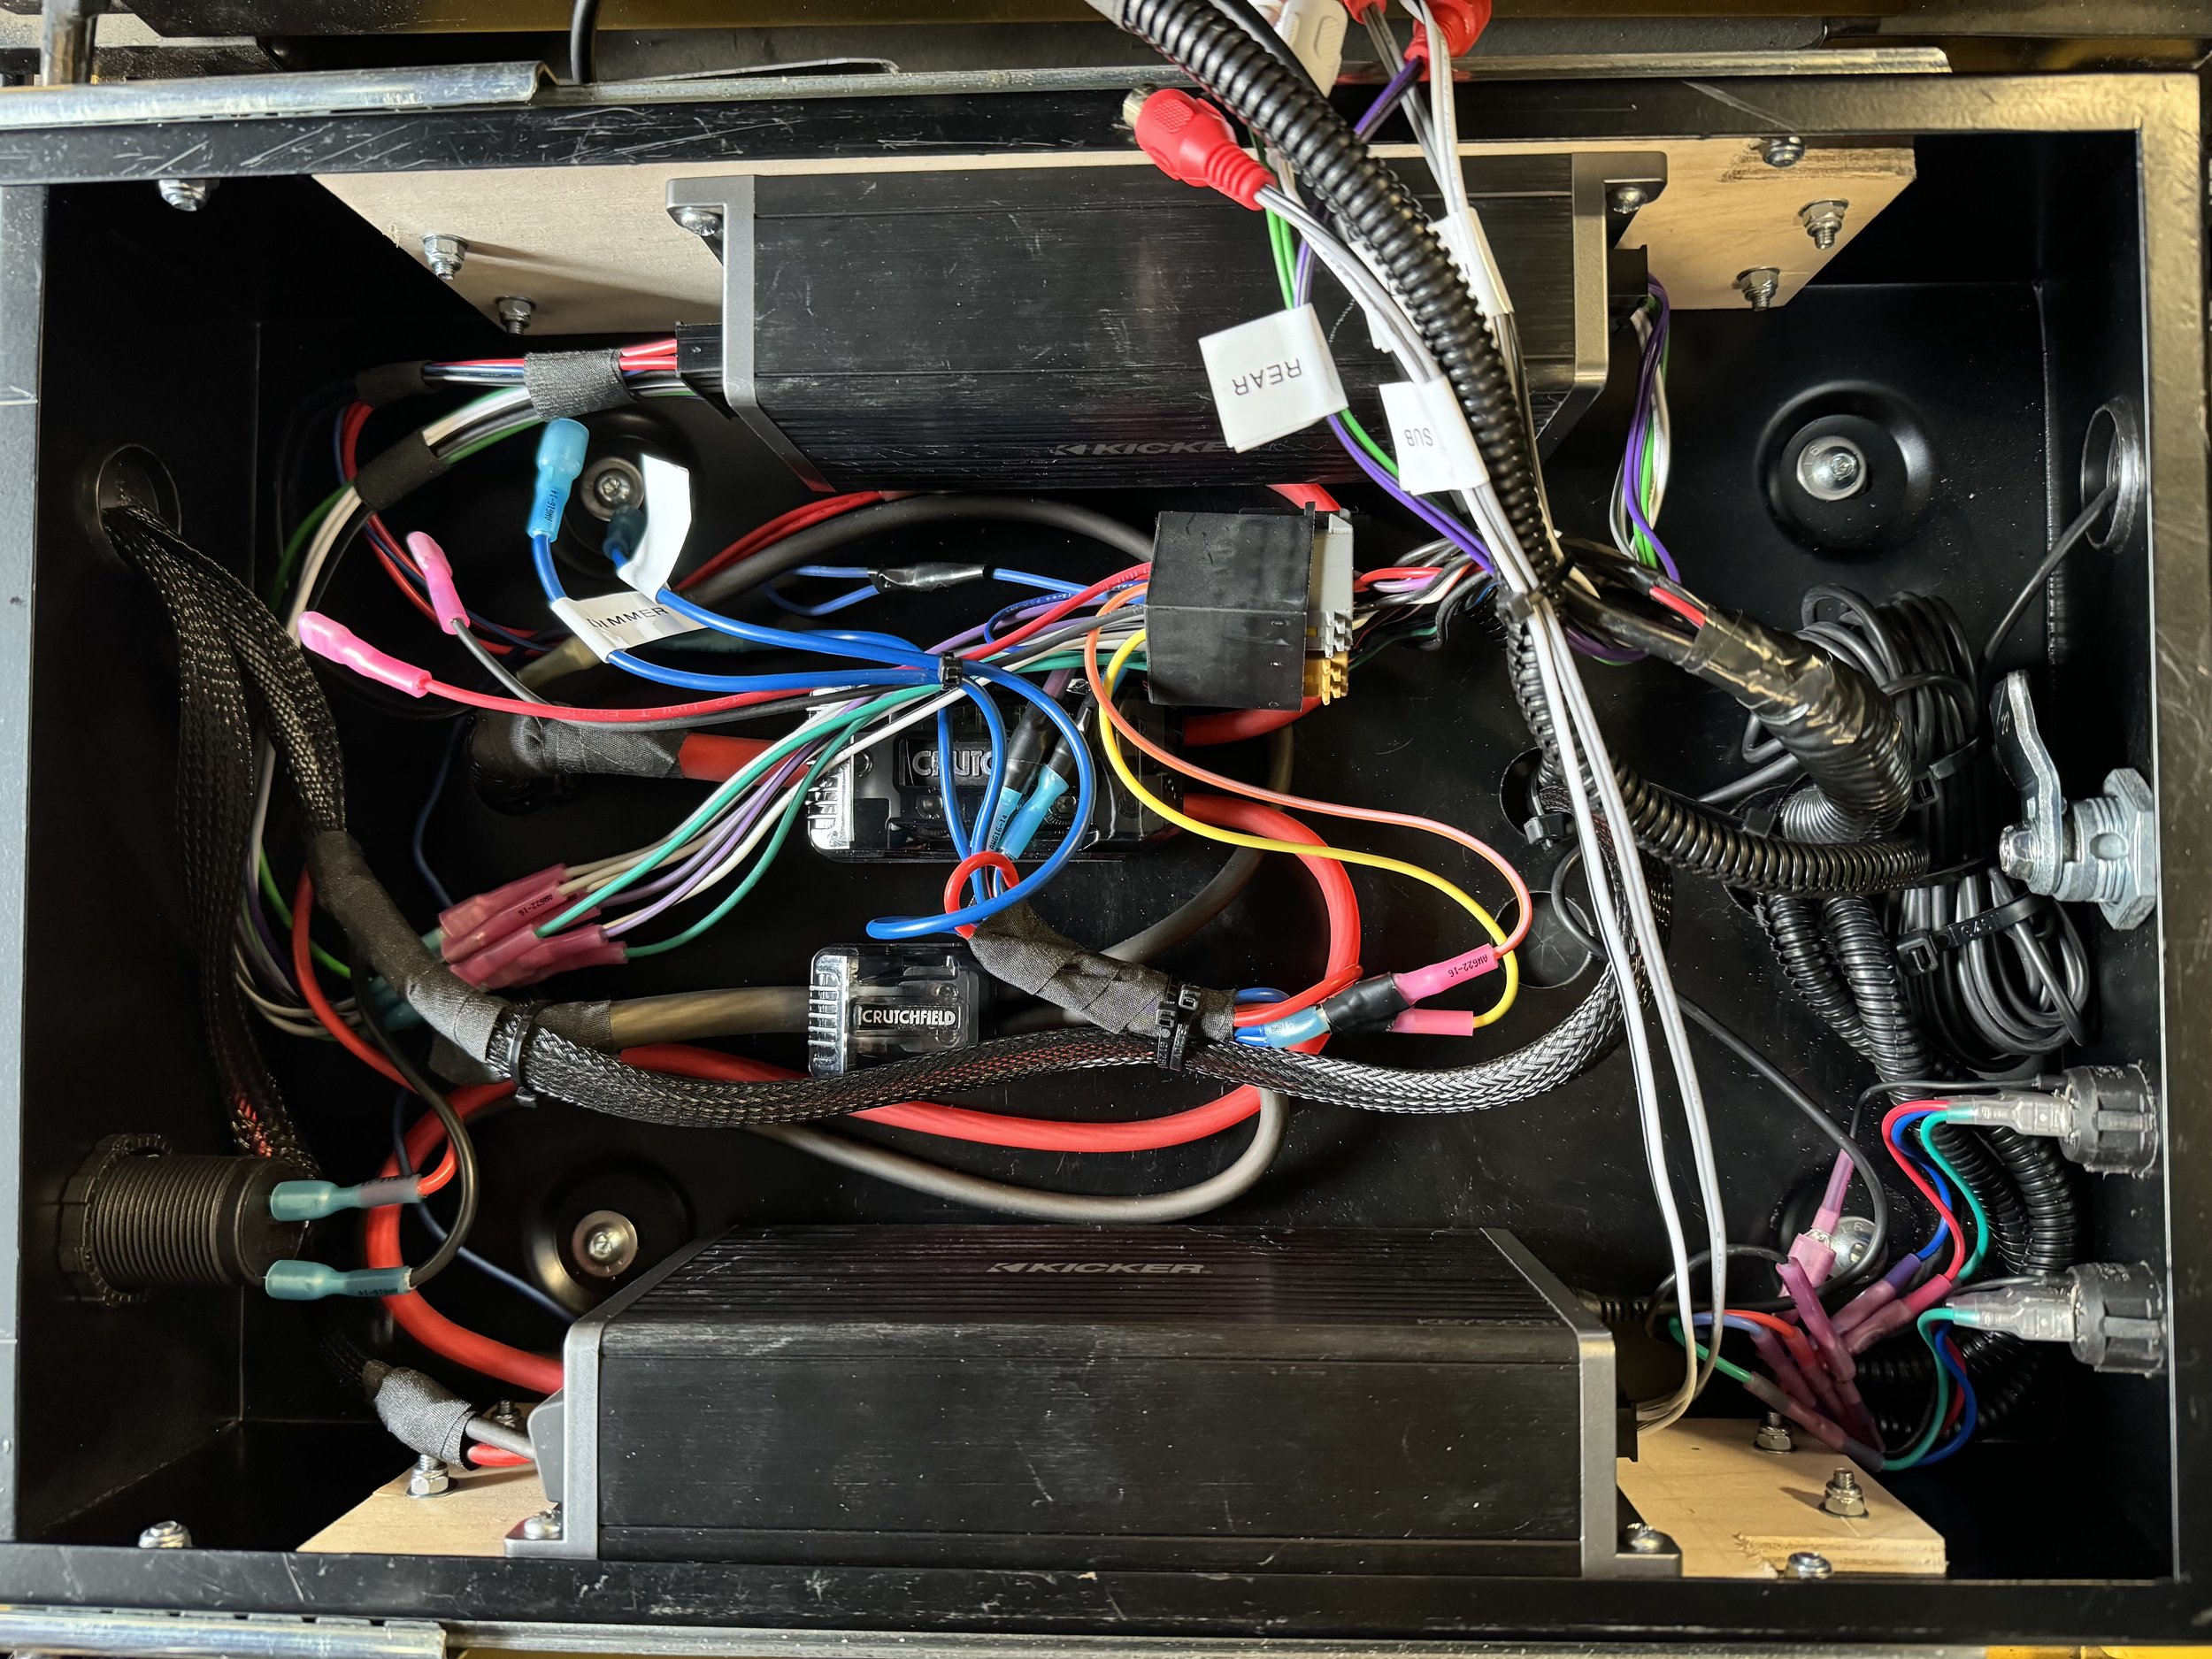
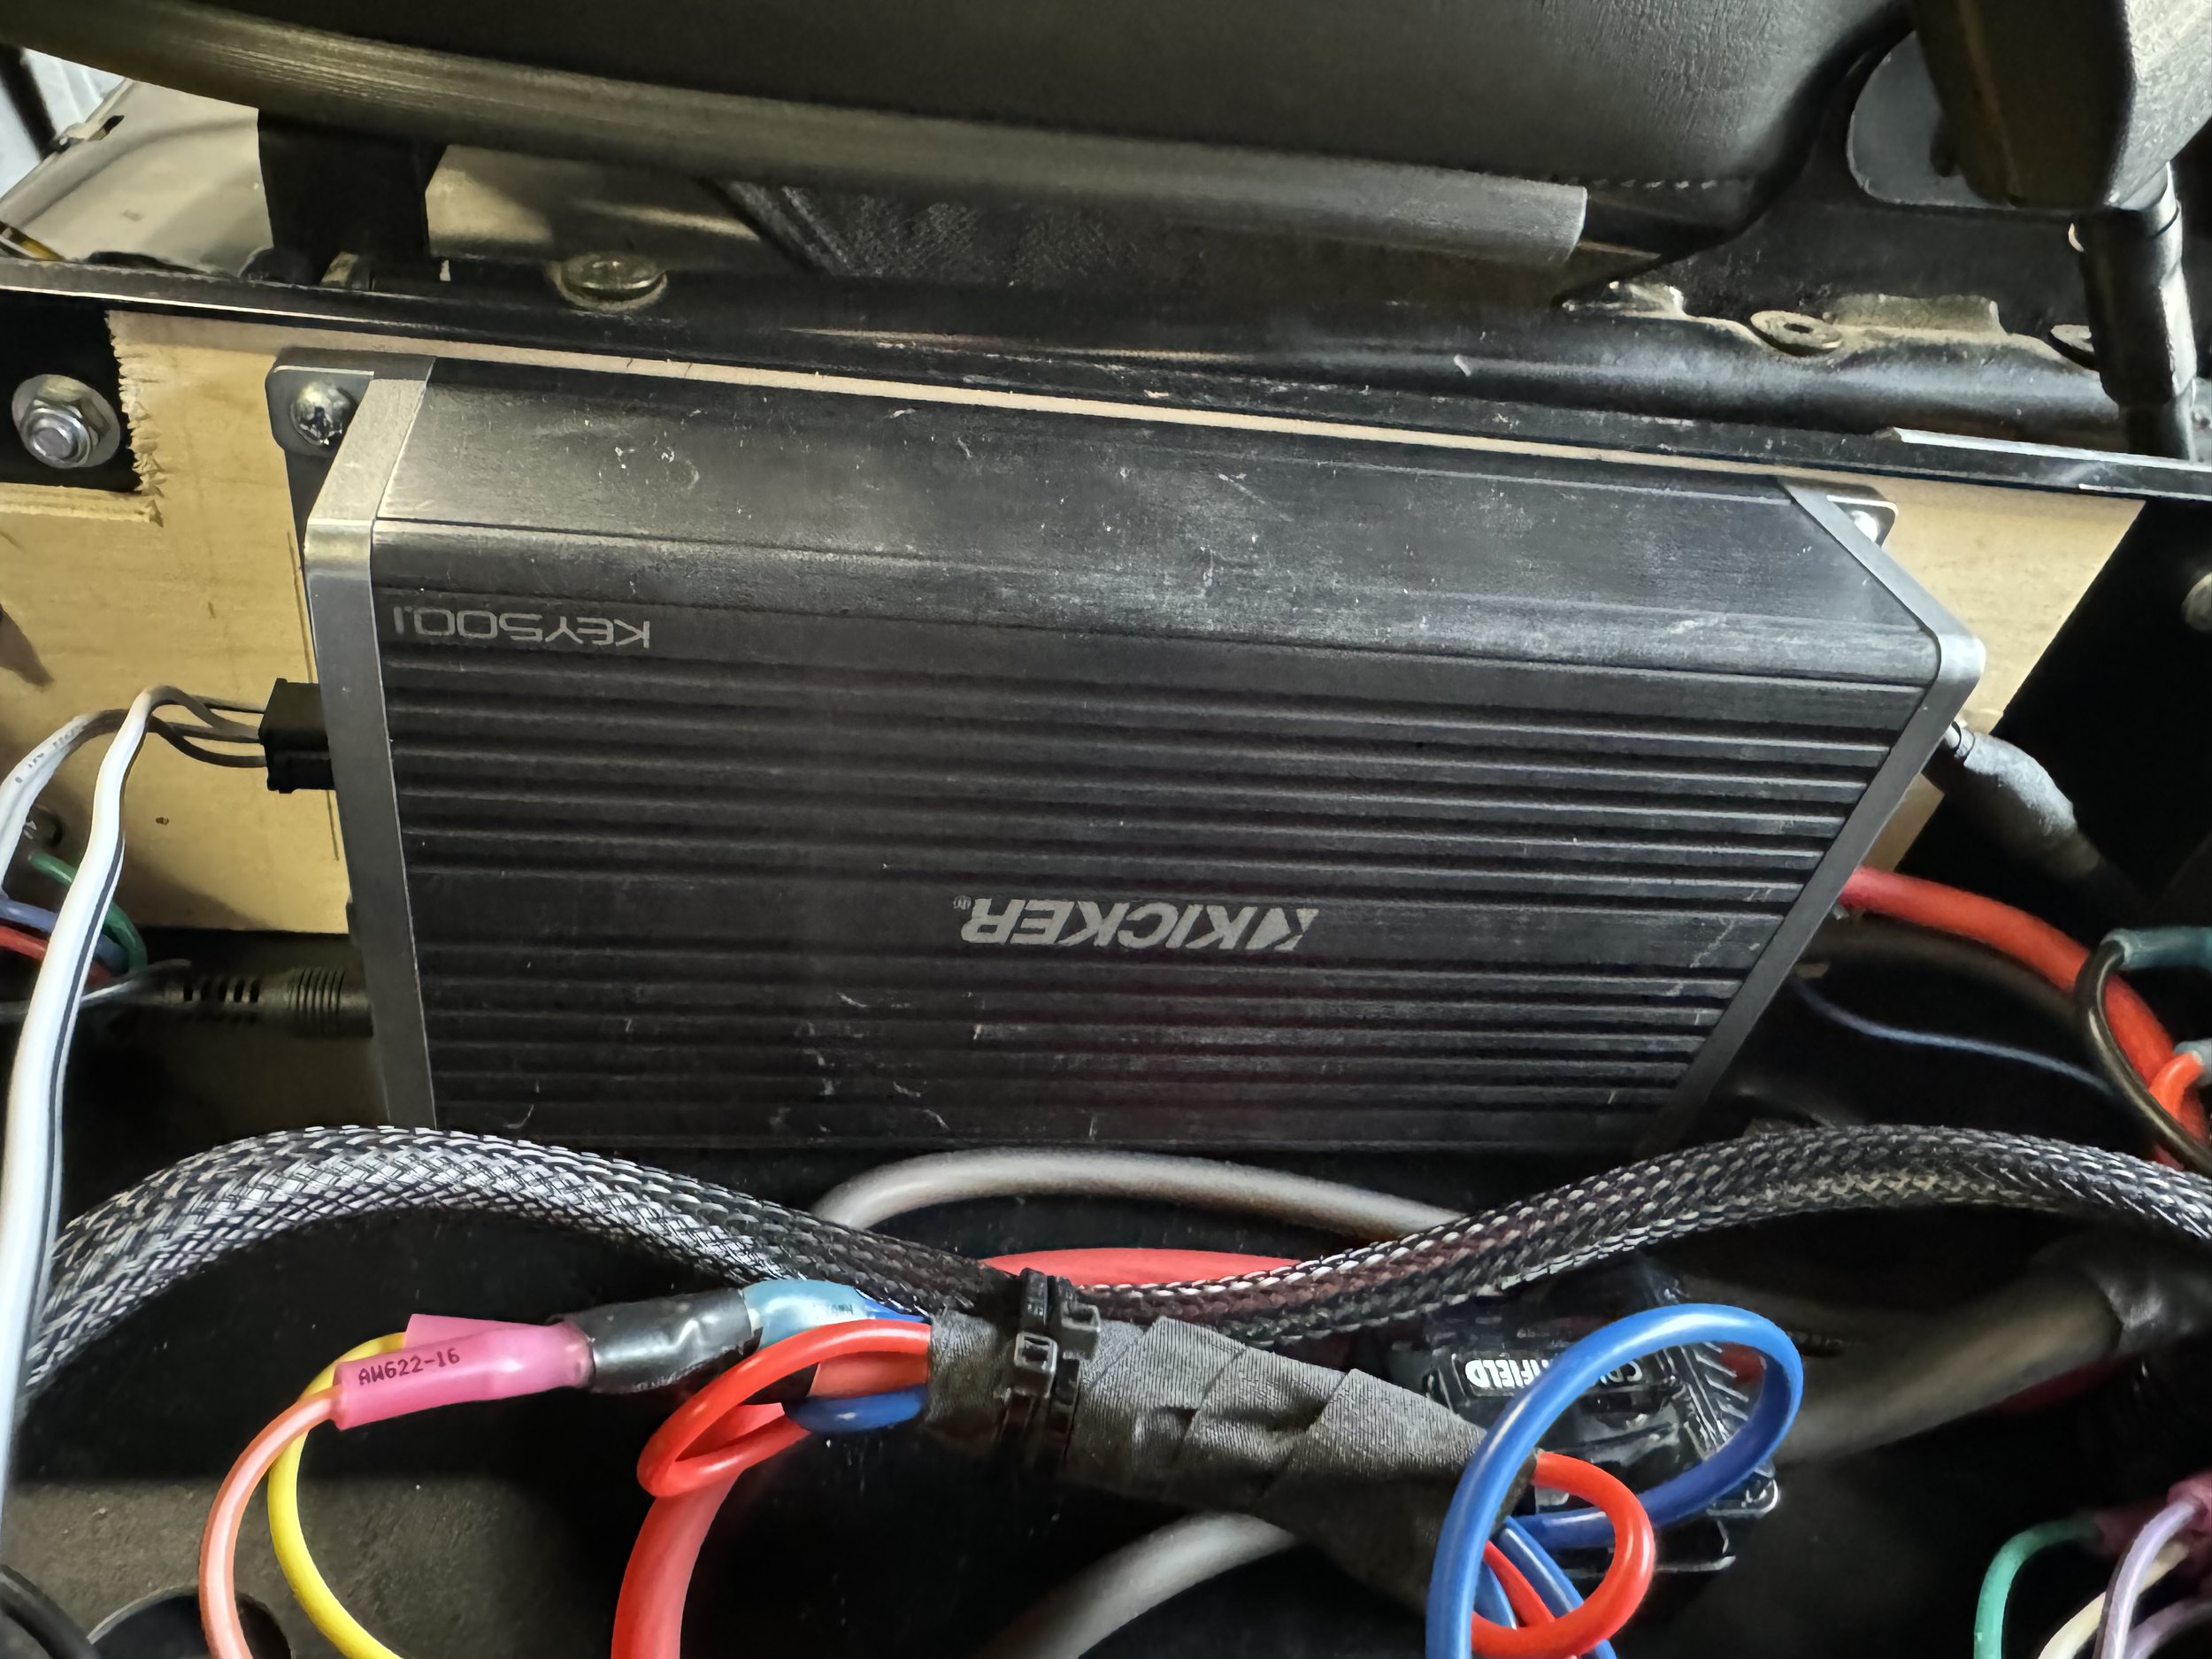
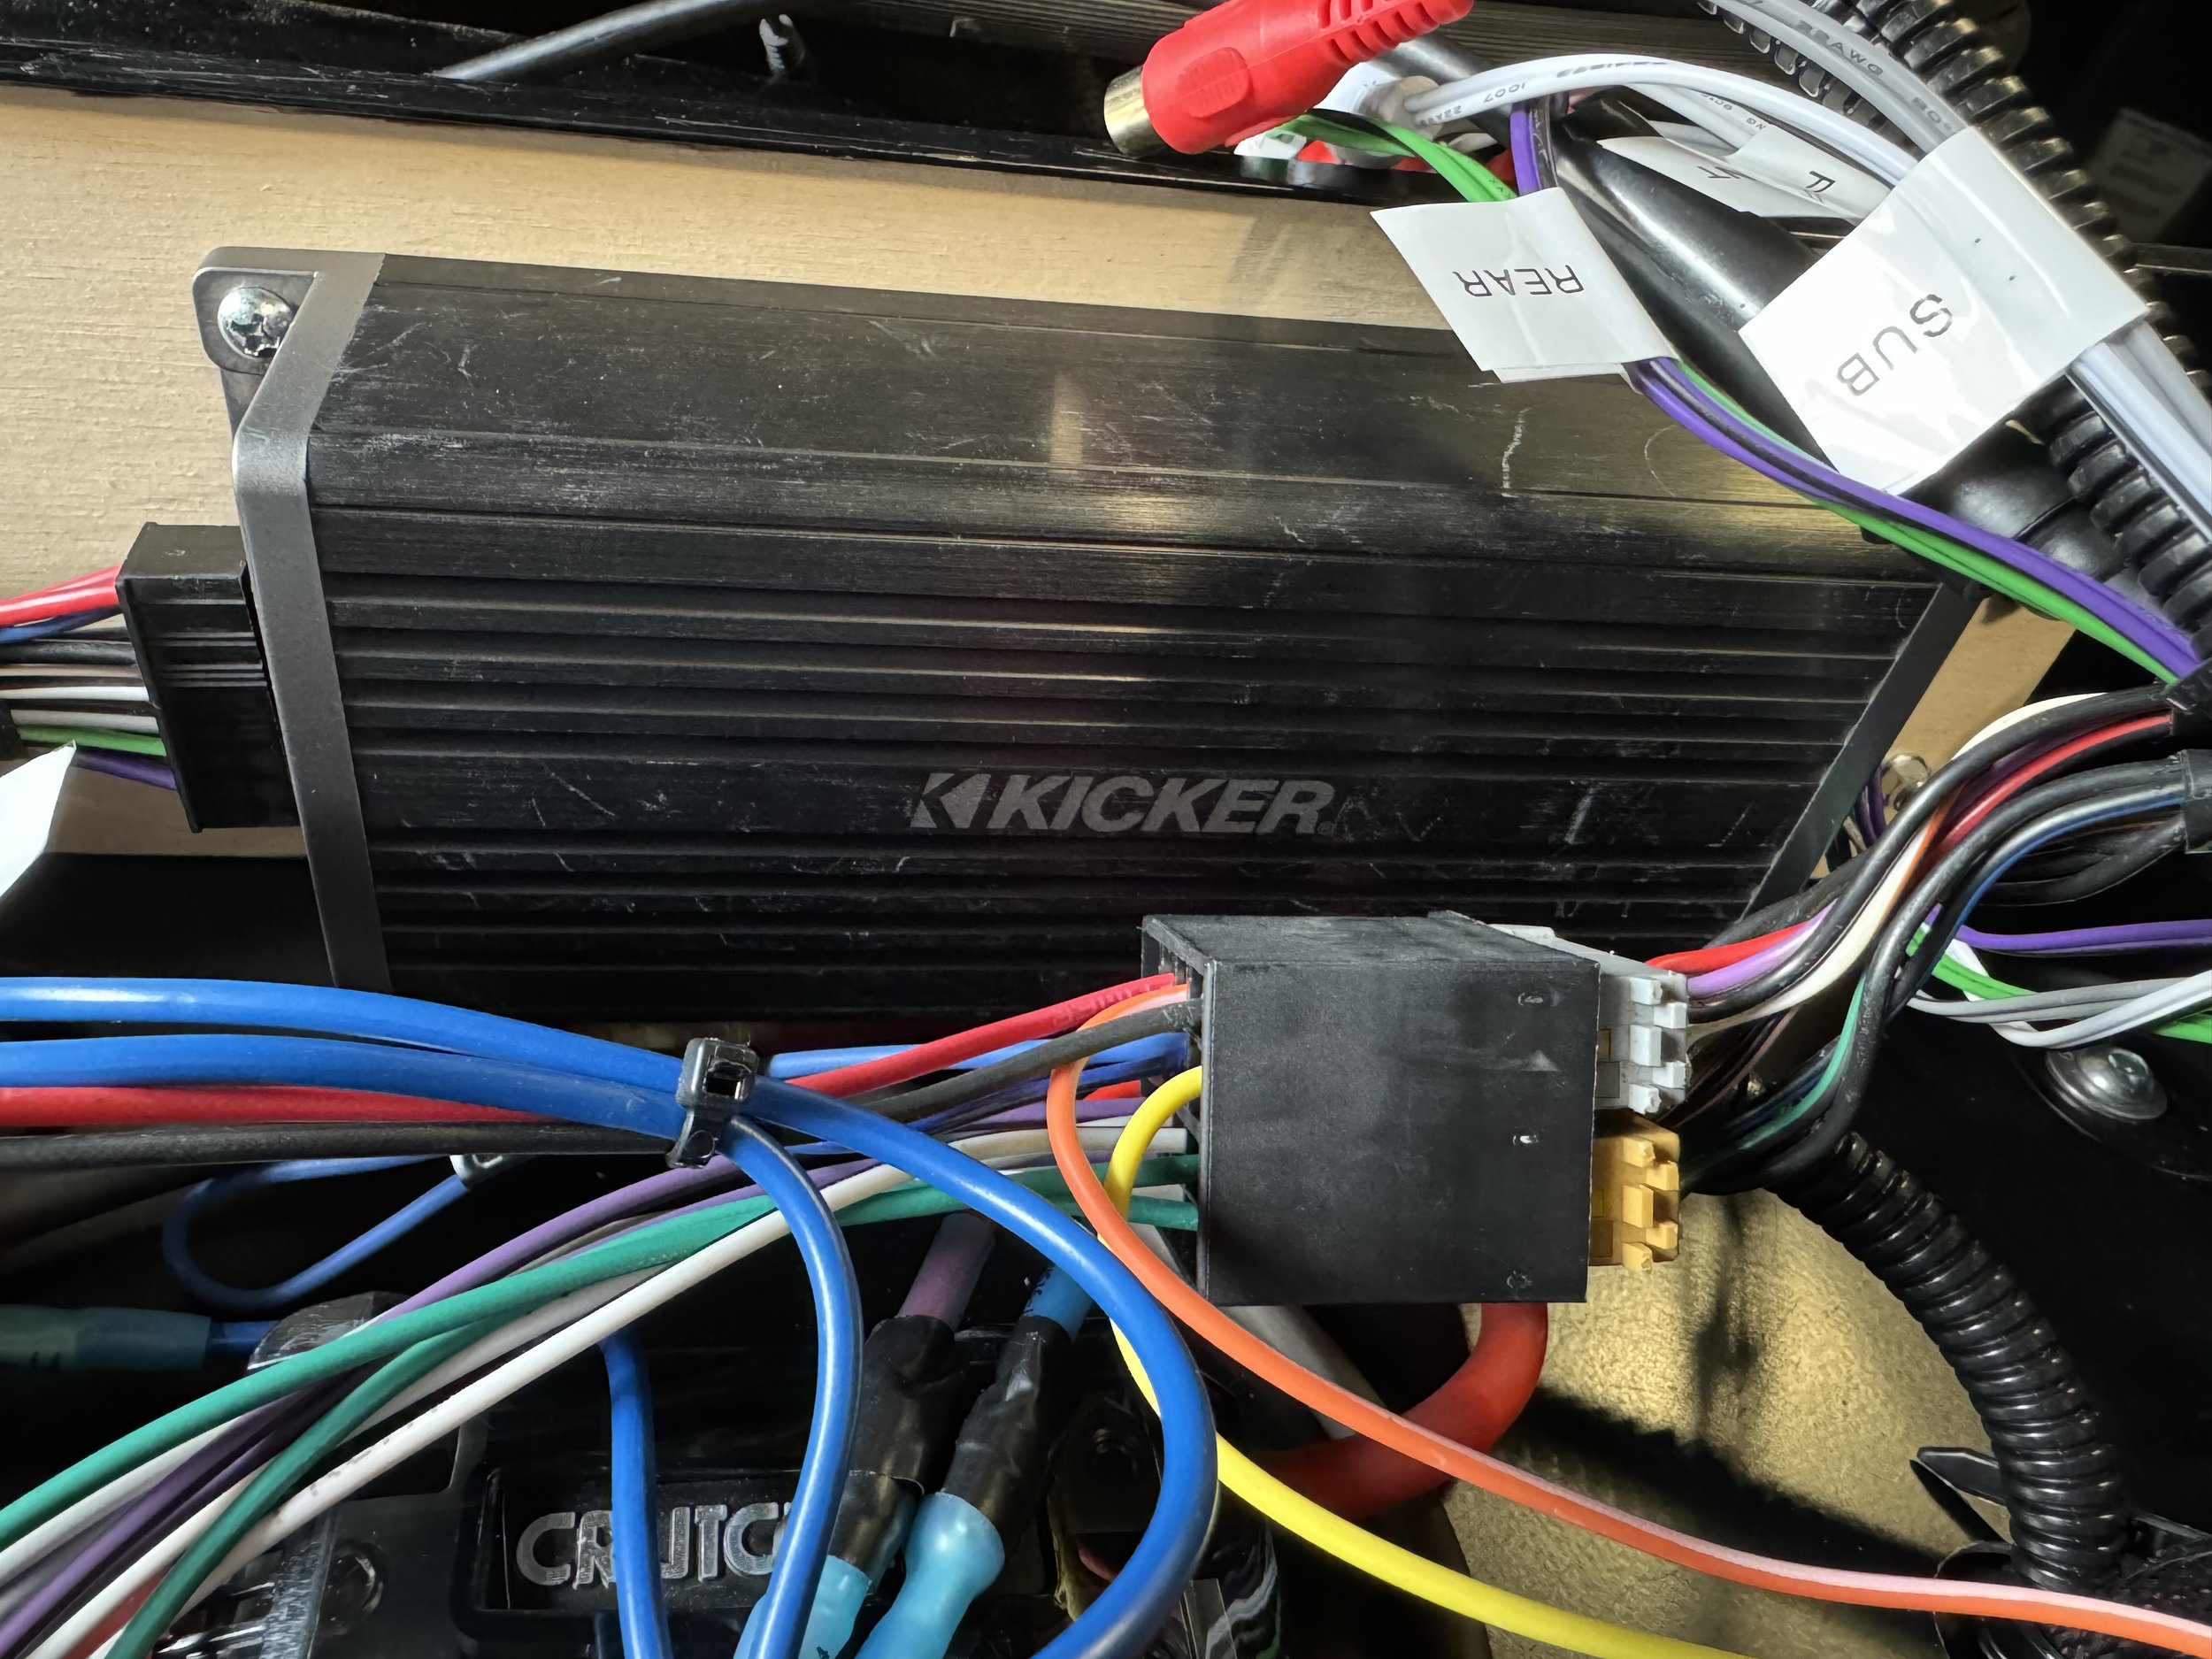
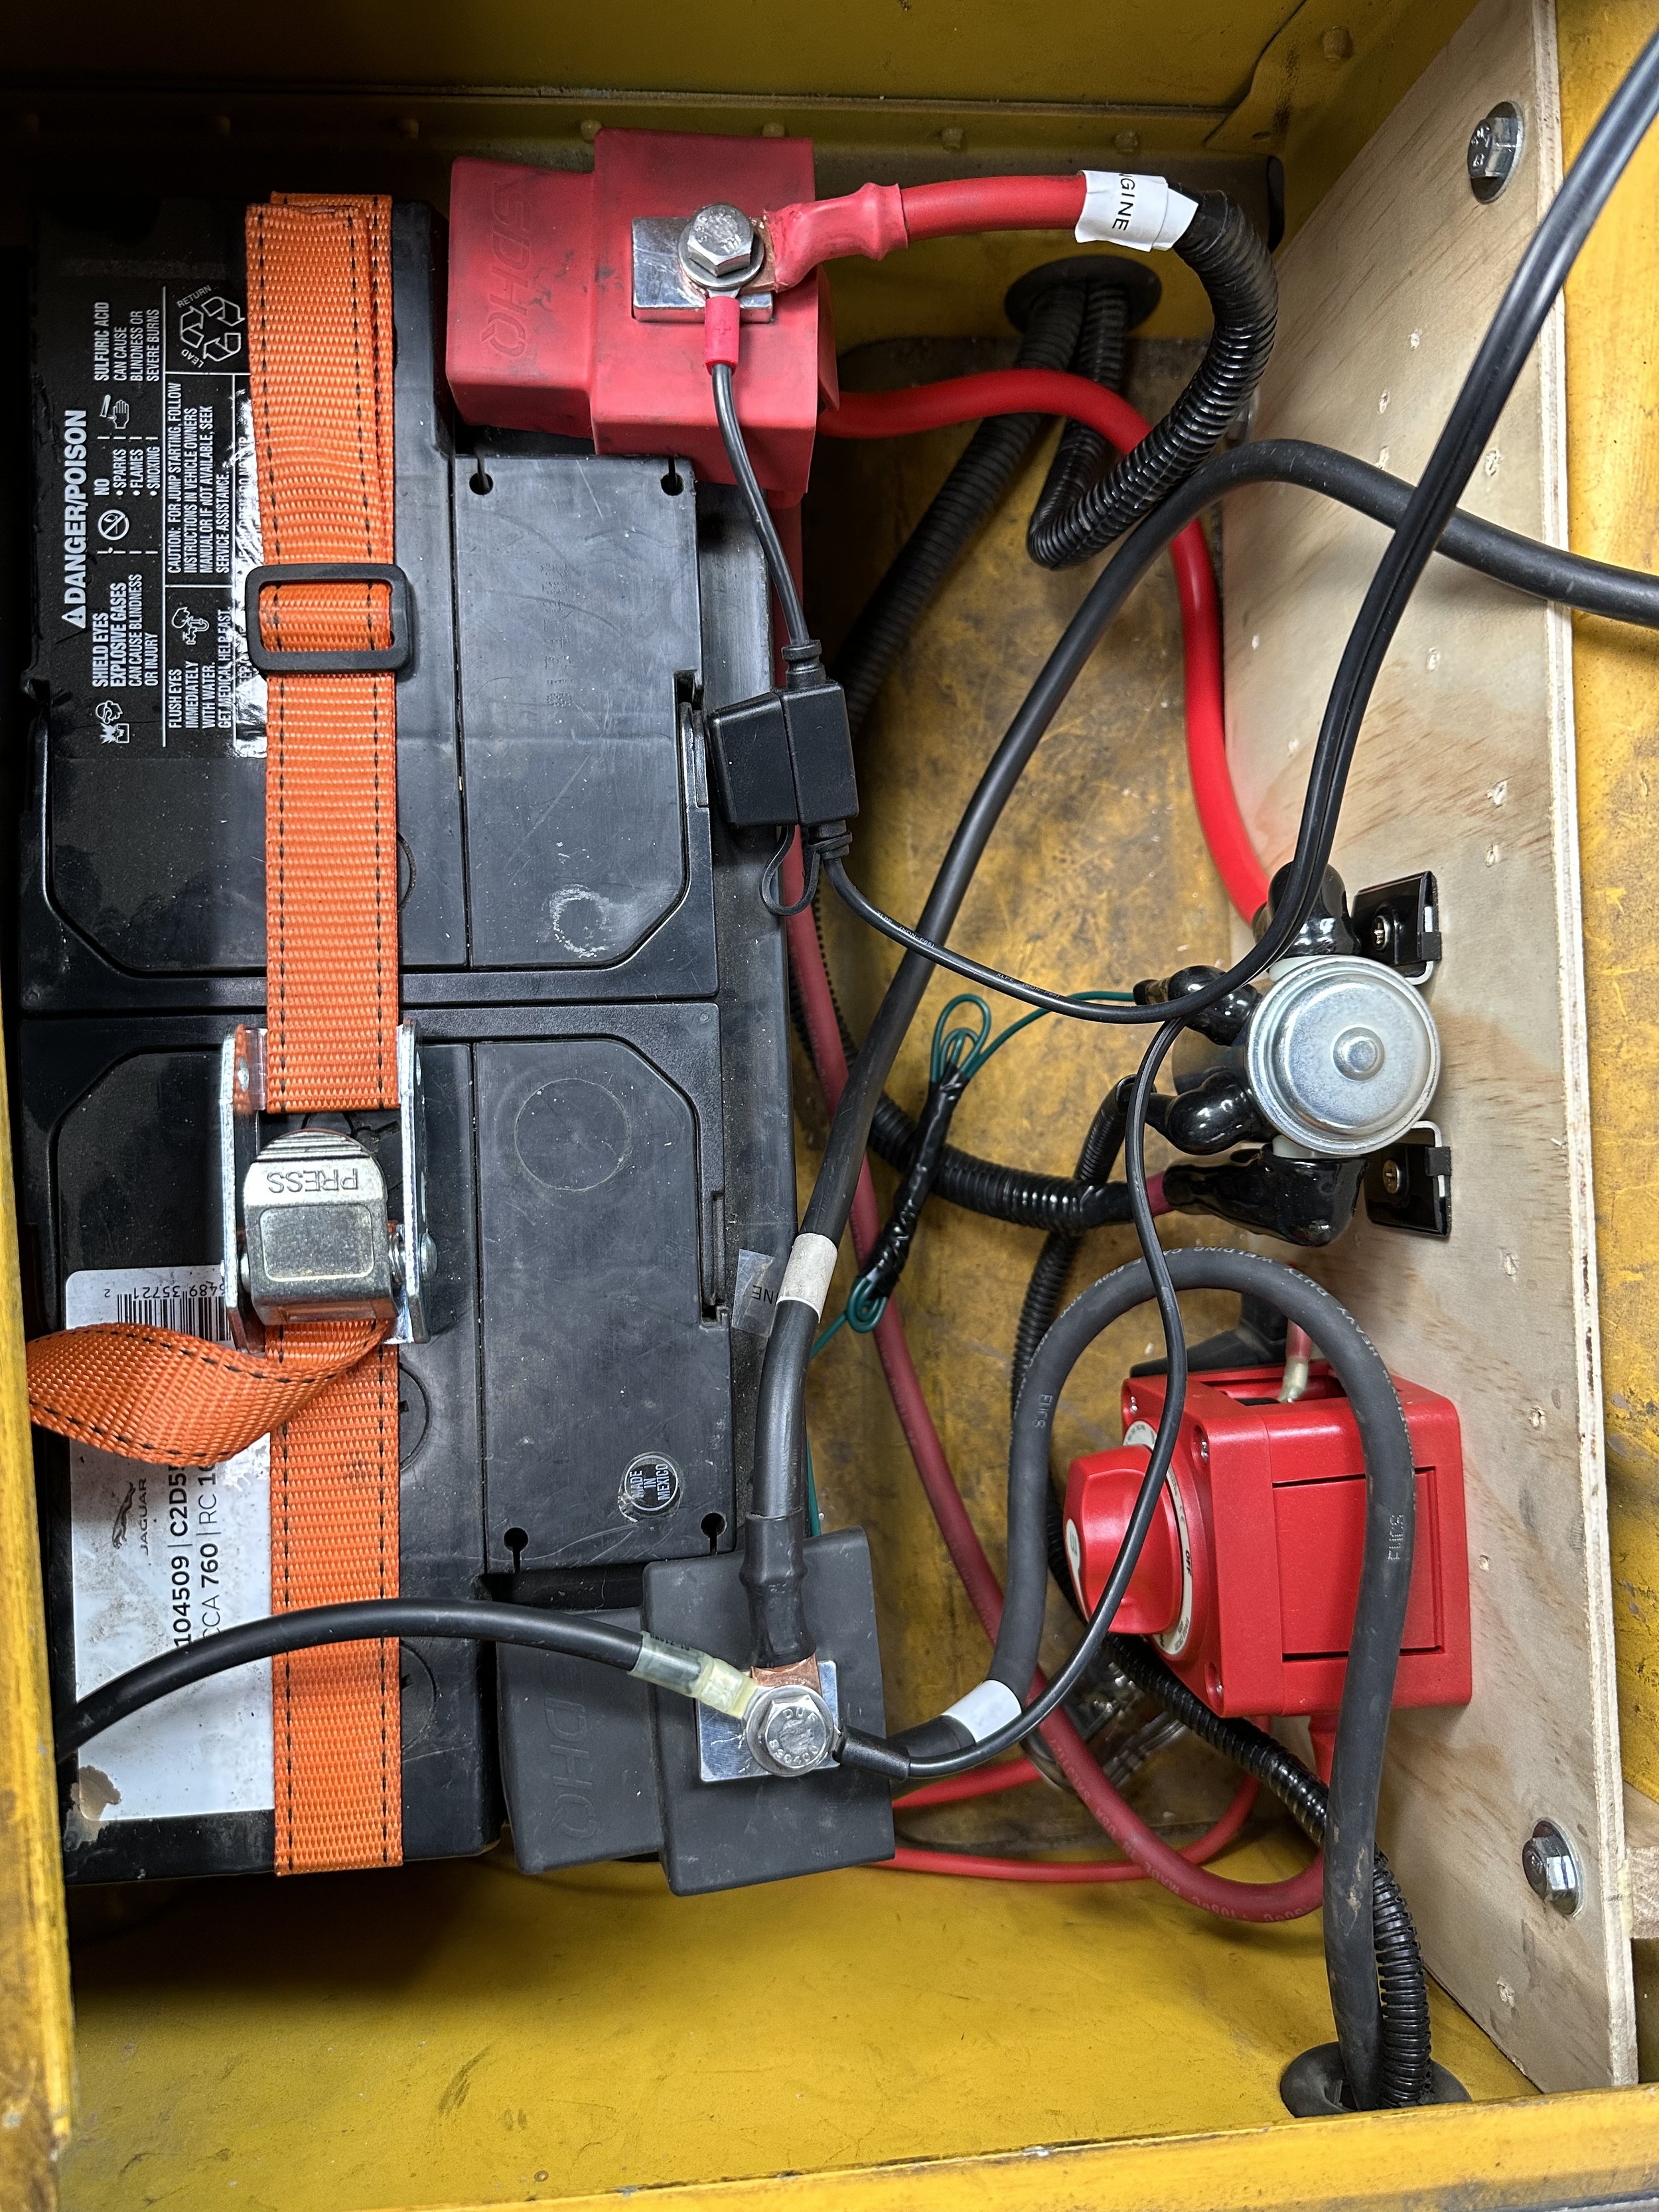
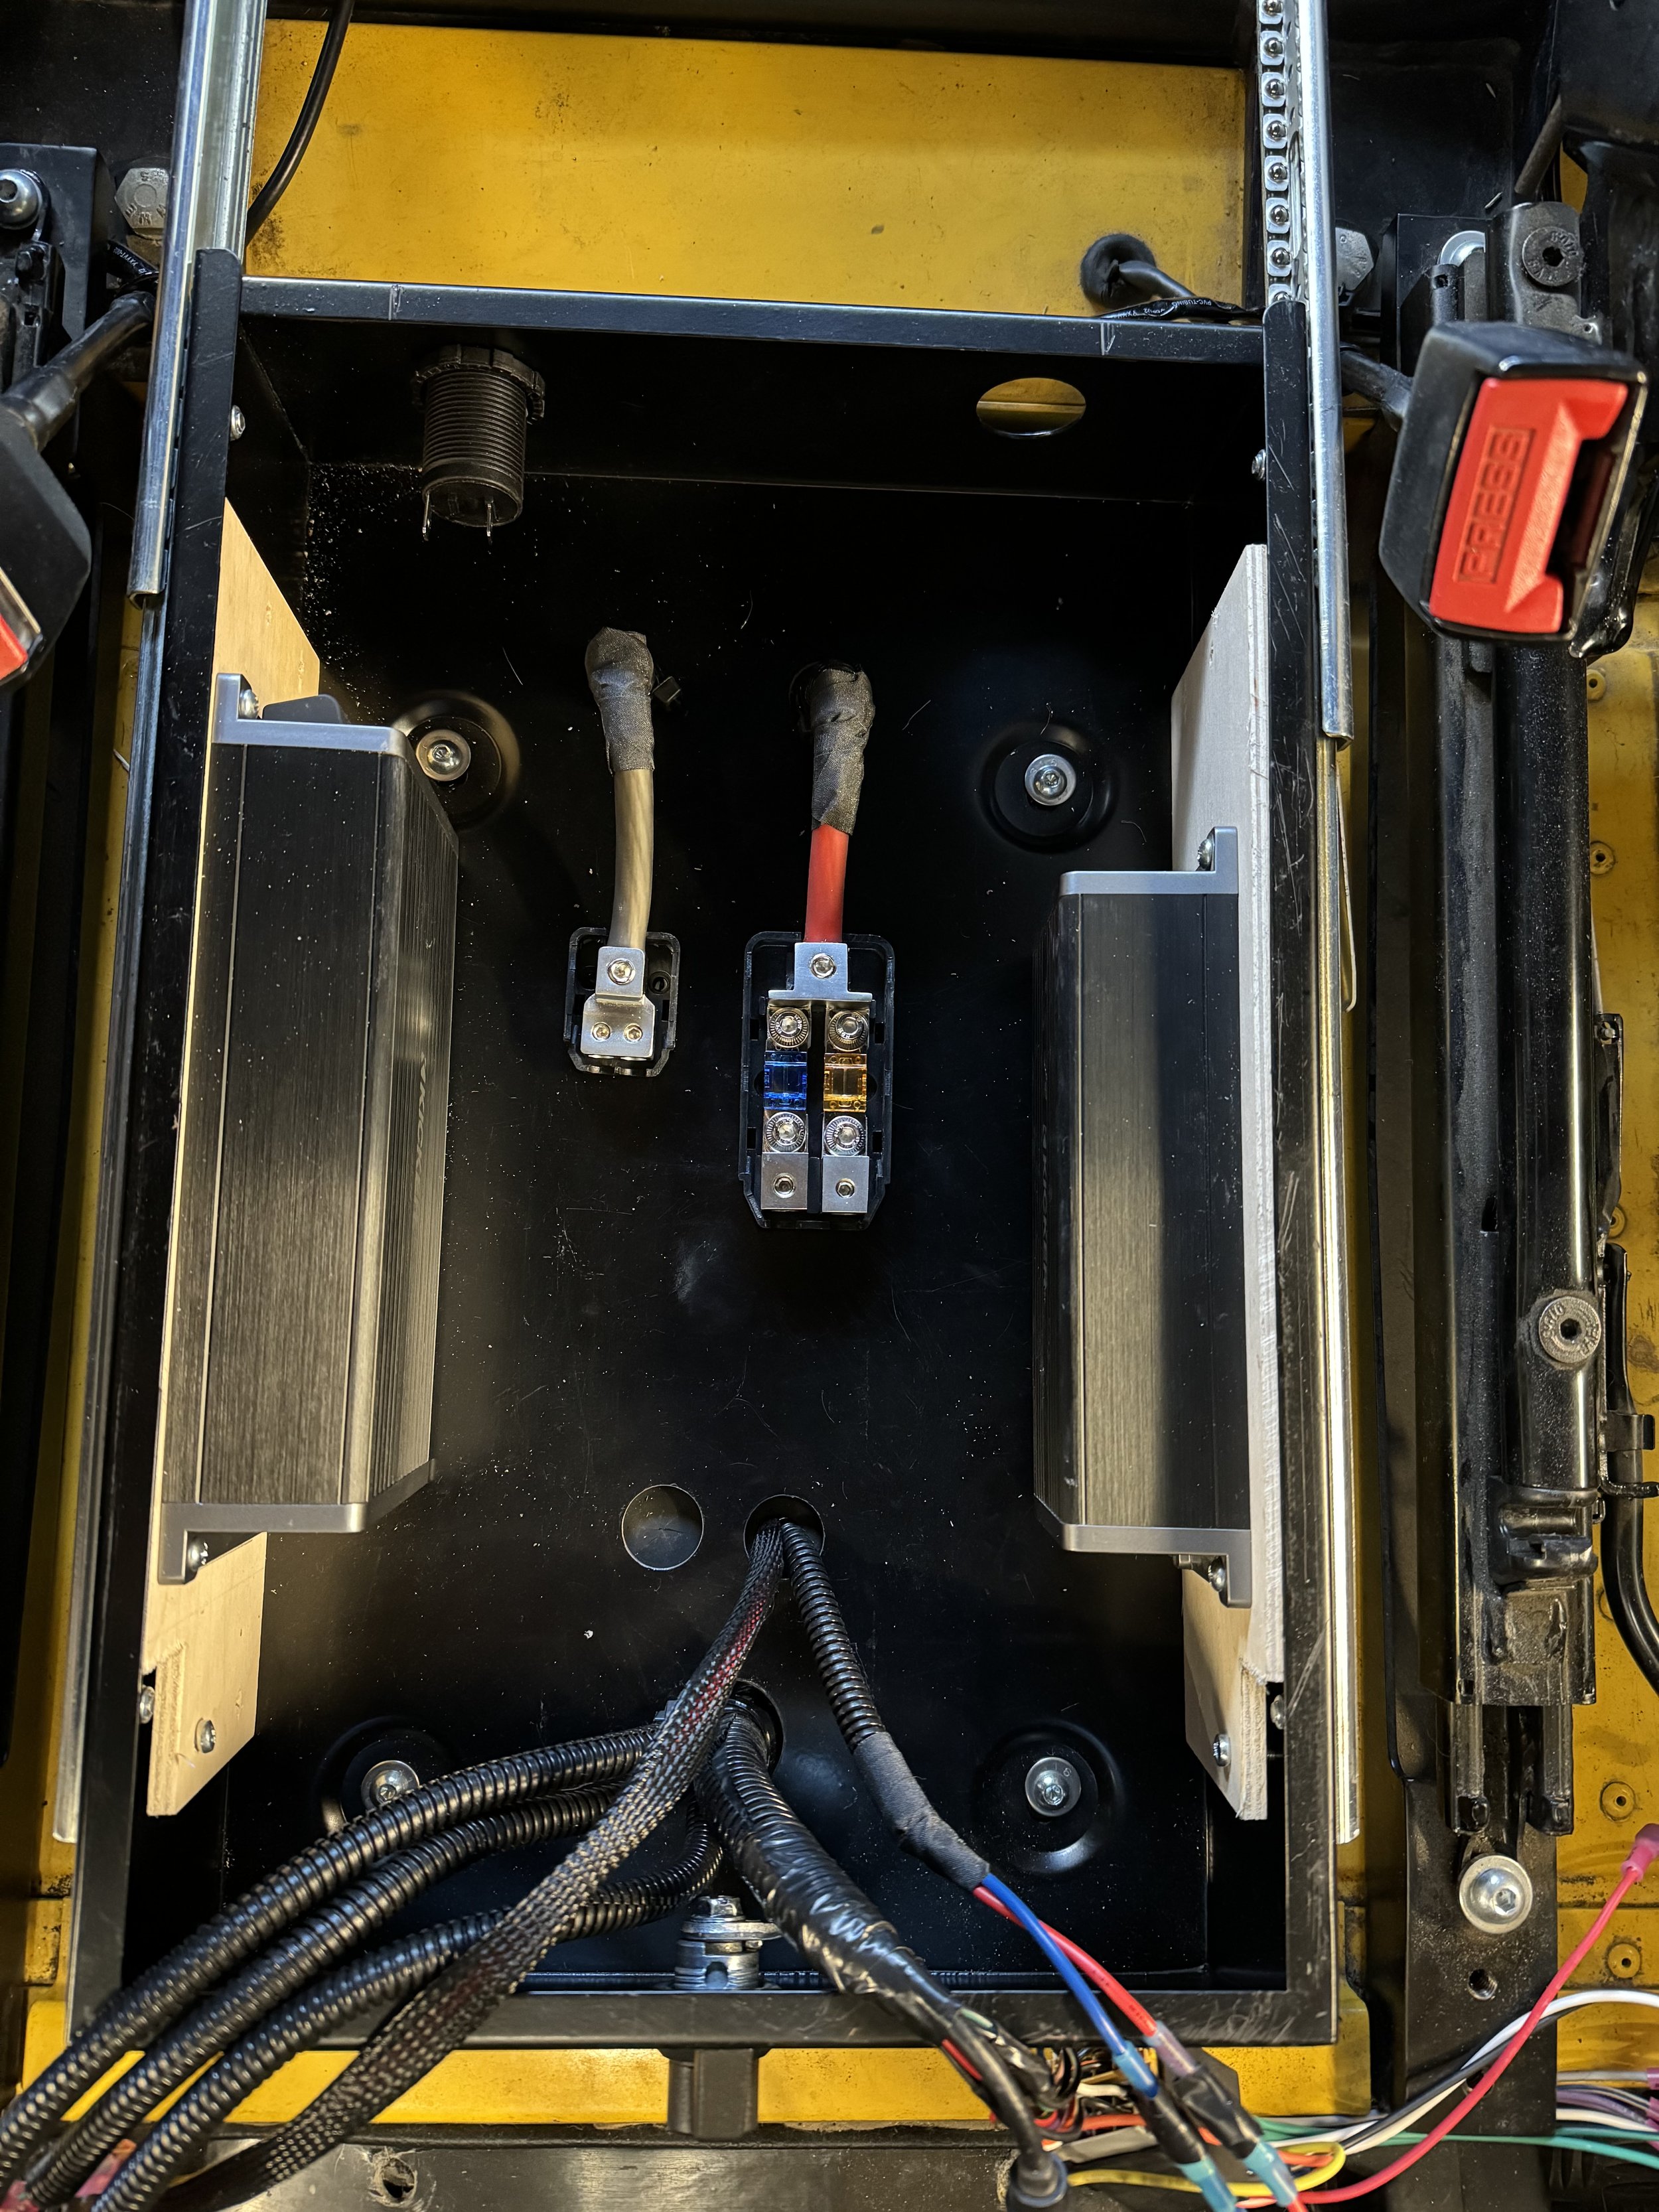
If you have followed this build you know that I have tried a few different stereo setups in this Defender. Once I settled on a head unit in the OEM stereo location I always had the plan to add an amp or two in the Mud Stuff locking storage cabinet under the cubby. The space is small and there are other wires in that cabinet (OEM stereo loom and some additional wires I installed for the seat heaters) so you have to pick small amps. I first started with the Kicker 4 way (50 watt each channel) D class amp the Key200.4. This not only has cleaner power than the head unit but it also has a DSP built in to optimize the sound. This is a very small amp so it is easy to fit. The next challenge was to find another amp for a future sub. That was a bit harder but once again I turned to Kicker as they have a single channel 500 watt D class amp the Key500.1 which is just a bit bigger than the 4 way. While they both fit it was tight once you added the positive and negative distribution blocks. I spent hours thinking about how to fit everything but then it came to me. Simply turn the amps on their side and mount them to the side walls of the locking storage cabinet. This left the center of the cabinet open for the distribution blocks and the other wire looms. To round out the install I ordered a Crutchfield dual amp wiring kit which came with great wires, the distribution blocks, the in-line fuse block, and fuses (yet I had to change one of the fuses to match my specific system).

I had hoped to make the wires a bit more organized so that is something I will try to sort out in the future. The main reason it looks like a rats nest is because you need all the wires running to the head unit to be long enough for the cubby to slide back….thus requiring many wires to be excessively long.

The 4 way amp not only makes the audio louder but also cleaner. Even without the DSP activated or tuned the audio is massively upgraded. With the DSP activated and tuned it improves the audio even further. I don’t have a sub yet as I need to design the sub box to mount to the rear swing out door behind the rear bench seat. Once that is in place I will update this writeup.

Update 1/16/24

I cleaned up the wiring, ran the subwoofer speaker wire (still no subwoofer yet), and installed the base control knob. Everything works great so far. The DSP really improves the sound and once I get the sub box built and installed I can drop in a 10” low profile sub. I am thinking of getting the AudioMobile EVO 10.

Defender Build - Fuse Box

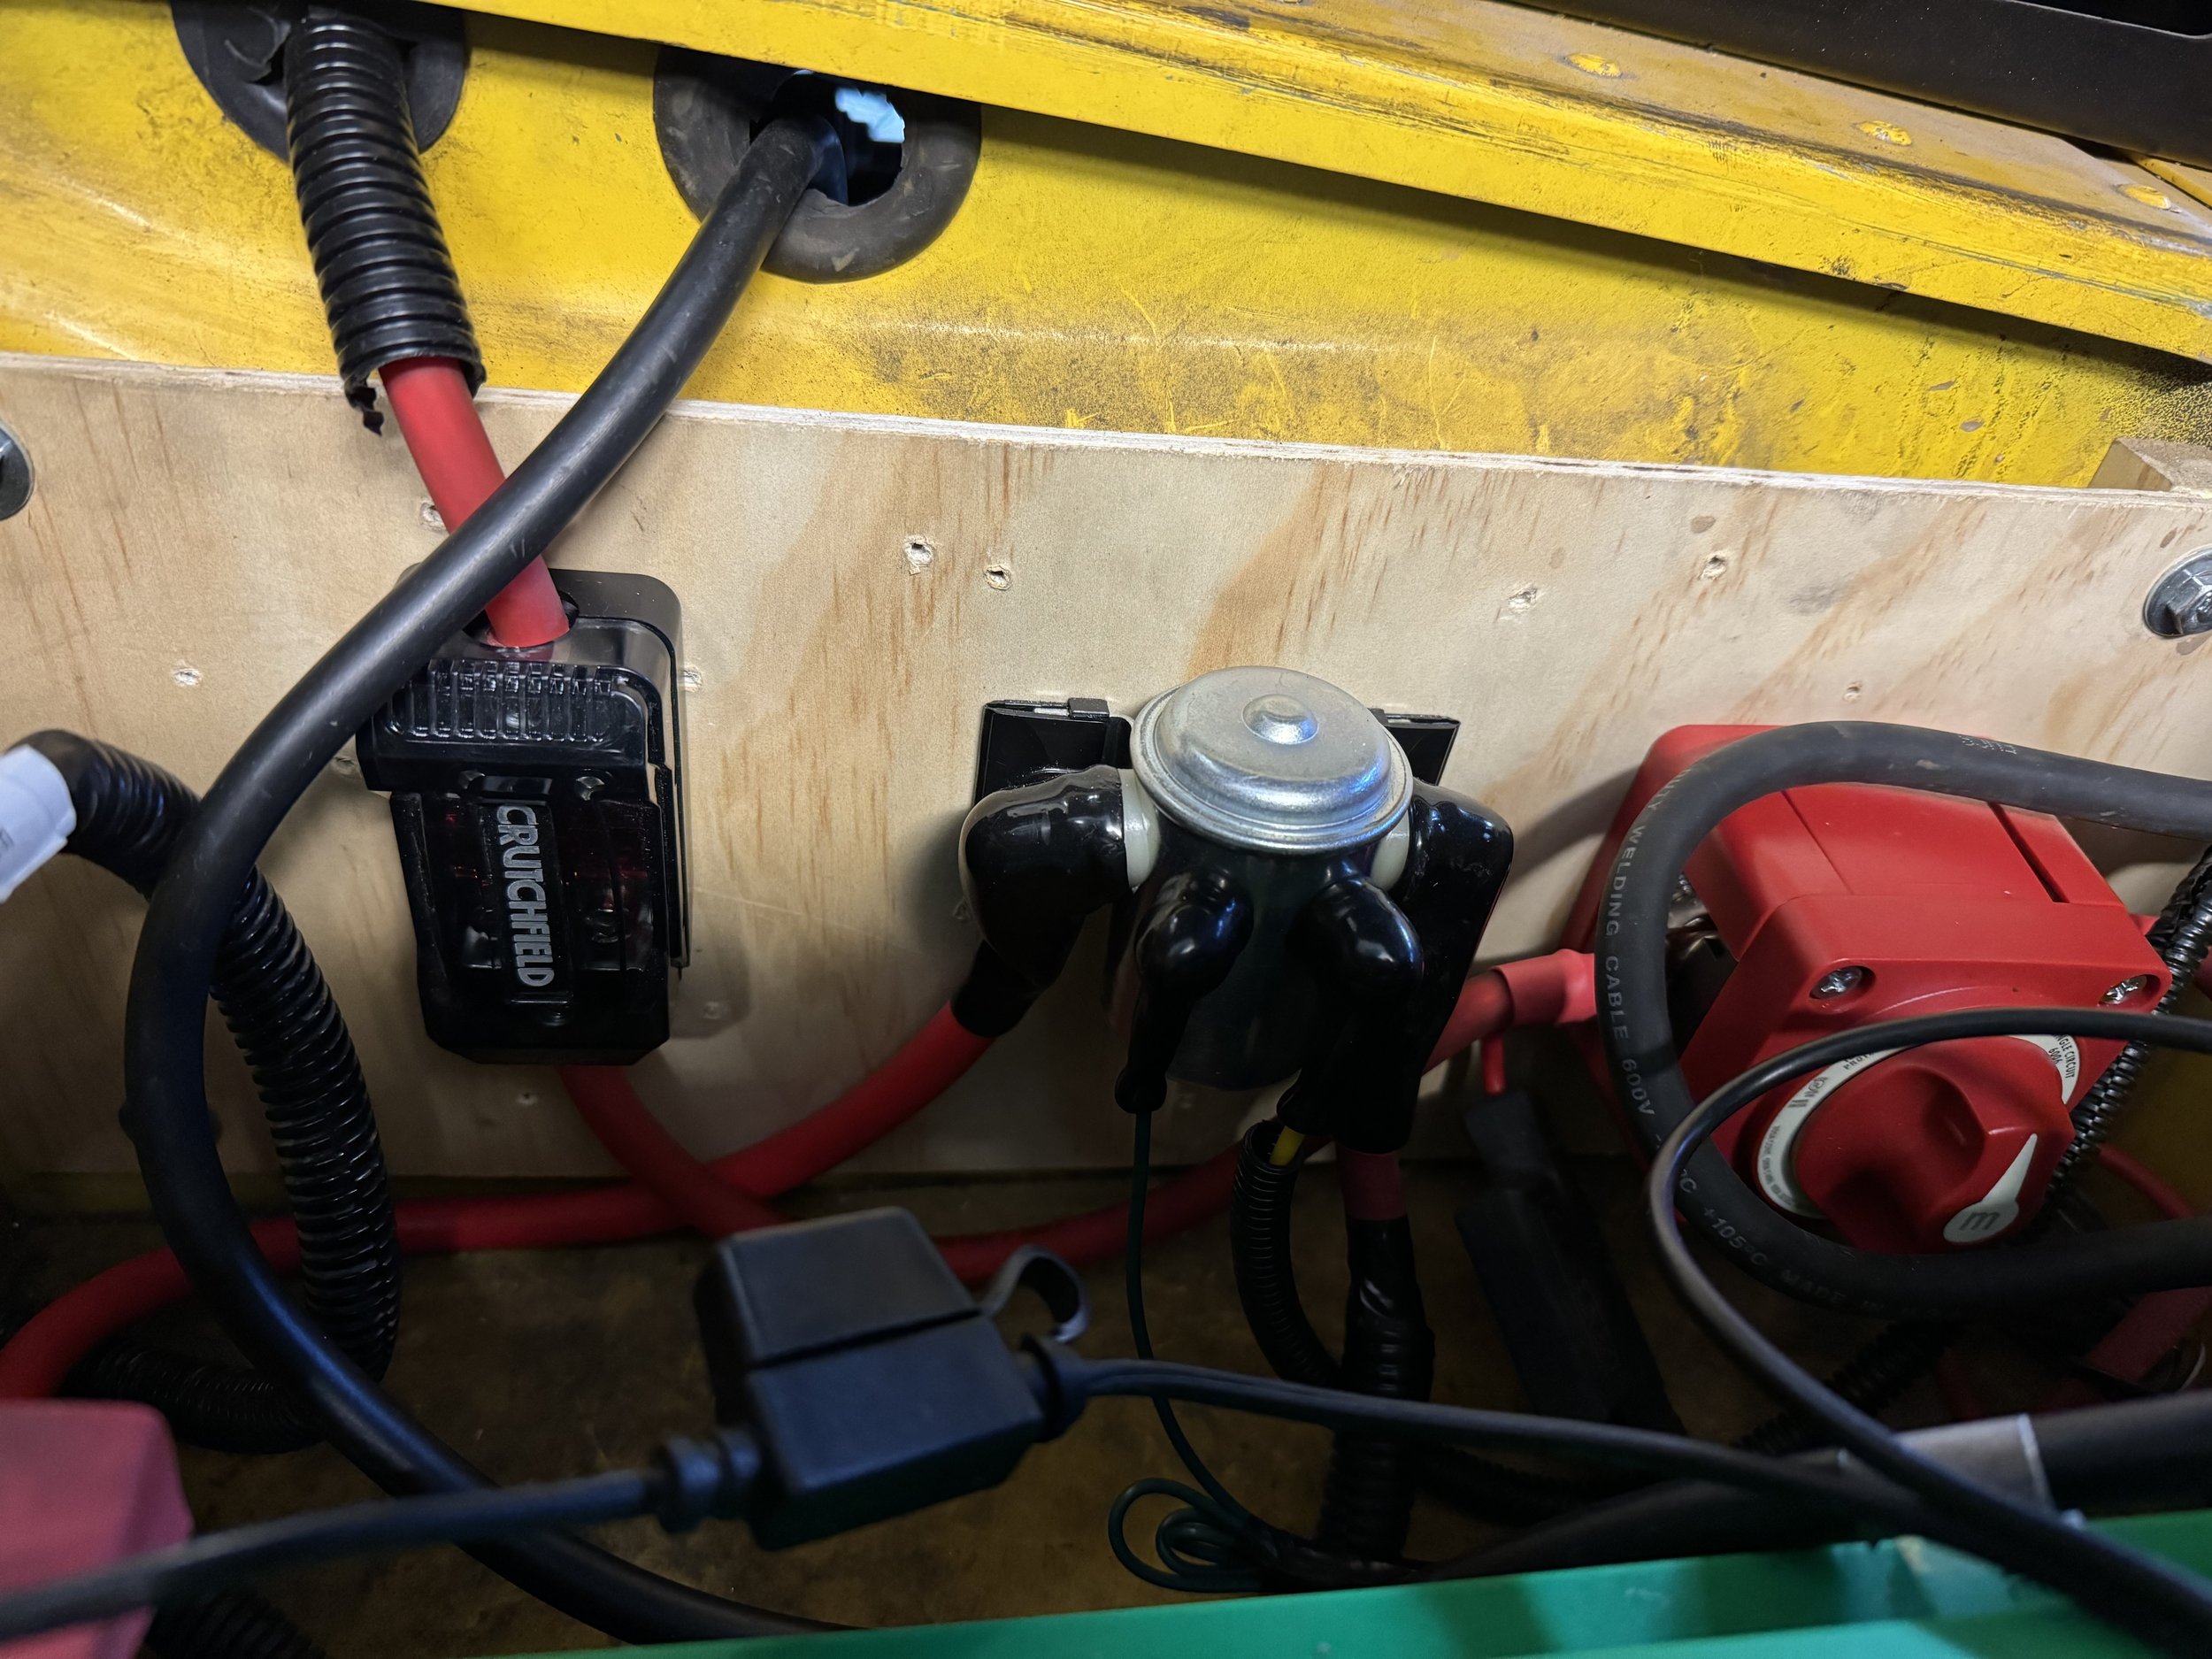
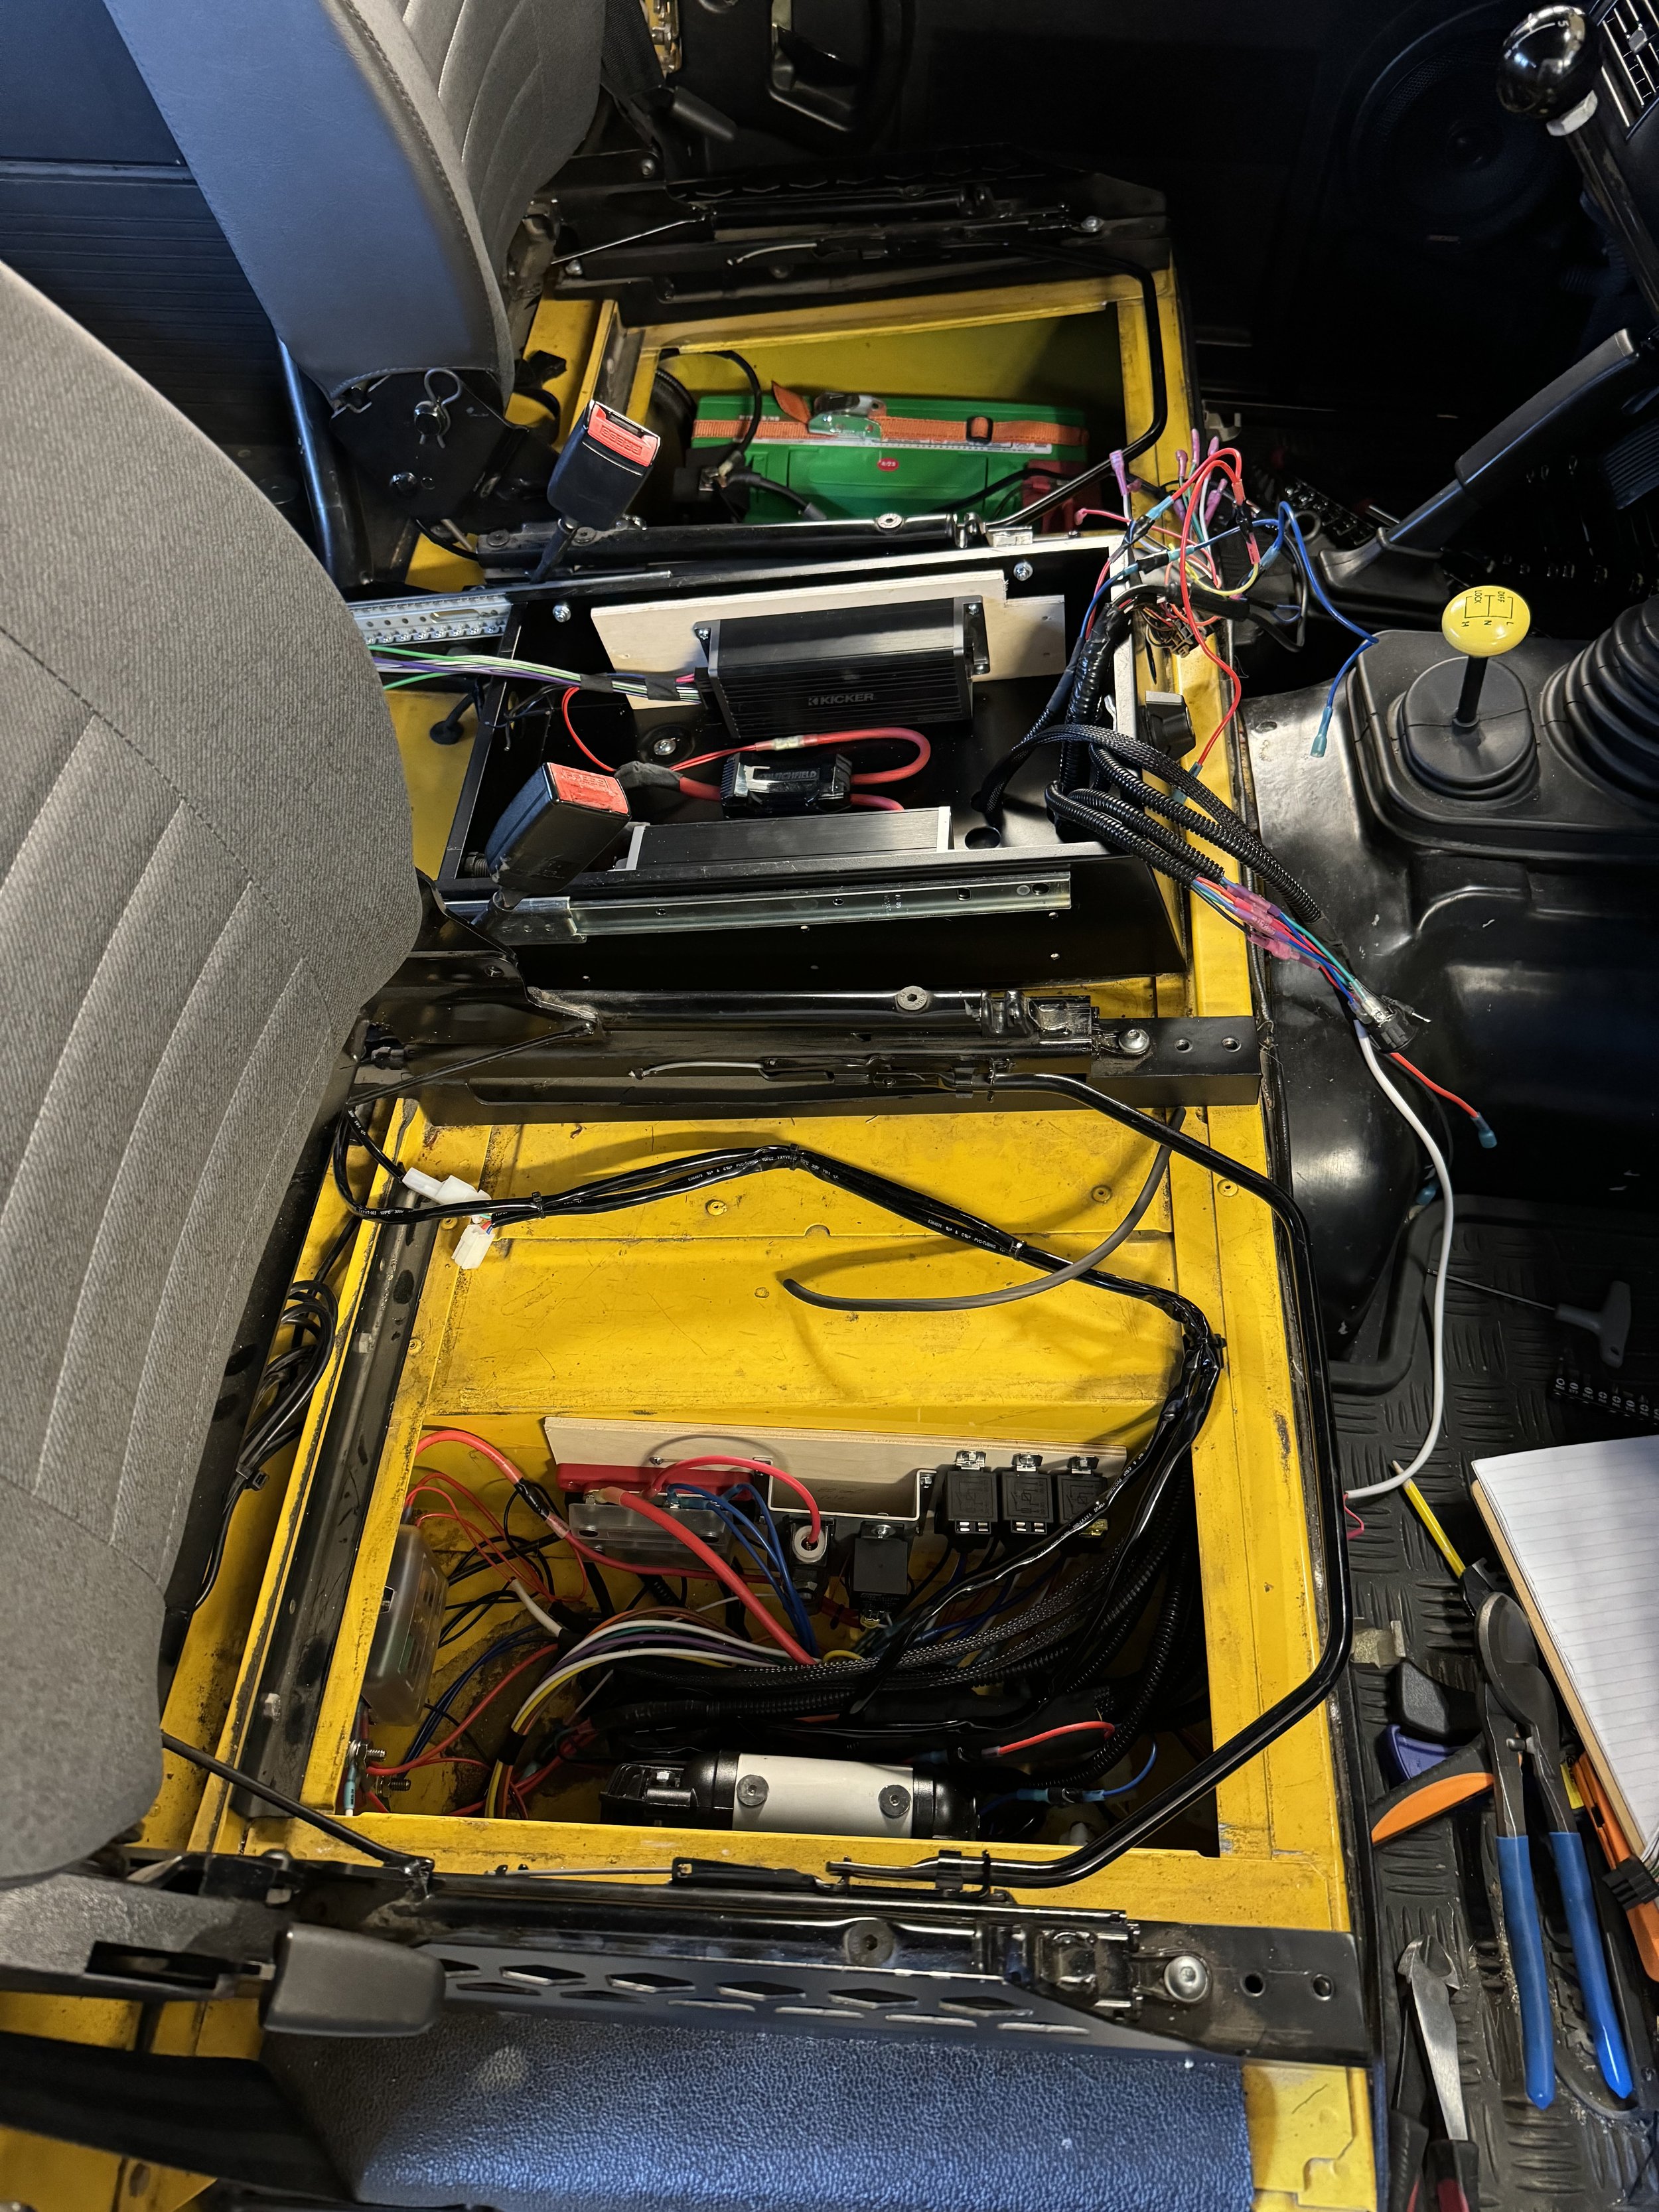
I have done a lot of electrical work in this truck. Some of it was to make it more reliable and some of it was to add new functionality. One thing I have wanted to do was to wire up my seat heaters, GMRS radio, and a fuse box to run some aux gear. I have gone back and forth on how to do that as there are lots of options (switch based, auto on with the ignition, etc). I finally decided to have ignition power trigger a high amp relay to send power to a fuse box where I can then have 6 different fused circuits. The relay I am using is an 80 amp relay which will power a fuse box where I will have the two seat heaters (7.5 amp each), the GMRS radio (15 amp), 12v power out for a portable fridge or other gear (30 amp), USB charging (5 amp), with one circuit open and 15 amps to spare.

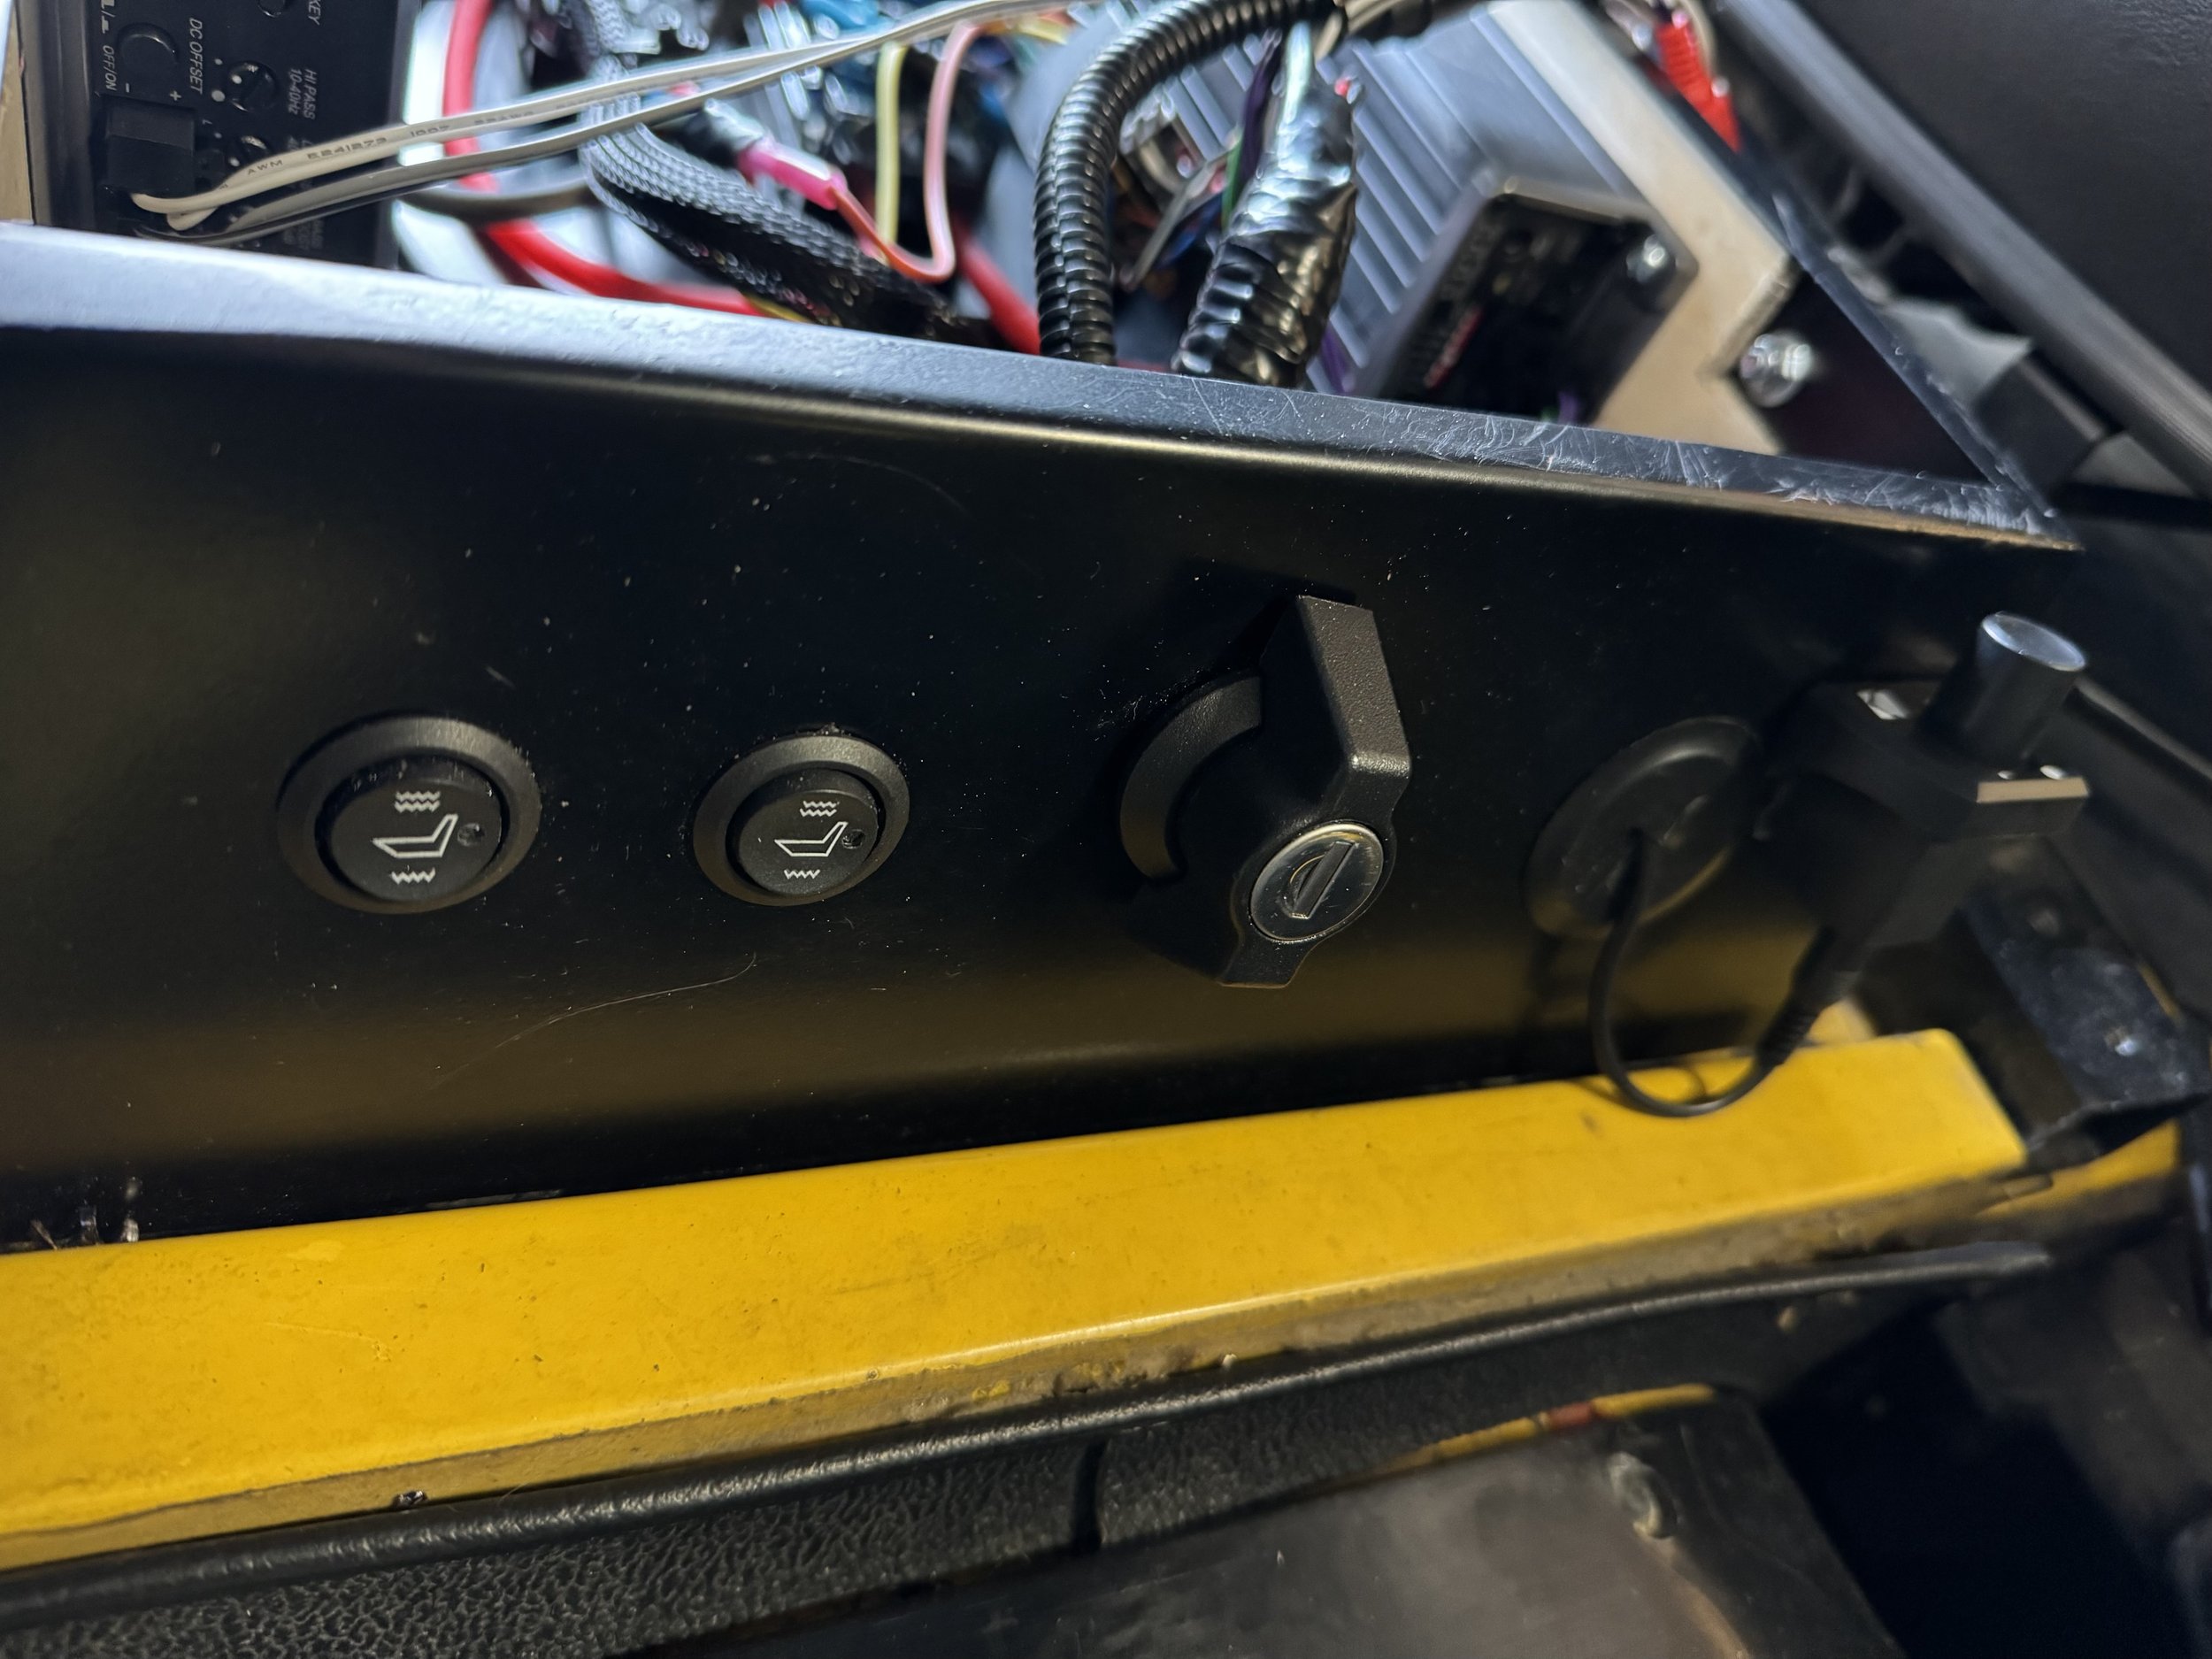
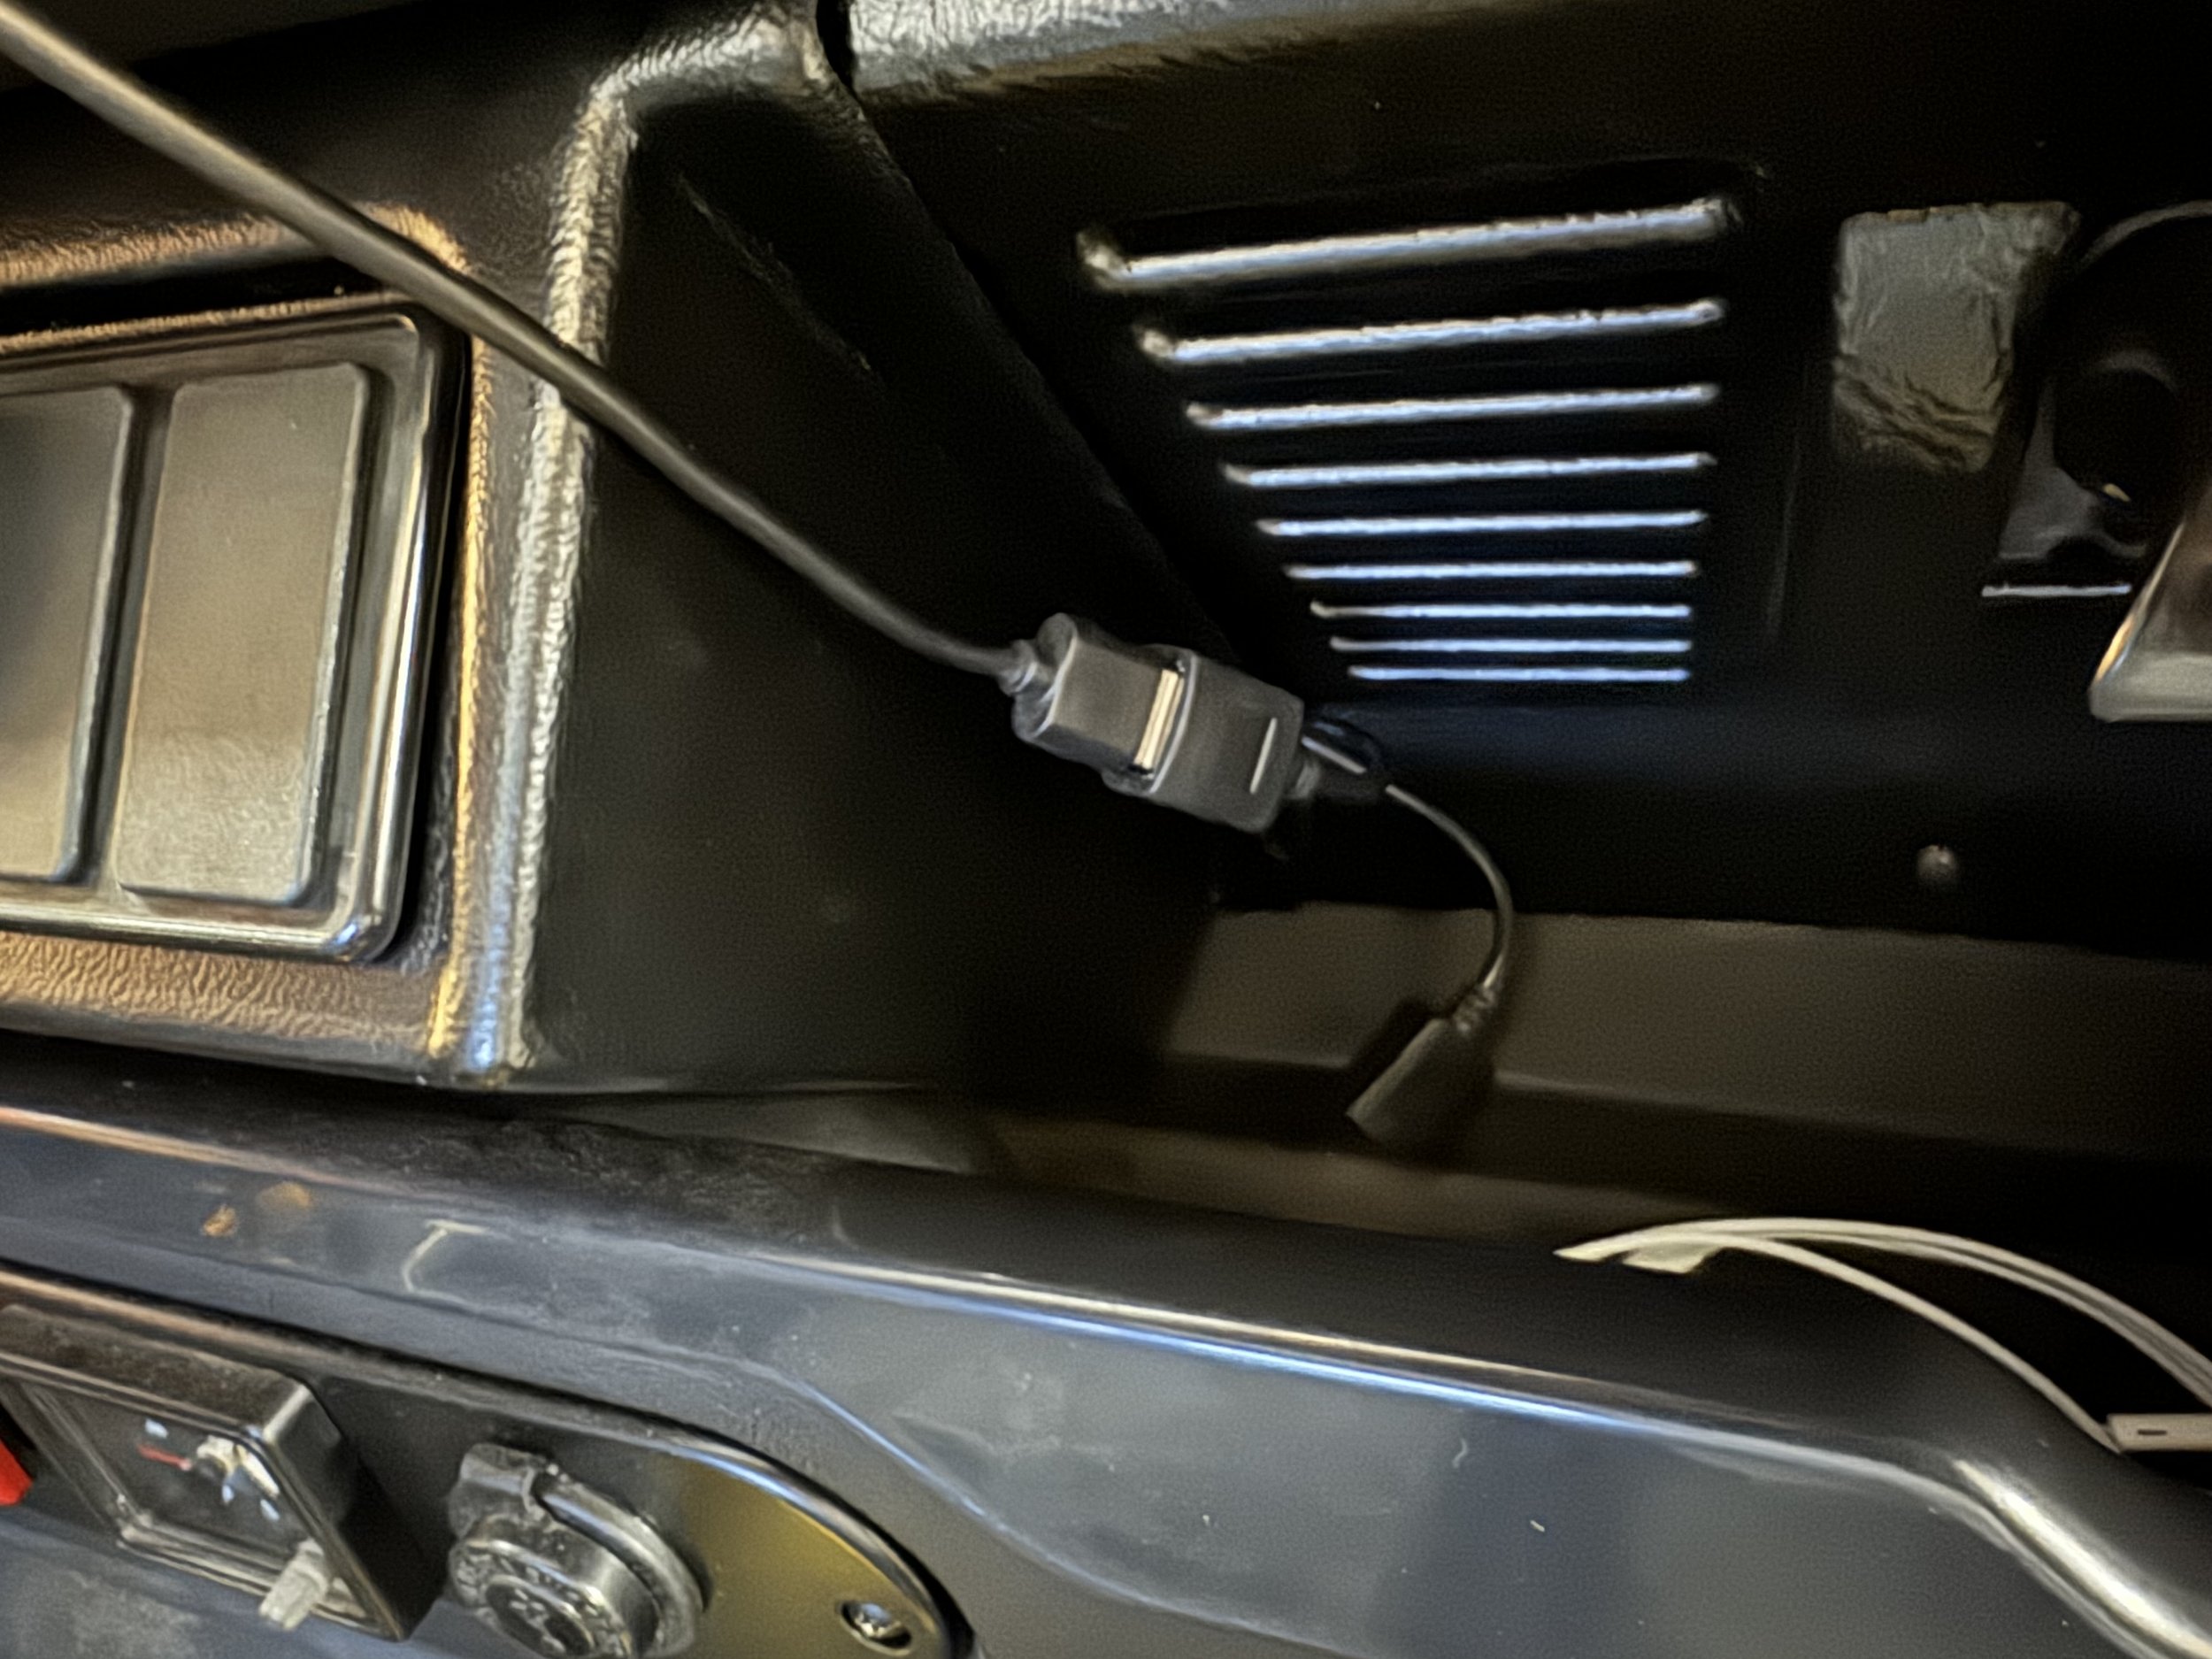
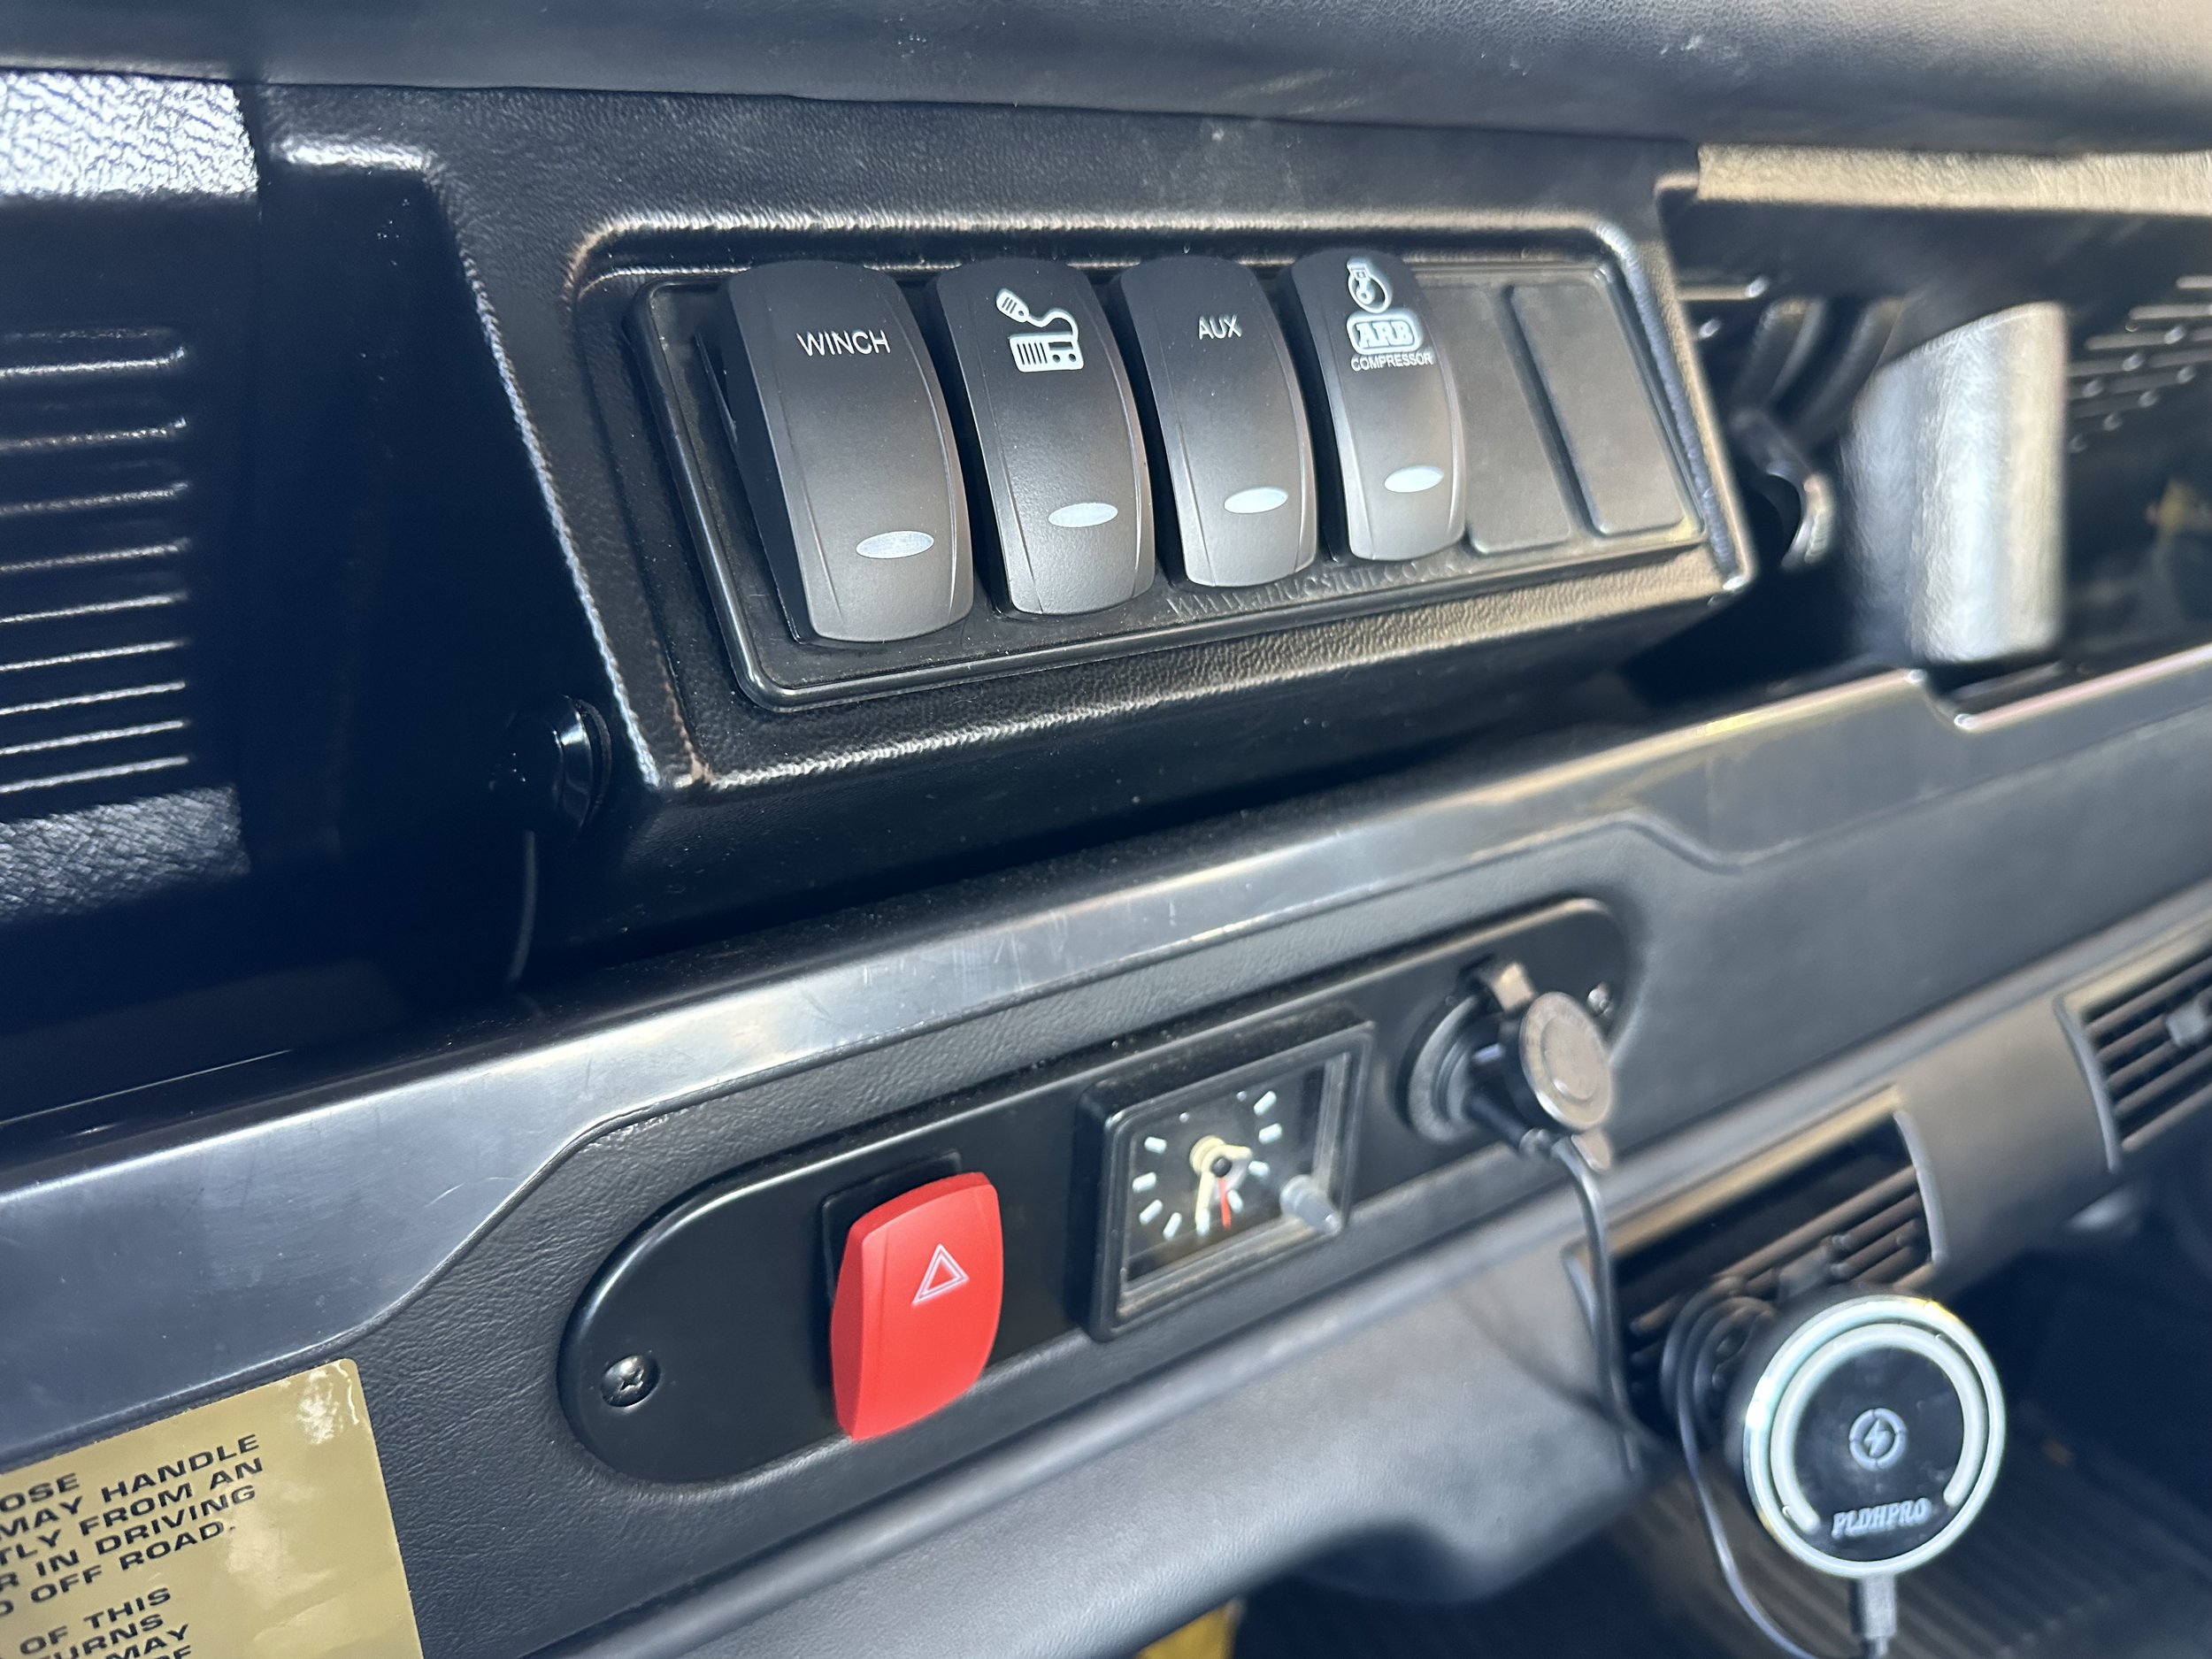
By making the fuse box auto triggered from the ignition and moving the GMRS radio power to the fuse box I can free up two switch bays in the center dash. This means my 6 switch panel in the center dash will now have 1) air compressor 2) front locker (future install) 3) rear locker (future install) 4) winch power 5) open and 6) open. I wanted a clean look and to make the GMRS radio secure (hidden) so I installed it in my locking cubby box. The unit is a Midland MXT575, 50 watt, GMRS, with the display built into the mic so you can hide the base. I also wanted some more USB charging options in the center dash so I installed 2 USB charges by the switch panel that will power my phone and Garmin GPS.

One might say all of this is a bit over-engineered but the way I look at it I have put in modern wiring, increased functionality, fused everything separate for safety, future-proofed the design by running more wires than I need, left myself some open circuits as my needs change, but kept the original look of the Defender. So ya….its over-engineered.

Defender Build - Stereo and Switches

If you have read our entire build process you might have noticed we have tried a few things to figure out the perfect stereo and aux switch setup. As a reminder there were no aux switches when we bought the truck and the original stereo had been replaced with a modern one, but that stereo was in the original enclosure. I didn’t want to cut into the dash or do any permanent damage so I have tried to figure out switch locations that keep the truck clean and stock. My first attempt was to remove the stereo and go with a headless unit and then to put switches were the stereo is normally. It worked well but eventually I got tired of having a headless unit because it meant I could not have handsfree calling.

My second attempt was to get a retro stereo (modern but looks like it came from the 90’s) and install it in the stock location and then to move the switches to the dash using a combination of switch plates specially designed to fit in Defender OEM locations. I liked having a traditional stereo again as this gave me radio, bluetooth streaming, and handsfree calling all while looking old school. The switch plates look great but I ended up wanting more switch options. So I had to try something else.

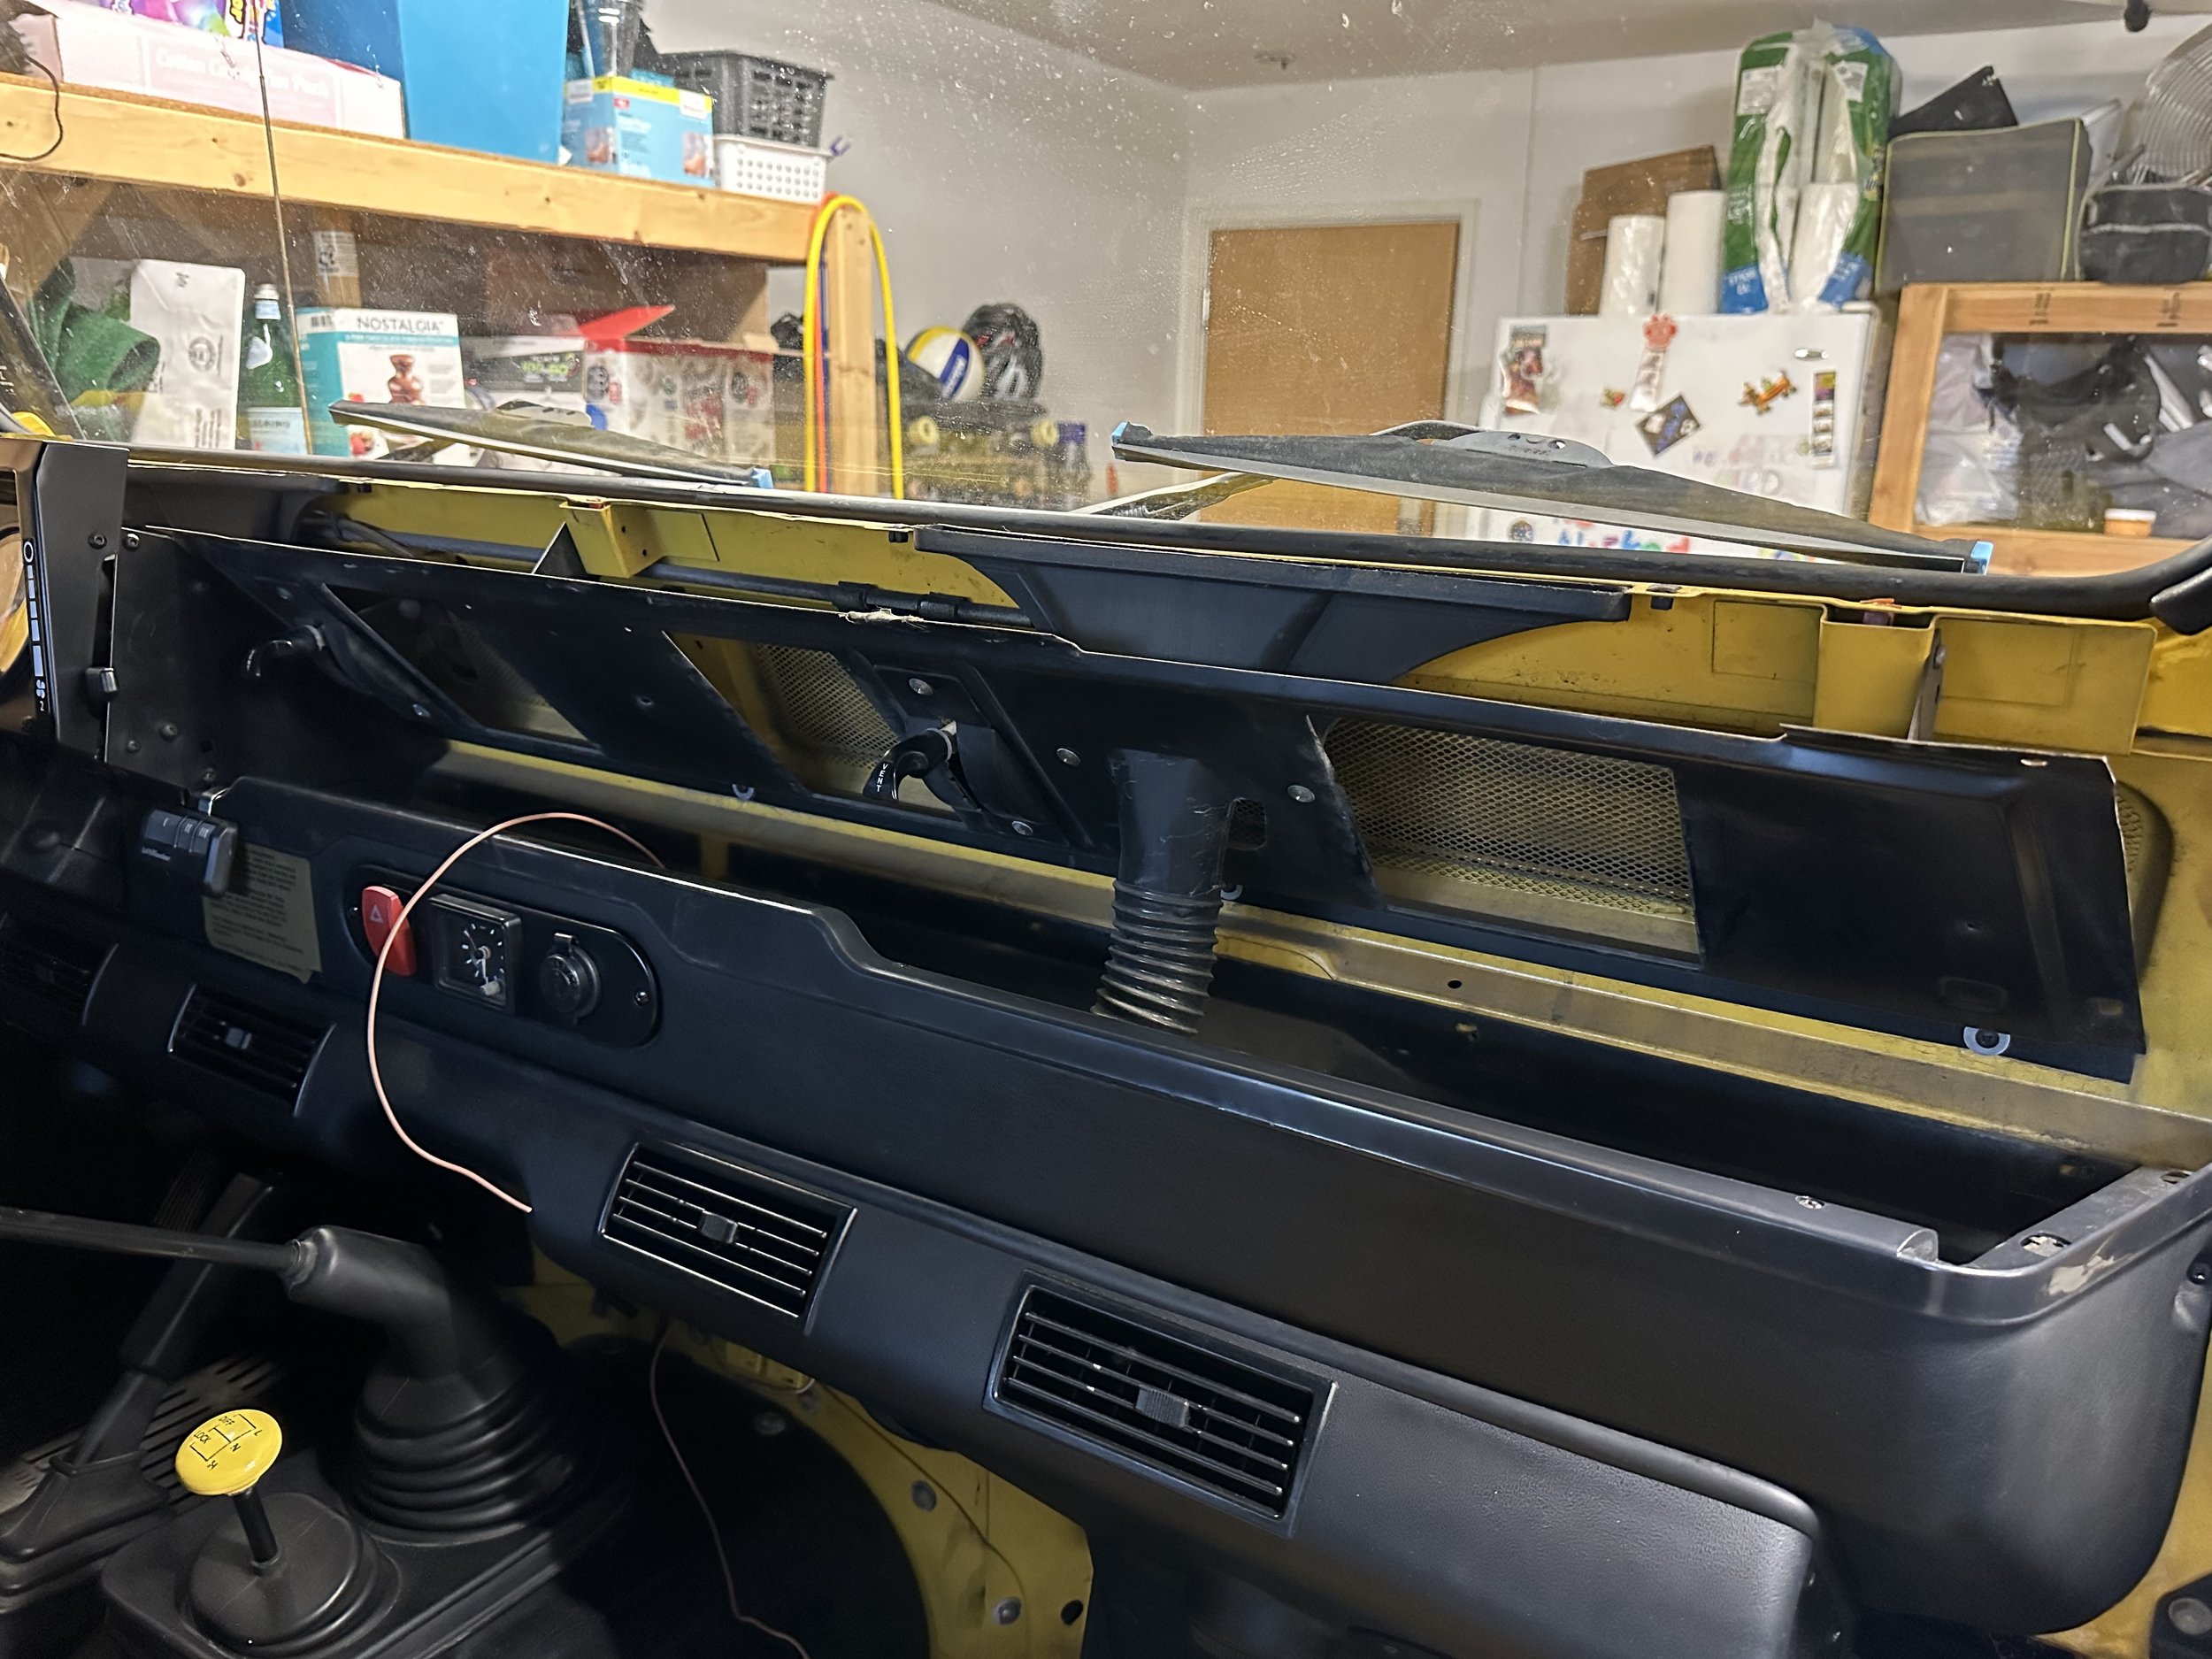
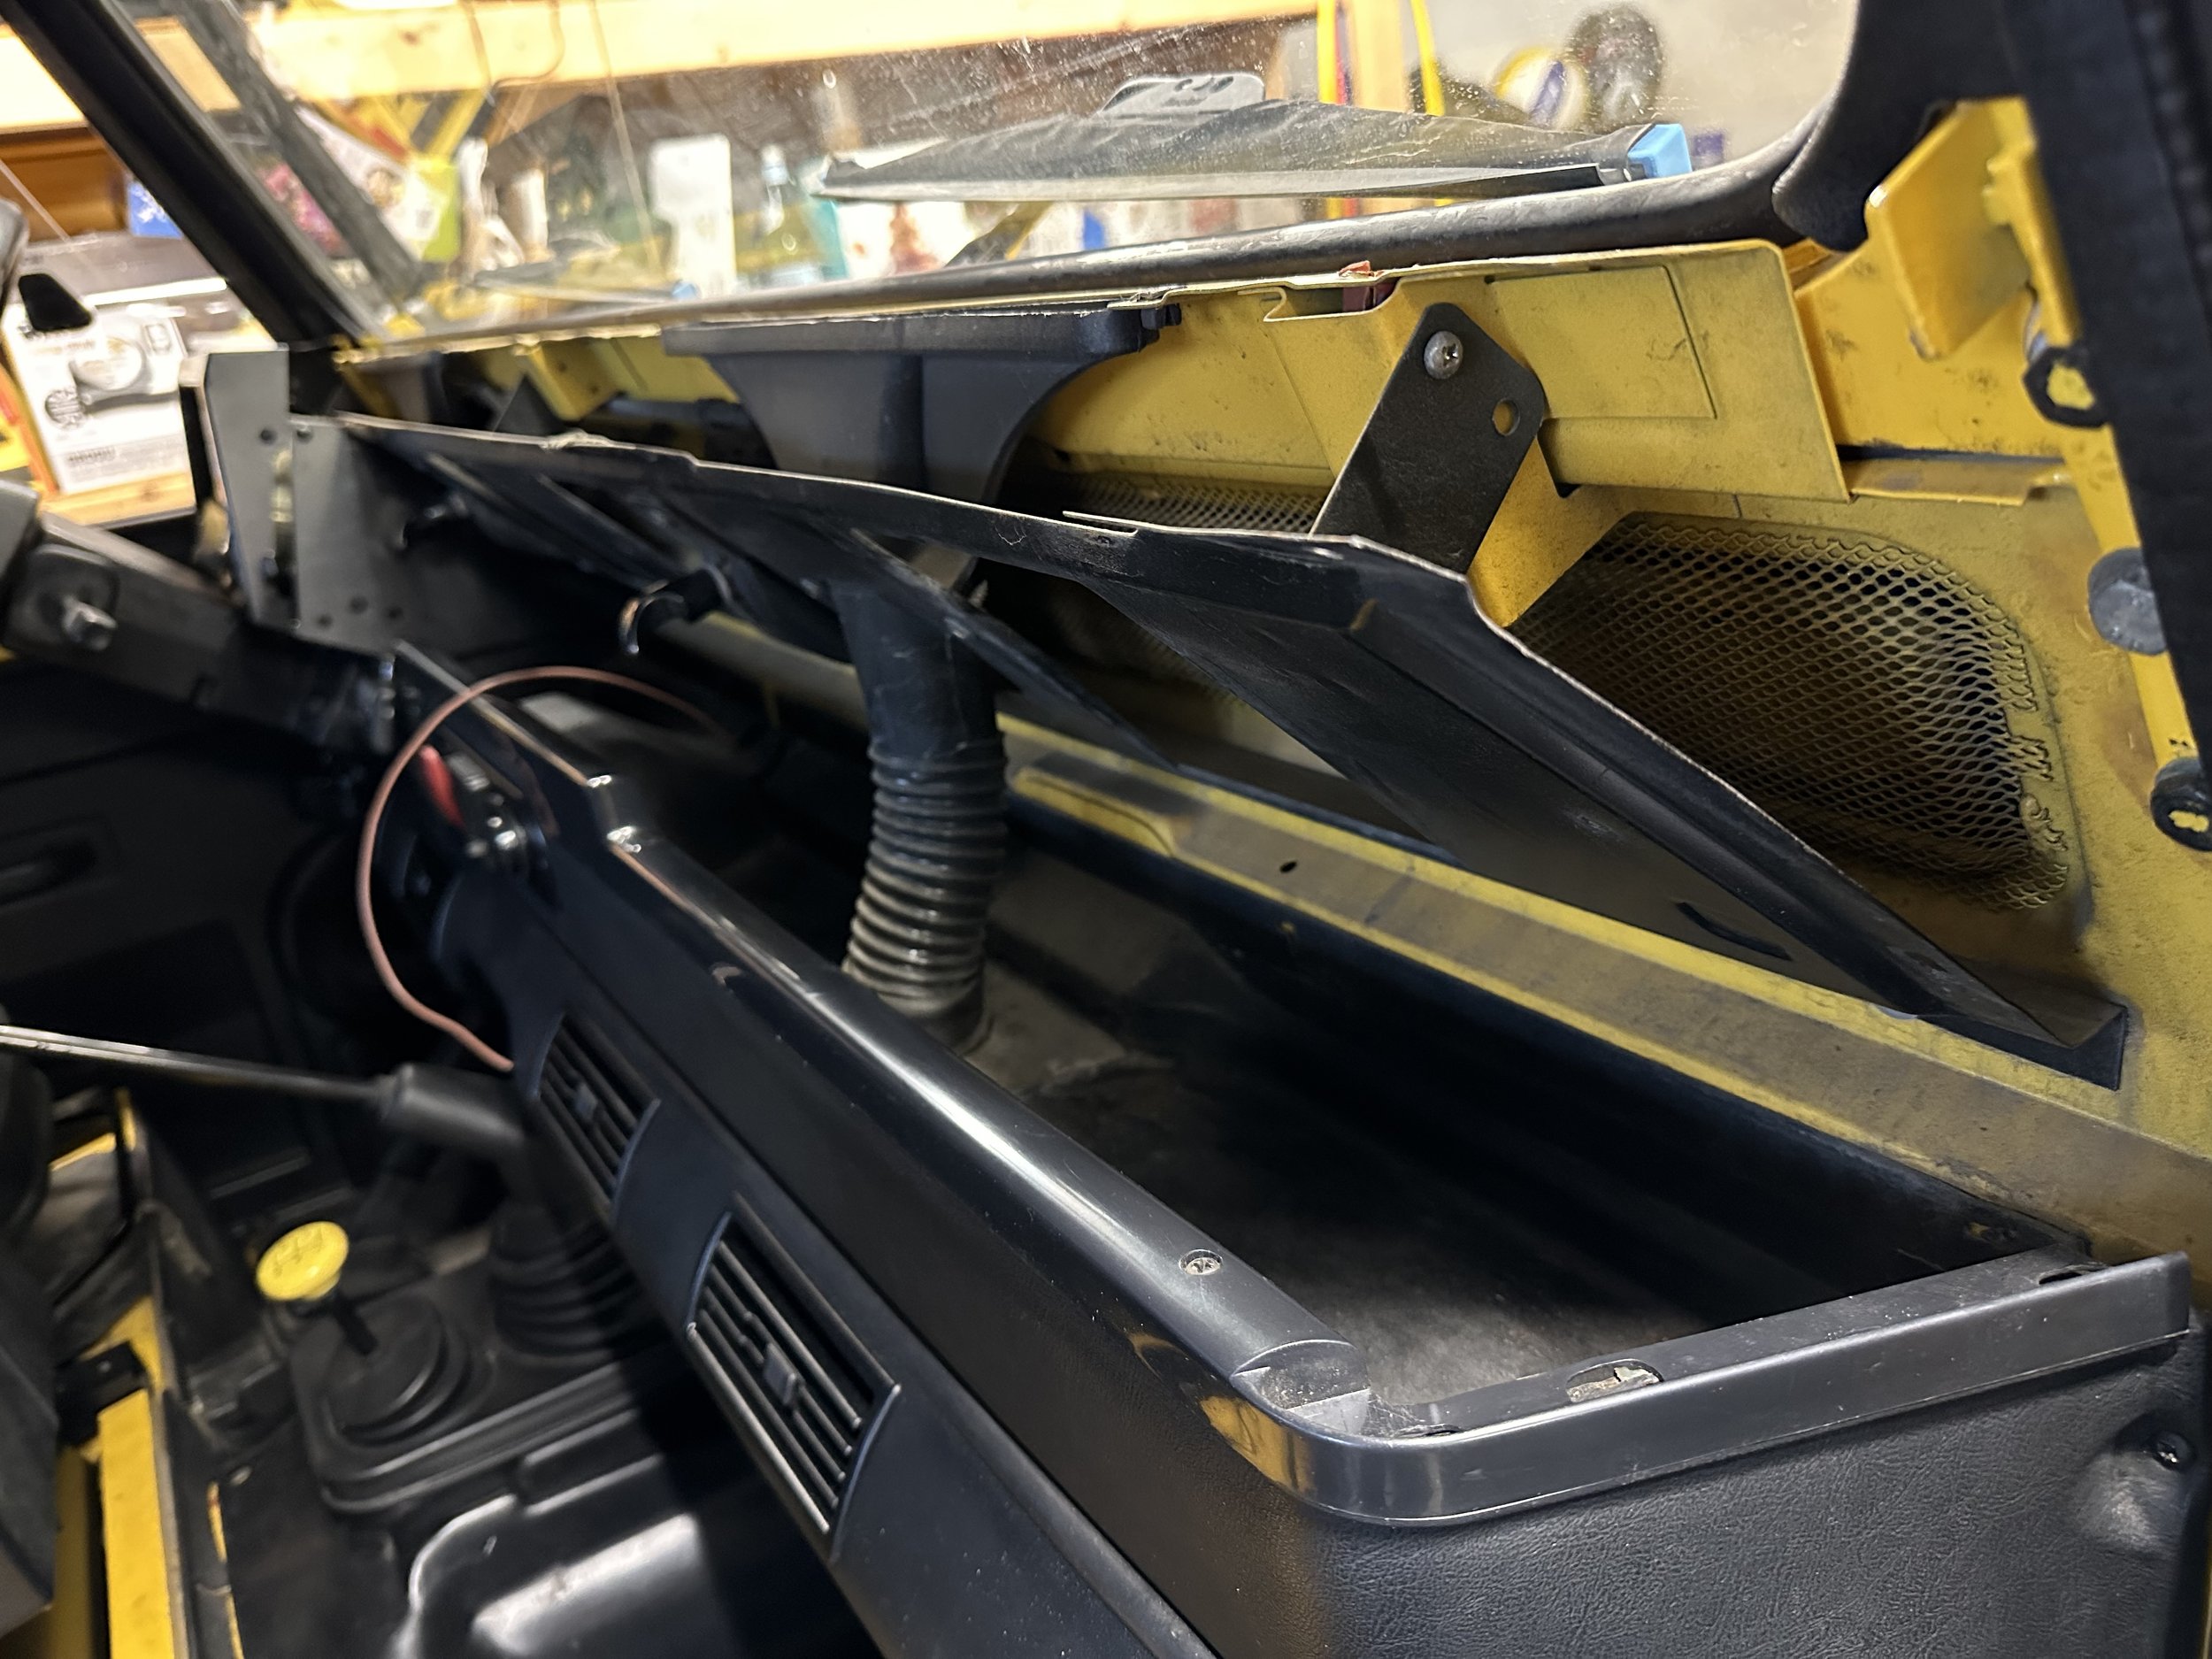
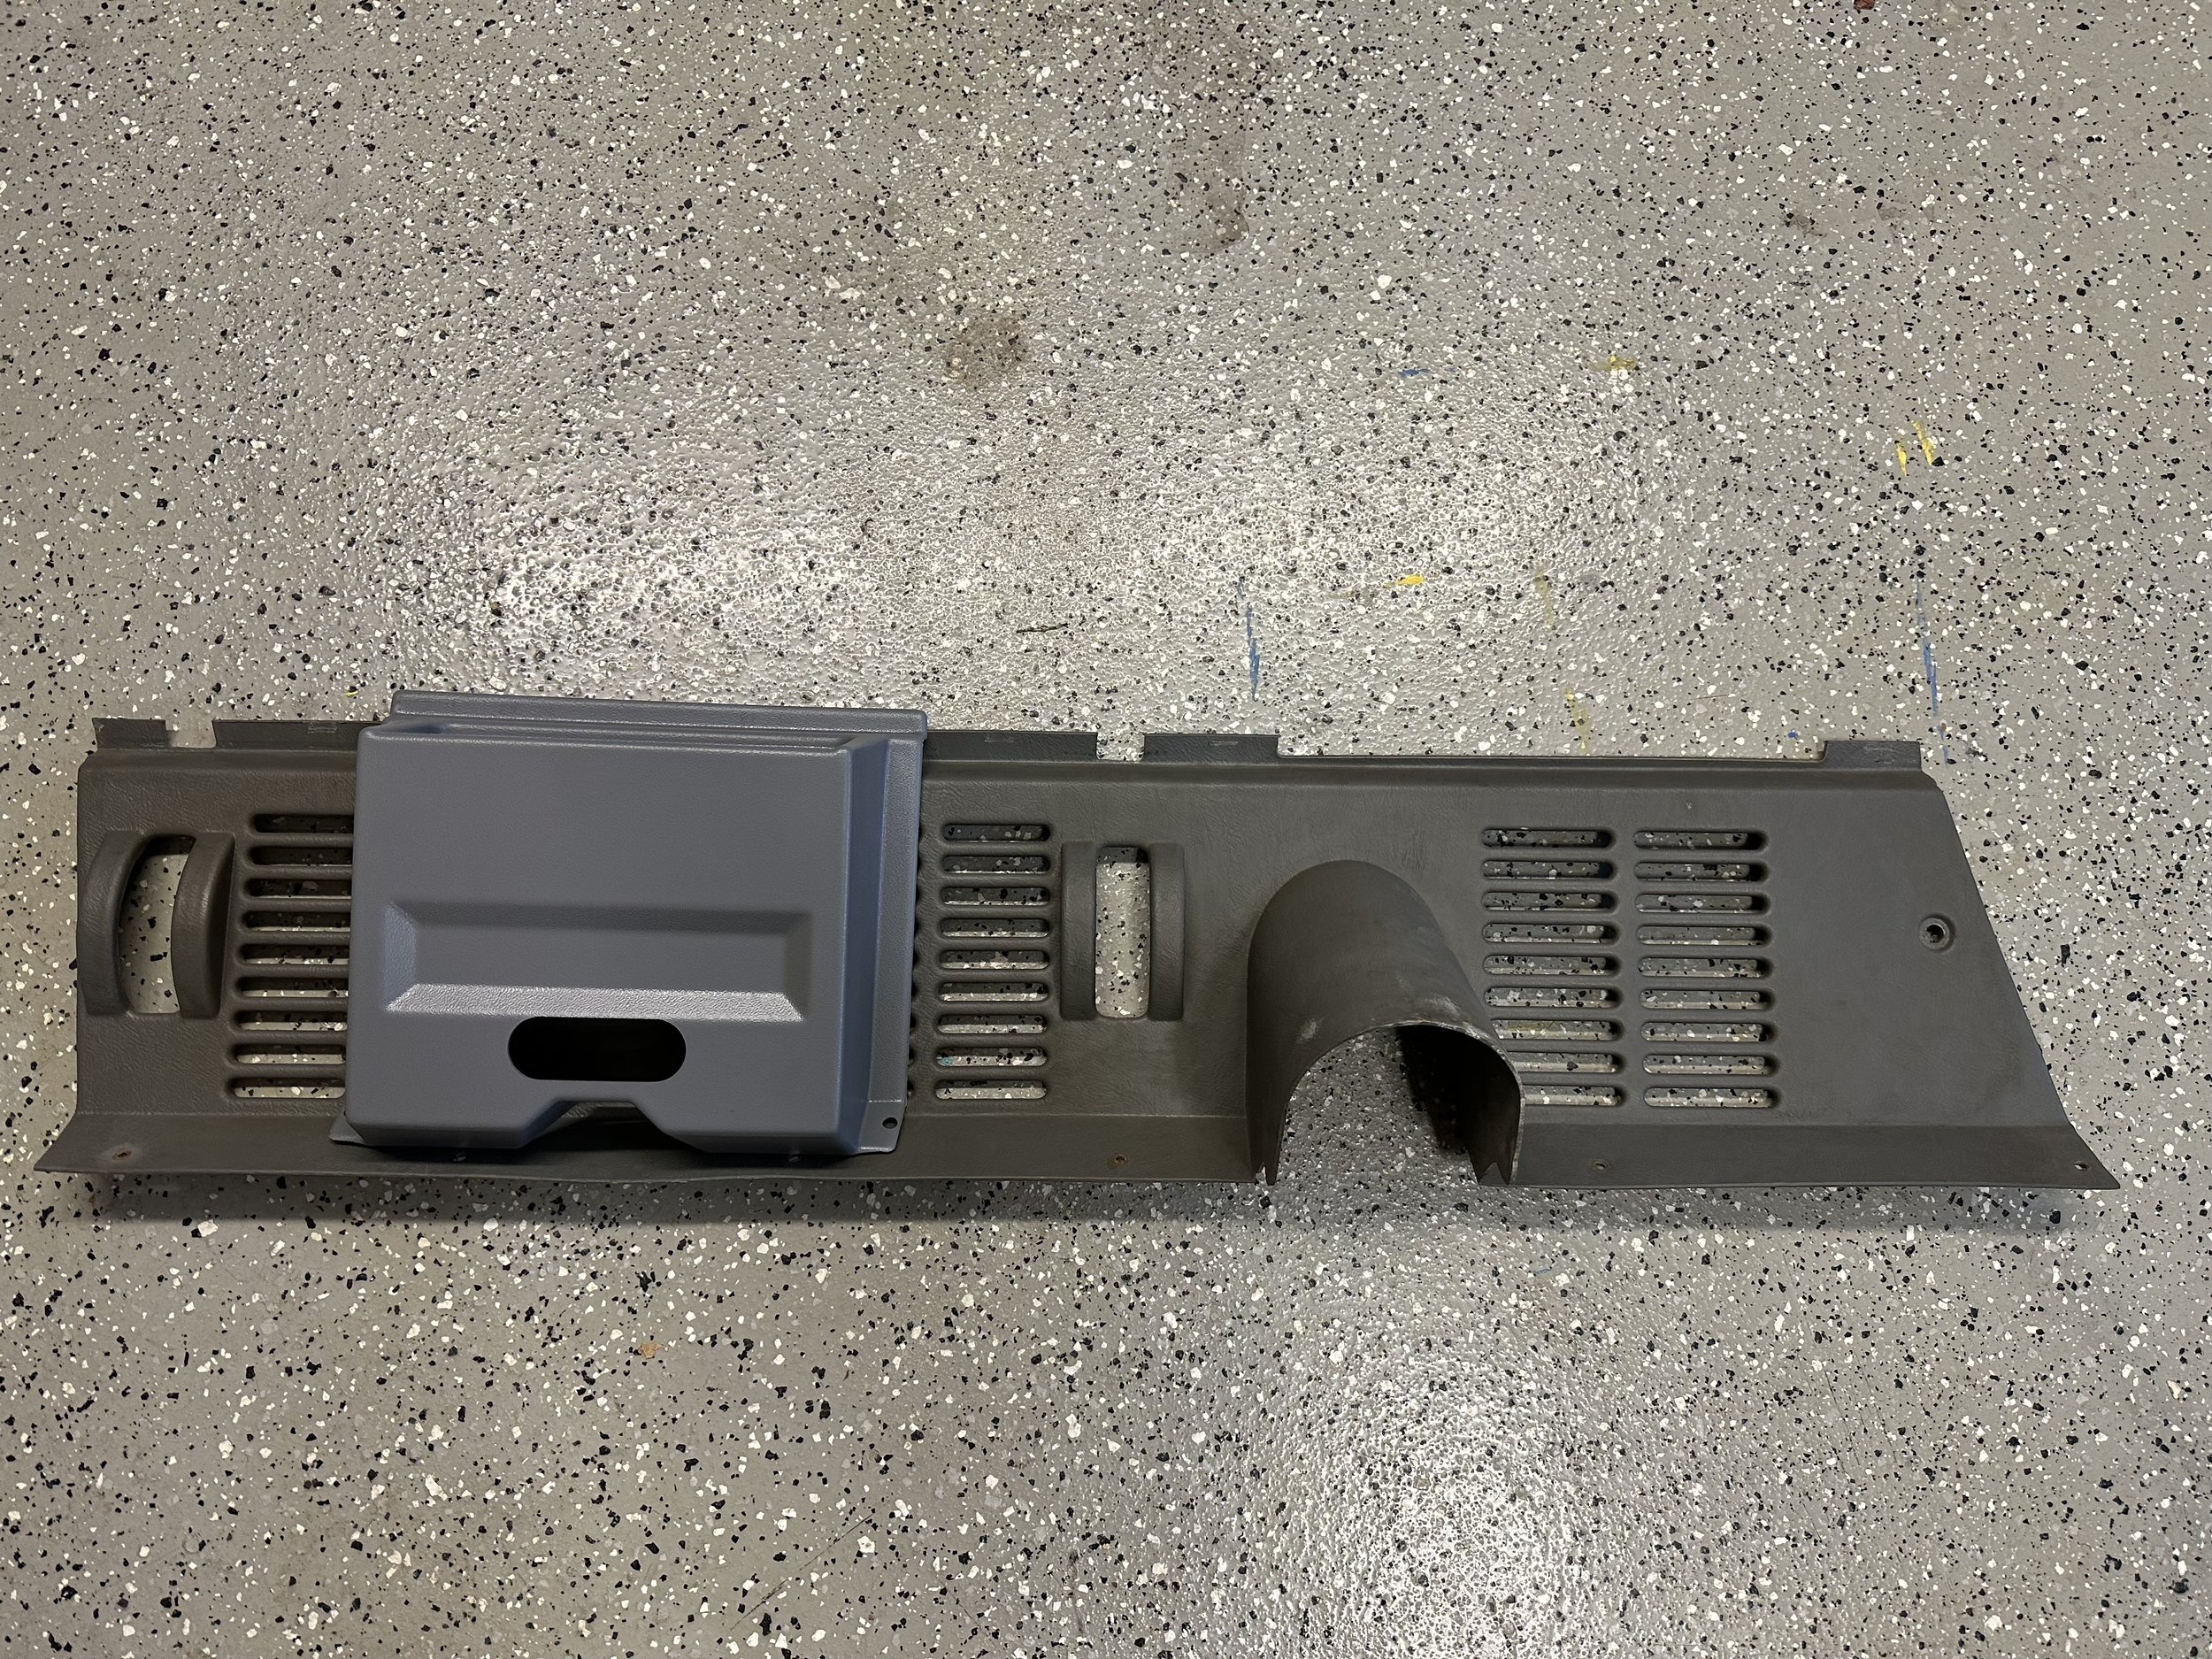
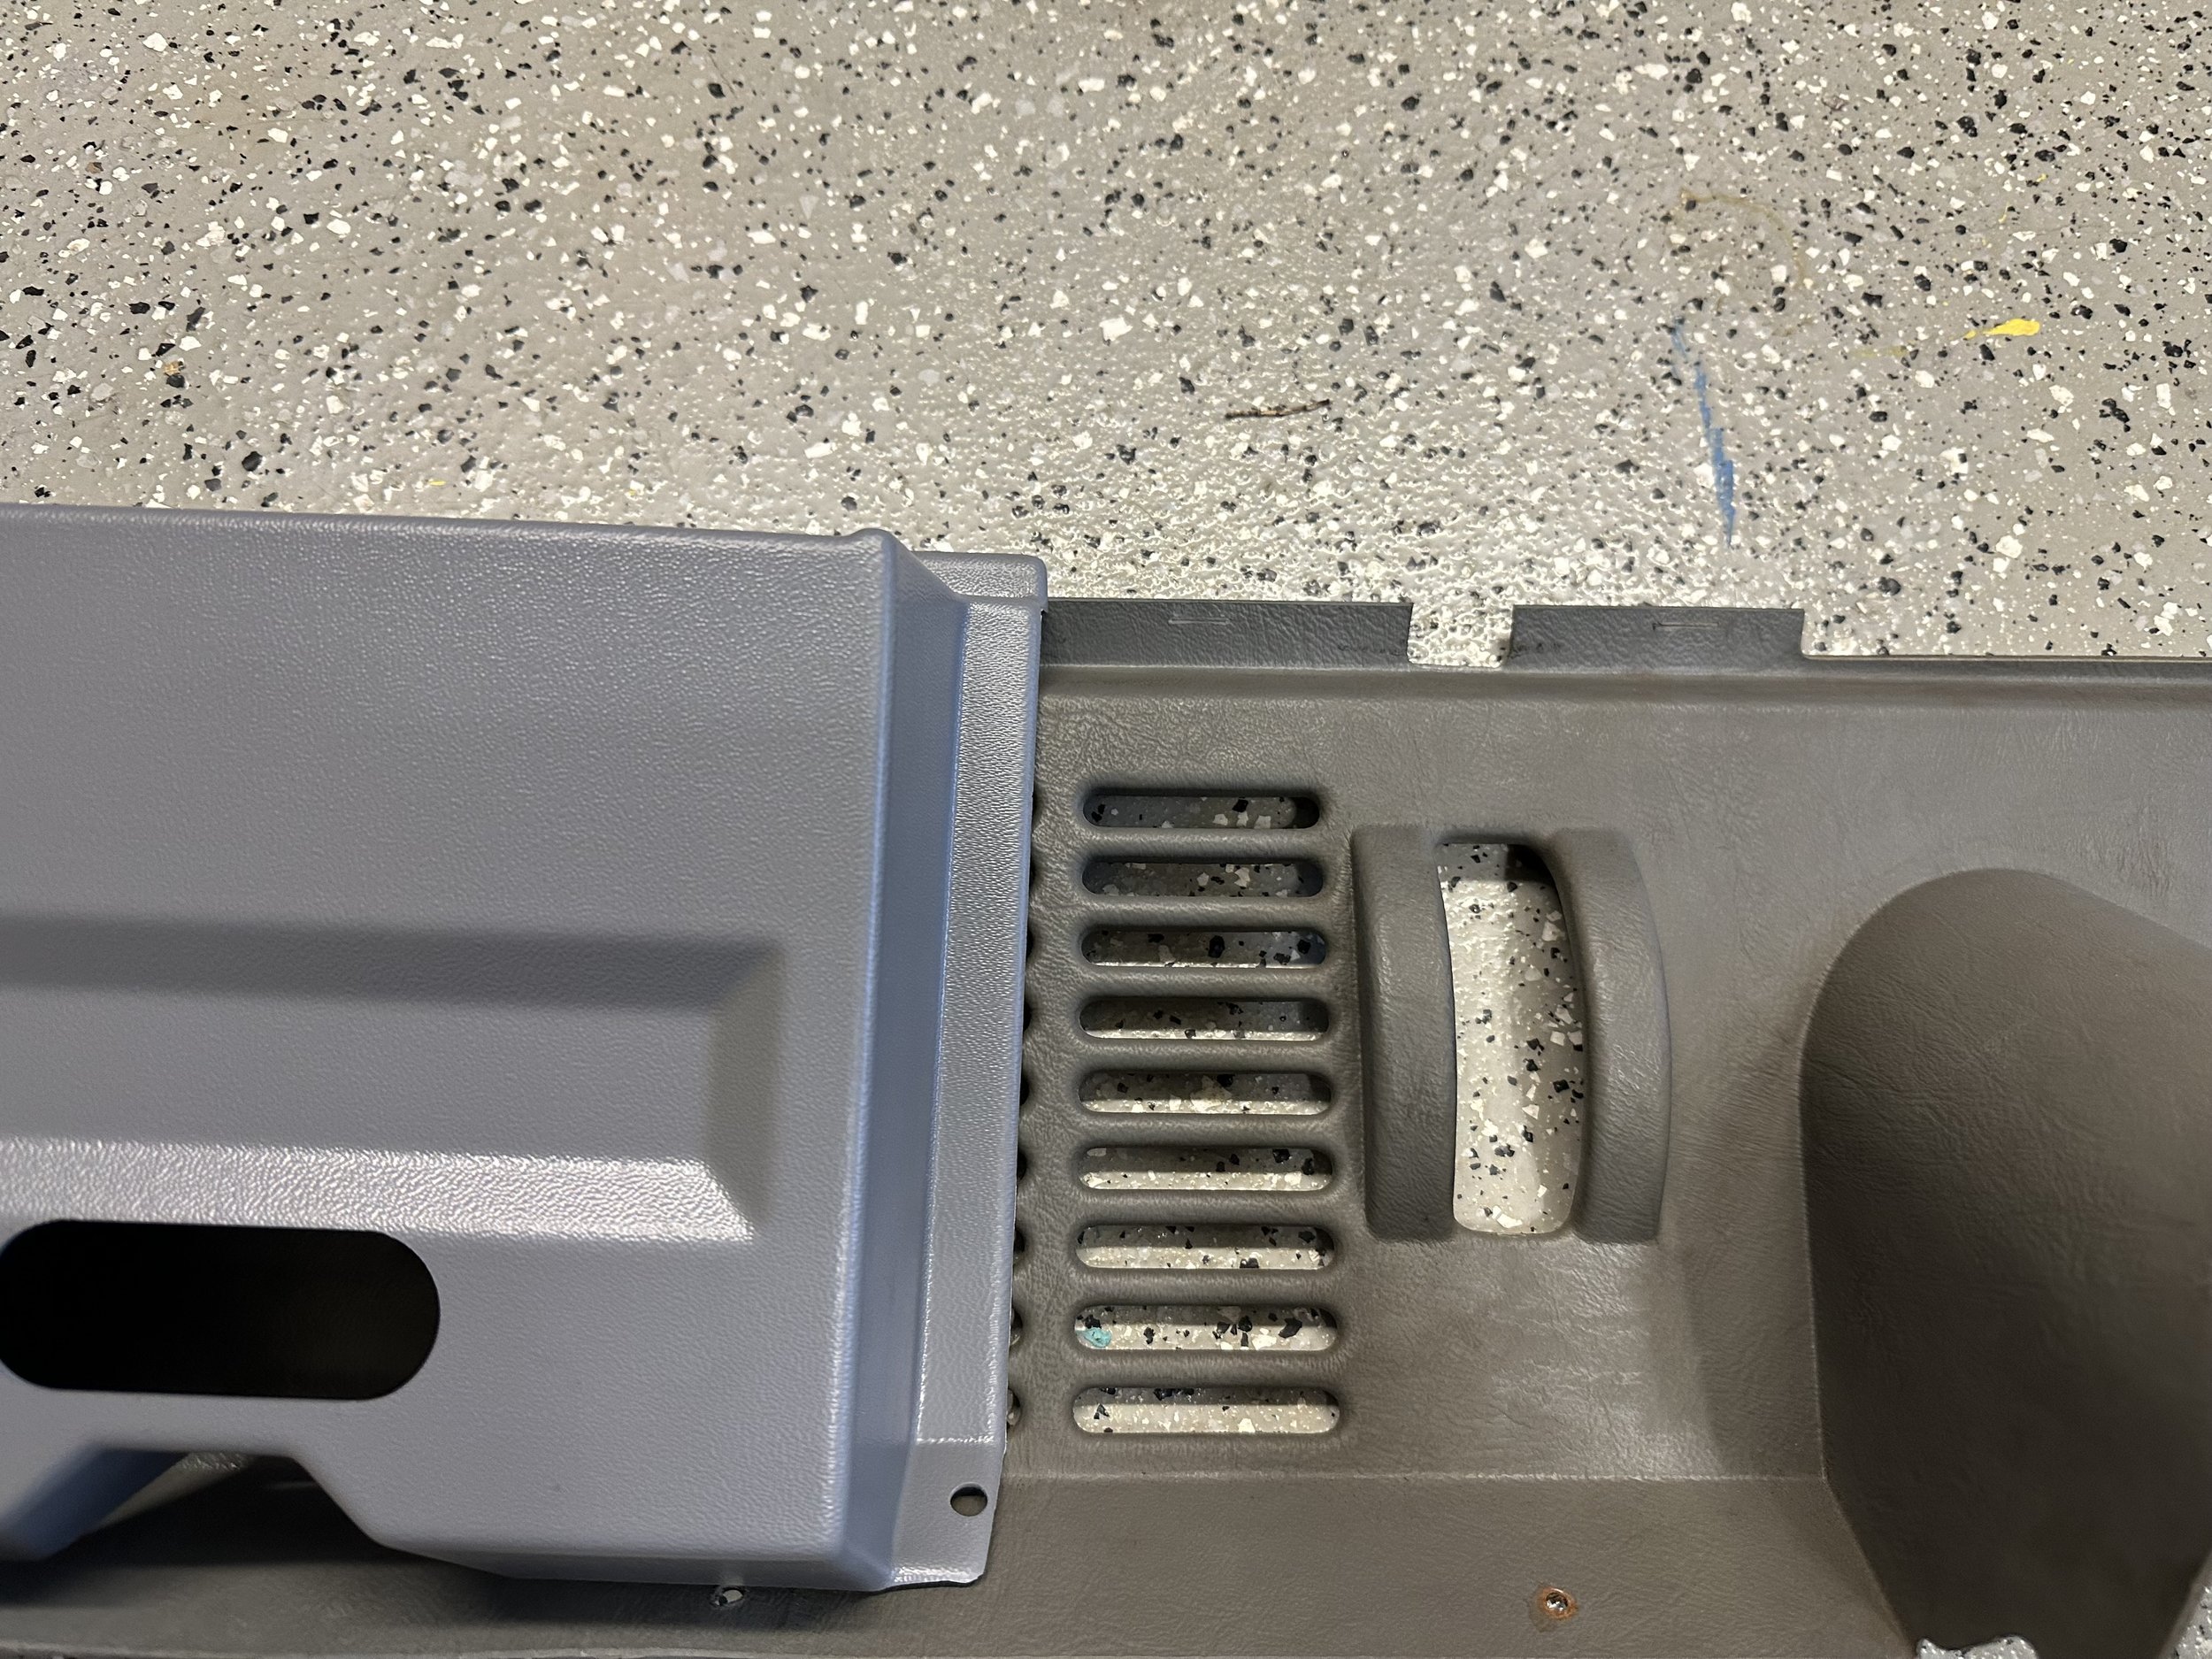
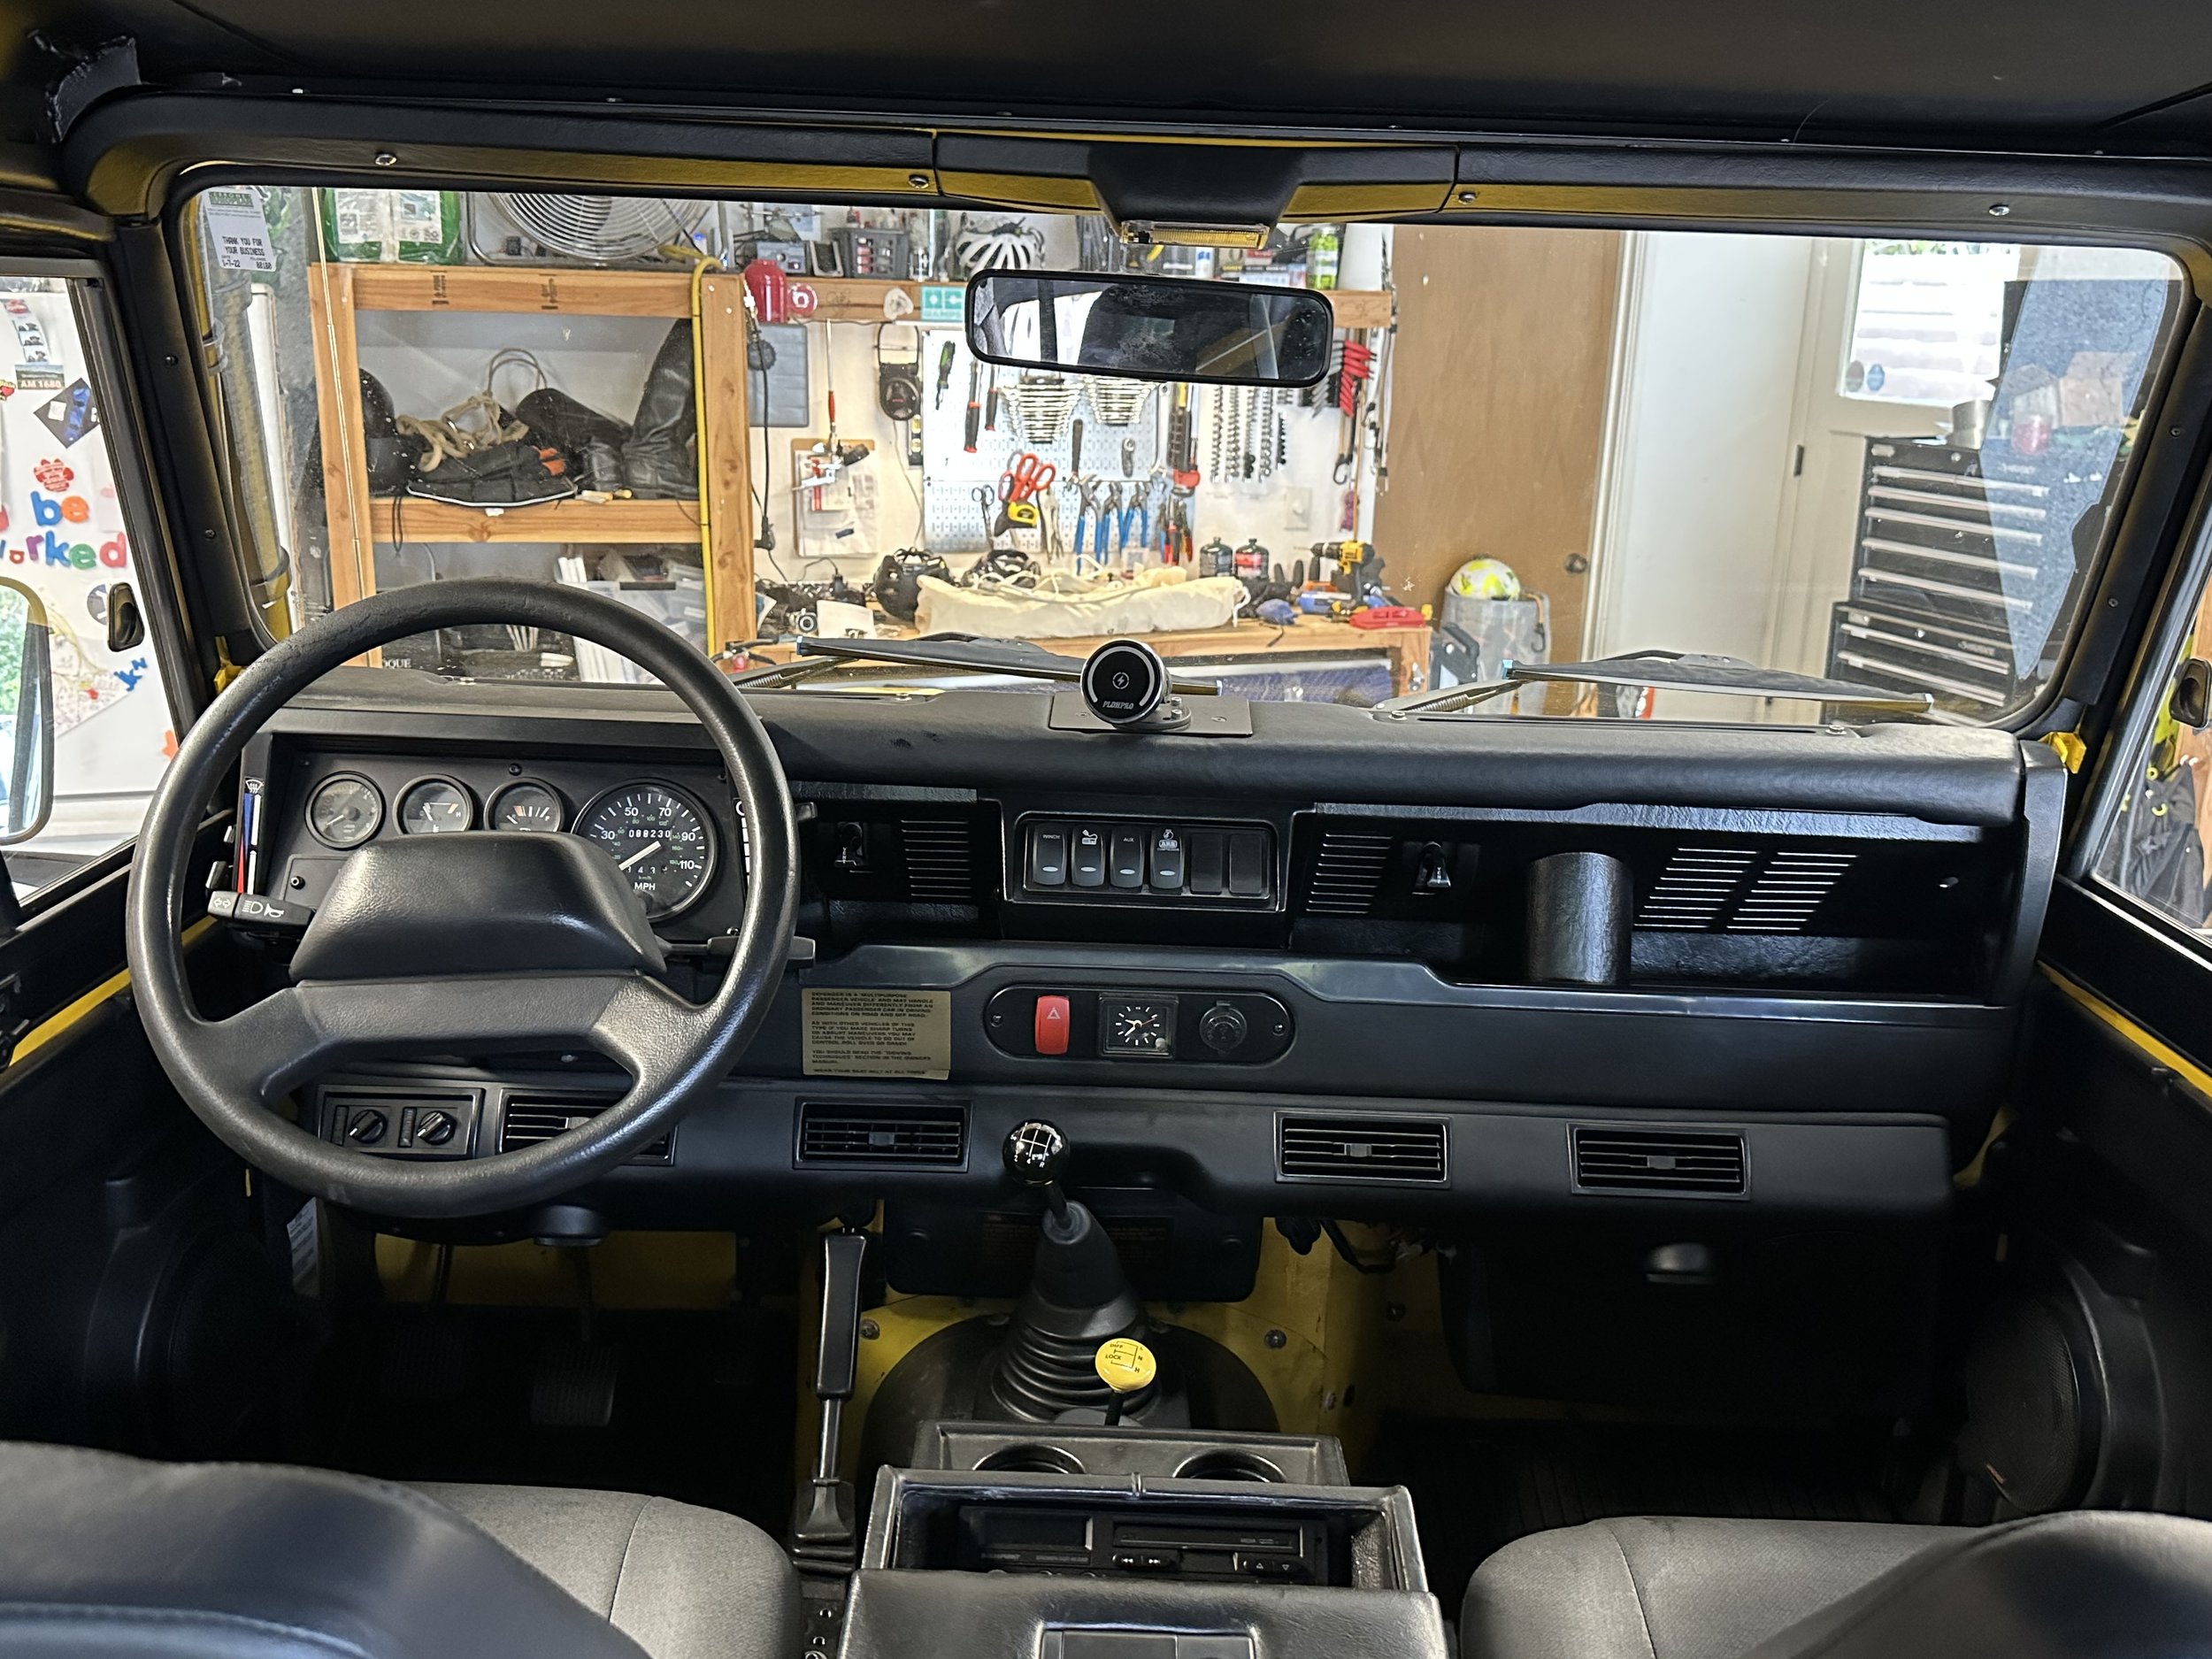
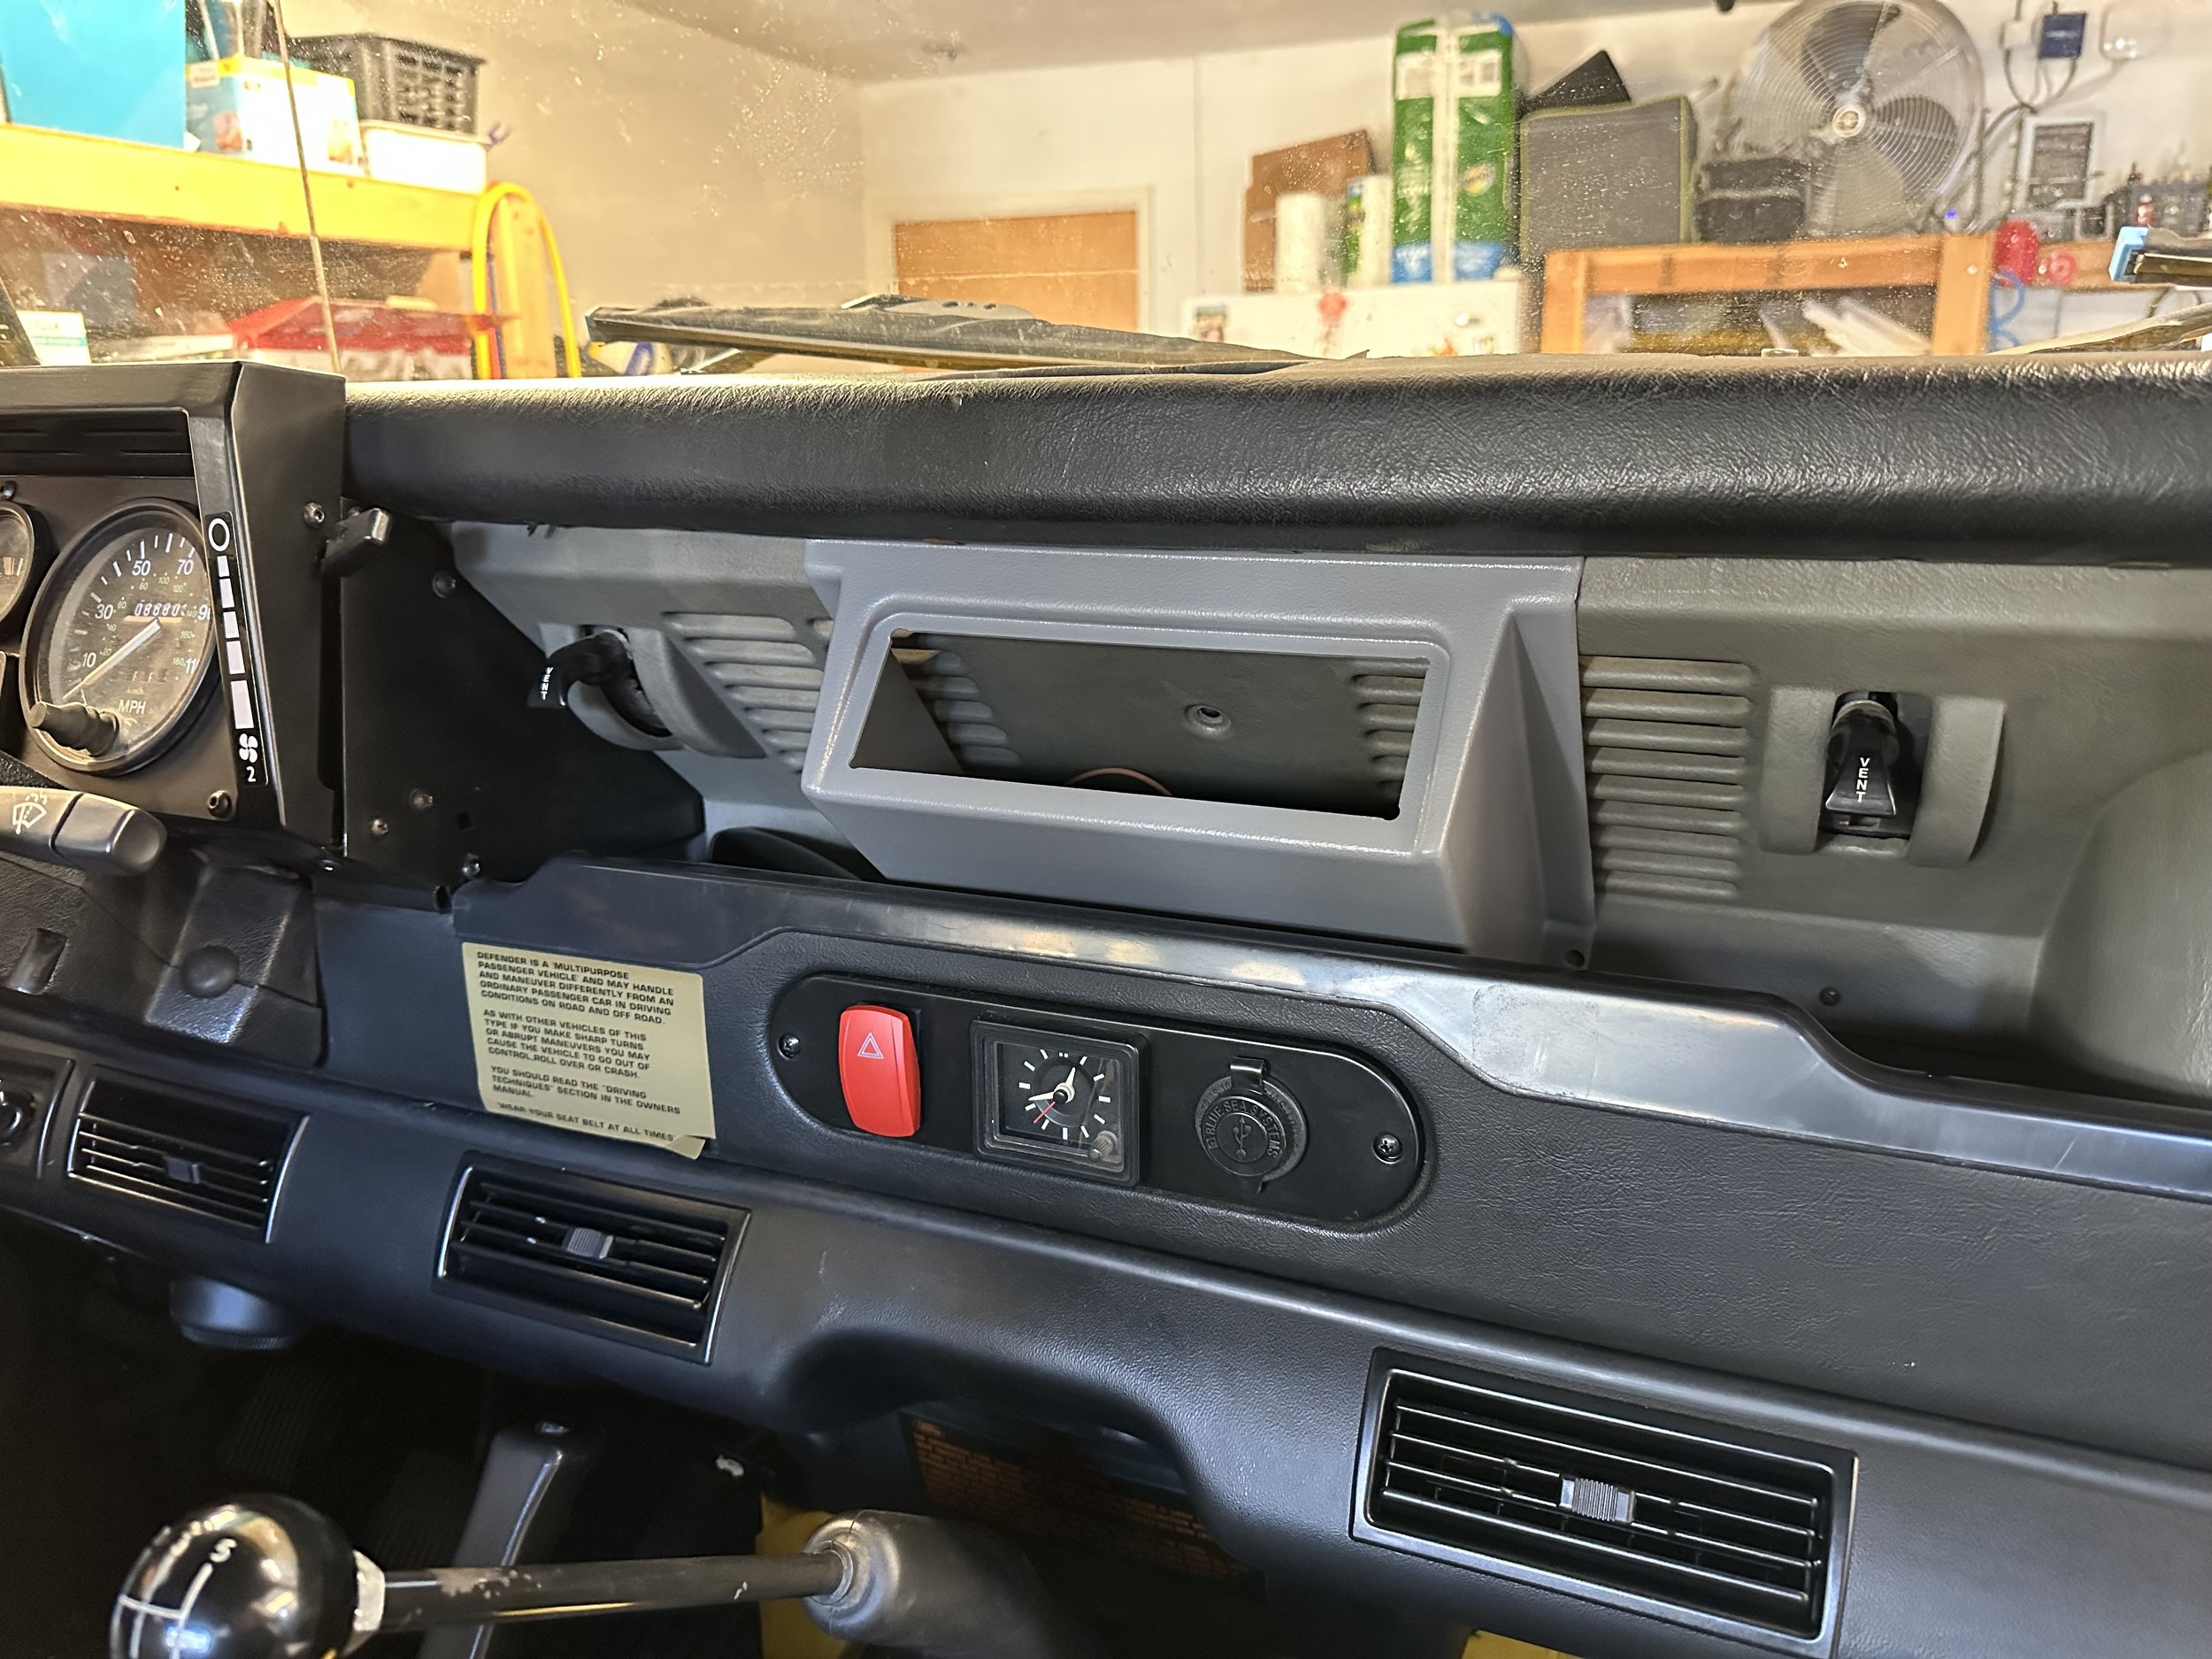
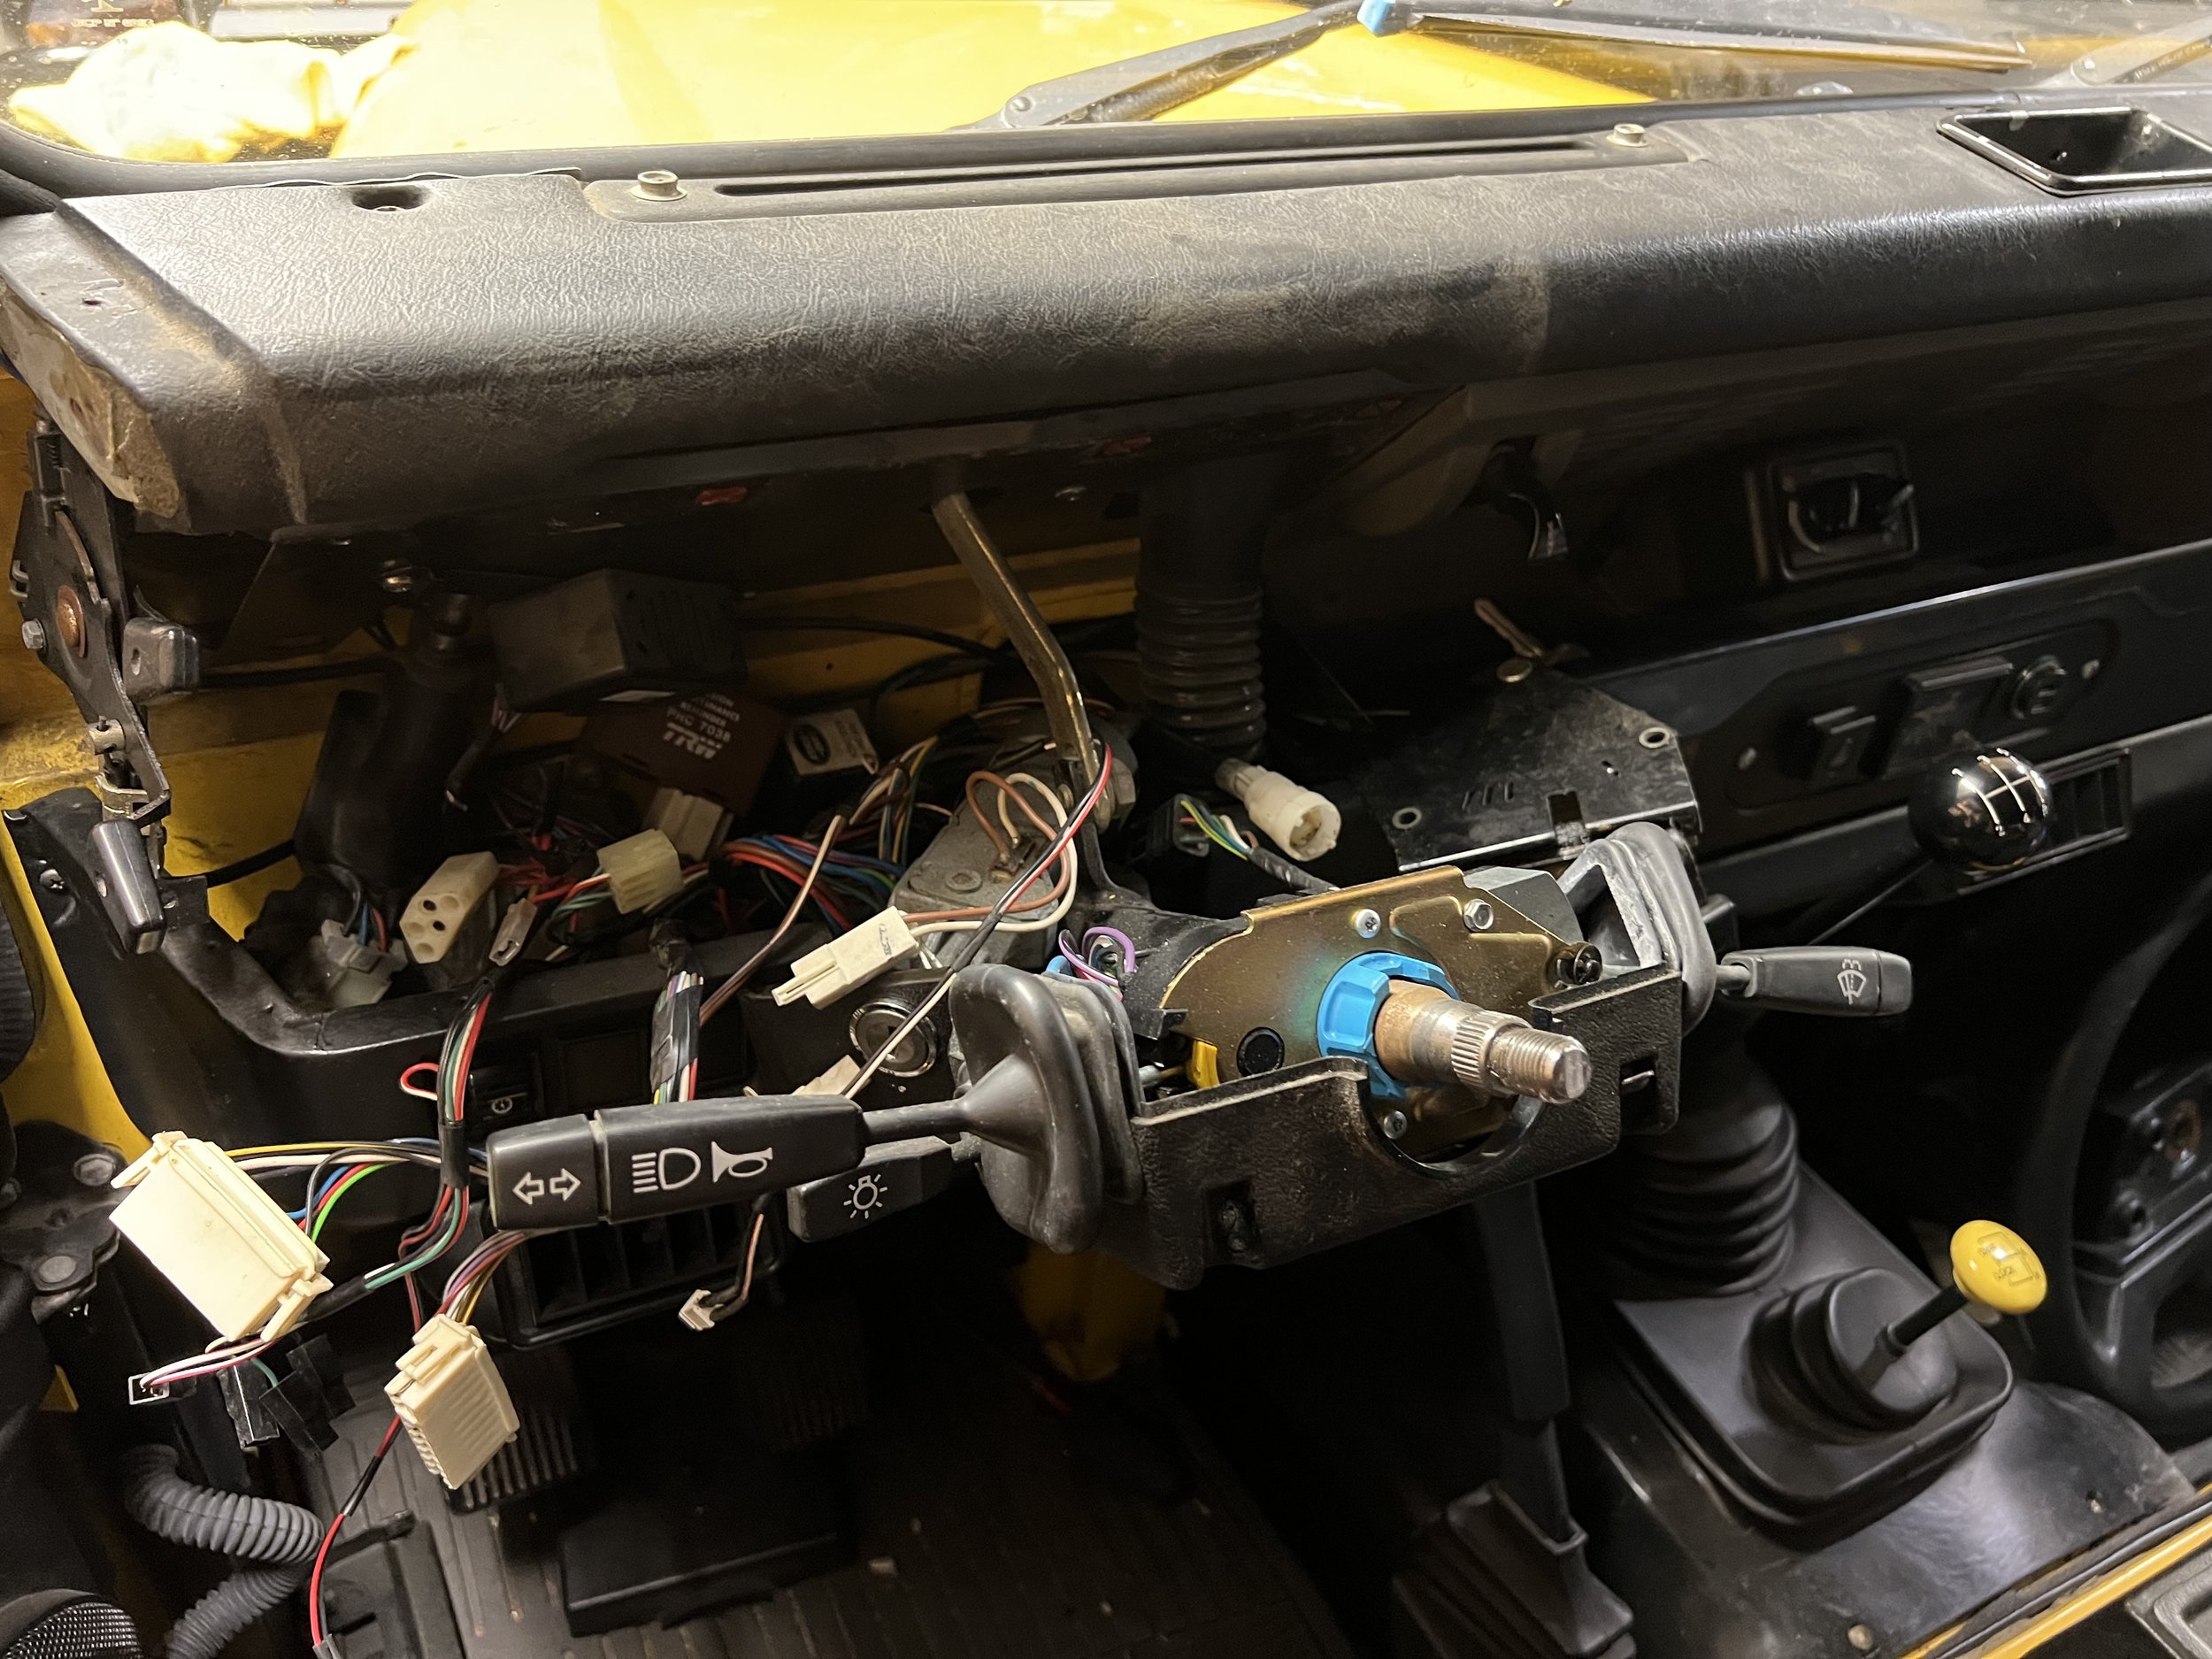
That has led me to my third attempt, which is to keep the retro stereo in the stock location, keep the custom switch plates, but to add the optional radio housing in the center dash which I would fill with switches. The problem is that it requires adding wires up through the dash in factory wire channels which sounds easy enough, but that process is still a pain in the ass as you need to take apart the dash. This option would give the most flexibility, most custom install, while keeping the design aesthetics intact. And then if you are going to have to take apart the dash I felt I might as well reupholster the dash as well as paint the plastic dash fascia black which was a design change Land Rover made in the later years. Anyone with an older Defender that has the gray plastic knows that gray turns yellow over the years. Going black is a much cleaner look and still stock in some circles.

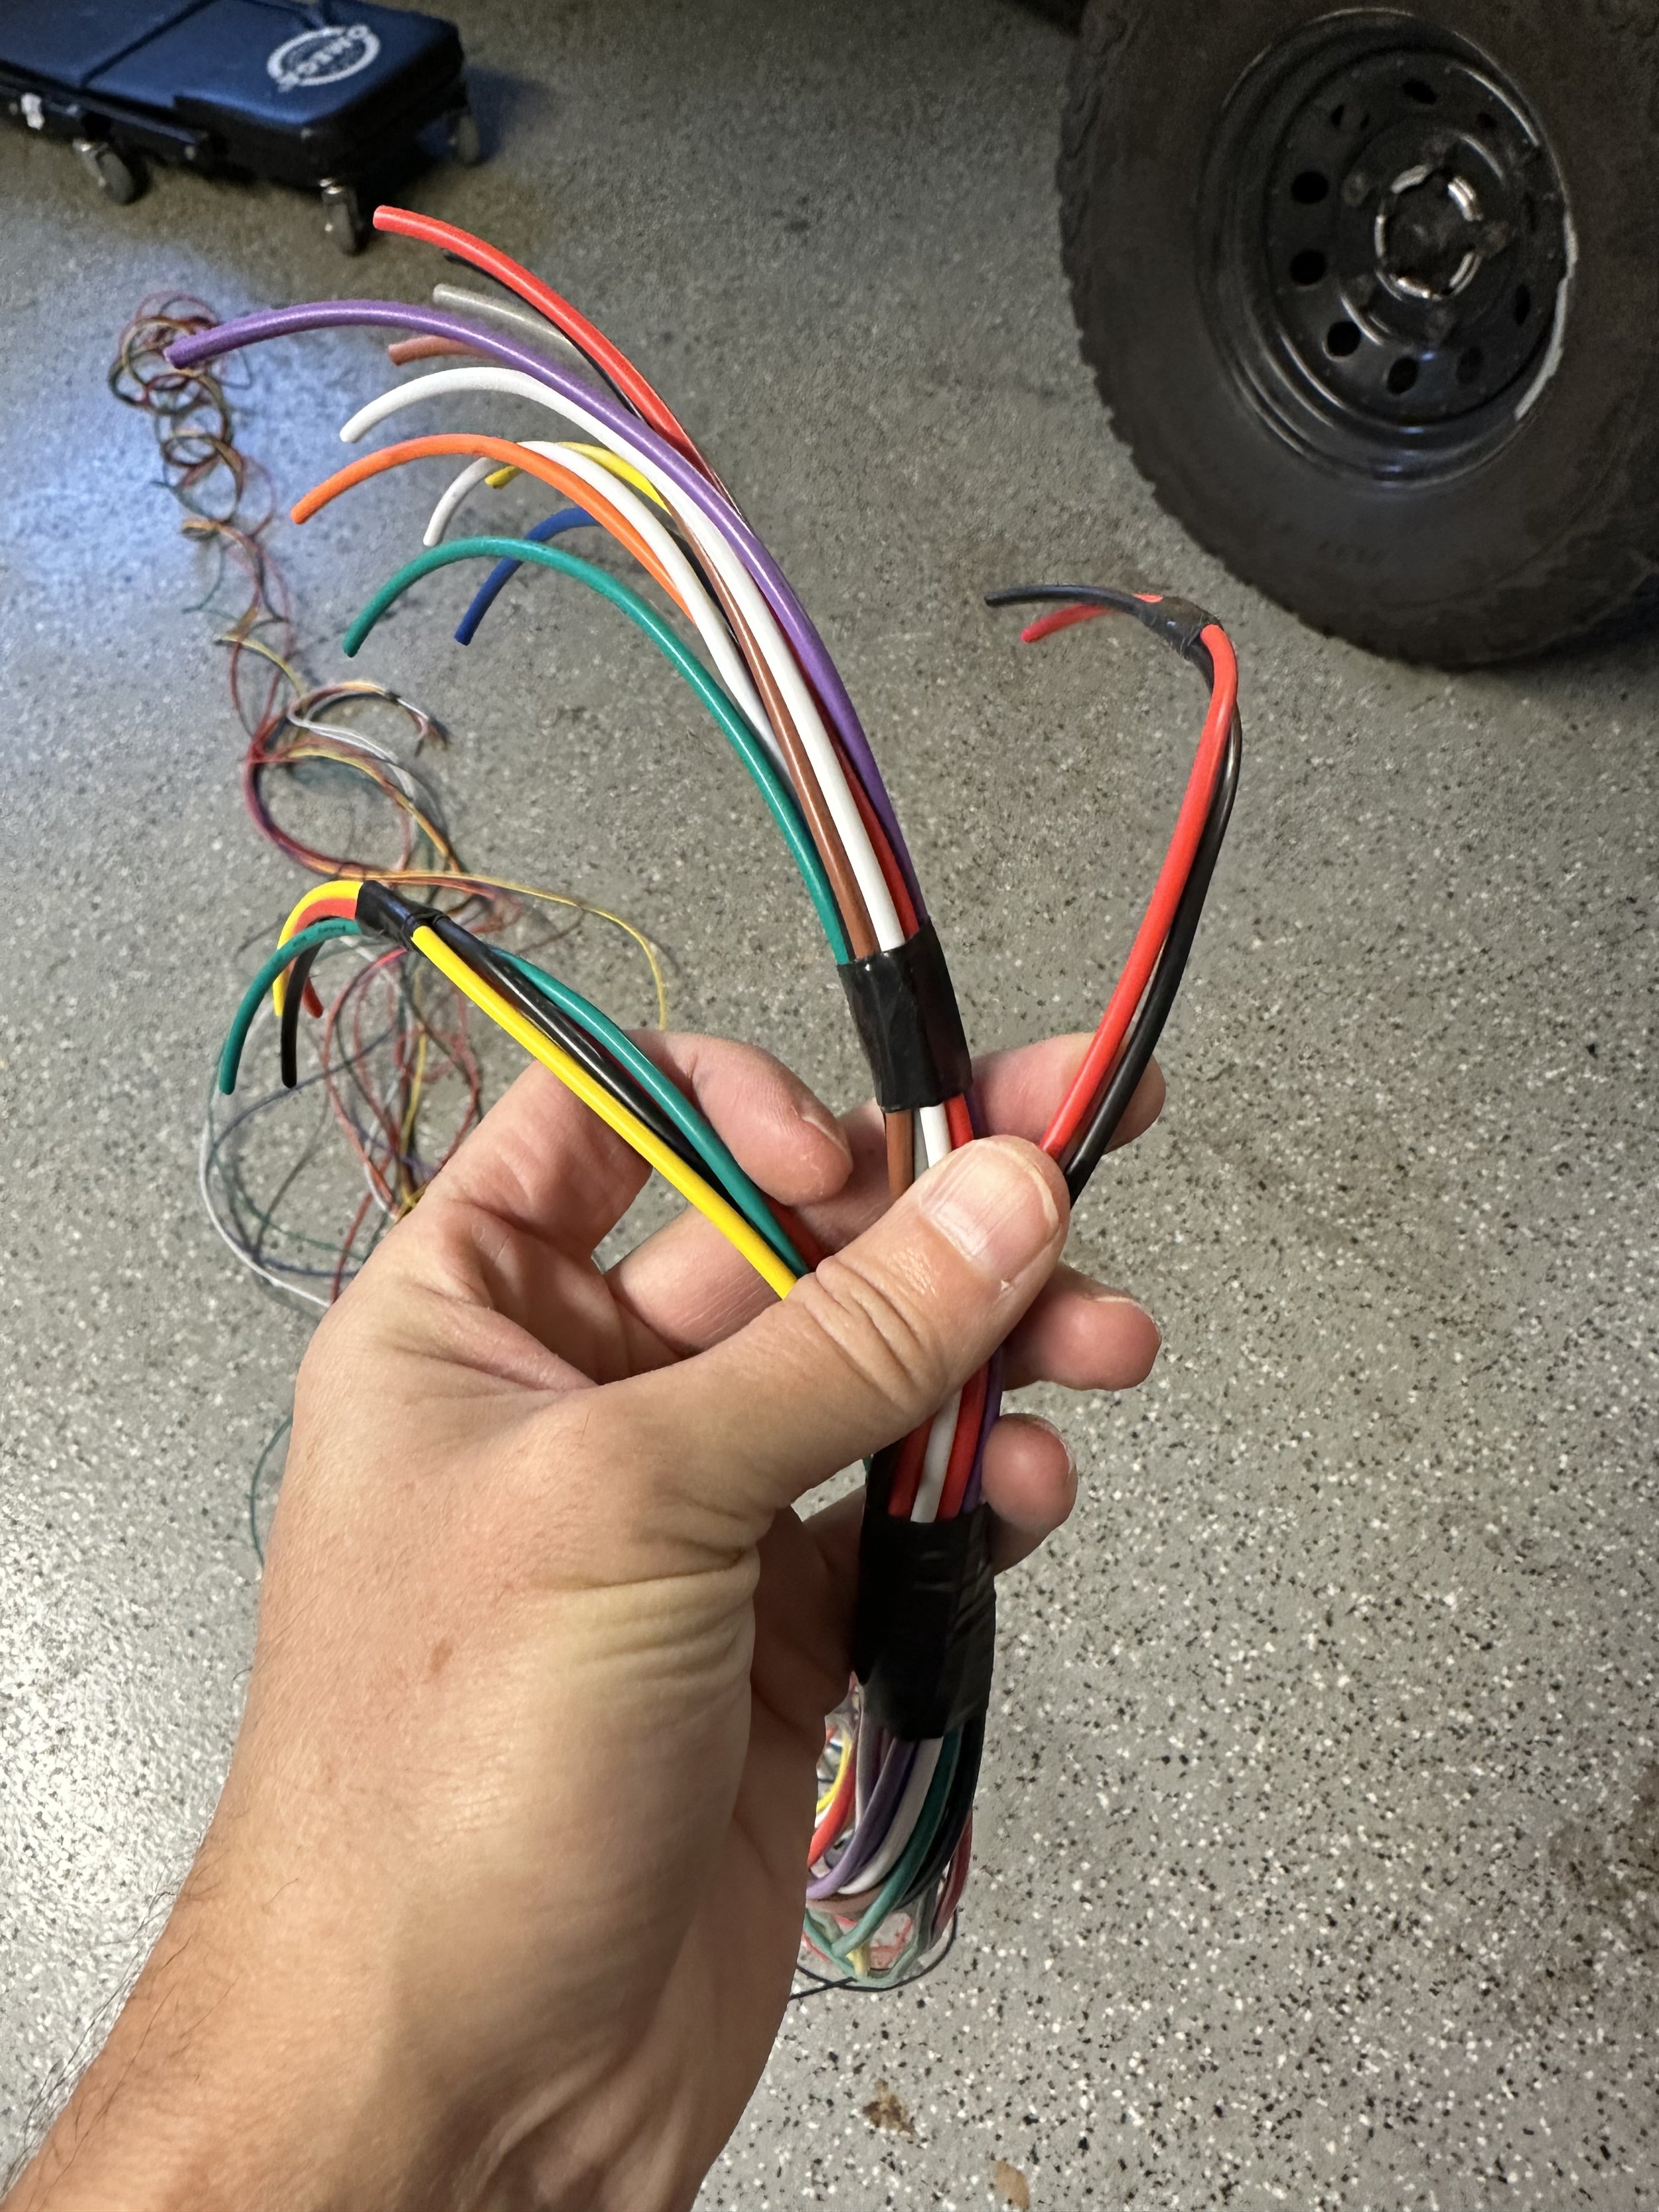
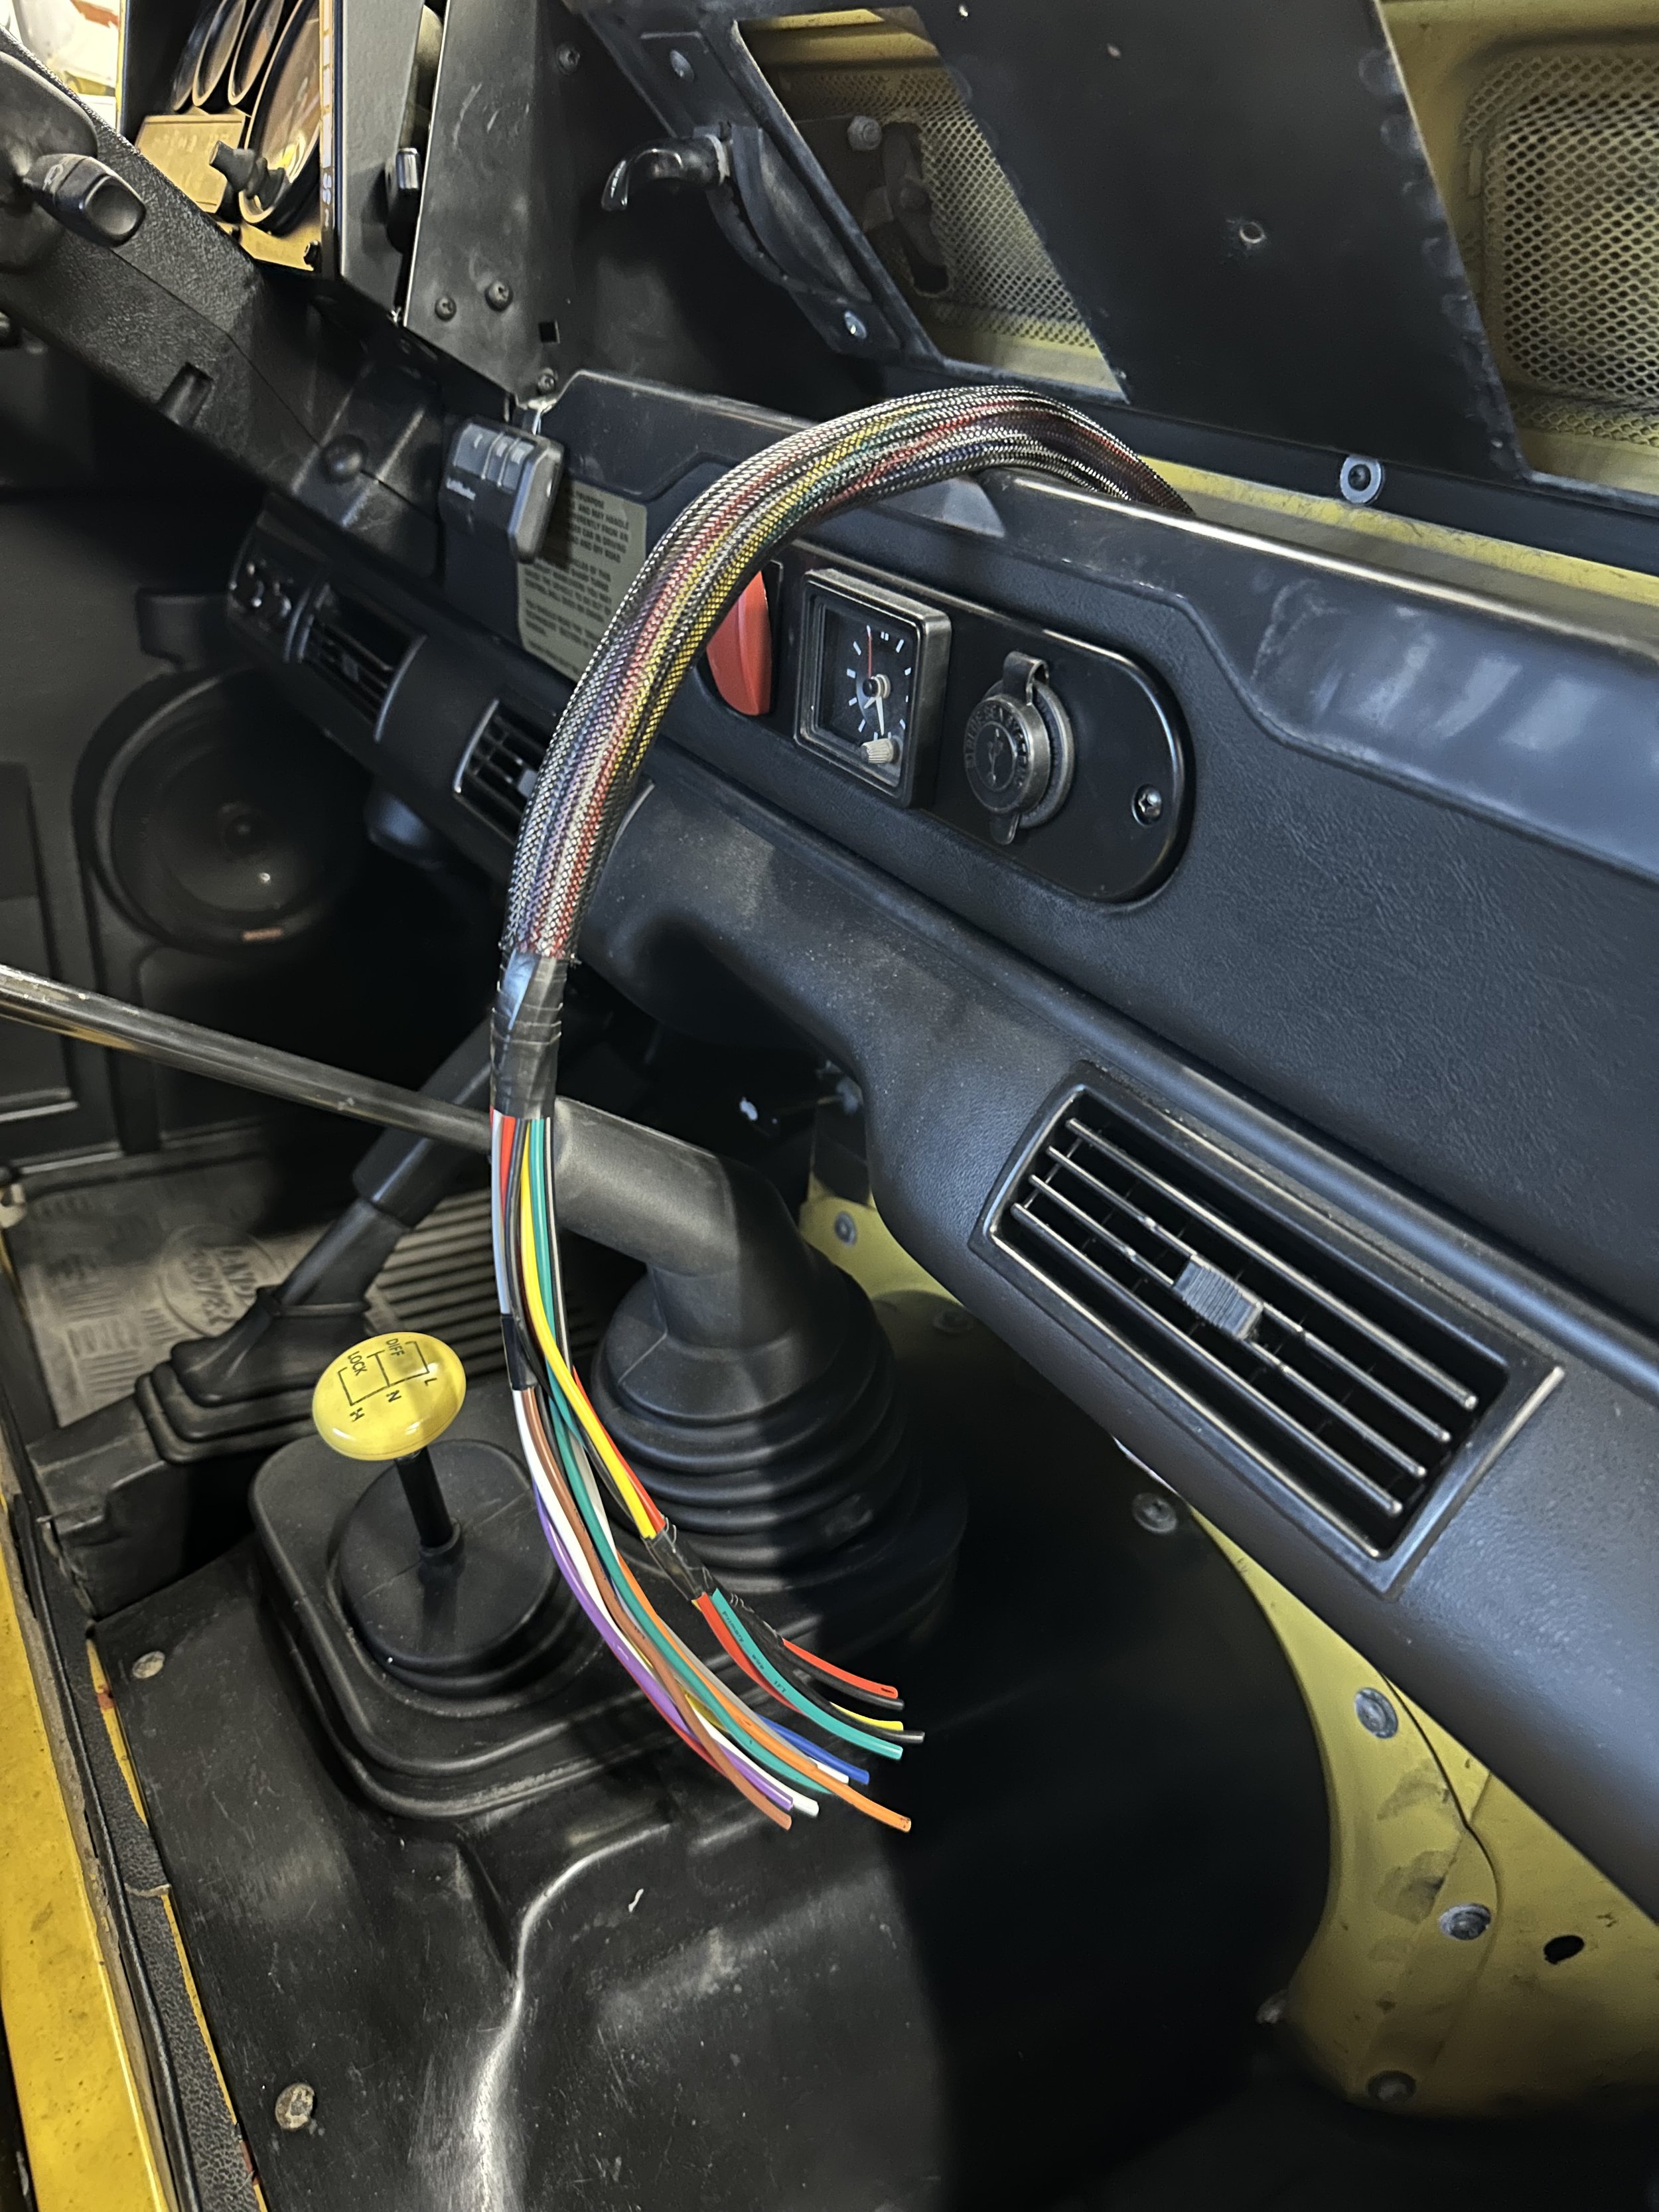
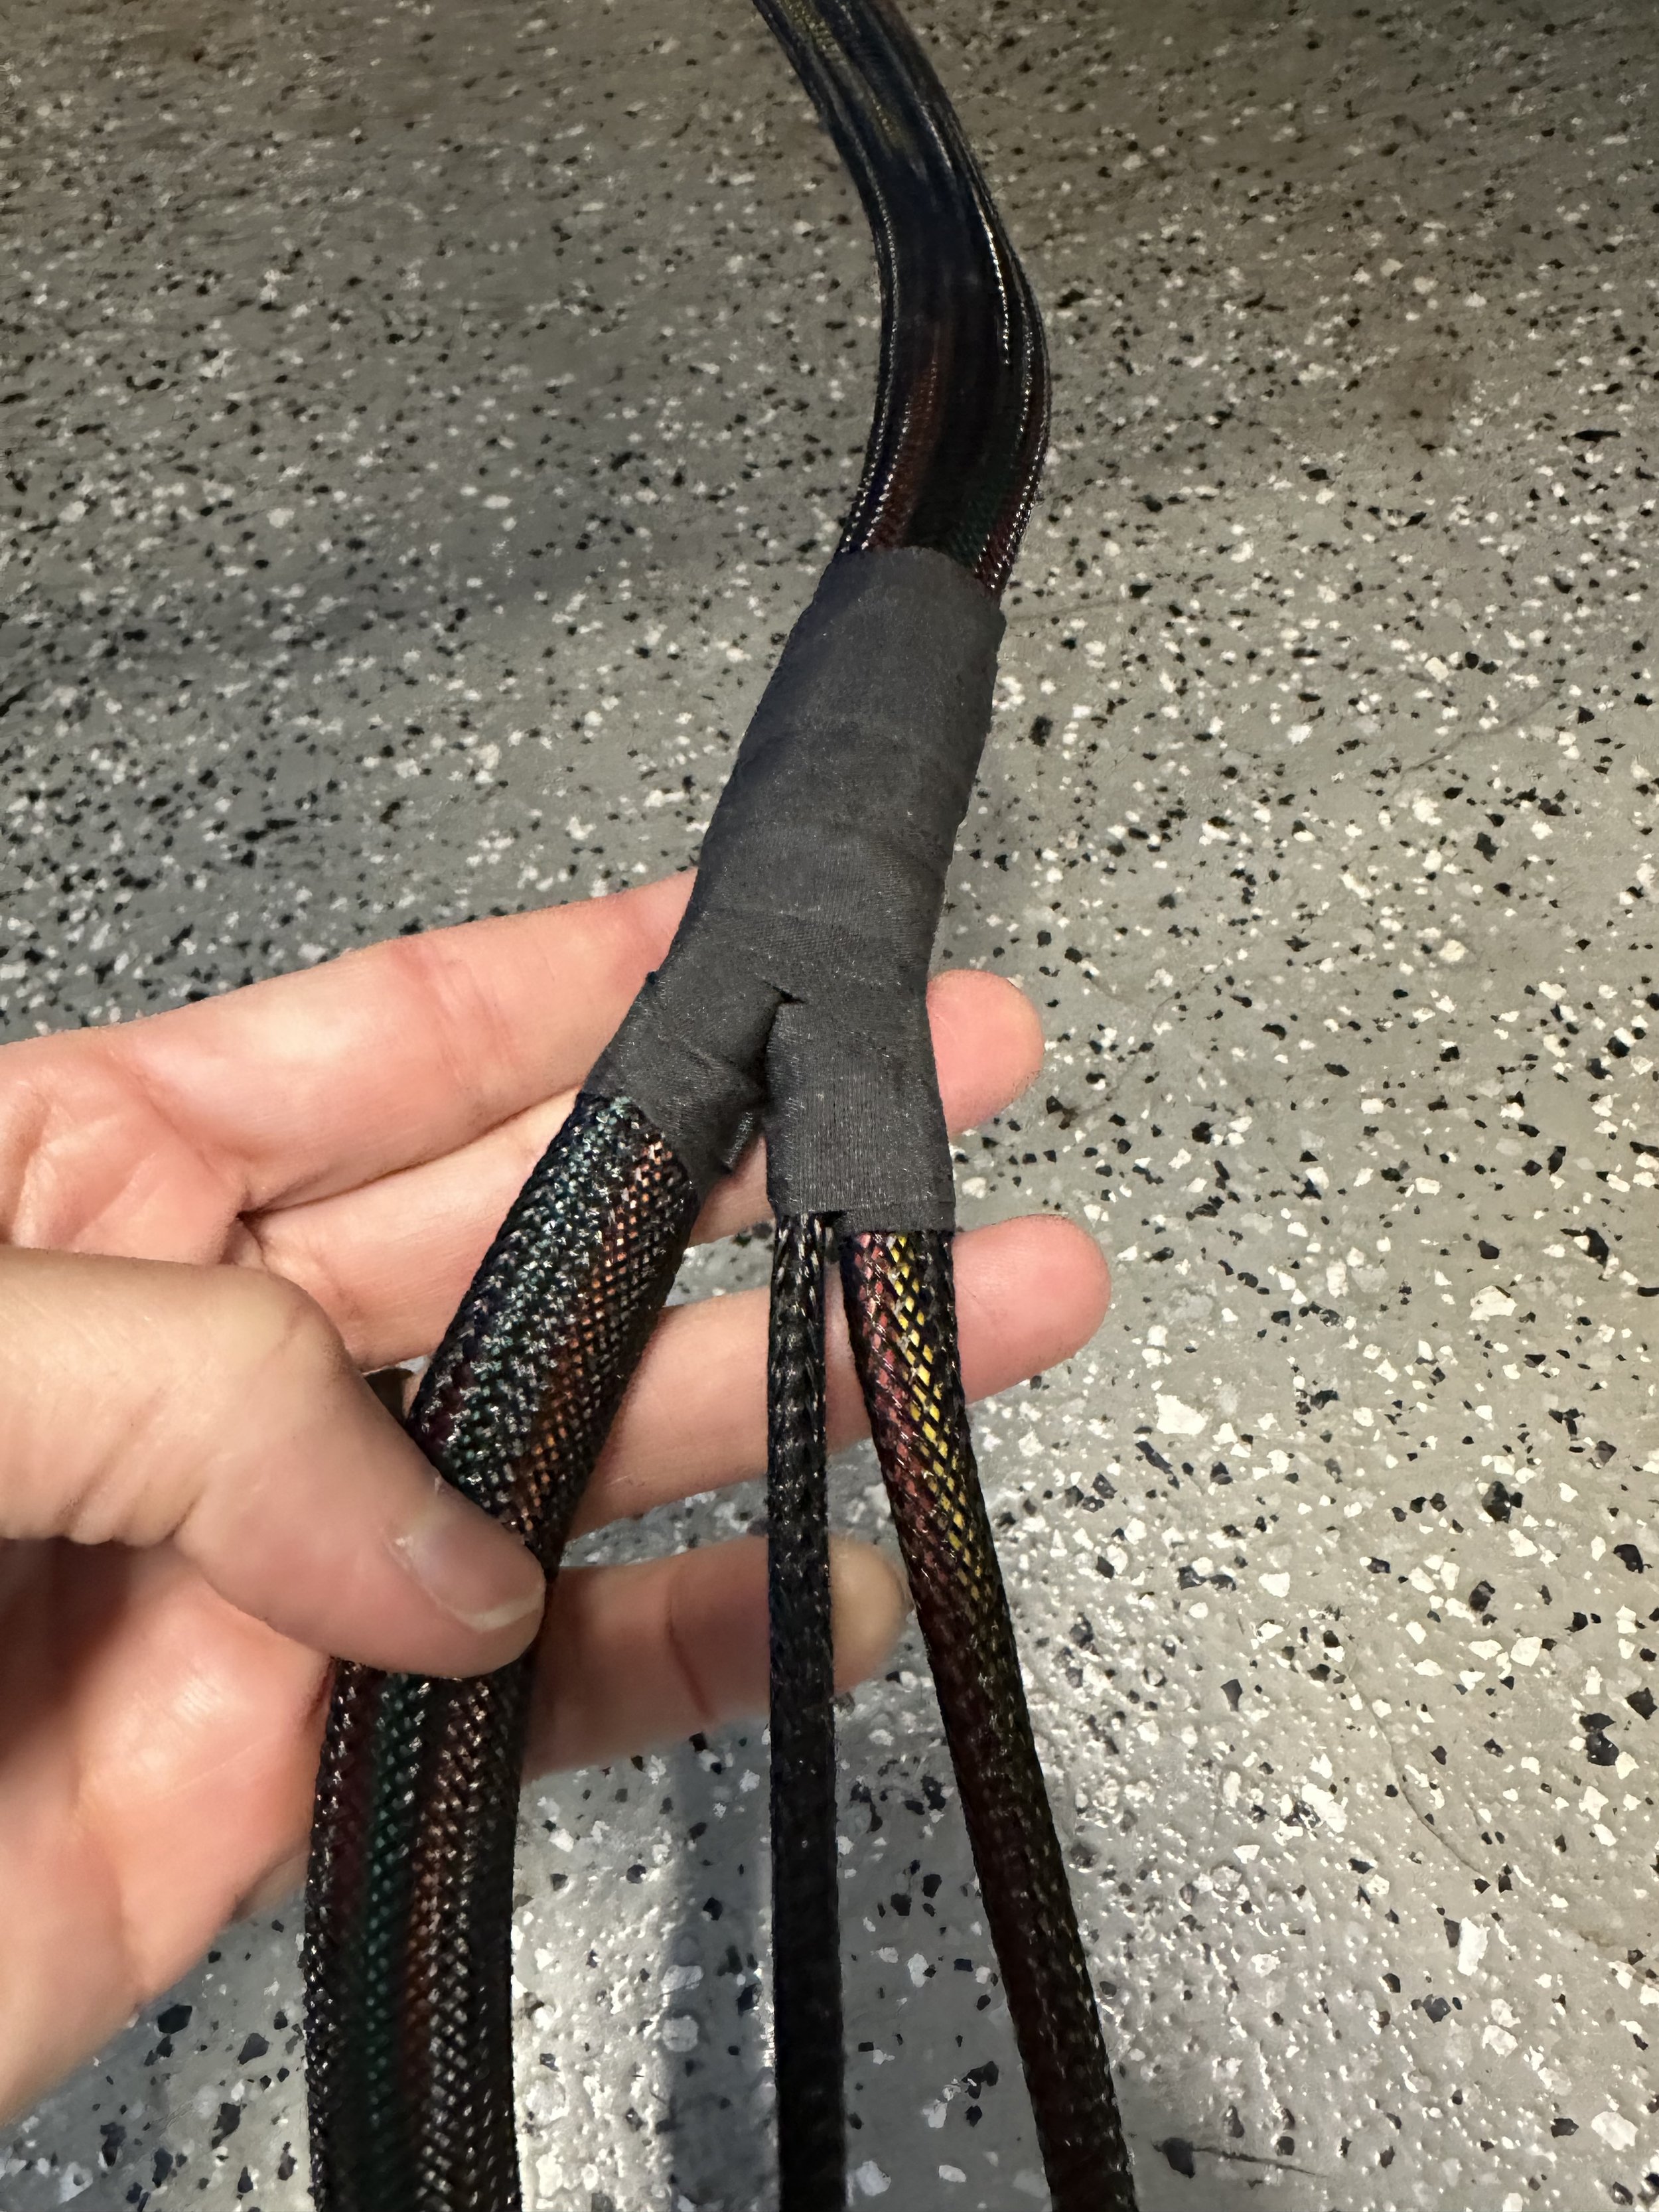
After getting the dash dismantled I sent out the dash to be professionally reupholstered and the plastic bits to be hit with automotive black paint. That allowed me to gain access to the wire channels, but first I had to create my own wire harnesses. I mapped out my wire needs but then added a few extra wires to future proof my design. I then went with larger gauge wire than I needed so that I don’t have to worry in the future about the wire harness being able to handle different levels of power. I then measured and cut the wire so that I could wrap it with automotive grade wire wrap. I then used automotive grade wire tape to seal the wrapped ends. Needless to say this whole process took many hours but I feel the end product is worth it.

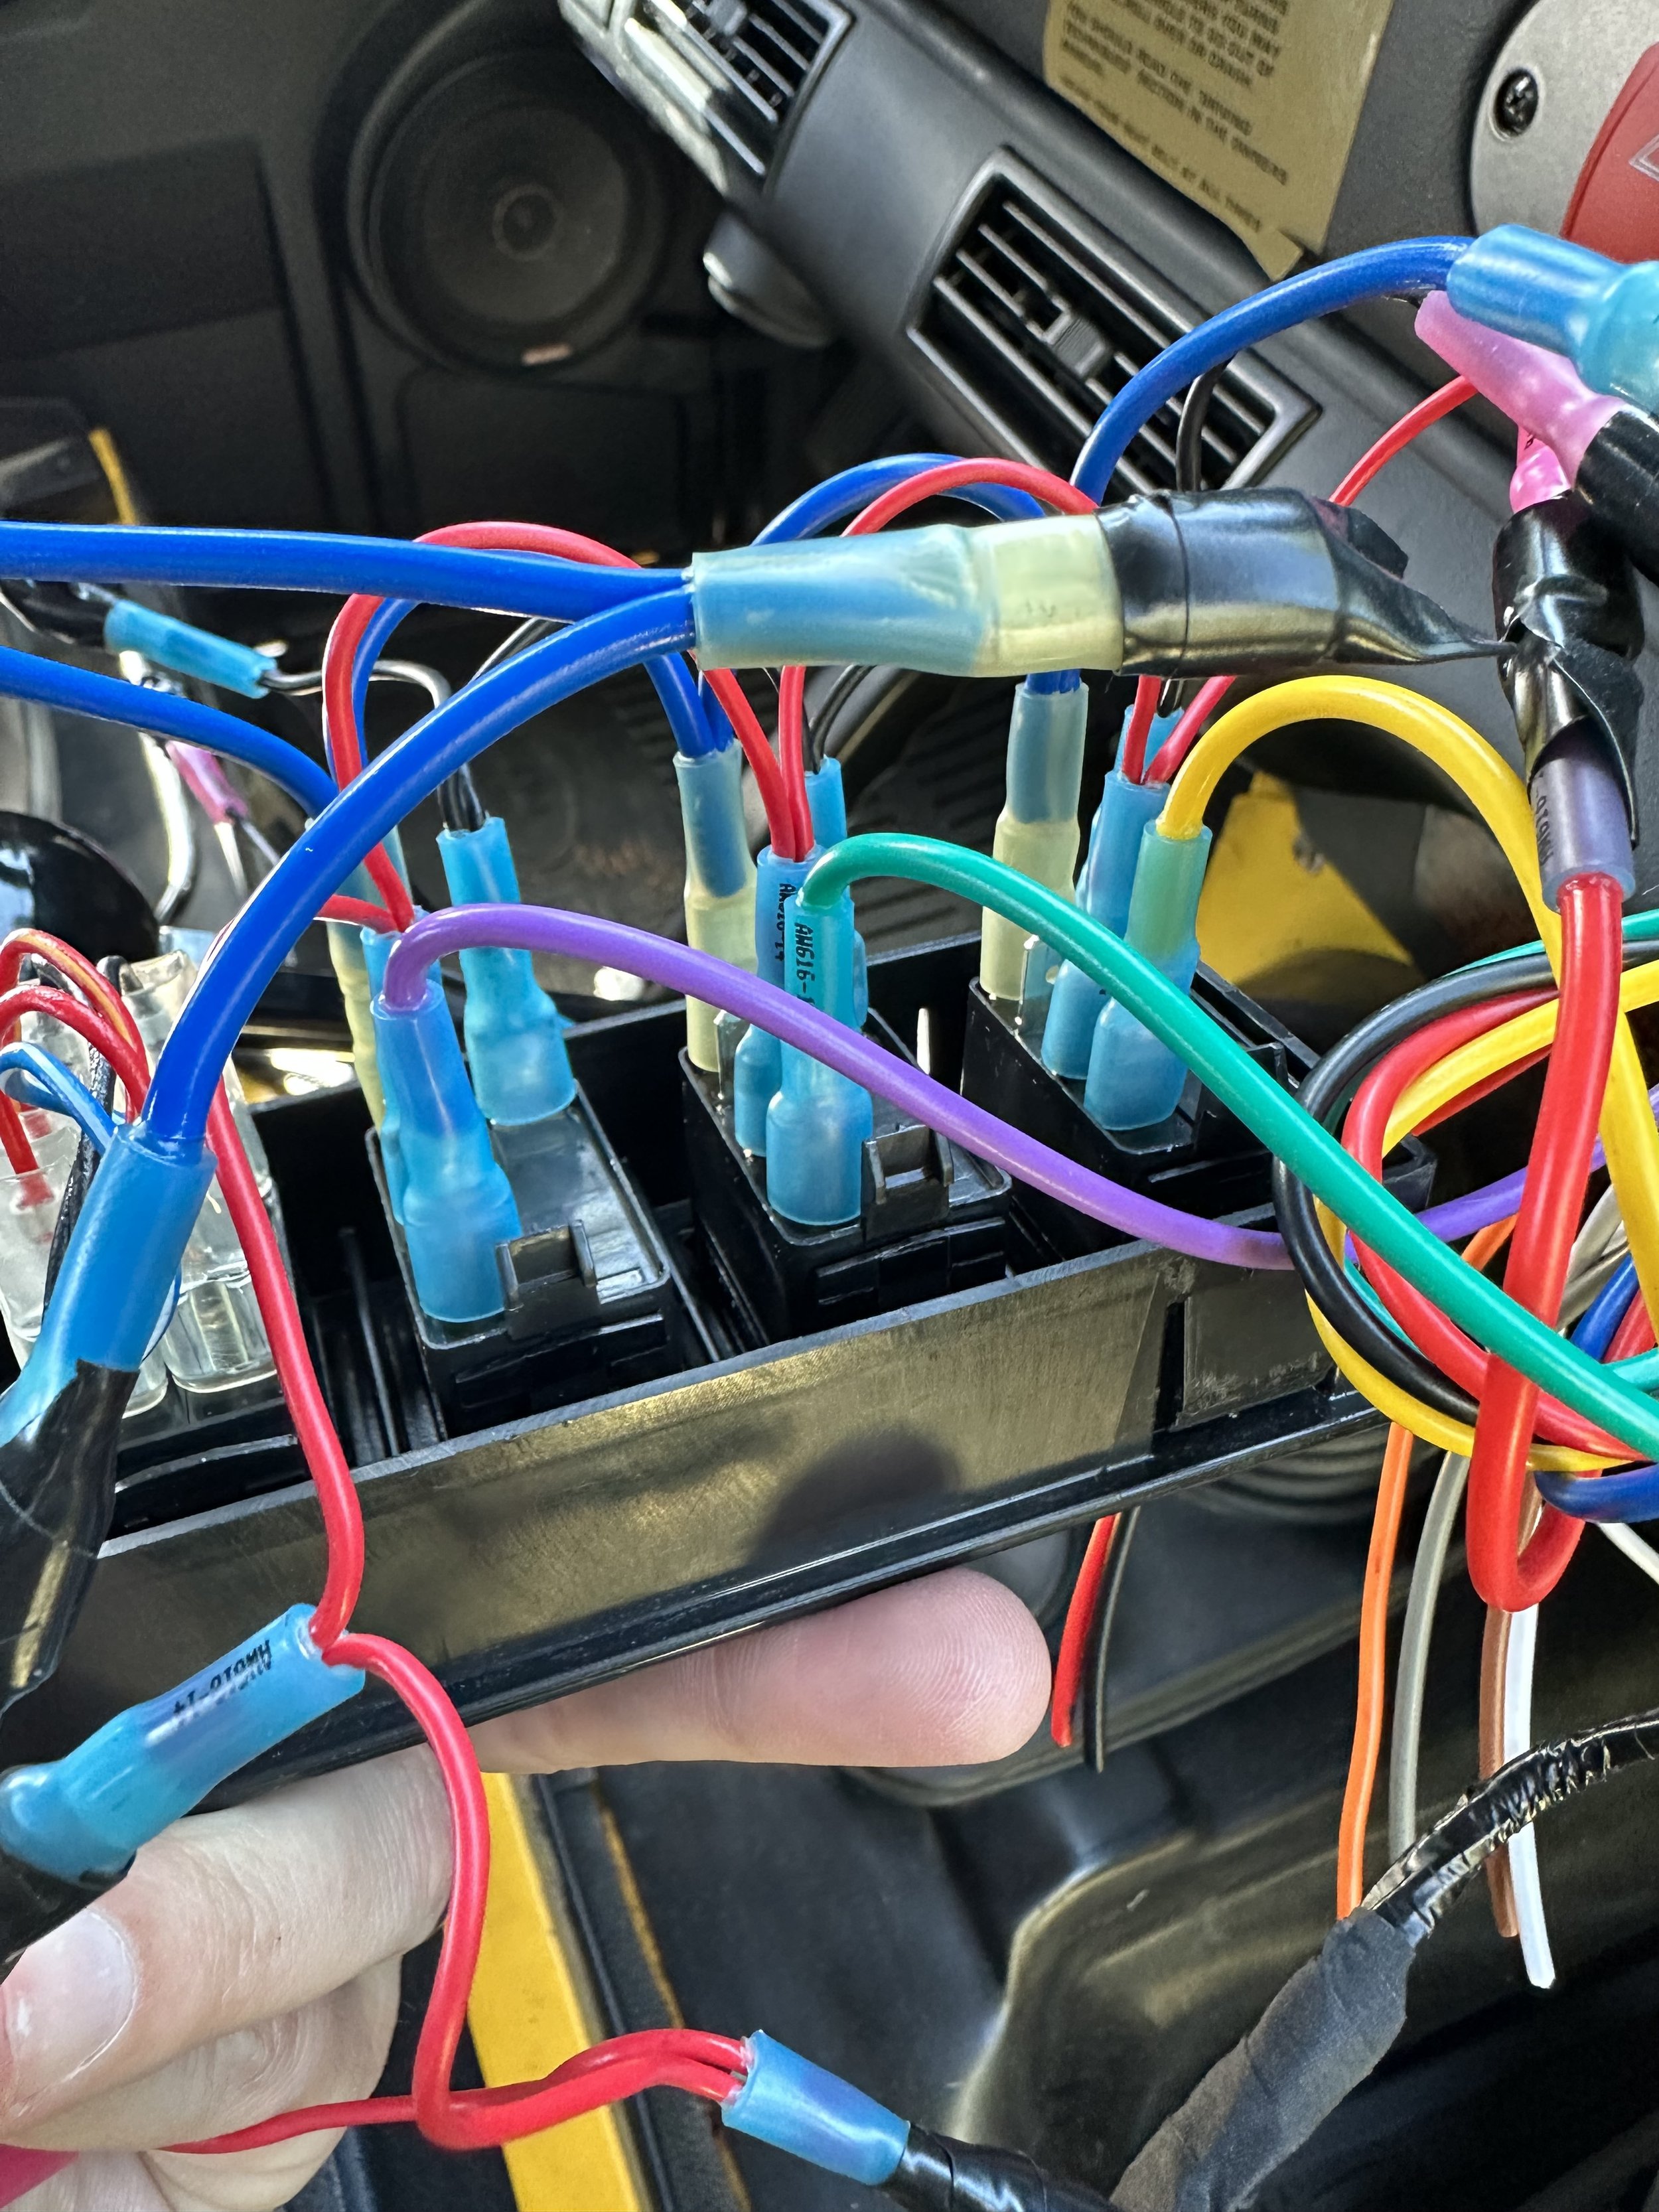
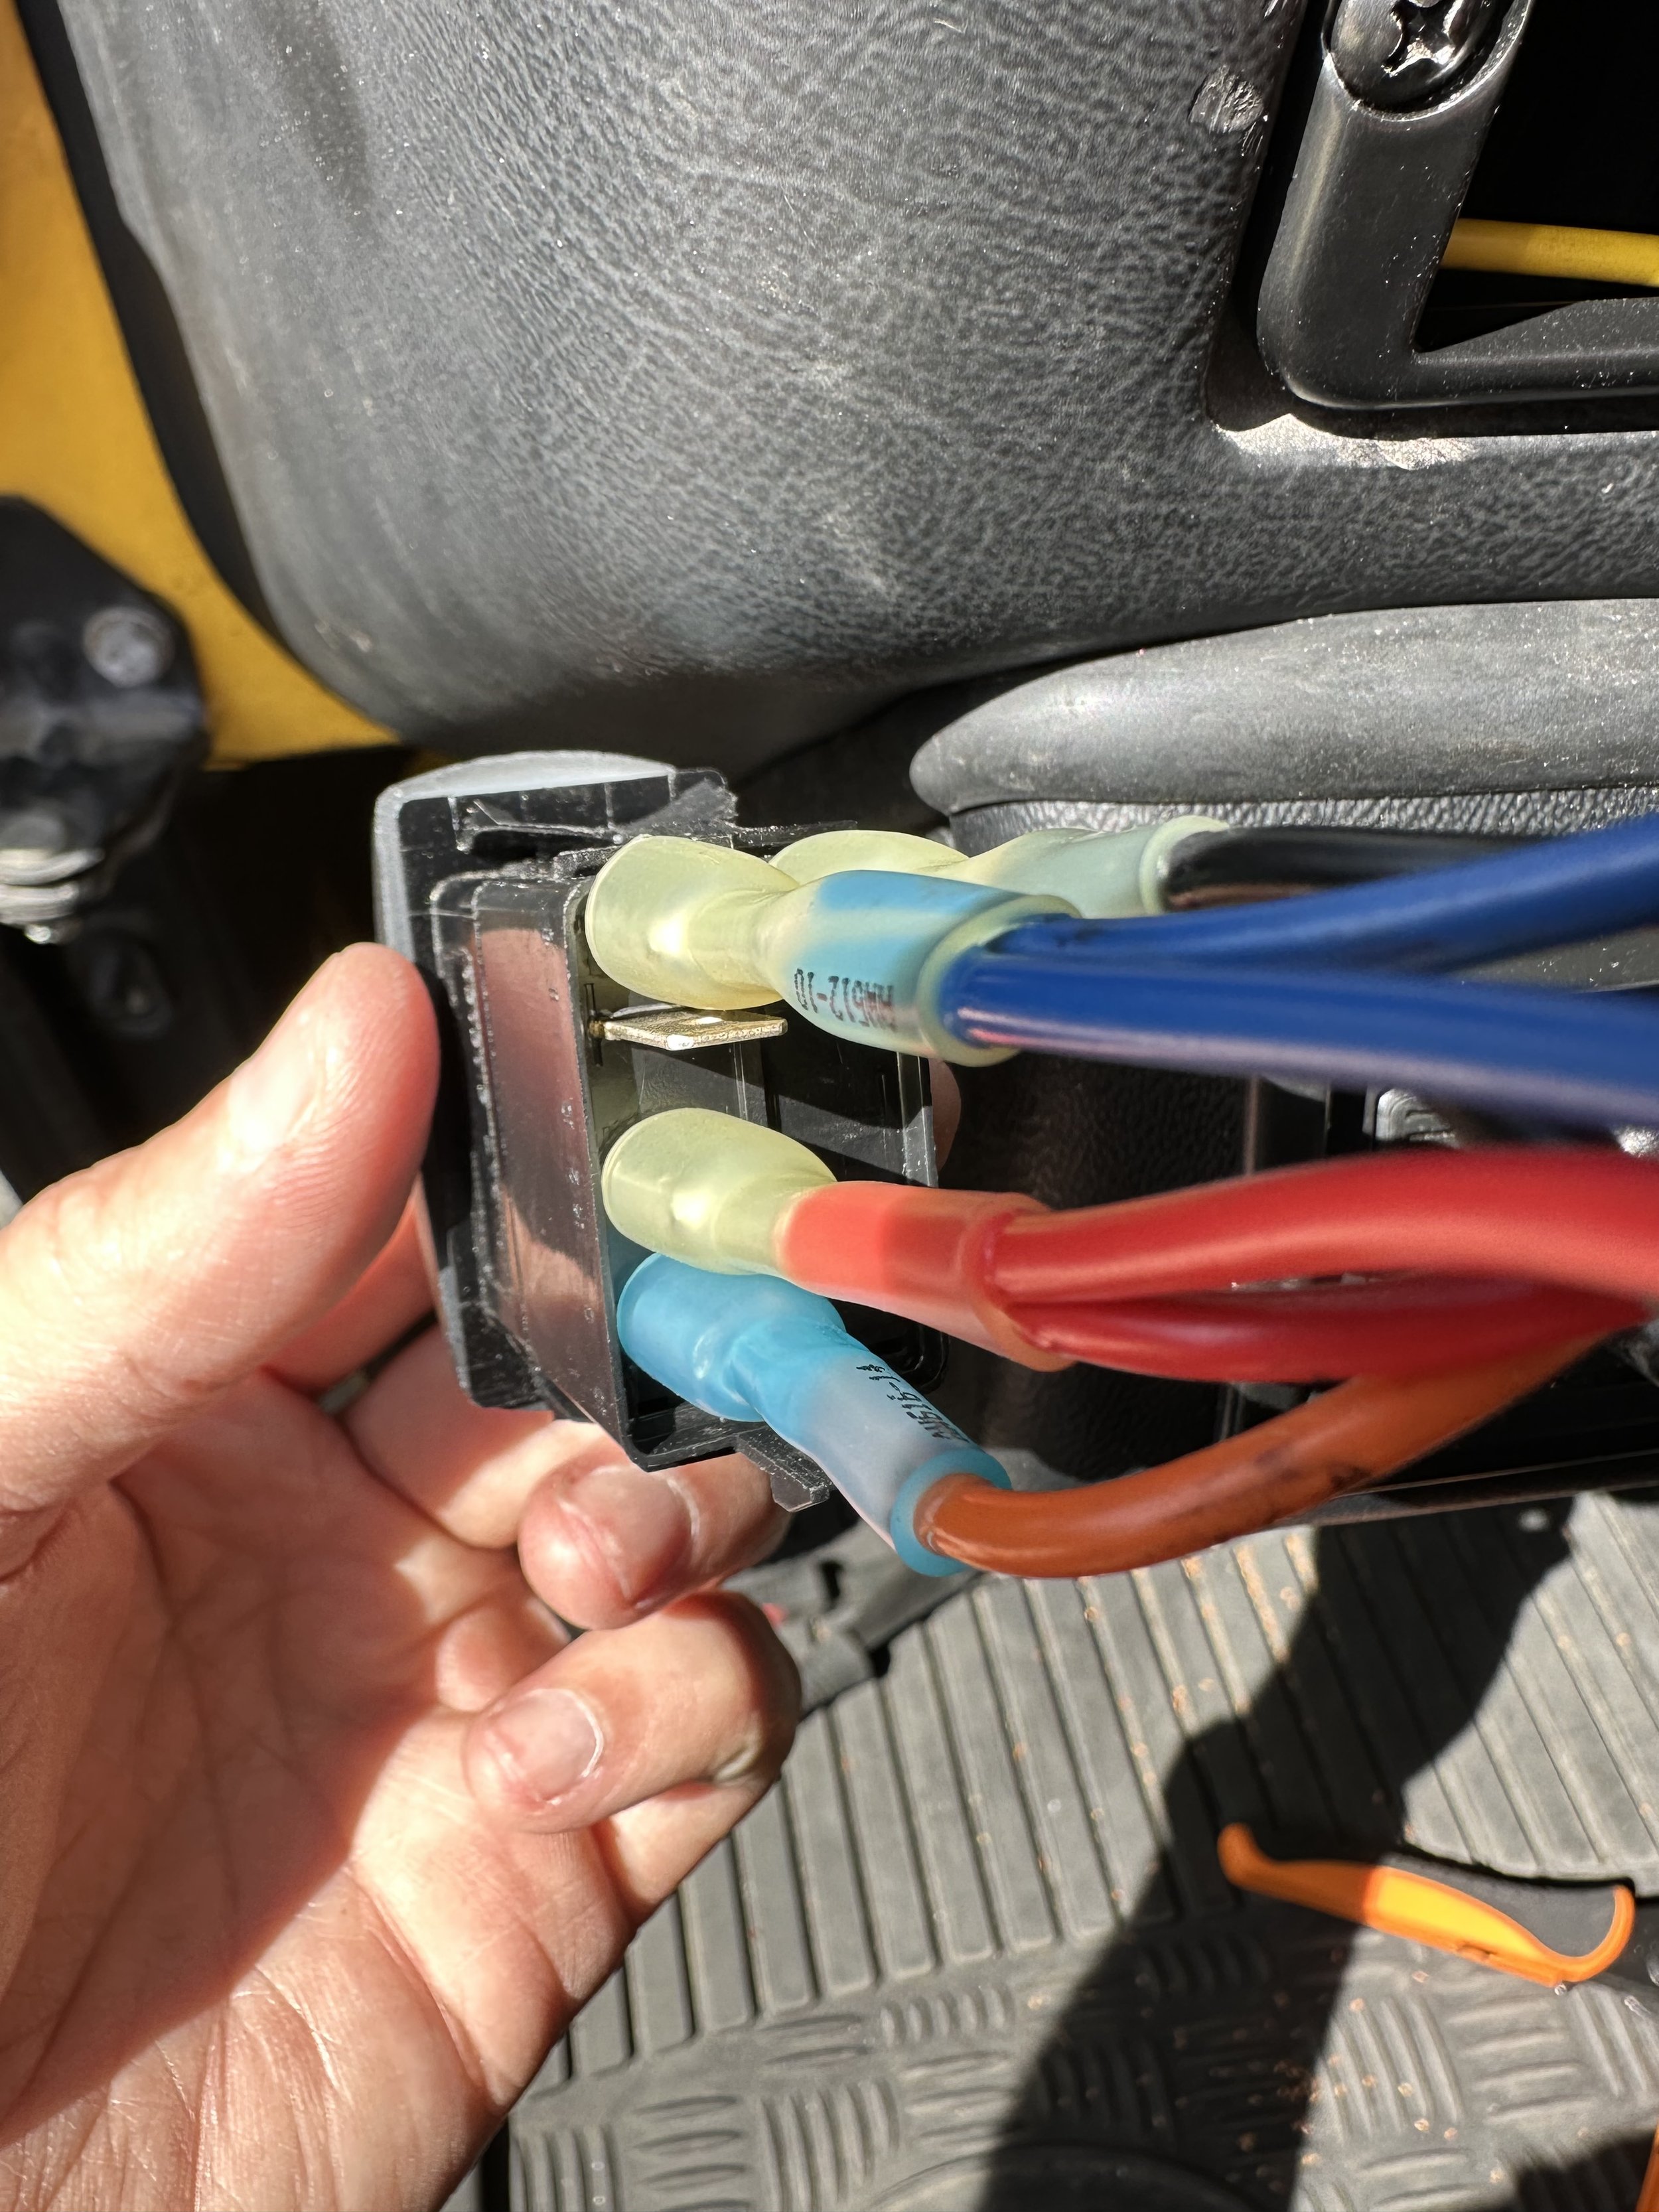
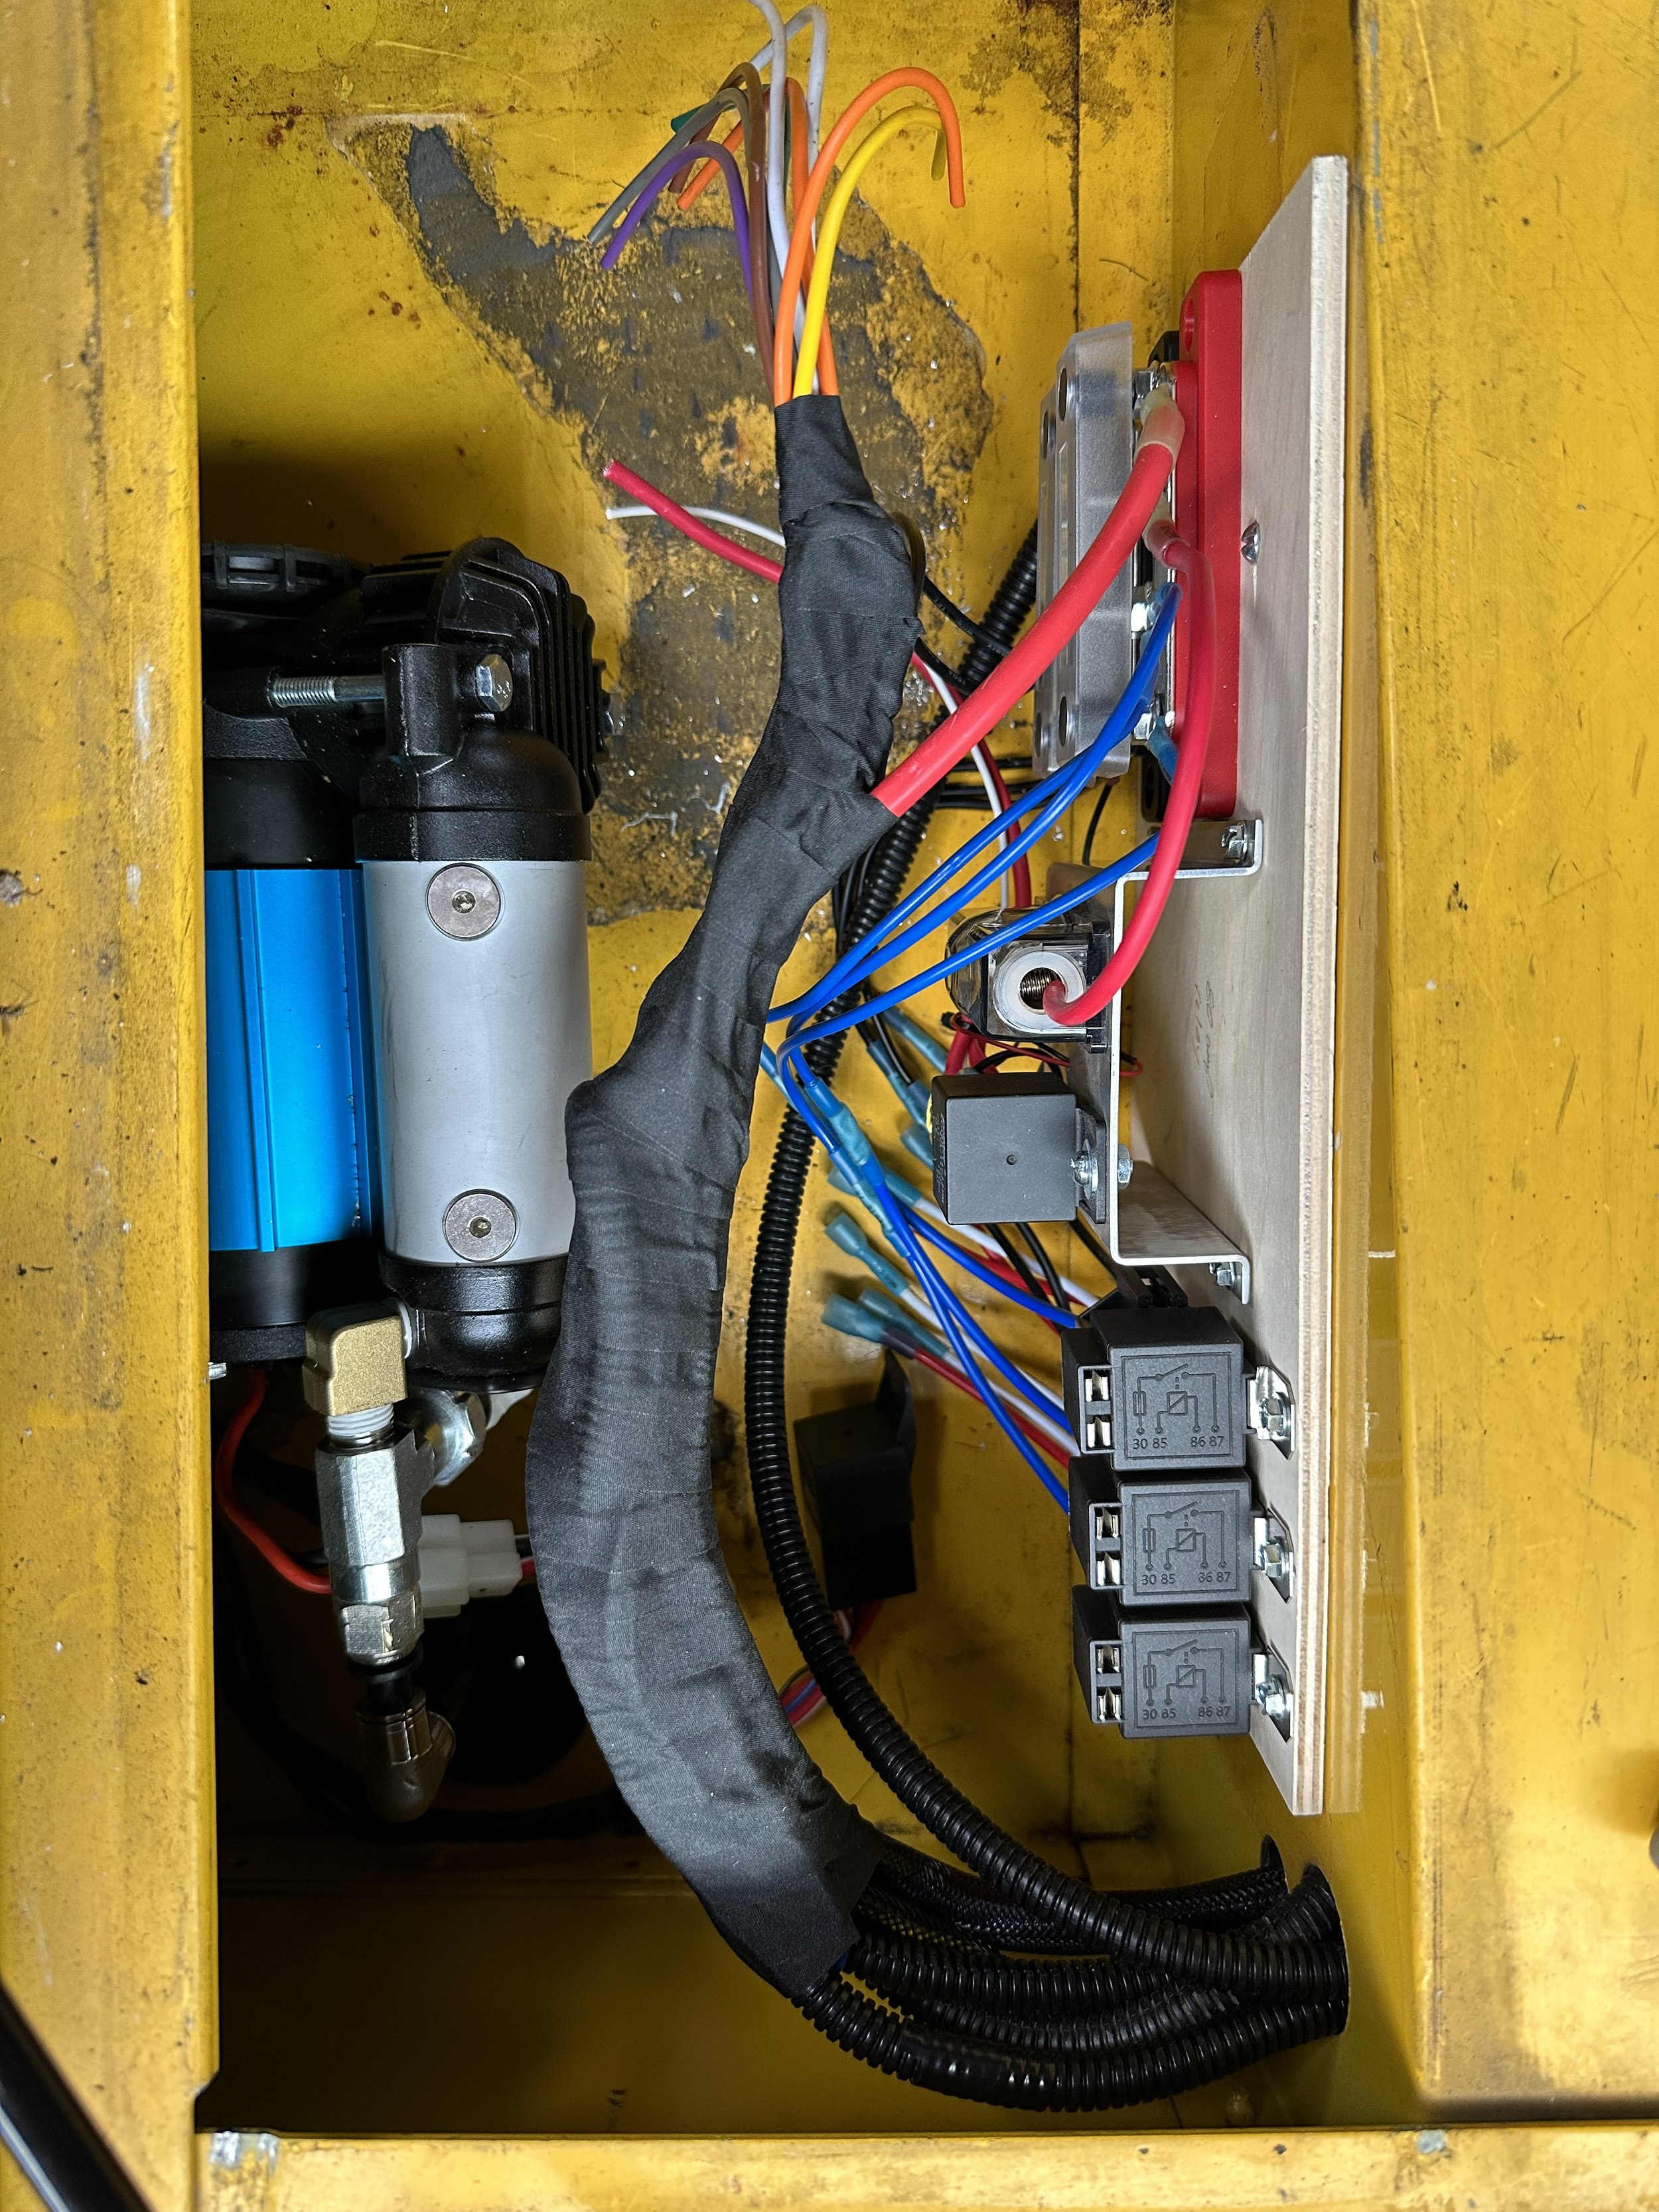
As I mentioned I wanted to future proof my wiring because at some point you need to stop ripping apart your truck. After I run 20 or so wires behind the dash to connect to various switch options in three different locations I ran those wires back to the passenger seat box, the driver seat box, and the center console. This allowed me to install a solenoid for the winch and a kill switch for the entire aux system in the driver seat box. It also allowed me to run a few wires to the center console to power a hidden GMRS radio and some USB chargers. And finally it allowed me to install relays in the passenger seat box to power all of the aux devices that are connected to the switches (air compressor, lights, etc).

I guess third time is the charm as I love this design. I can have 9 switches with the option of expanding even further if I wanted to while not cutting ANY part of the dash and keeping an authentic look. The design is overkill, the wire gauge is overkill, it allows expandability without running any more wires, and the custom wire harness is neatly tucked behind the dash and under the truck for a clean look. Now the hard part…..deciding just how many aux devices I really need.

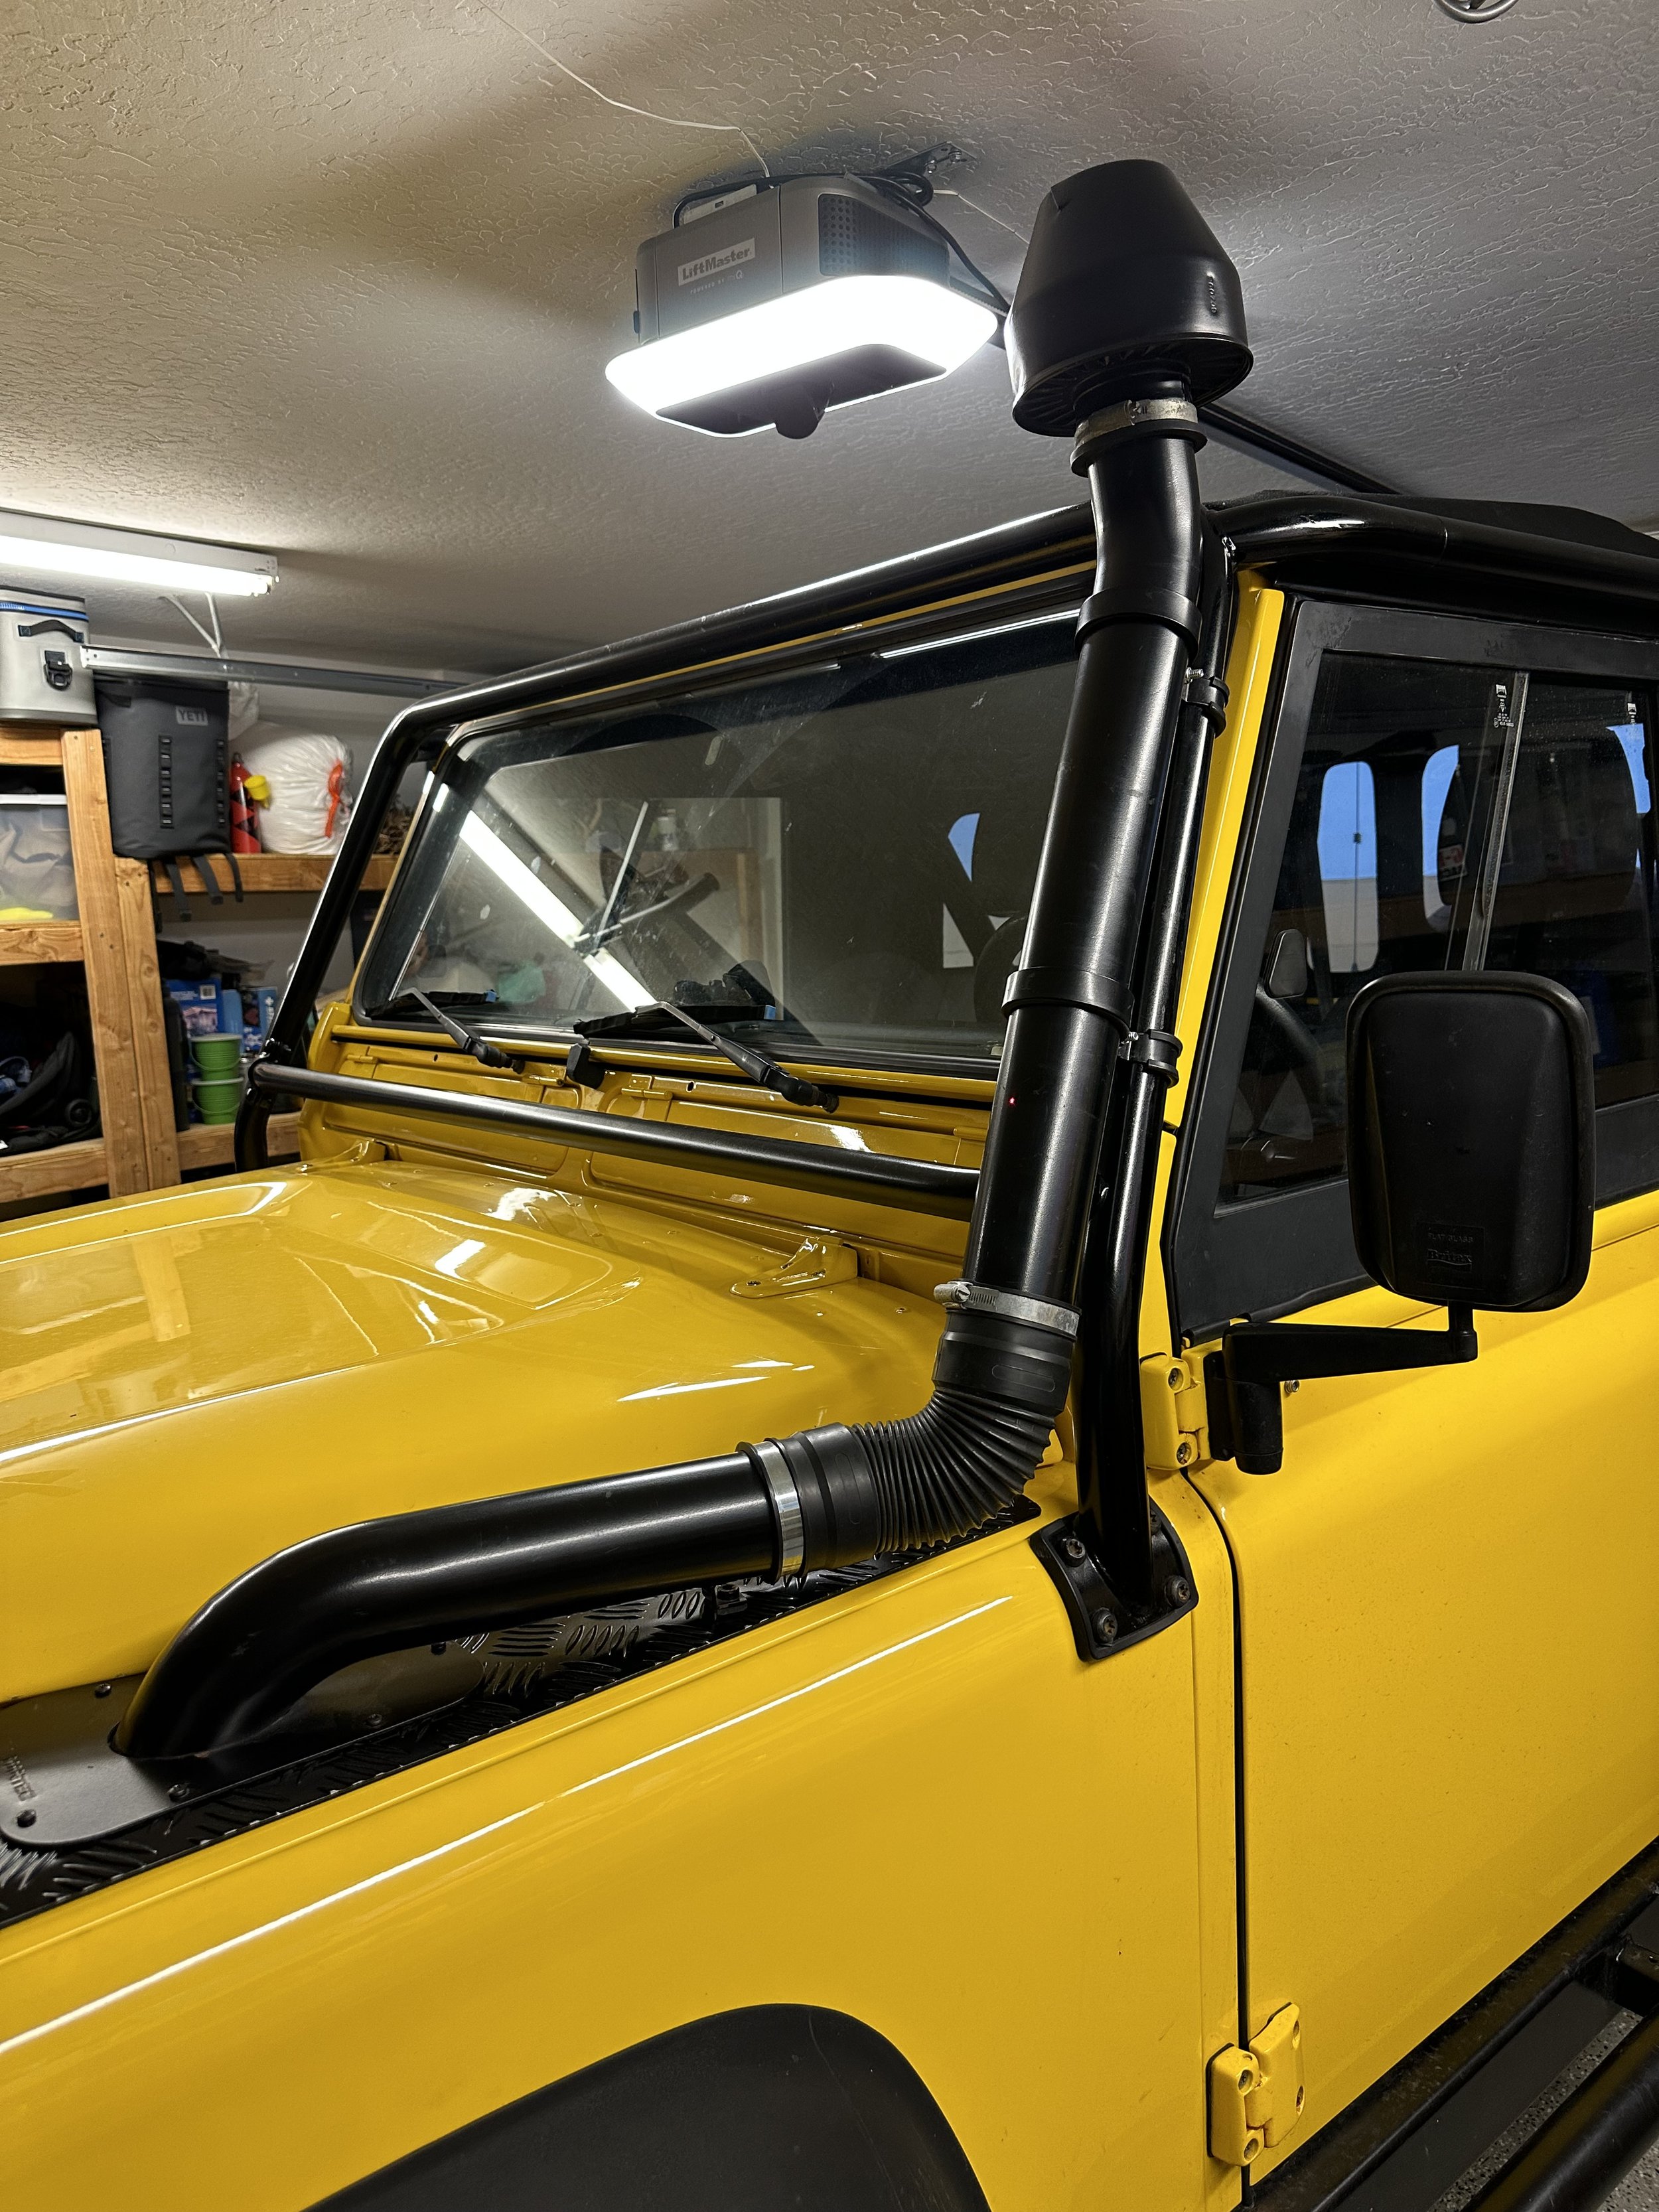
D90 Build - Snorkel

One of the iconic accessories for the Defender is a snorkel. Contrary to popular belief, it is not really designed for water crossings. While it might help in that, it is really designed to simply access cleaner air when driving on dusty trails. For water crossings you have to worry about the air intake, but you have lots of other things to worry about which are lower than the air intake, such as the breather ports in the diff, trans, the electrical components, etc.

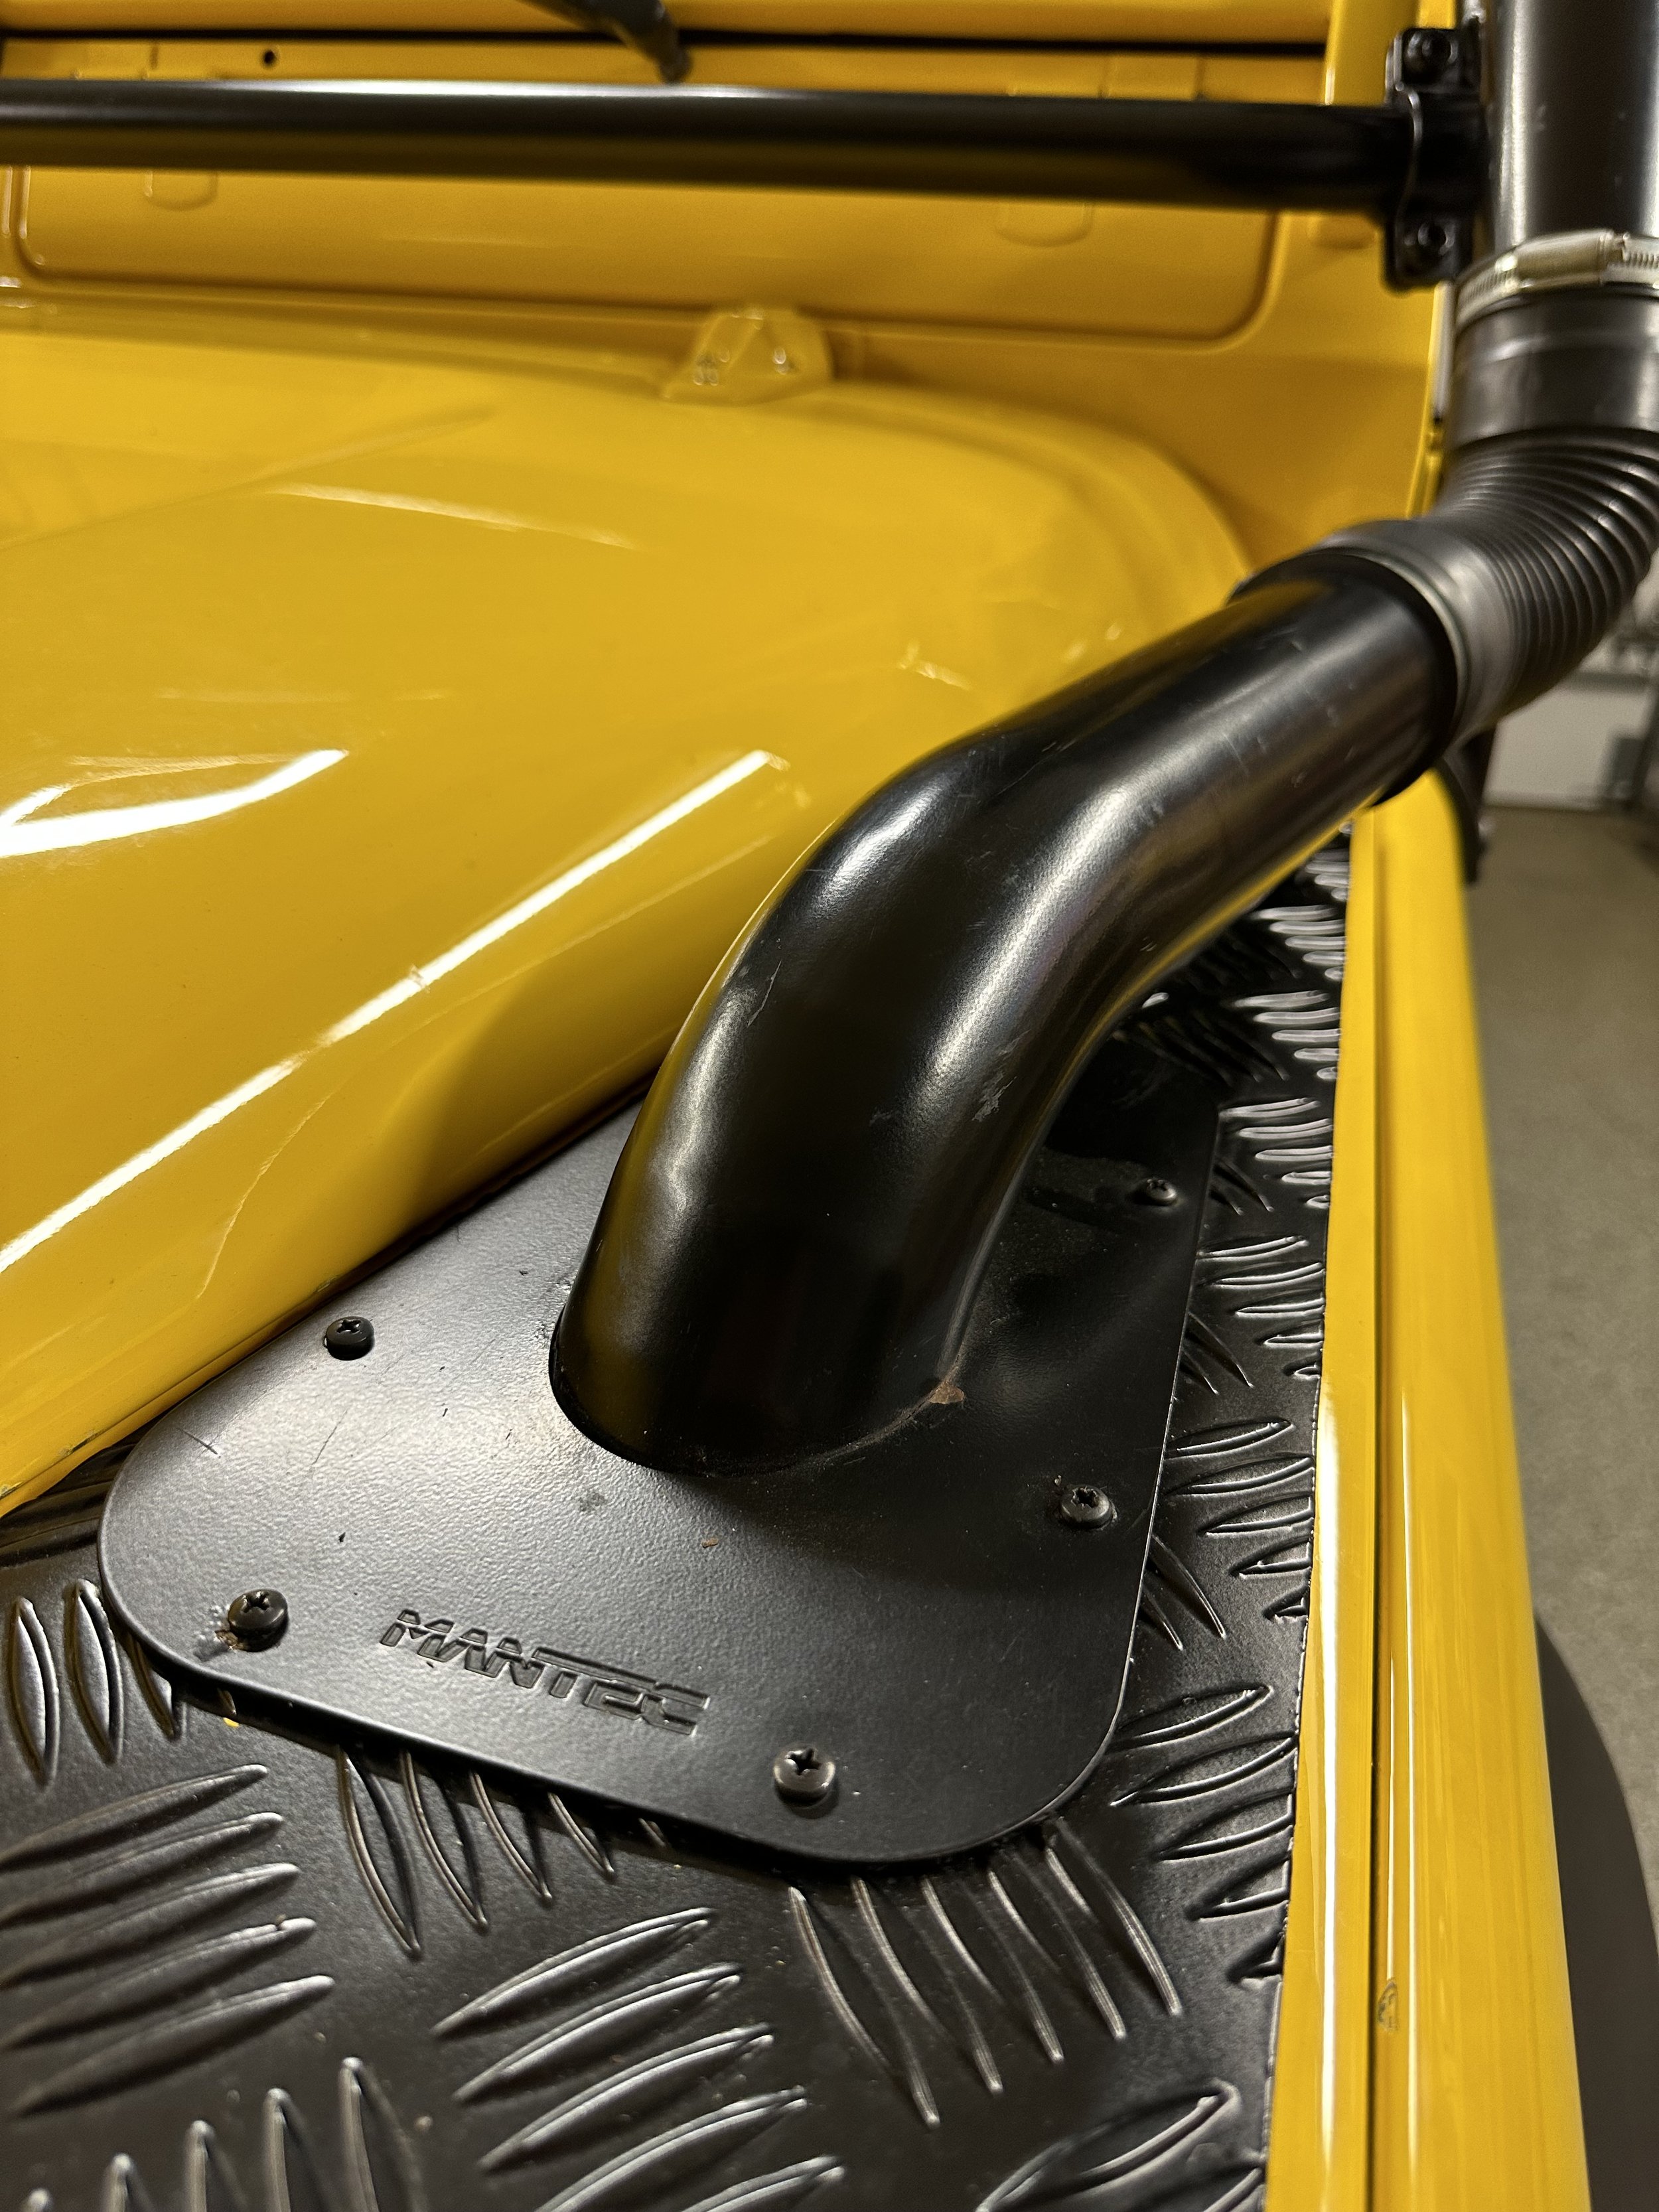
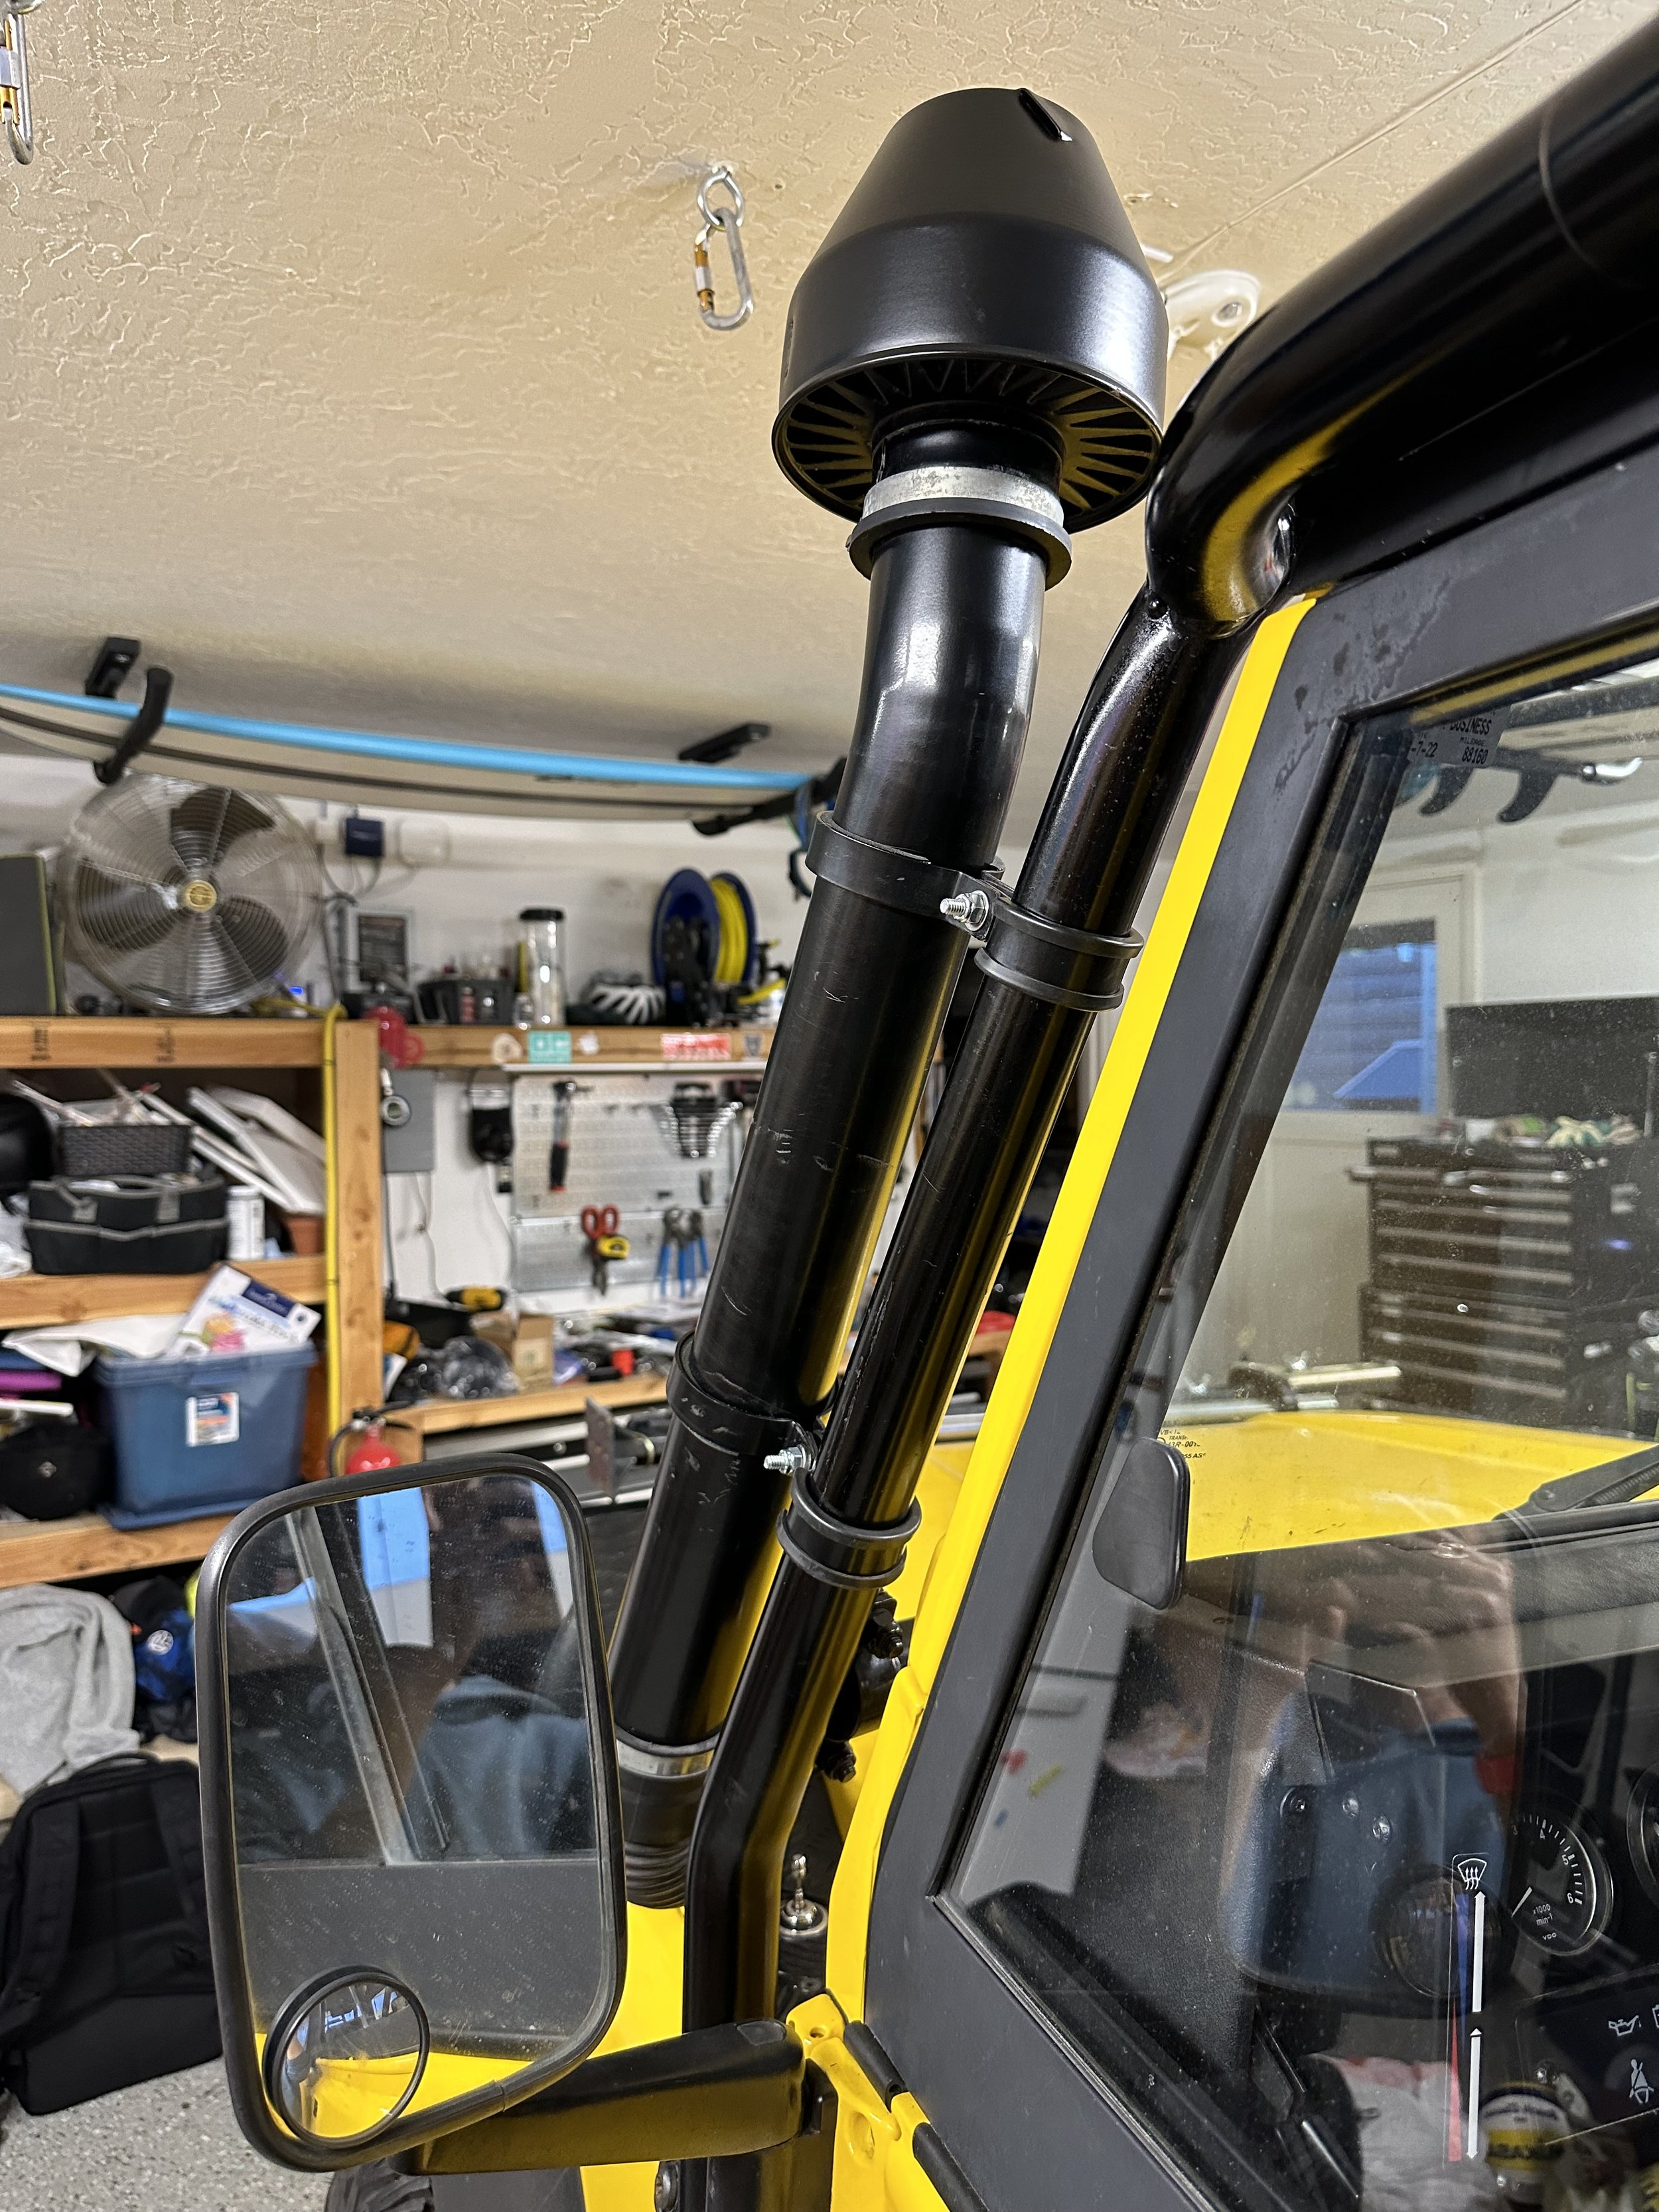
It is easy enough to find a snorkel for the ROW Defenders, but finding one for the NAS is very difficult. Mantec made the original aftermarket snorkel for the NAS Defenders and they have been discontinued for years. You could have one fabricated, but to find an original is not easy (especially with all its parts). I traded an extra soft top I didn't need with a guy online that had an original Mantec in excellent condition. Most people install the intake hose from the snorkel by simply dropping it over the engine to get to the air intake filter canister. That would heat soak the intake hose, so I routed it behind the engine and zip tied it away to keep the hose (and air) cooler. I also dropped in a brand new K&N cleanable air filter. The K&N filter for the NAS Defenders are discontinued so they can be hard to find, but I found a NOS (new old stock) in Japan that I imported.

I do believe the snorkel restricts the air flow a bit due to its design. If this bothered you it is easily to unhook the hose to the air filter canister to run your truck in a stock configuration without having to remove the snorkel itself. I am thrilled on how it came out. It is nice to see these hard to find parts being put to good use.

Defender 90 Build - AC Unit

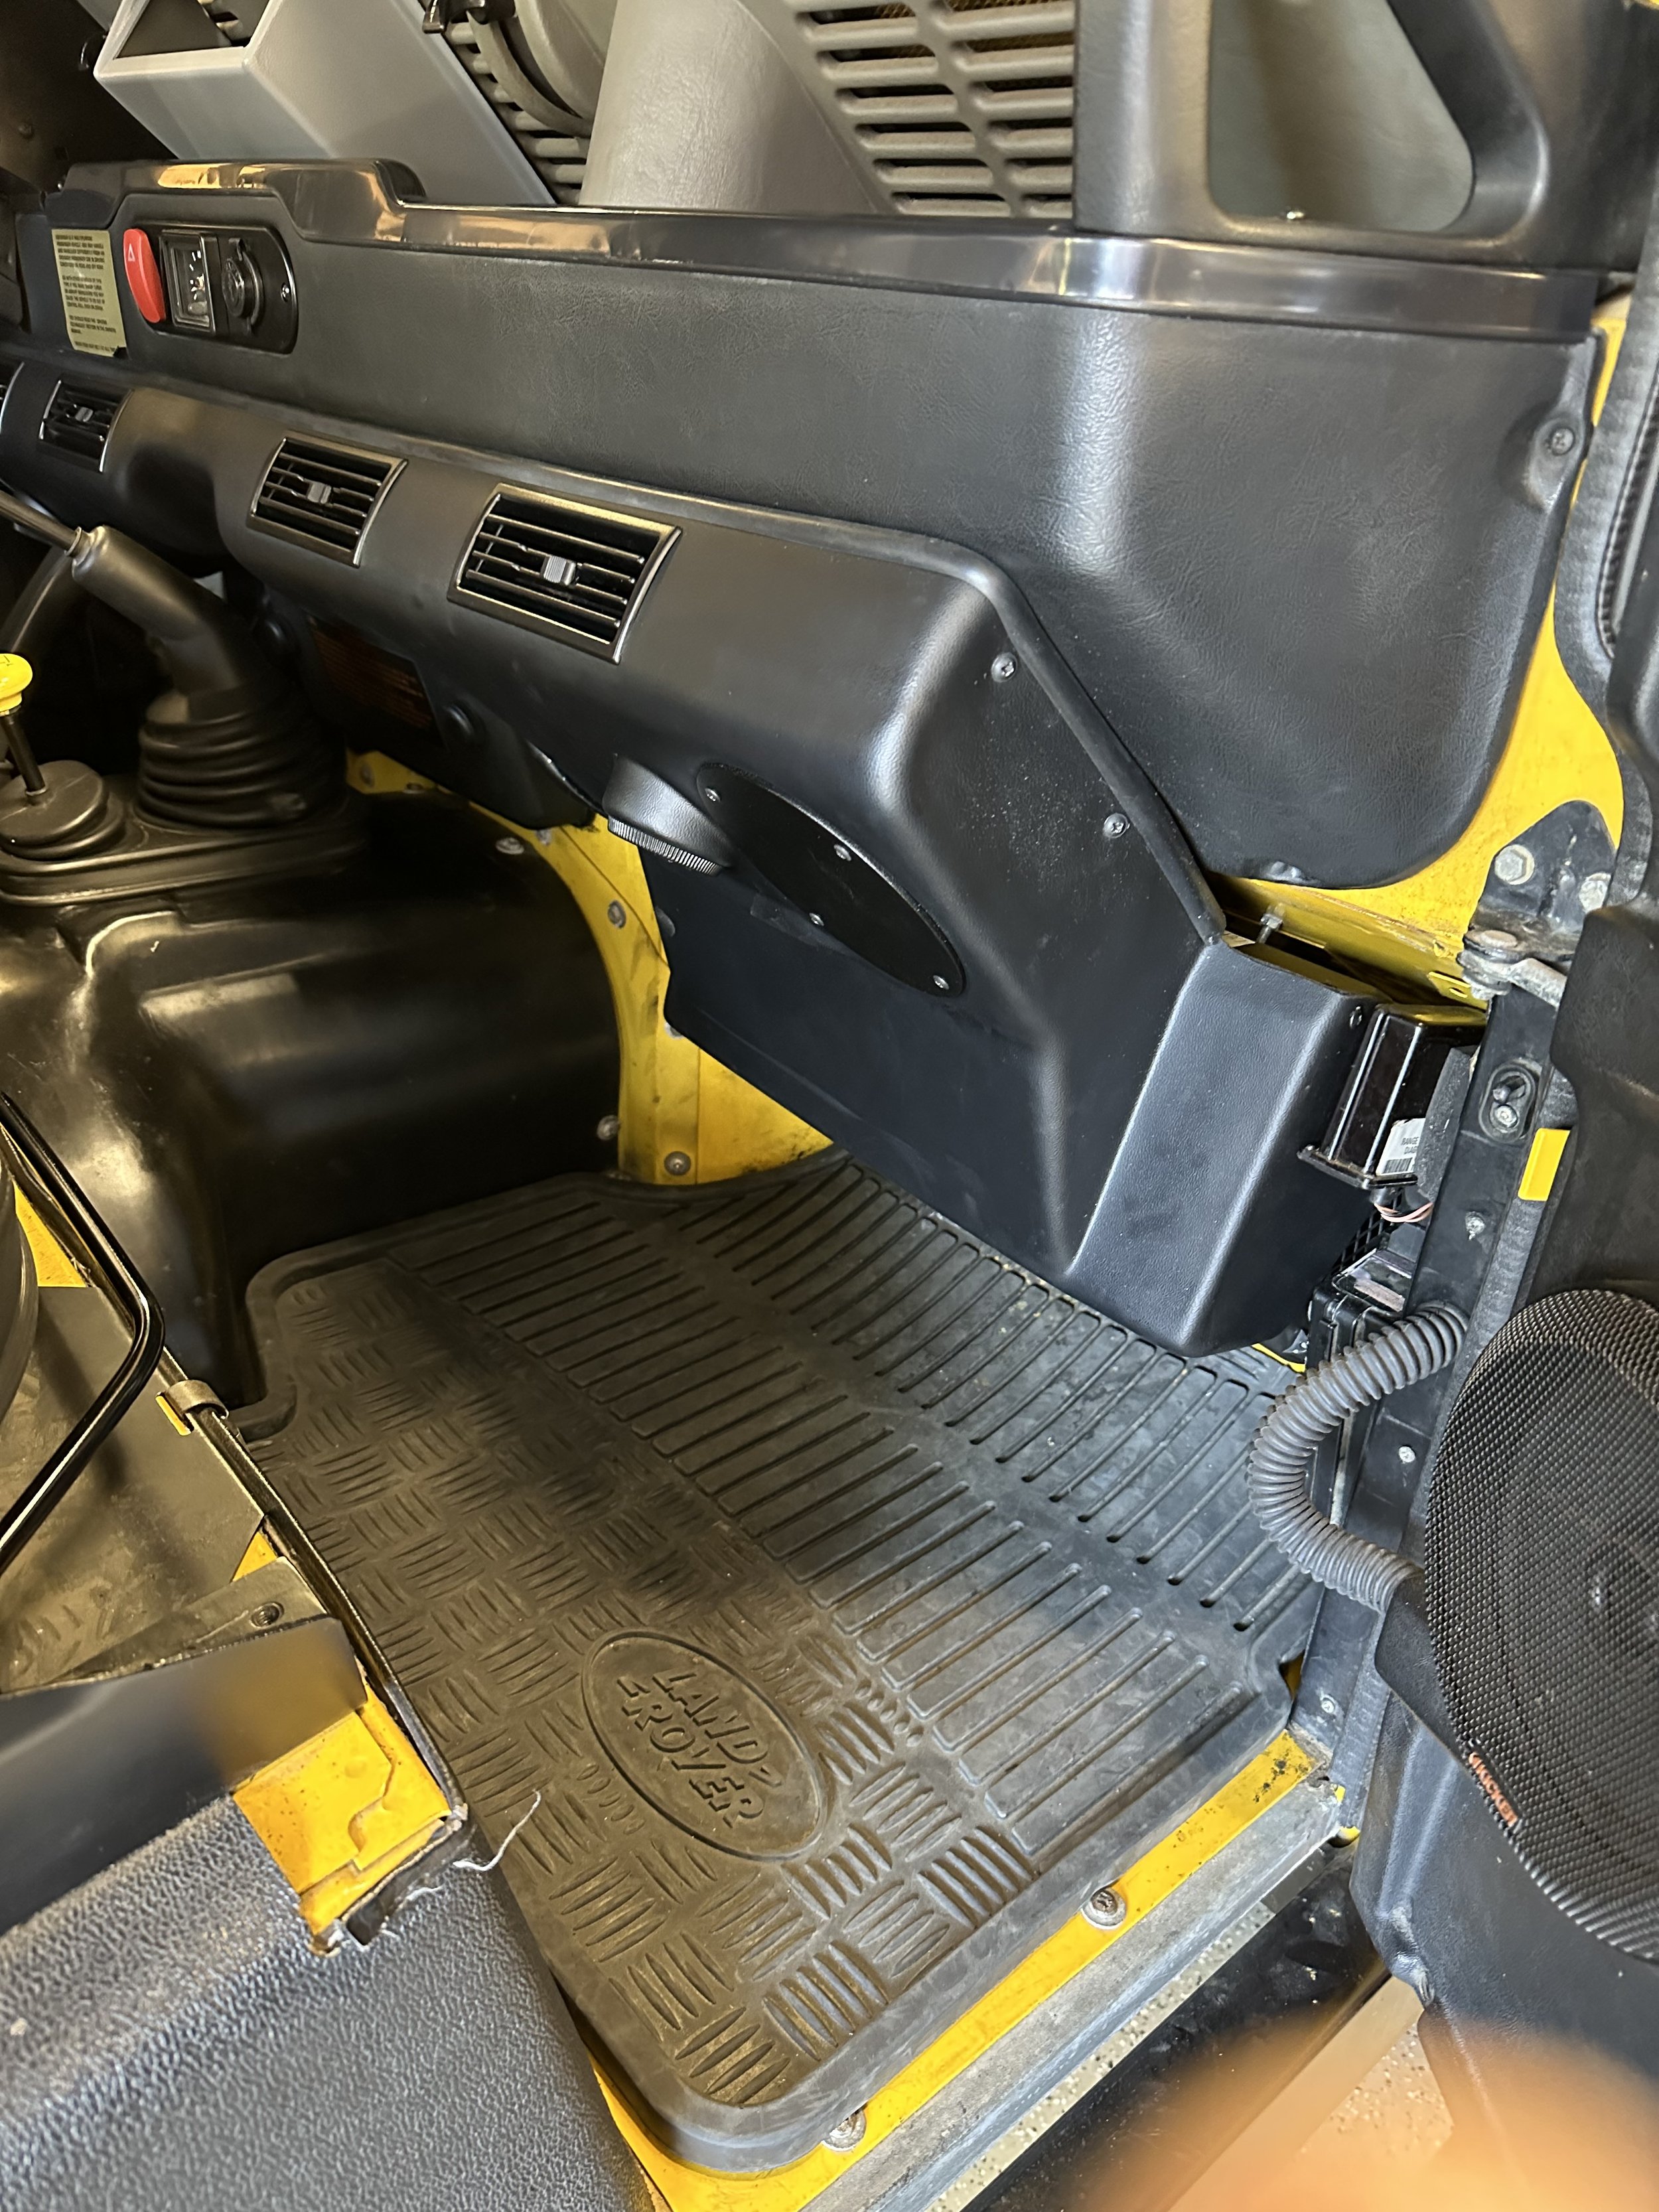
My 94 D90 NAS came with the original 94 AC unit but after living with it for over a year I decided to replace it. The AC unit worked but there were a few things I didn’t like about it. 1) the design is horrible in that it takes up a large amount of the passenger footwell 2) the controls are located in the center dash which mean you can not mount any of the stereo or switch panels in the center dash 3) my unit was missing the front facia in the passenger footwell which meant it exposed some wire and tubing 4) it had a leak which meant it had to be charged regularly to keep cold.

Rovers North makes a replacement unit that is more efficient, smaller, with the controls built into the unit. Not only does it work much better but it cleans up the center dash and the passenger gets more leg room. Its not a cheap replacement at $4k plus about $2k worth of labor….but if you plan on driving your truck regularly, AC is nice to have since there is zero heat insulation from the engine.

Defender 90 Build - LED Dash Lights

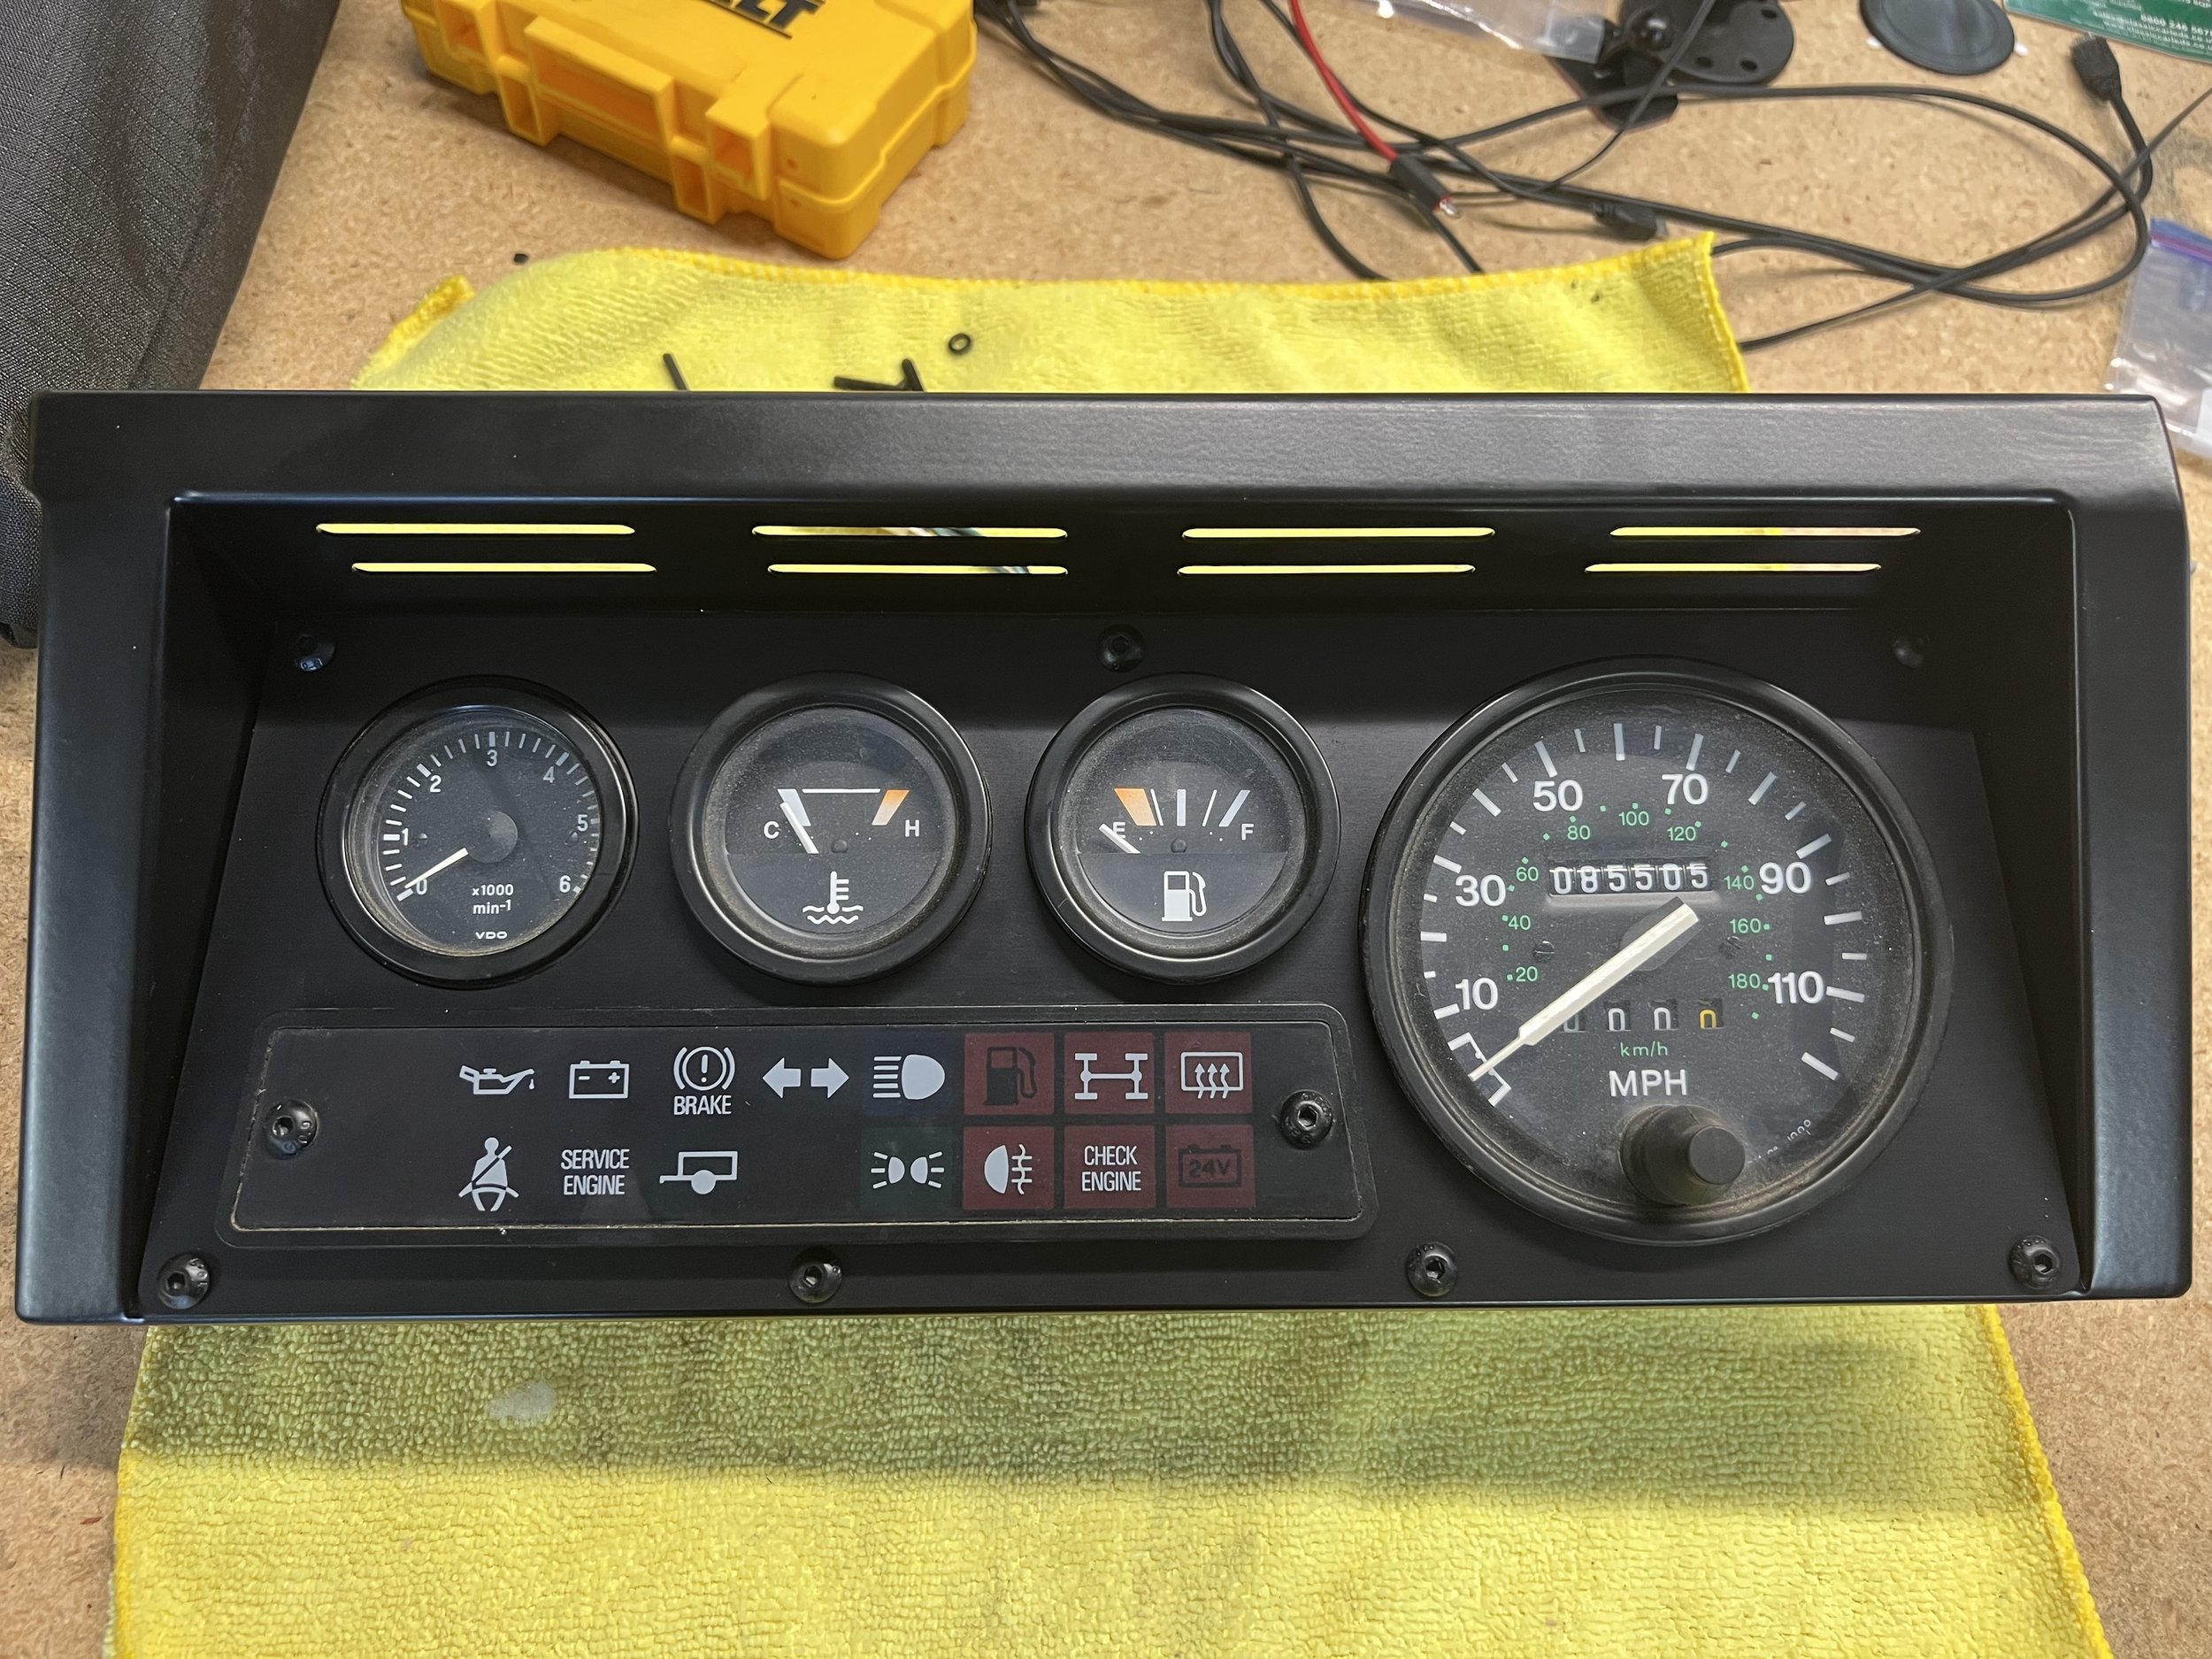
I would classify my D90 project as a resto-mod in that I want to keep as much stock as I can while making improvements along the way that are easily reversible but that improve the driving experience. Virtually everything I have done is either restoring original parts, replacing parts with Land Rover OEM parts, or when required using high-end aftermarket parts. One of the most frustrating things about original Defenders is the dim dash cluster lights. The original lights are incandescent bulbs which burn out but even when they are not dead they might as well be as they are incredibly dim. So dim that at times you can’t see anything on the dash at night.

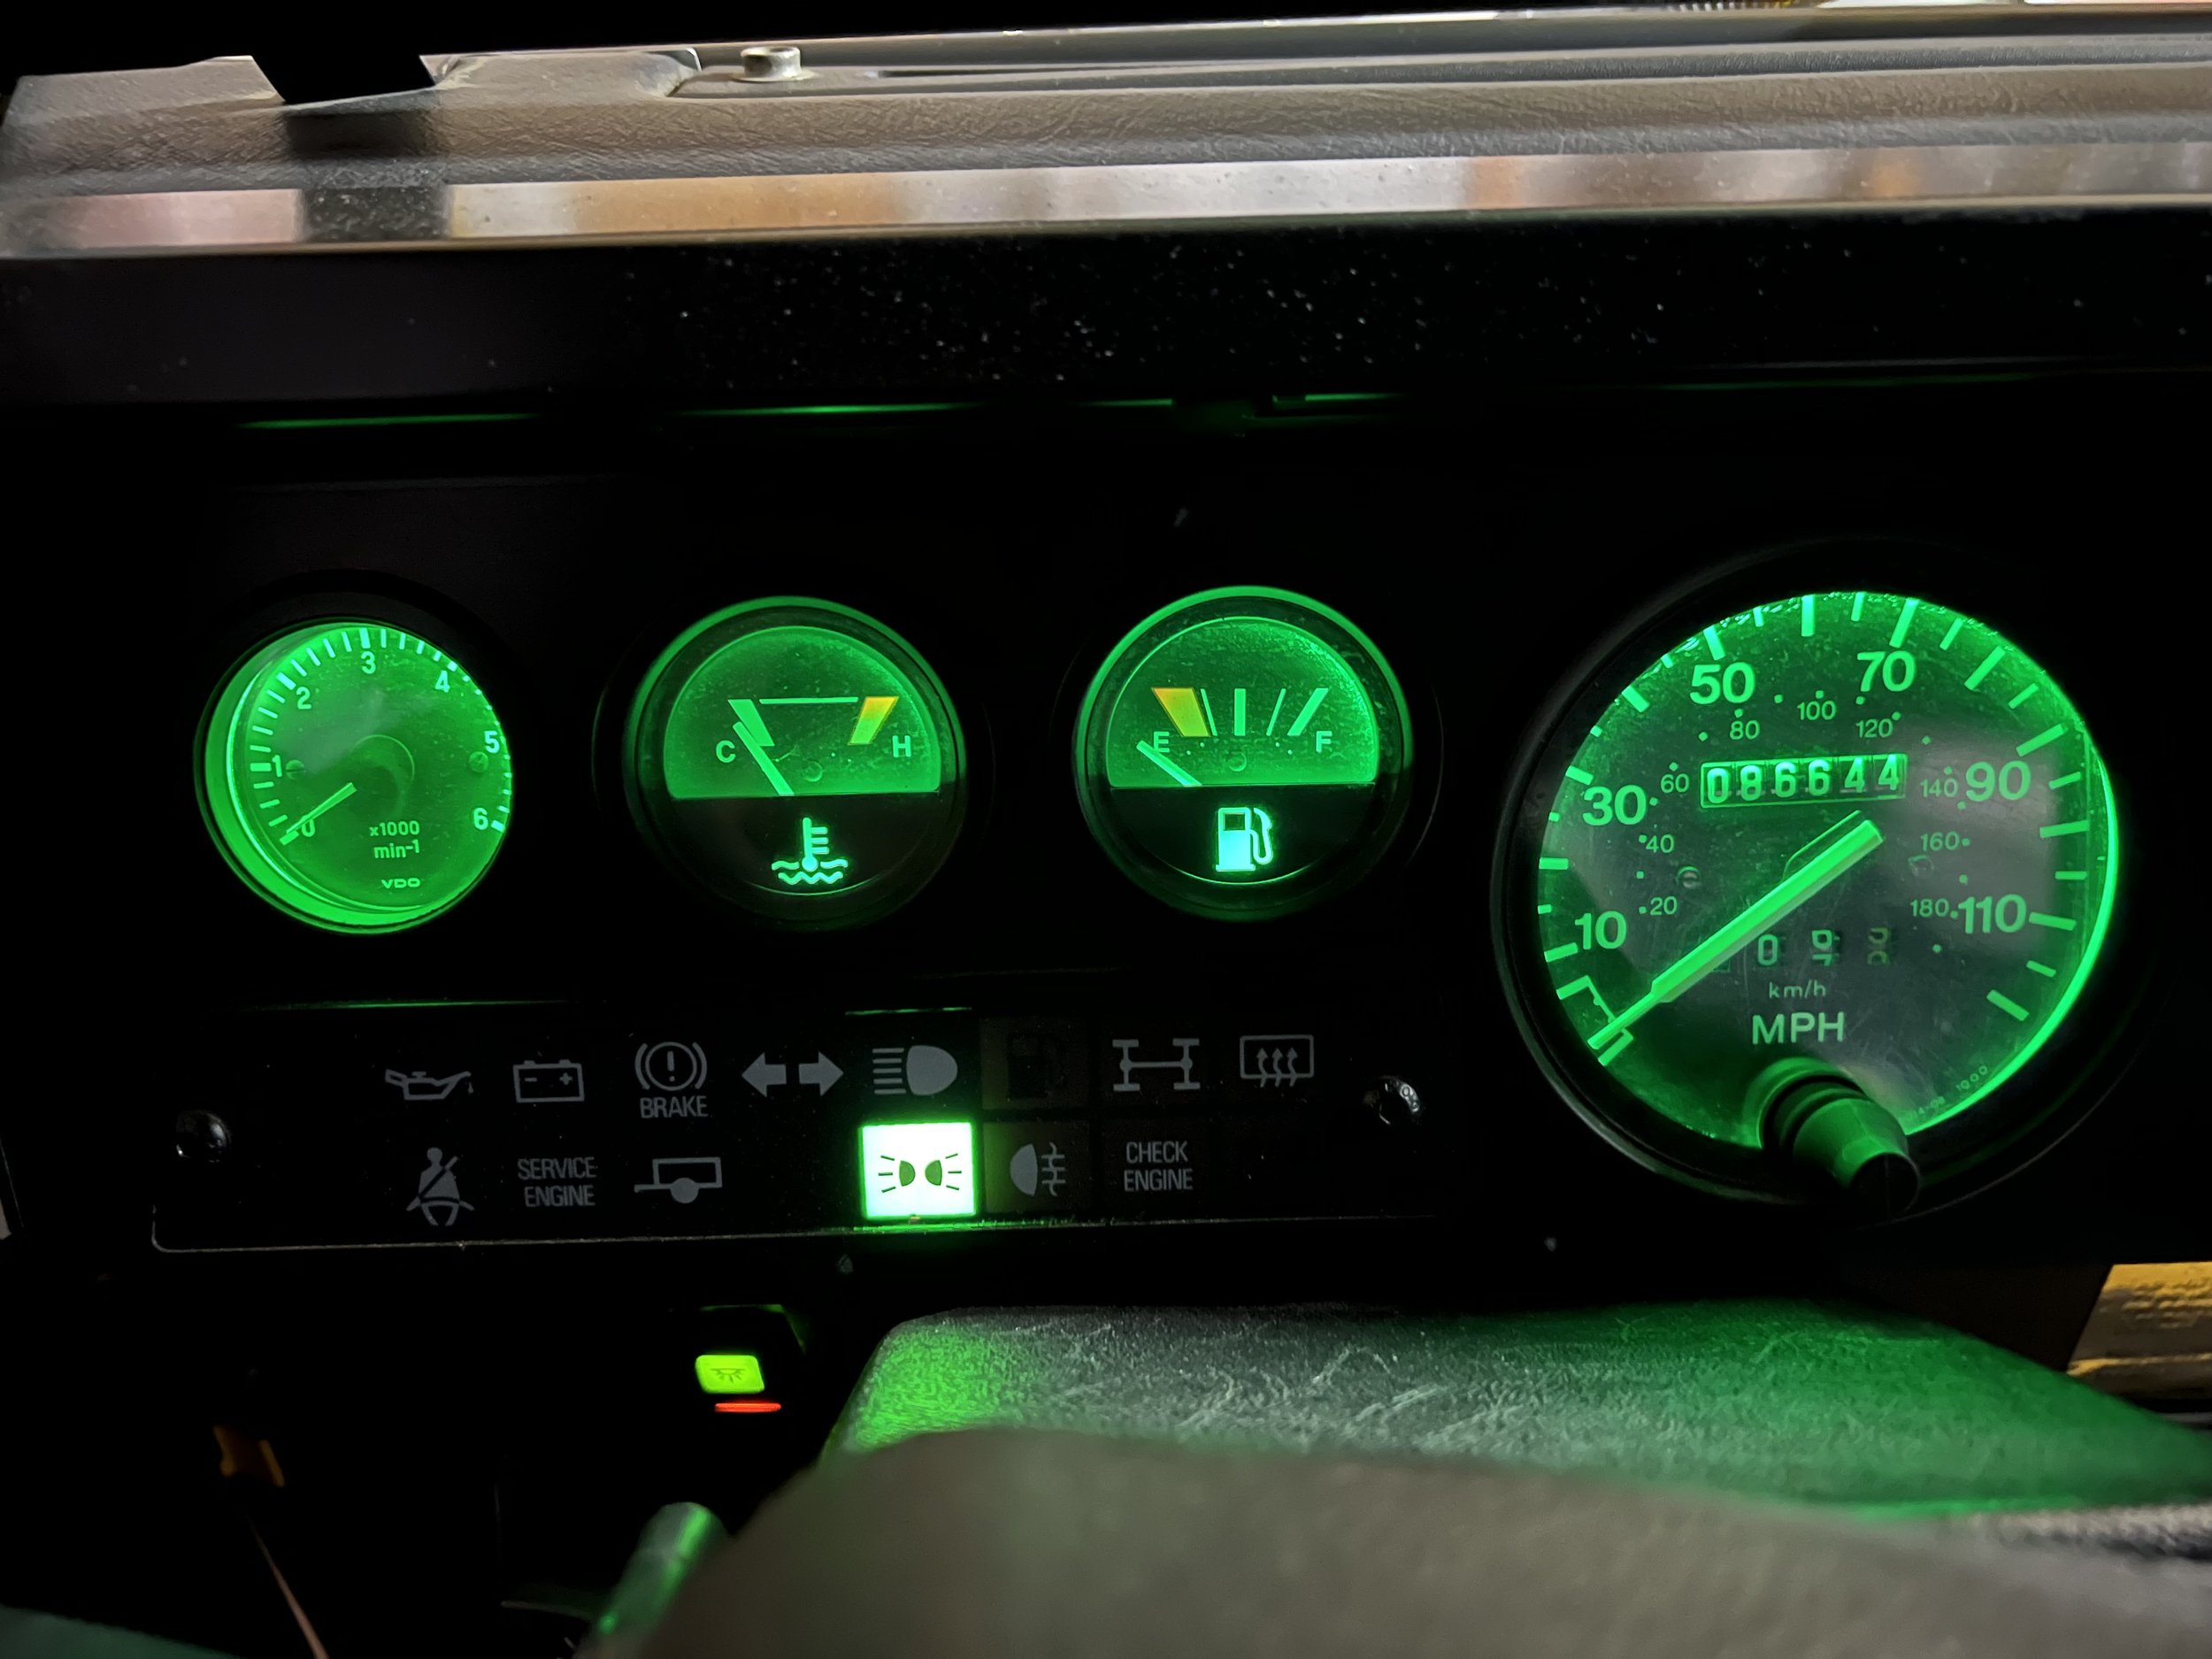
The solve is to replace those bulbs with bright LEDs that fit into the original bulb housings for the gauges. But to get the right bulbs that fit, that don’t cause electrical issues, and are the correct color (green) can be challenging. I found a shop in the UK that specializes in LED kits for classic cars (Classic Car LEDs). They have two kits for Defenders but in the end you really need to buy both if you want to replace all of the lights in a NAS Defender. The NAS Defender needs 5 bulbs for the gauges and one bulb for the clock. One of the kits includes 5 dash bulbs and the other kit includes 4 dash bulbs + 1 clock bulb. So what I did was buy both kits which gives me 4 spare dash bulbs for the future. You can order these in different colors but if you want the original look get the green version. Installation is easy it just takes time as you need to remove the binnacle to get behind the gauges and then you need to replace the bulbs with the LEDs. One tip….check that the LEDs work before reinstalling the binnacle because the LEDs are +/- sensitive. I also replaced the dome light to be LED (white) which is brighter than the traditional bulb.

The improvement is dramatic. The dash lights are rather bright in the normal dimmer position and very bright in the high dimmer position. So while the purists out there might hate my resto-mod project at least I can read my dash at night.

Defender 90 Build - Dash Plates

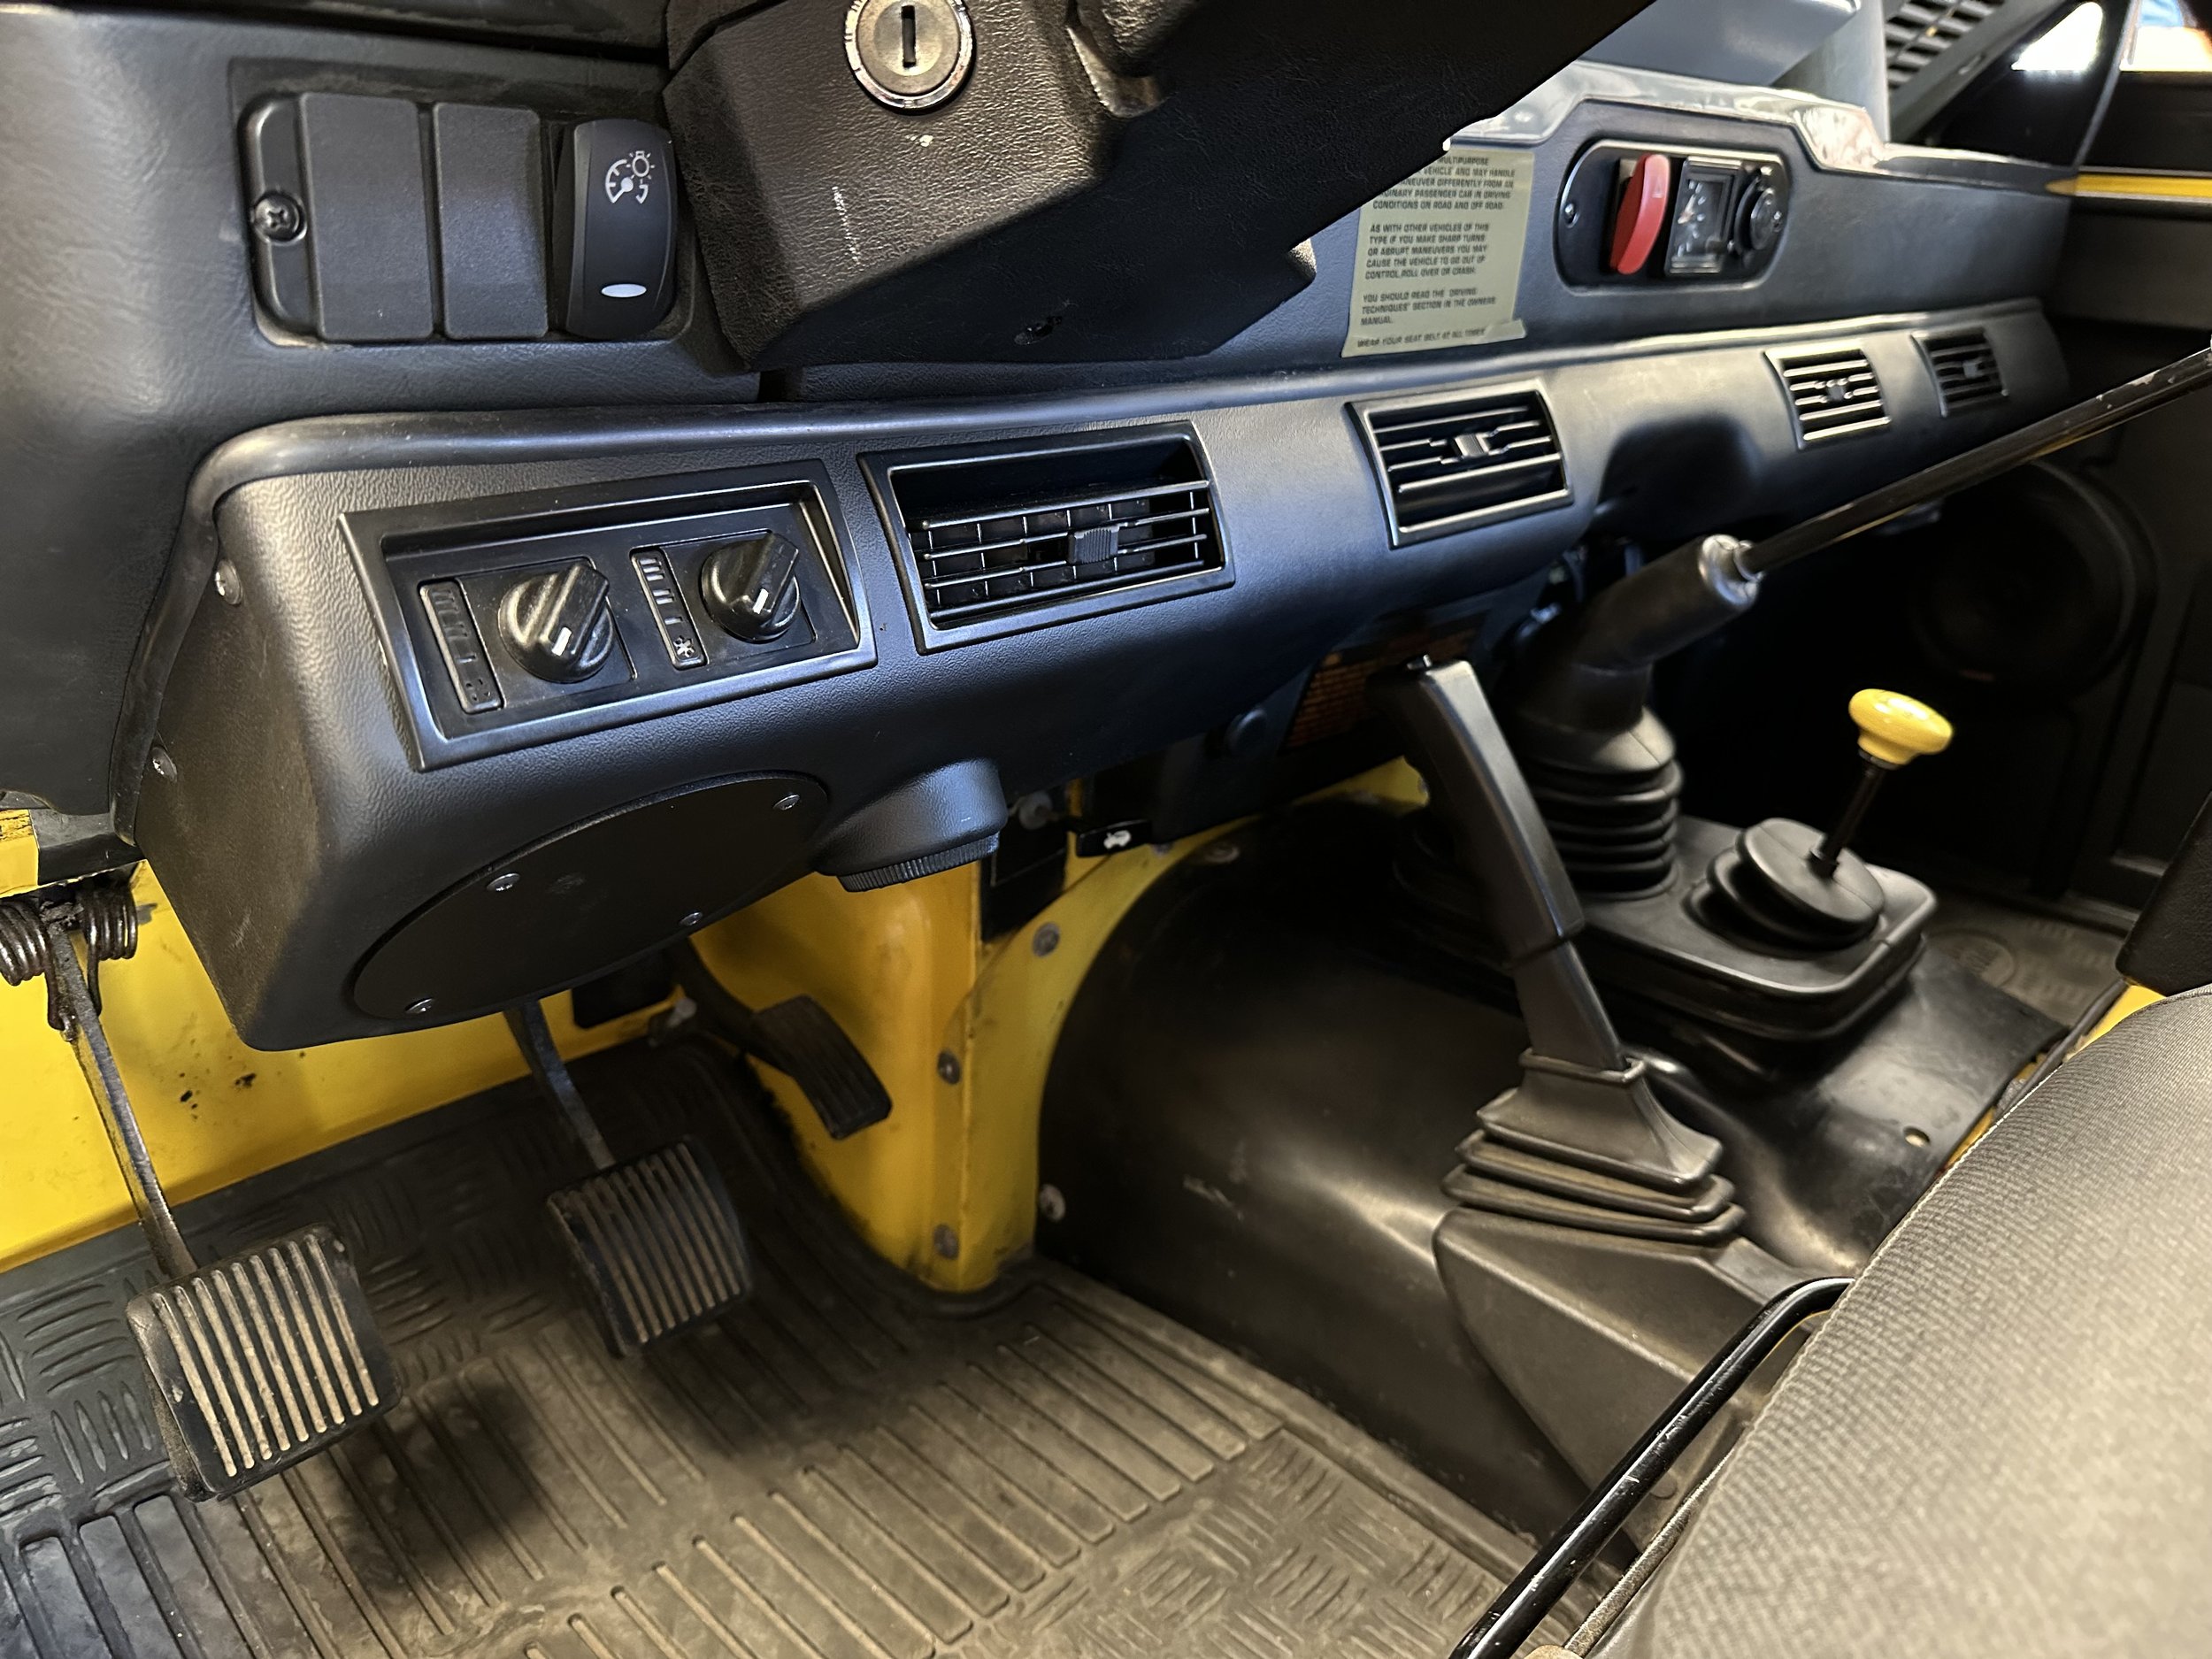
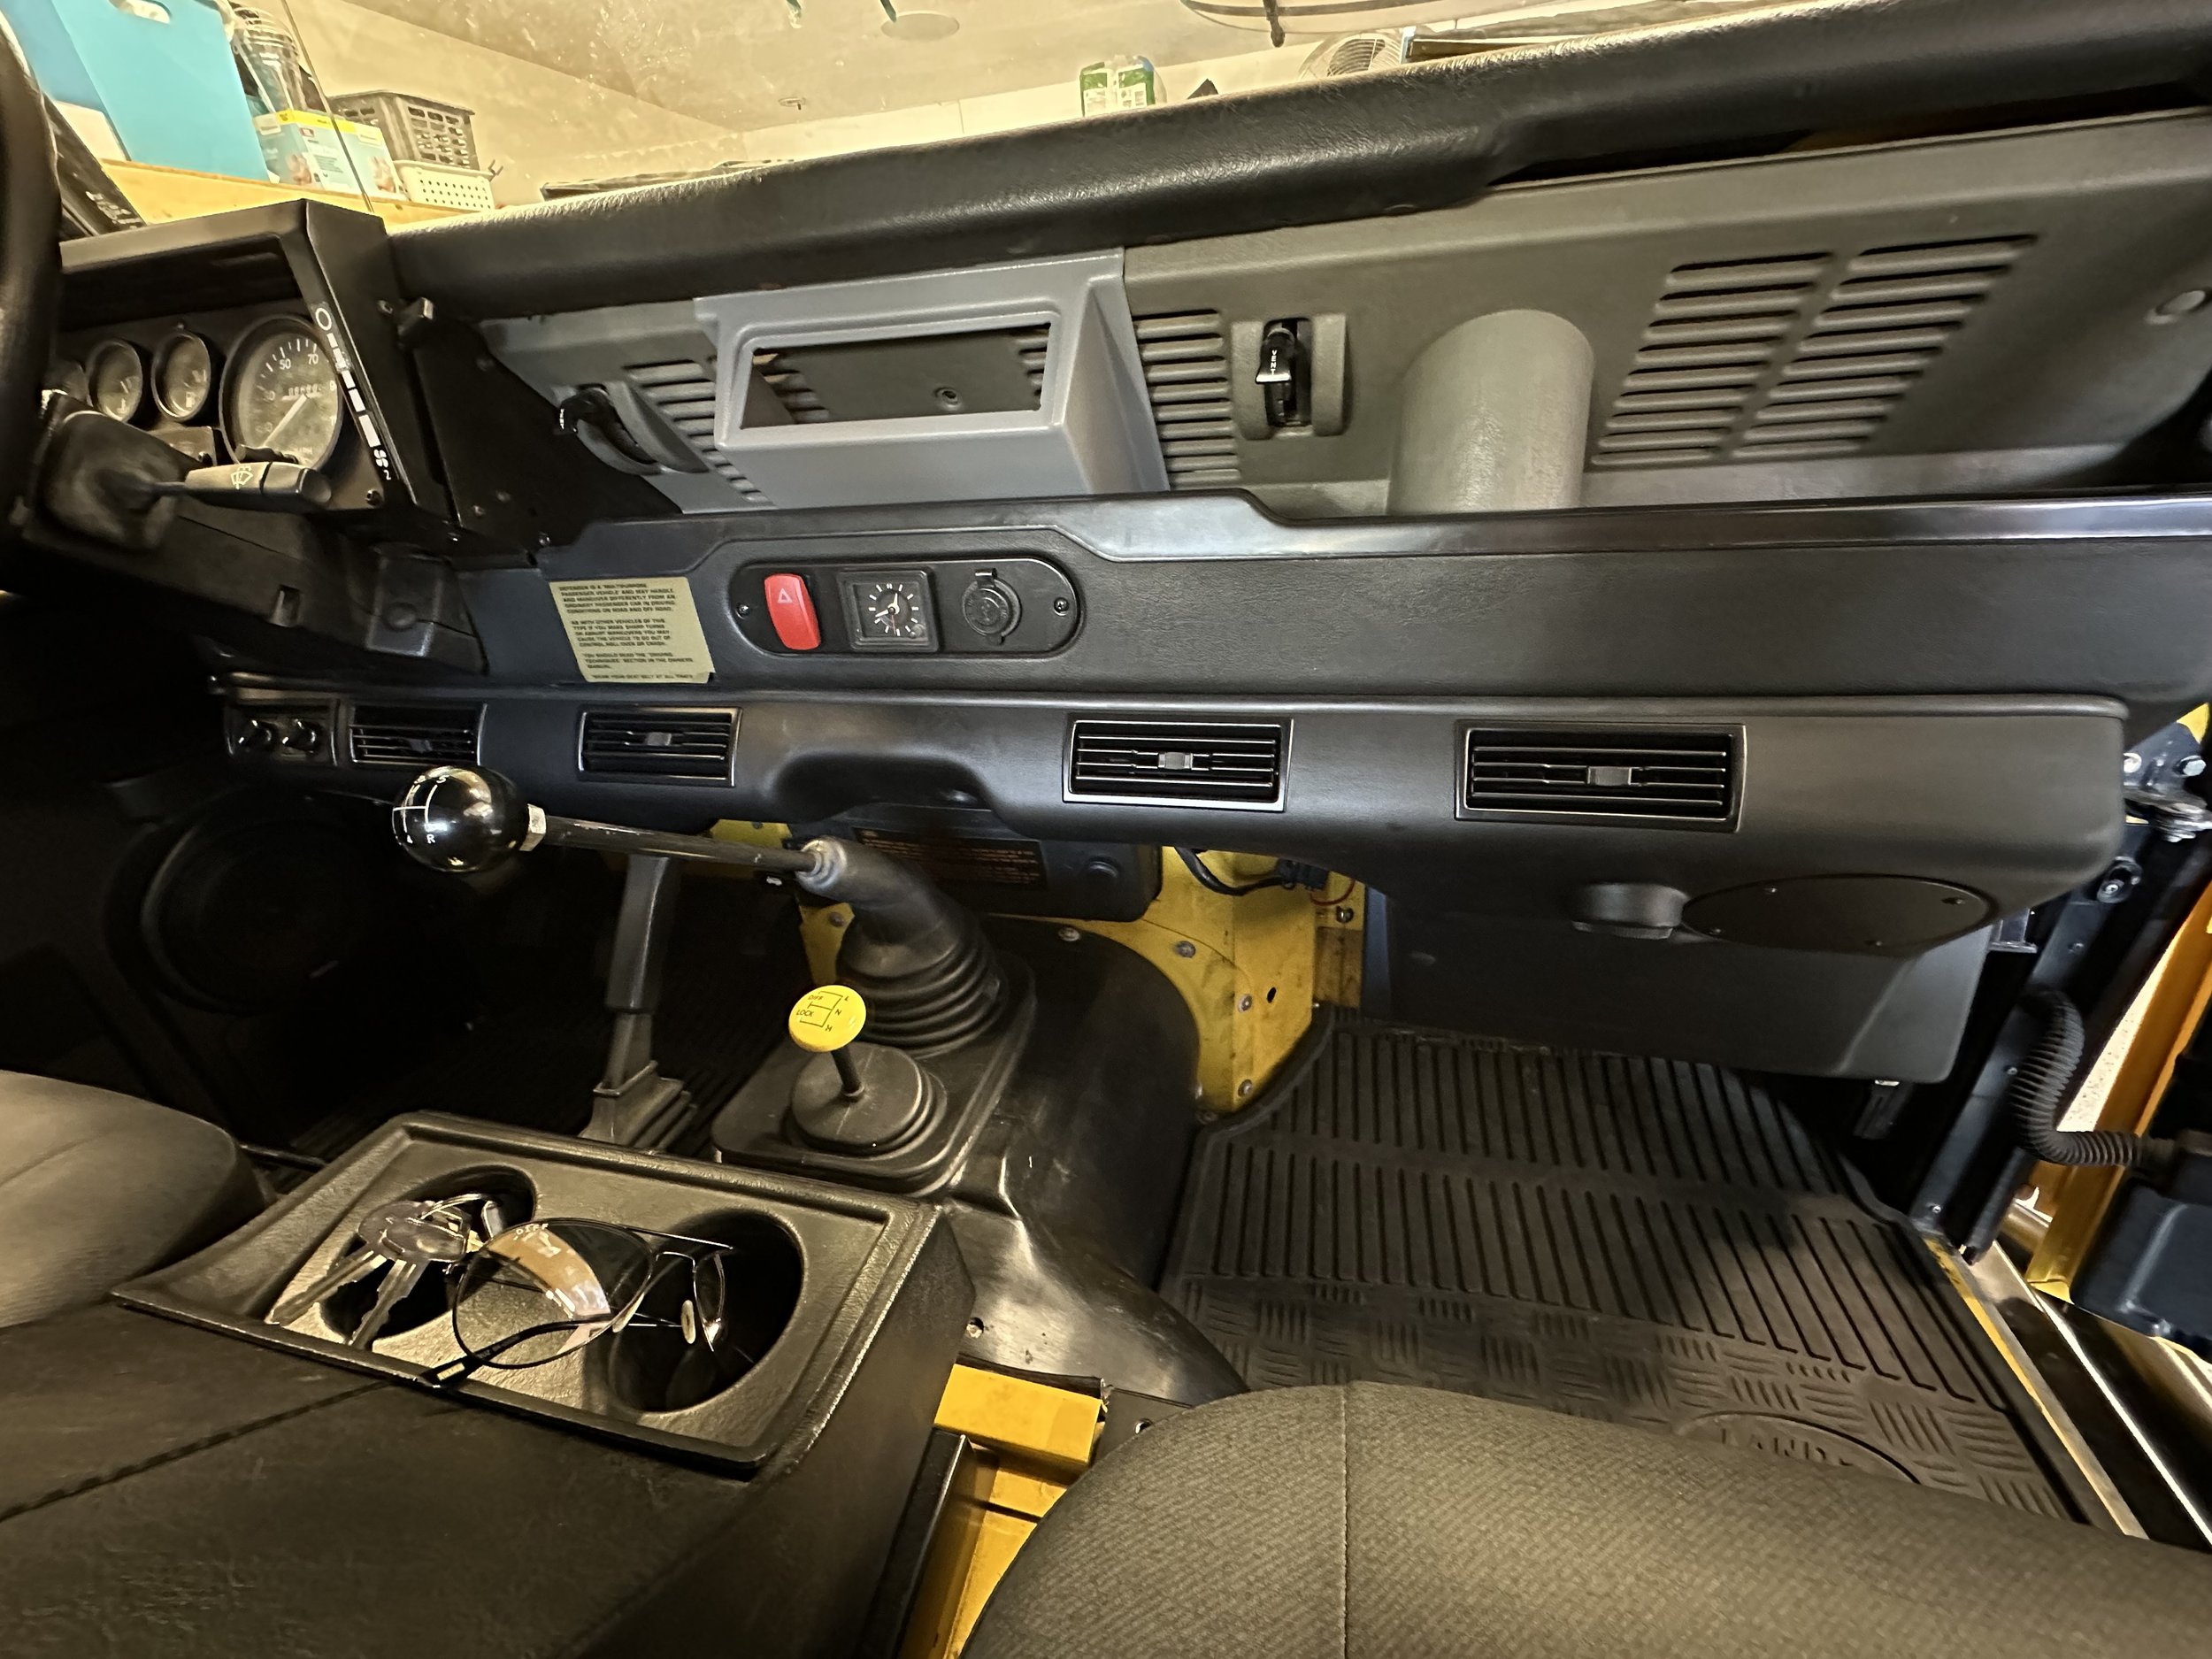
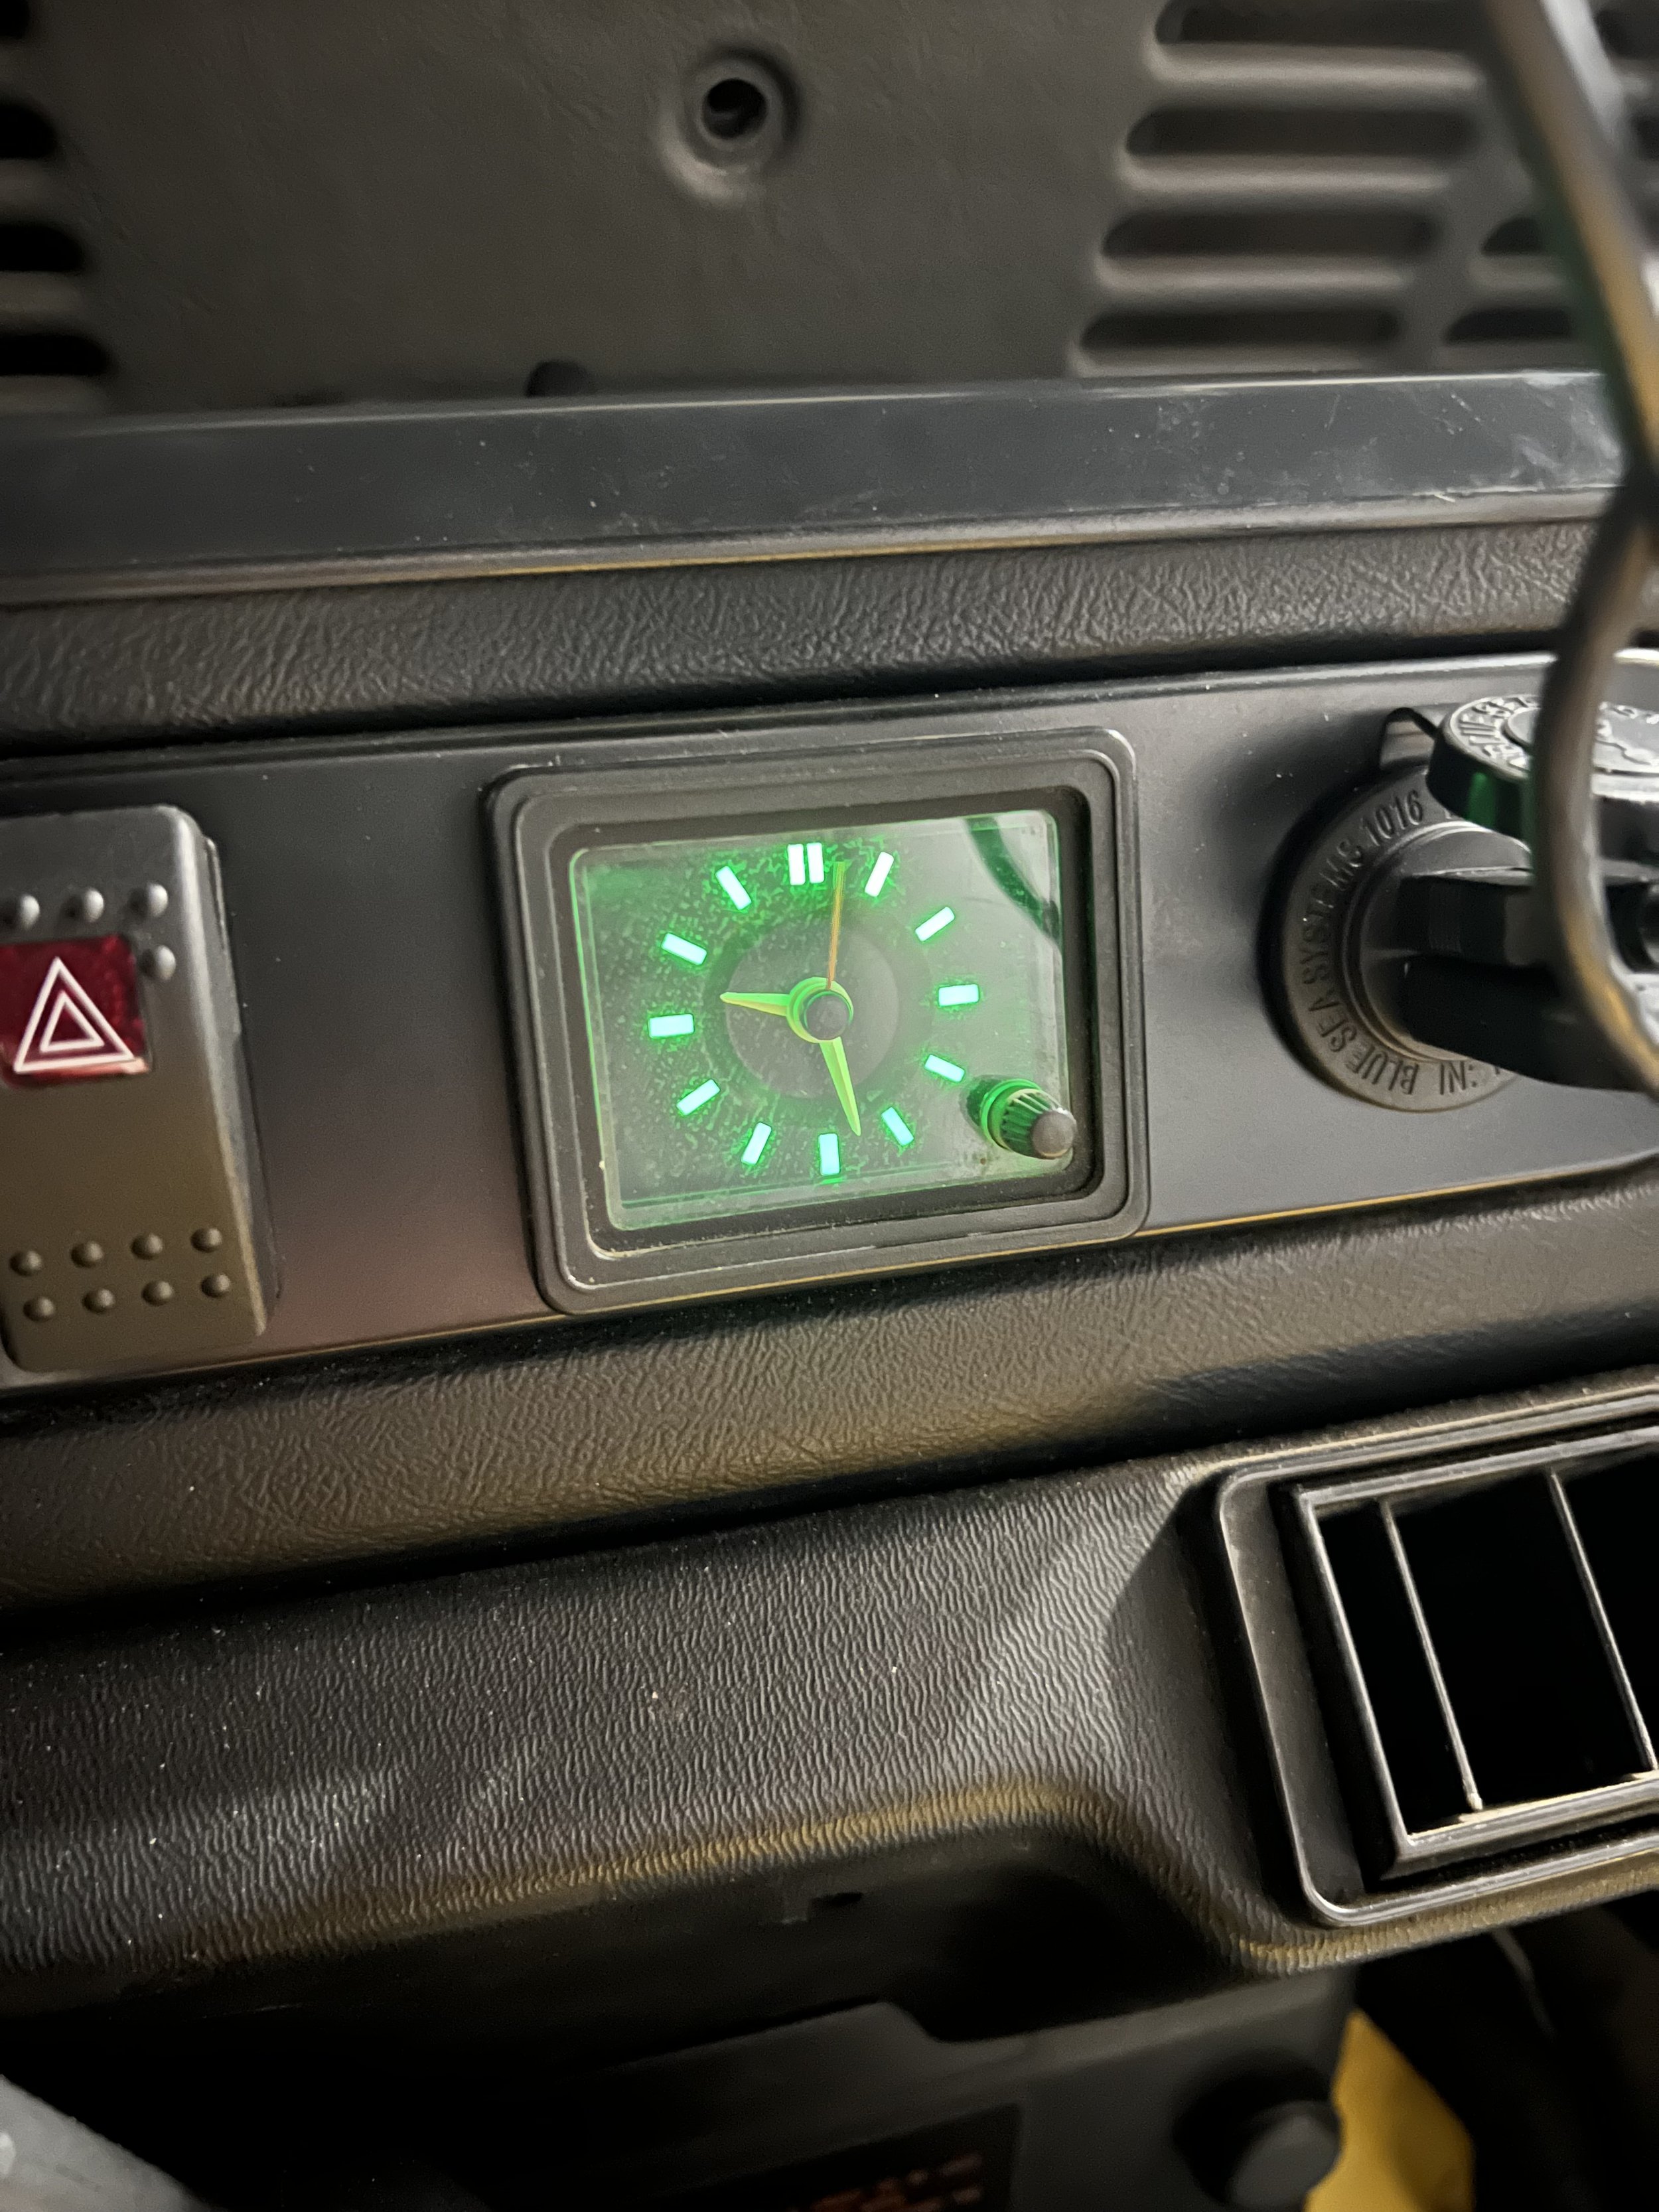
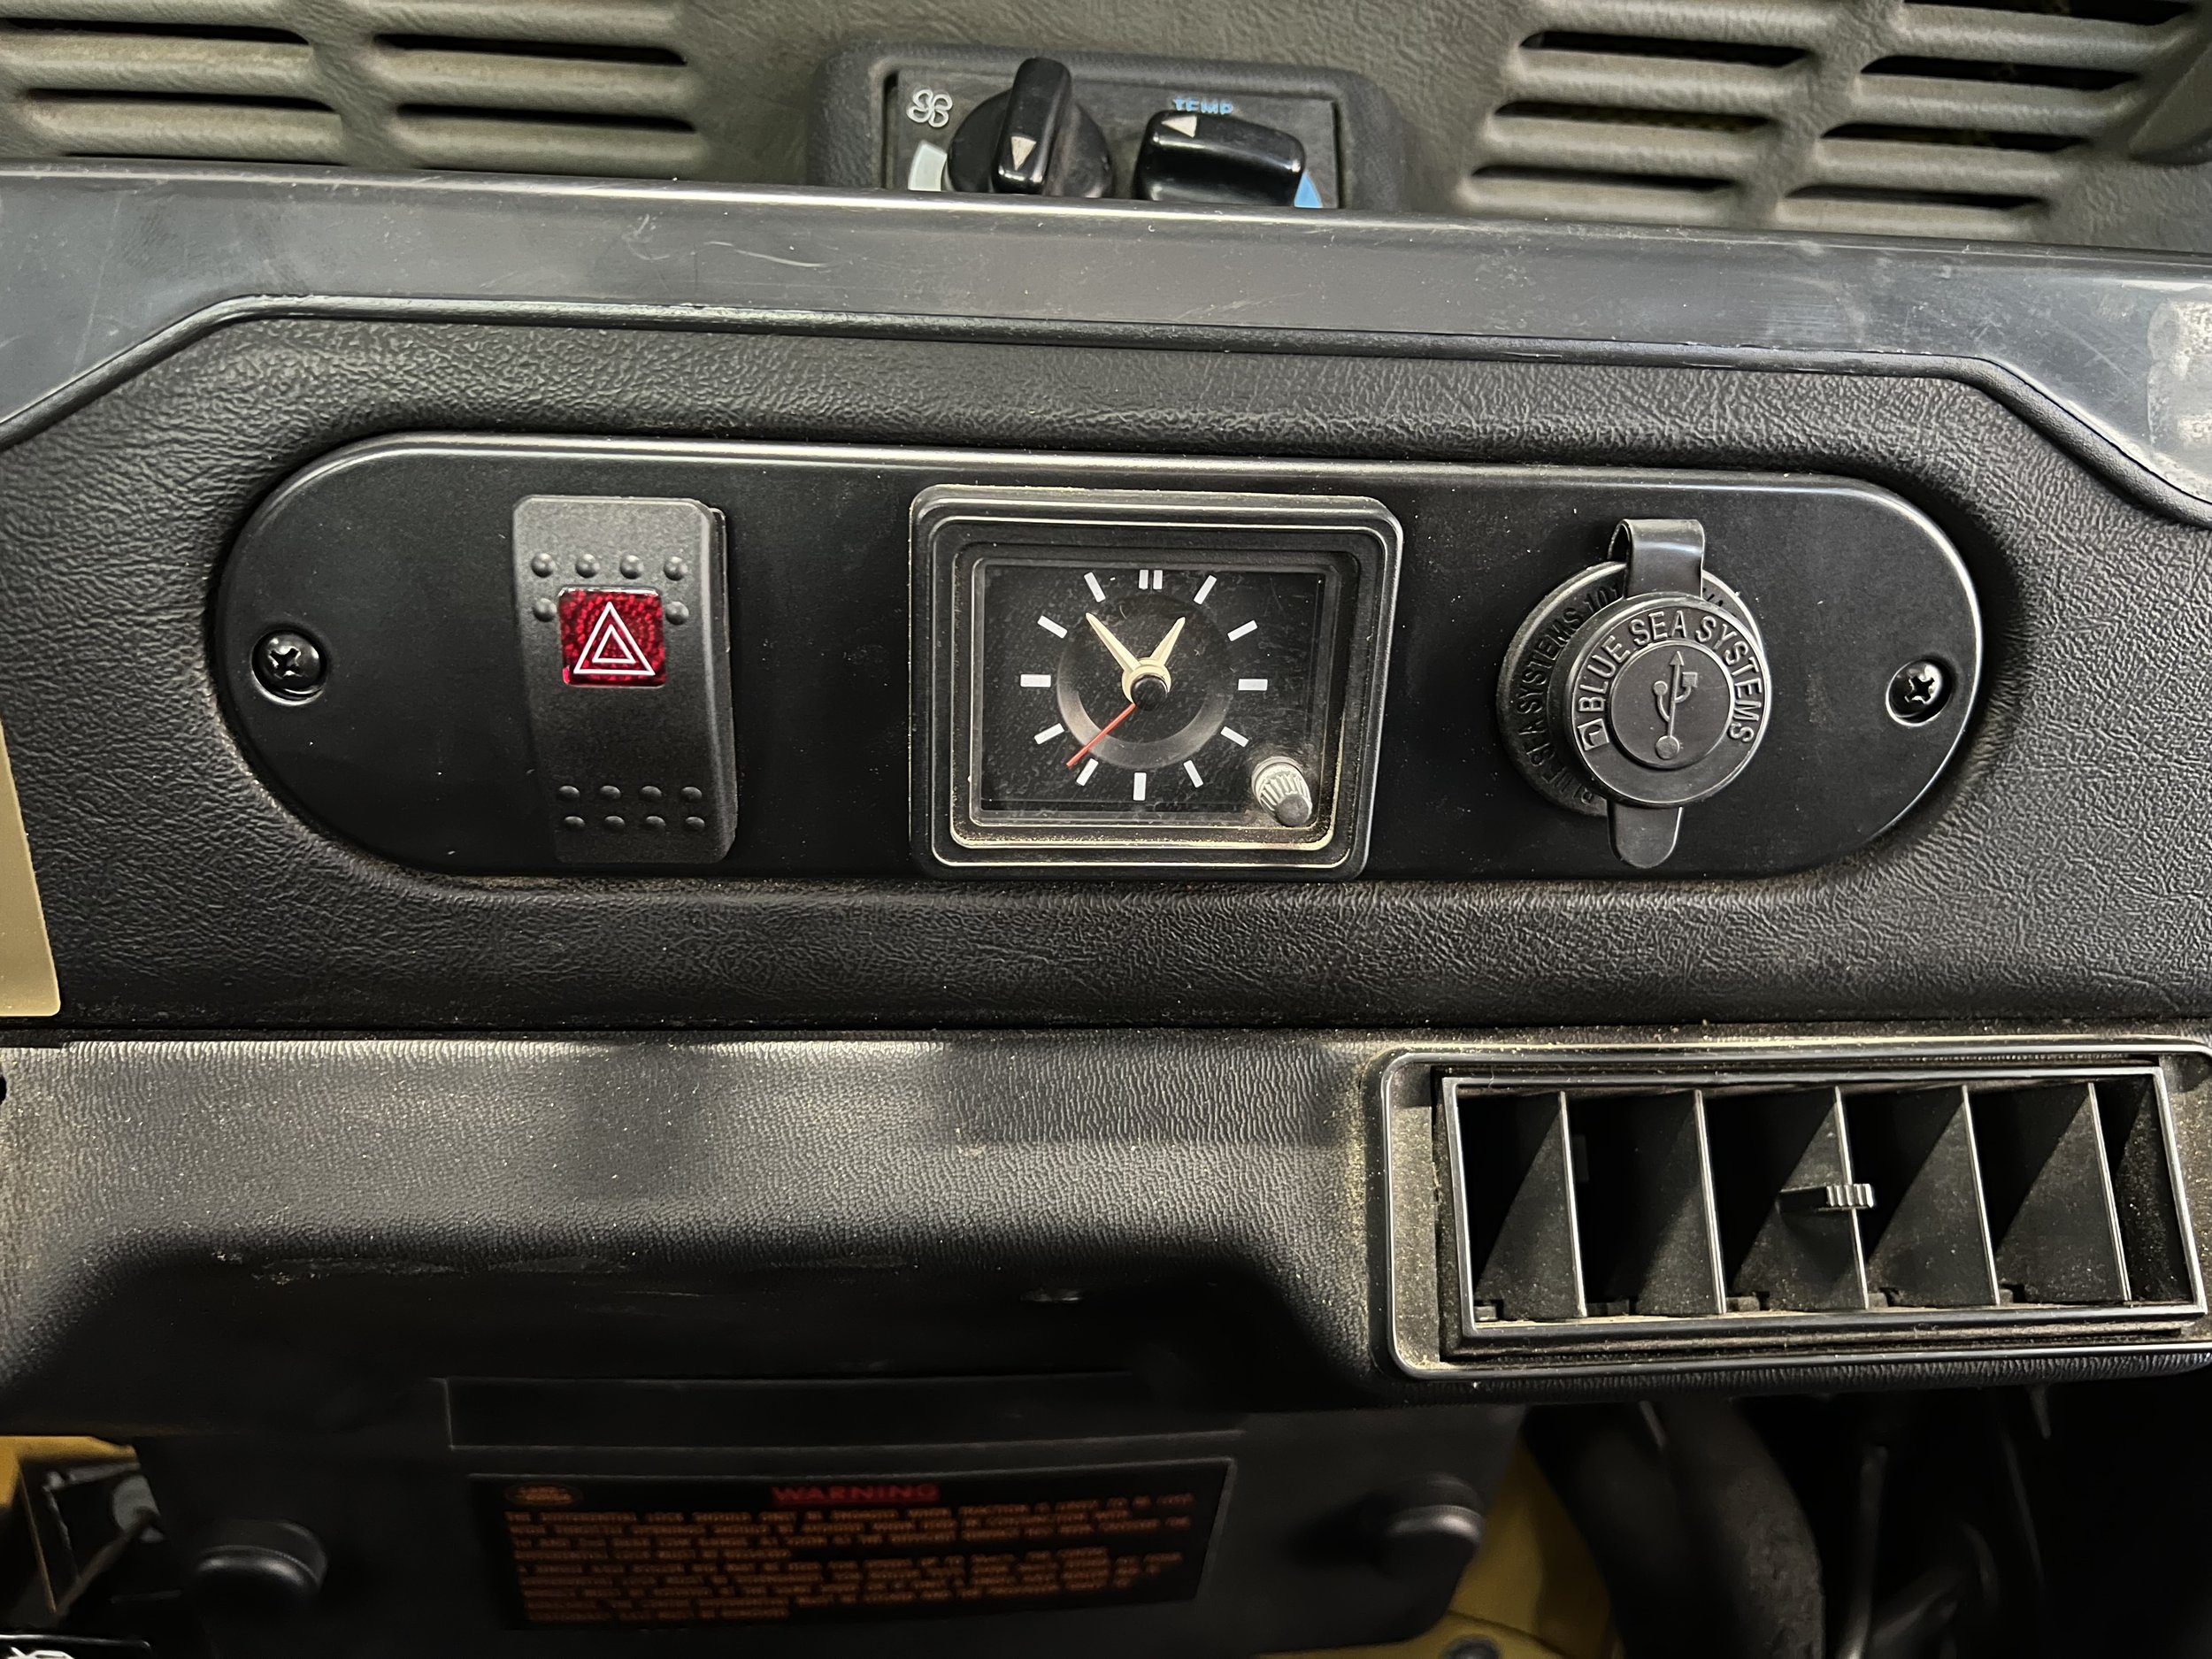
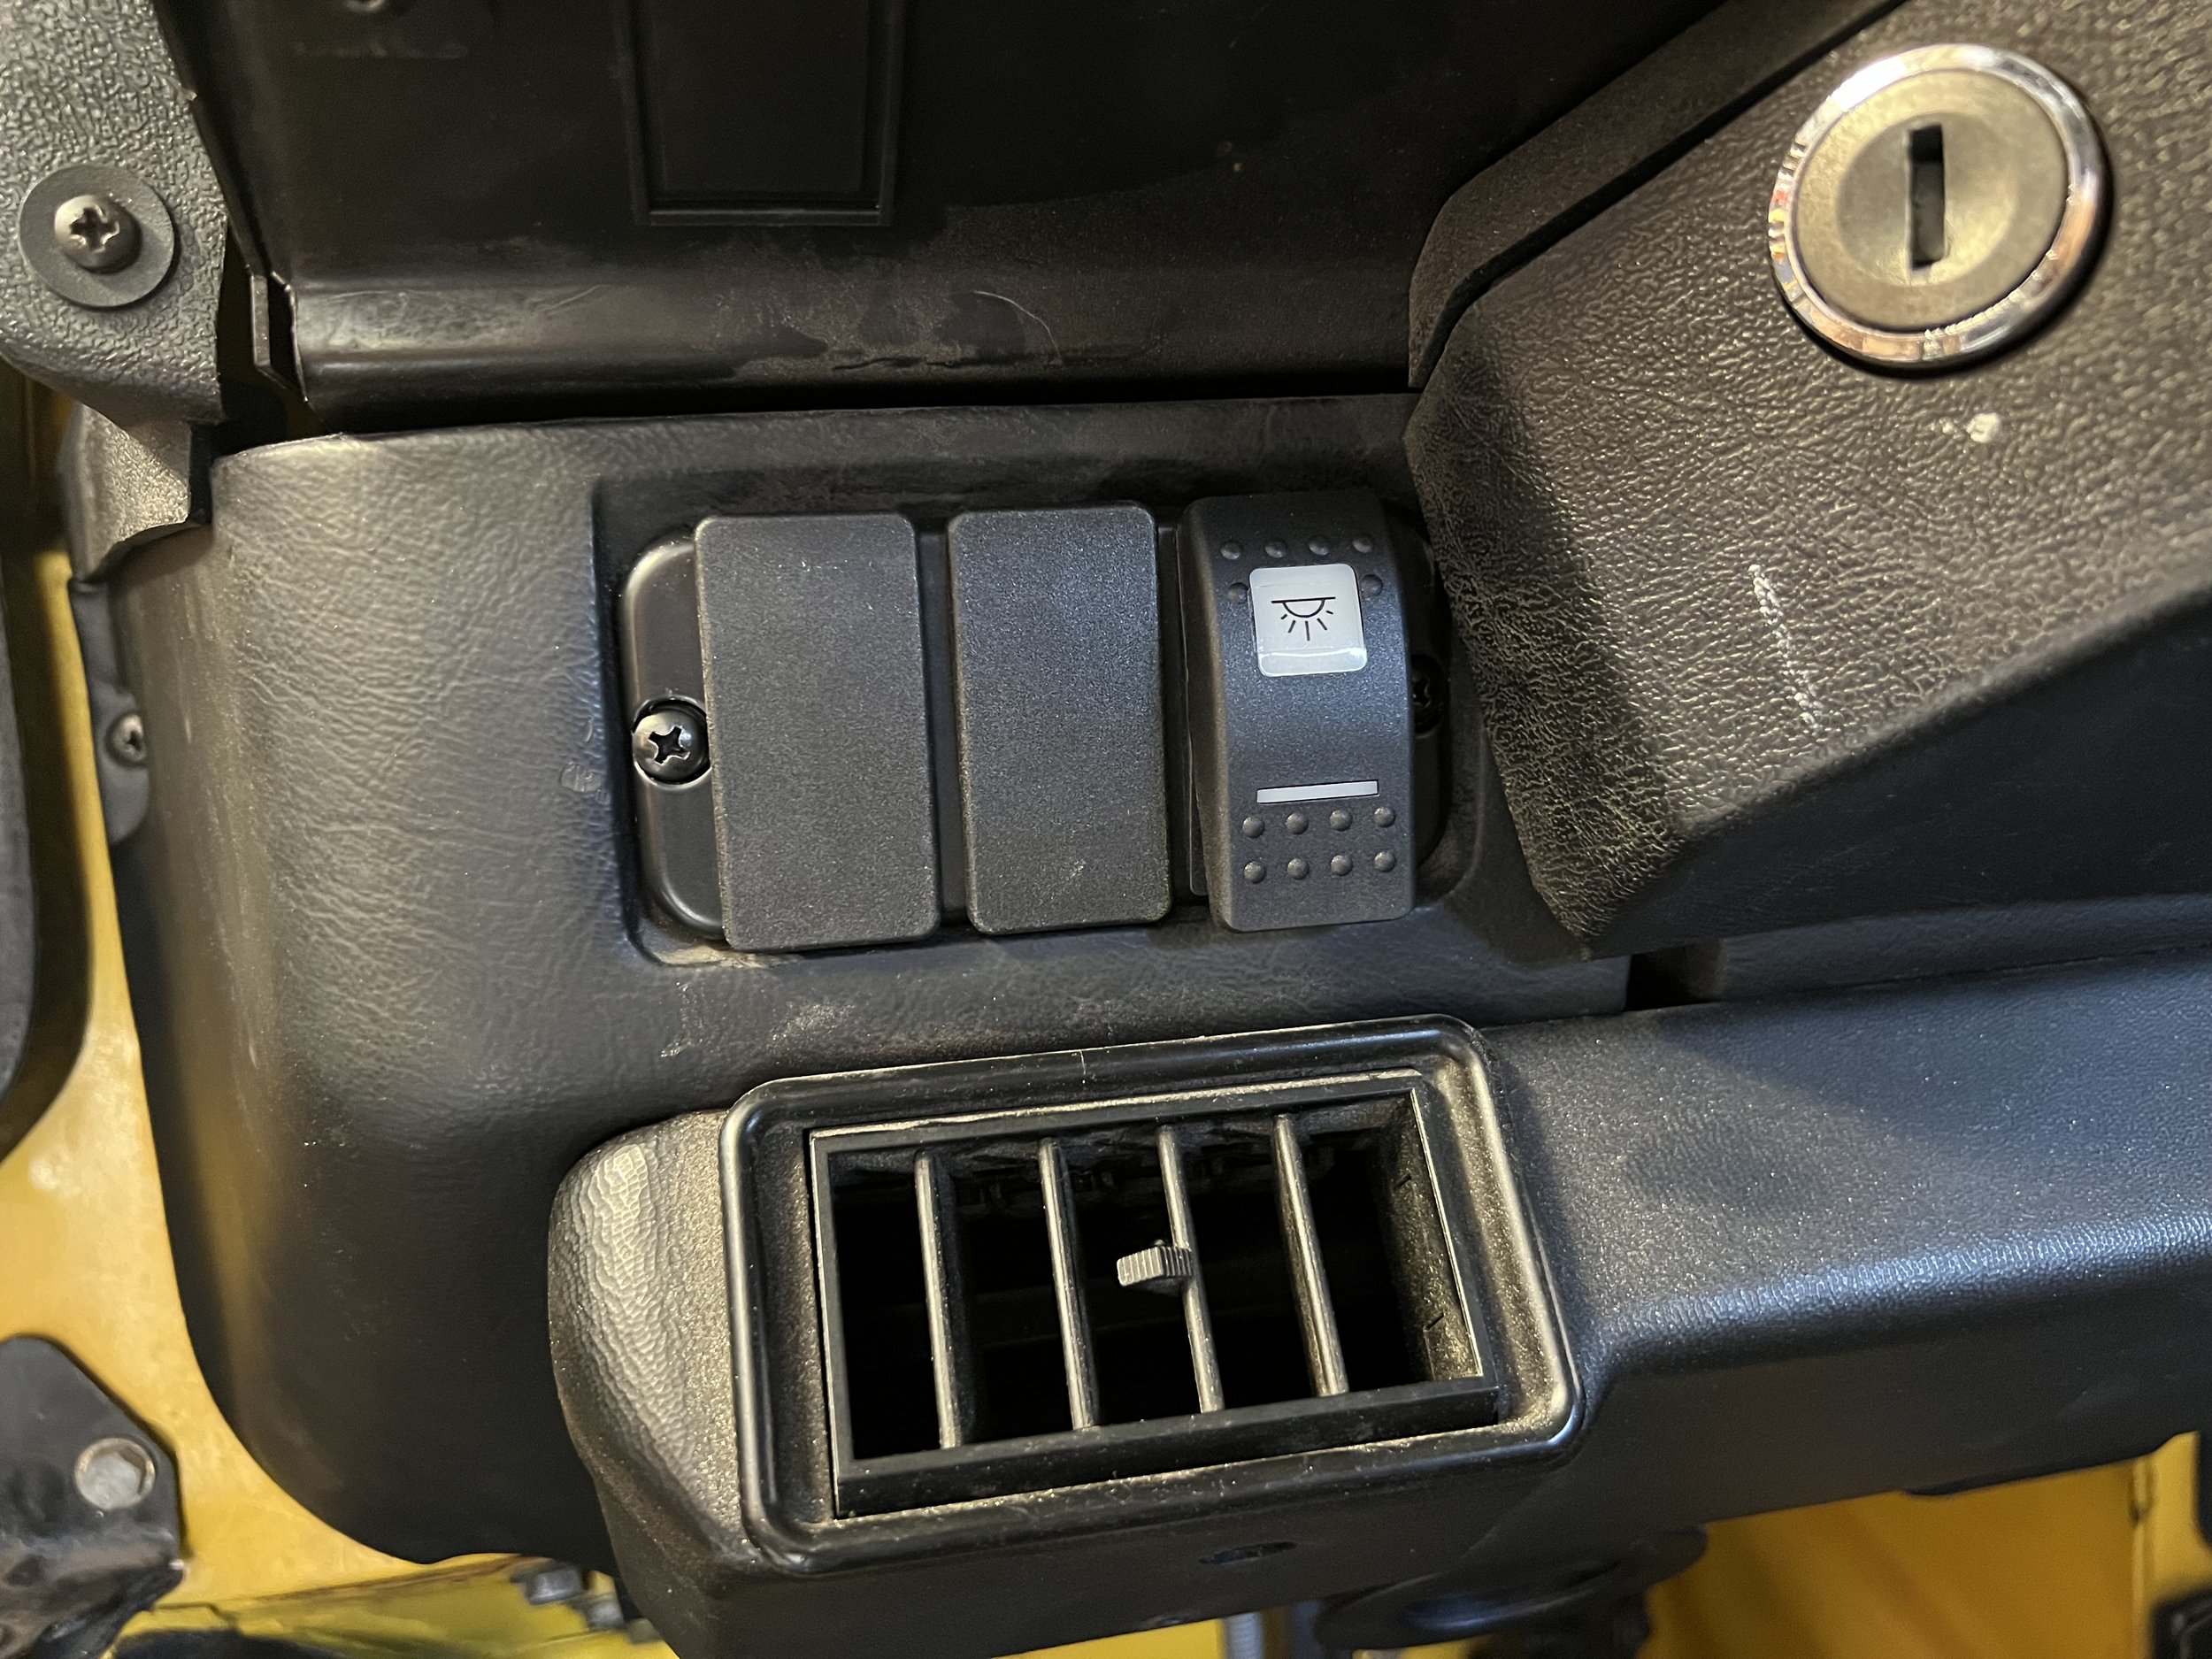
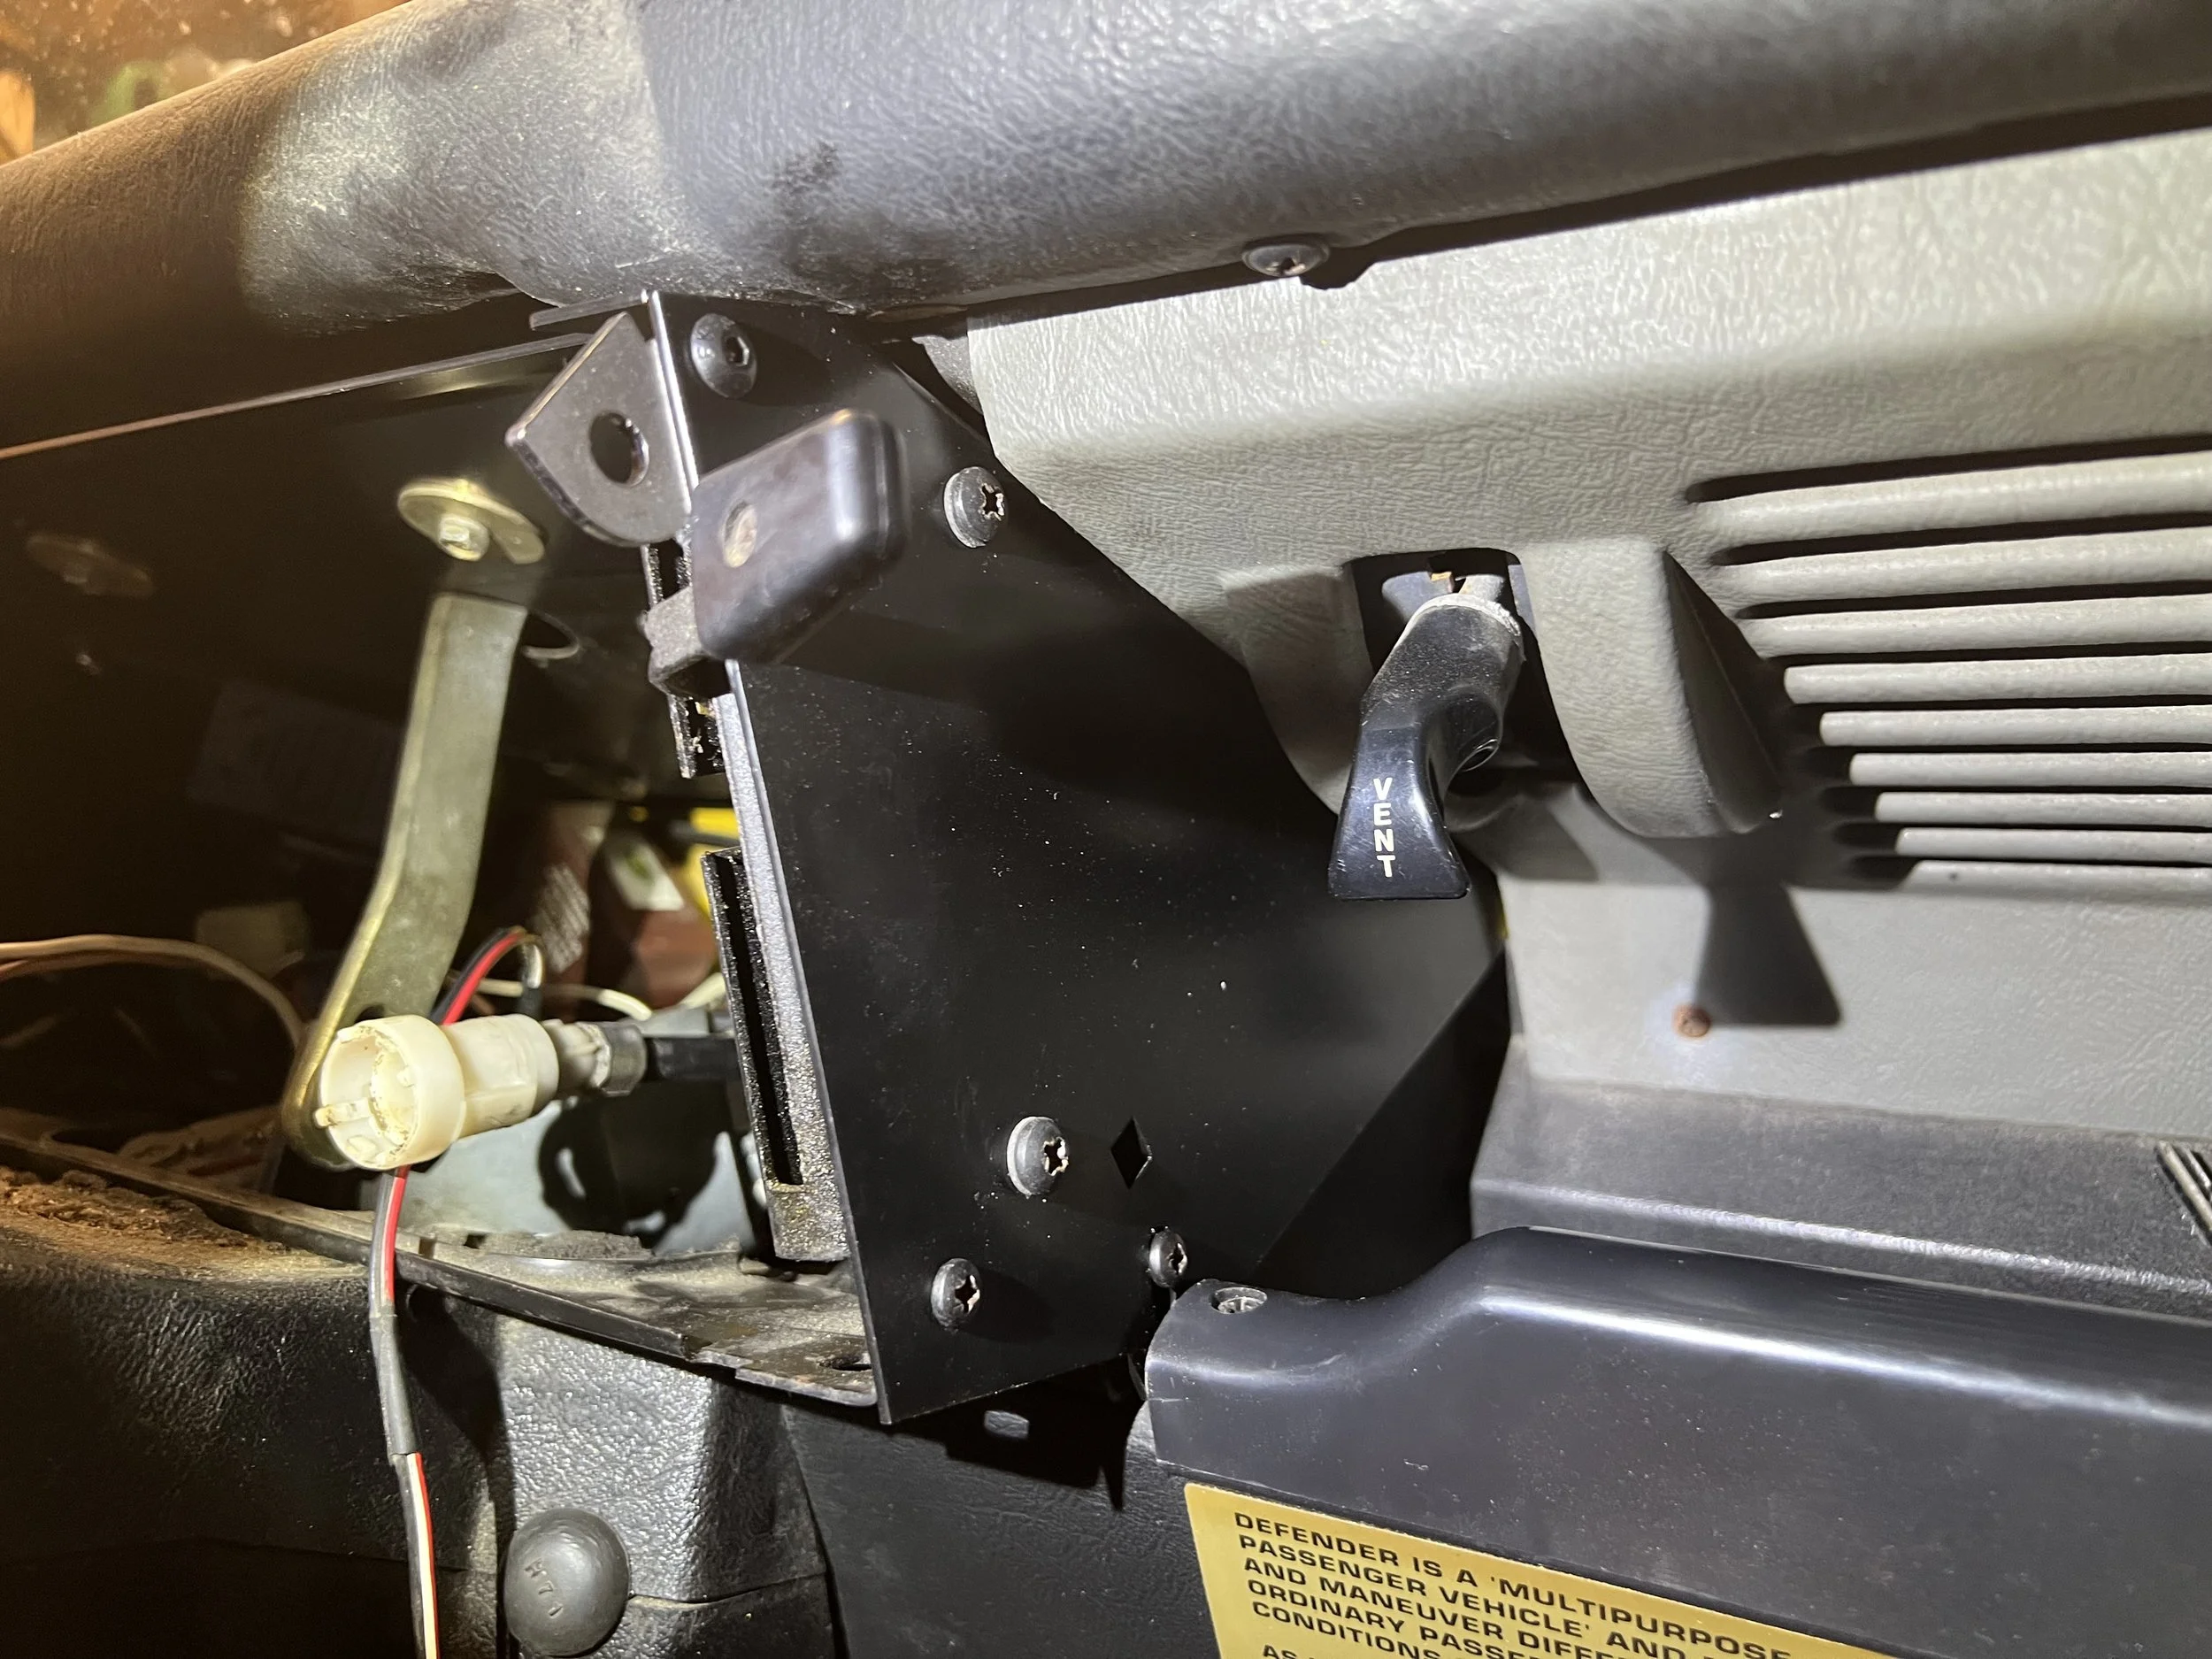
Sometimes it is the small things that matter. While this mod is not needed it is certainly nice. The OEM dash has a center plate that holds the hazard light switch, clock, and cigarette socket. But over the years those things get loose. Also by the driver side dash is a small switch area where a dash dimmer switch is and space for two other aux switches. Problem is that space does not take Carling switches and the dash dimmer switch is an outdated design and tends to go bad.

Series Defender is a small shop that creates some nice bespoke parts for Land Rovers. One of the things they make are metal switch plates and custom wiring harnesses to change the hazard switch and dash dimmer switch to Carling switches. They have lots of plate configurations to choose from. I decided I like the OEM analog clock so I picked up the center plate that changes out the hazard switch, keeps the clock, but converts the cigarette sock to a USB power port. But just to be safe I also picked up a six slot Carling plate as well in case I want to change my configuration. For the driver side switch plate I changed out the dimmer switch to a Carling unit and will use the other two slots for future aux equipment (off-road fog lights and roof rack lights).

While certainly not necessary it creates a clean look, is more robust than the OEM plate, and allows you to use the industry standard Carling switches. Like I said, it’s the small things that matter.

Defender 90 Build - Wheels

The original Defender 90 NAS tornado wheels are a great representation of 90’s design. They are alloy, rather strong for their era, and look pretty decent. However for my build I wanted a black wheel that fit the bumble bee look. I also didn’t want alloy as I wanted a more utilitarian look and a more practical off-road wheel…so steel was the way to go. The original “wolf” military Landy wheel looks amazing but they are incredibly expensive, heavy, and a bit narrow. I found that Terrafirma makes a wolf like black steel wheel that is a touch wider to accommodate my wide pillow top tires.

I think they look the part, are stronger than the OEM tornado wheels, and allow me to store my tornado wheels to keep them near perfect for the next owner. I had already installed Terrafirma 30mm spacers but I quickly found out that the spacers can be seen on the new wheels which is not ideal so I will be changing out the spacers to black versions. Also the installer of the wheels put the weights on the outside which look, well terrible. So I will have to move those to the inside at some point. Finally, with the new wheels I had to get new black lugs which do away with the weird Landy lugs which have metal cosmetic caps (another addition to the OEM parts bin for the next owner). Overall I would highly recommend these wheels if you are looking for a military, utilitarian, clean black, steel look for your Defender.

Defender 90 Build - Dash Dock

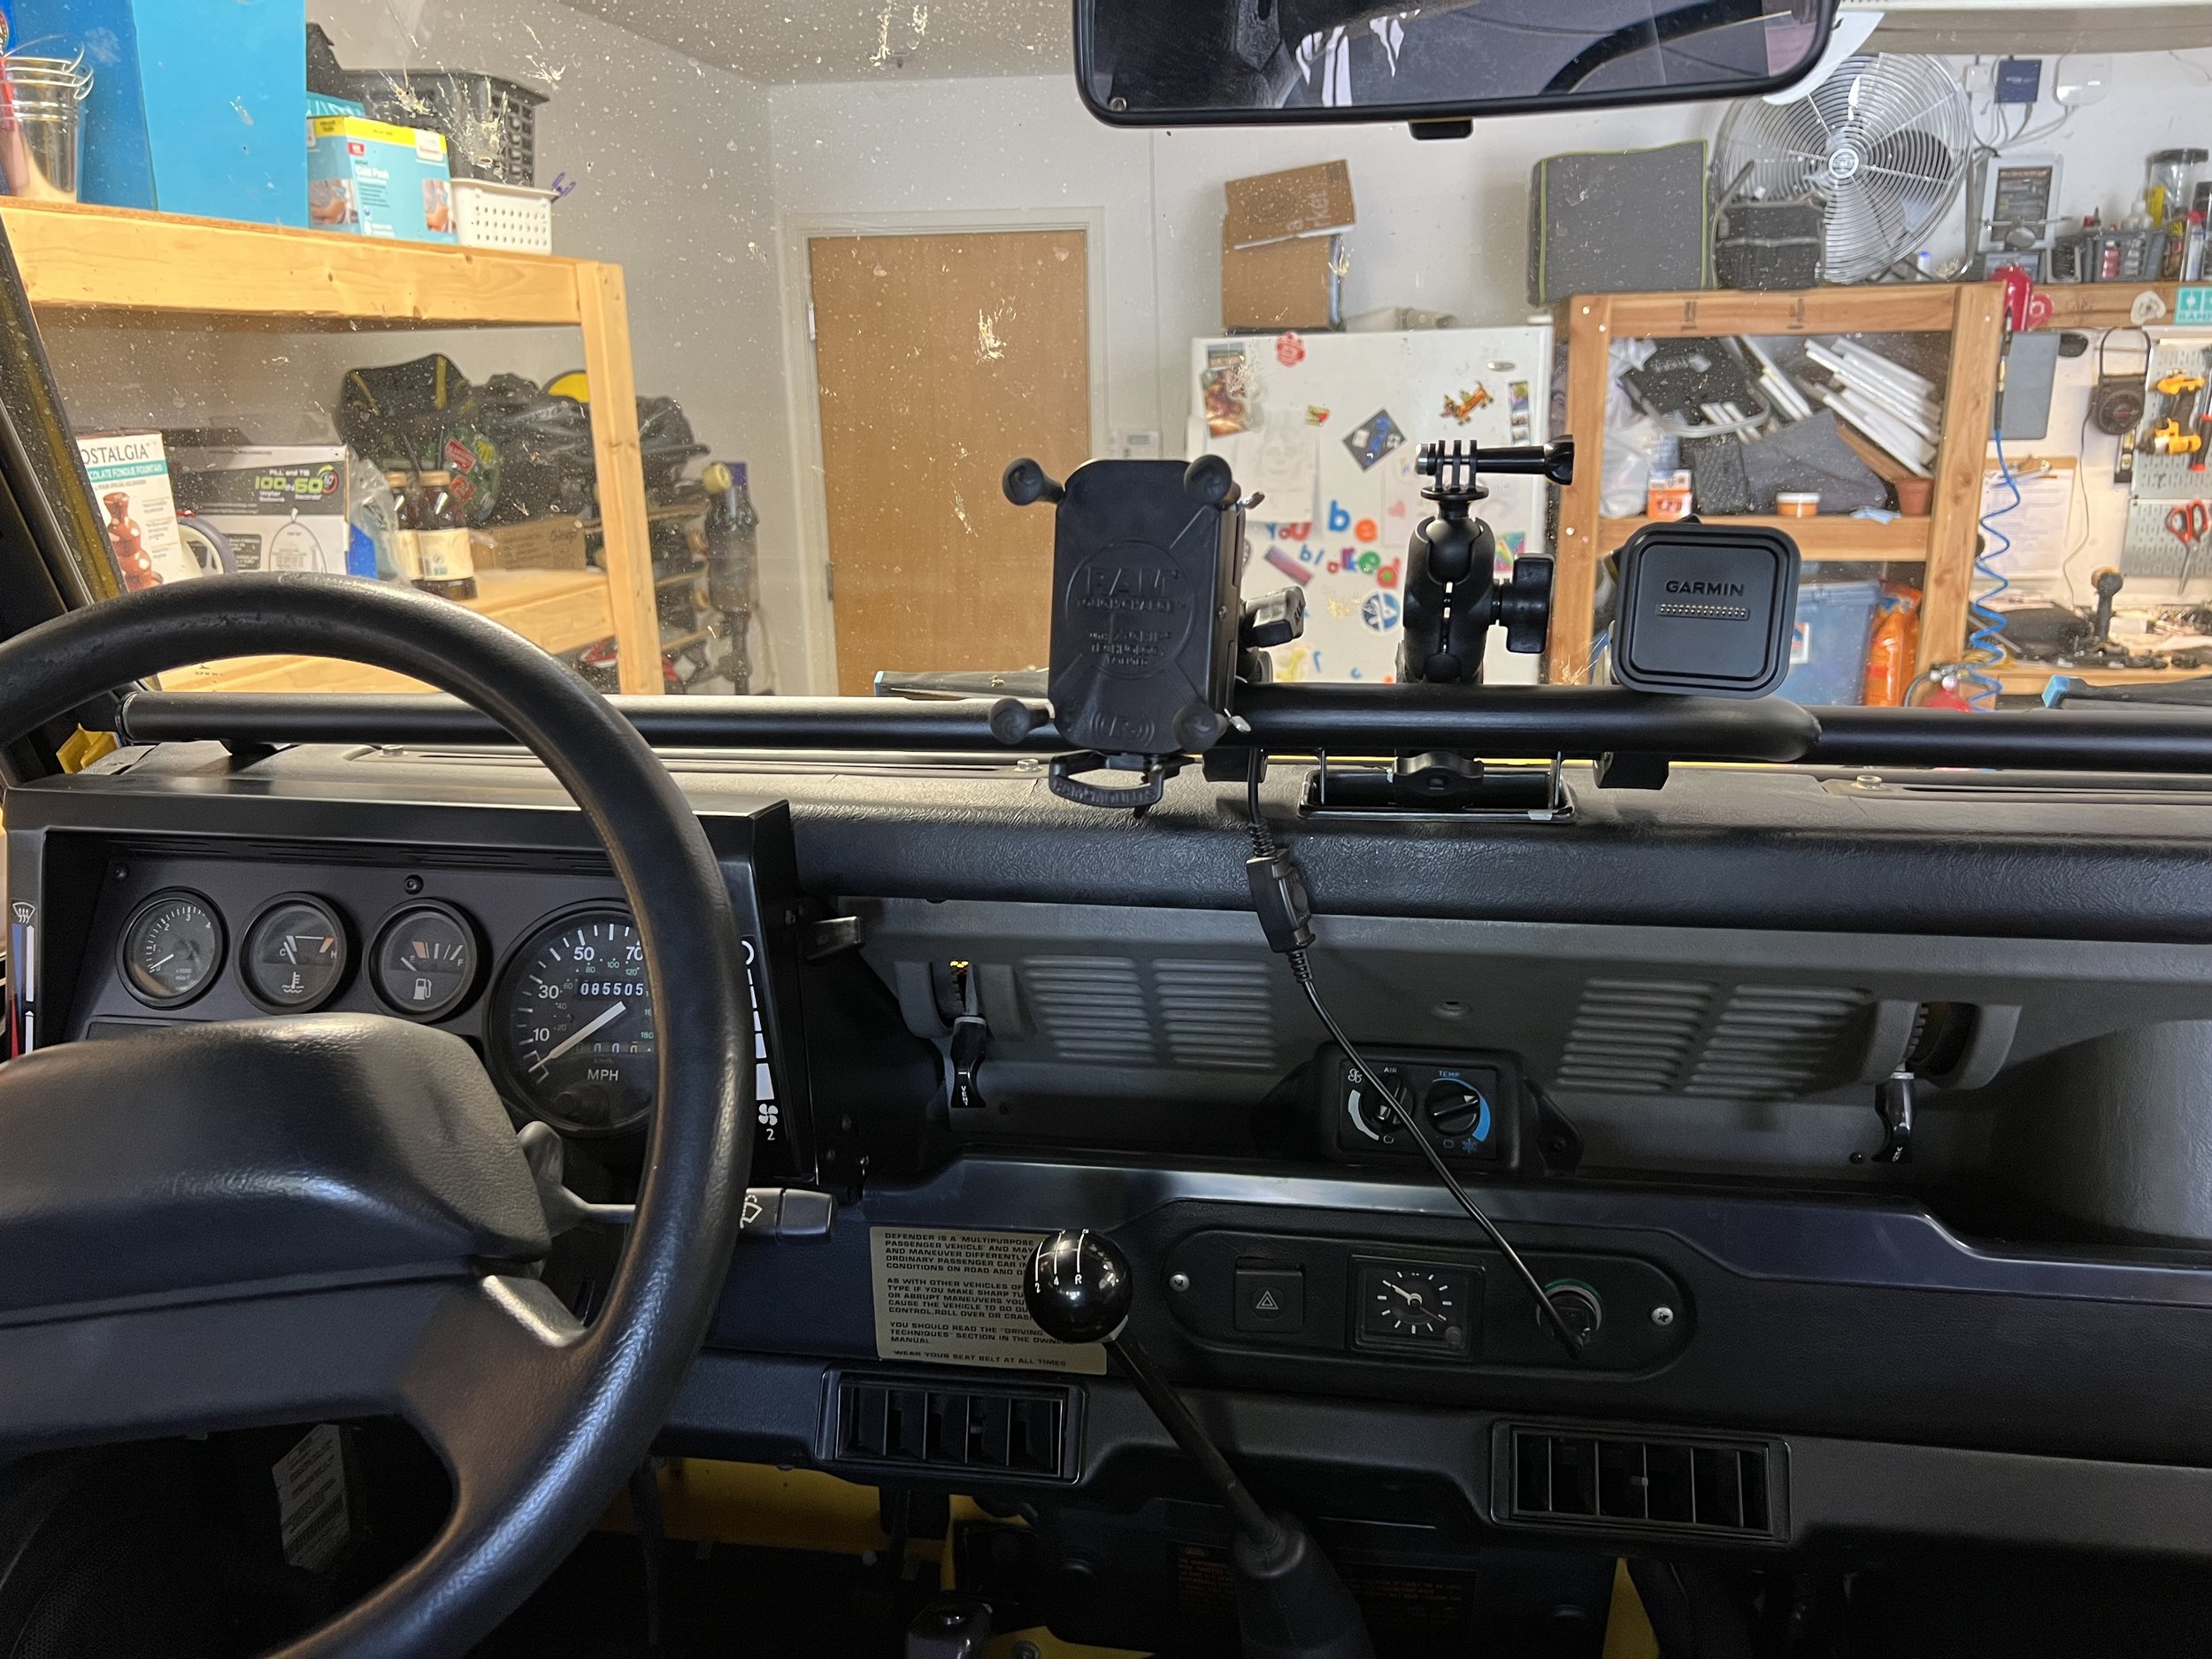
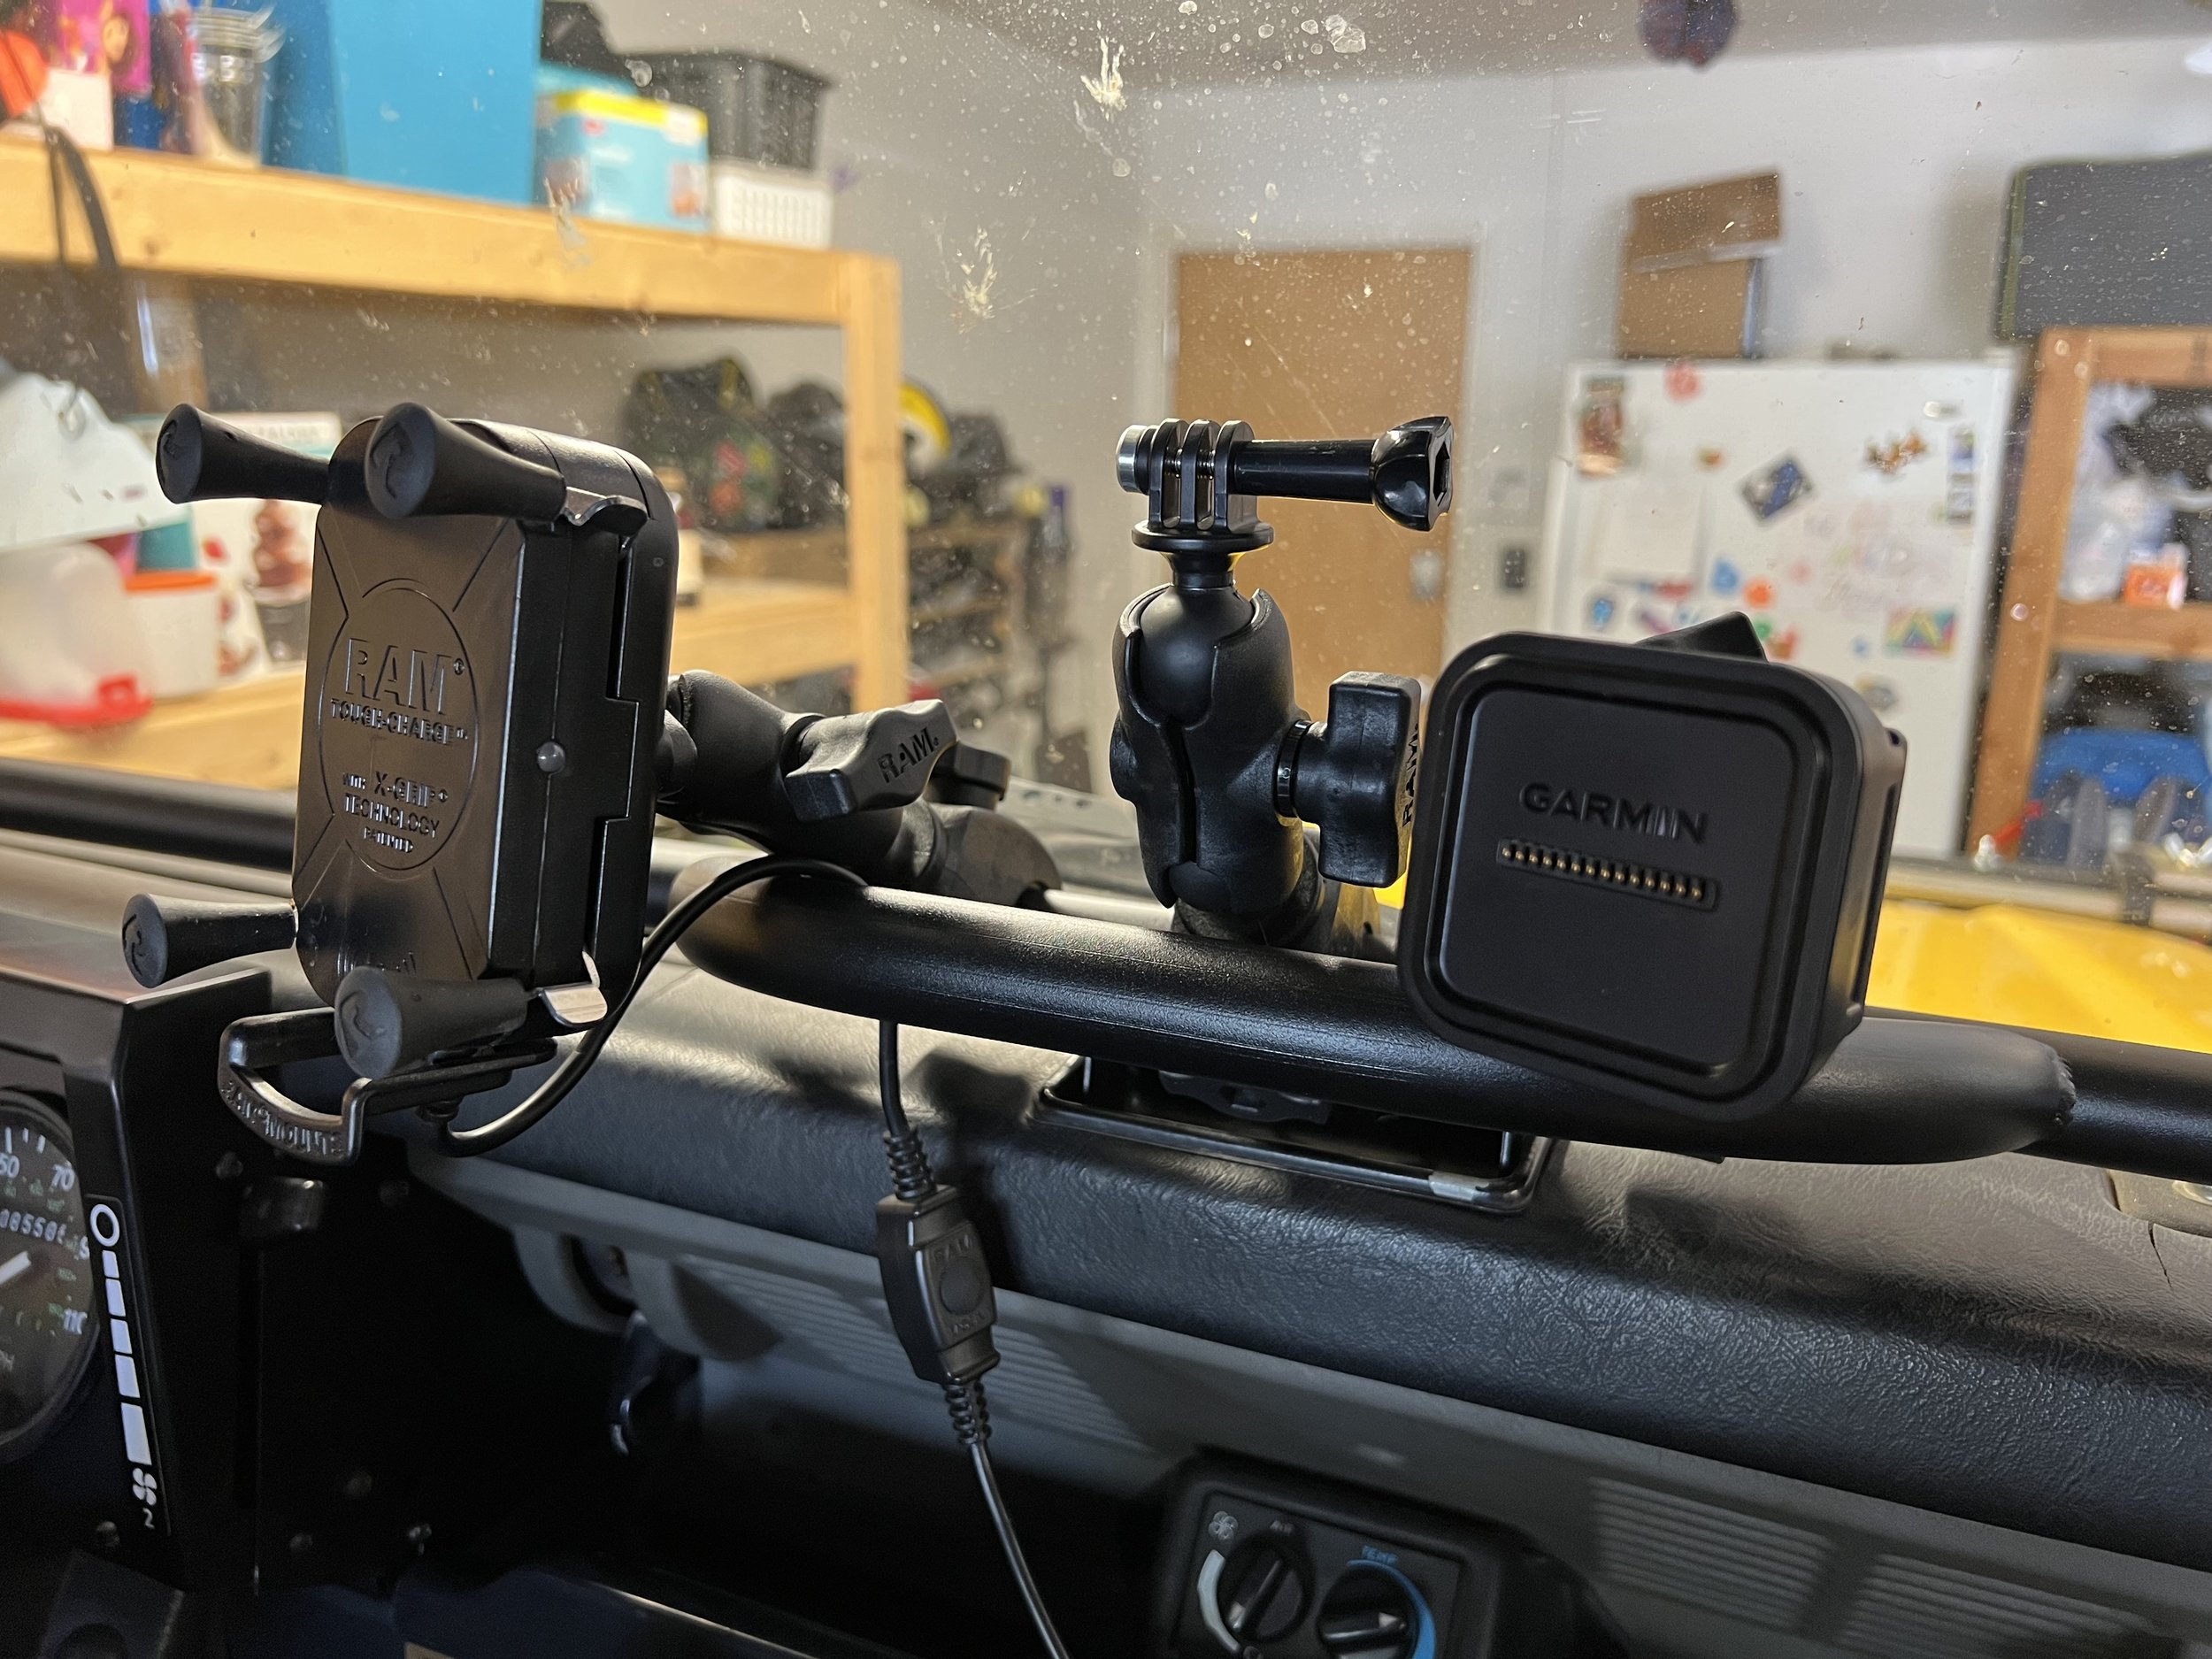
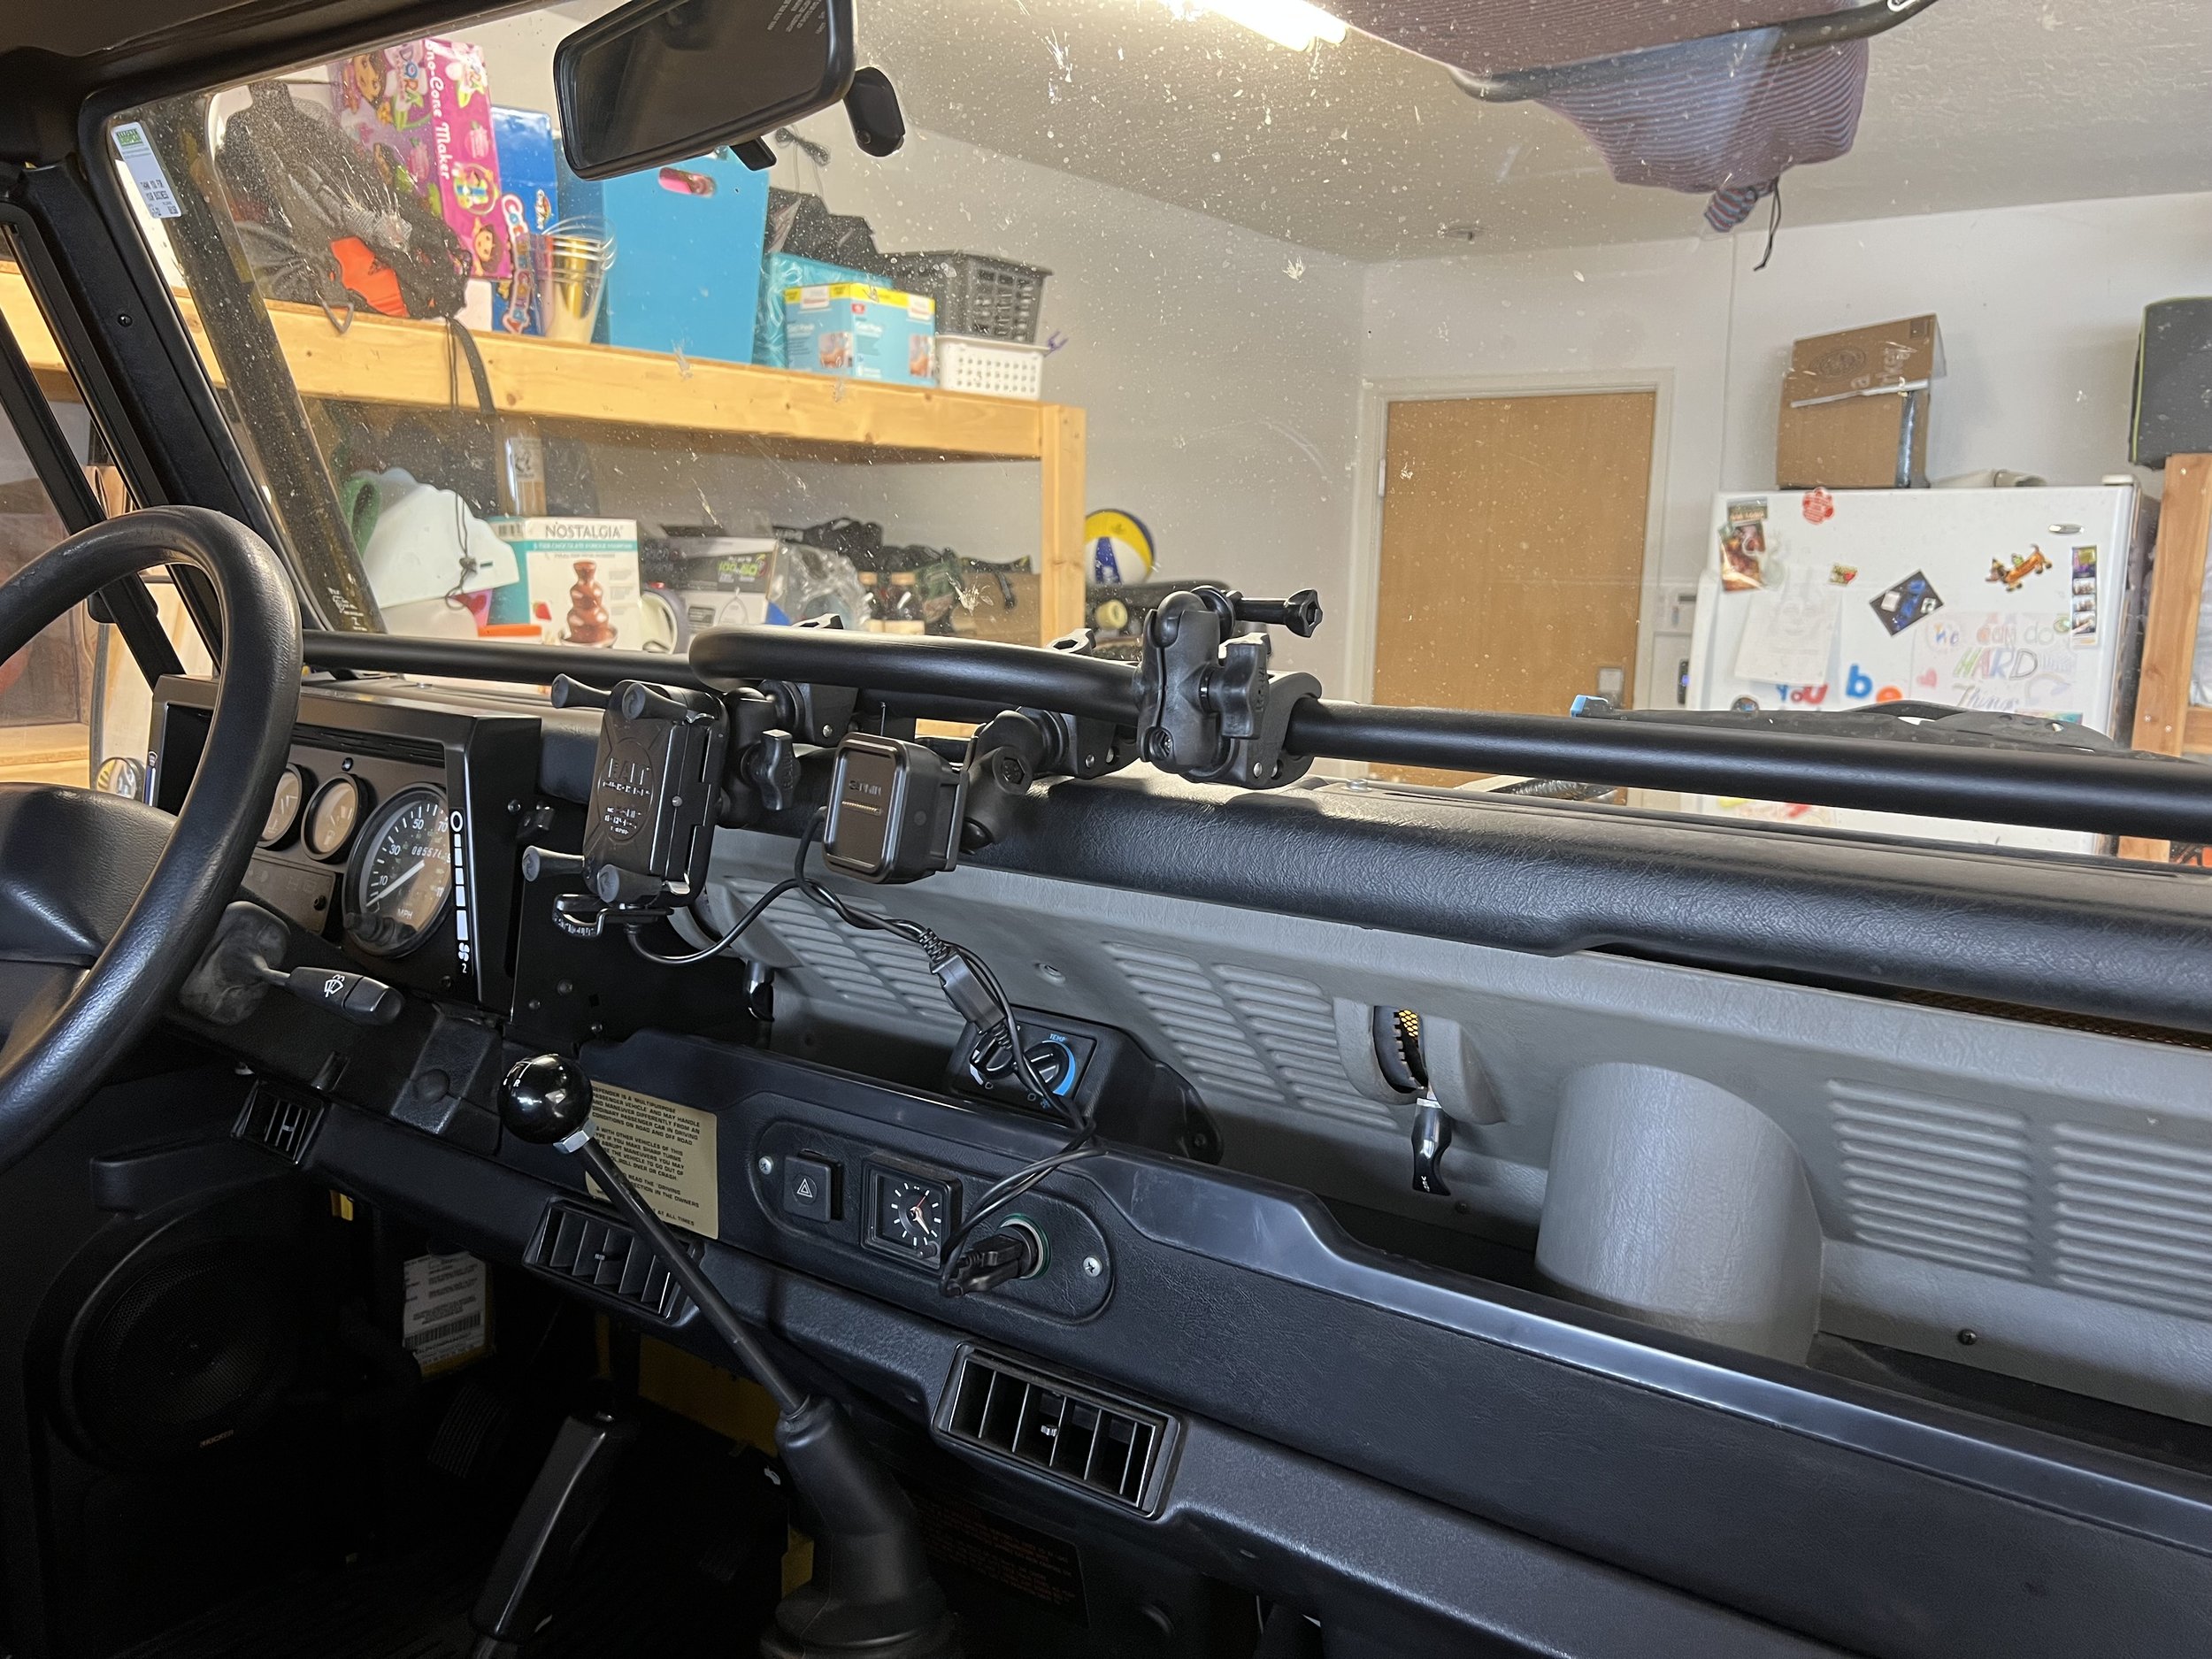
Defenders don’t have a lot of space and the dash is very utilitarian. This makes it difficult to find a way to mount things like cell phones or GPS devices without doing damage to the dash. I wanted an easy way to mount a few things while keeping a utilitarian look but not do any damage to the dash. That led me to a Dash Dock designed specifically for defenders. It’s basically a bar that mounts to the dash using two existing screw holes and the ashtray in the center. Once in place you can use Ram Mounts to attach all sorts of gear. I have it set up to mount a cell phone, a Garmin Overland GPS device, a GoPro, and if needed two drink holders. The only damage done is to the ash tray where you drill one hole into the ash tray but I was ok with that as you can easily replace the ash tray with an OEM replacement.

Defender 90 Build - Seating

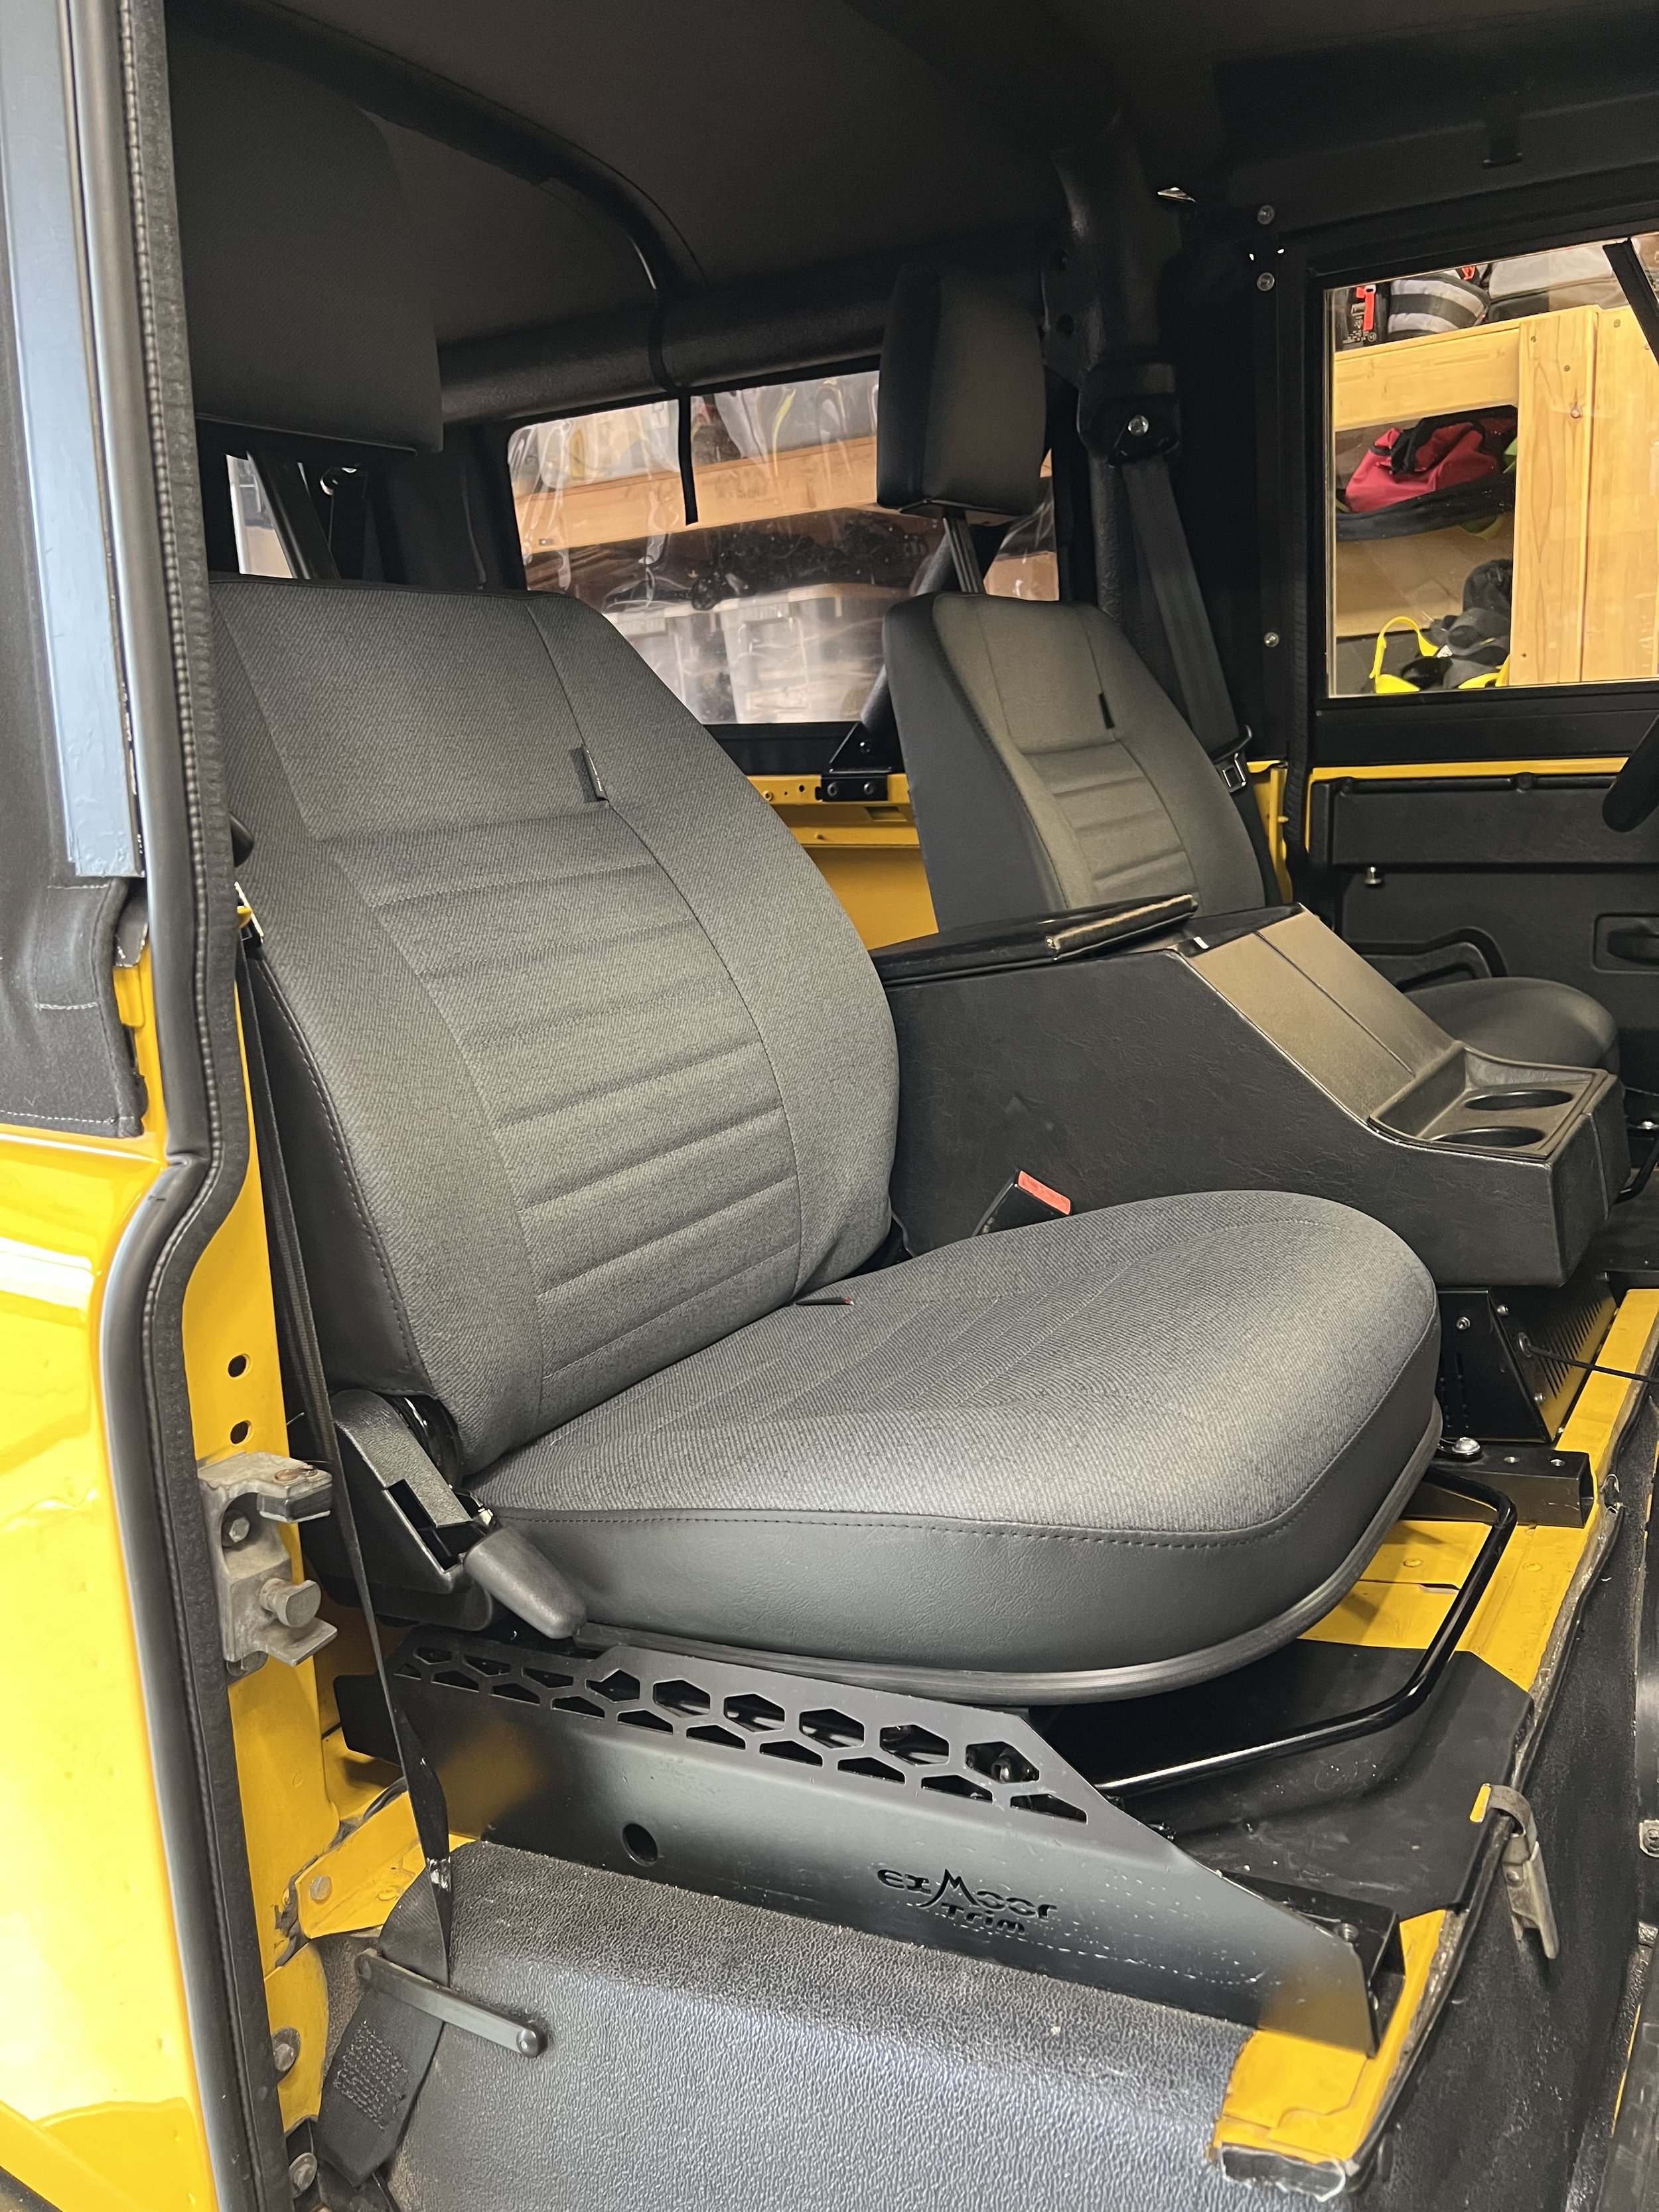
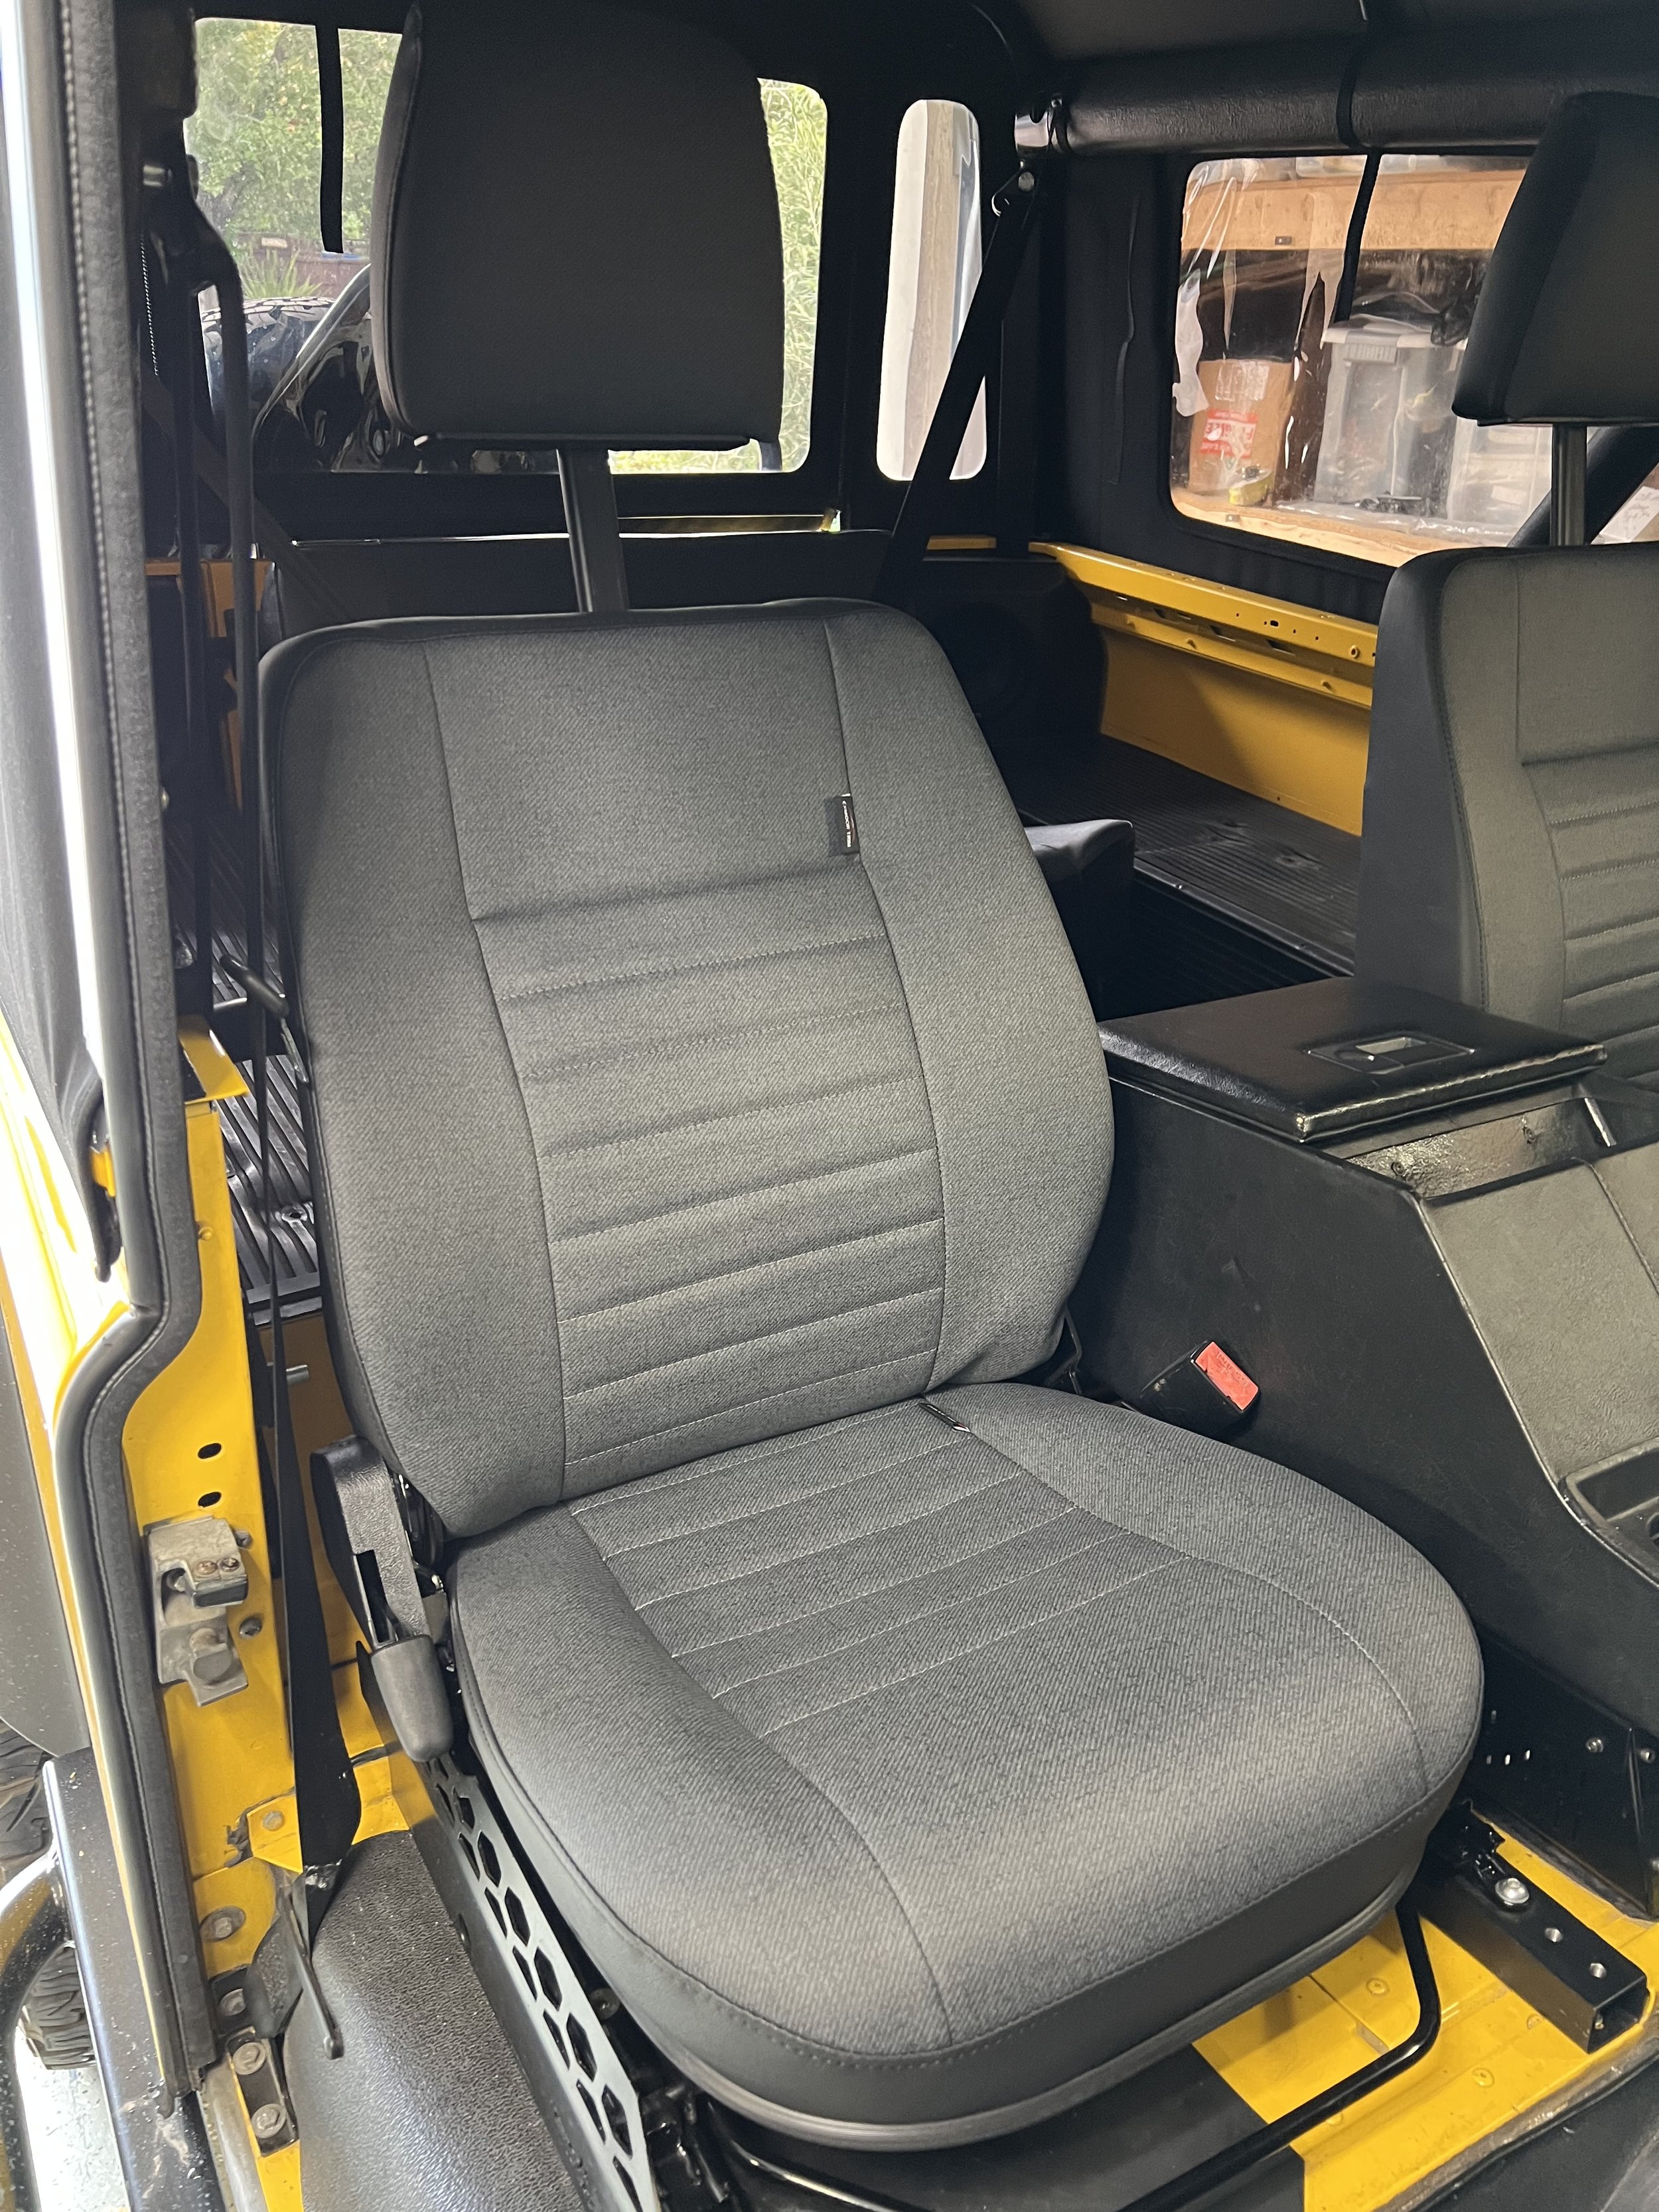
My truck came with the original OEM front seats but aftermarket rear side facing seats. The front seats where in rather good condition but the foam was getting compressed, the sliding mechanism was no longer smooth, and the plastic end cap was cracked. All in all, exactly what you would expect from a 1994 car. At first I was going to simply reupholster the seats but the cost of doing that was not that much cheaper than simply buying new seats. So I decided to replace the front seats with Exmoor factory spec seats. This would keep the original look while making the seats more comfortable. I decided to add Exmoor seat risers to give the driver and passenger a more comfortable seating position. The new seats also come with seat heaters which is a nice feature but not really necessary if you ask me given the truck runs warm due to the fact there is zero heat shielding from the engine bay.

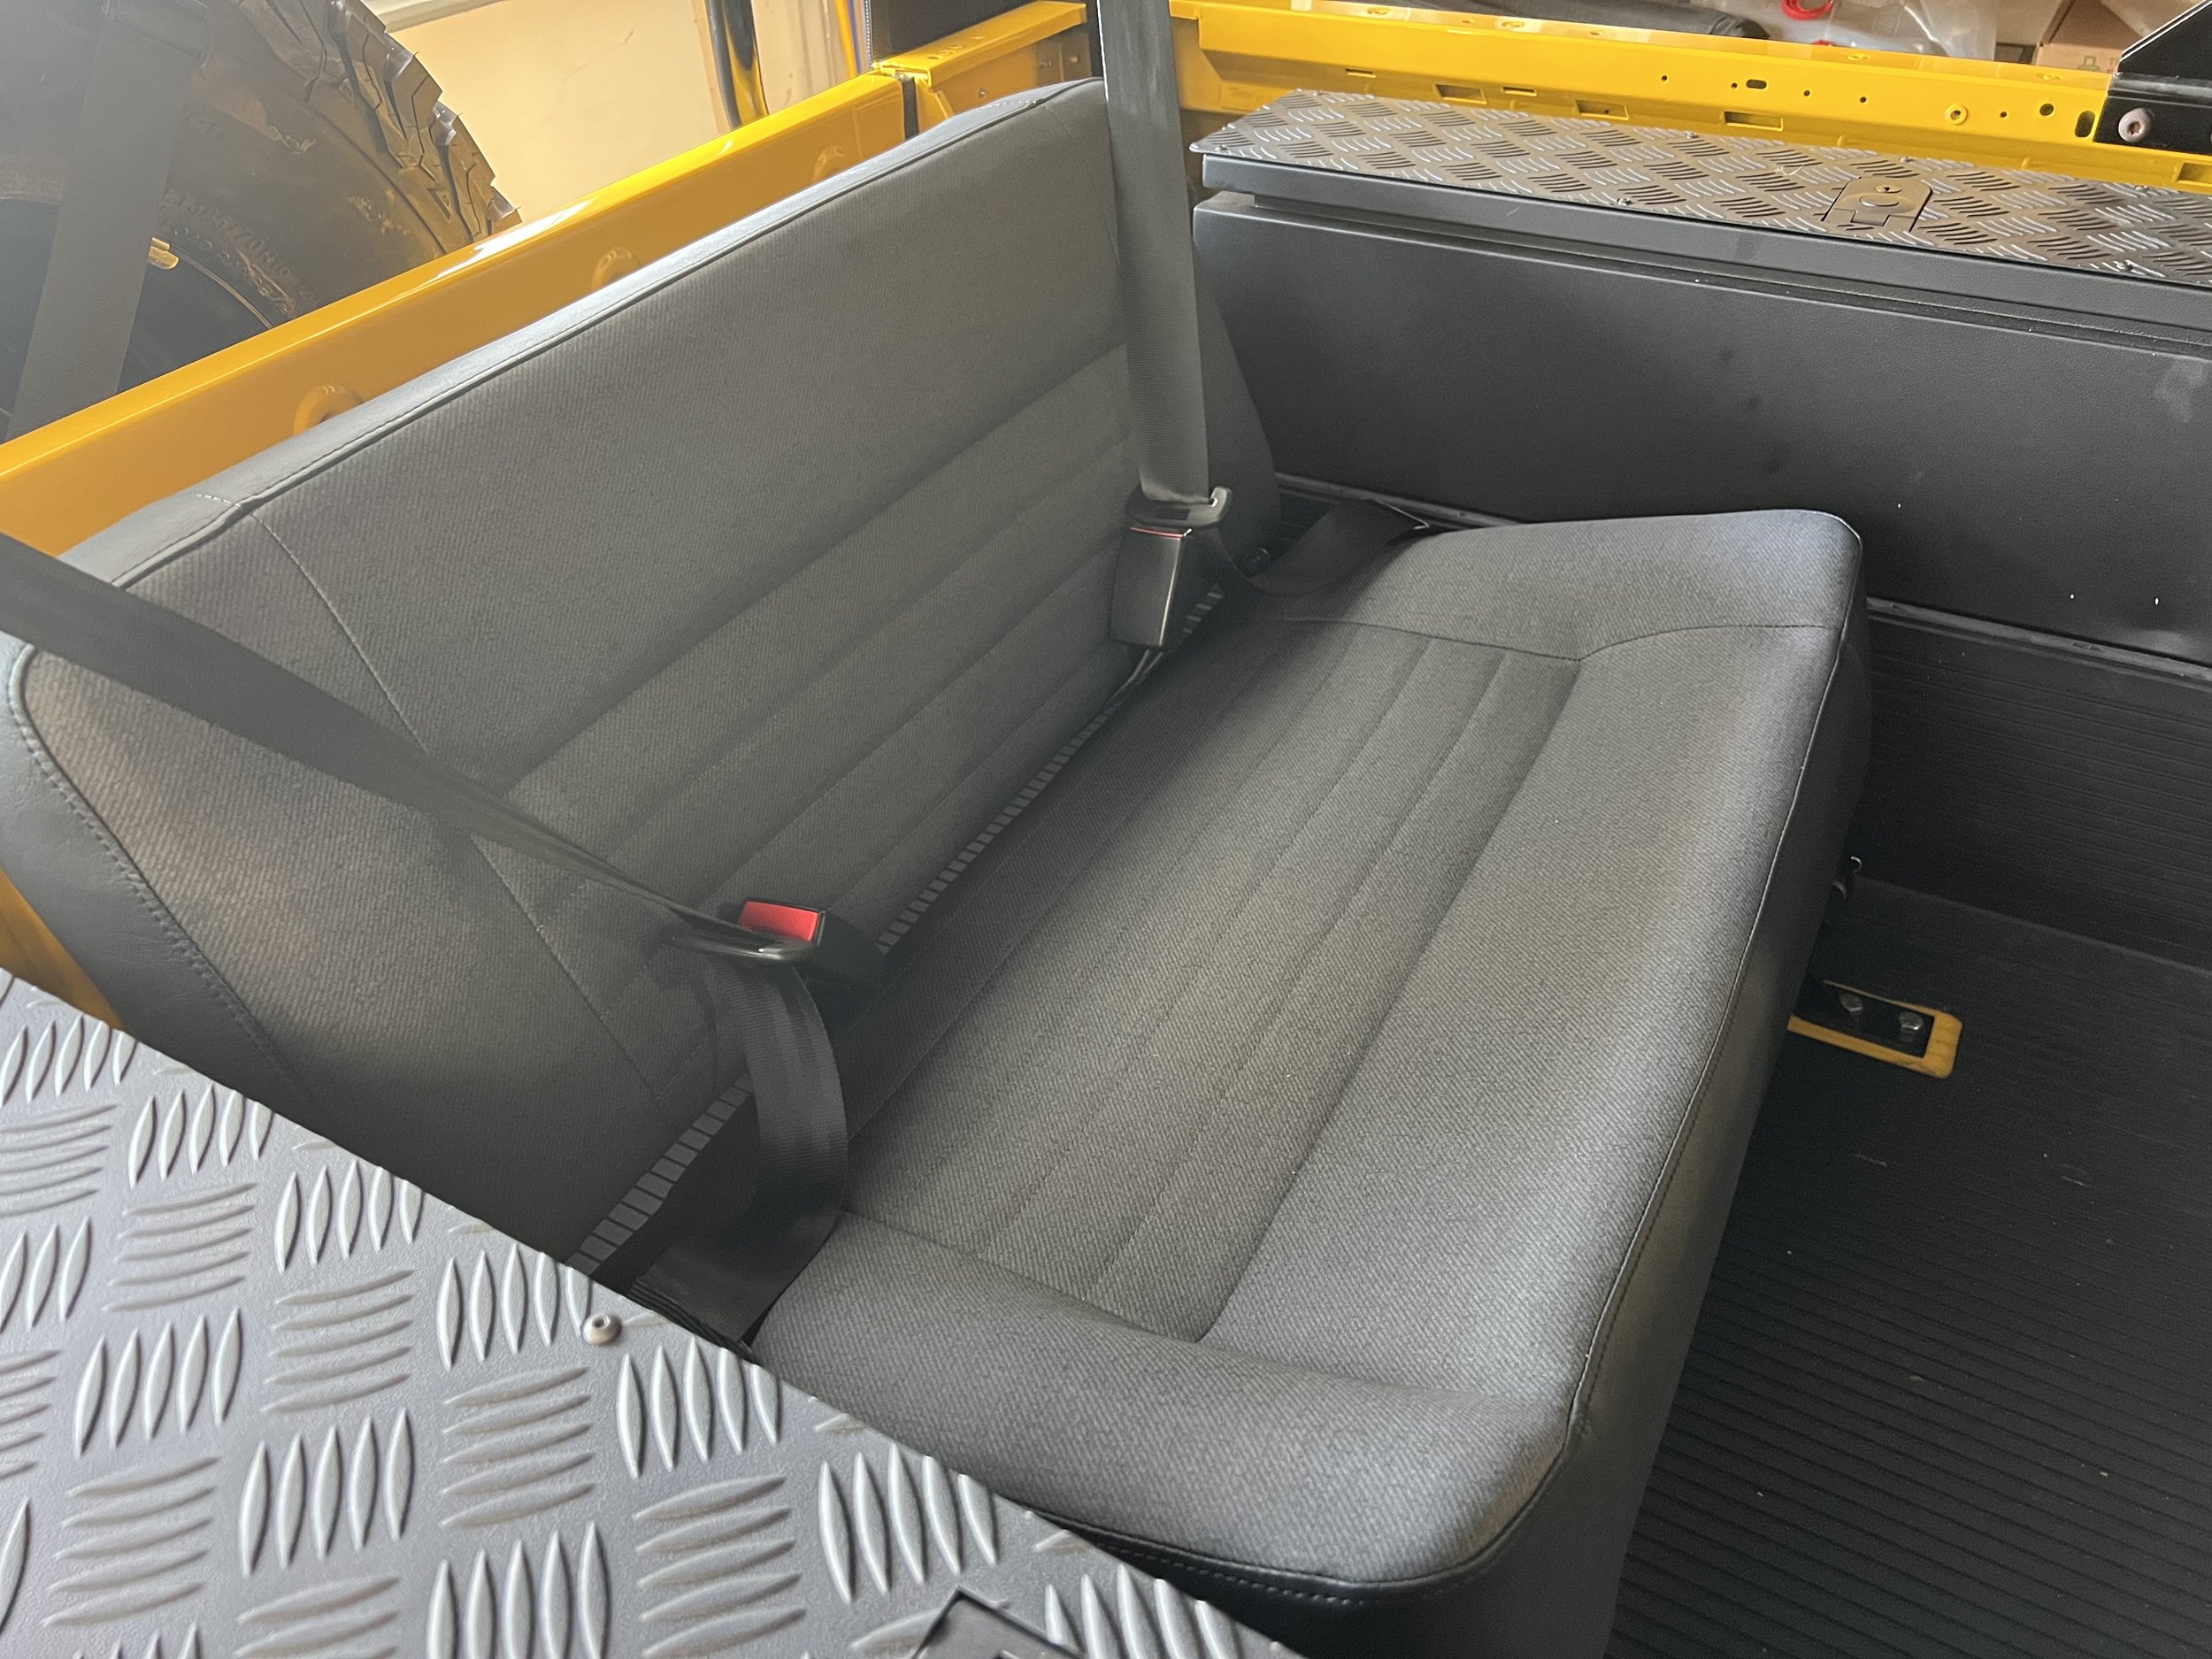
The side facing seats are a classic option for Defenders but not very practical or safe. The passengers sit very high since the seats mount to the wheel wells and the seats only have lap belts so in an accident the passengers would most certainly get hurt. They were also not a factory option for a NAS due to US DOT regulations, so if you are going for a period correct build these seats do not match. The trucks came stock with no rear seat but you could get a rear bench as an option from the dealer. These benches are no longer made but many people who have them sell them in order to put in the side facing jump seats. Another option for rear seats on Defenders is to get modern bucket fold down seats by Exmoor. These are very functional and safer than the side facing seats but are not period correct so for my build they were not a contender.

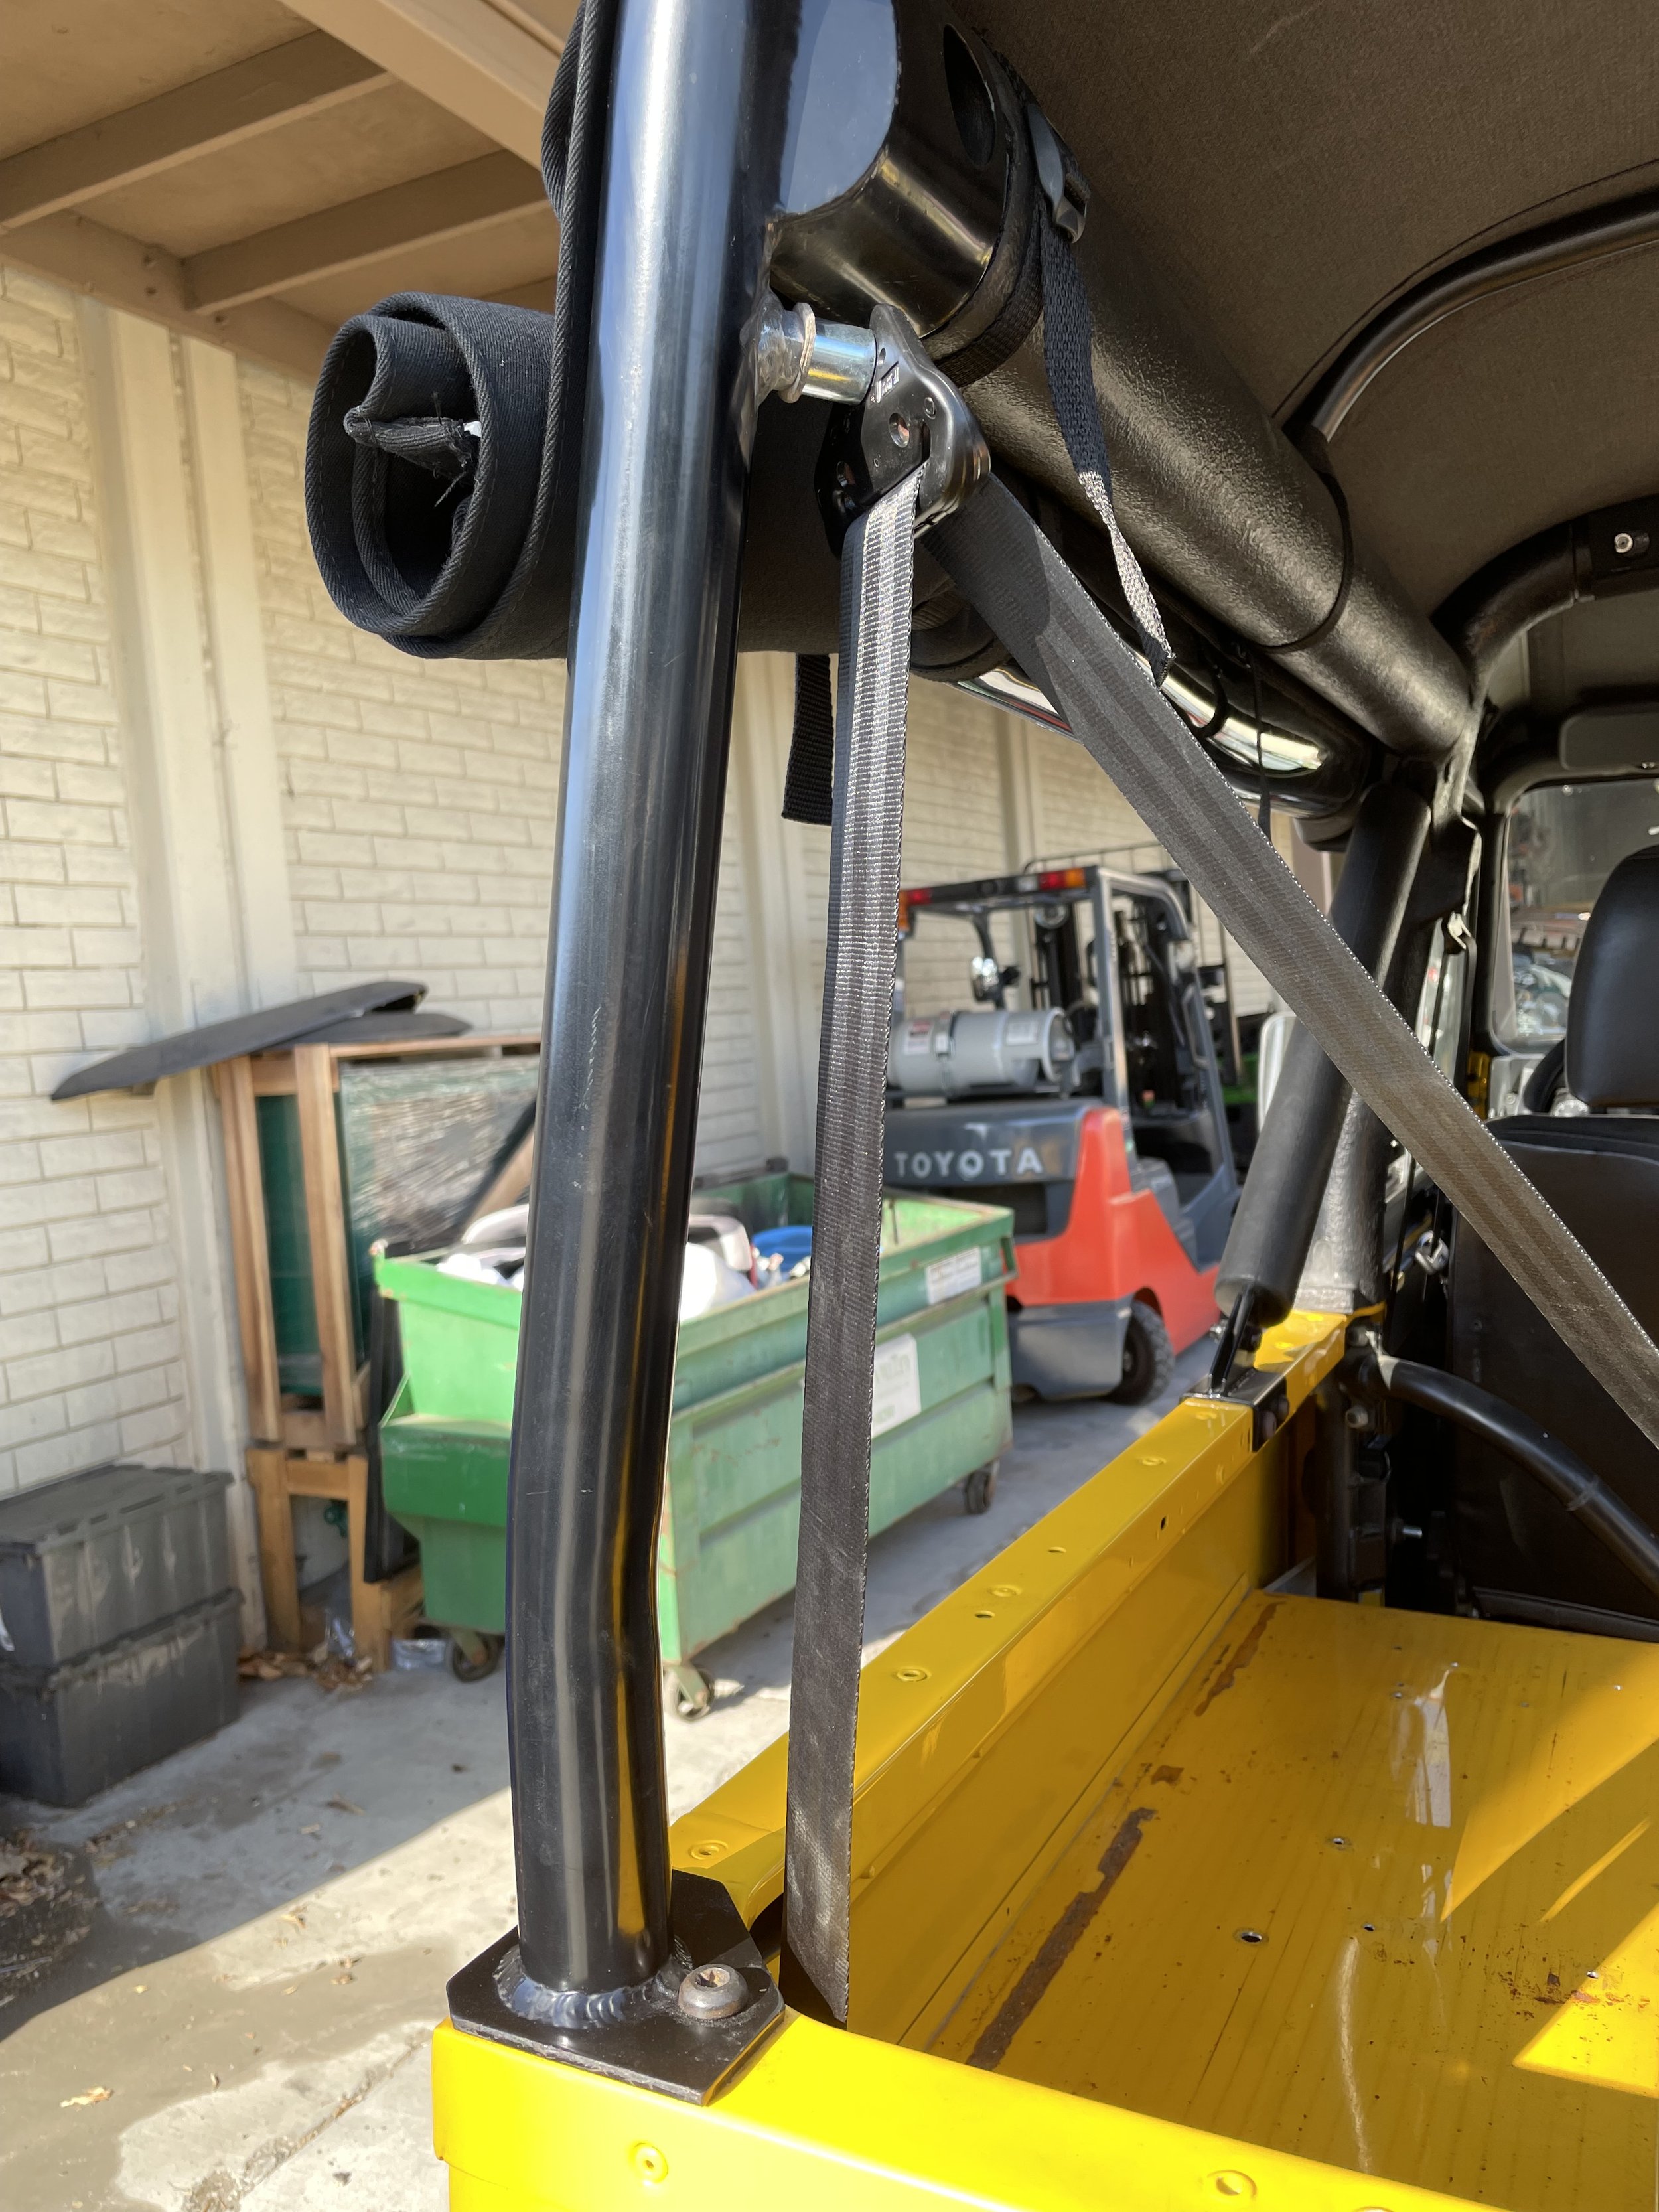
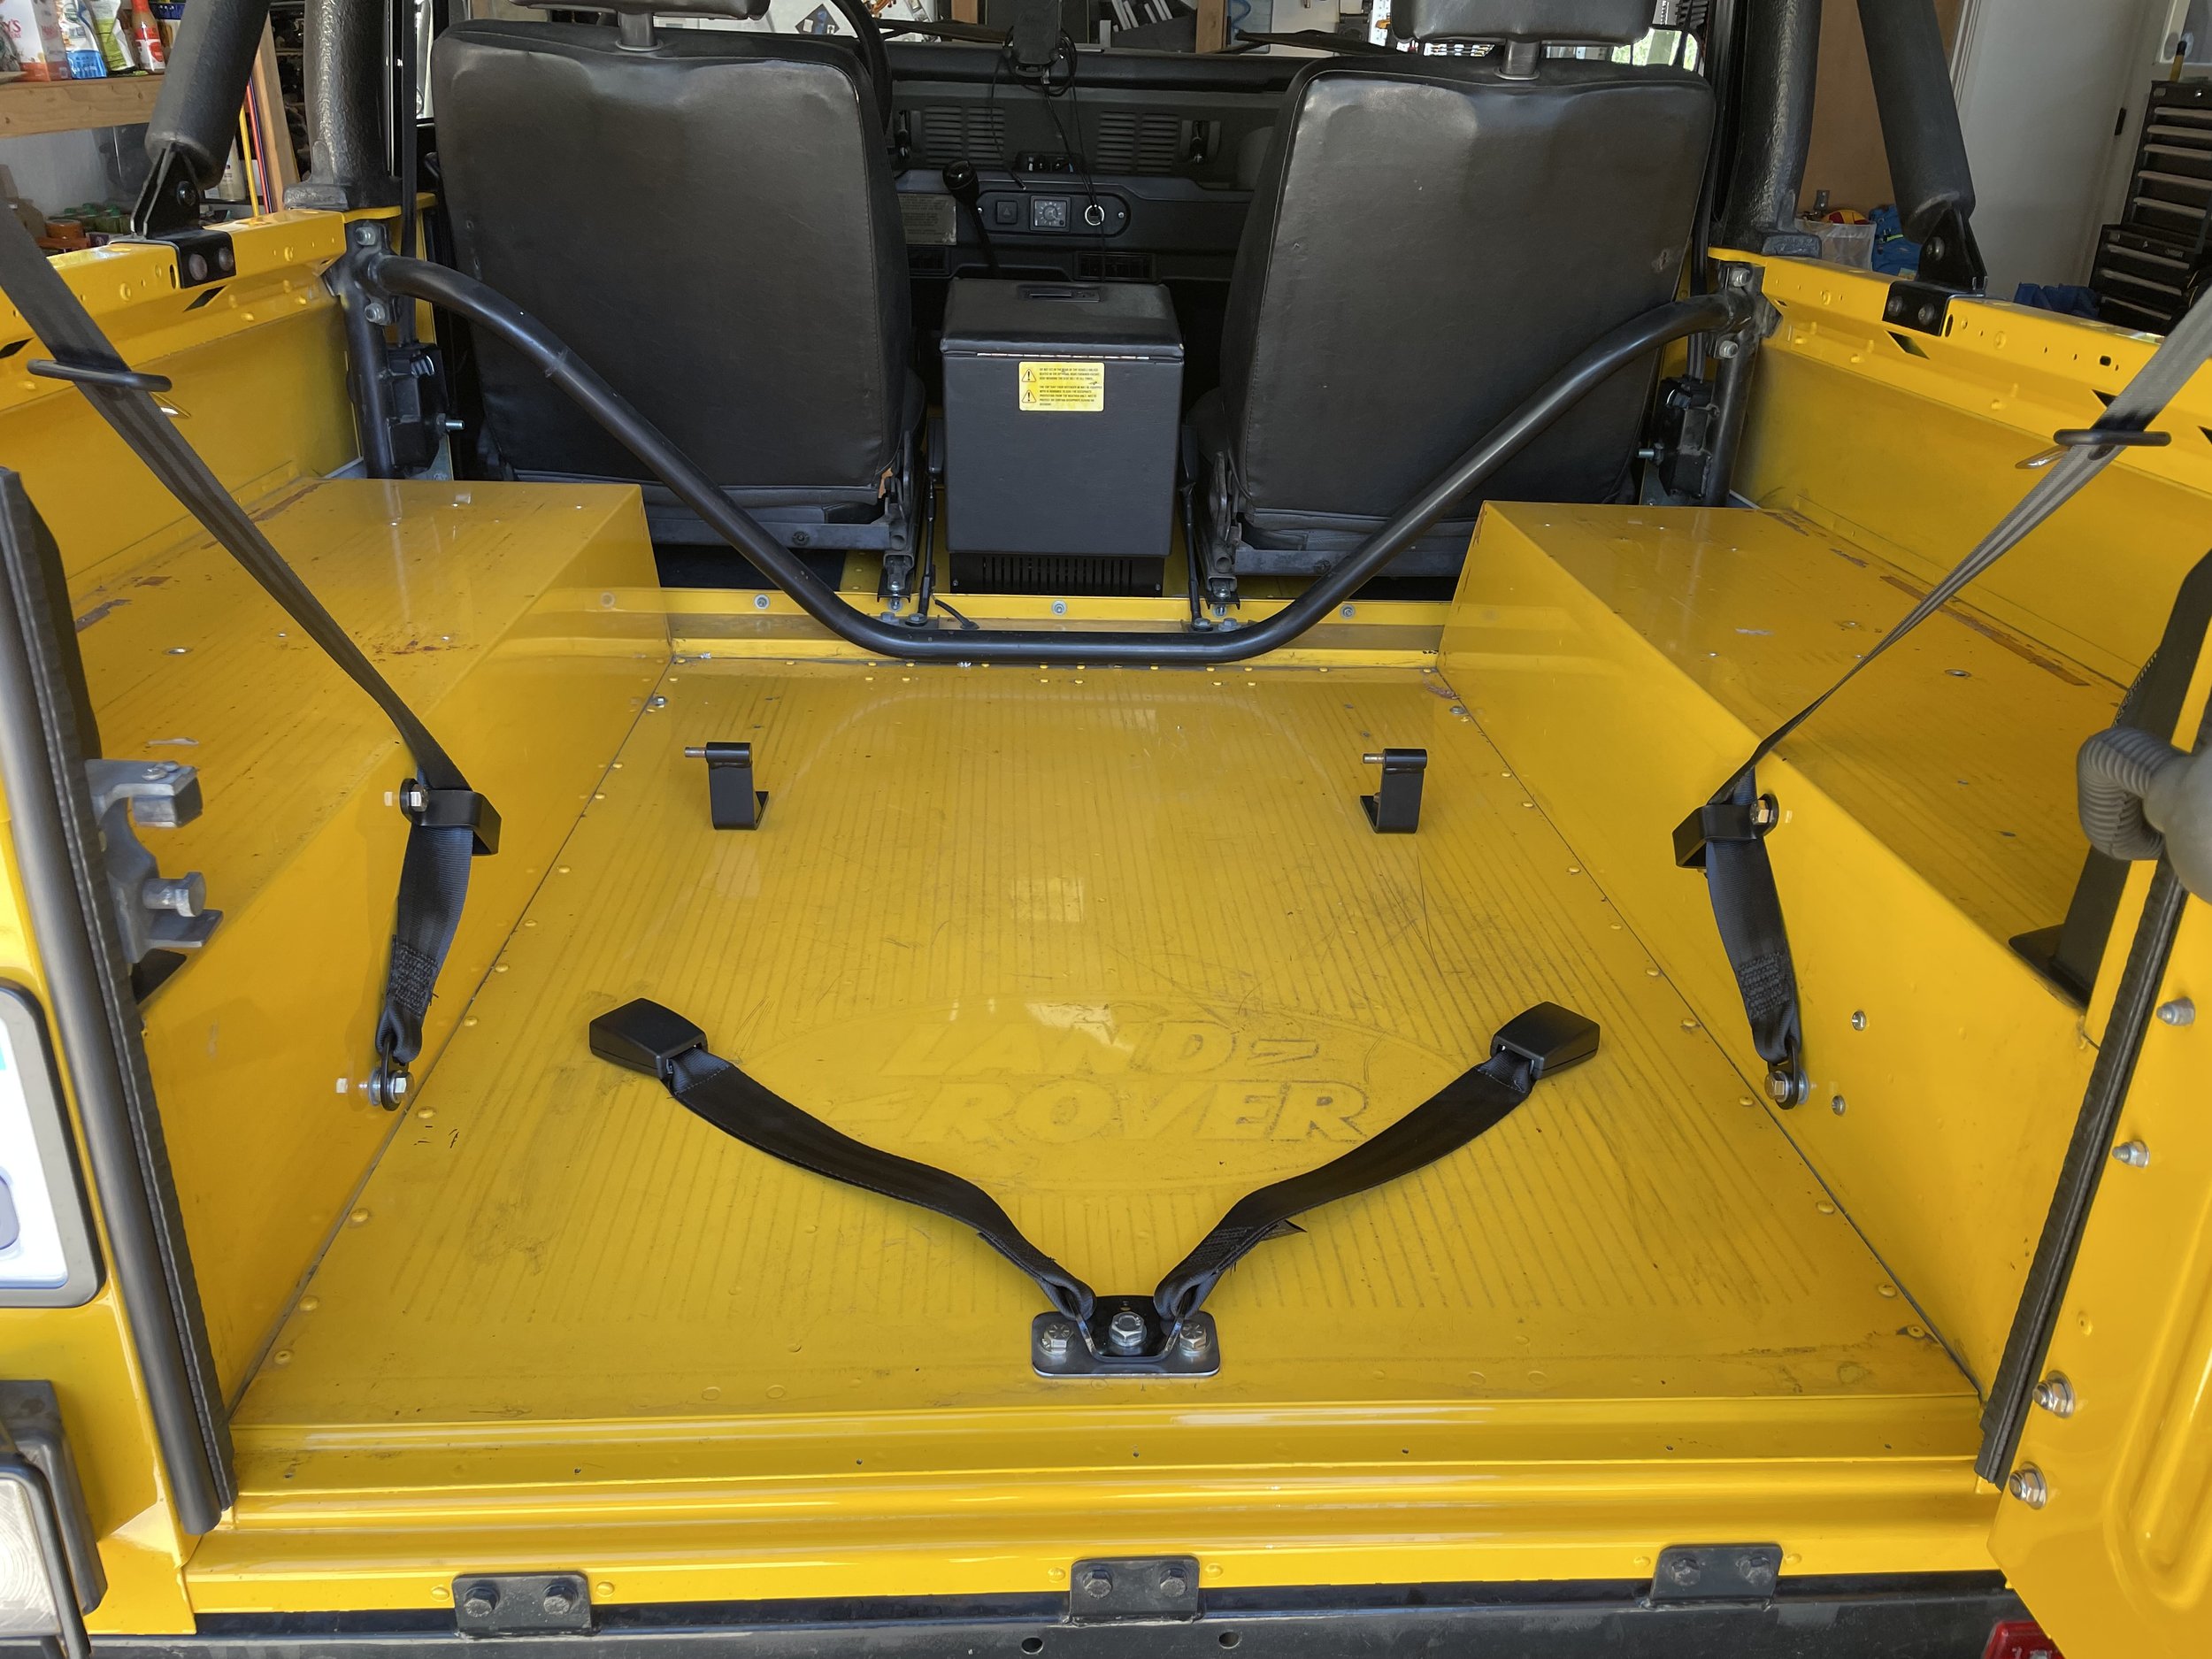
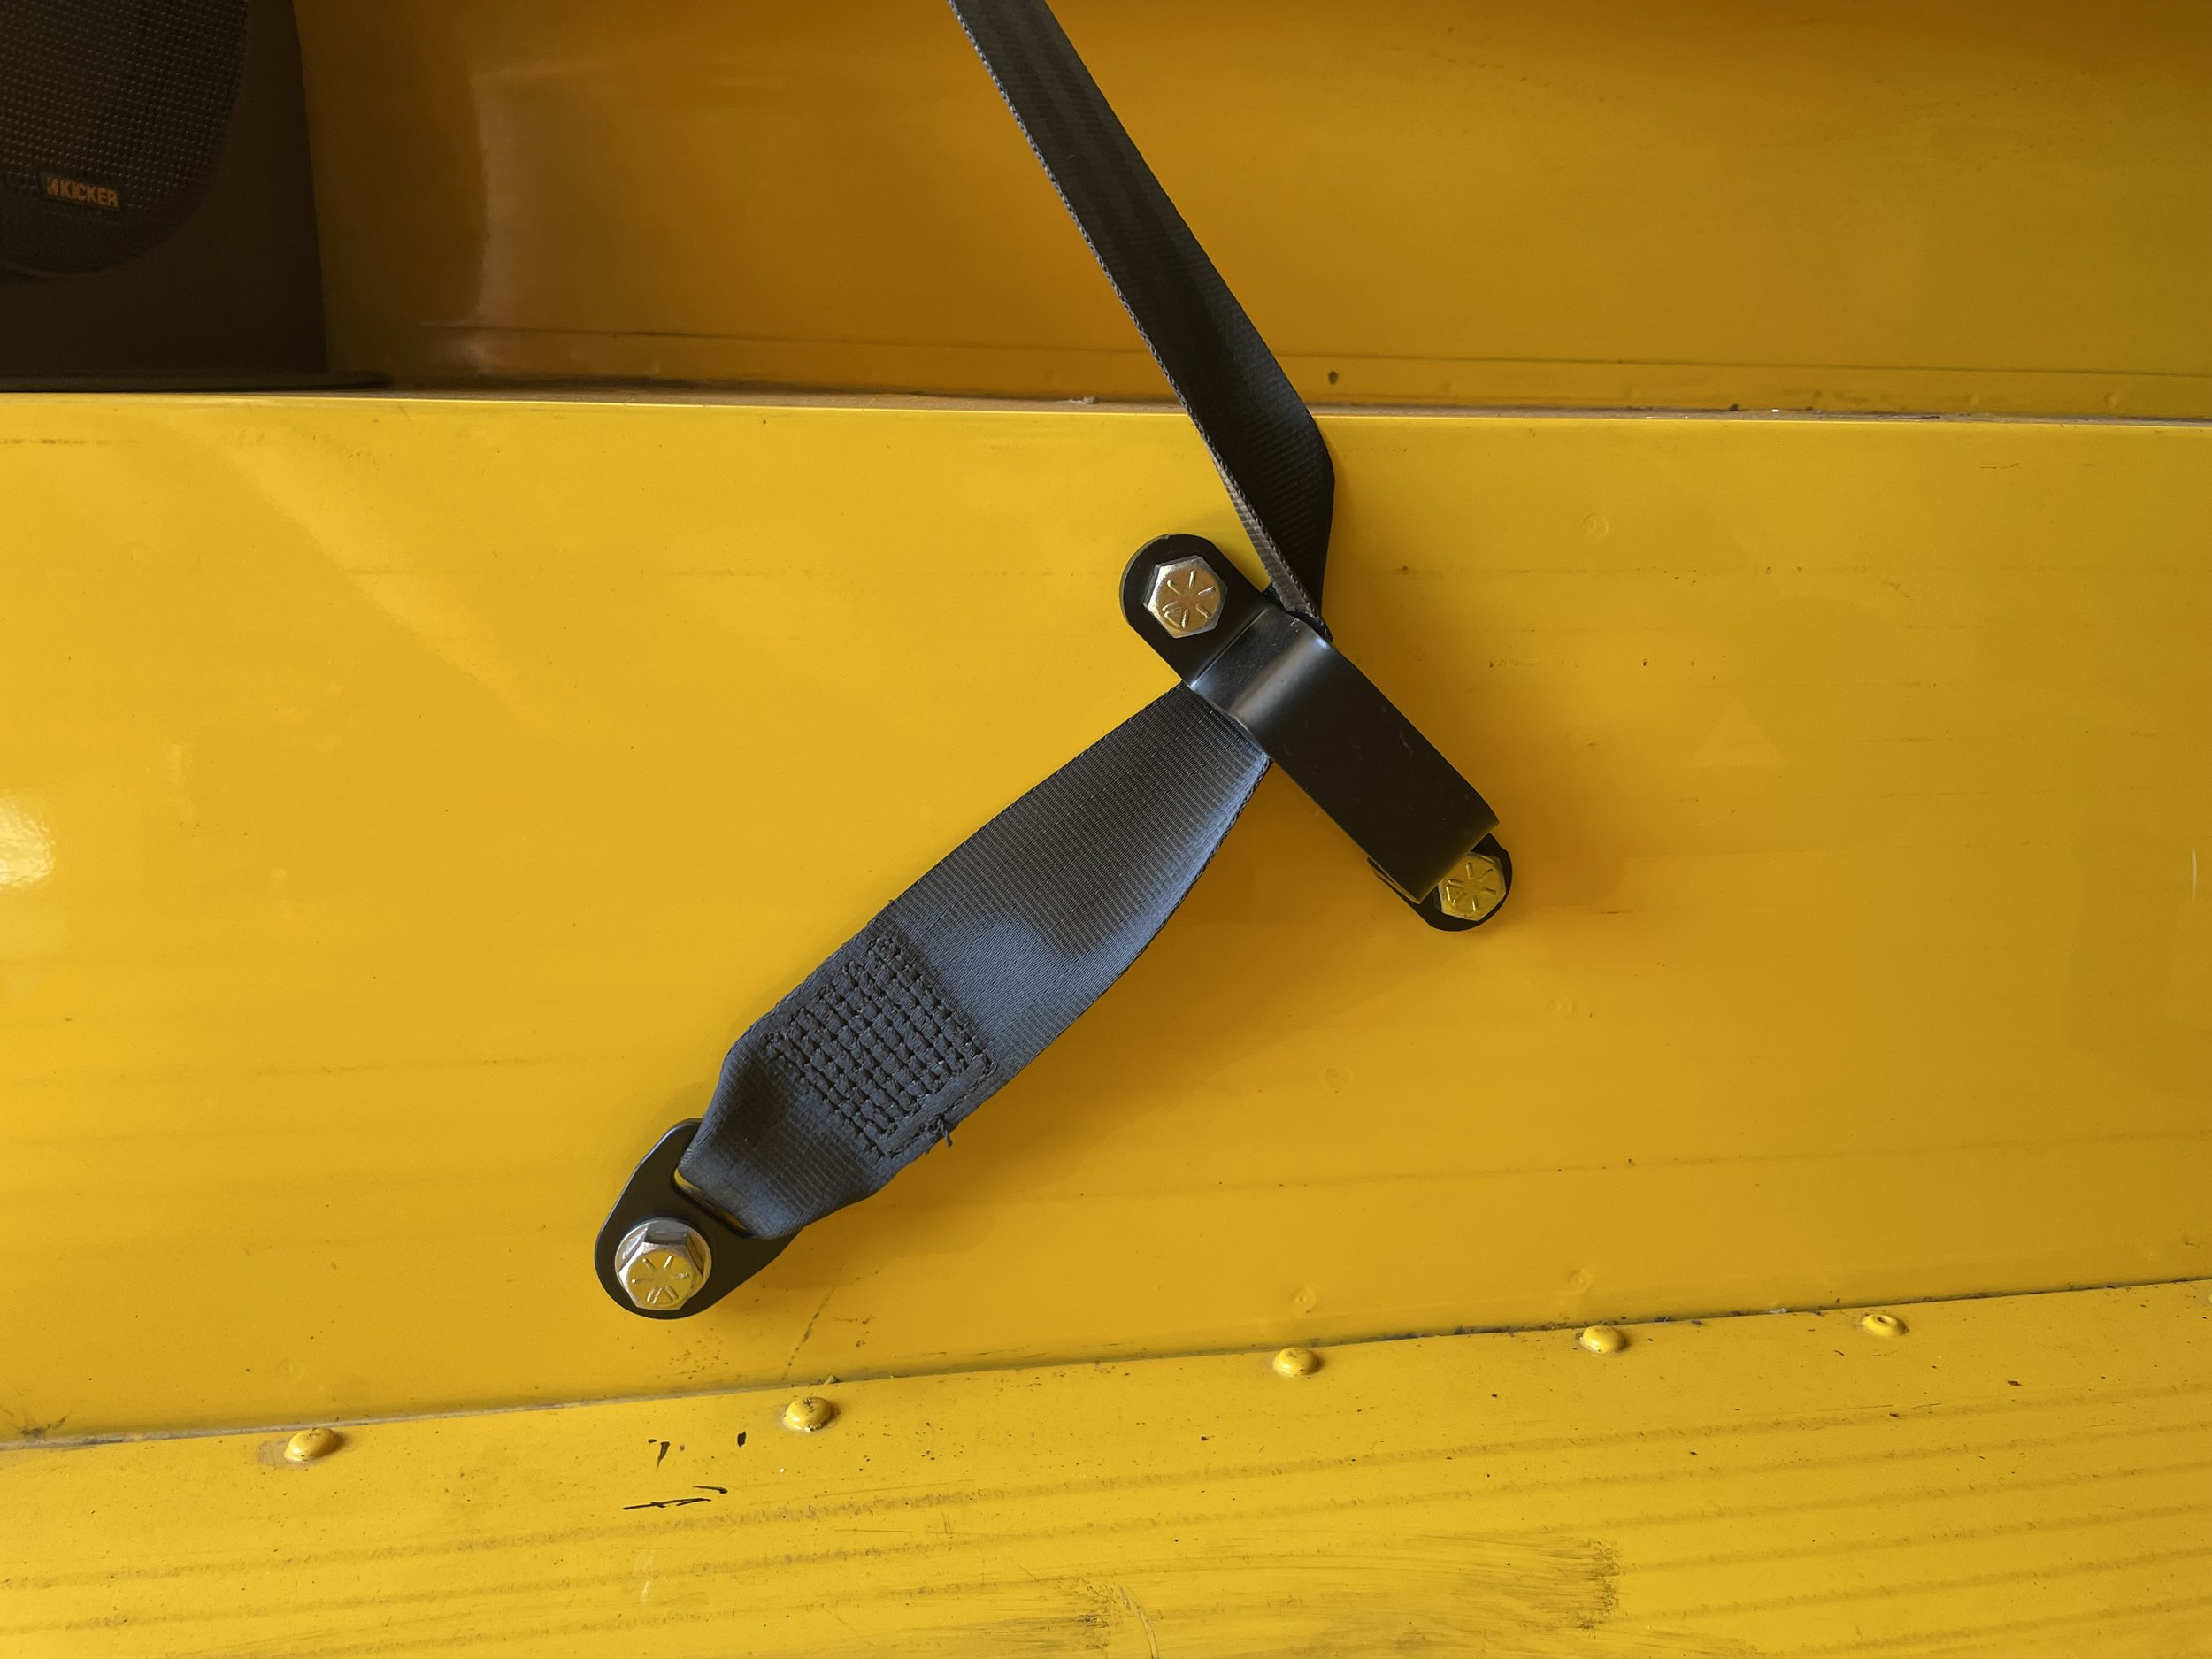
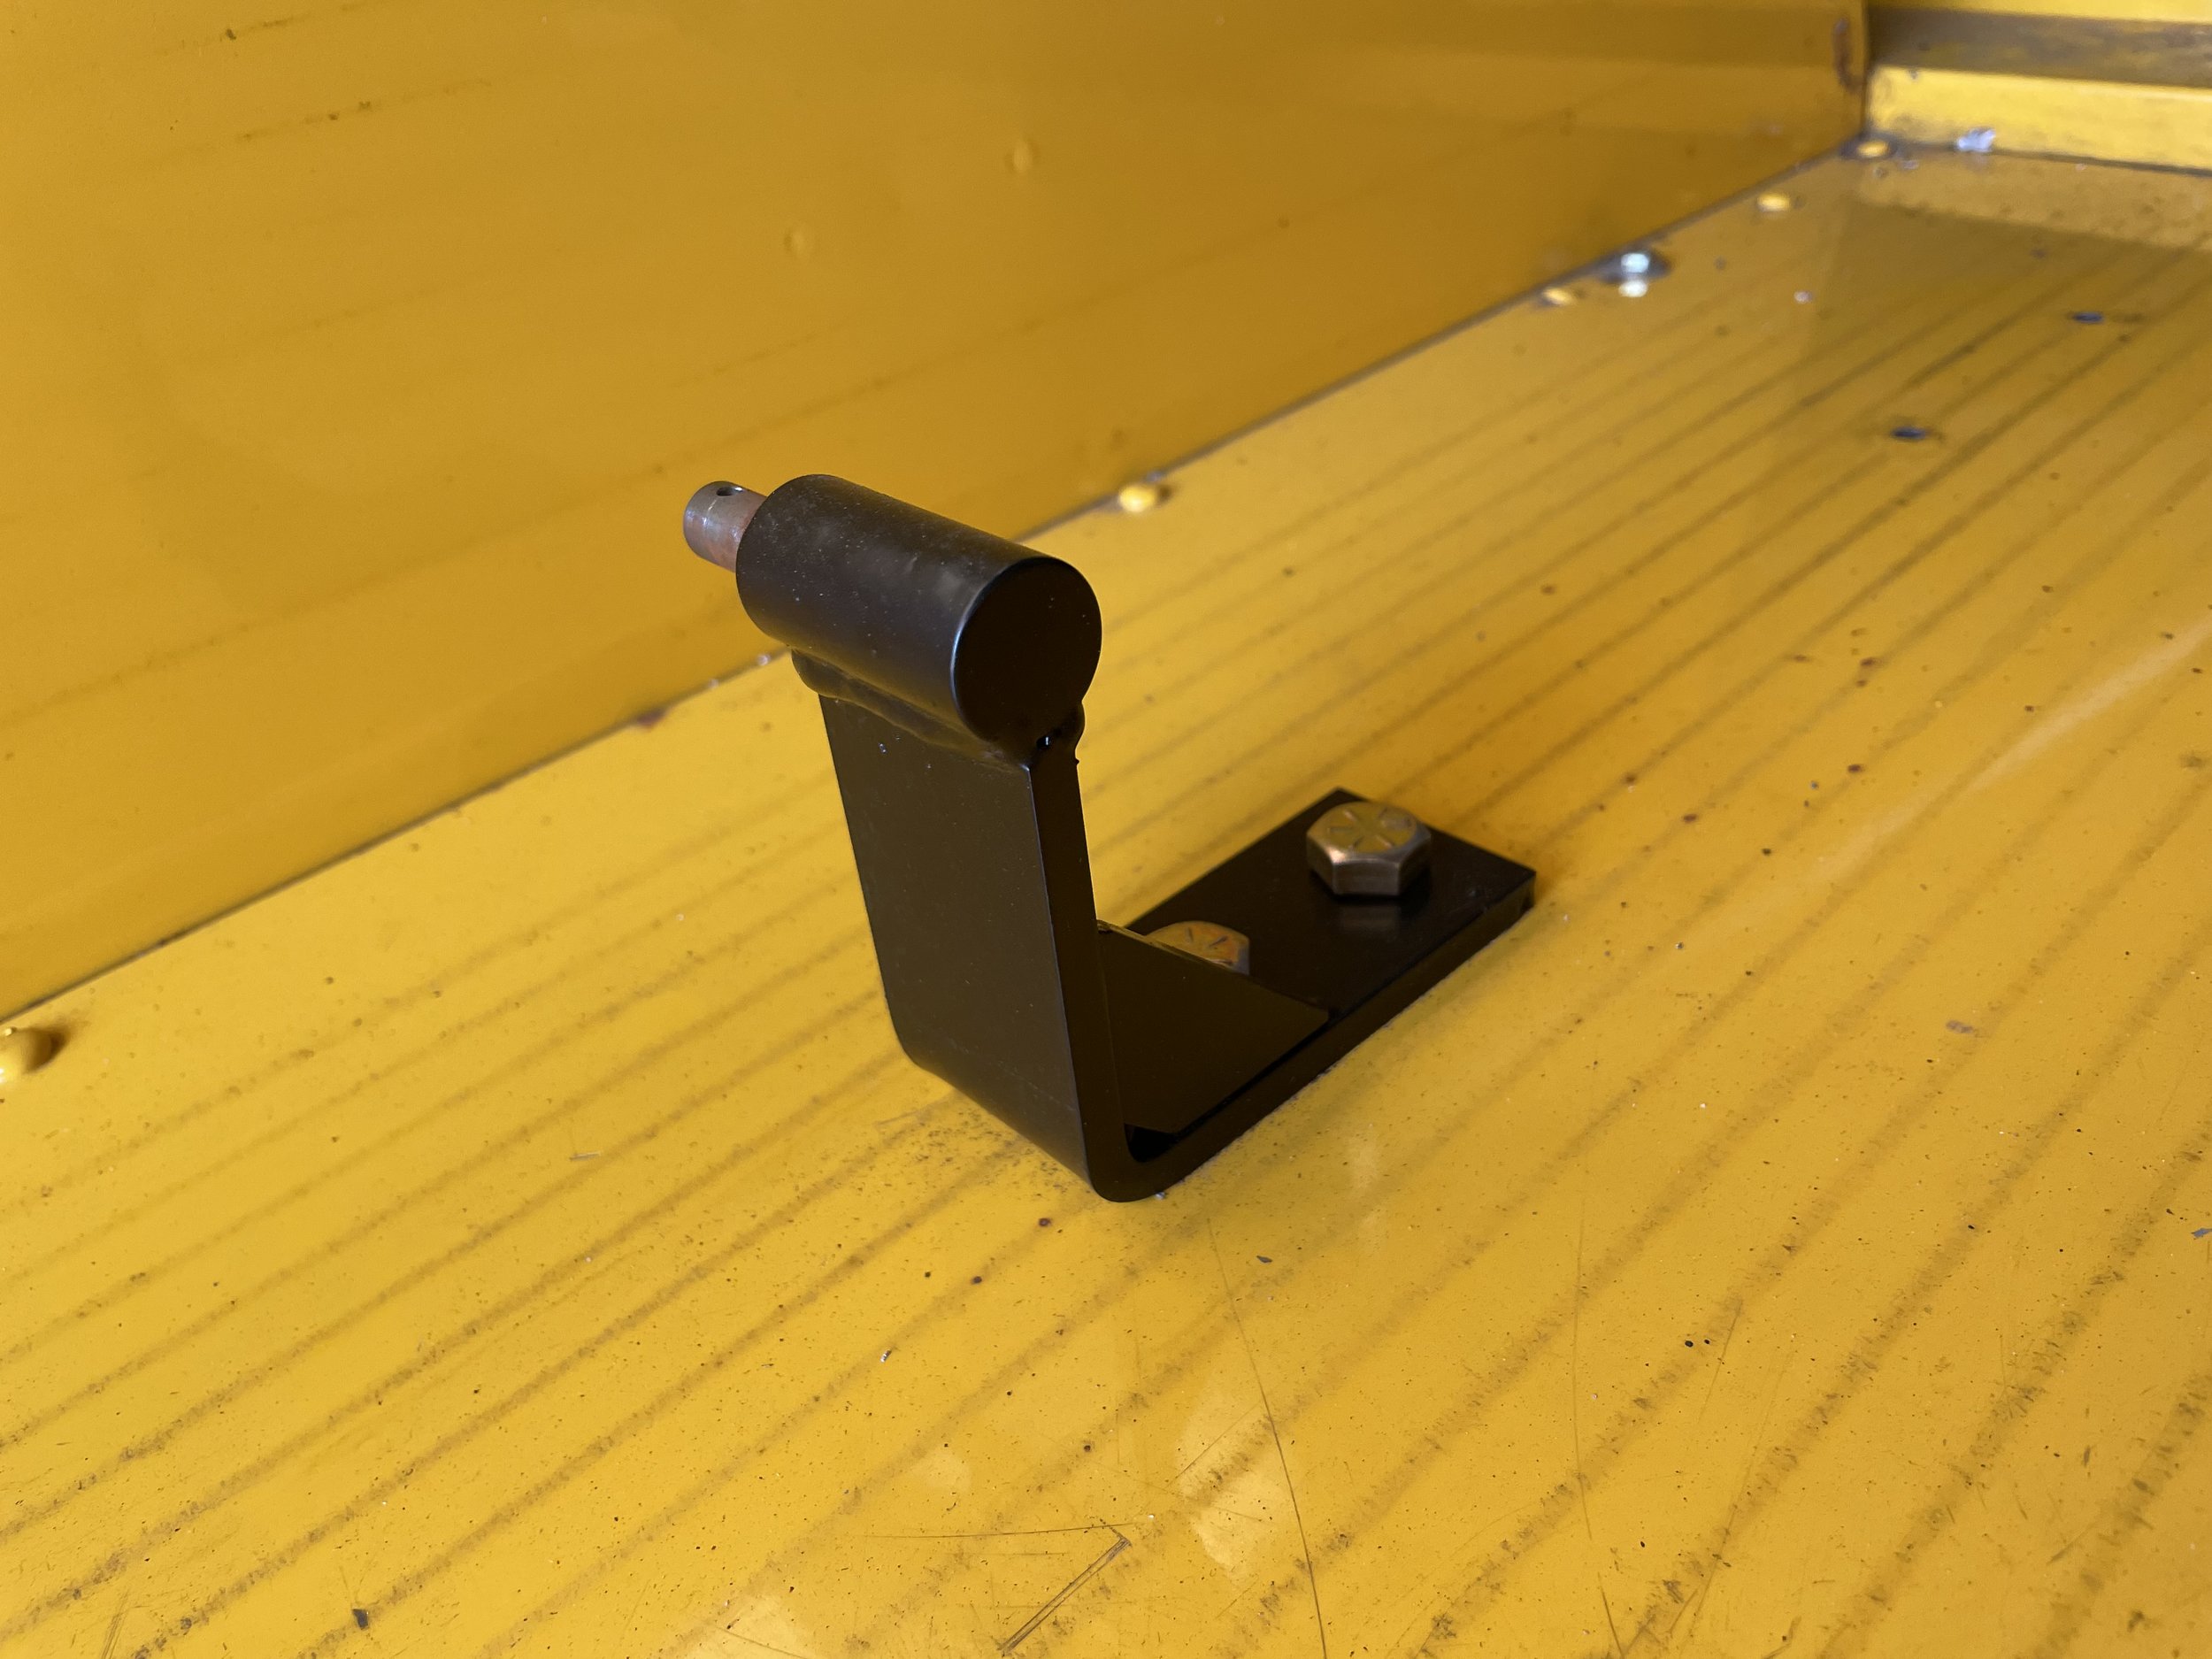
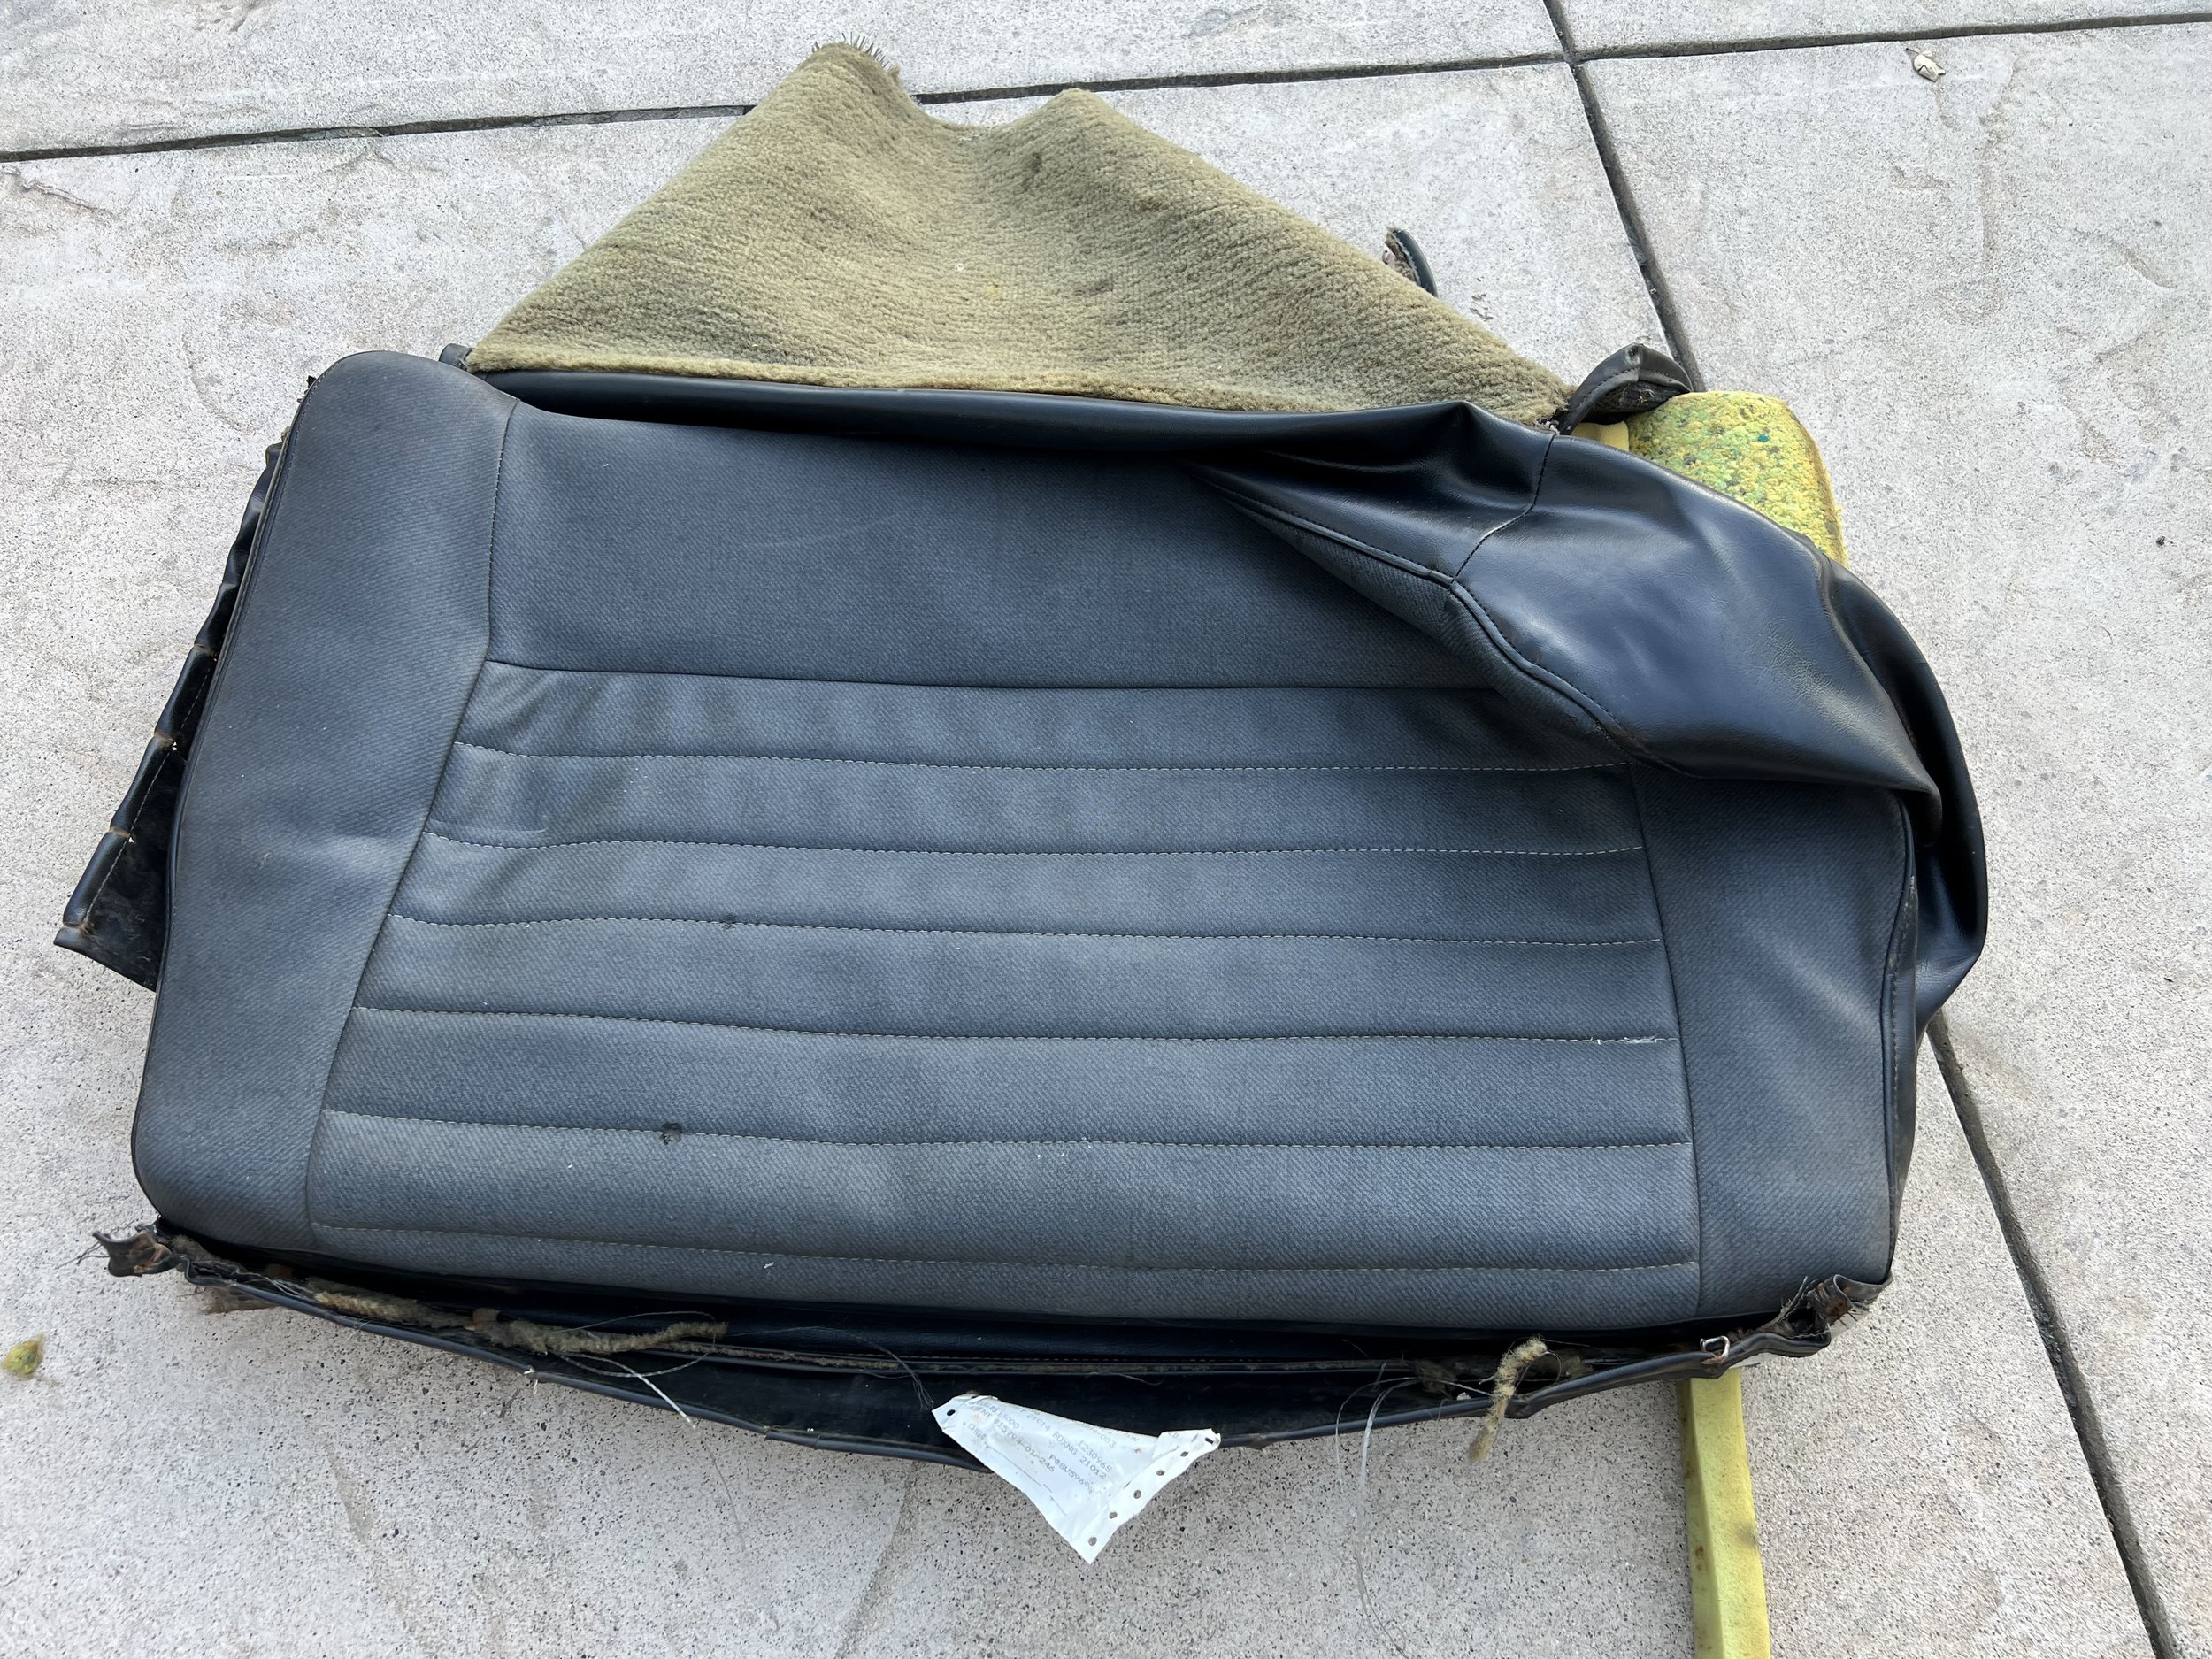
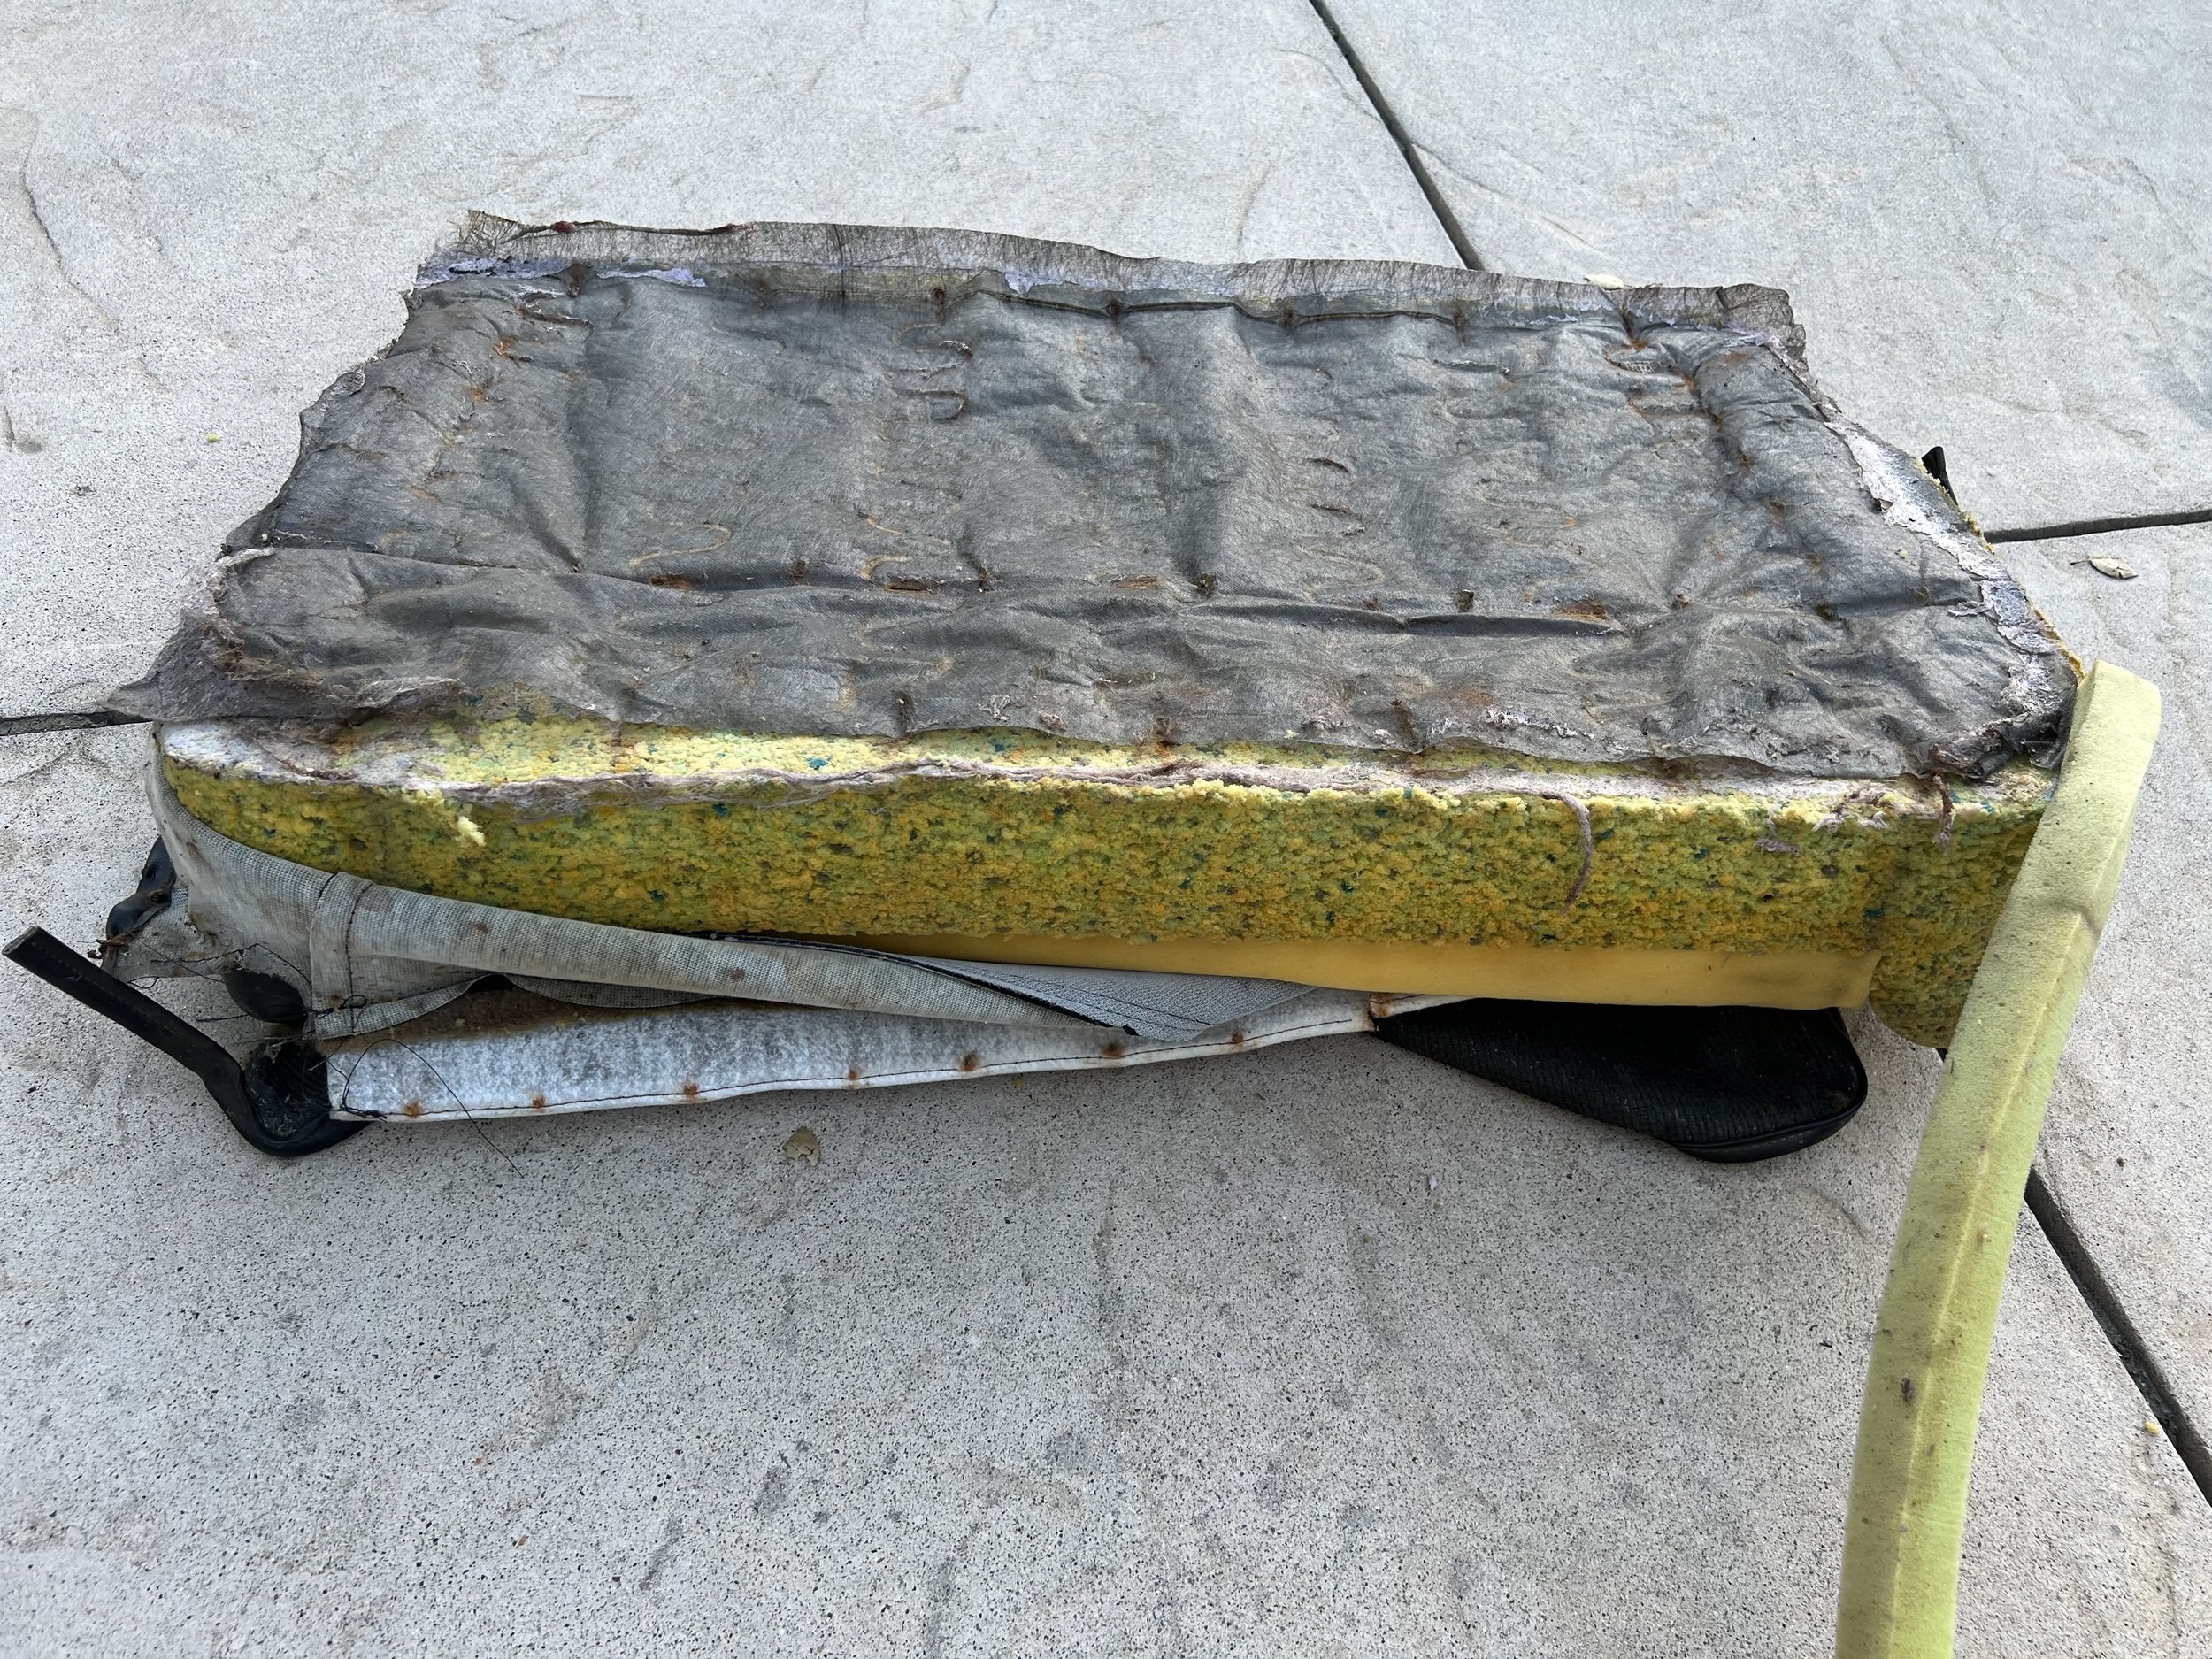
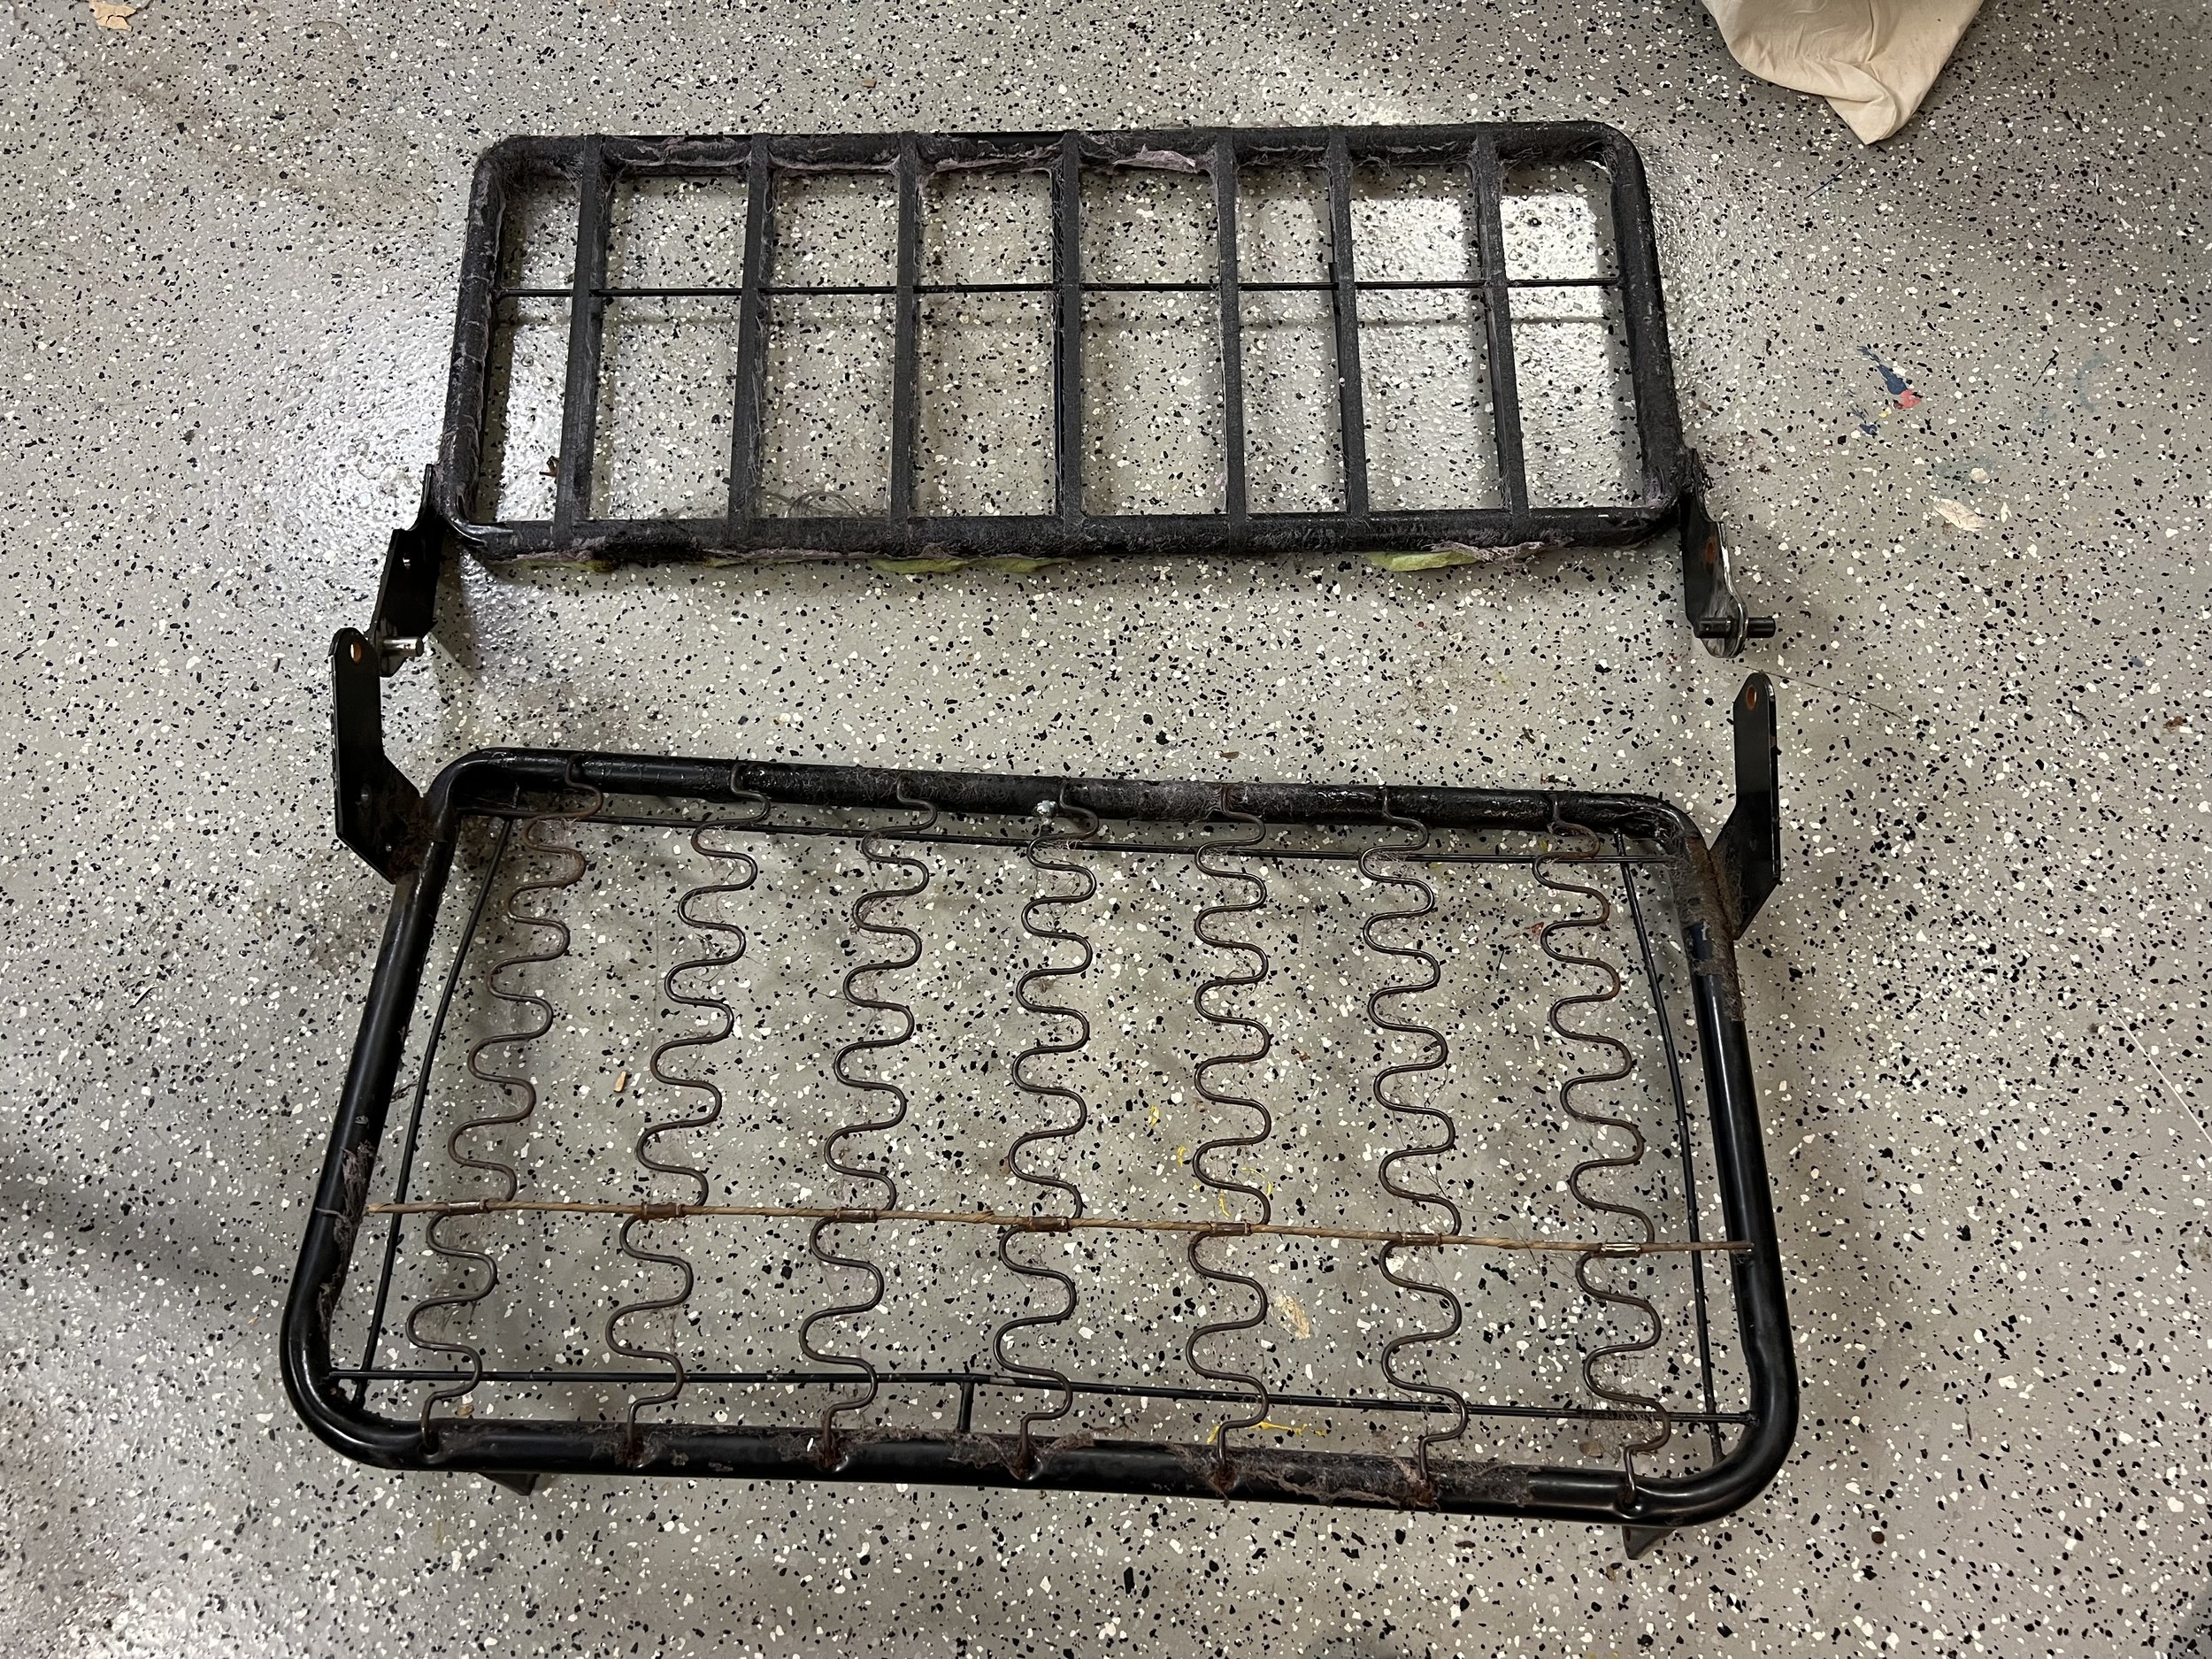
I decided my kids were worth the money and effort to get a proper rear seat that was safe(ish) but would also be in the spirit of my build. I found an original bench seat a local Defender owner was selling. It was not in the best shape but it functioned and I figured I could refurbish it. My truck did not come with rear seat belt mounts or the bench brackets. The bench brackets that came with the bench I bought were bent and rusted so I bought a new set offered by Rovers North. I also bought OEM seat belts and mounts as well as a reupholstery kit from Exmoor to match the OEM fabric and to match the front seats.

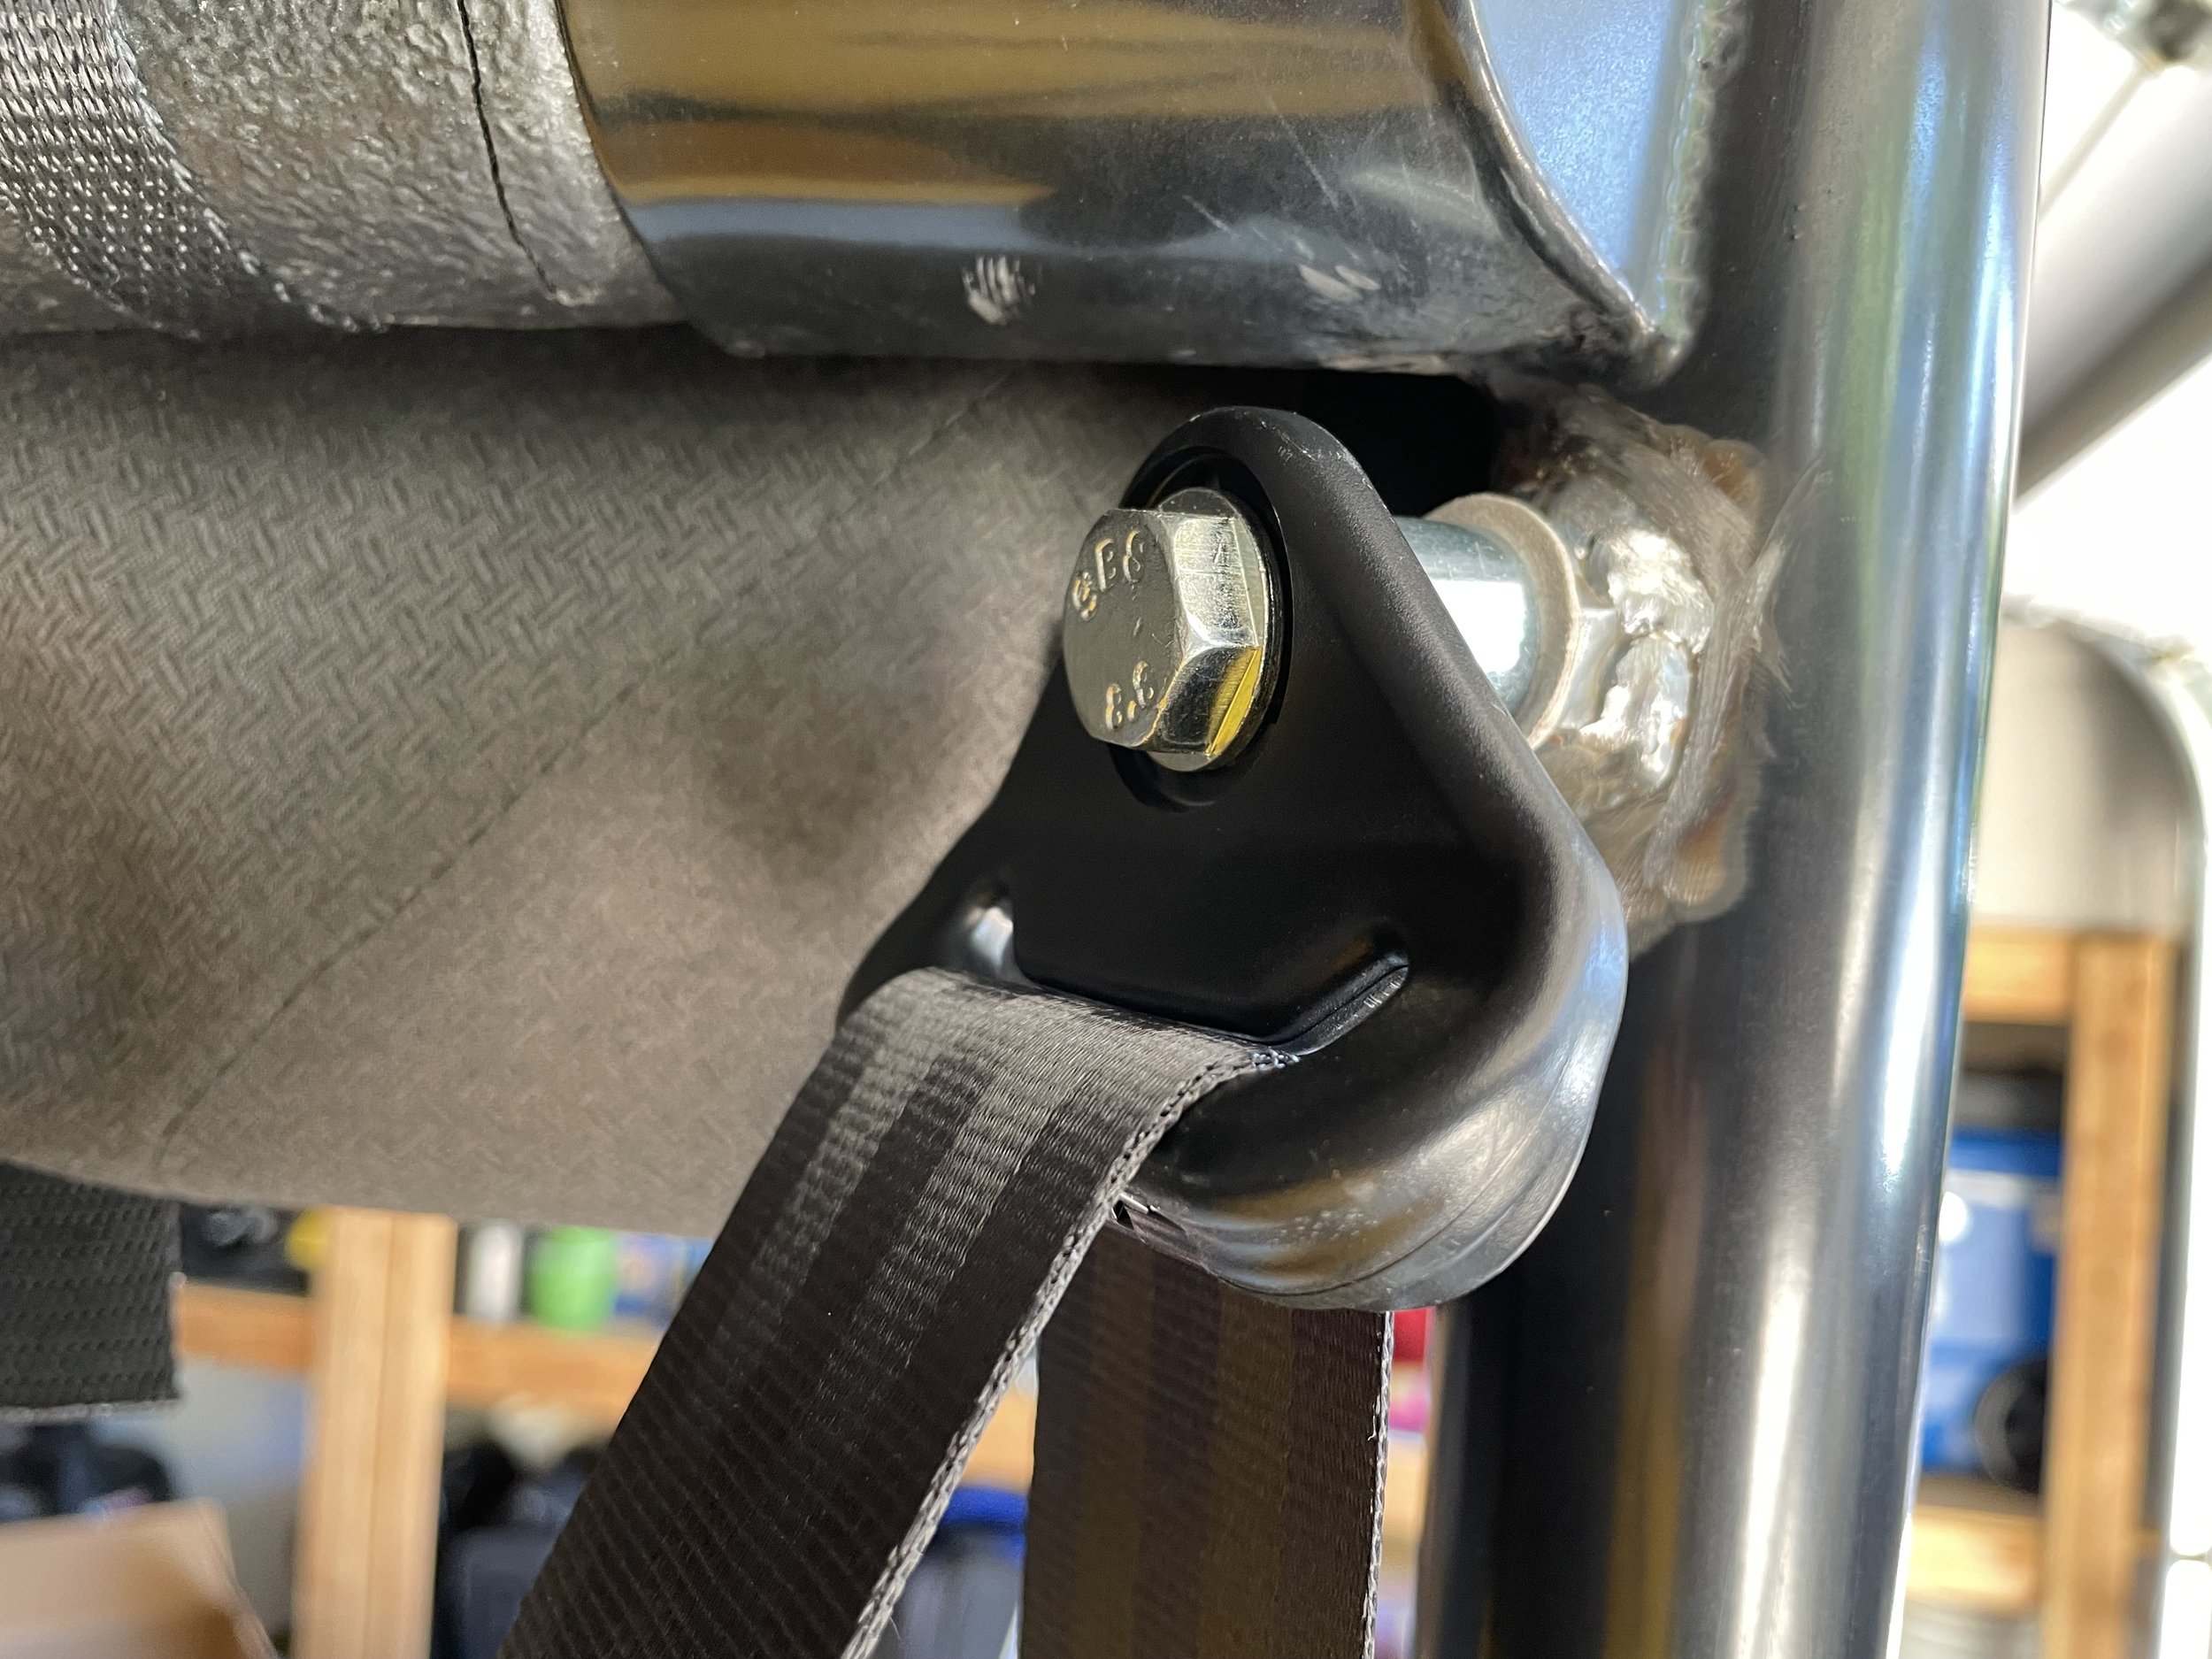
Unfortunately my NAS truck has one unexplained oddity and that is the rear roll cage hoop. NAS Defenders originally were trucks which means the standard roll cage ended at the B pillar. That roll cage had some foam padding molded onto the metal bars. An option was to buy a safari roll cage which added the back half of the roll cage from the B pillar to the rear of the truck. That also had foam padding molded onto the bars. My truck has the original NAS padded roll cage to the B pillar along with the padded horizontal bars from the B pillar to the rear hoop, but the rear hoop itself is not padded. I have no record of why my truck does not have a padded rear hoop and what is even more perplexing is that the rear hoop fabrication looks factory. The seam, the mounts, the specs, the finish, everything looks too perfect to be a custom fabrication job. It looks factory yet is not since it does not have the padding and I don’t believe it ever had the padding. I have reached out to Safety Devices who is the manufacture of the roll cages and they said my rear hoop was not built by them (although I am not totally convinced as it looks like their work). Regardless, what this means is that my rear hoop did not have a seat belt mounting point for the shoulder strap so I had to get a mount fabricated.

I had a metal fabricator weld on bolt mounts to the rear roll cage (similar to the factory) as well as mount the seat belt mounts and bench mounts to the floor. I picked a metal fabricator that builds race cars and is certified as a roll cage builder to ensure the work was safe and adhered to standards. I then took apart the bench in order to refurbish some parts and re-weld some components. I then had an upholstery shop install the upholstery kit.

The end result is a truck with OEM seating that is period correct. My kids have a safer seating option in the rear and the front seats are much more comfortable. As with all projects like this it ended up being much more expensive than I anticipated due to all of the custom fabricated work needed for the rear bench. If you are looking for a quick, easy, and cheap option don’t do what I did. But if you are looking for a period correct, factory spec, stick to the spirit of the design, but have some safety for your passengers then my project hits the mark.

Defender 90 Build - Binnacle Upgrade

Defenders are known to be tough off-roaders, but that doesn’t mean all of their parts are tough. Land Rover put too much plastic into these otherwise simple metal boxes. Now age that plastic nearly 30 years and you end up with cracked plastics pieces….especially around the dash. I have replaced a few of these plastic pieces over the last 1-2 years but the one that was always a bit intimidating was the binnacle (the gauge cluster for those who only speak American). My binnacle was in good shape compared to many Defenders but that still meant it was cracked. I could replace it with an OEM plastic piece but then you are simply going to have the same problem over time.

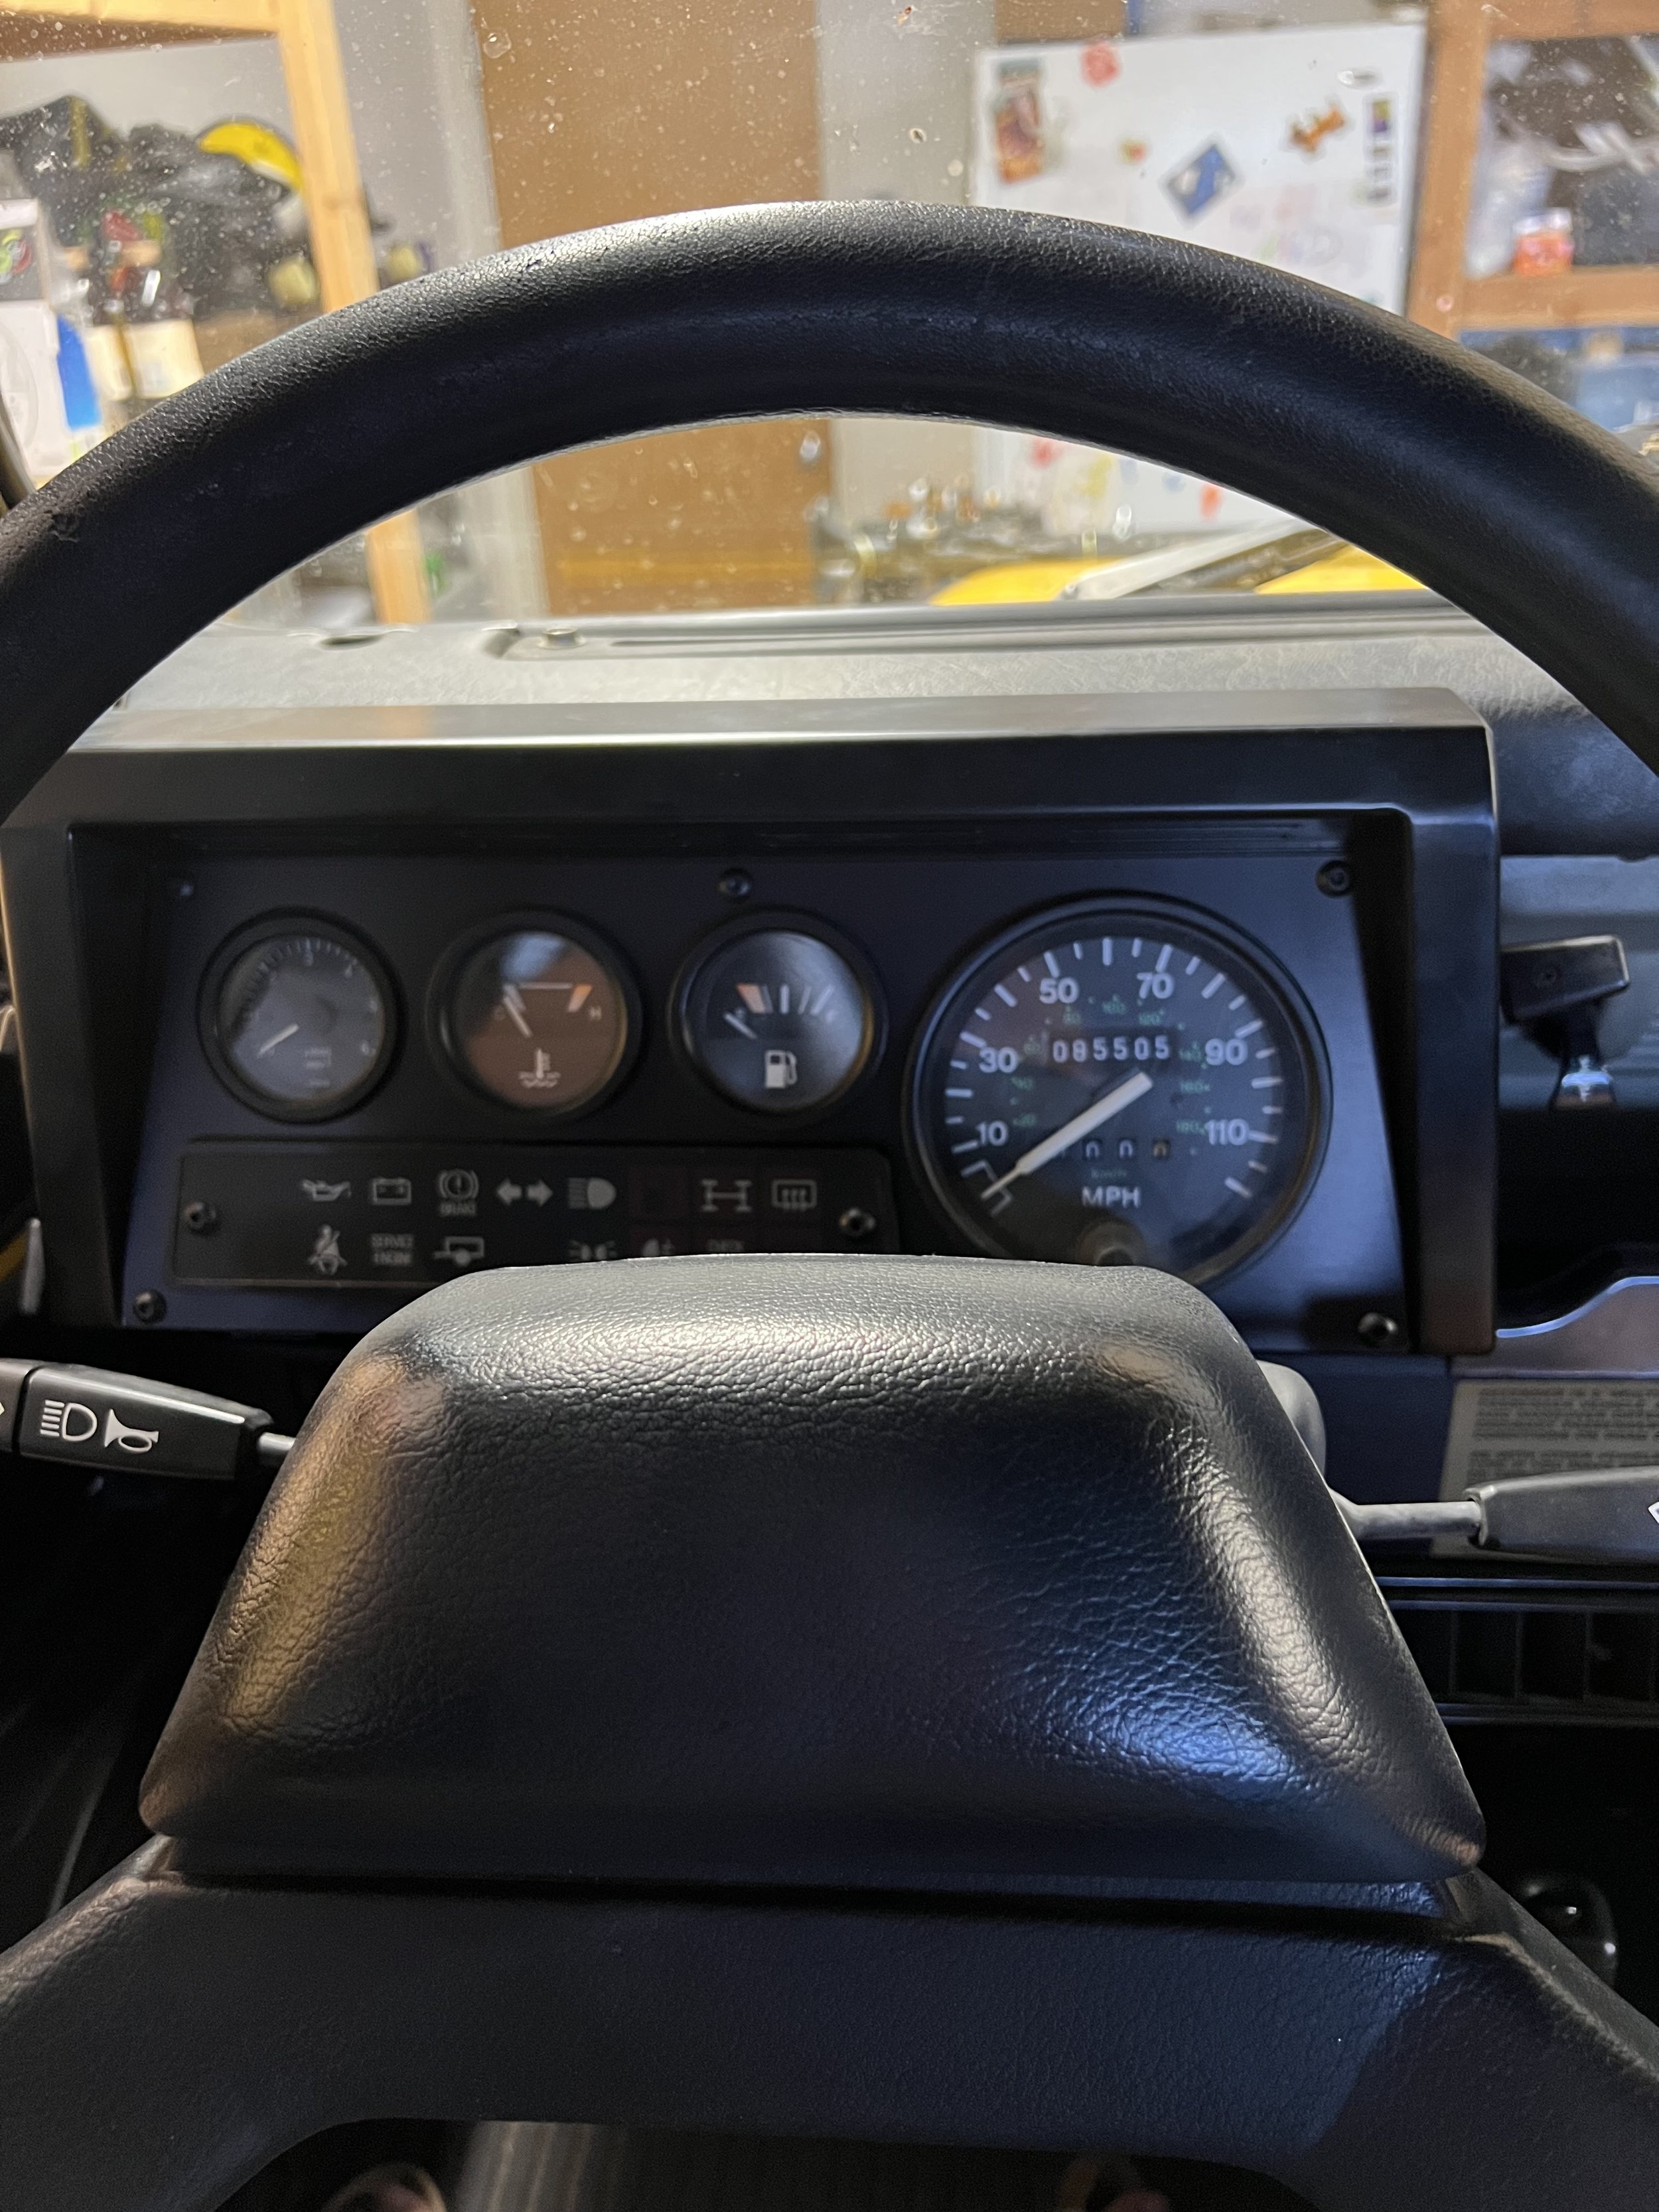
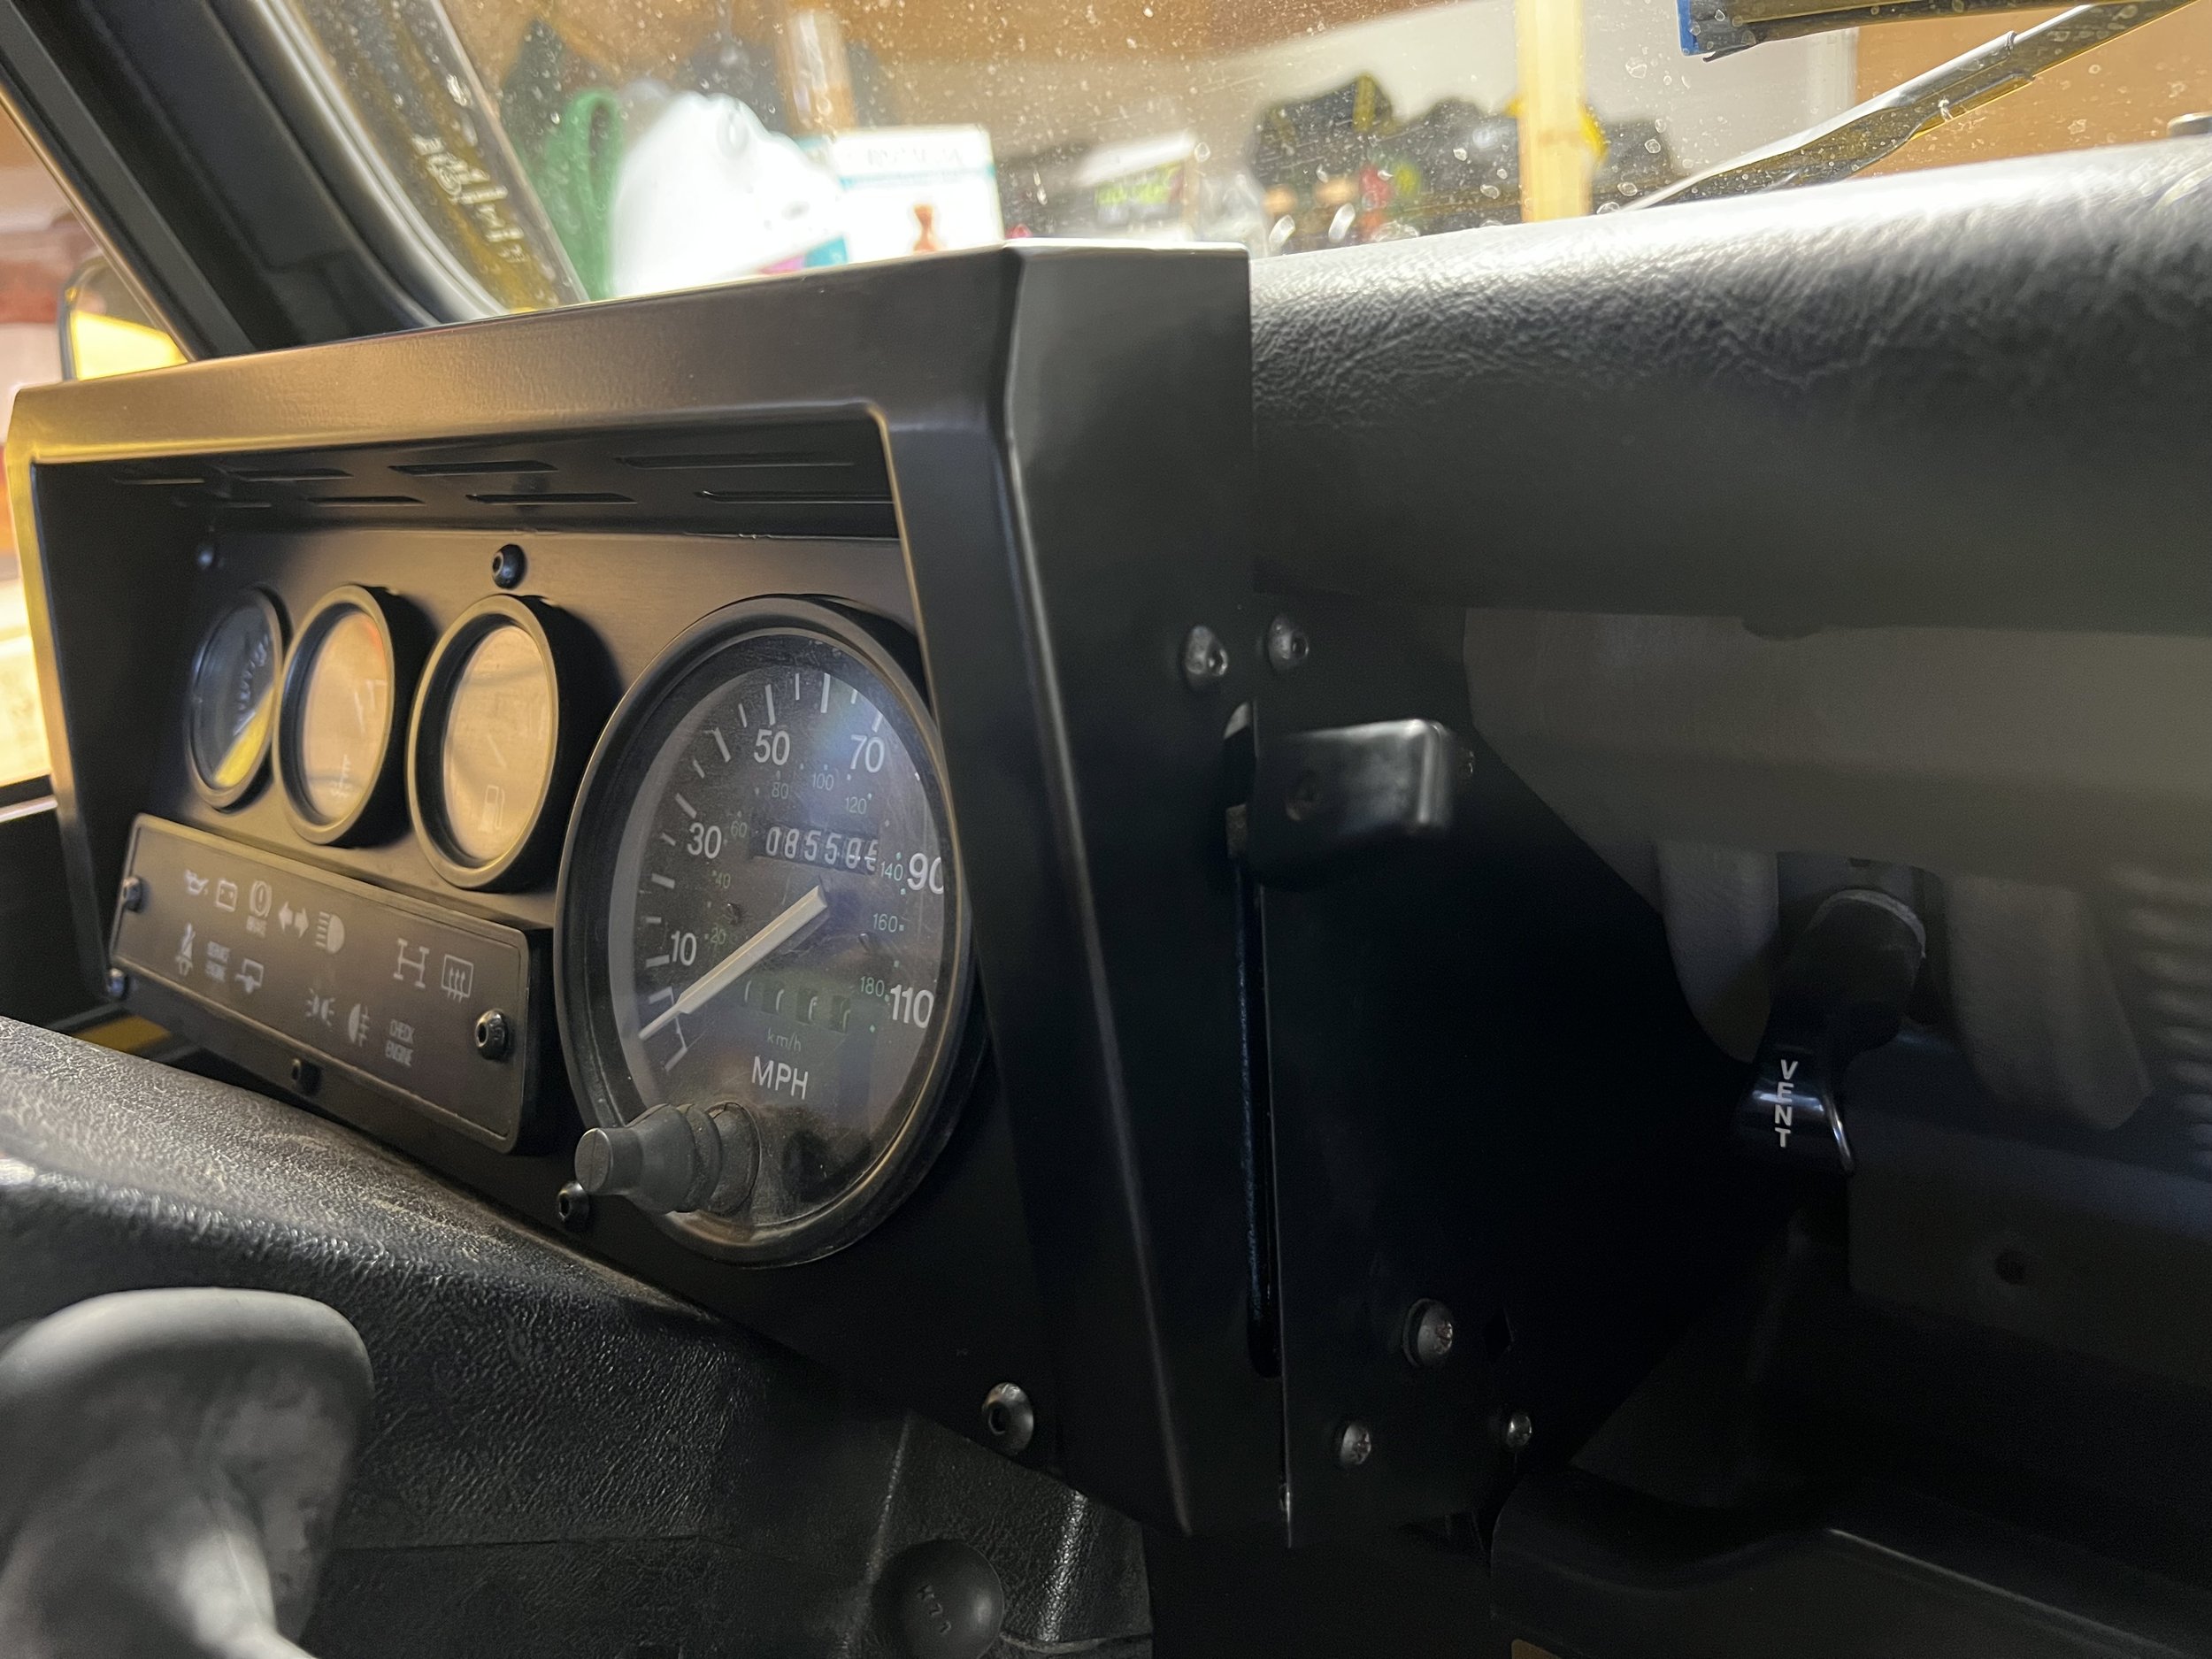
I found a metal replacement out of the UK that simply bolts into place. This way I solve the design problem, don’t run into future crack issues, but retain the ability to revert back to OEM stock. Its a theme of the truck….upgrade where it makes sense but don’t damage the truck in the process and always retain an easy way to revert back. The metal binnacle is made by Raptor Engineering and they also sell a metal binnacle mounting bracket which is a must as that mounting bracket is also plastic and actually the source of many cracks. For the end plate you can go with the OEM plastic, or Raptor also makes a metal end plate. I bought the end plate but ended up not using it as I had a hard time fitting it plus my plastic OEM piece was not broken. They also make a fantastic center dash console that is far superior to the OEM plastic one many people use, but installing this requires cutting so I passed on this upgrade. If you have a ROW Defender or don’t feel compelled to be able to revert back to stock Raptor’s center dash is the way to go if you want lots of space for switches and a modern stereo.

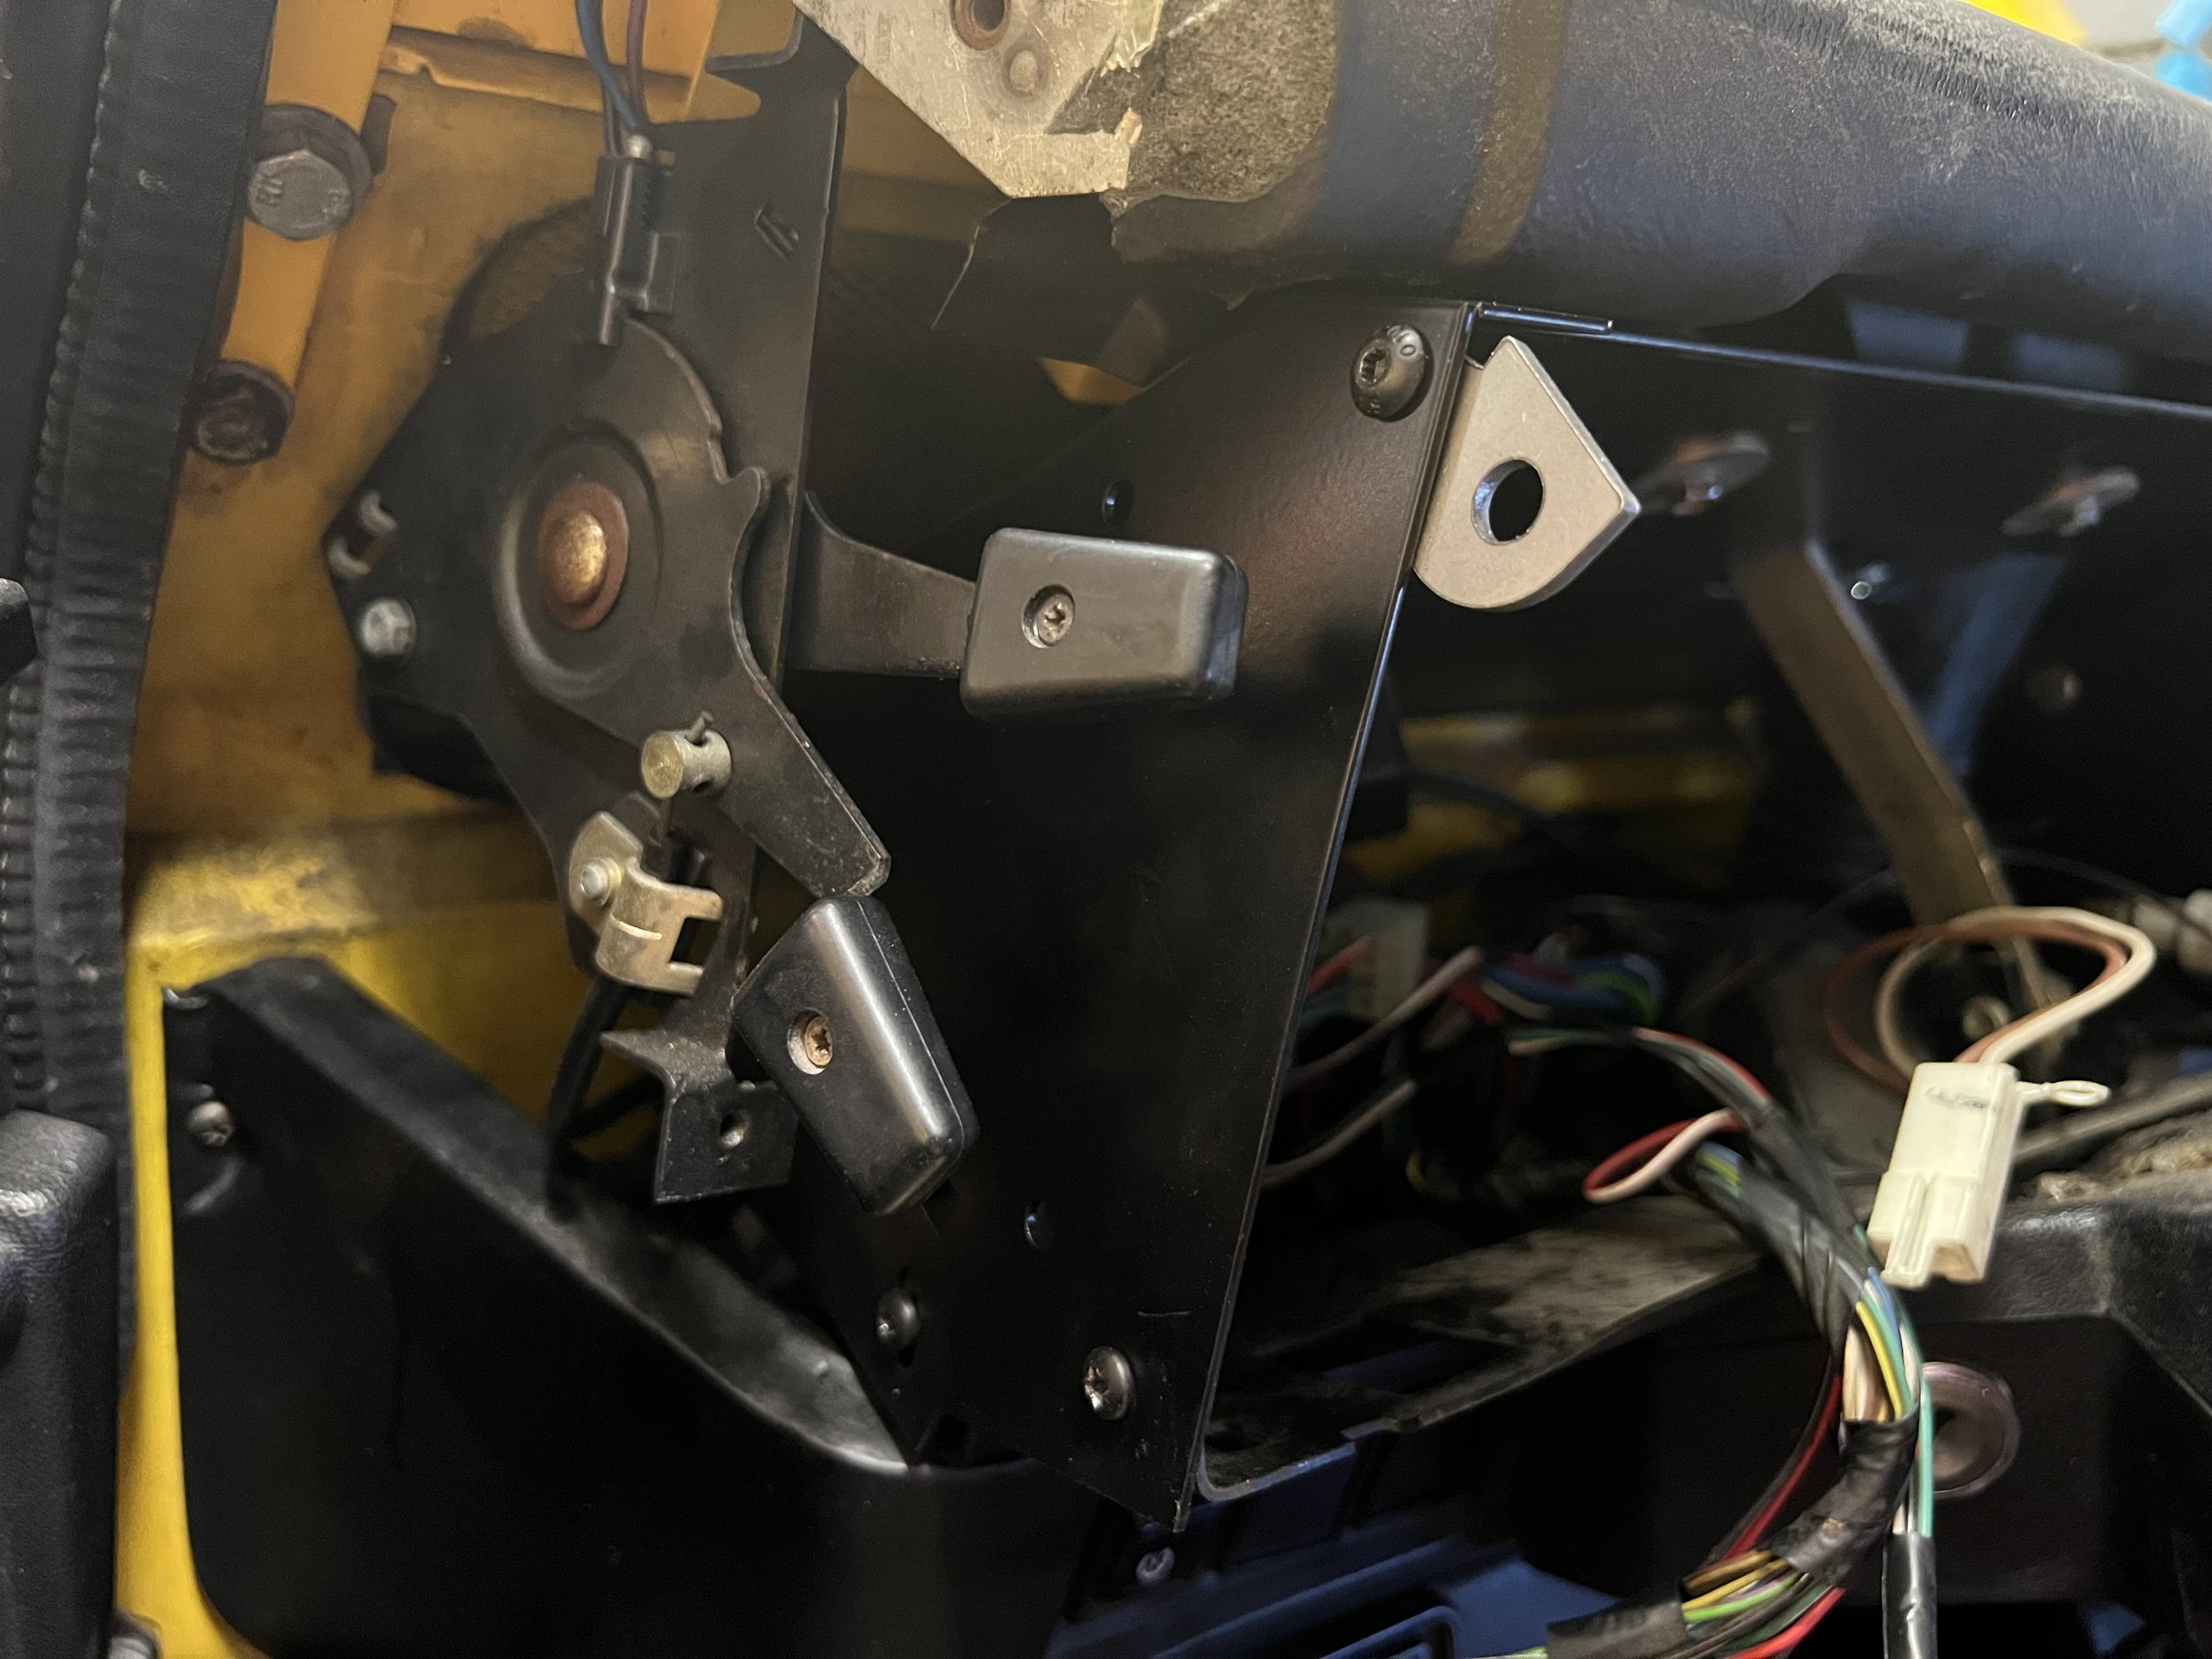
The first step in the project is to remove the original binnacle and gauges. There is a great video on Raptor’s website that walks you through this. Just remember to mark or take pictures of the wires before you unplug them so that you know how they plug back in. I found it easier to remove the steering wheel before taking apart the dash so you have space to work. You then install the mounting plate, then you move the gauges from the old binnacle to the new one. You then install the new binnacle. During this process you can decide to replace the bulbs of the gauges or upgrade the old bulbs to LED to make them brighter. I decided to keep the old bulbs so I have the original hard to read the gauge experience (keeping it real).

The end result is a binnacle of the exact same shape but in metal versus plastic. It looks great, wont break, and doesn’t take away your ability to go back to stock. I took my time during this project as I wanted to make sure it went smoothly plus I wanted to remove some abandon wires in my dash that came from an old set of fog lights that have since been removed. I can’t say enough about the quality of Raptor’s product, I highly recommend them.

Defender 90 Build - Soft Top

I bought the D90 sight unseen which in the best of cases is risky, but when buying an old NAS is down right crazy. It all worked out in the end but I would not recommend this to anyone if you can help it. I had lots of pictures and I did a FaceTime call with the dealer down in LA so he could walk me through the car live. Even with all that there were a couple of surprises when the car showed up. The first surprise was that the rear hoop of the roll cage was not a NAS padded bar. Honestly, I should have noticed that from the photos and FaceTime so that one is on me. The rest of the cage is an original NAS but that one hoop is not the stock NAS bar. I reached out to the OEM manufacture (Safety Devices) and they don’t believe it was made by them however I am not convinced because it has the correct dimensions, fit, and finish…..basically it is too perfect of a match if you ask me. If this was made by someone other than Safety Devices I have to say they did a perfect job. The only real issue is that it does not have the NAS padding. The second surprise is that while the car ran it did not run very well. It was a classic example of prior owners not doing proactive service and a dealer doing just enough to sell the car. I have since done a lot of work to resolve this and now the car runs great (for a Defender). The last surprise was the soft top.

Badger soft top

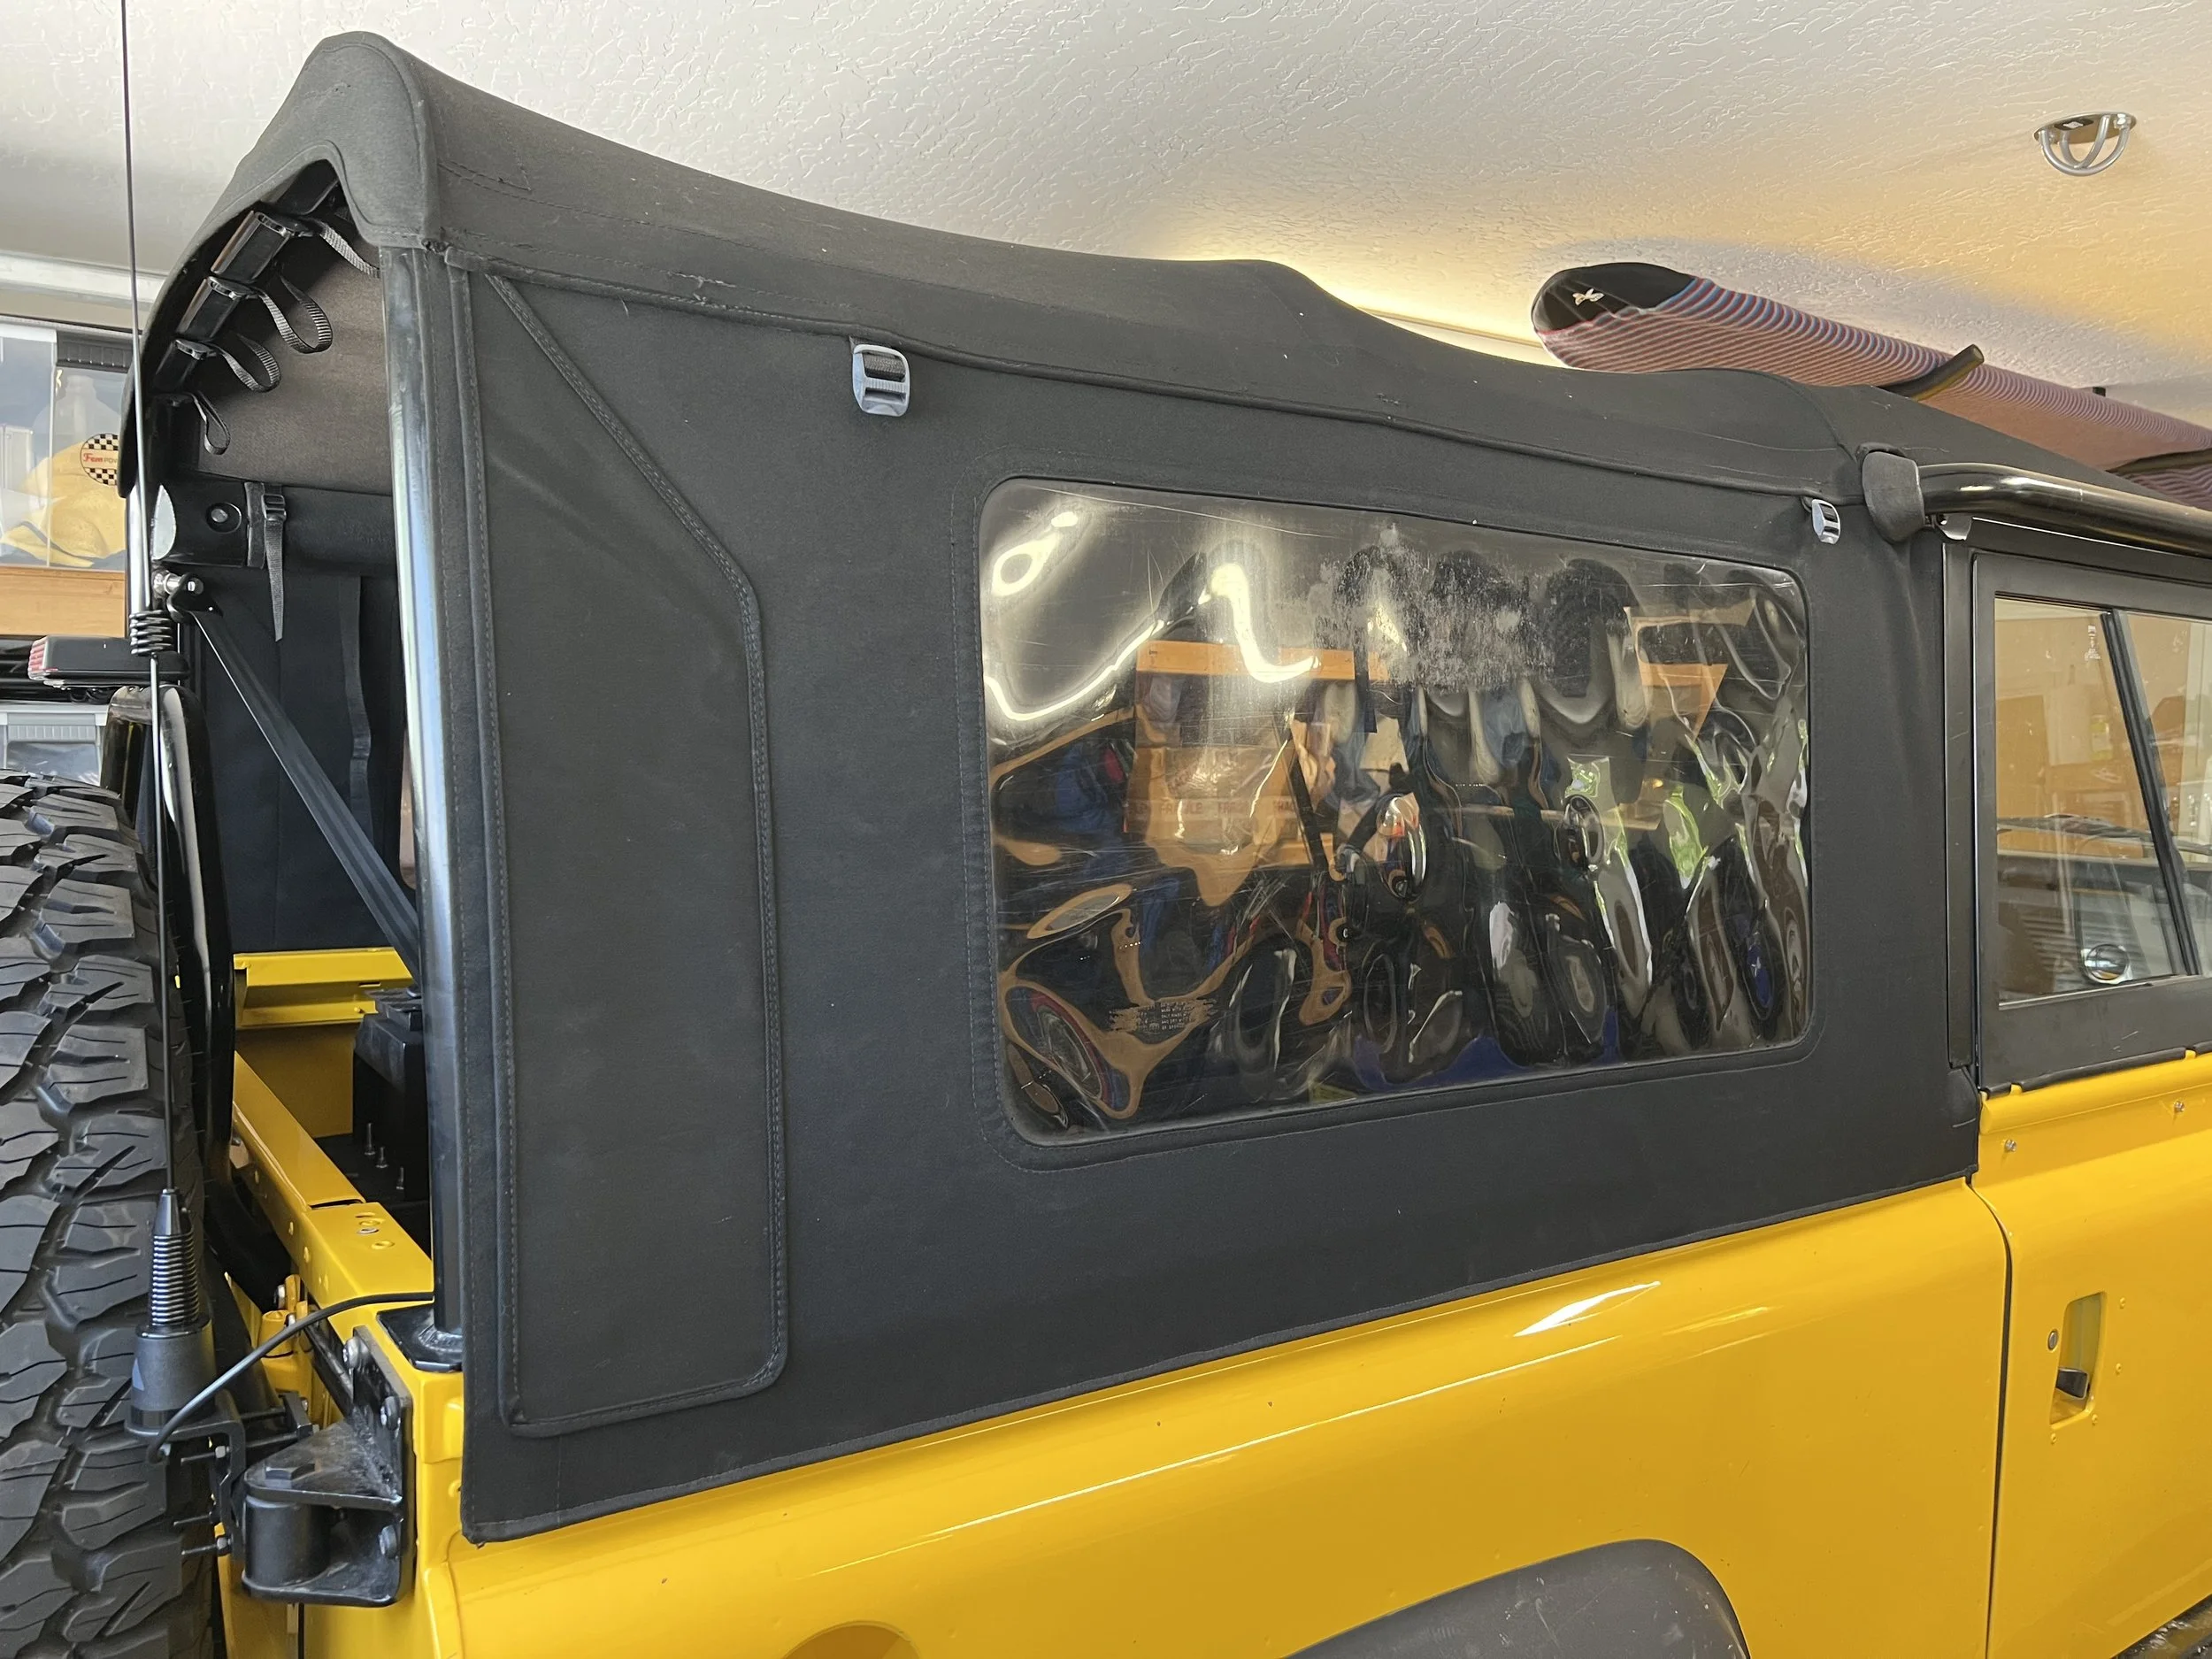
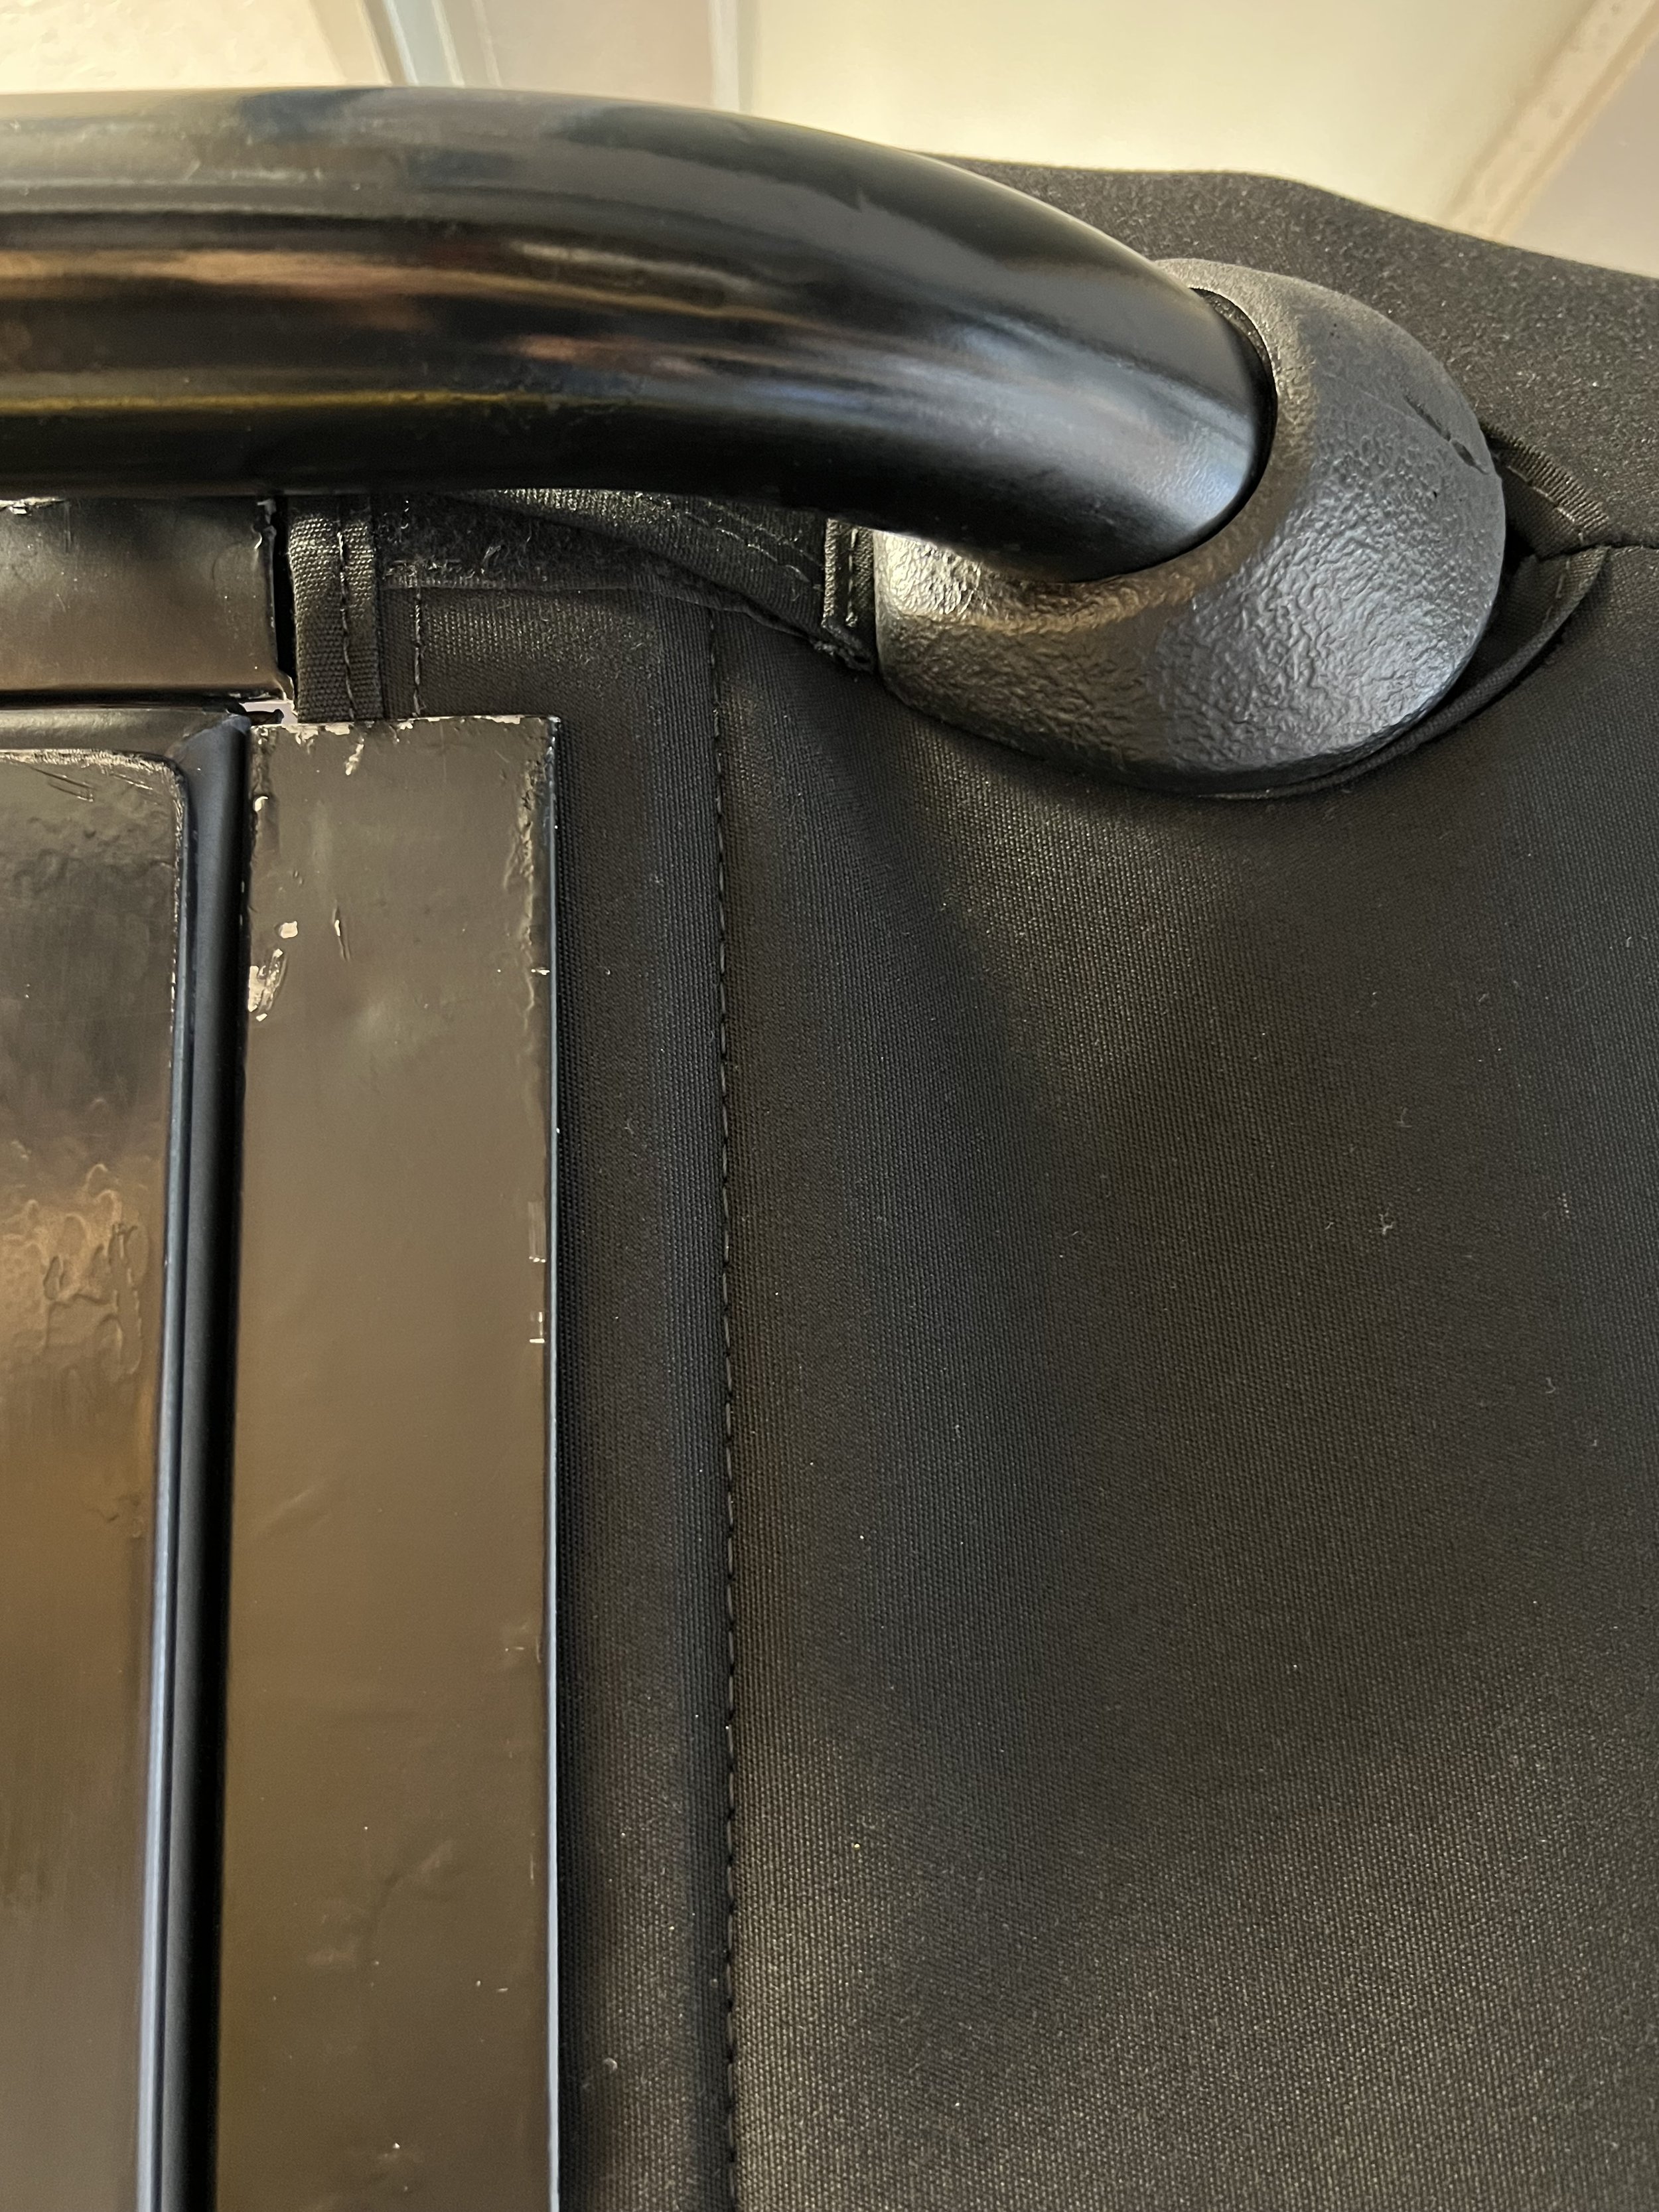
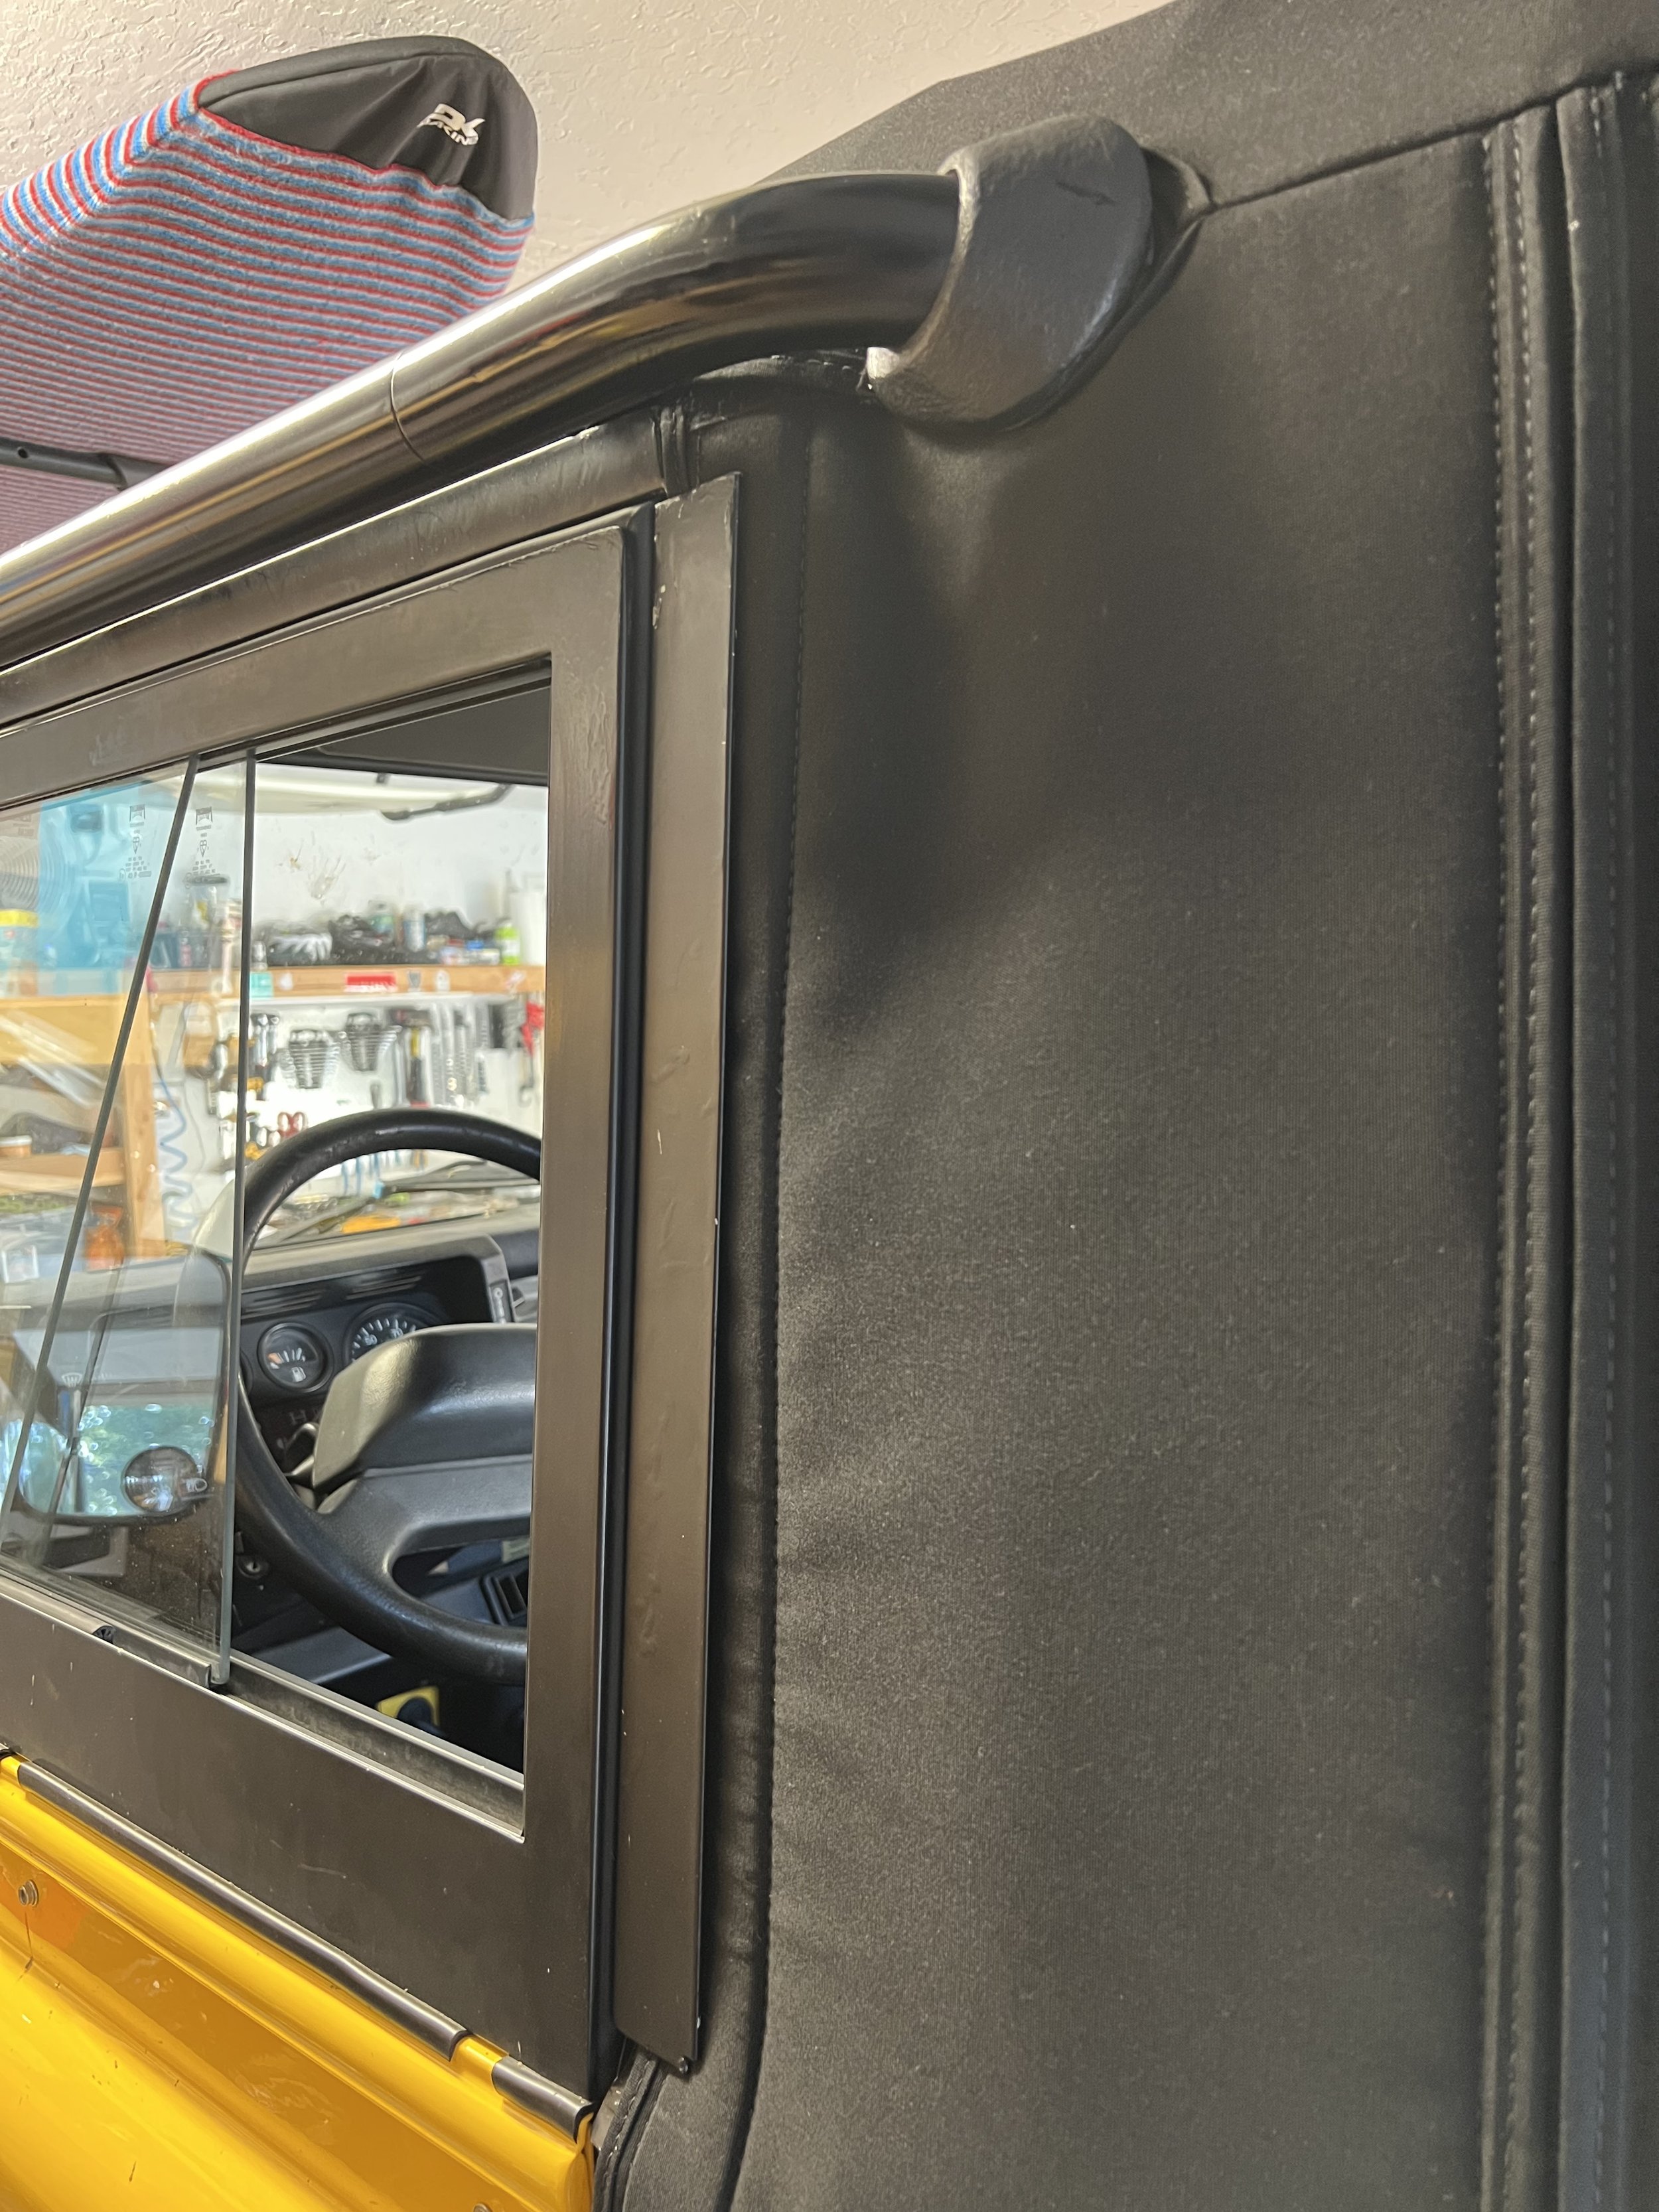
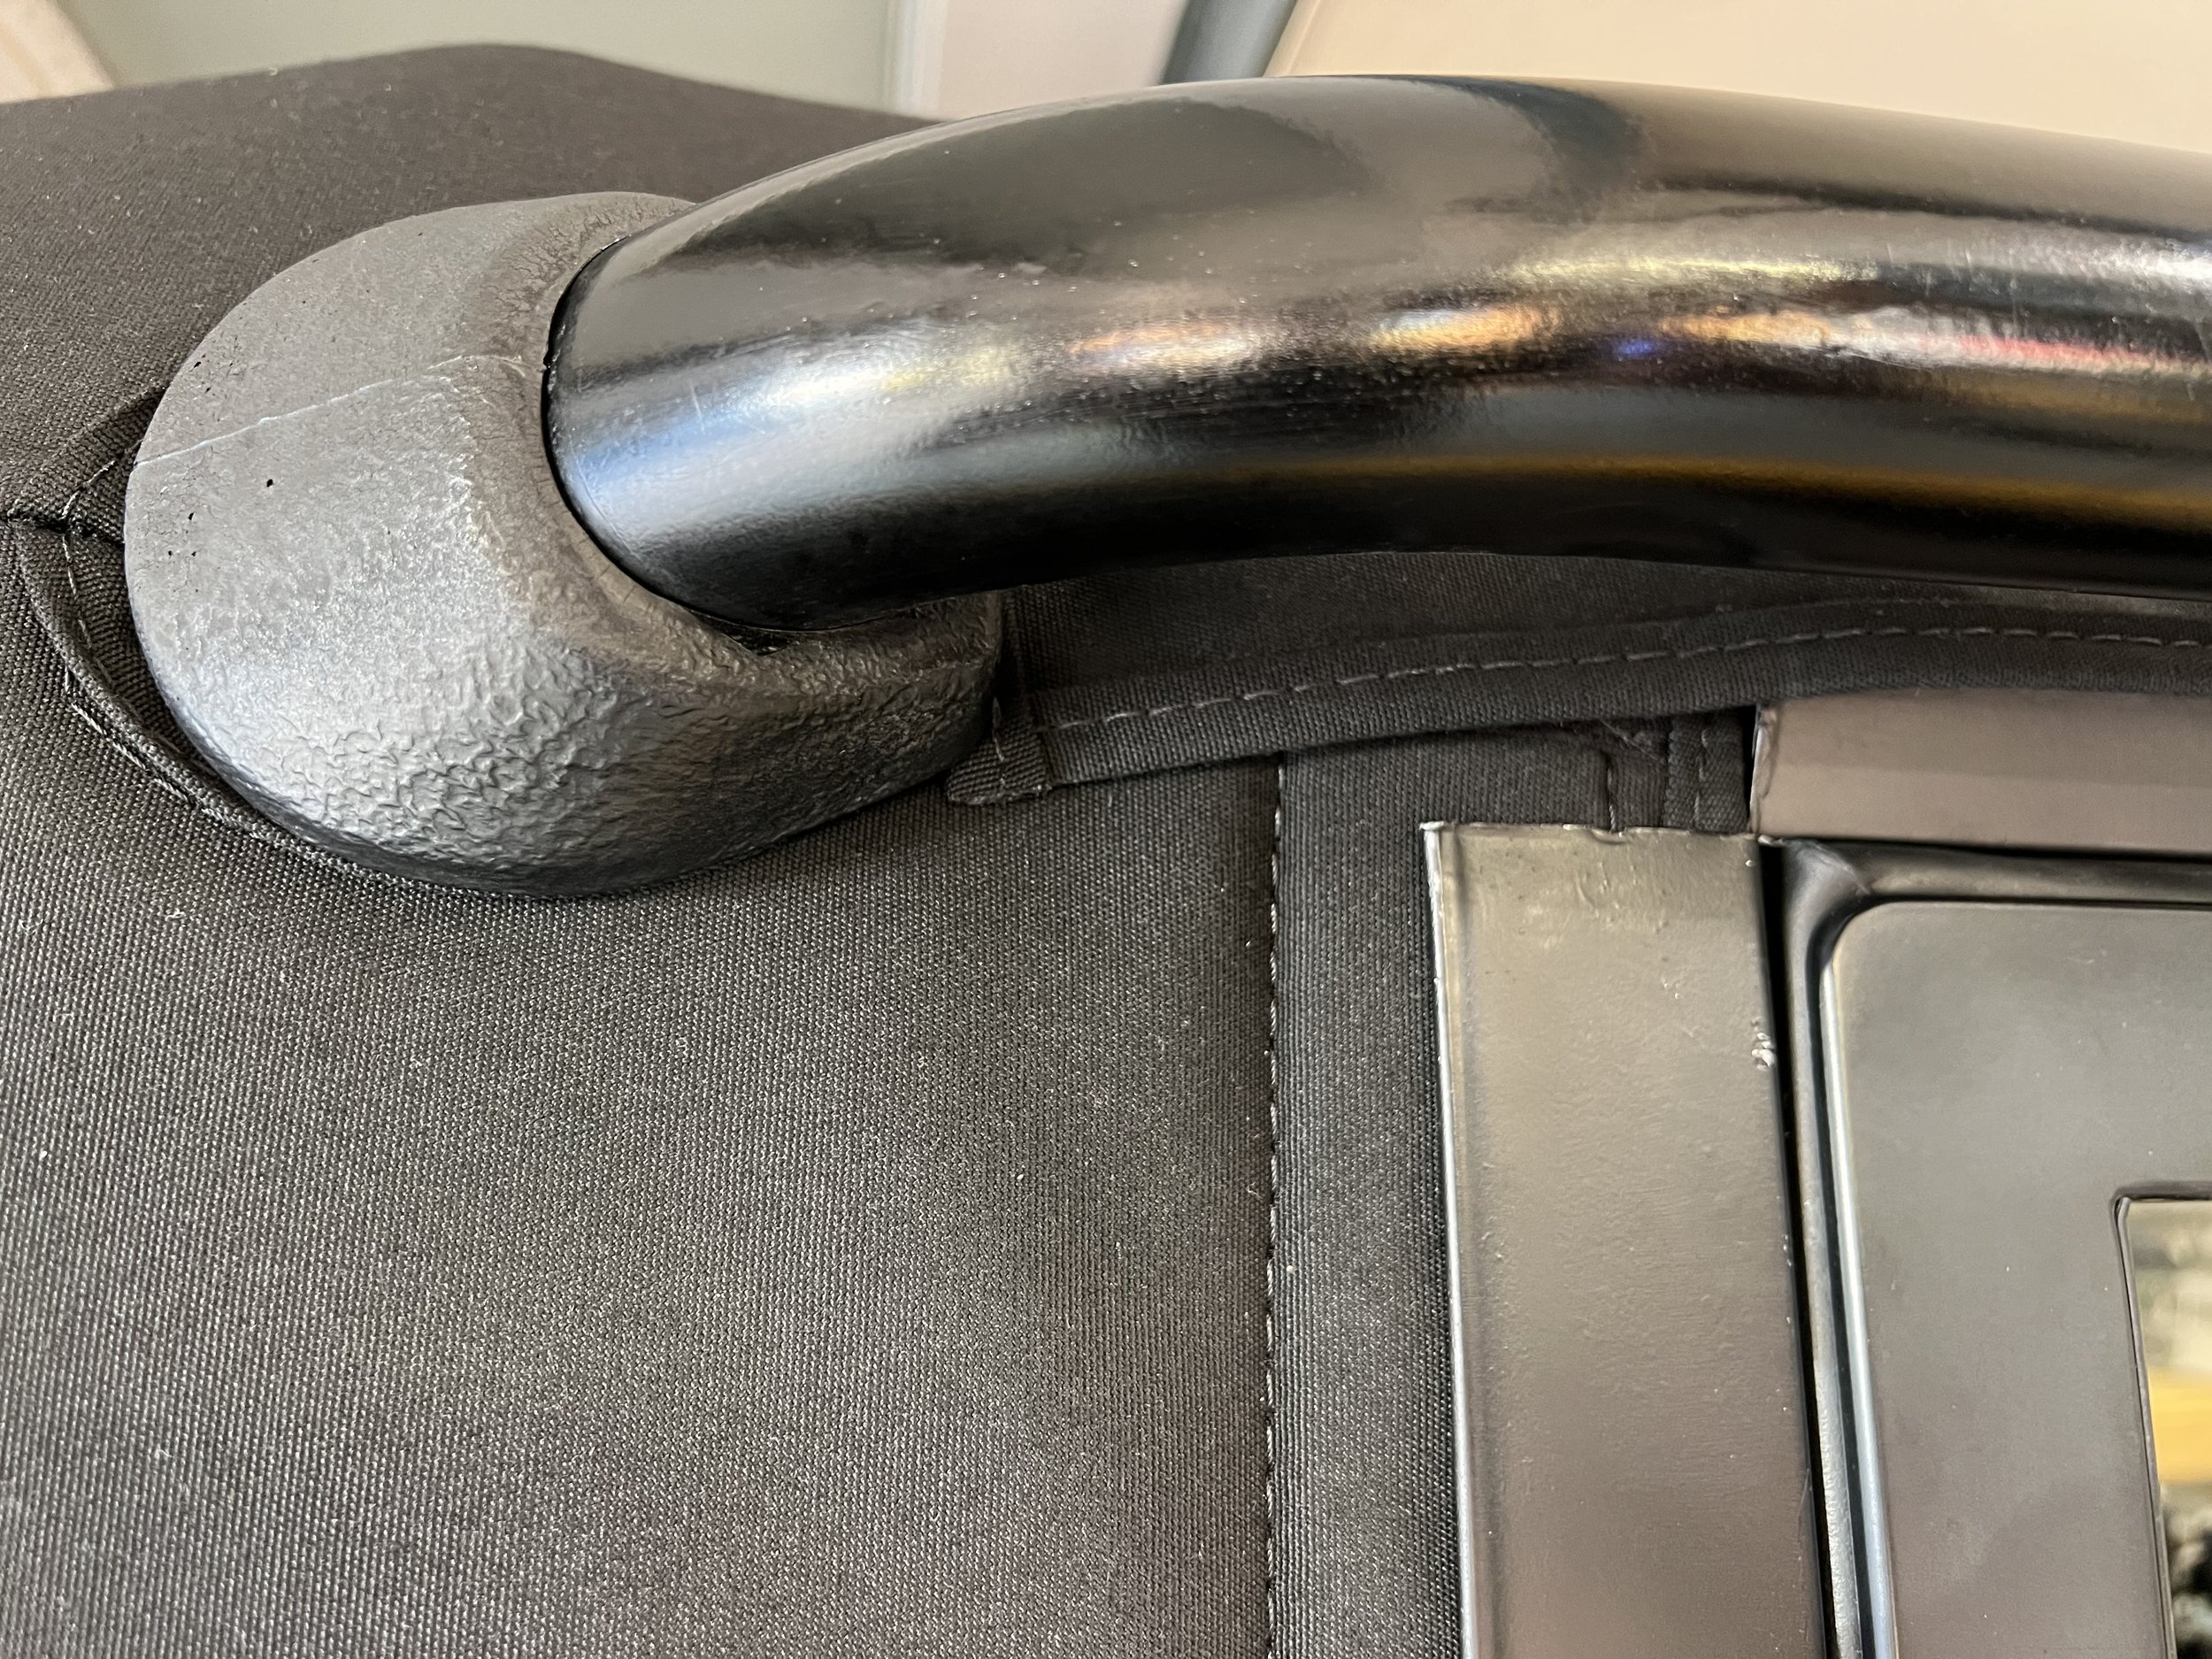
The soft top that came with the truck is made by Badger Coachworks and is considered by many as superior to the standard replacement made by Exmoor. Mine was Badger’s gutter kit version II which is their nicest model. It uses the UK gutter kit versus the 5 stub bar to get a tighter seal around the front doors. The Badger was in decent shape (perhaps a 7 out of 10) but it did not fit all that well. There was a gap around the exterior roll cage, a gap around the driver door, and a gap above the rear tailgate. So while it was functional and looked good it was not overly water tight.

Door alignment issues

I tried hard to resolve these issues but the top must have shrunk over the years making small gaps larger over time. I almost bought a hard top to replace the soft top but determined my front door alignment issues (more on that in a bit) would prevent a good fit with a hard top. I then thought I would simply order a new Badger but that company is run by a guy back east who seems to be extremely backed up all the time and would never return my emails or calls. So I decided to get a brand new Exmoor and take it back to the original top configuration. That meant I would also get a 5 stub bar and remove my gutter kit (at least that is what I thought).

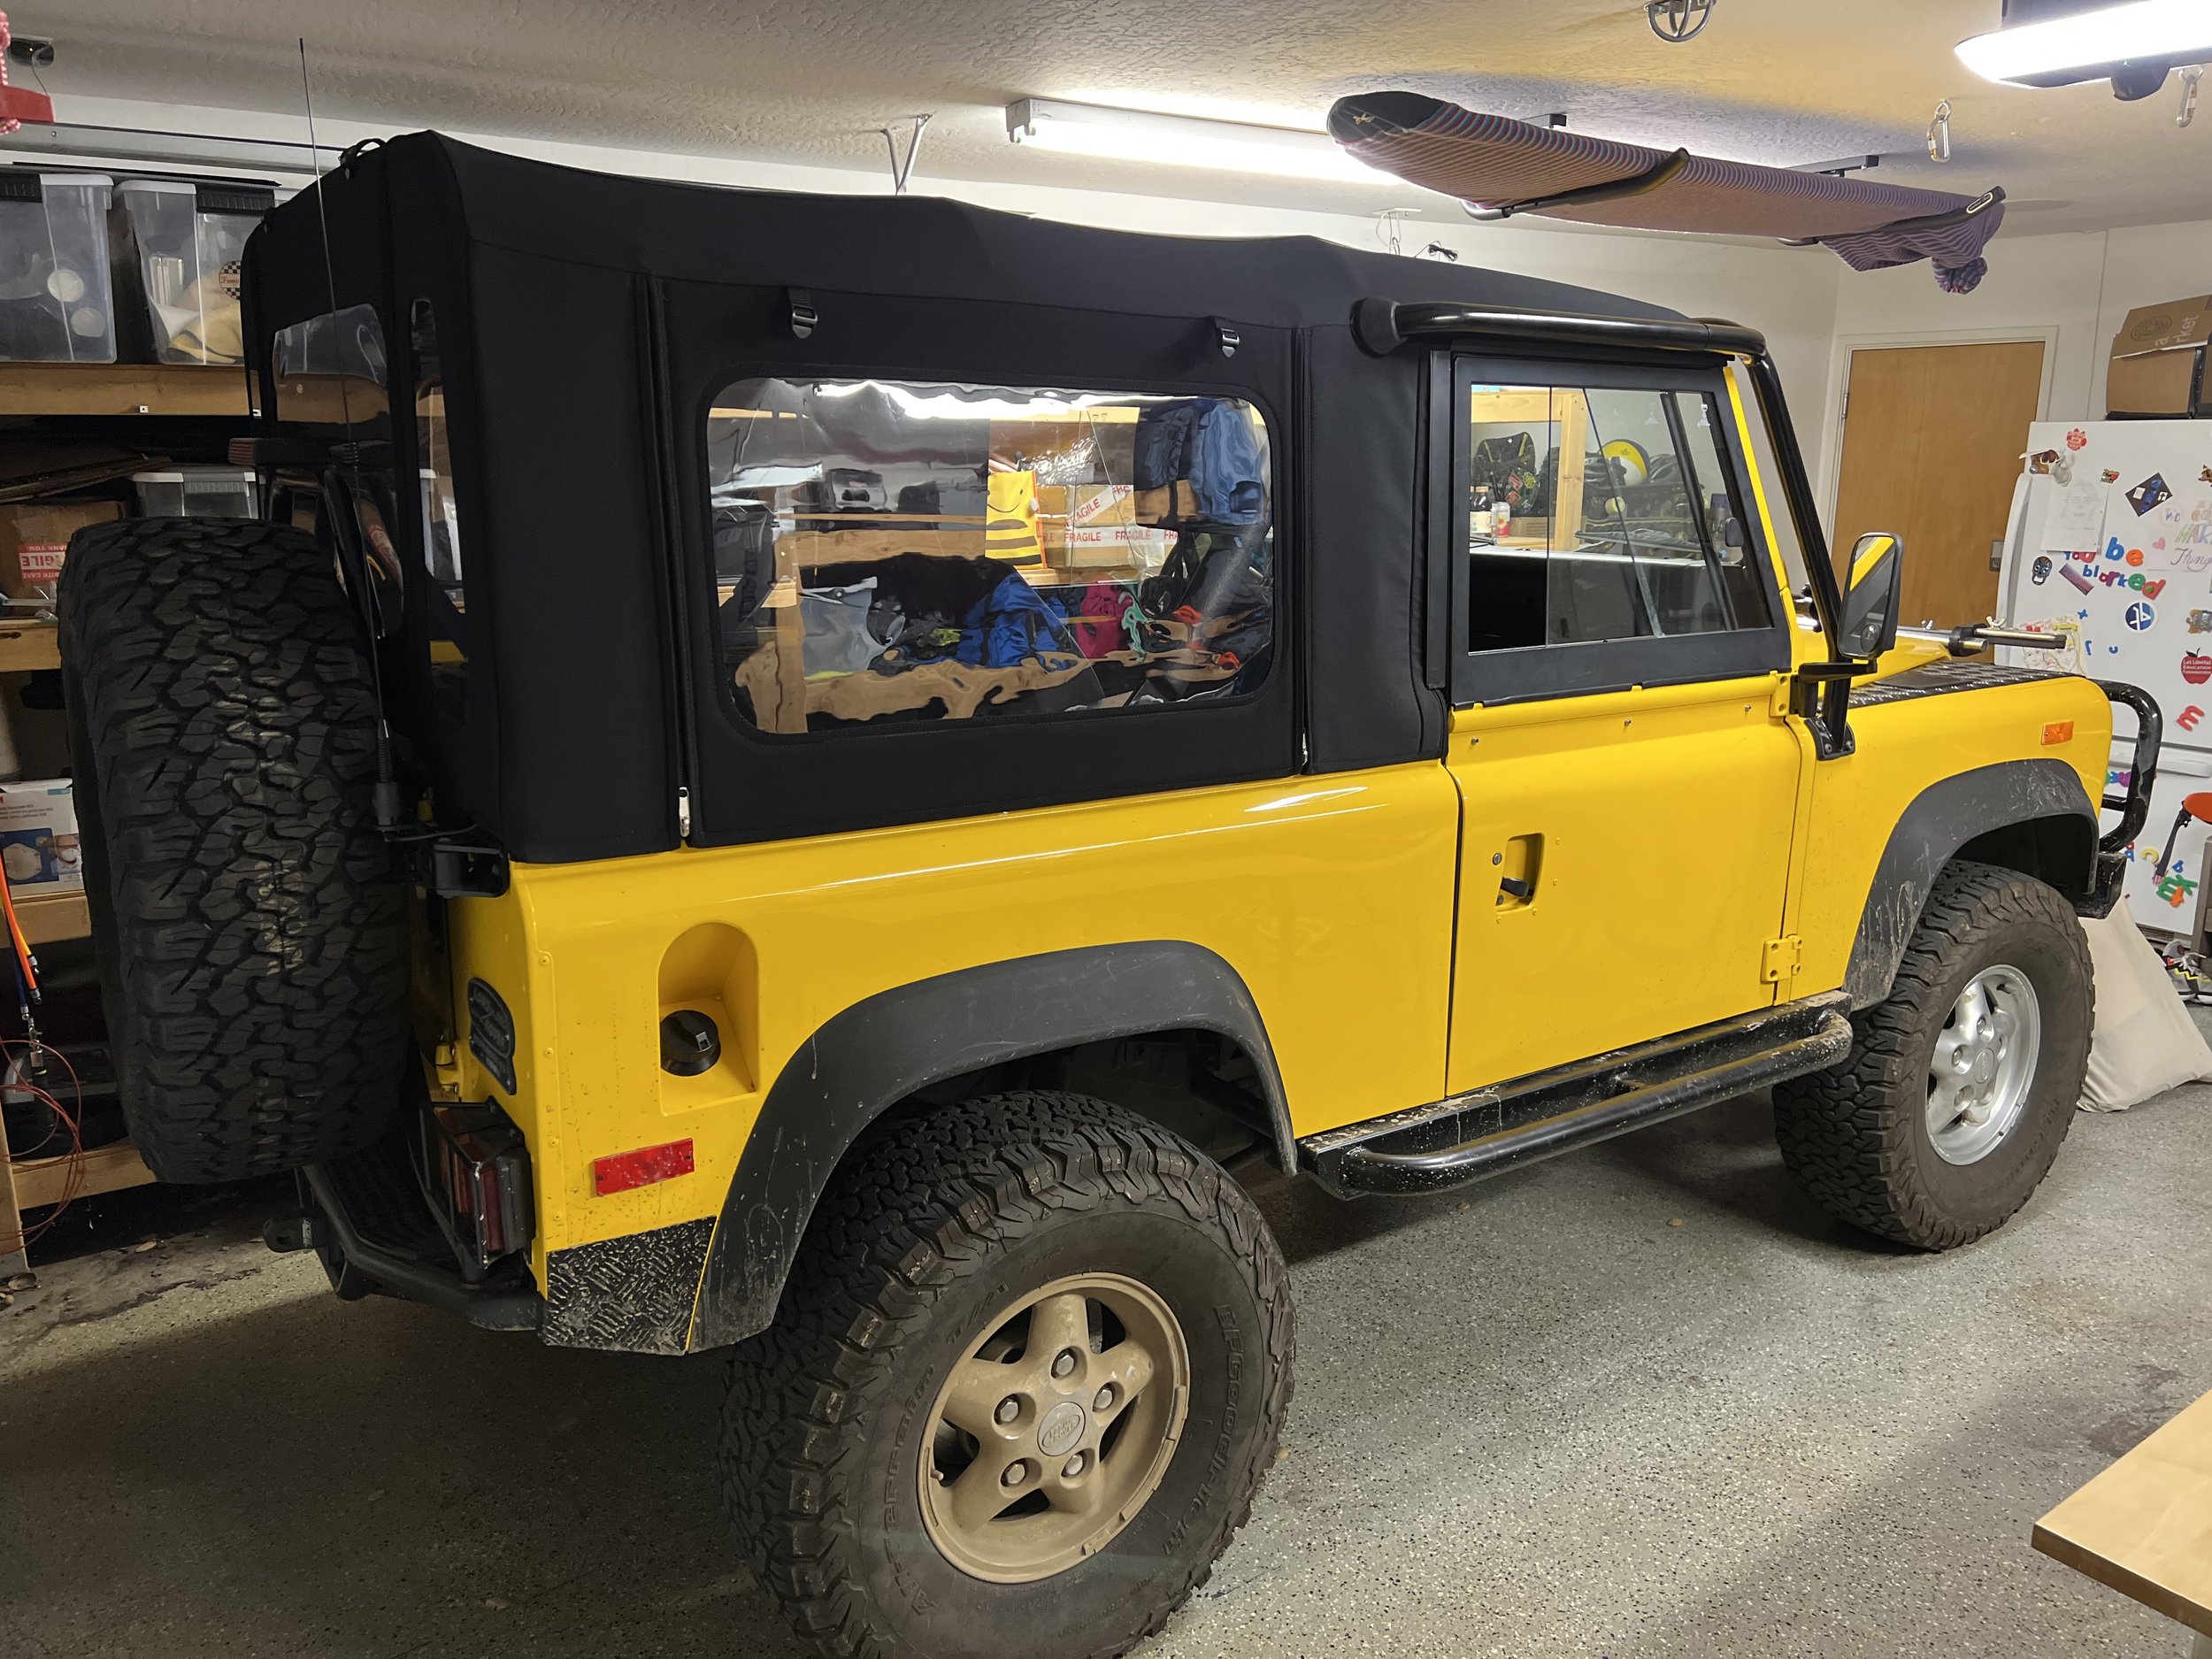
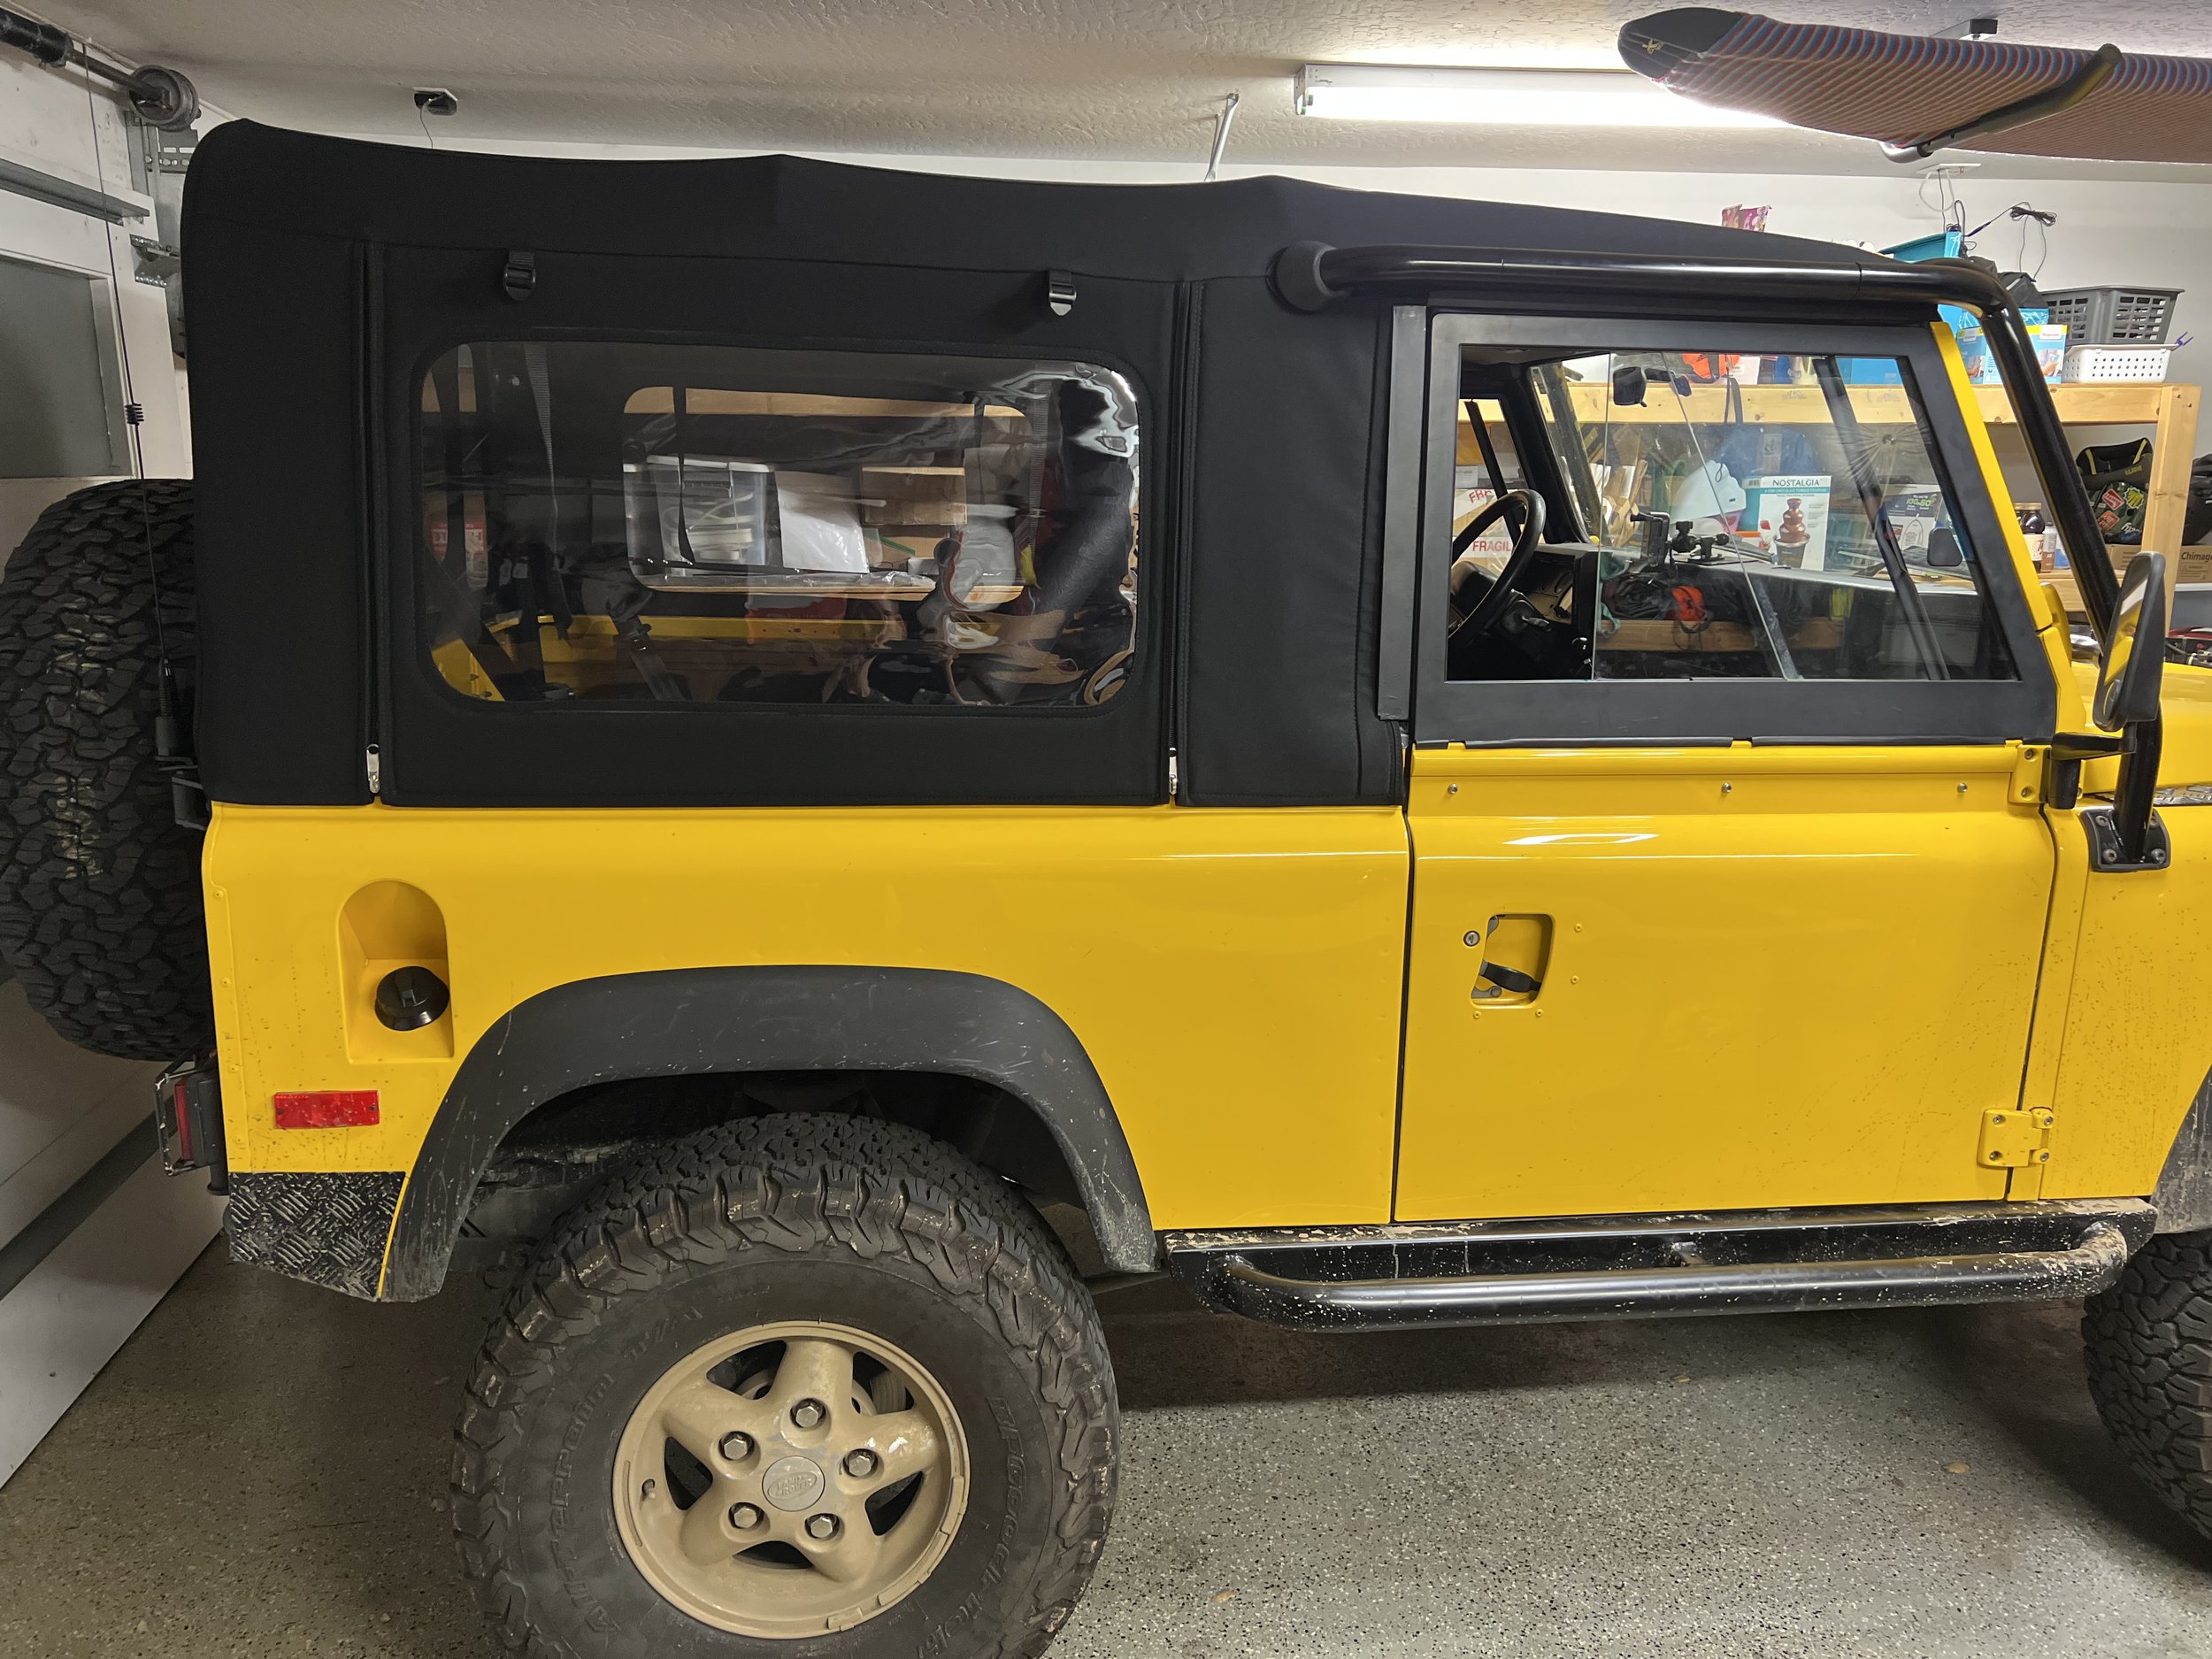
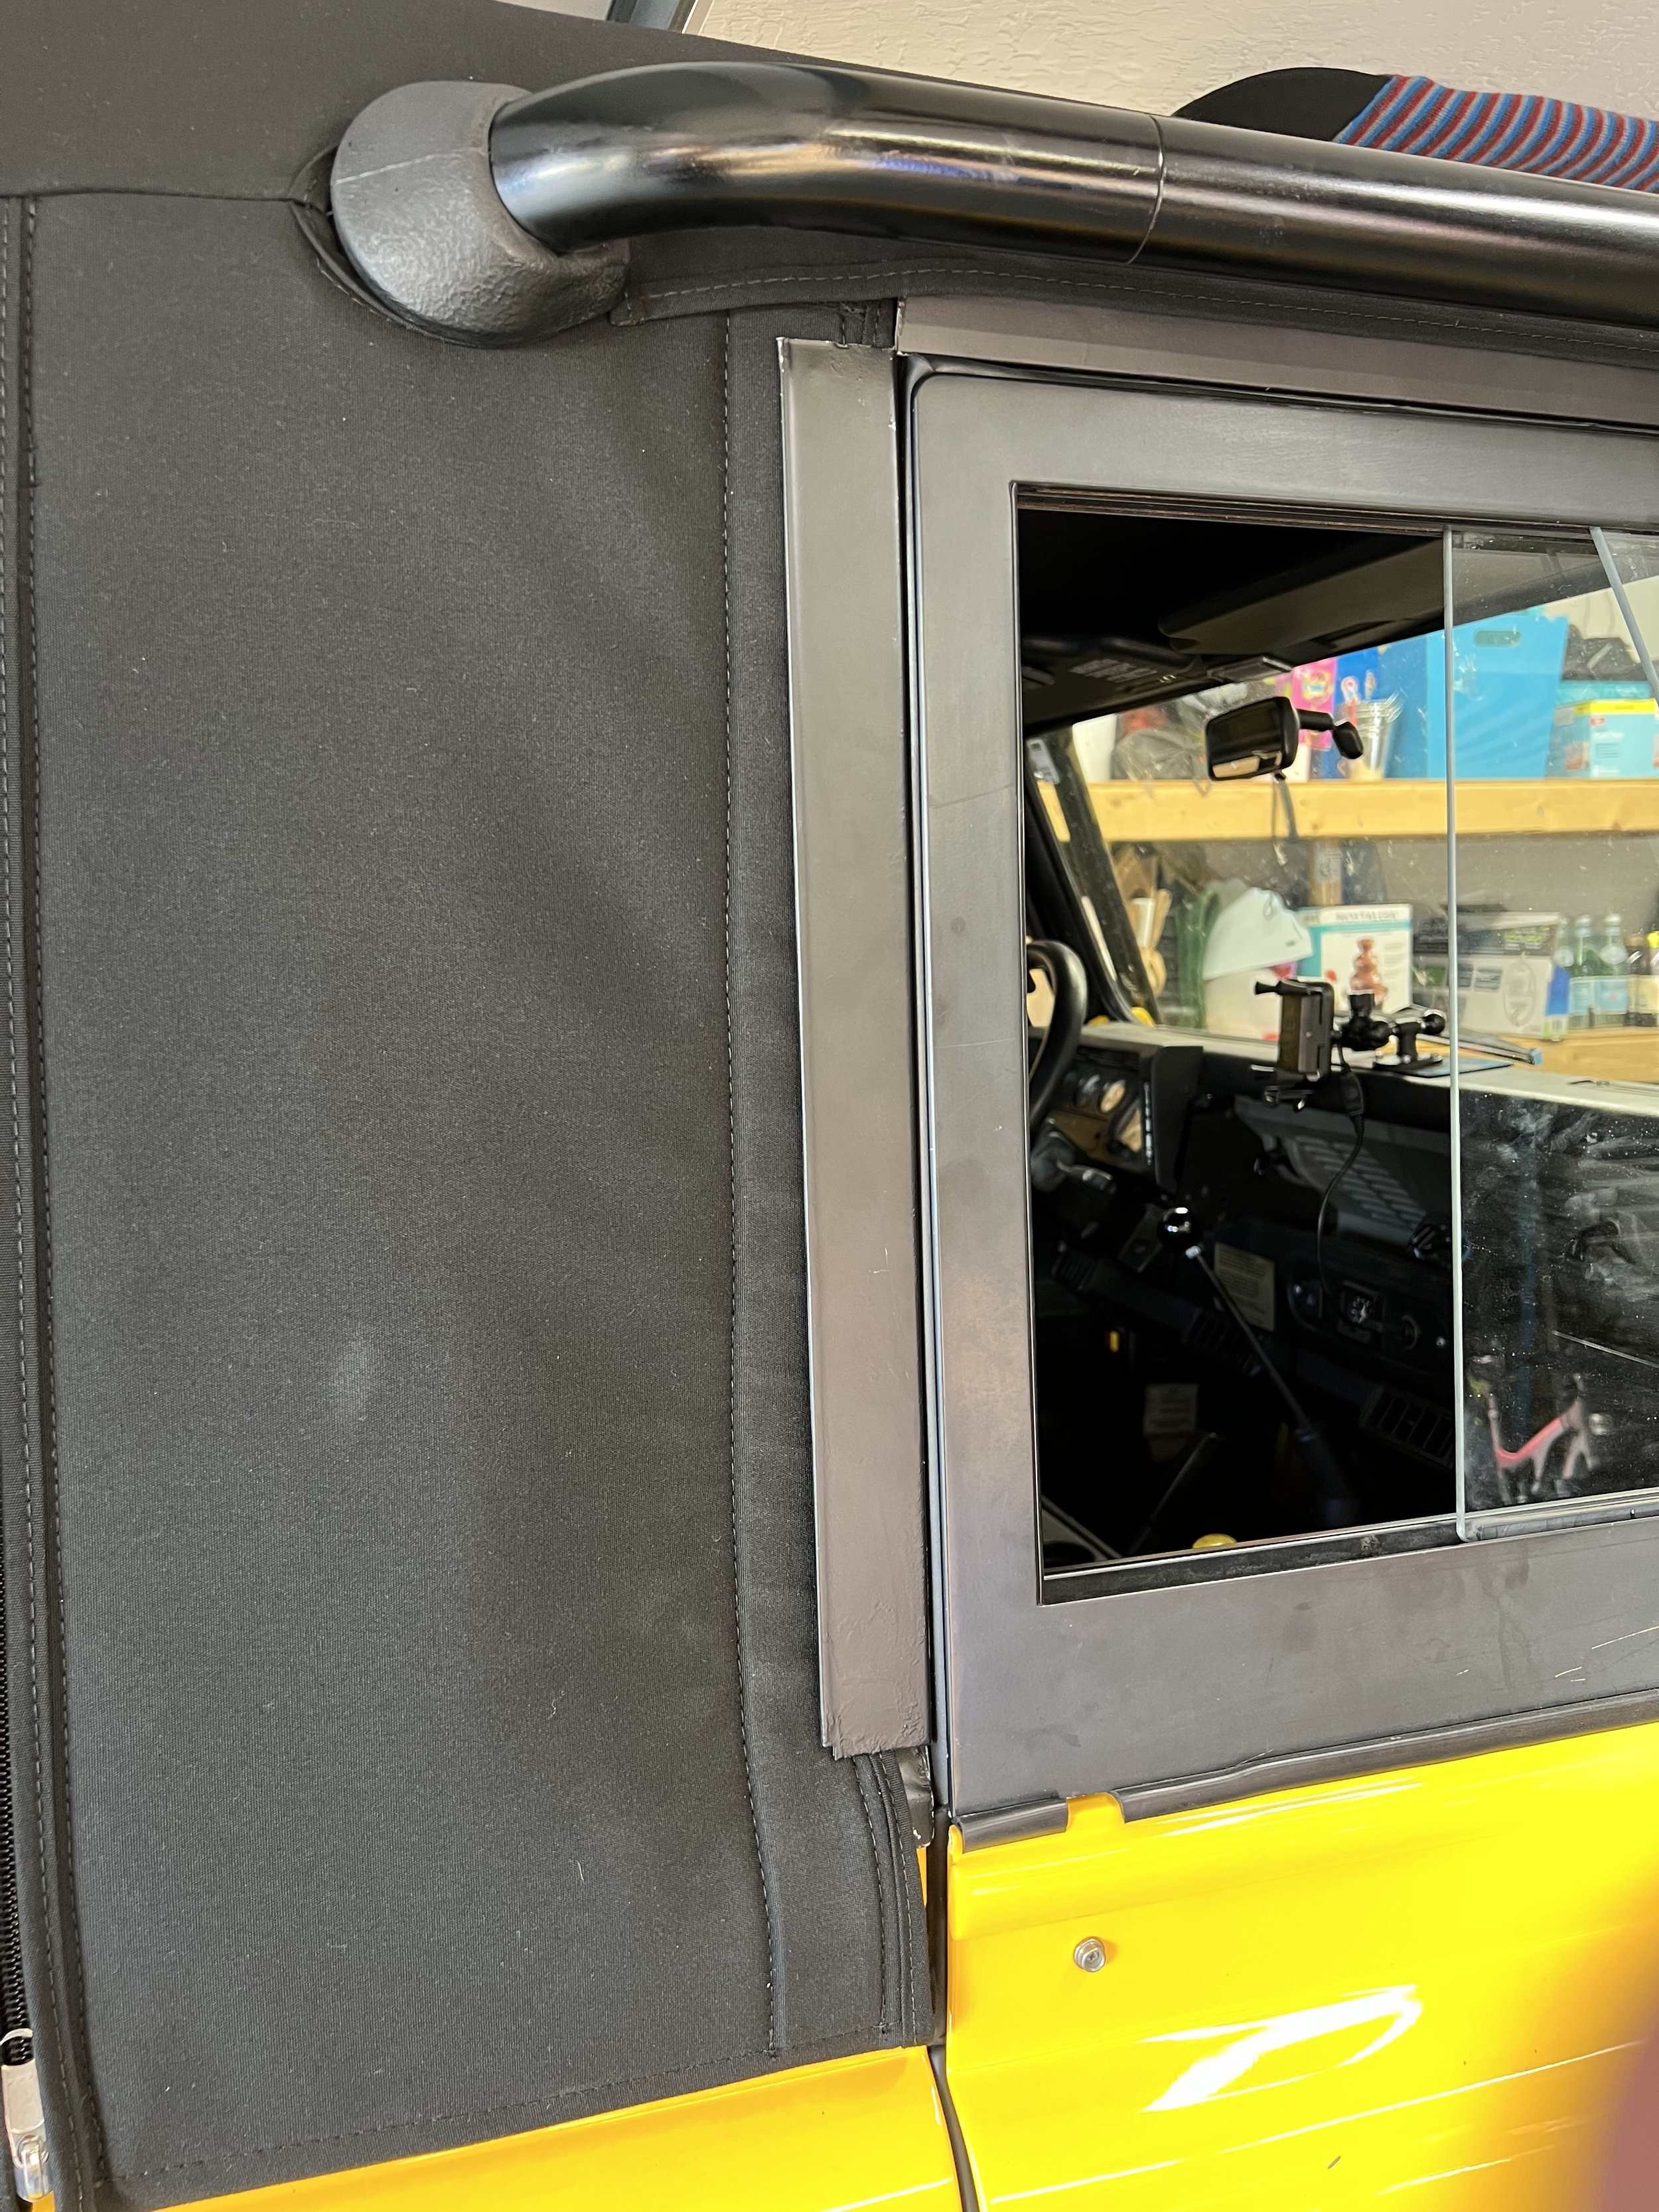
The quality of the Exmoor’s soft top is great and I can’t say the Badger uses better materials. I like the side windows of the Exmoor better and I like that the Exmoor can use the 5 stub bar or the gutter kit. I first installed the Exmoor using the 5 stub bar but I found the fit around the doors a bit weak. Also, there is very little adjustment you can do to get a tighter fit with the 5 stub bar. I then switched back to the gutter kit but took them apart and replaced all the hardware. This allowed me to use spacers and washers to make small adjustments in the frame which resulted in a much tighter fit around the front doors.

I have the normal Defender door alignment issue where that side panels don’t perfectly match up to the doors. This is normal and doesn’t impact how the door functions. After a lot of research I found that the solution requires adjusting the bulkhead which is a big project so I am going to live with it until the day comes that I pull the motor to rebuild it. The larger issue I have is that the driver door (the top half actually) sits too far away from the gutter kit. I am not sure if this is because the top half of the door is warped or my body panels are off. But with the spacers and washers added to the gutter kit I was able to pull the gutter kit out to meet up with the door and I have an excellent fit now. The Exmoor fits nearly perfect around the external roll cage bars whereas the Badger had gaps.

Exmoor tight fit

The only remaining issue is the gap above the tailgate. That I can not resolve this with the Exmoor or Badger soft top. For some reason my soft top rear retaining bar is about 3/4 - 1 inch higher than the mounting points. At first I thought it was because my rear hoop is not an original NAS, but I measured a friend’s NAS and it is the same height. Also the soft top fits the side and rear channels perfectly so the gap is just with the rear retaining bar. It doesn’t create a visible gap but it means the retainer bar in the rear can not mount properly. The solution is to create a block or riser for the retaining bar mounting points to bring the mounts up 3/4 - 1 inch. I have not done this yet as the retaining bar is not critical and often gets in the way if you ask me.

Overall my Exmoor fits significantly better than the Badger and I like the original design and features more than the Badger. I will keep the Badger and put it in my spare parts bin in case I ever need a backup soft top. With this new soft top I will give up on the hard top idea because I just don’t think I can get it to fit with my front doors without significant adjustments…..plus the soft top NAS tends to have a higher resell value than the hard top NAS. Let’s be honest, living in CA there is only one way to go and that is with a soft top.

Defender 90 Build - Locking Storage

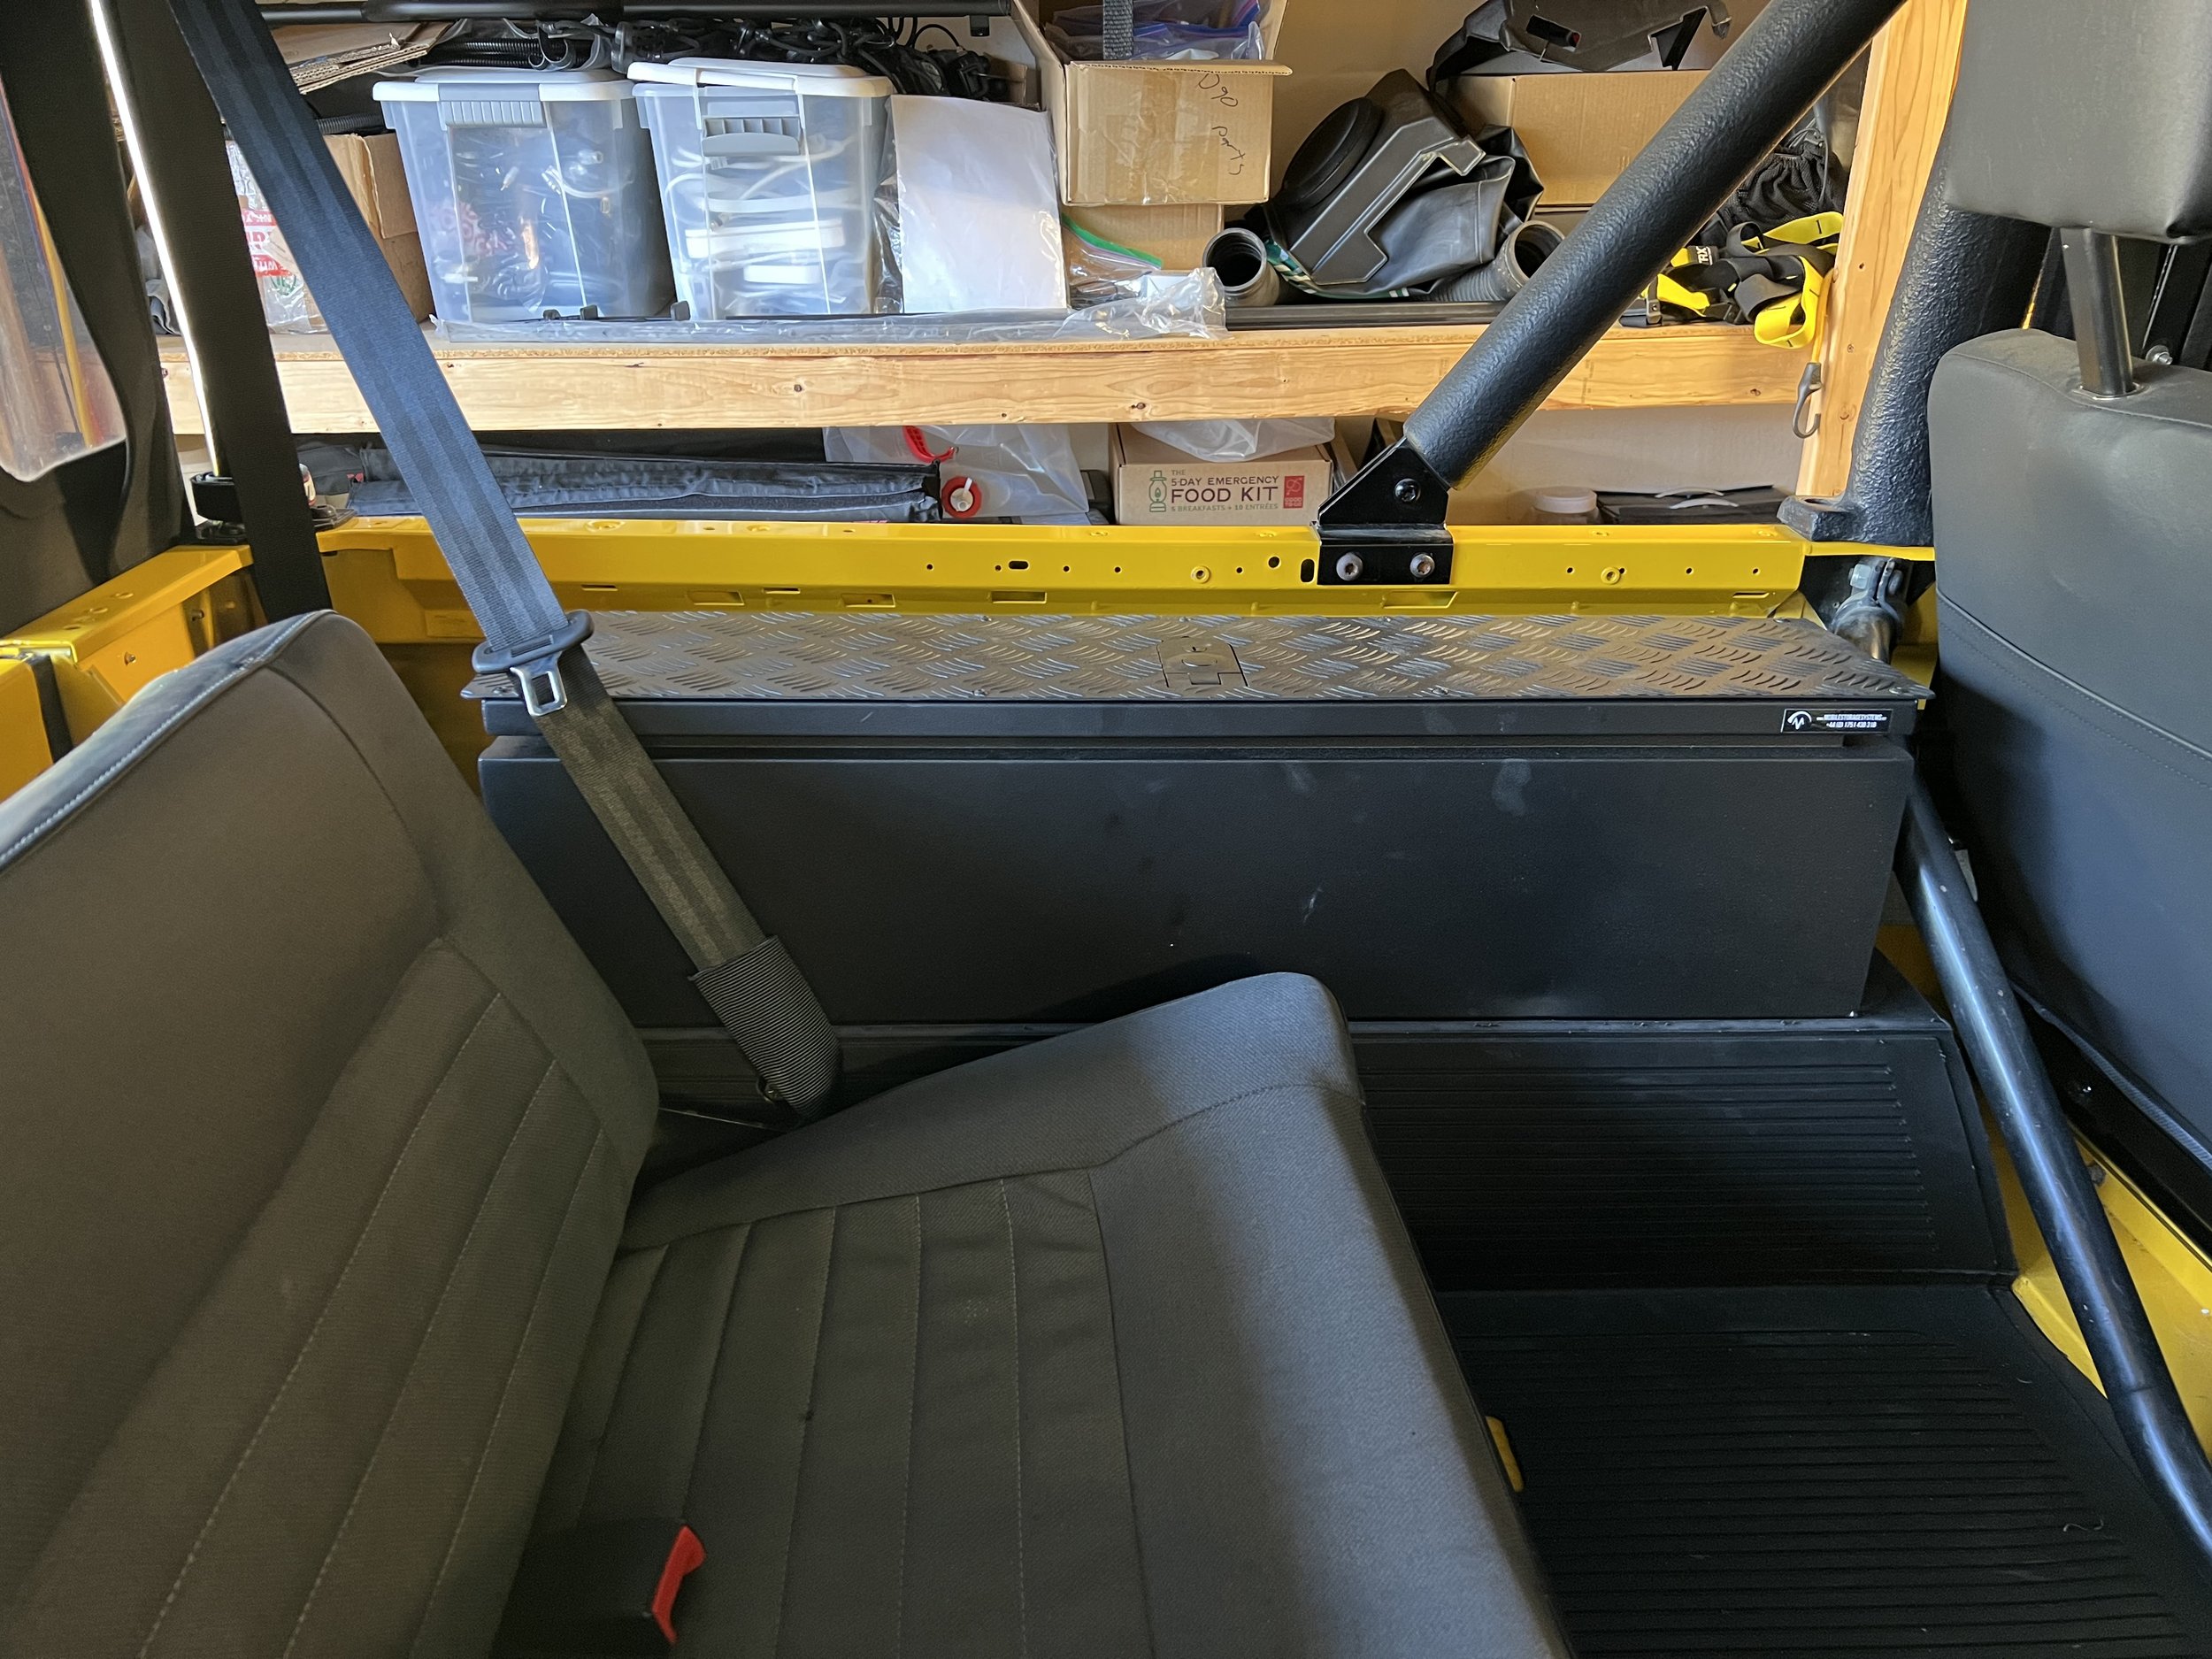
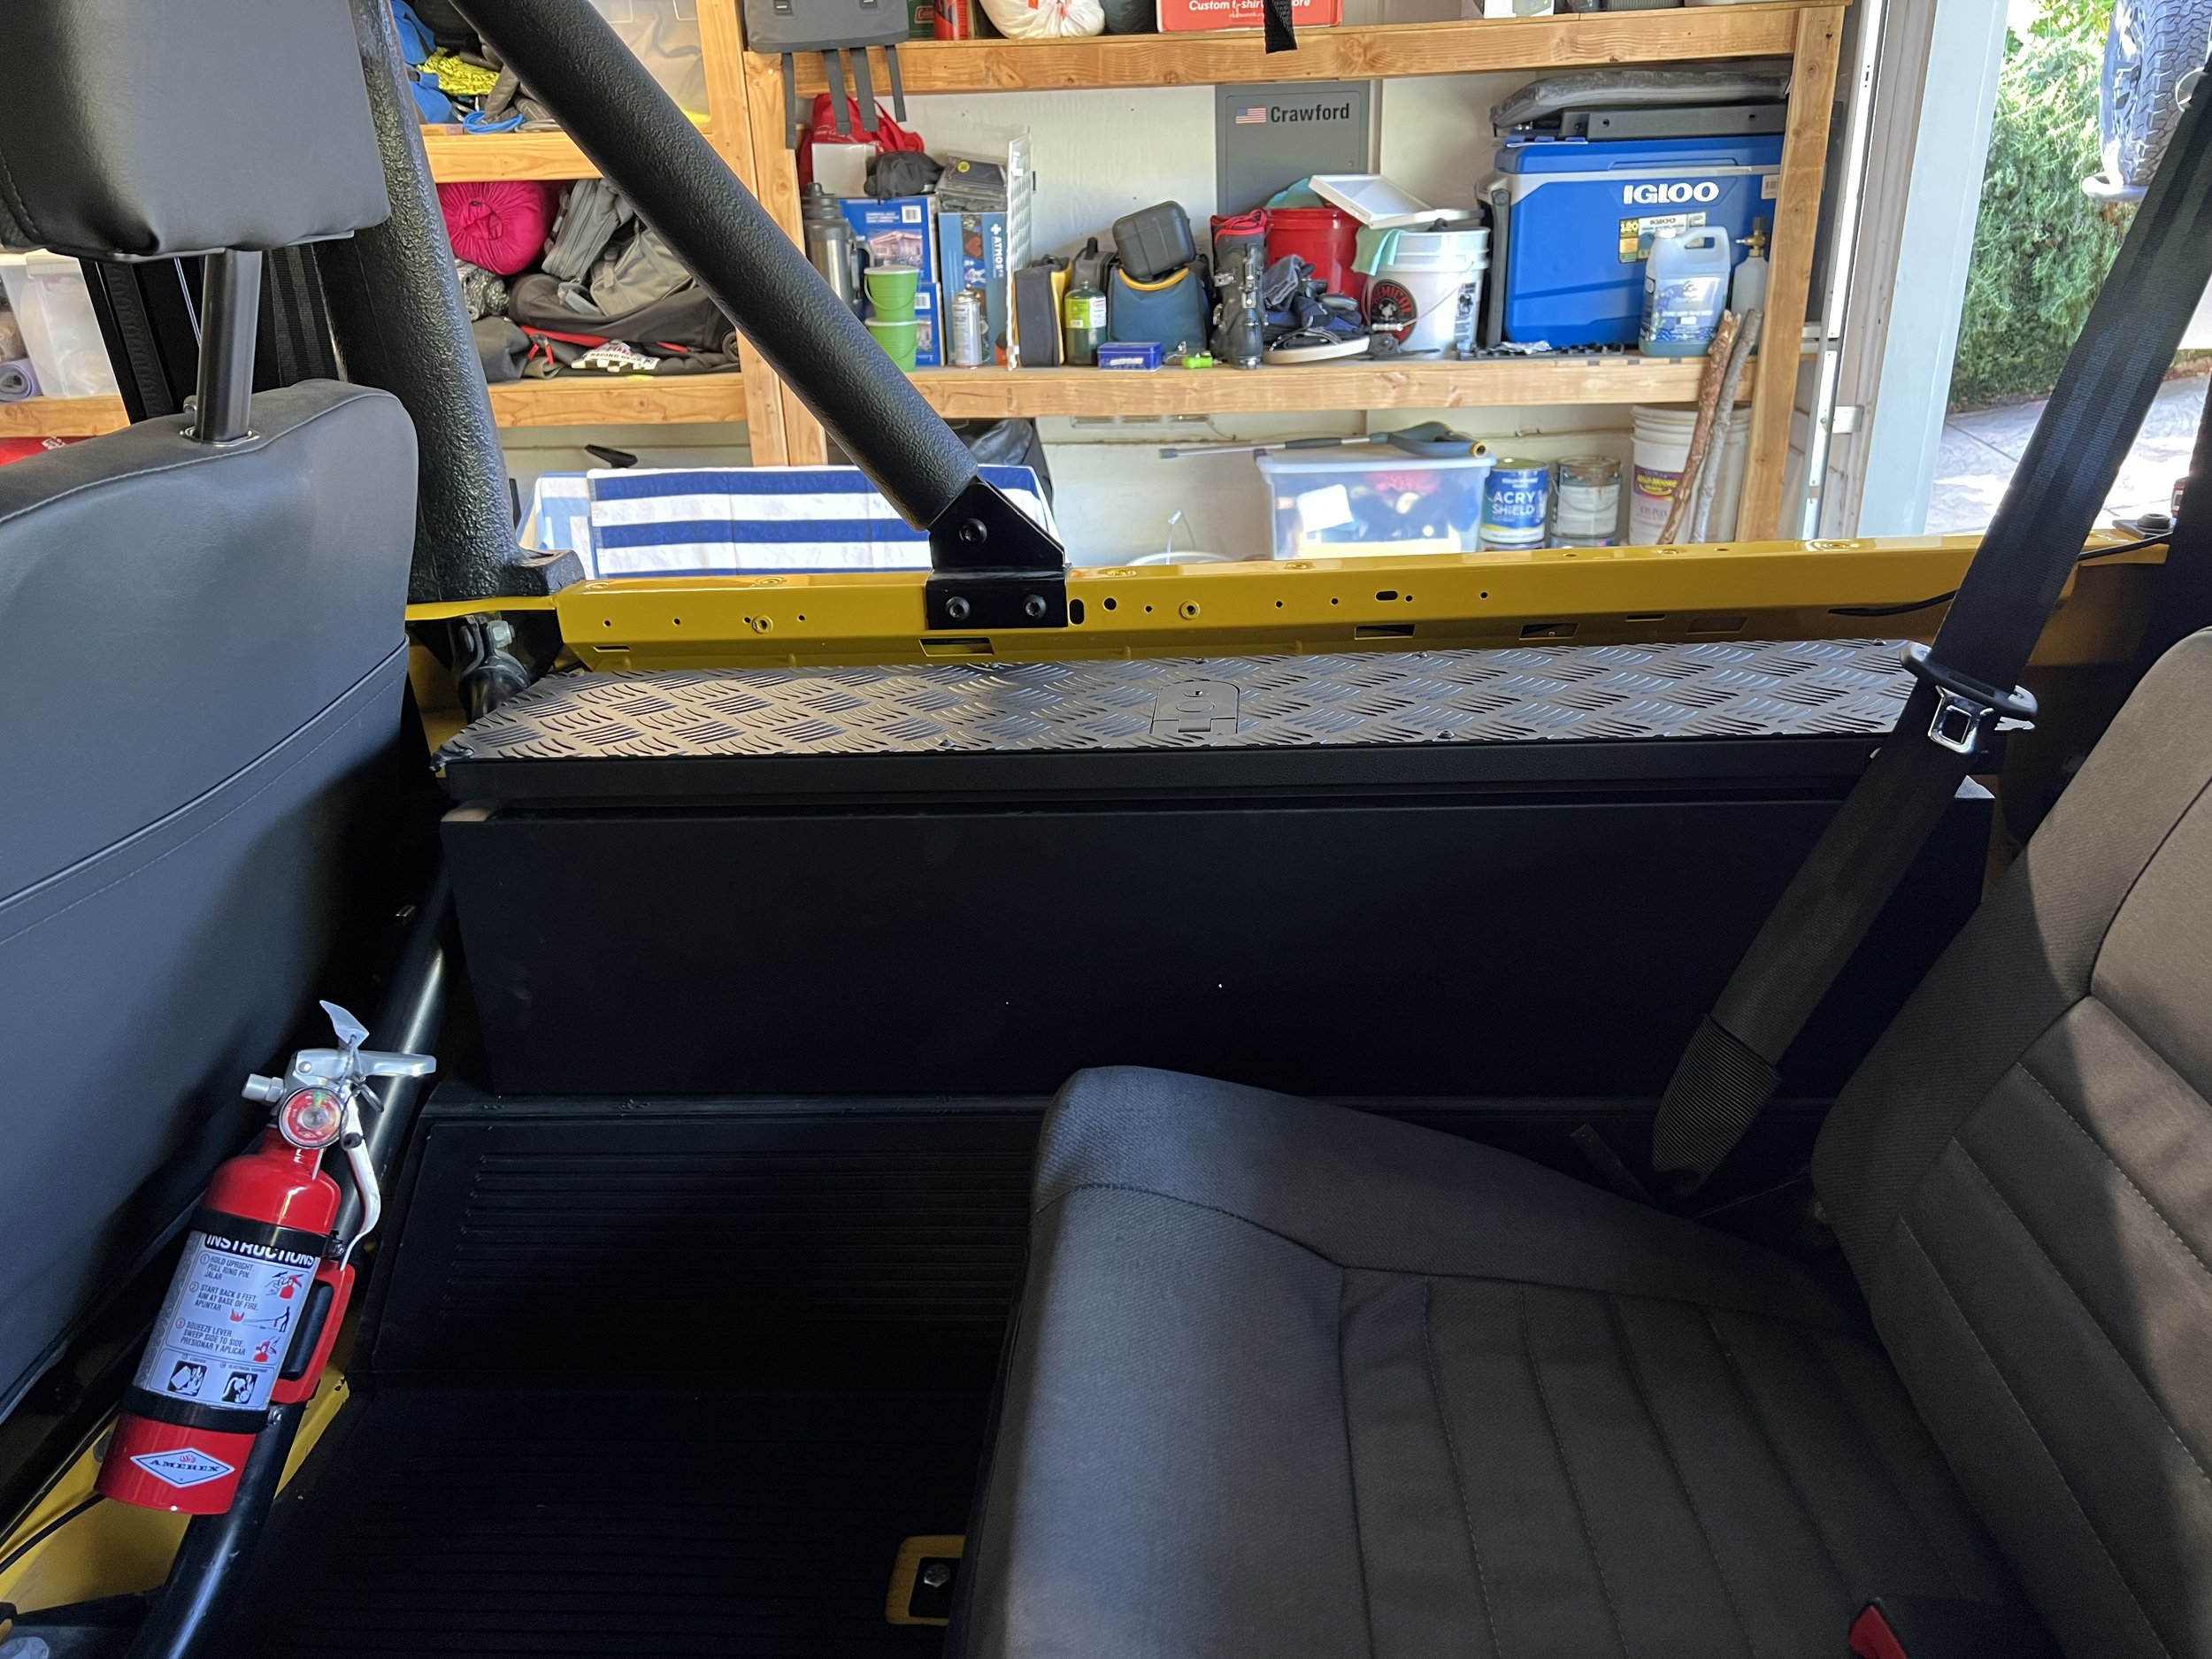
The Defender is not known for its storage, hell it only has one compartment to put anything in. I already fixed up the cubby box to make it functional again and I used the seat boxes for things like electrical gear and an air compressor. For trip gear I figured I would use soft bags tossed in the back but after a few day trips I realized I didn’t love my recovery gear or tools shifting around back there. I looked around and finally came across Mobile Storage Systems out of the UK. Like the name implies, they specialize in metal storage solutions for Land Rovers.

I decided to try out their wheel well locking storage boxes, of which they make a couple different sizes. My goal was to get as large of ones as I could to maximize the dead space above the wheel wells. As you may recall I removed the jump seats (as they are death traps) and installed an OEM bench which left the wheels wells open. Mobile Storage Systems makes a large box, a large box that fits around the fuel filler, and a small box. I determined I would get one large box for the driver side and a small box for the passenger. I did this because the fuel filler large box would not allow me to retain my rear speakers and Mobile Storage Systems said a normal large box would not fit on the passenger side of a NAS due to the smaller space between the fuel filler and the cross bars.

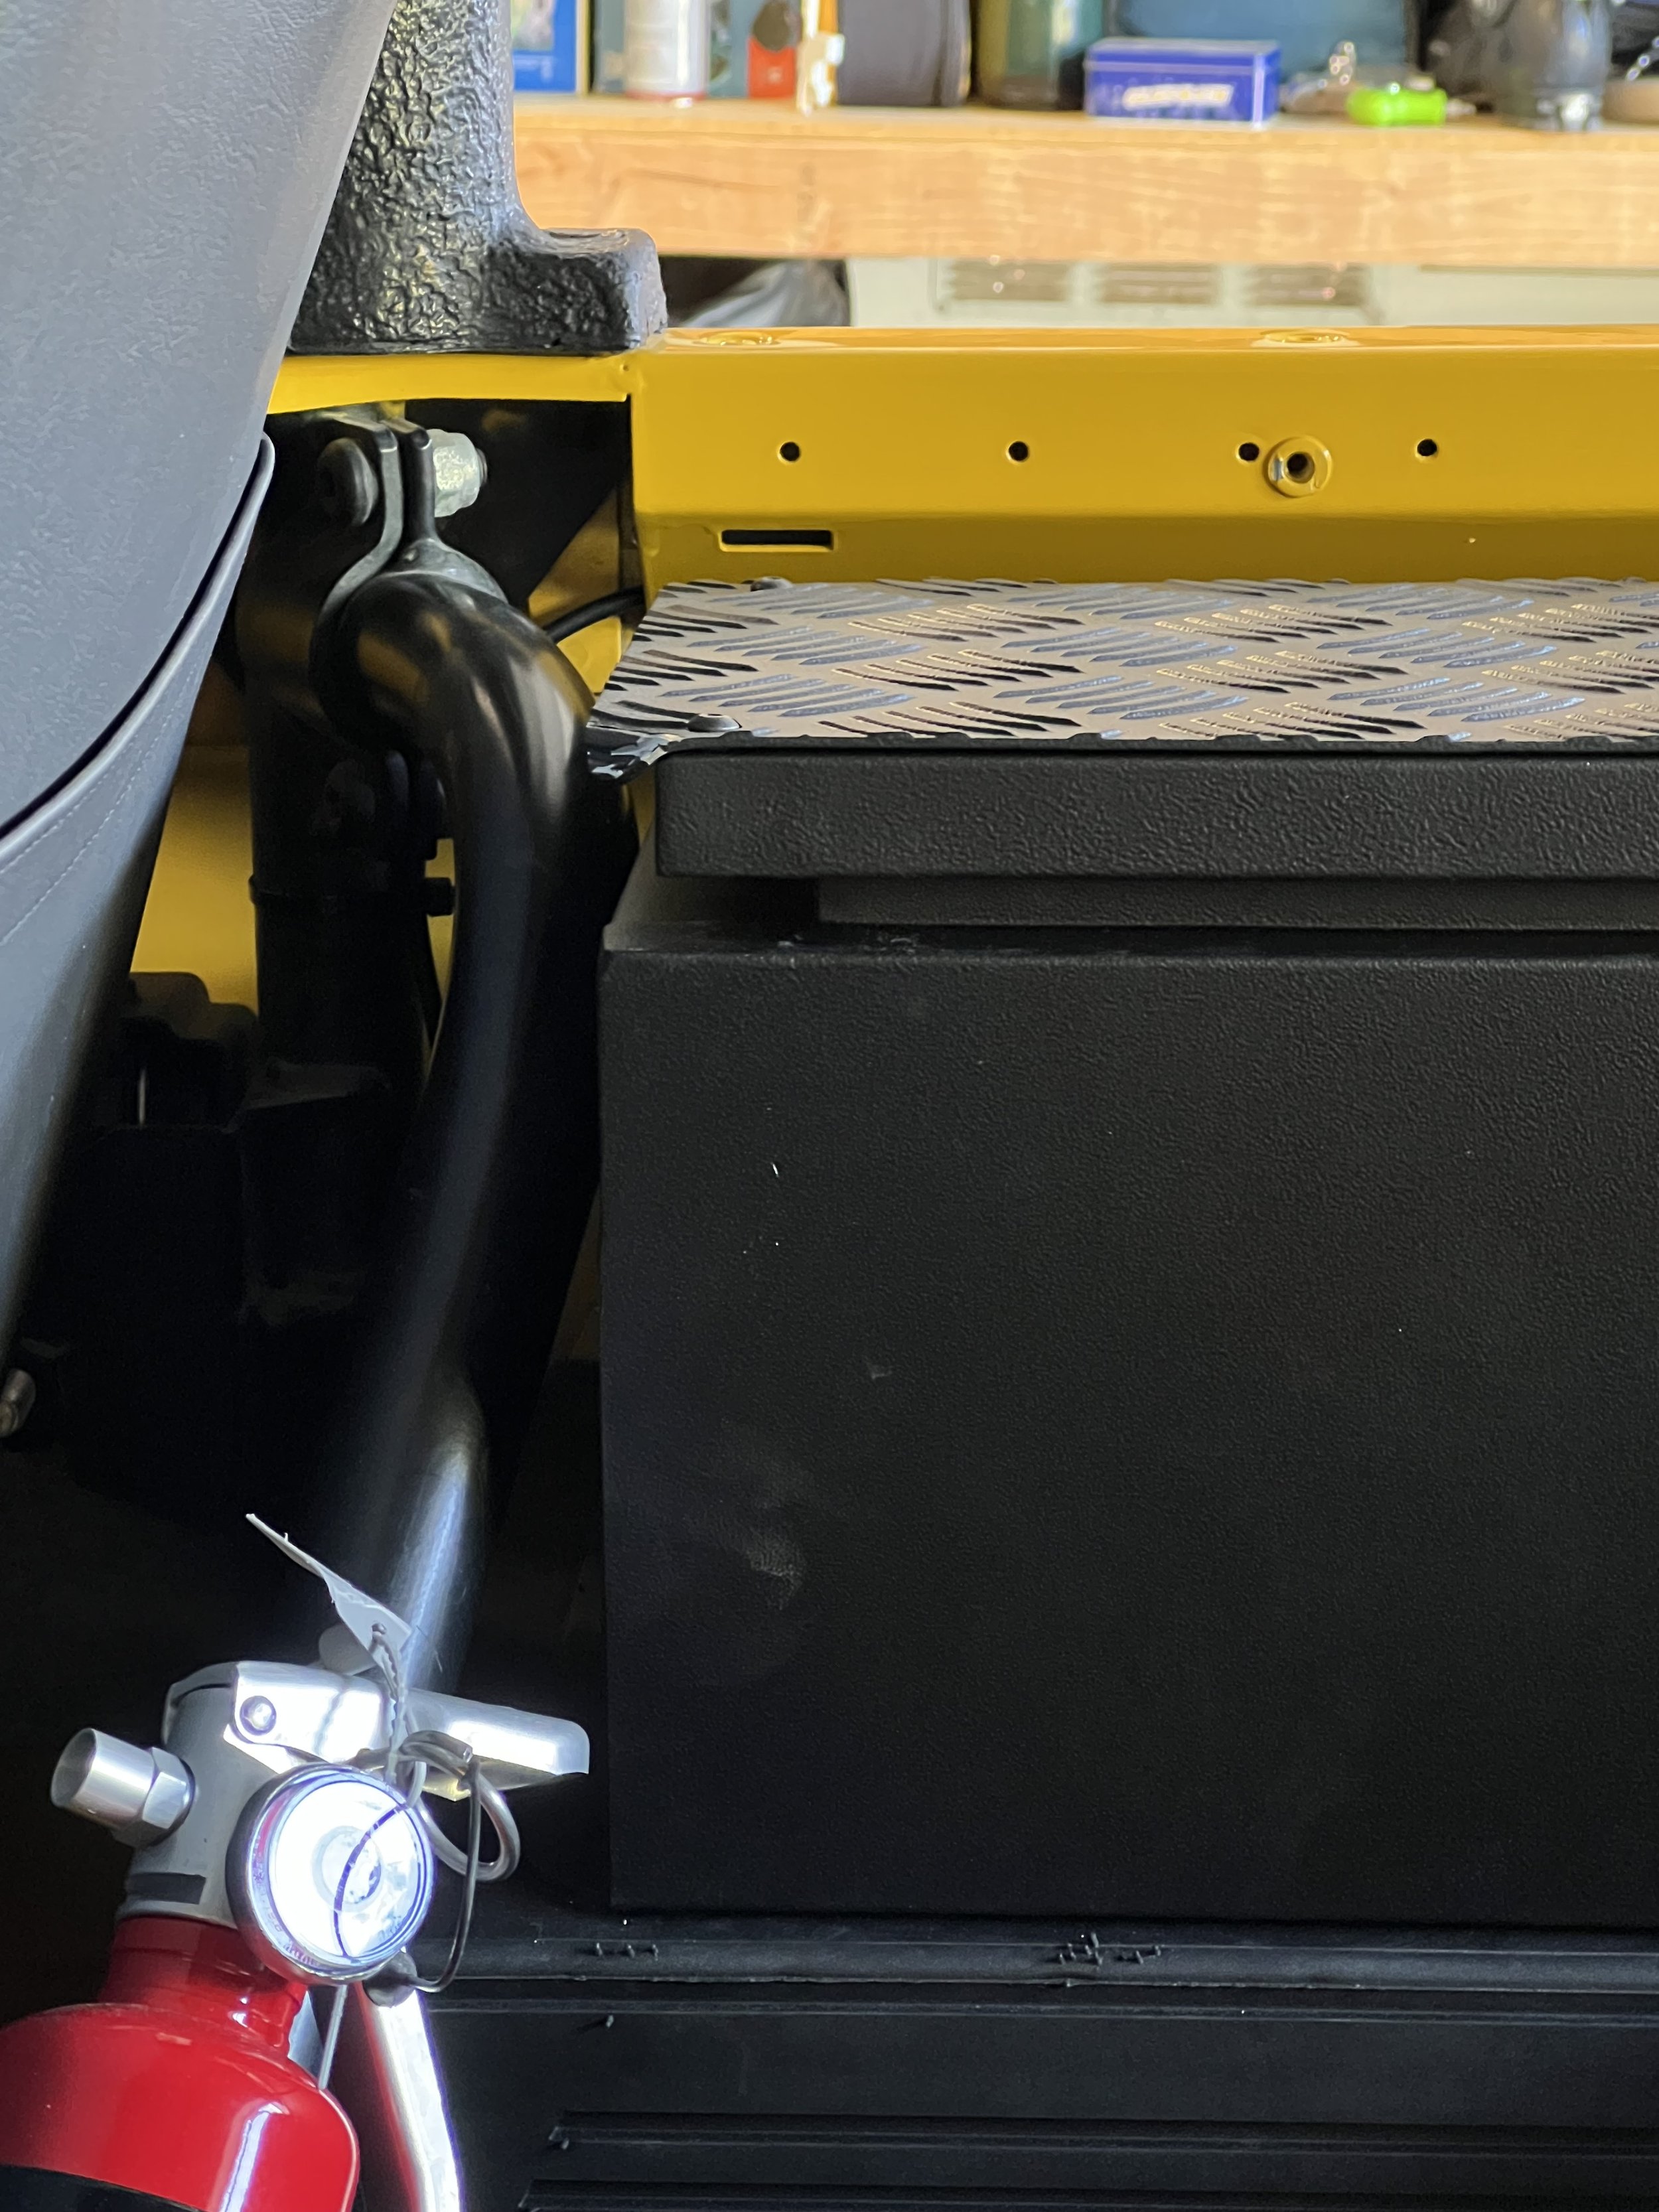
Once the large and micro boxes came I test fit them and found out that you can mount a large box on either side of a NAS but just barely. So I ordered a second large box and will sell the micro. With this storage capacity I will be able to permanently store my recovery gear and a set of tools. I also found that for the passengers in the back these boxes act as nice arm rests.

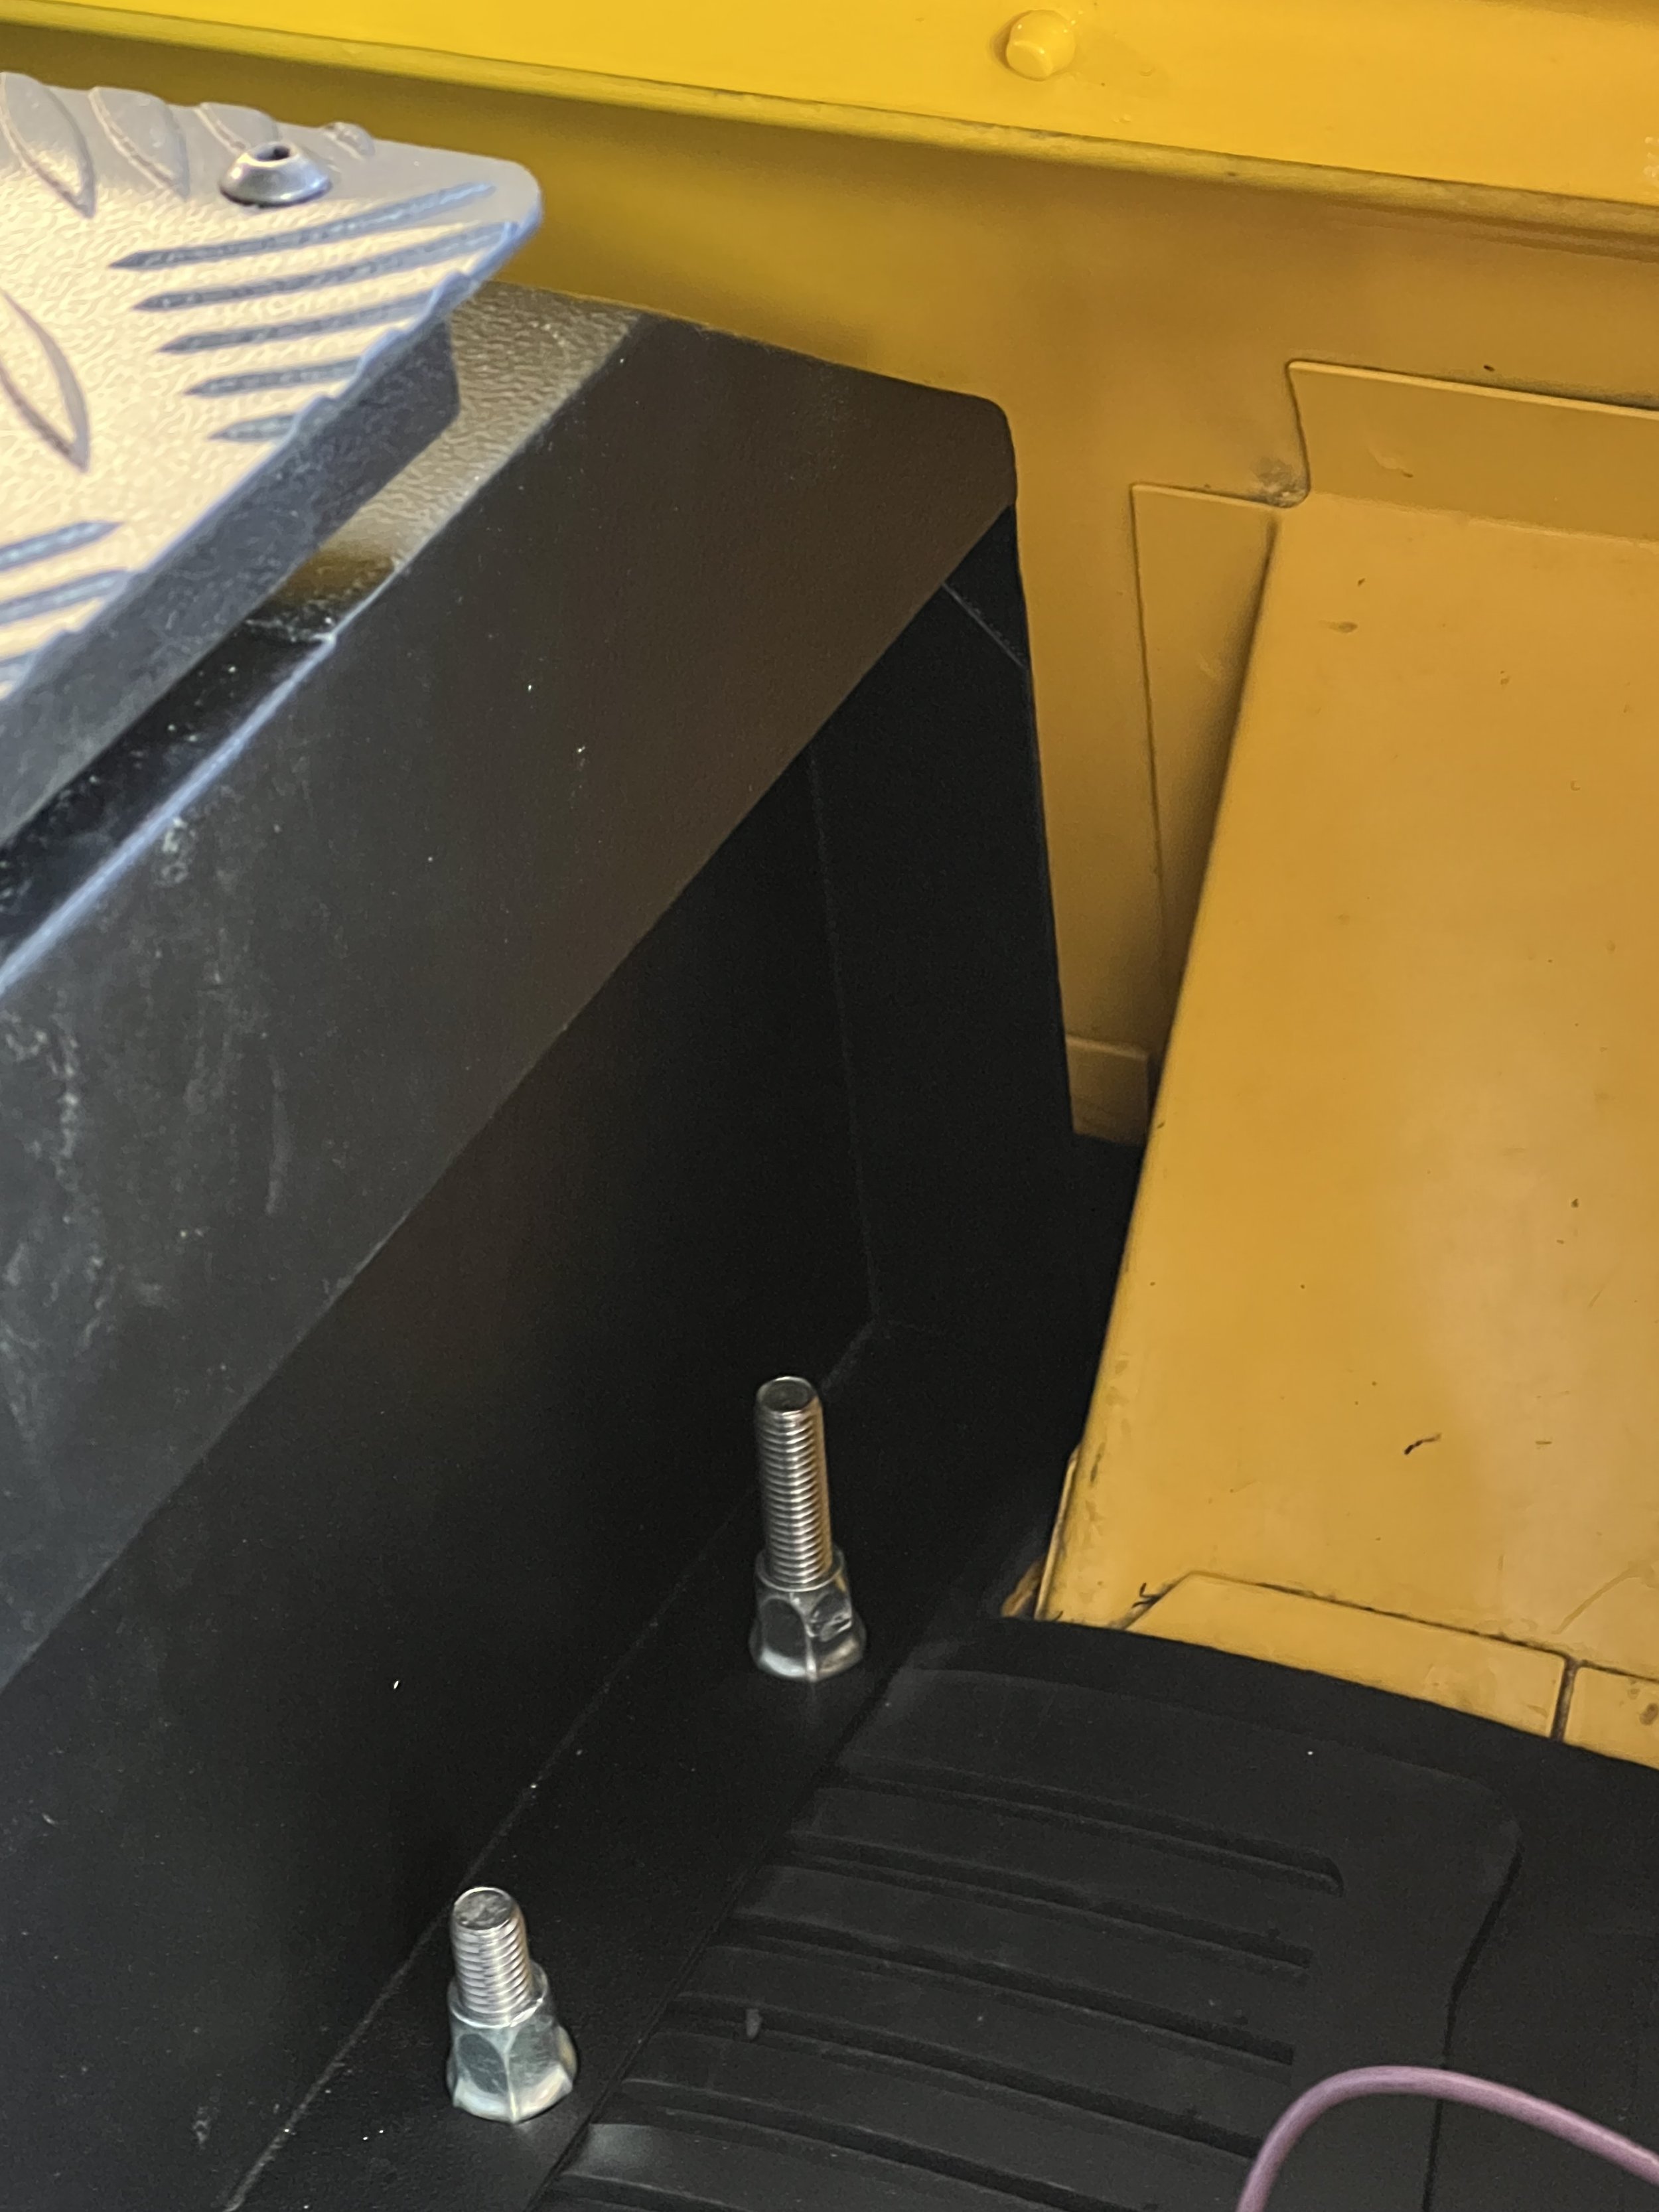
The install is straight forward. Each box has 6 bolts that go through the top of the wheel wells. I previously had bolt holes in the wheel well for the jump seats so while I was here drilling the appropriate holes for the storage boxes I filled all the unused holes with JB Weld. The lesson I learned is to make your wheel well holes larger than you need so that you can have some minor movement in order to line up the other bolts.

Defender 90 Build - Air Compressor

I decided early on that I wanted onboard air for the Defender. I wanted this for airing up after a day on the trails but also in case I ended up with air lockers (more on that later). My original plan was to simply put a Viair compressor like I have in the van but once I started looking into the ARB compressors I was sold. They are small, they have a couple of difference sizes, they can power air lockers, and they come with a nice wiring harness. Initially I was interested in ARB’s larger compressor but the size held me back. I ended up going with their most popular compressor the CKMA12. It can handle tire inflation easily but it also has some ports to add solenoids for two air lockers. I also liked how flexible it was for the installation. You can twist the mini air tank and compressor body to get it to fit just about anywhere.

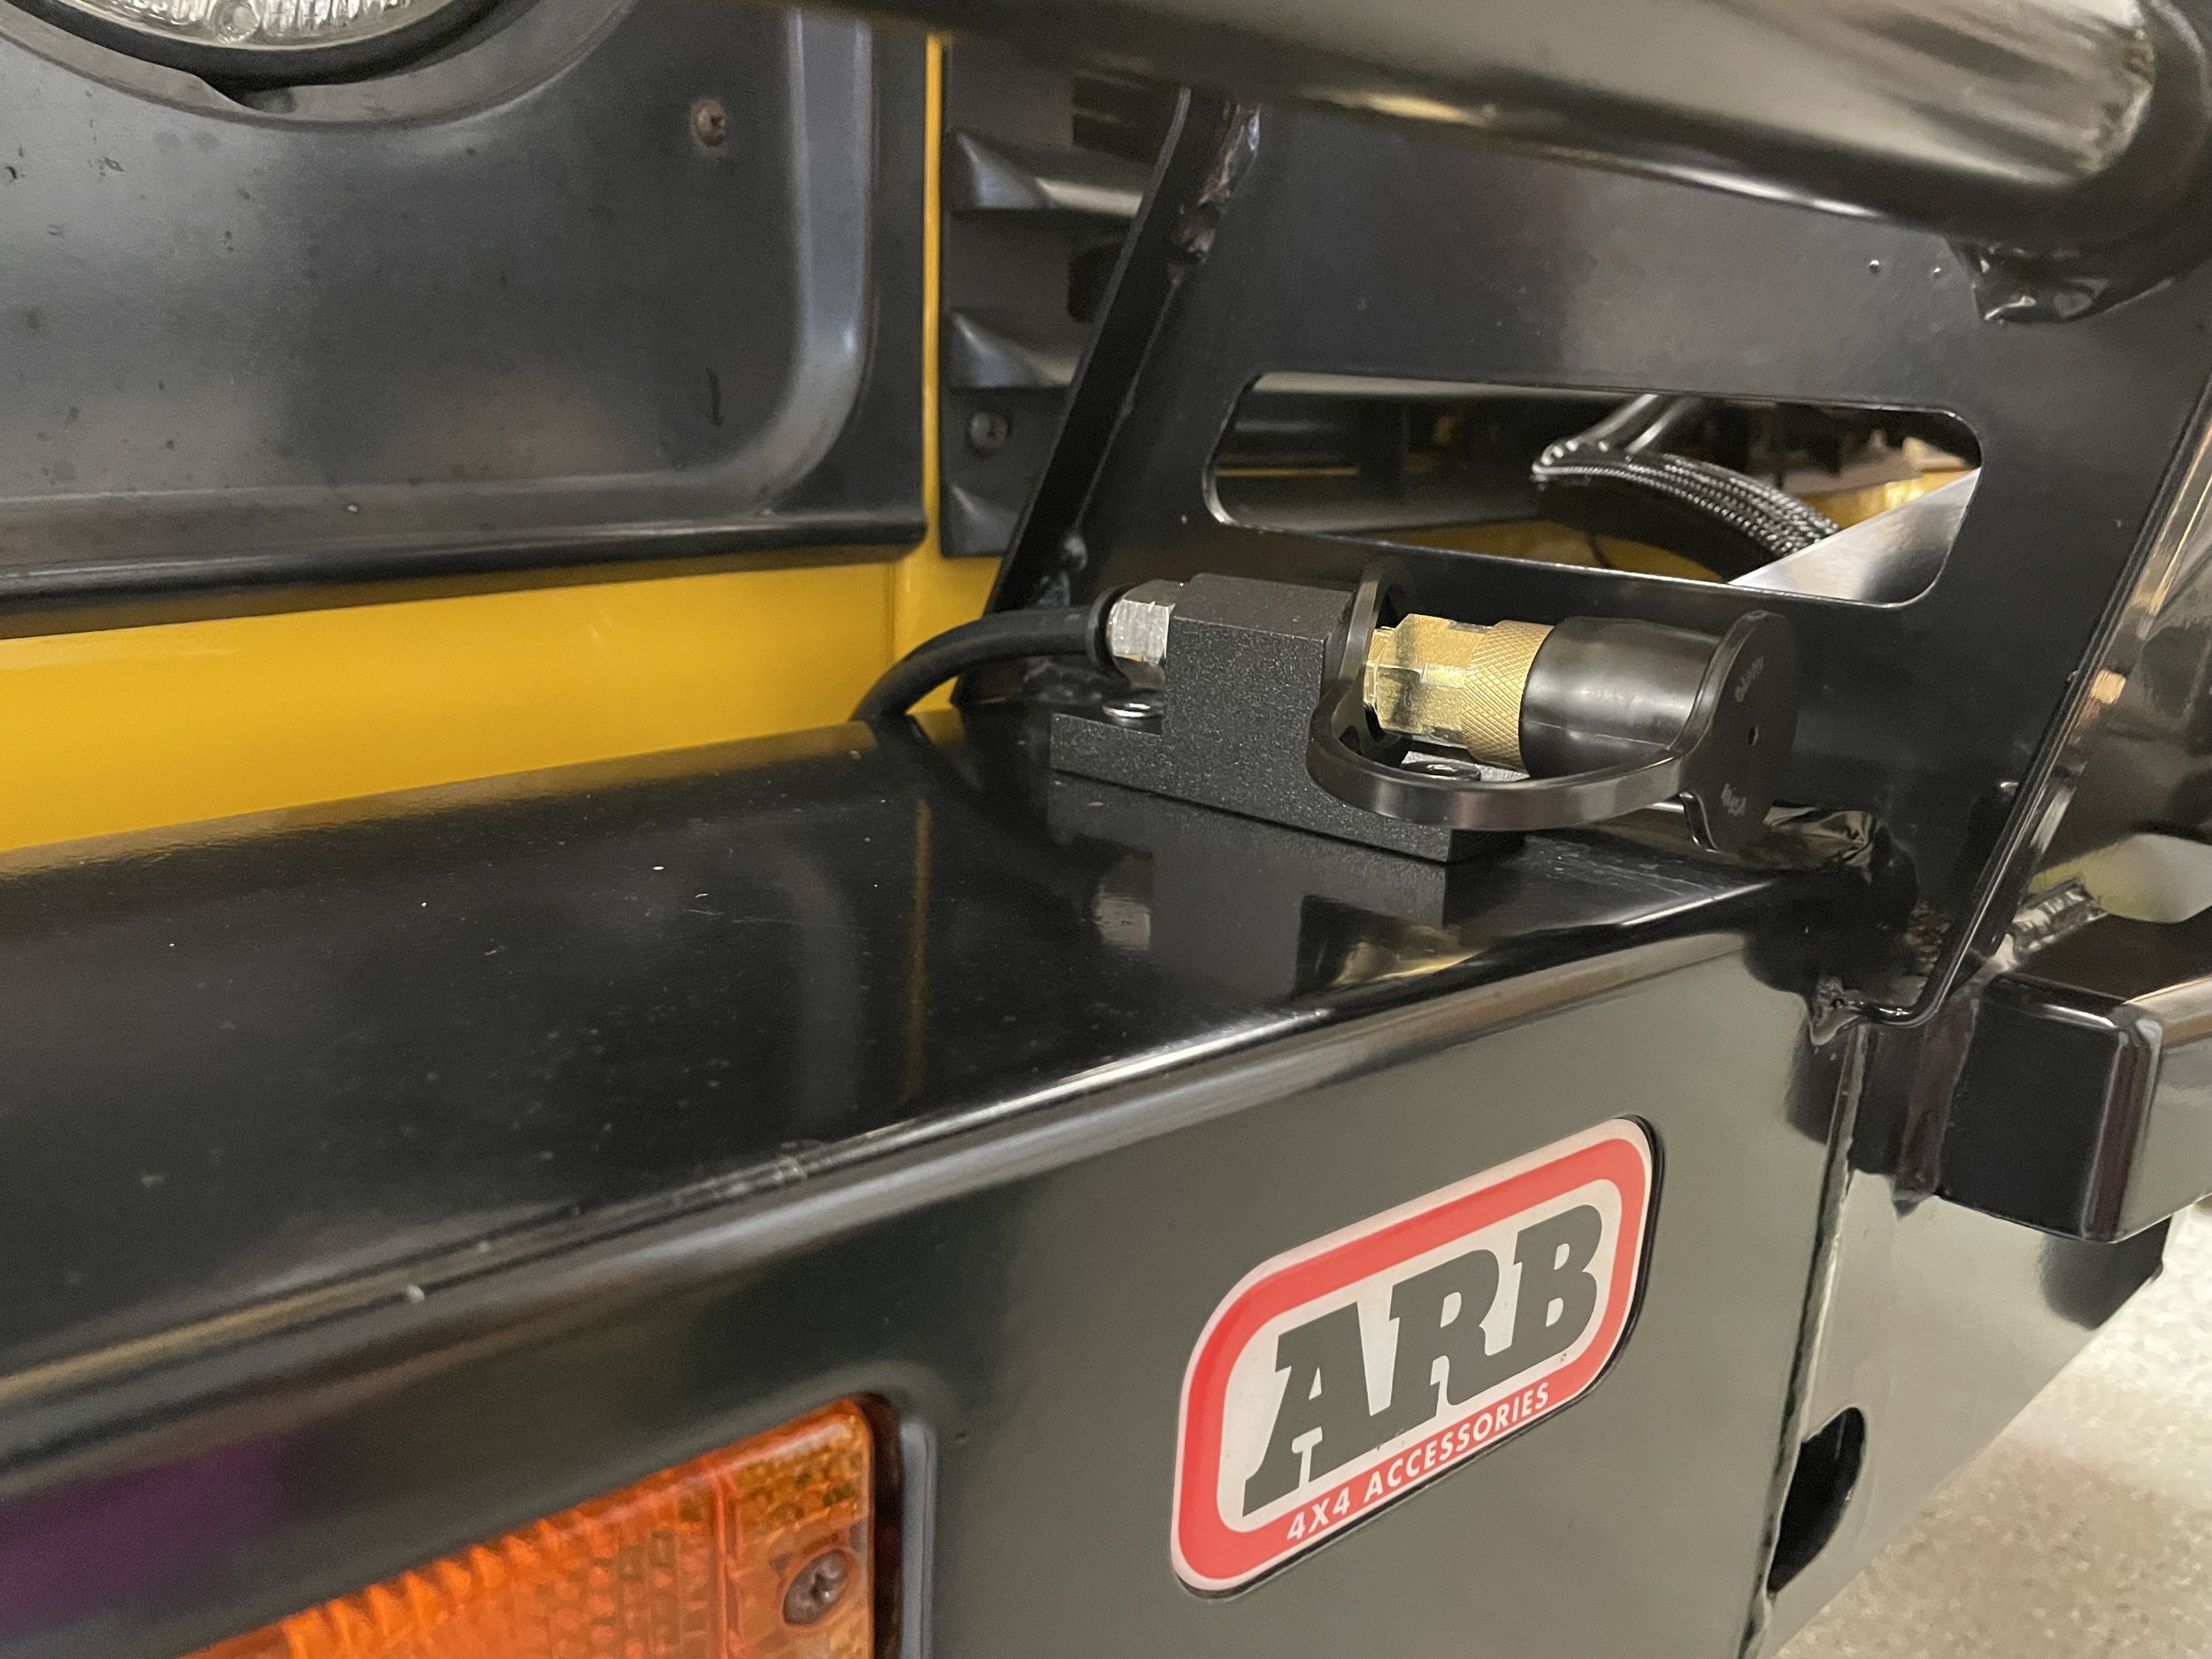
Defenders are short on space, but there is one area that just about every Defender owner installs an air compressor and that is under the passenger seat. Both of the front seats sit on a metal box which makes it rather easy to hide some gear. The driver seat has the car battery and I went and filled the rest of that space with an aux power tray. If you are interested in that project read more here. The passenger seat box holds the OEM jack but is largely empty. In 95-97 NAS (yes I know 96 was not a real year for Defender NAS imports) the passenger seat box also holds some OEM wiring, but in my 94 there was none so I had the entire space to play with. I decided to mount the air compressor there, bolted it to the floor and wired the switch to my switch panel I created on my center cubby box. I then ran an air line out of the box under the car up to the front bumper where I installed a quick disconnect for easy tire inflation. I will be able to add more air lines later for the lockers.

While it is easy to simply have a portable air compressor for tire inflation I am happy I spent the time and money to get a permanent onboard air setup. The hardest part was figuring out where I wanted to run all the electrical and air lines, other than that it is a quick and easy install. And for you Jeep people, it is even easier because ARB makes mounting brackets specific to your truck (as always Defender owners have to do it the hard way).

Defender 90 Build - Rock Sliders and Skid Plate

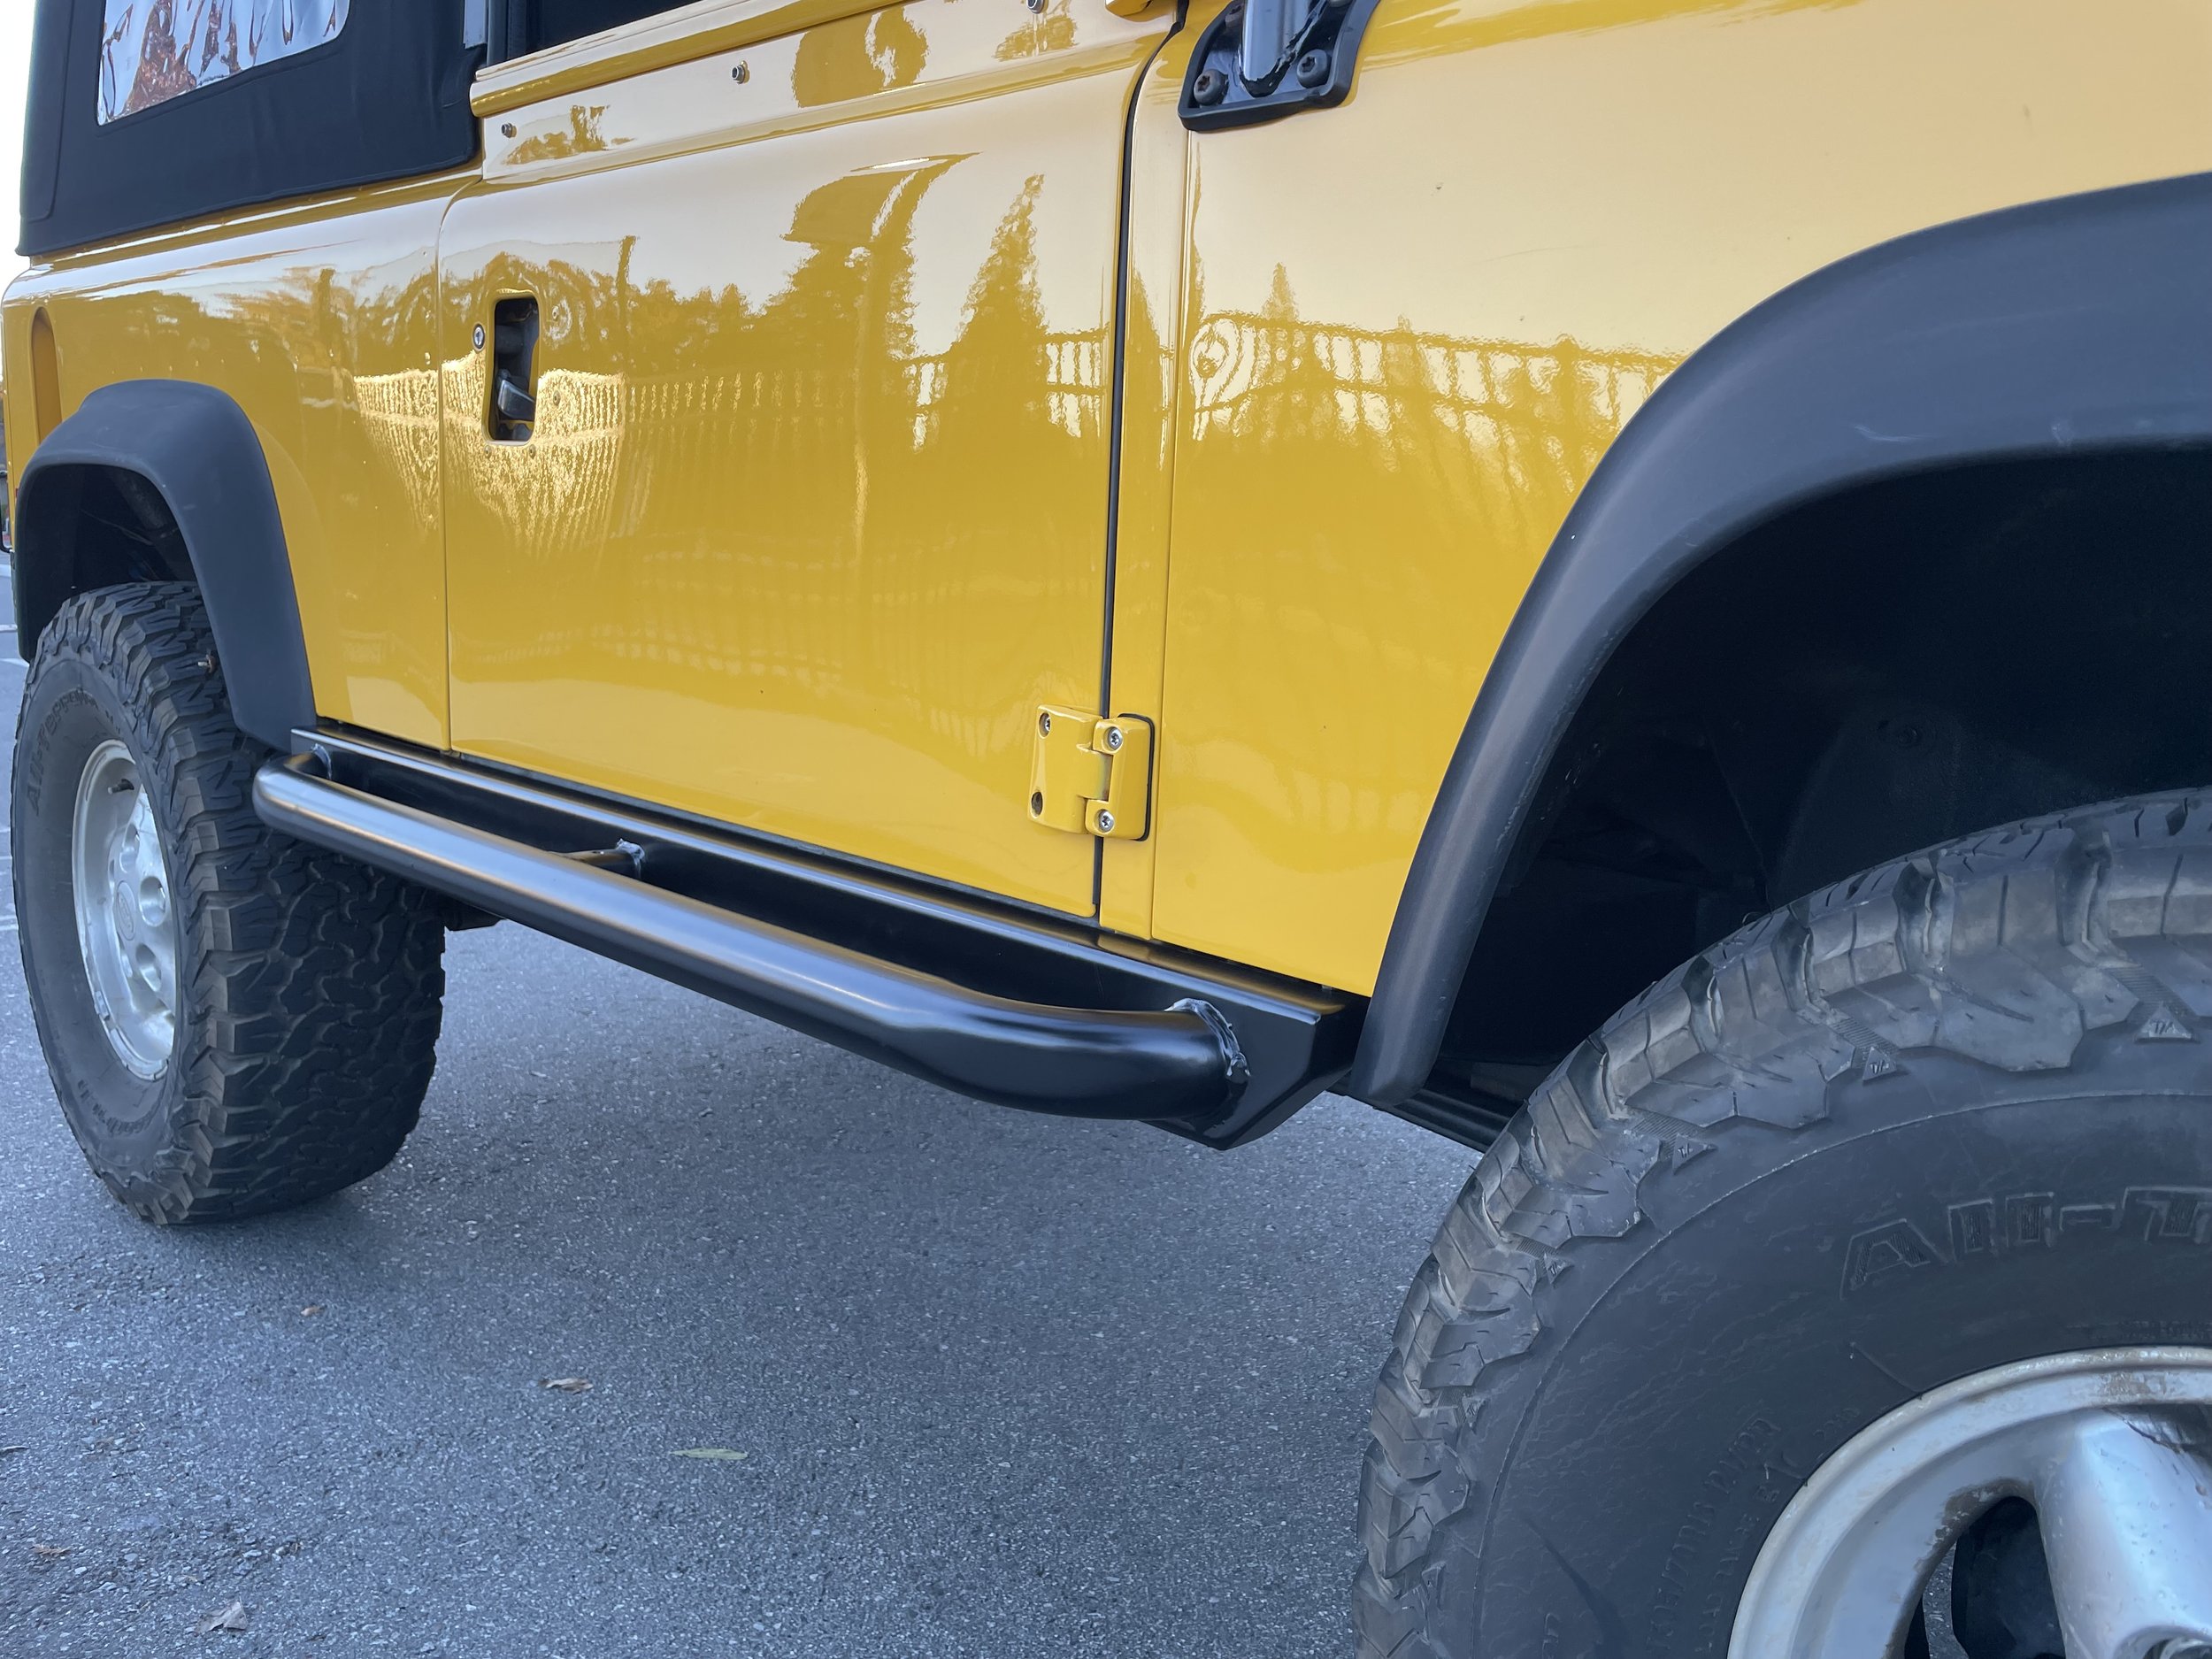
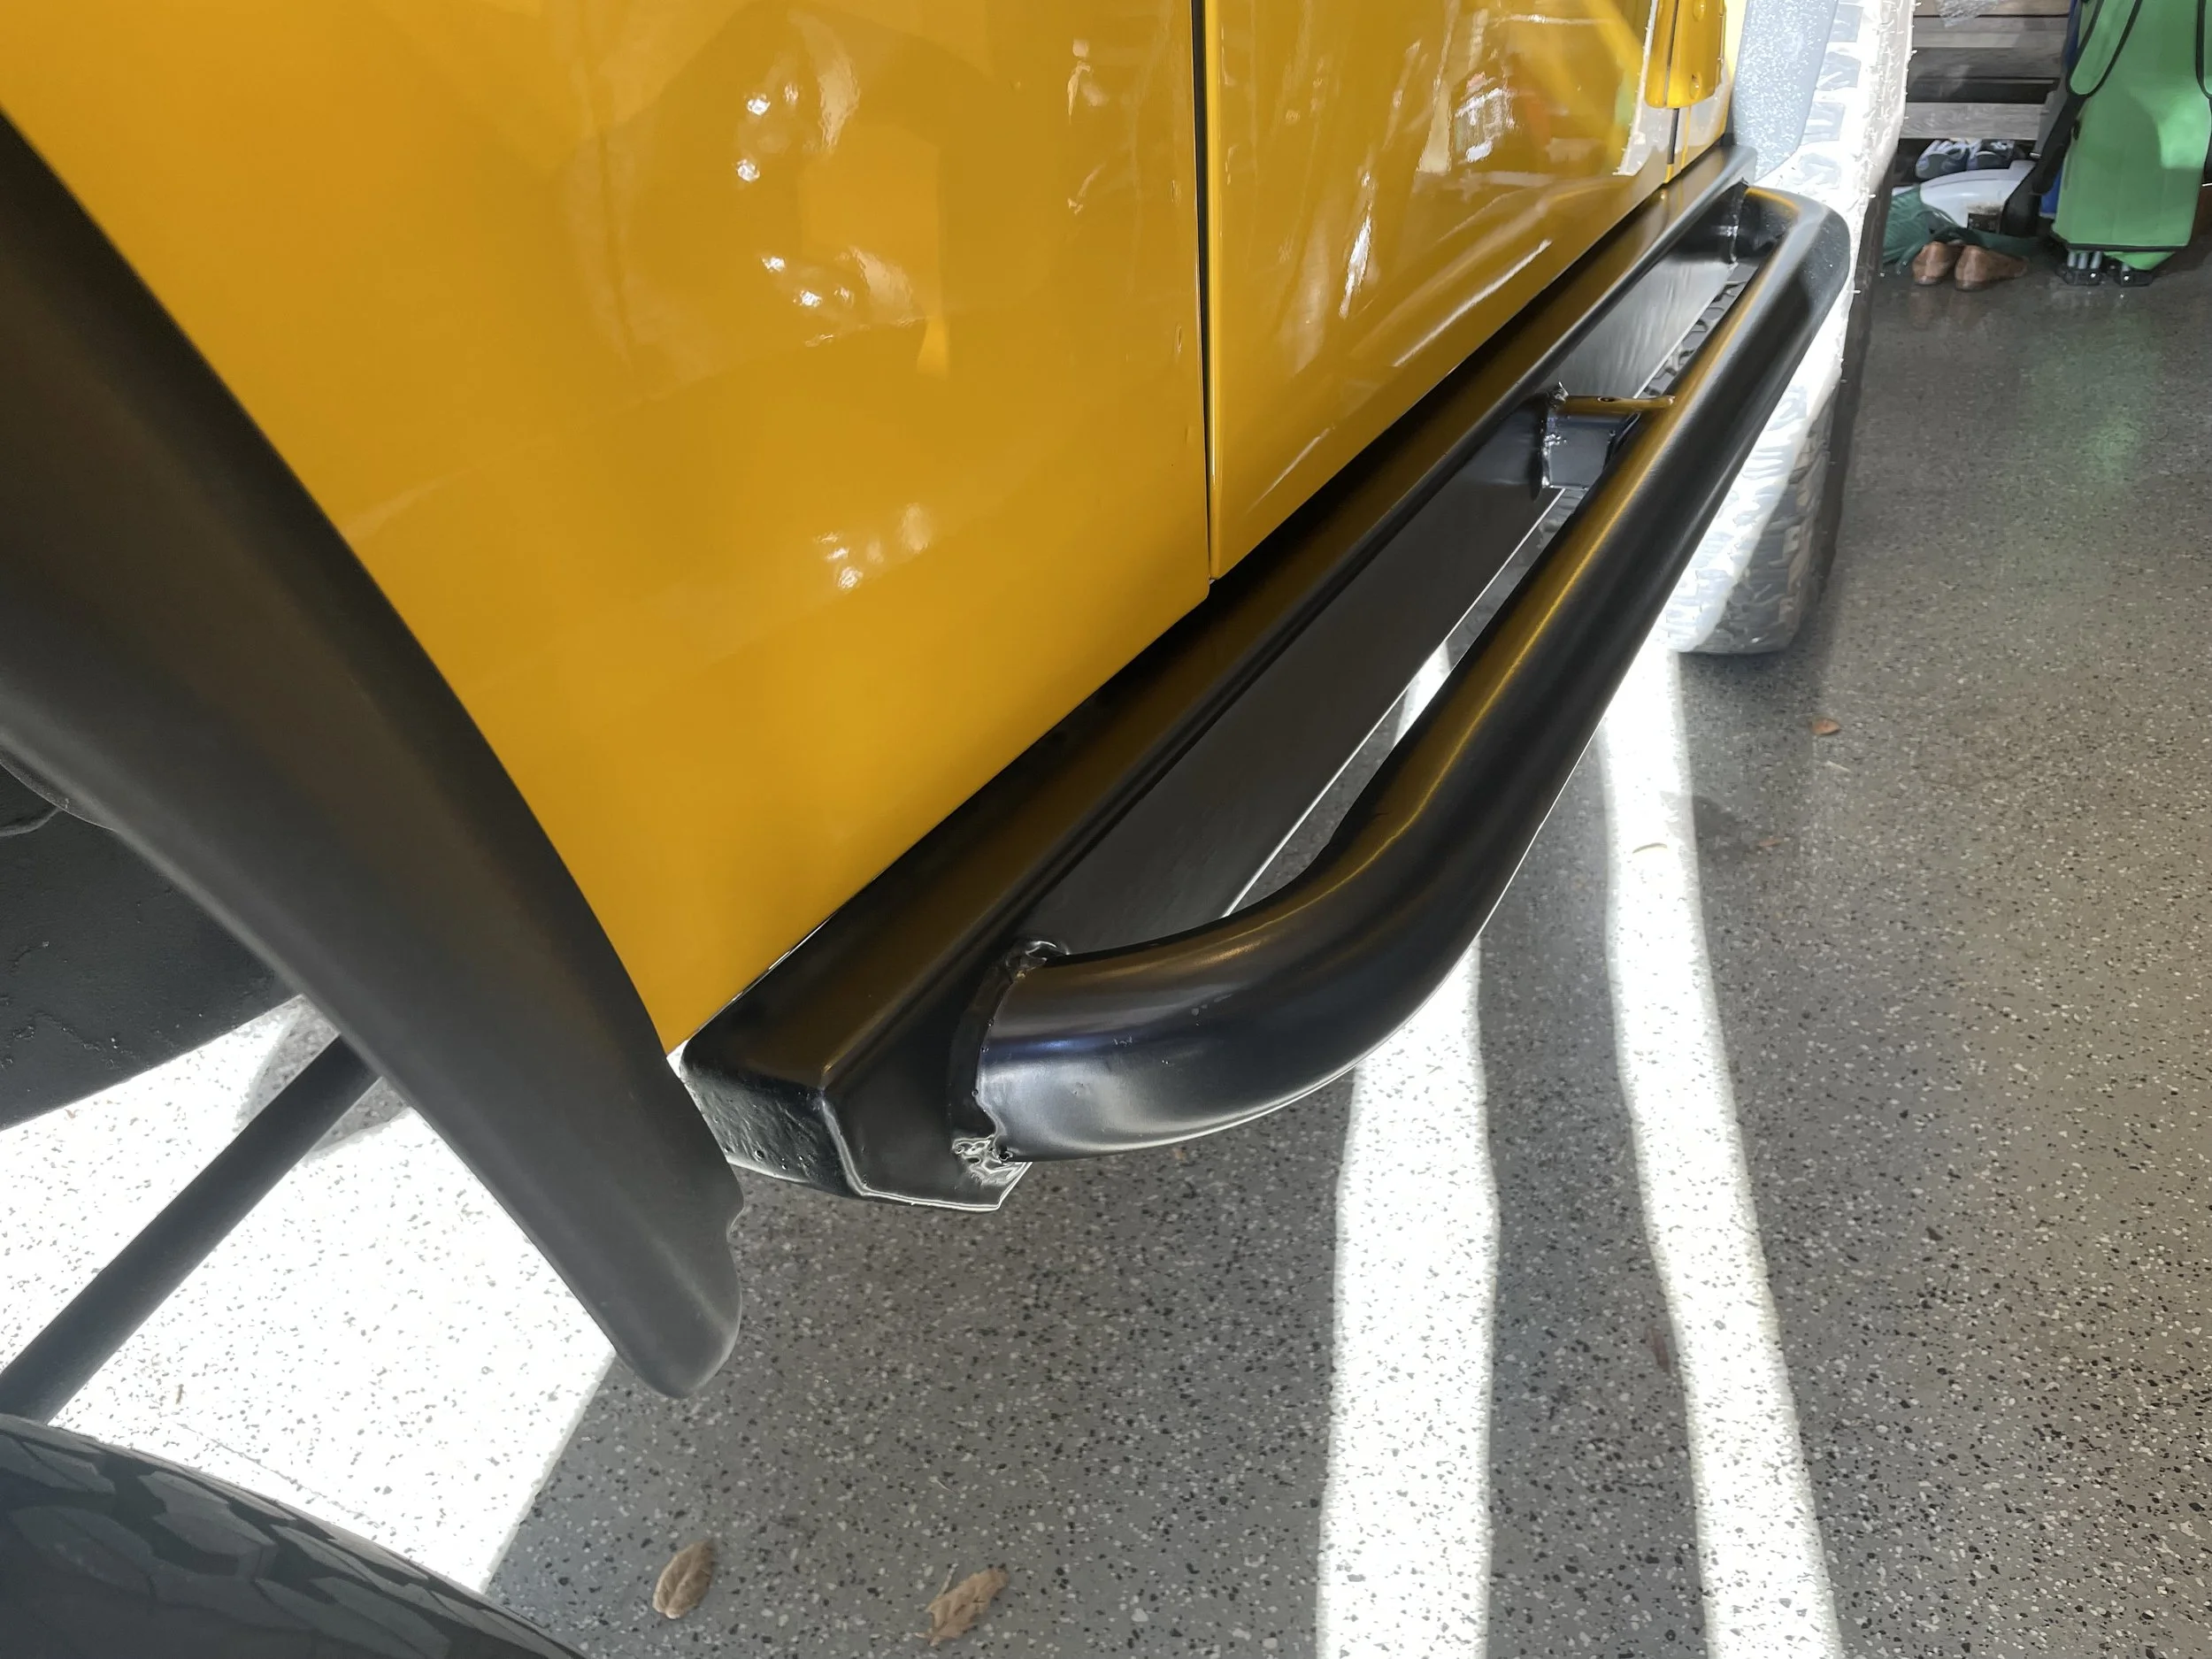
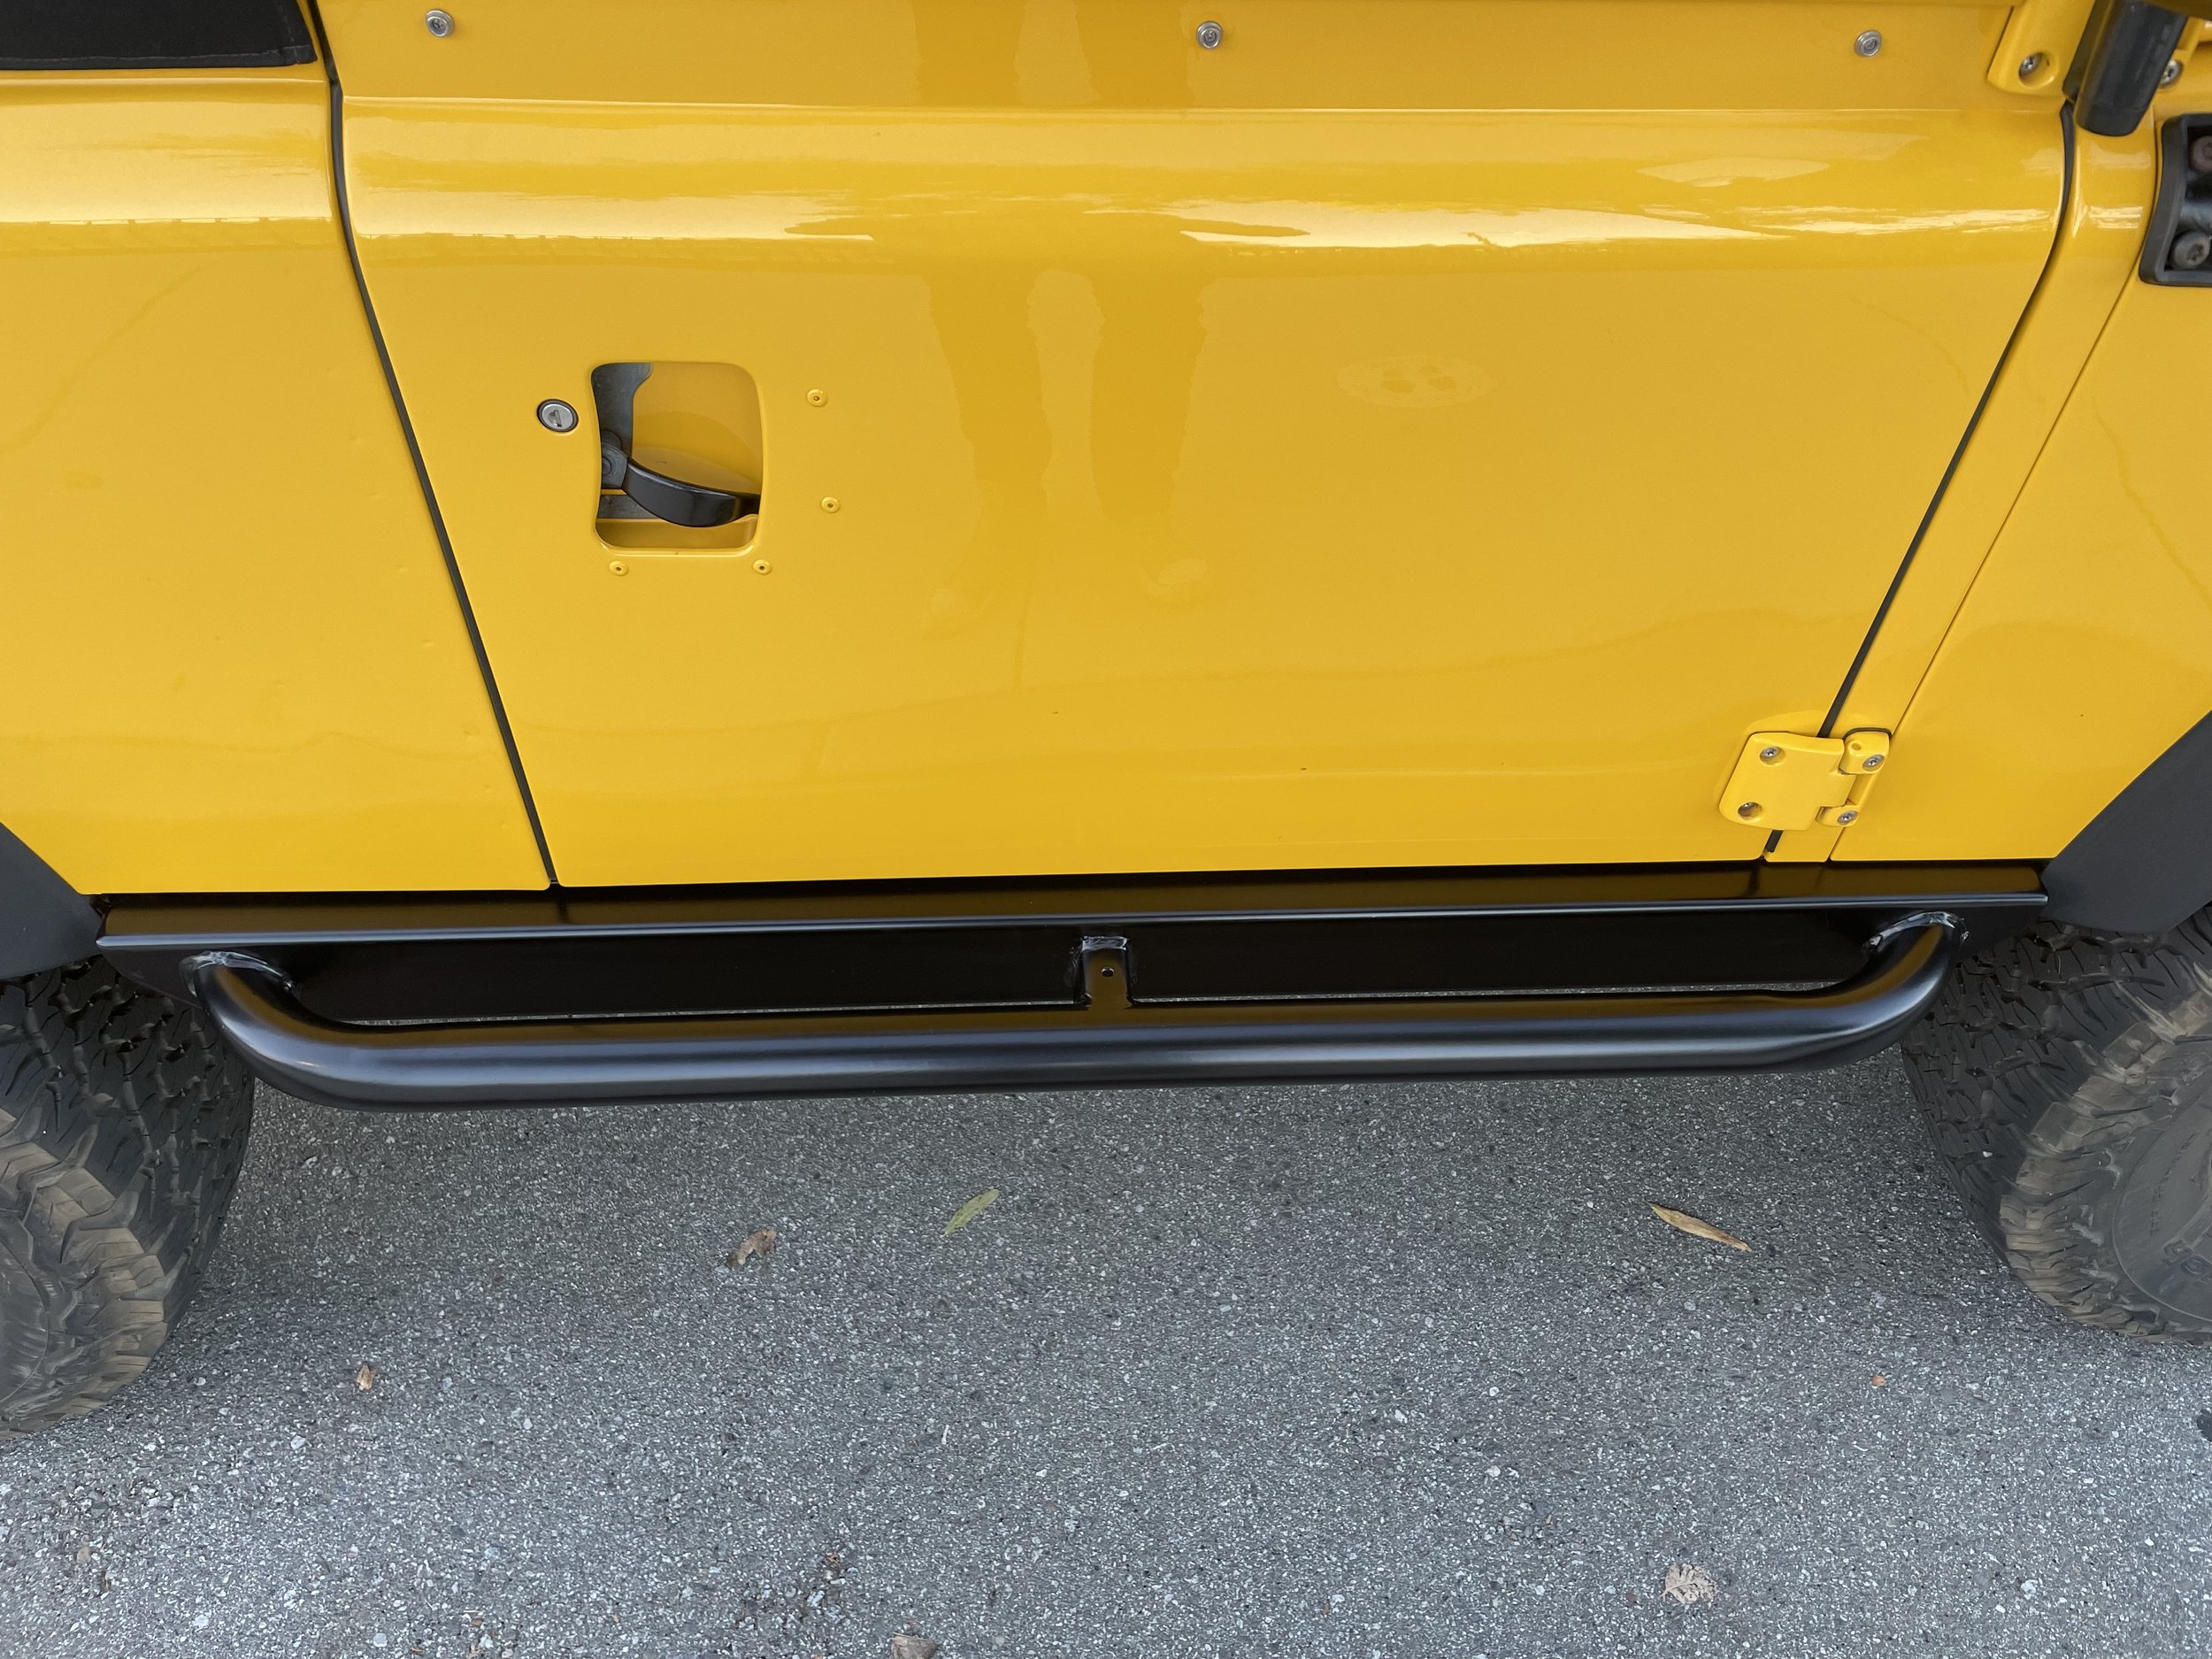
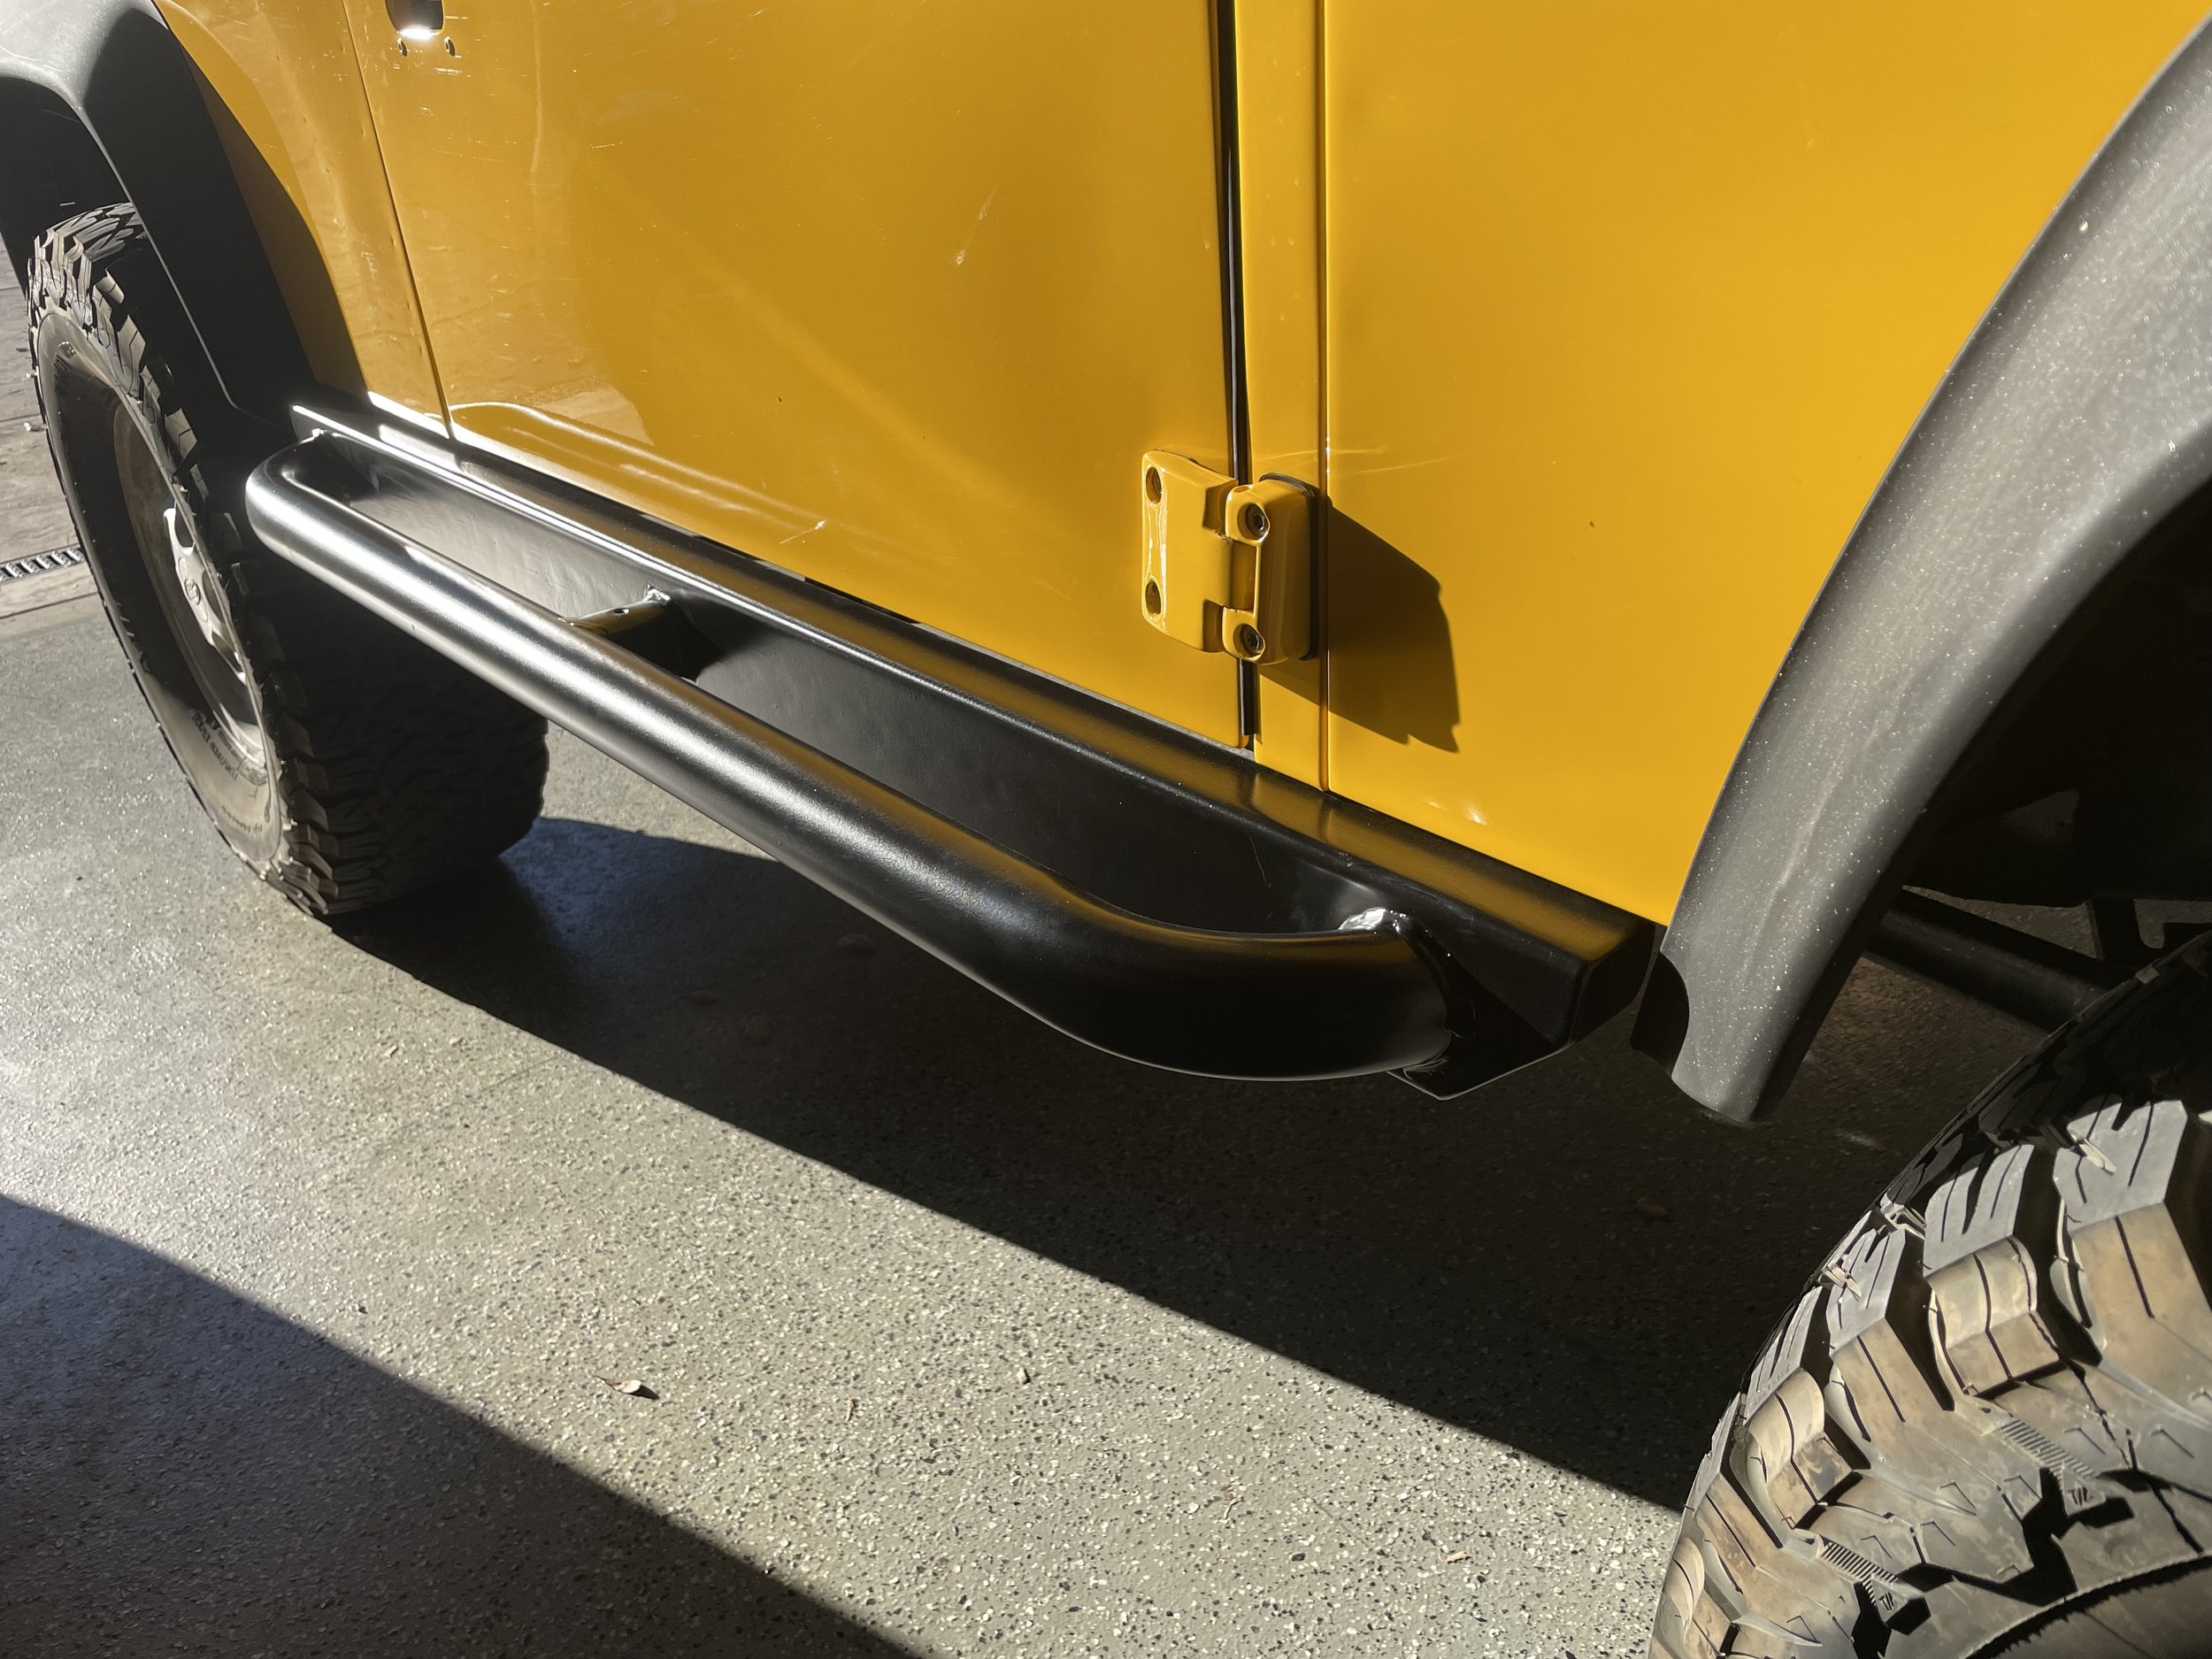
Our Defender, like all Defenders, had the terrible OEM side steps that were rusted thru, ugly, and useless to protect the Defender. So we took them off, removed the painted body panel under the door frame and installed proper rock sliders. We wanted a set that would protect the body of the truck, would act as a jack point, fit the 90’s style of the truck, and have tree guards to act as side steps. We went with Rovers North’s version because they were available plus these things are burly. They bolt into the frame using existing mounting points so there is no damage to the body.

Next was to get a skid plate to protect the front steering and suspension components. Again we went with Rovers North. It is an easy bolt on design and the skid plate can come off with just a few bolts. The brackets are steel while the plate is thick aluminum.

These are both great additions to the truck that offer excellent protection while keeping the look of the truck intact.