Sprinter Build - Roof Rack Lights

Roof lights are a nice to have not a must have for a van. I think many people can get away without having these which saves on cost and certainly simplifies the build. Since most of our camping requires some off-road, and often times we are rolling into the area at night, we felt it would be beneficial to have more driving lights.

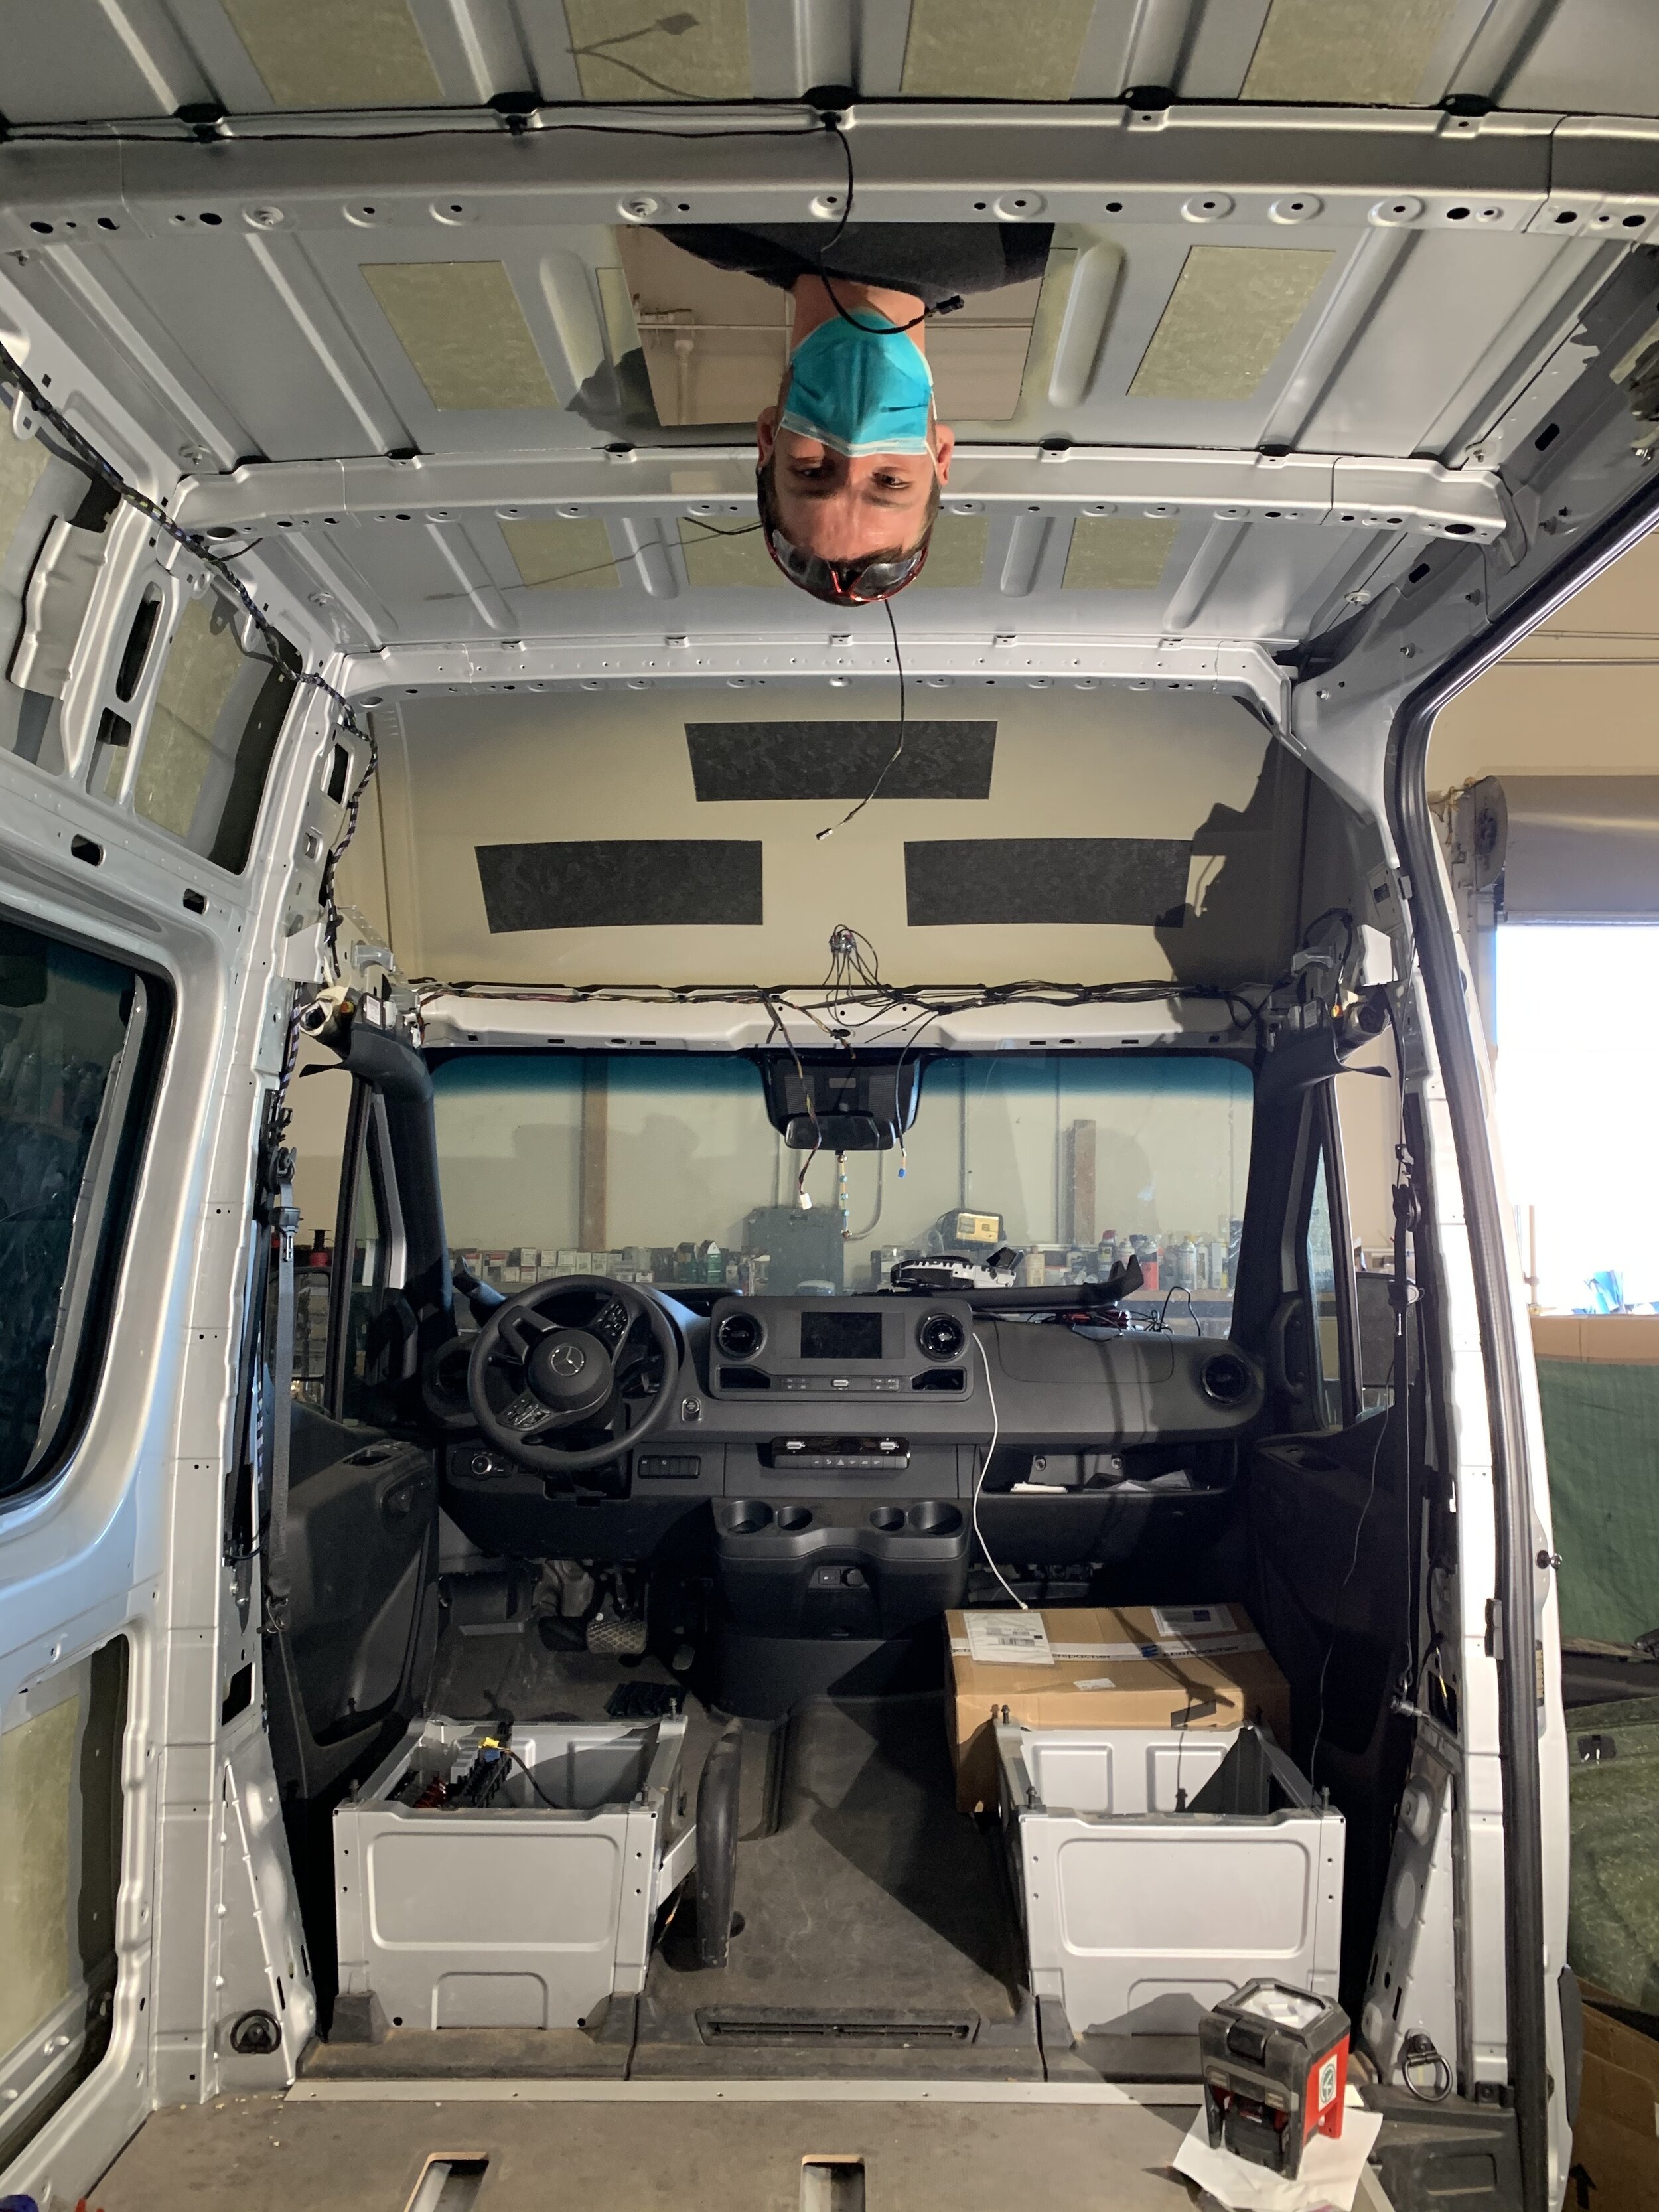
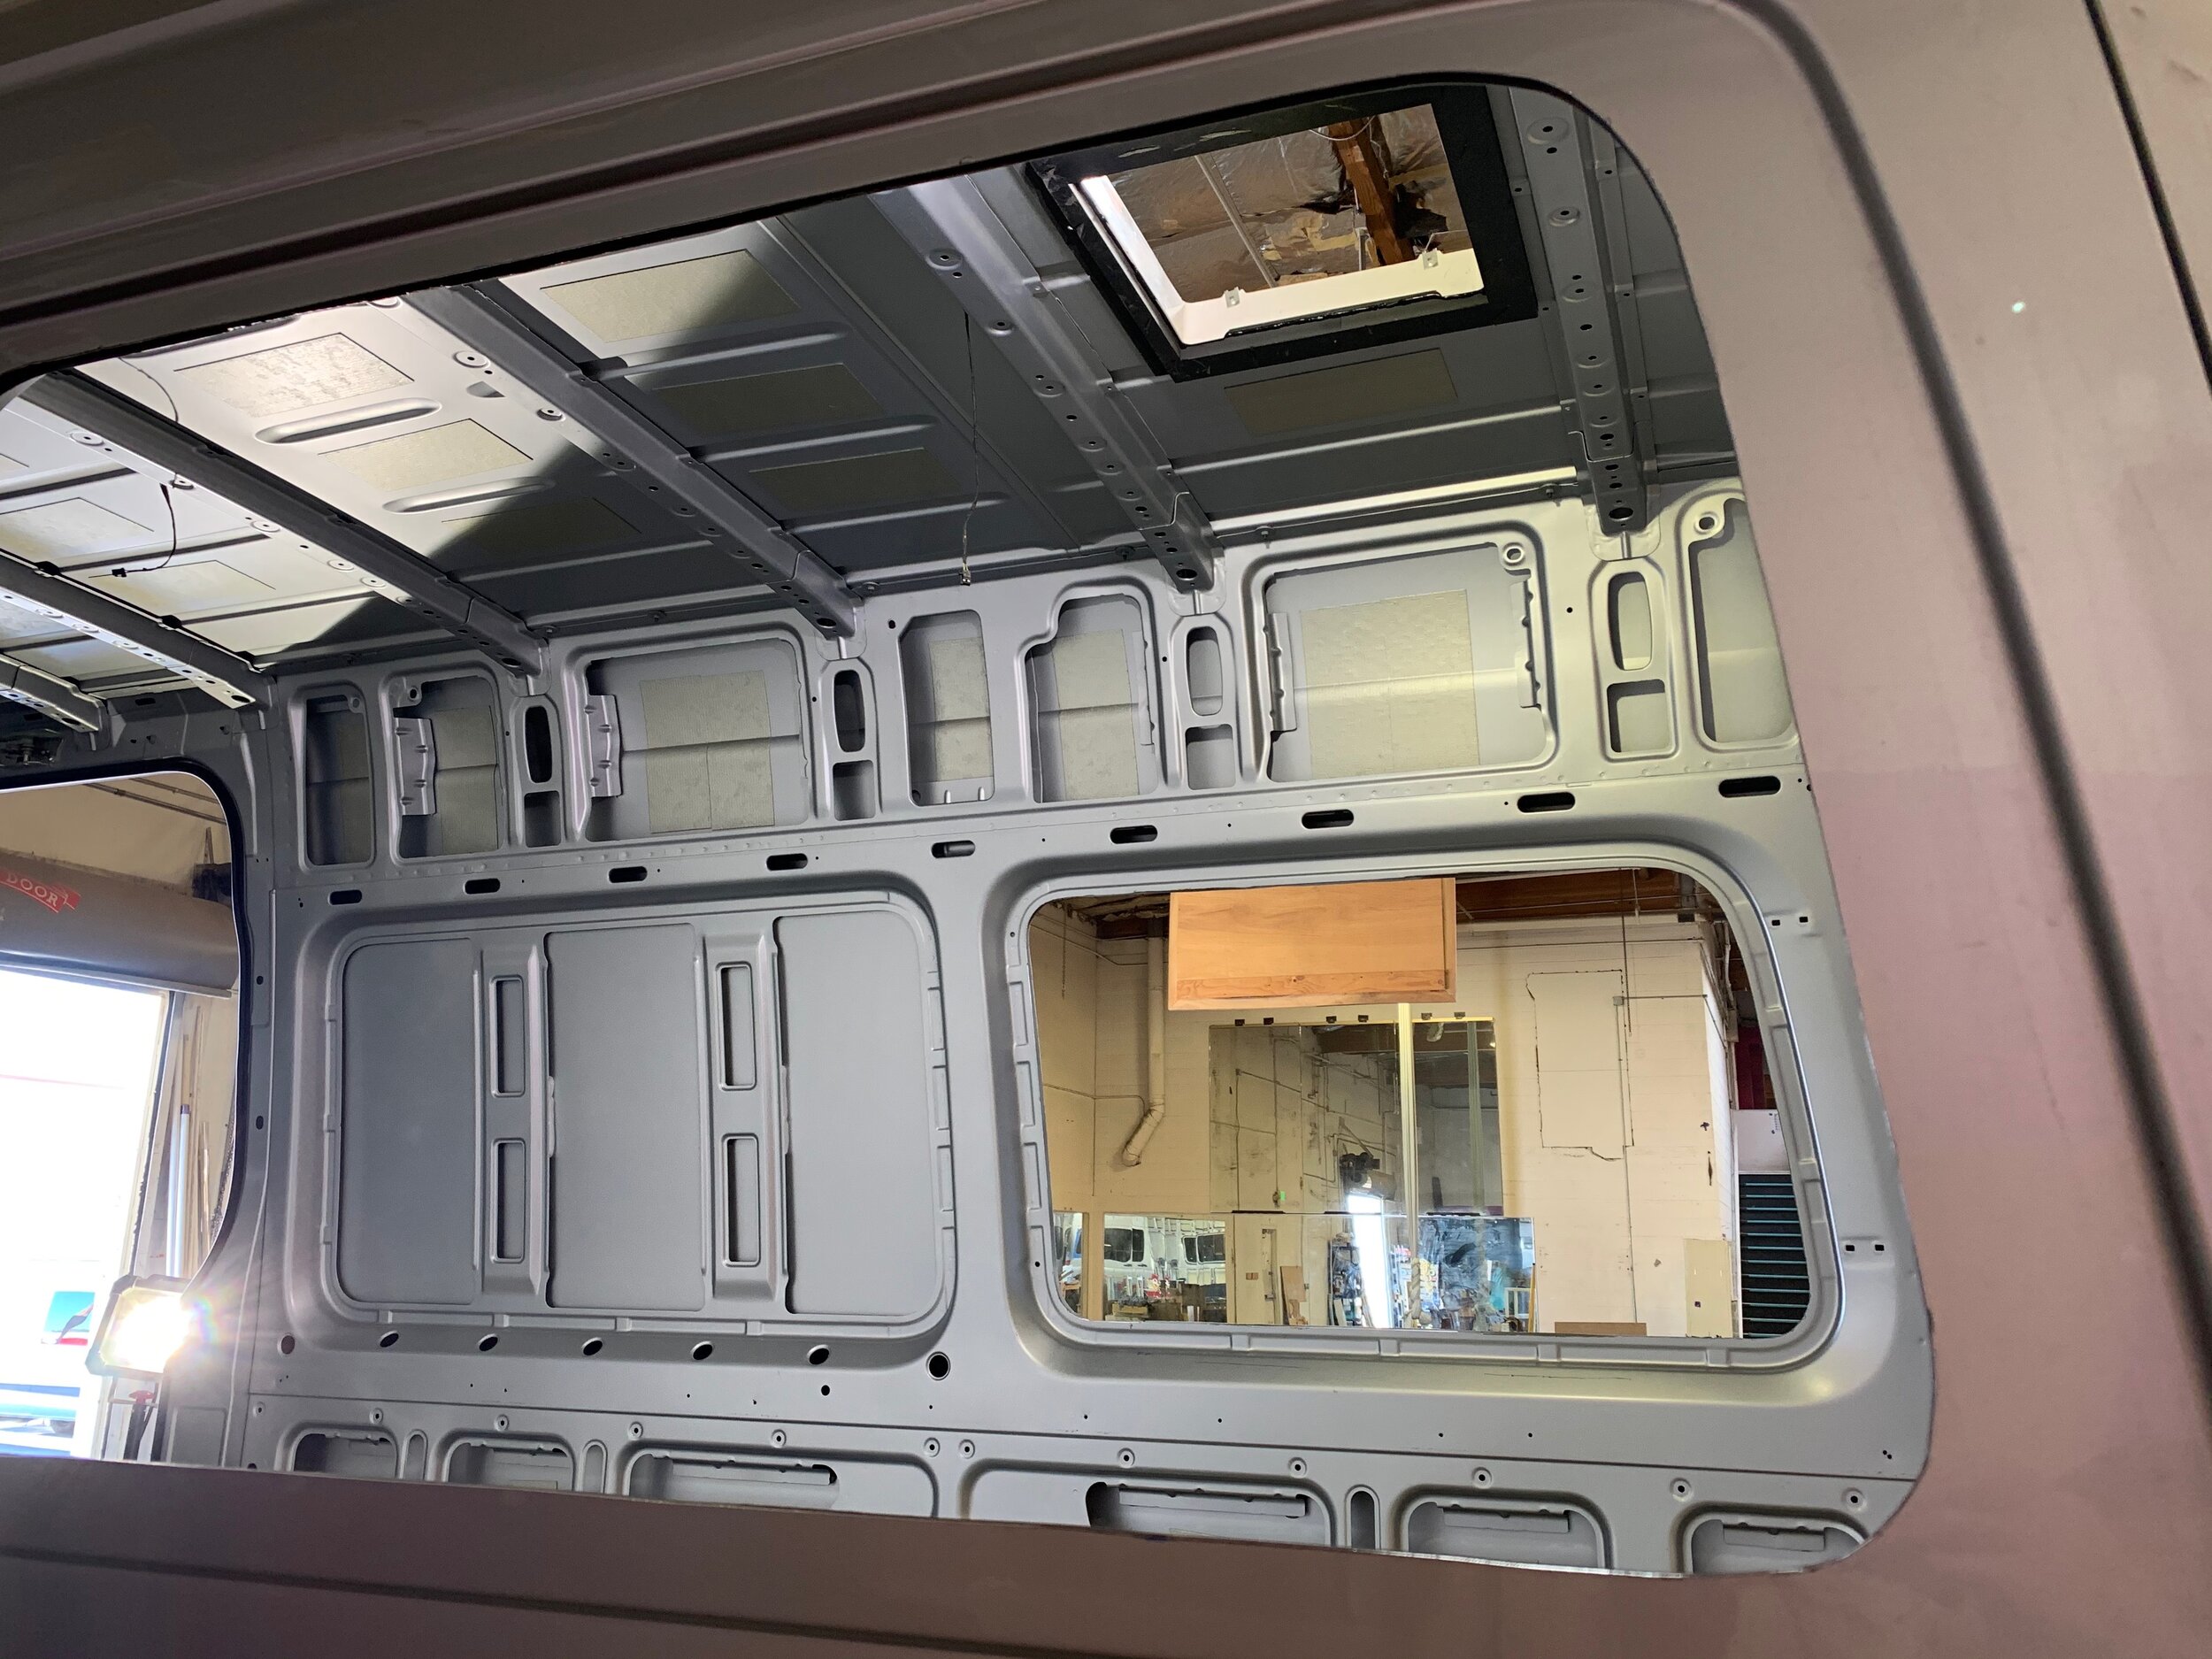
We had the foresight to add some electrical wires up through the roof when the interior was torn apart. We added one wire set up front for a light bar, one wire set near the back for area lights, and one wire set for solar panel hookups. In hindsight we wish we had installed a wire port near the back that would allow us to easily run more wires up to the roof for future needs. There is a natural place to do this near the rear doors where you can run wires up the door jams to access a pass through you can install.

So with the wiring in place (one set up front and one set in the rear) we installed a light bar in the front and a series of light pods as area lights. There are a ton of options out there ranging from cheap Amazon LED lights from no name companies to extremely expensive lights from companies like Baja Design. We decided to go with a well known name that builds high quality LED lights with a modest amp draw. We also needed to find lights that had a clean look and would easily mount to our roof rack. That led us to Rigid Industries.

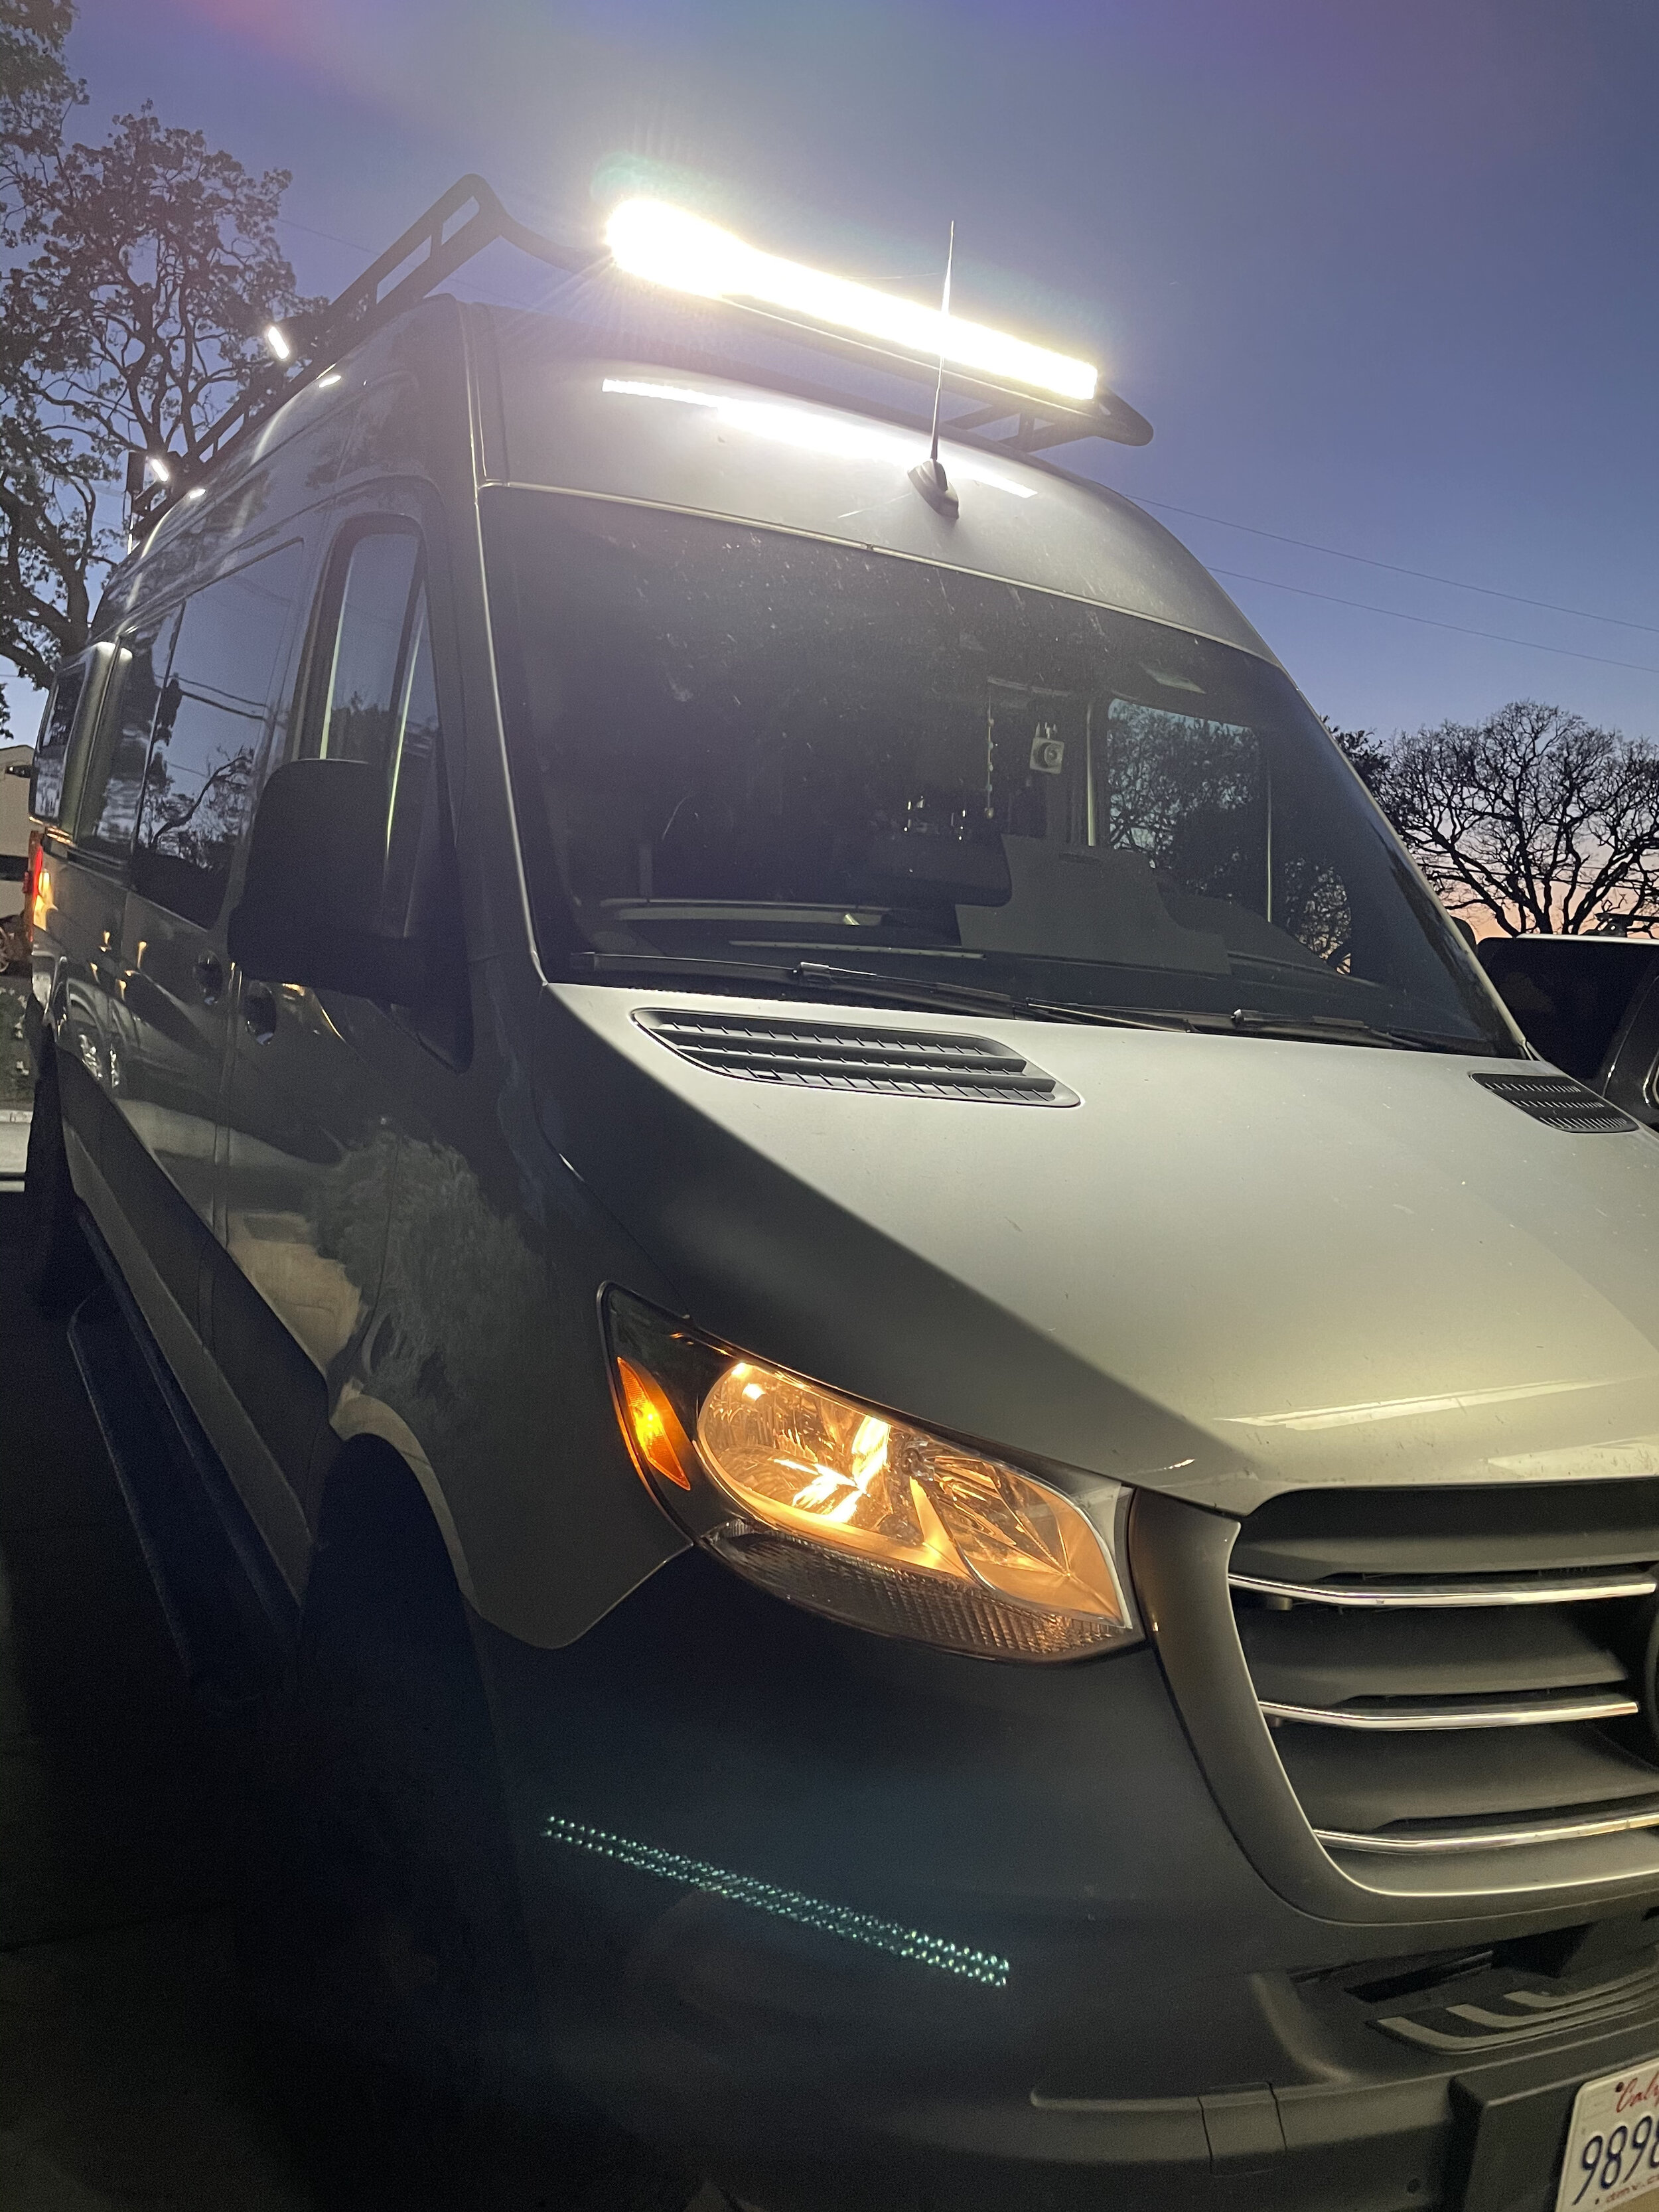
For the light bar we went with Rigid’s E-Series Pro, 40”, dual LED row, spot/flood combo. My only complaint on the fit is that I have about 4” on each side of empty space, but the next size up from Rigid is 50” which likely would not have fit. This issue is caused by the roof rack we picked. I think most Sprinter roof racks would fit a 50” light bars, just not mine. This light bar configuration has the following specs: 21 amp draw, 299 watts, max voltage 36, 35680 raw lumens. So it is crazy bright but has a low draw. Most light bars have an amp draw of over 30 which is fine but as you will see this was something I wanted to avoid due to the switch setup I picked (see below).

For the light pods we picked the Rigid D-Series Pro diffused flood. These are 3”x3” cubes that offer a diffused wide area of light which is a good option for area lights. Area lights are meant to light up the sides and rear of the van when navigating dirt roads at night or setting up camp in the dark. Given the size of the van we bought 6 pods (2 on each side and 2 in the back). These pods have the following specs: 2.14 amp draw each, 30 watts each, max voltage 36, 3168 raw lumens each (total amp draw = 12.84).

Now comes the hard part, wiring them up. While wiring lights is not hard conceptually it takes a lot of time and often requires pulling apart many panels of the vehicle. This is especially true if you are installing the light switches on the dash. For this reason we decided to get a Trigger wireless controller. This is a central light controller that you connect to the battery and then all the lights wire back to the Trigger. The Trigger has RF and Bluetooth built-in so you can control the lights with your smartphone using an app or you can mount an RF switch panel that will wirelessly allow you to control the lights. We bought the 4 switch Trigger which works for our needs but in hindsight I wish we had bought the 6 switch version. Not only does the 6 switch version offer you 2 more switches but it has some nice features that don’t come with the 4 switch version. Keep in mind the Trigger can be used to control more than lights. You can wire up an air compressor, winch, or just about anything. The Trigger has solid state relays built-in and it has a dedicated fuse for each switch. This is why I wanted low amp draw lights. With the Trigger 4 you get two switches each with a 30 amp fuse and two switches each with a 10 amp fuse. If you keep each circuit within spec for the Trigger you can ditch the fuses and relays that came with the lights and simply wire directly to the Trigger. If your circuit requires more amp draw than what the Trigger offers you can install a relay between the Trigger and the light but that requires more wiring. So my goal was to keep each circuit within the fuse rating of the Trigger. Mission accomplished.

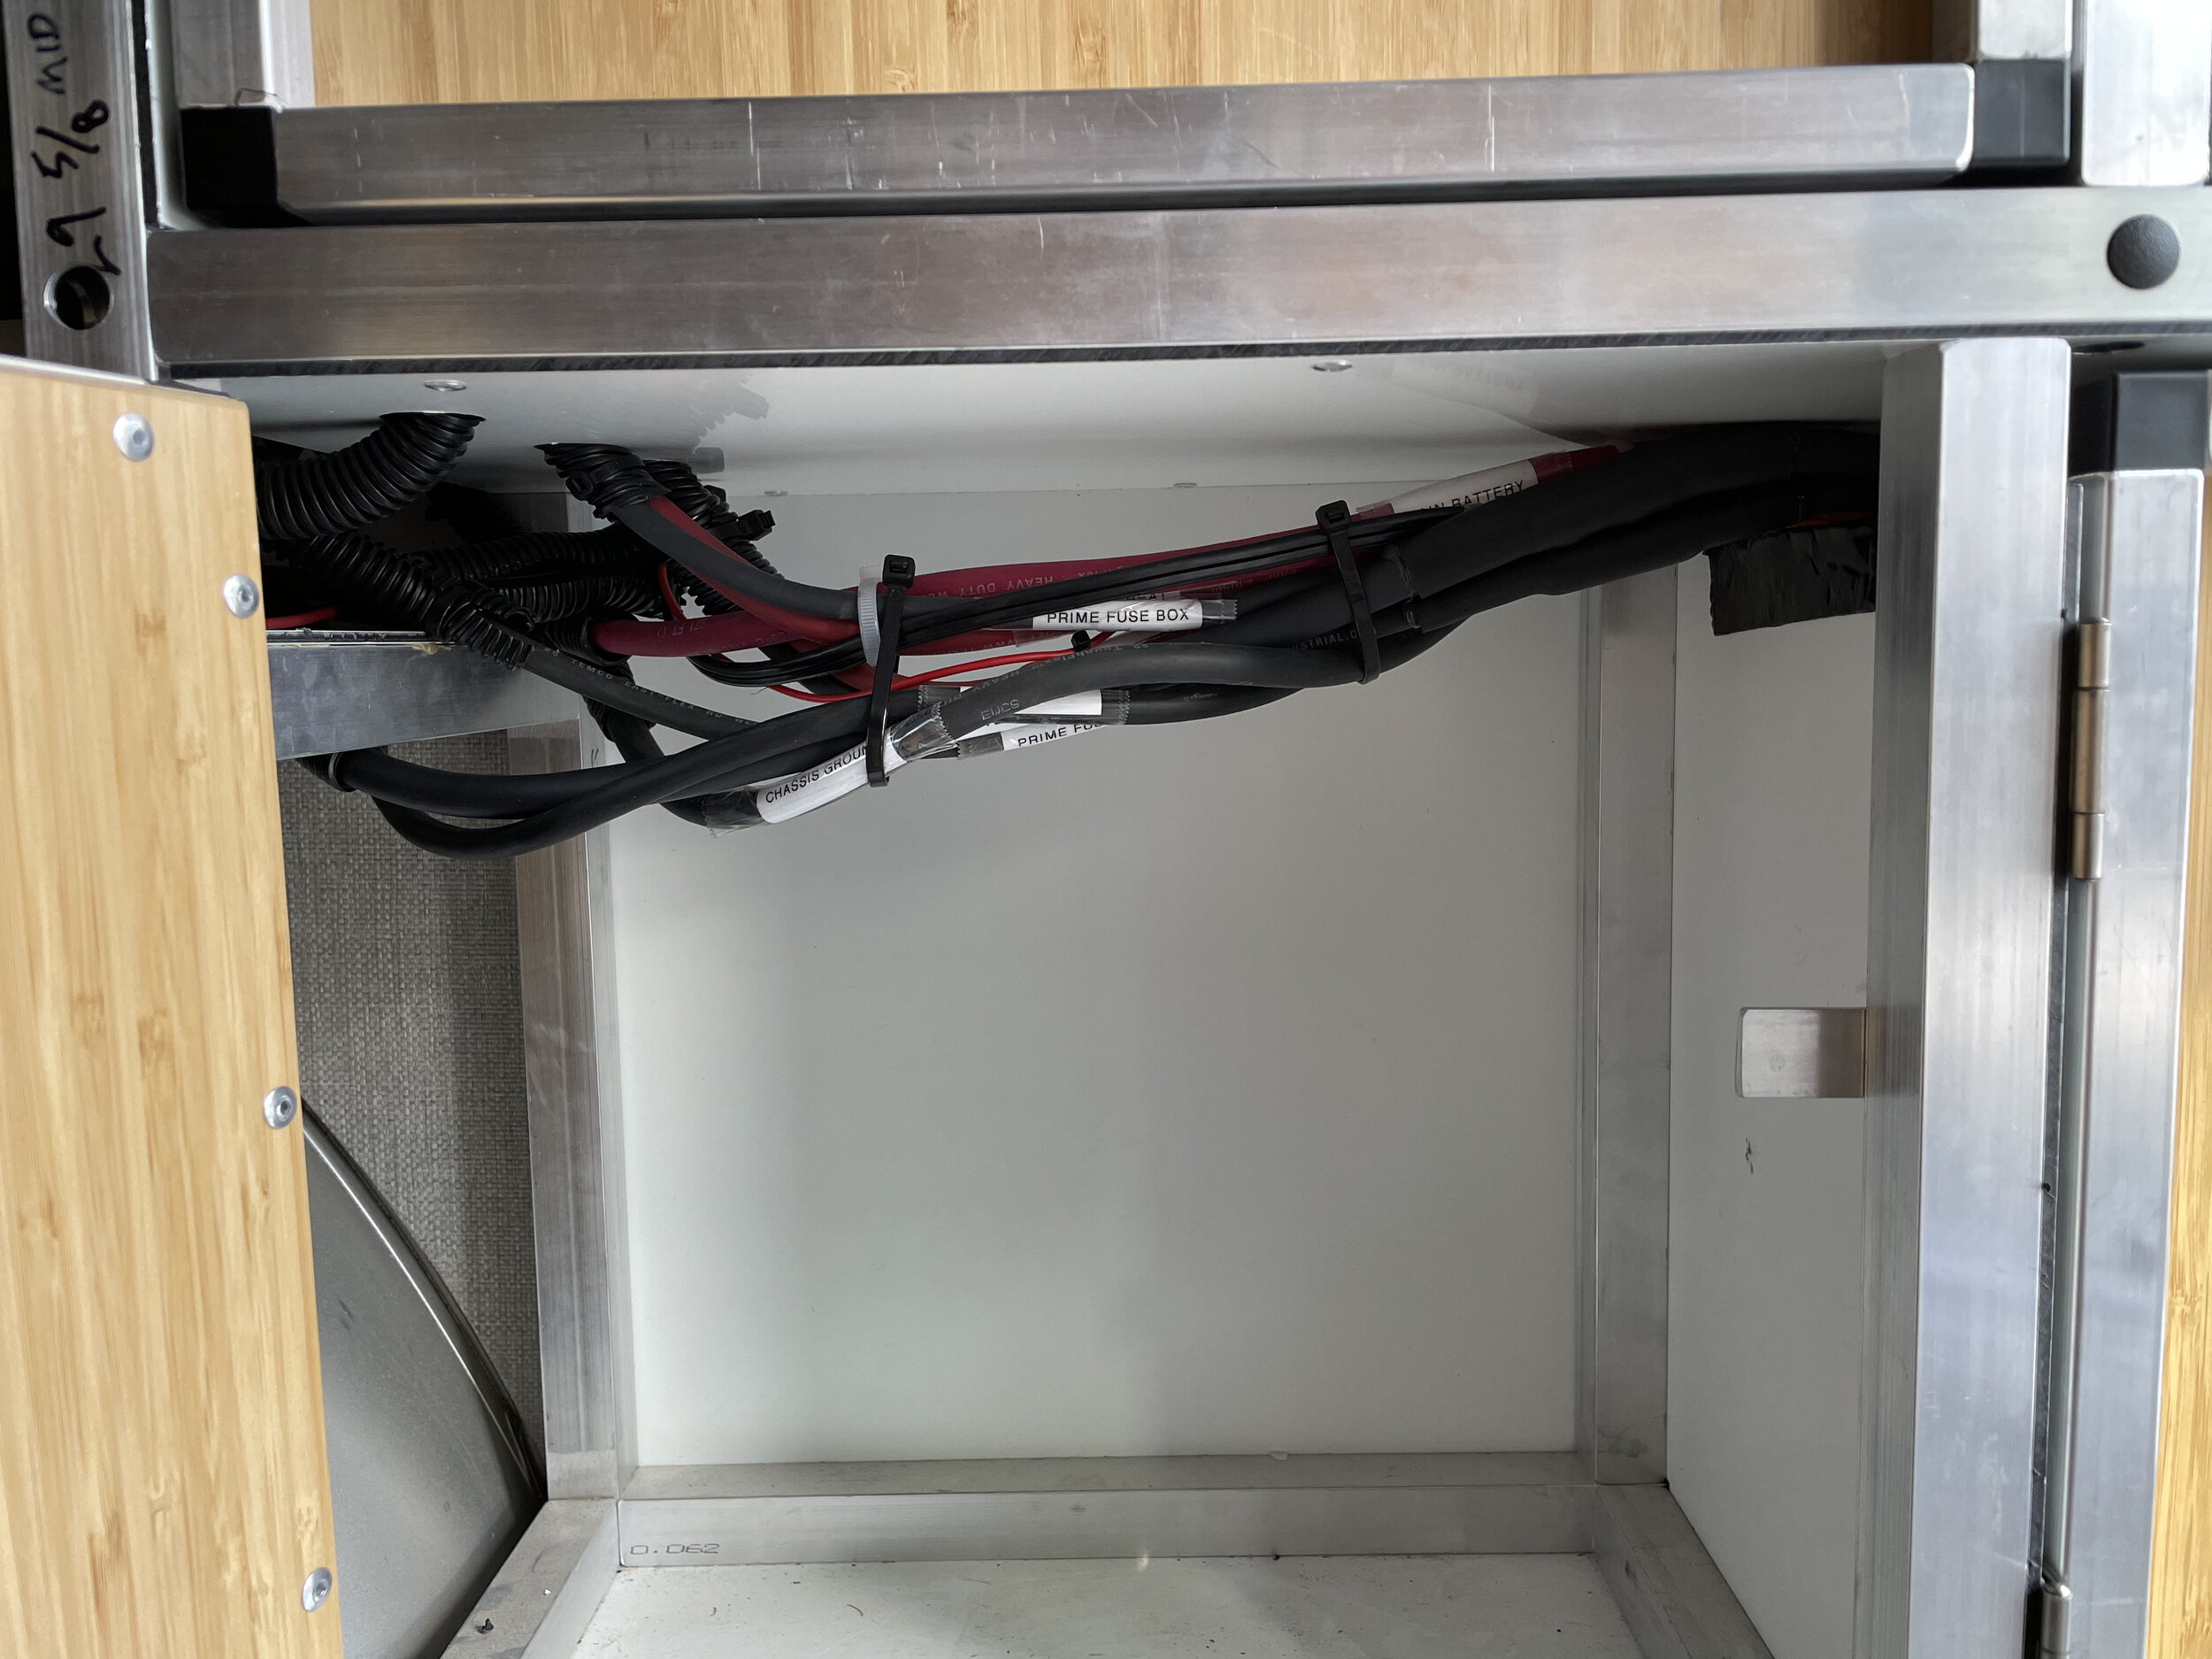
I wired the Trigger to the van battery so that I would not risk drawing down the house battery system. I mounted the Trigger under the driver seat so I could easily access the ignition control wire and the van’s battery compartment (which is in the floor panel of the driver). While I had everything torn apart I installed a van battery power distribution block (positive and negative) in the van battery compartment so that in the future I could easily wire other devices. In hindsight I should have also installed a power distribution block in the engine bay to make it easy to wire a winch and grille lights in the future. So I will do that in the coming months as prep for those mods.
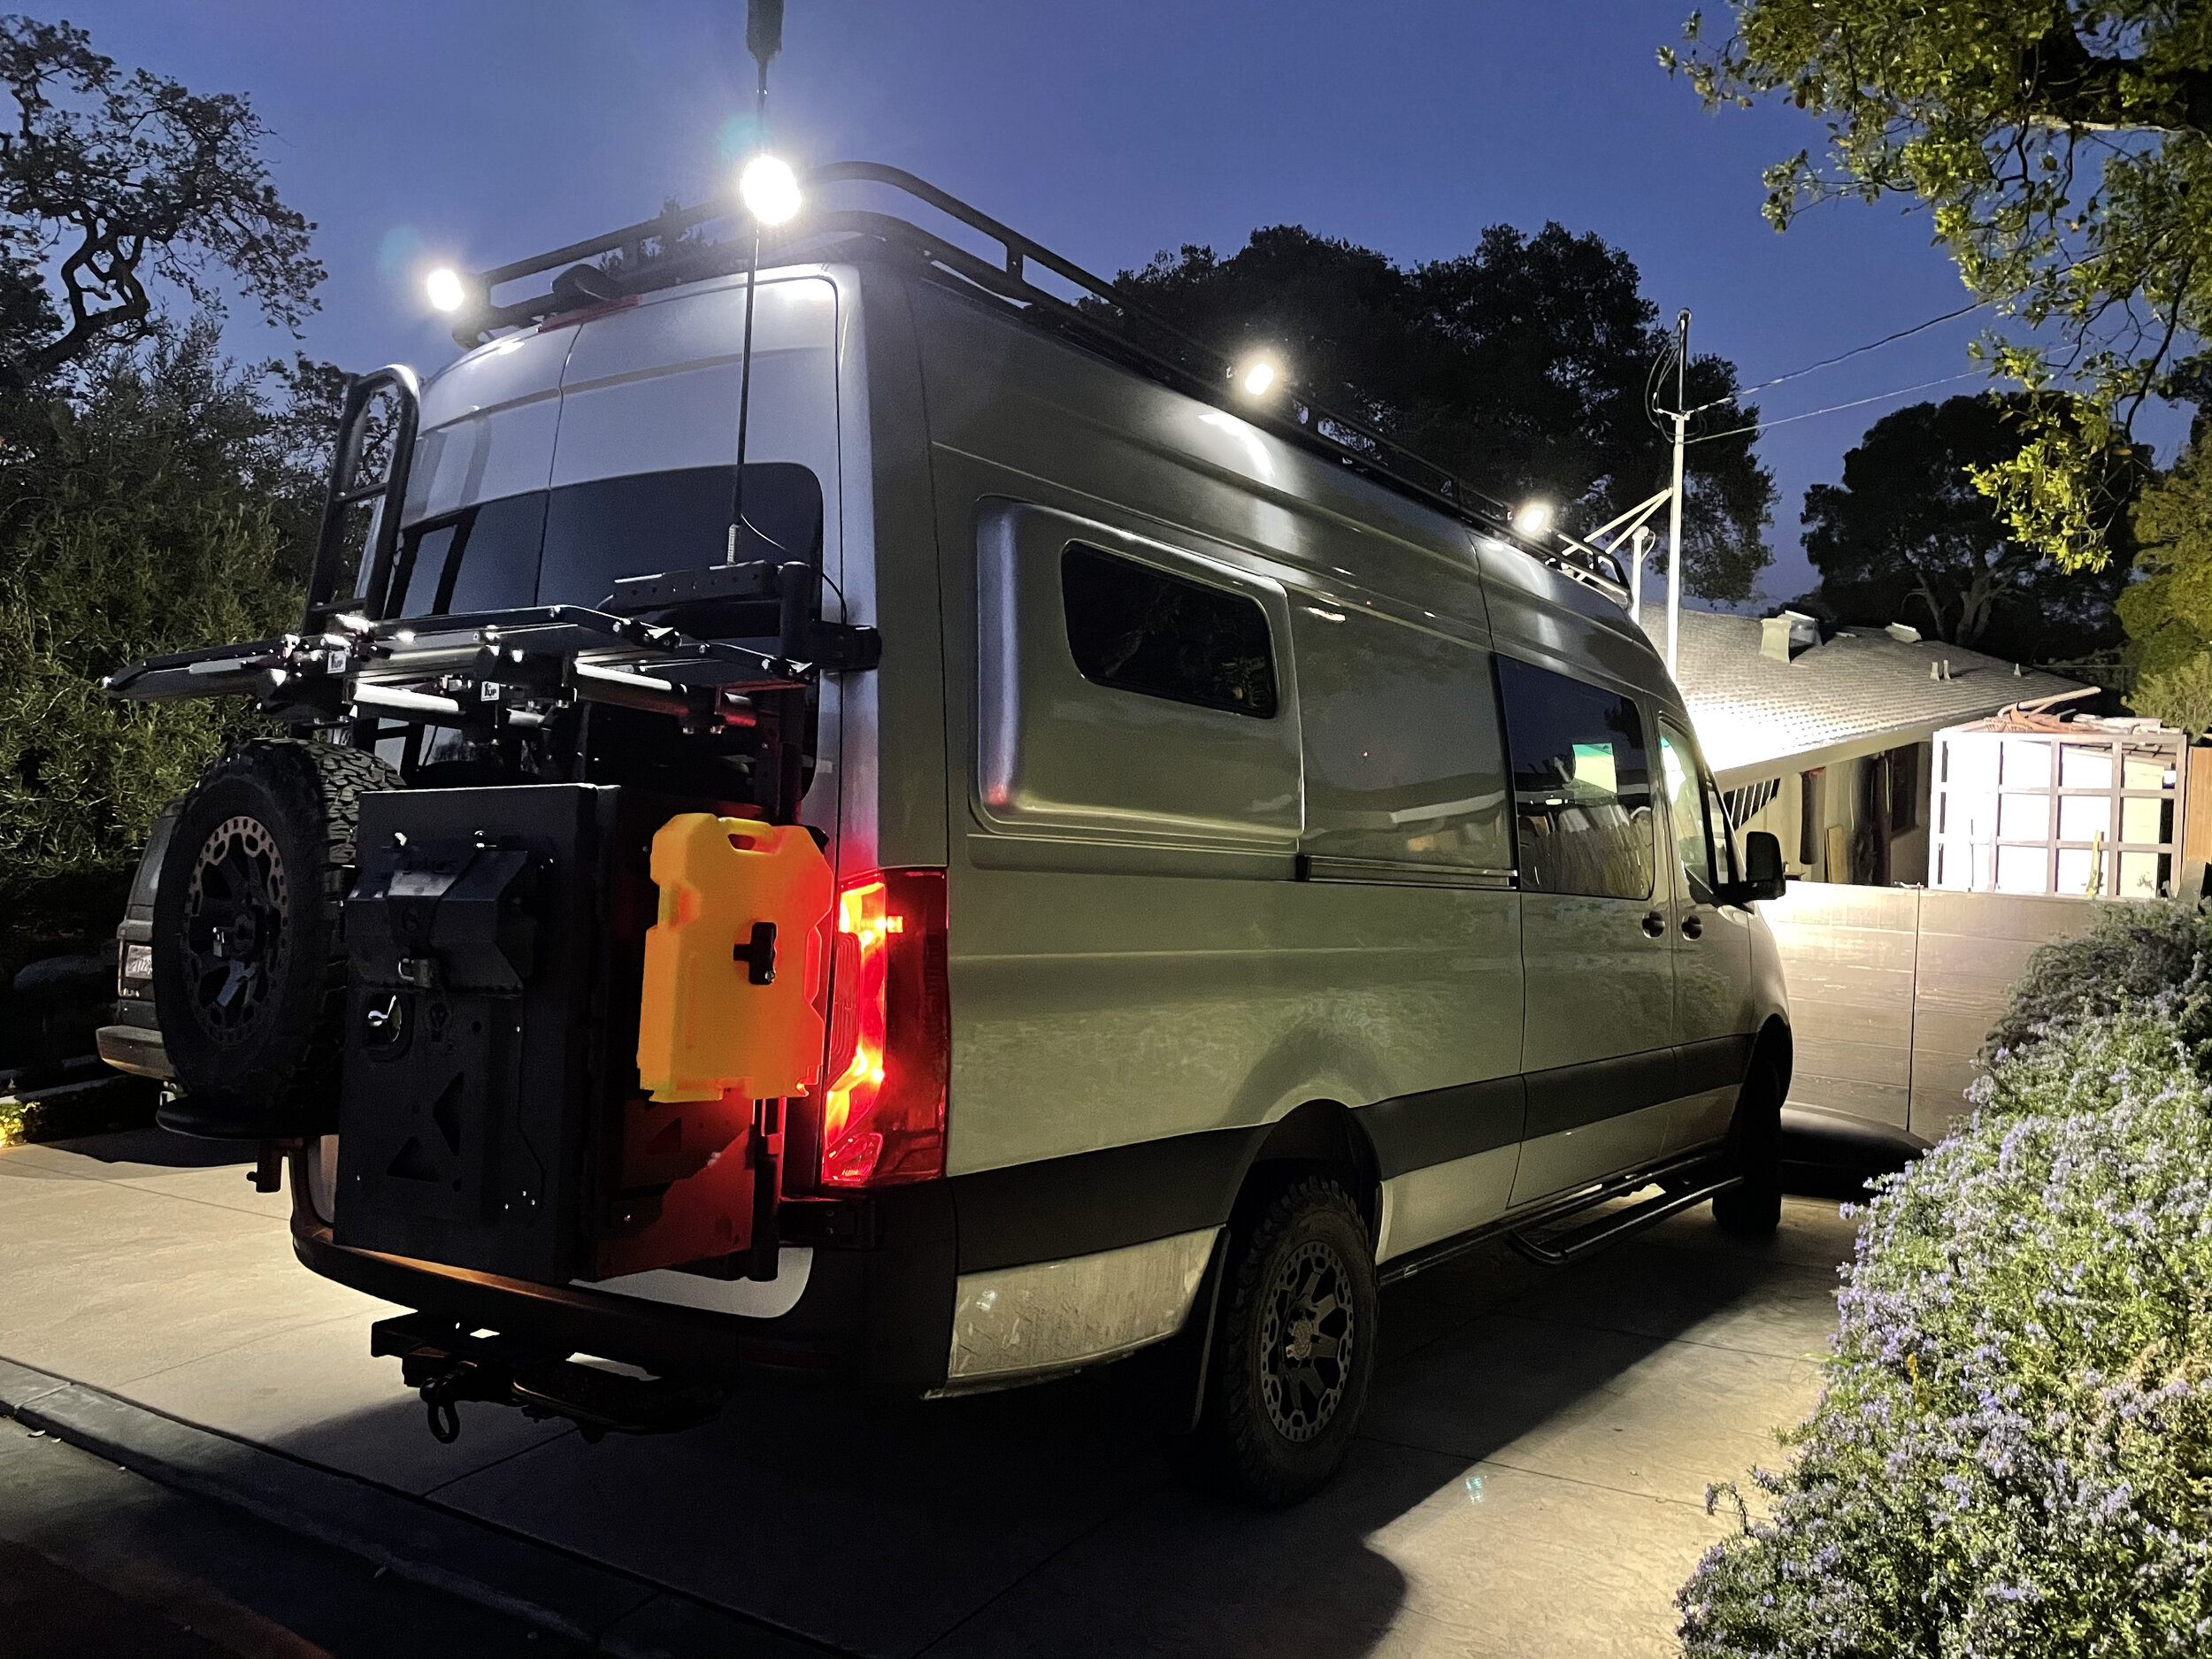
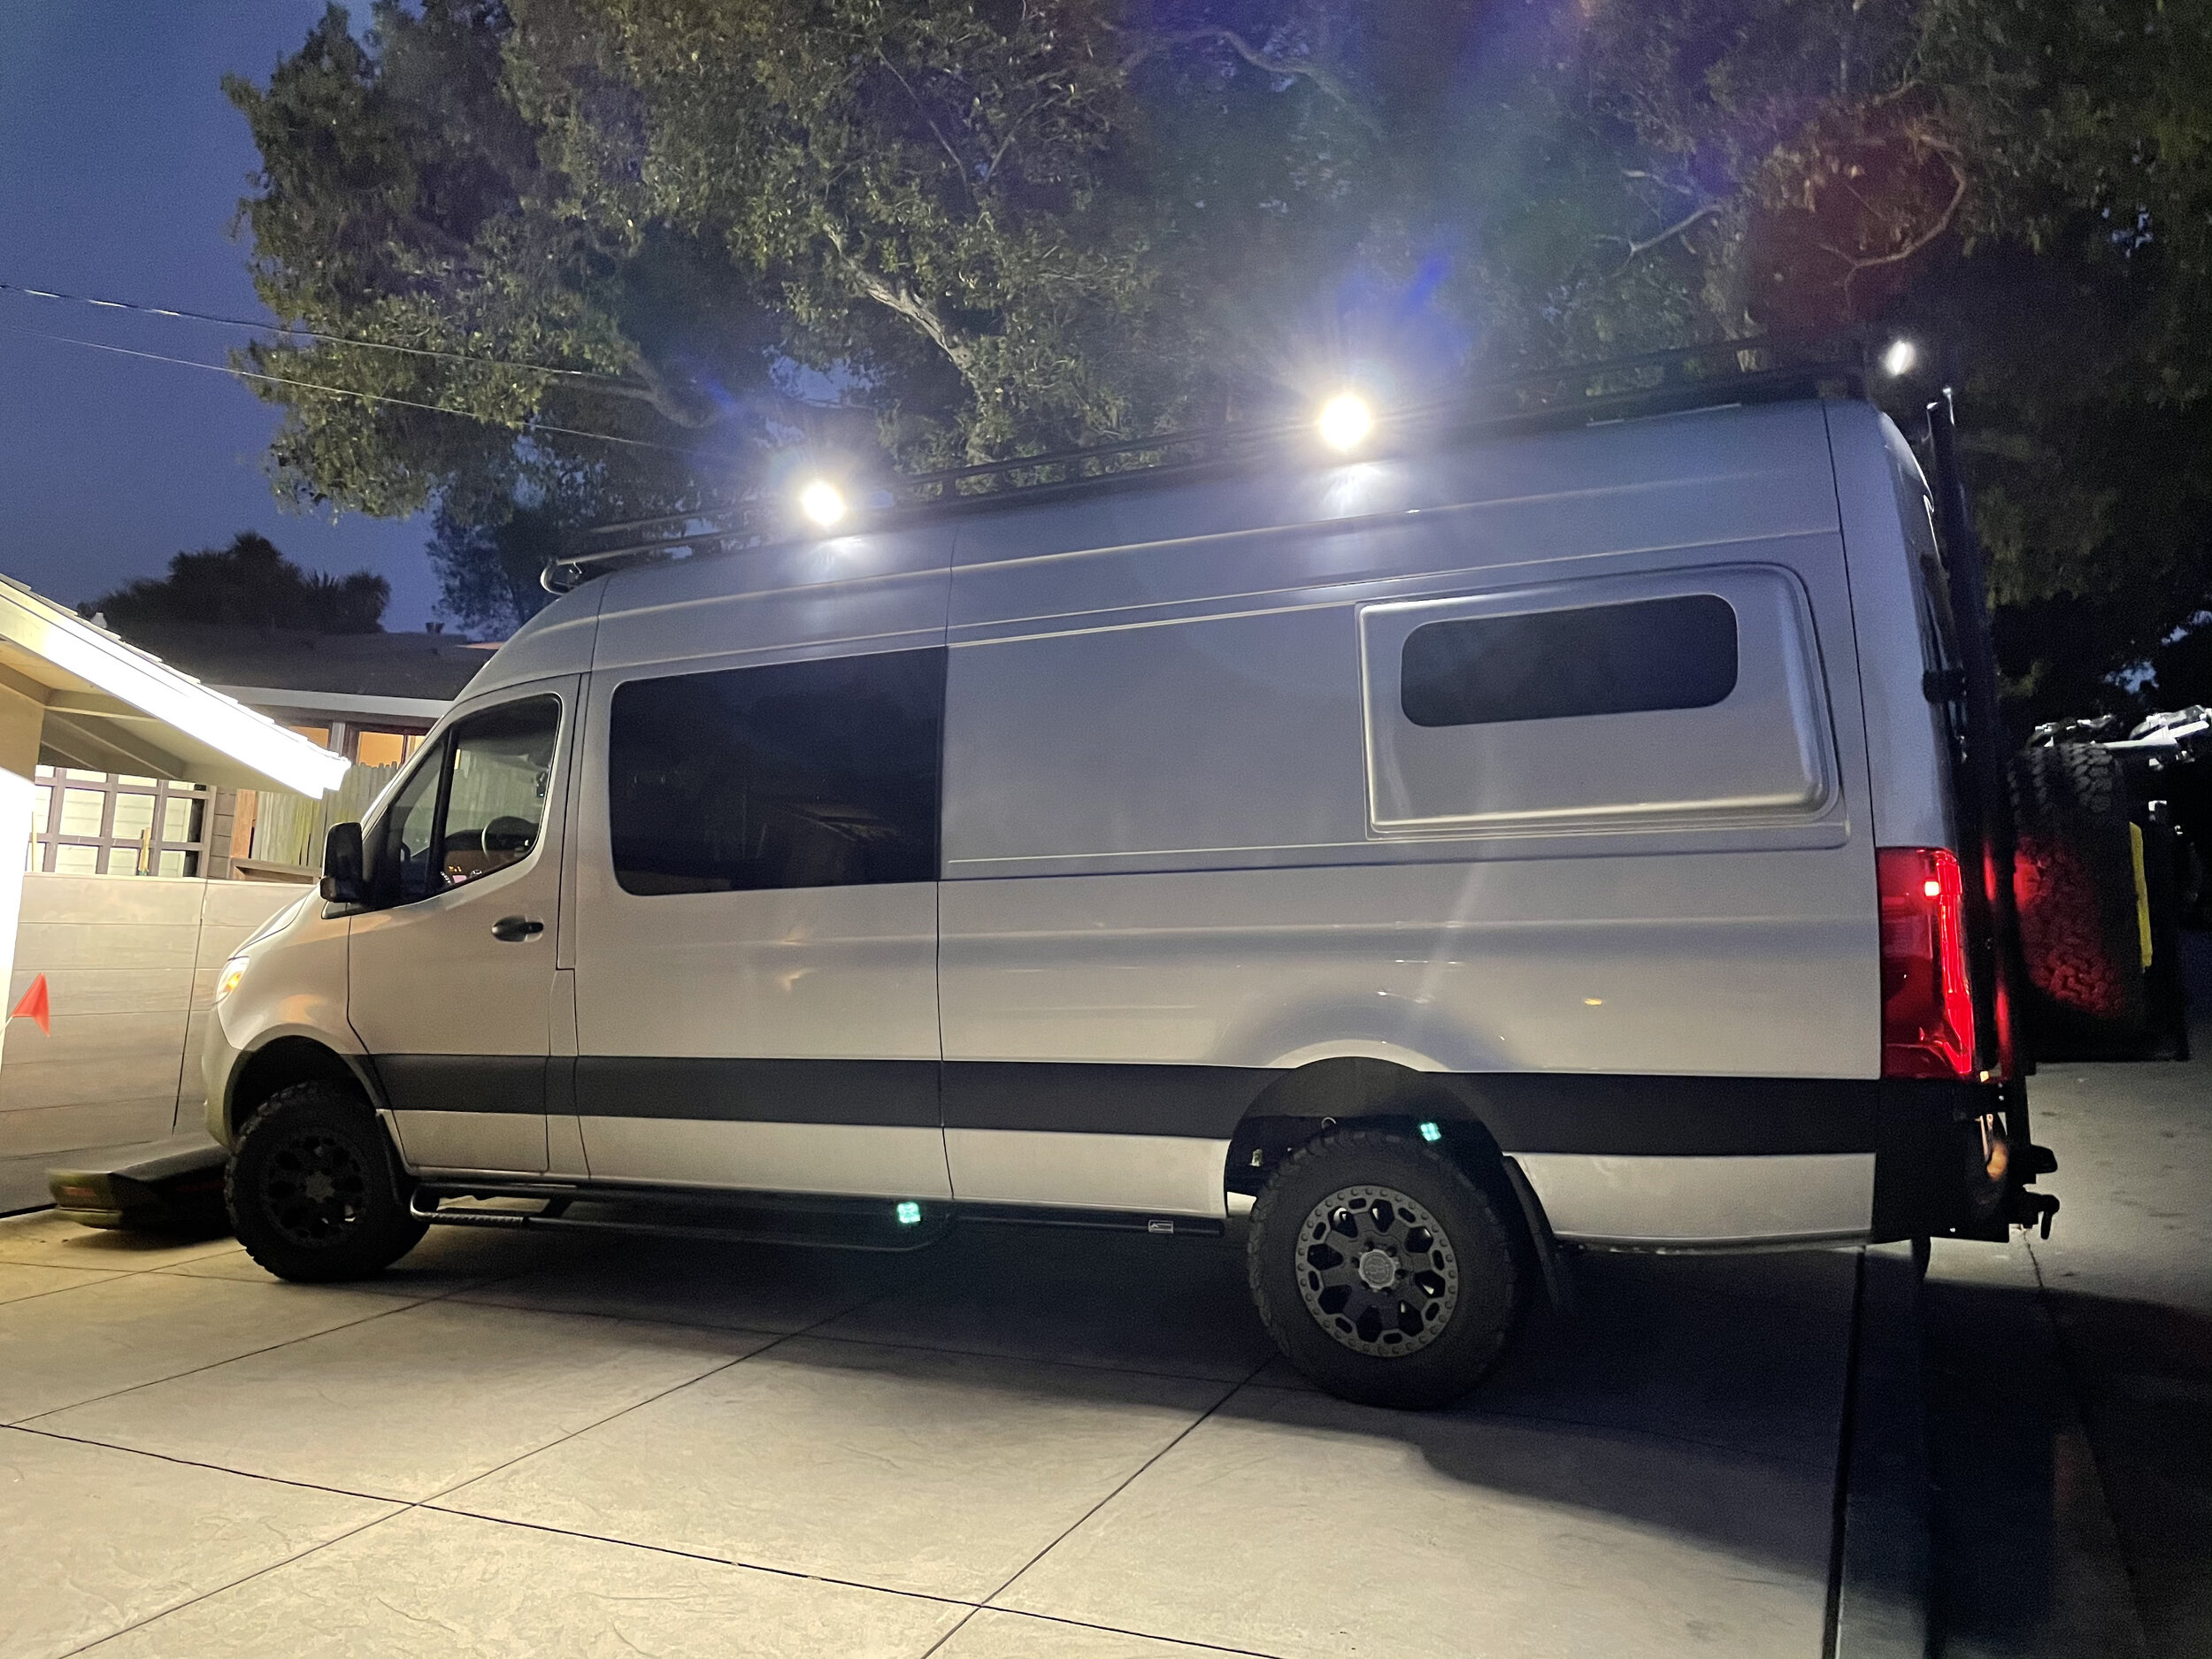
I am very happy with the results. The light bar is extremely bright but the Trigger allows me to dim it down as needed. The light bar gives off a wide light range due to the flood lenses but also some good distance with the spot lenses. The pod lights offer a good amount of soft diffused light all around the van making setting up camp or navigating dirt roads a snap. And if that wasn’t enough I still plan on installing two Baja Design LP9 amber driving lights on the grille (more on that later).

Sprinter Build - Storage Box and Bike Rack

We learned two things after doing a four state van trip as a family. 1) you need as much storage space as you can get 2) normal bike racks don’t work well on a van if you plan on going off-road to camp. The fix for both…..Owl Vans.

While vans are big, they quickly fill up with four people and their gear. You also learn that not all your gear is created equal. Some you want inside while other gear you want outside. We wanted to move our 5lb propane tank outside for safety reasons (gas leaks in the middle of the night) and we felt stuff like recovery gear, some tools, and straps didn’t need to take up valuable inside storage space. So we decided to get an Owl Vans Large Expedition Cargo Box. I have since learned that the basic box Owl uses is made by Backwoods Adventure Mods but then Owl puts on their own panel to mount gear on. Backwoods also makes these panels. In fact we have since bought two Backwoods side panels to add to our Owl Vans Expedition Box so that we can mount two Rotopax diesel fuel tanks (see updated post below). The box also comes with an adjustable and removable shelf inside which we have found very useful. So in the end you can go with Owl’s box or Backwood’s box to get the same result. What is different between the two companies is how you mount the box to the van. And for our needs Owl wins out. But let’s first talk about bike racks.

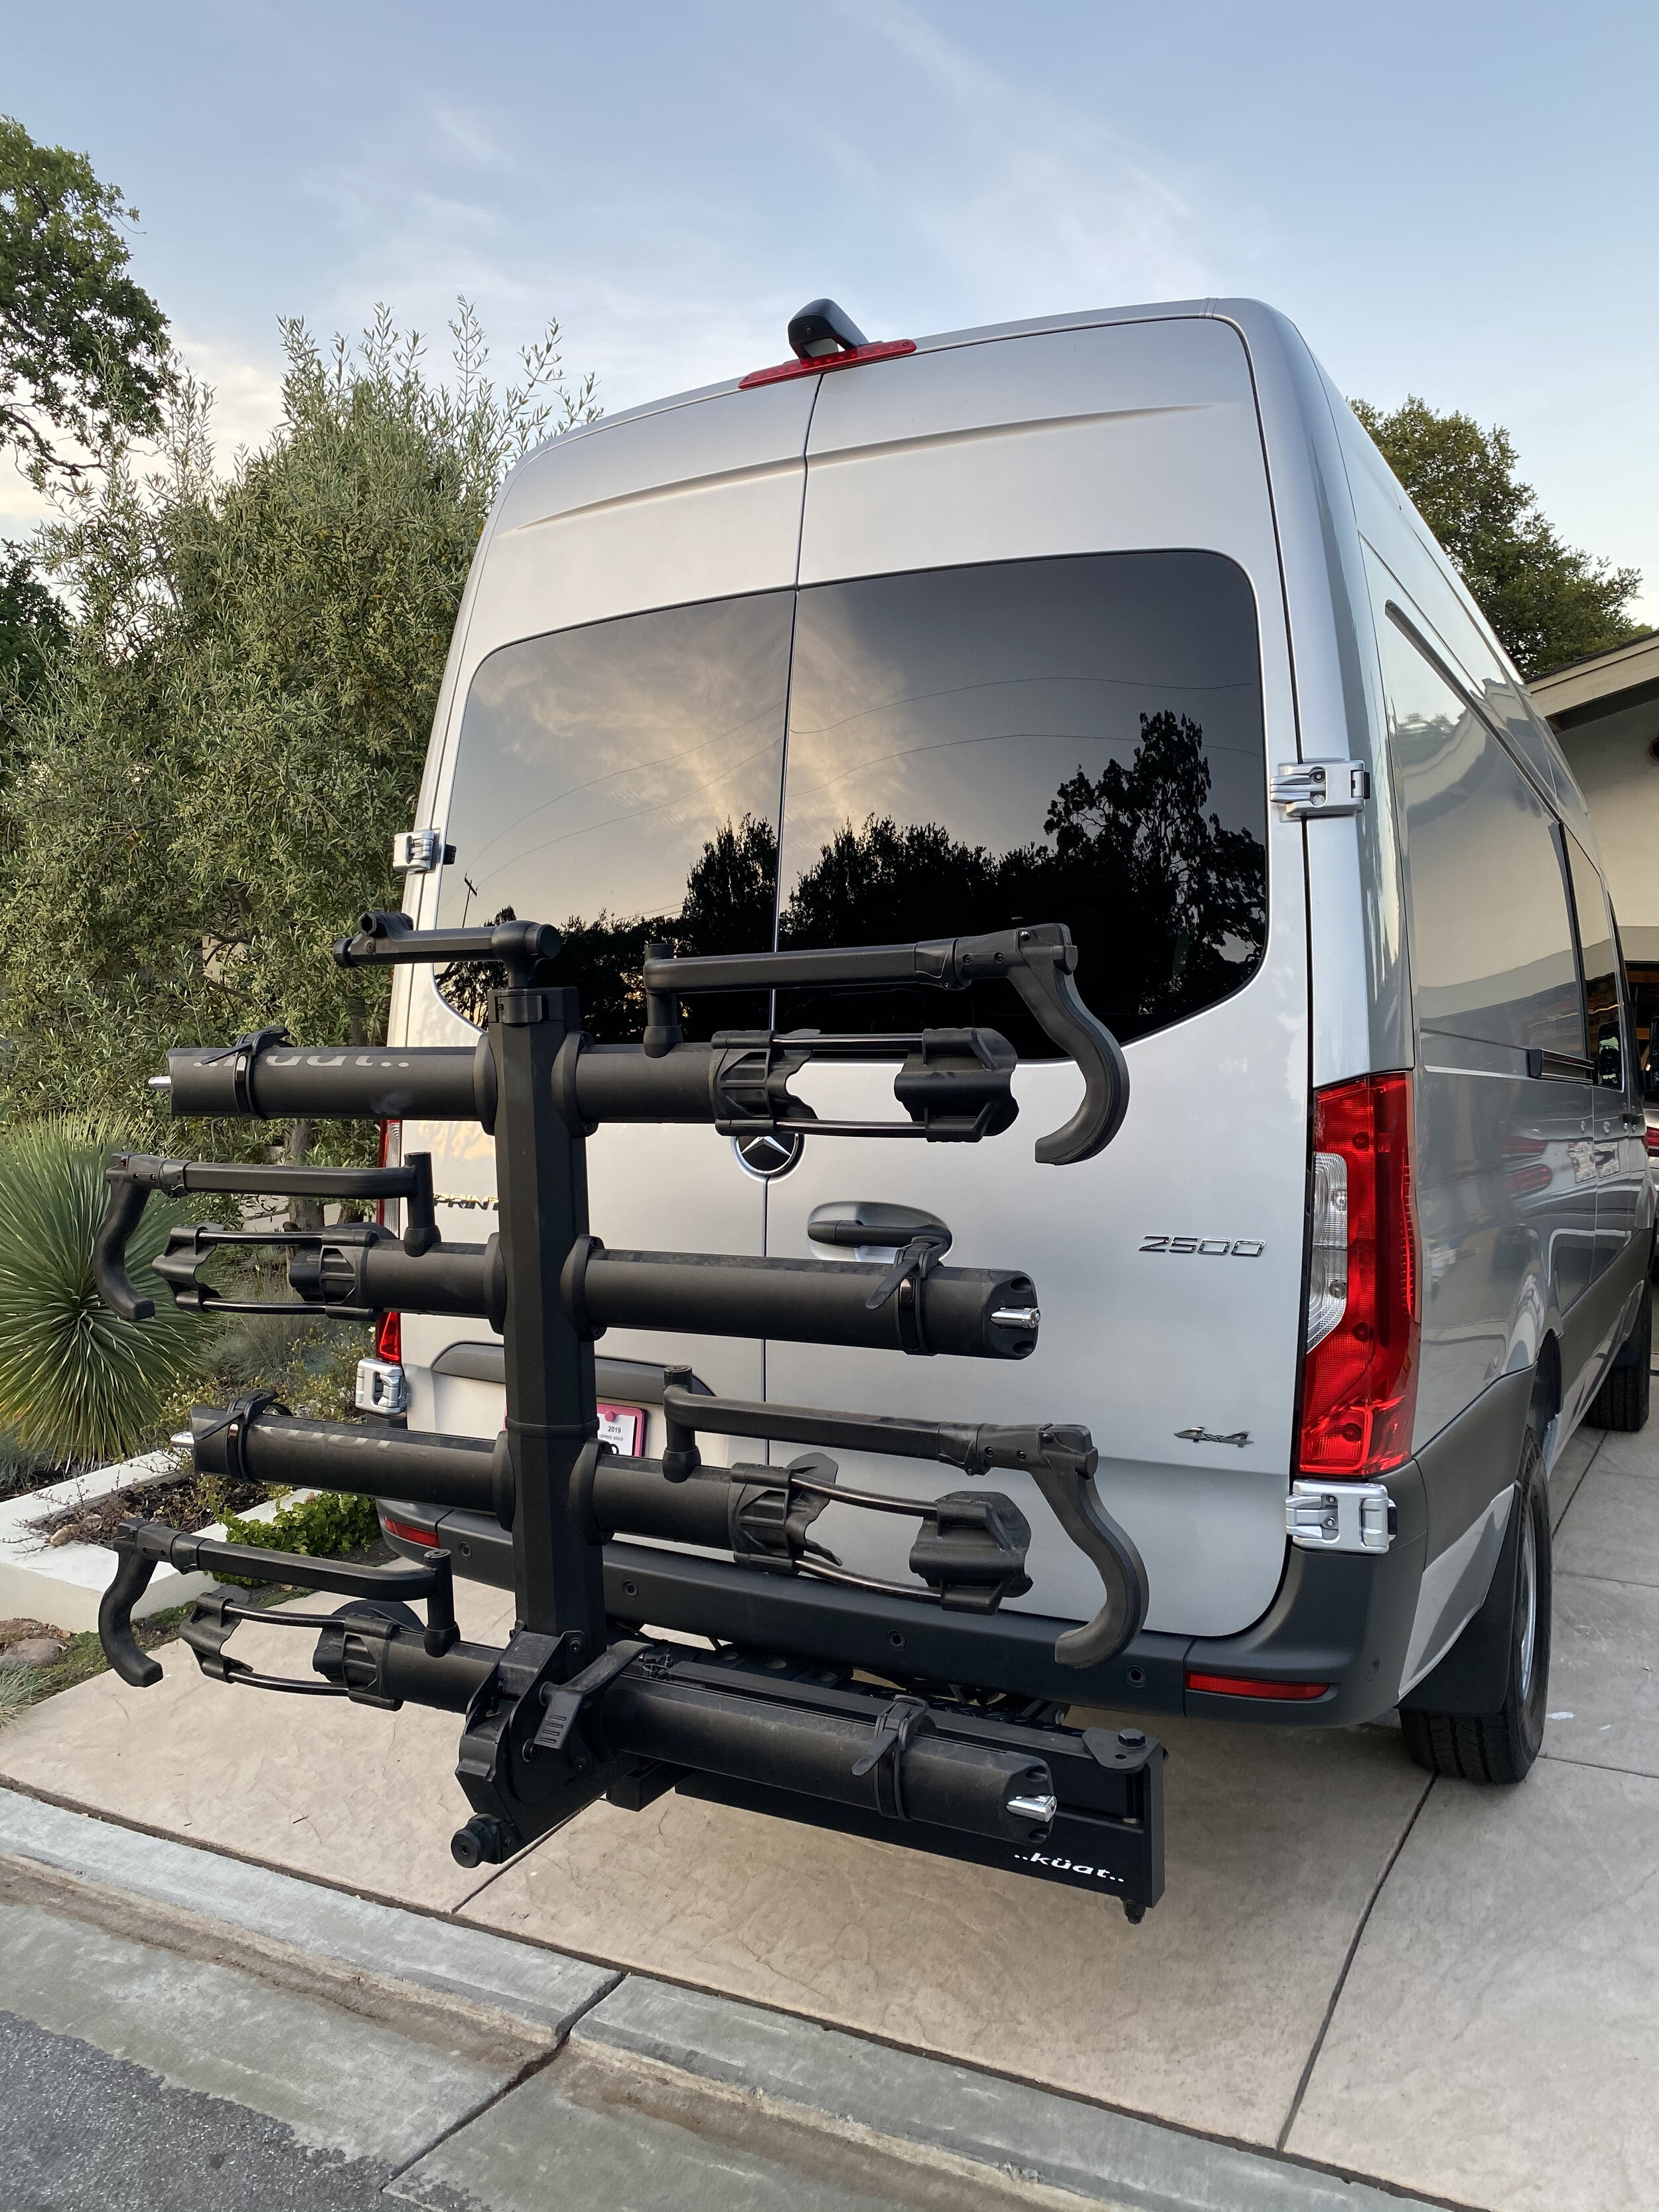
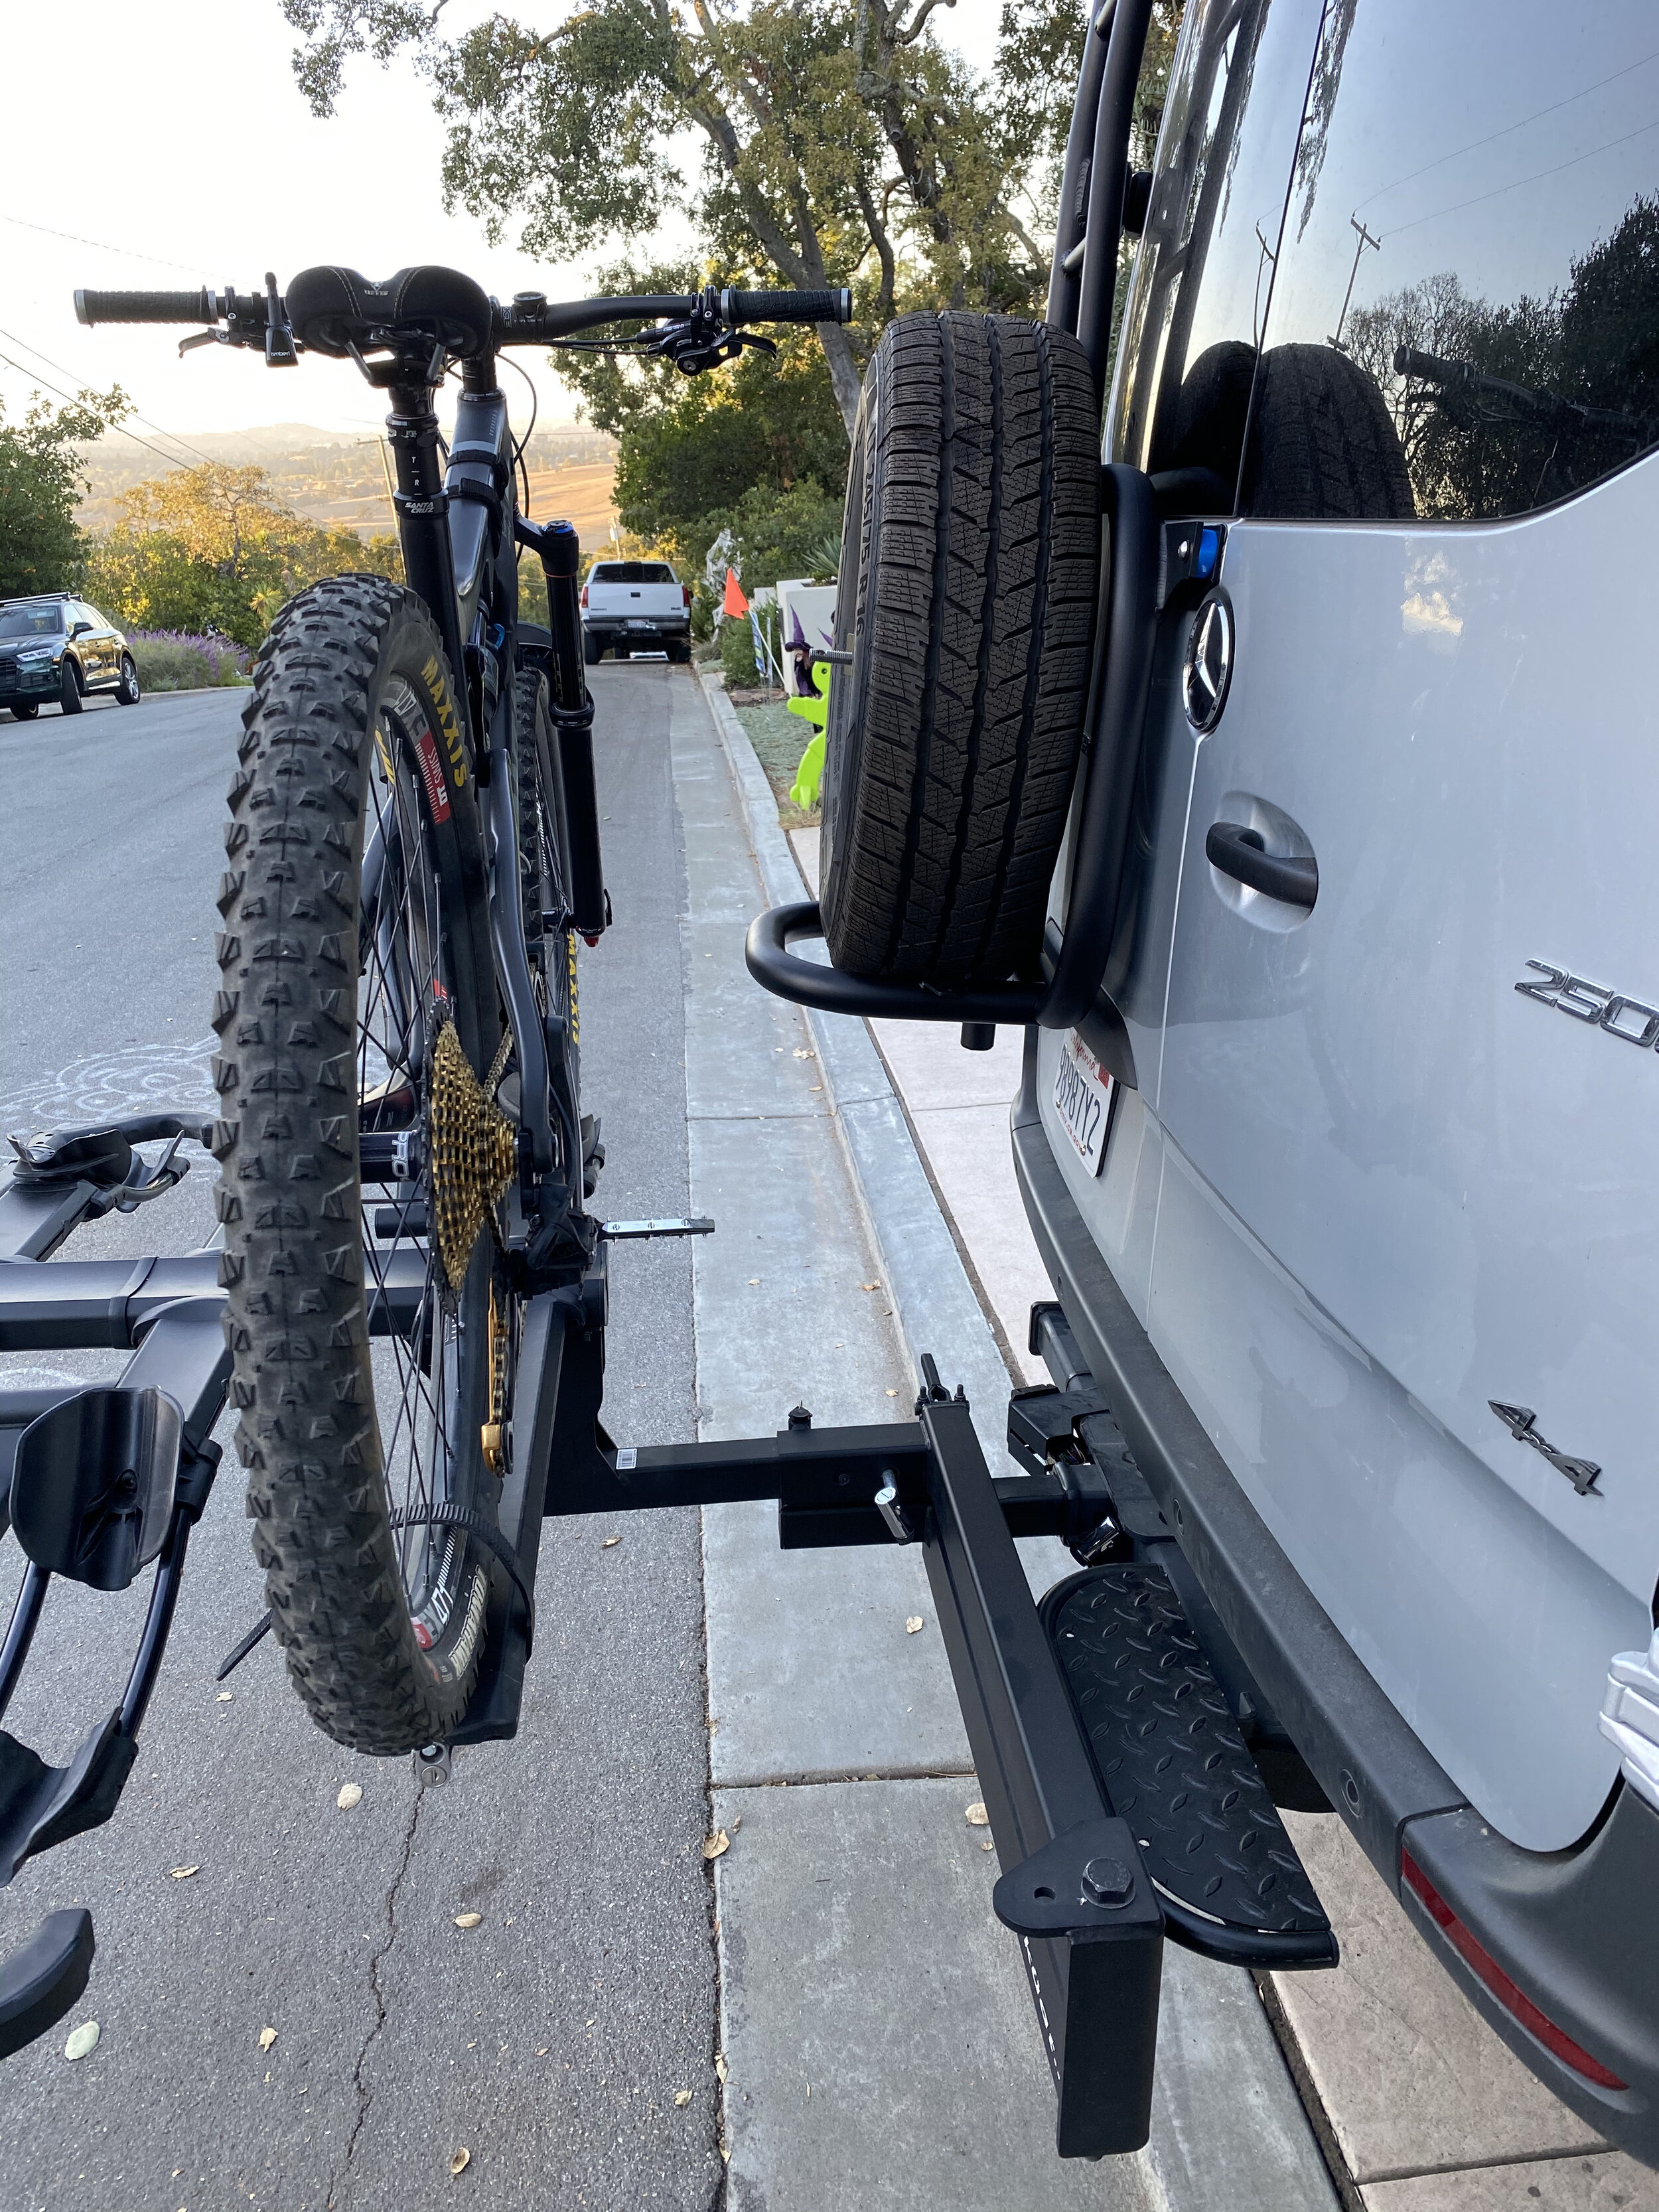
At first we took our Kuat four bike hitch rack that has a swing arm and mounted it to the van. This allowed us to travel with four mountain bikes plus still access the rear doors because the rack was on a swing arm. The Kuat system is fantastic and honestly the best bike rack I have ever owned. If your van is going to stay on paved roads and you don’t plan on going on steep driveways the Kuat system is perfect and far cheaper. The Kuat system can also be moved from car to car which is another huge plus. But there is one problem with all hitch mounted systems for vans like ours…..ground clearance. We have the 170 WB van which means we already have a good amount of the van body overhanging the rear tires, then you have a hitch overhanging a bit more, and then a bike rack overhanging a lot more. All that overhang means your approach angle suffers. In fact many times we would scrap getting out of a gas station or modest driveway. And with four bikes behind a 170 WB van just try to find a parking spot that you can fit in.

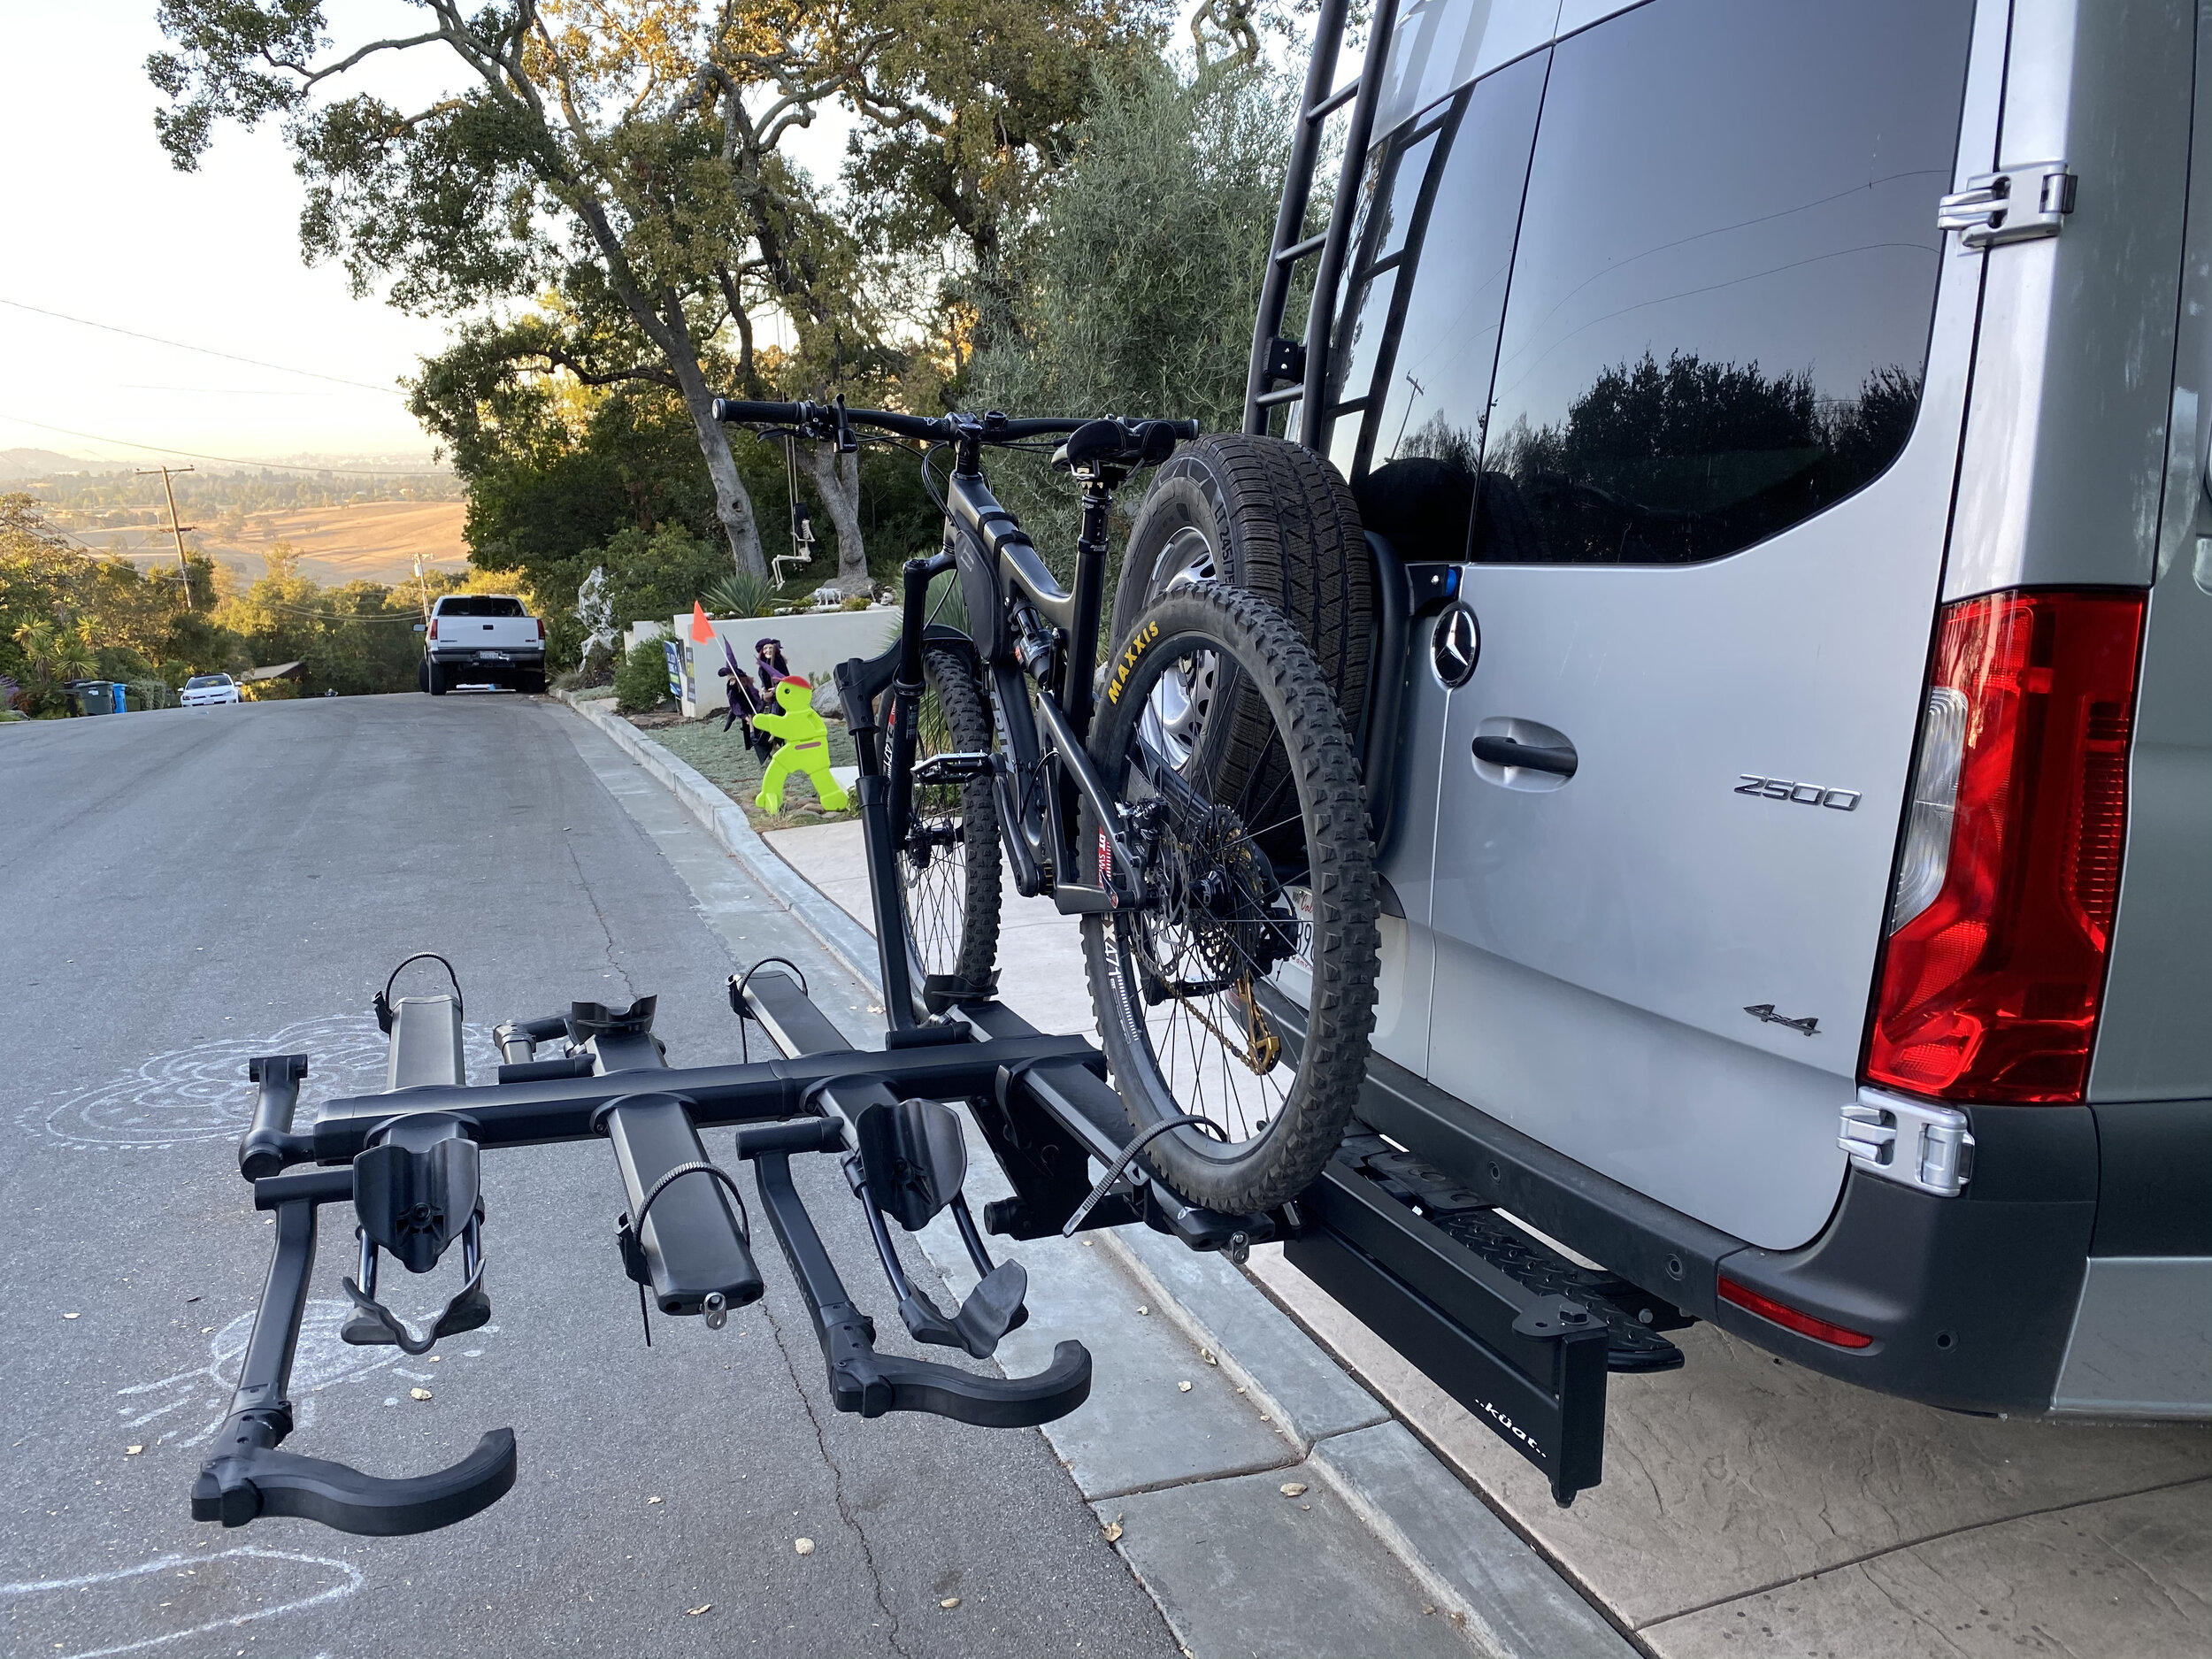
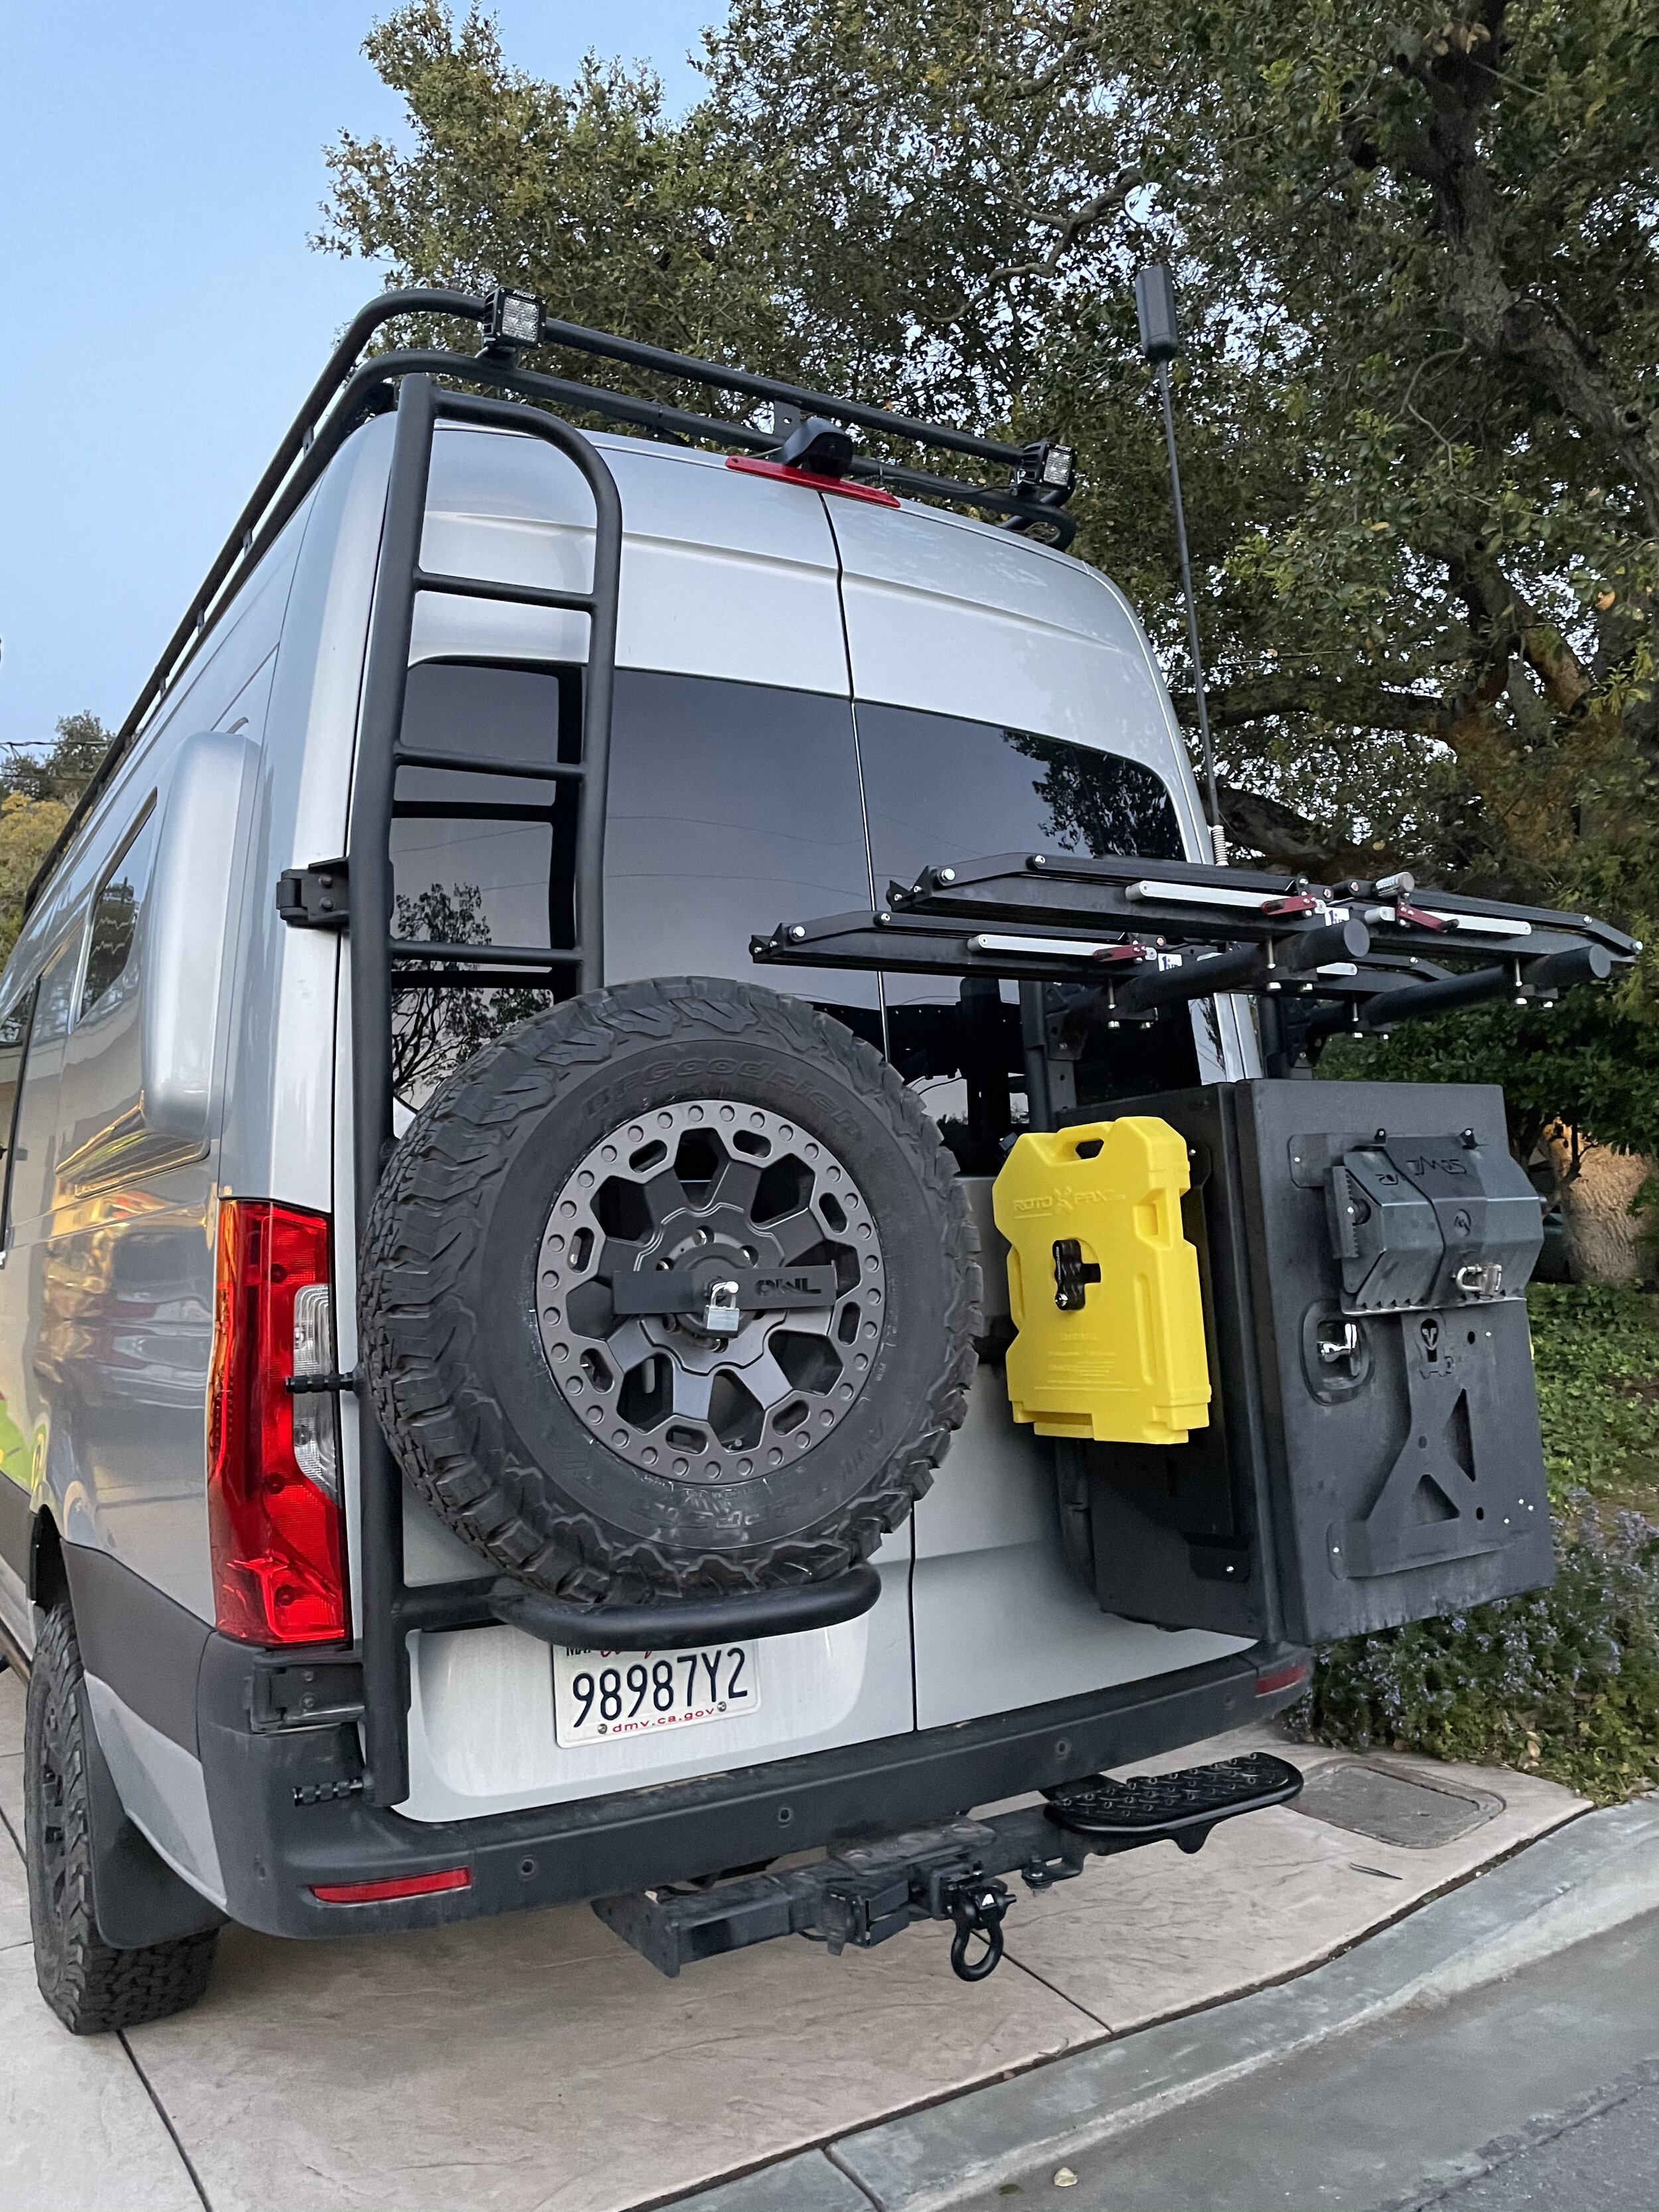
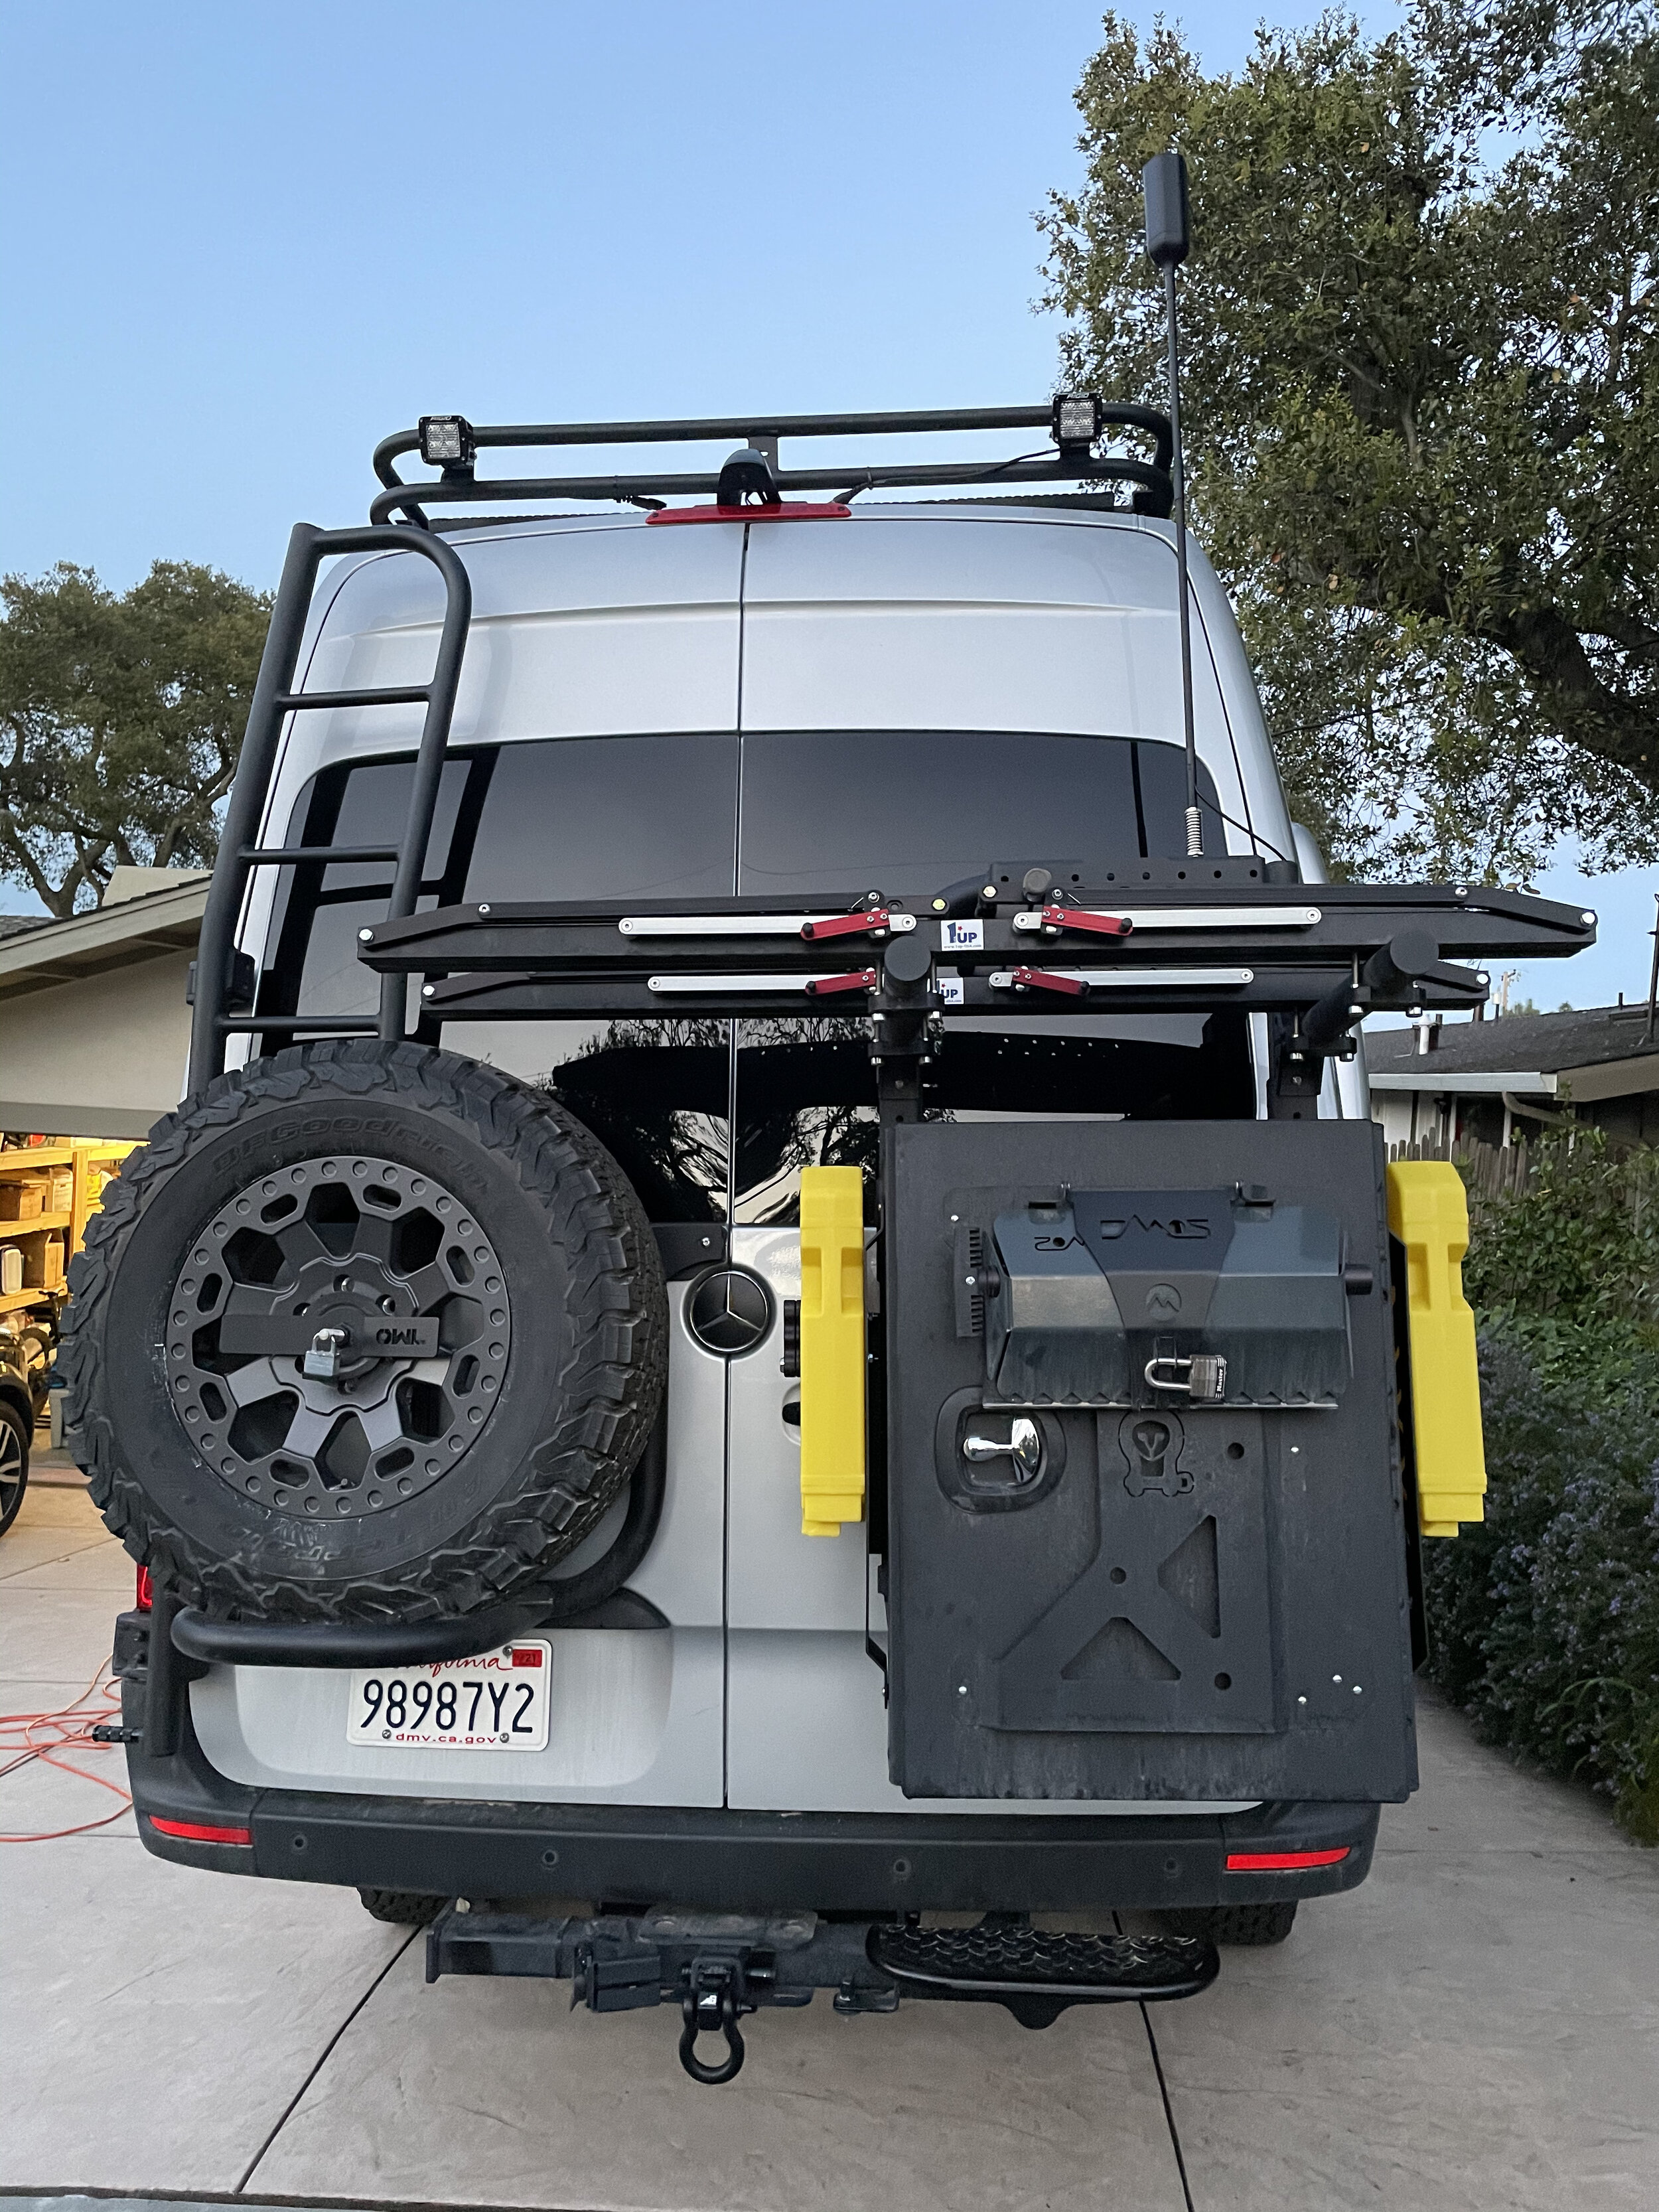
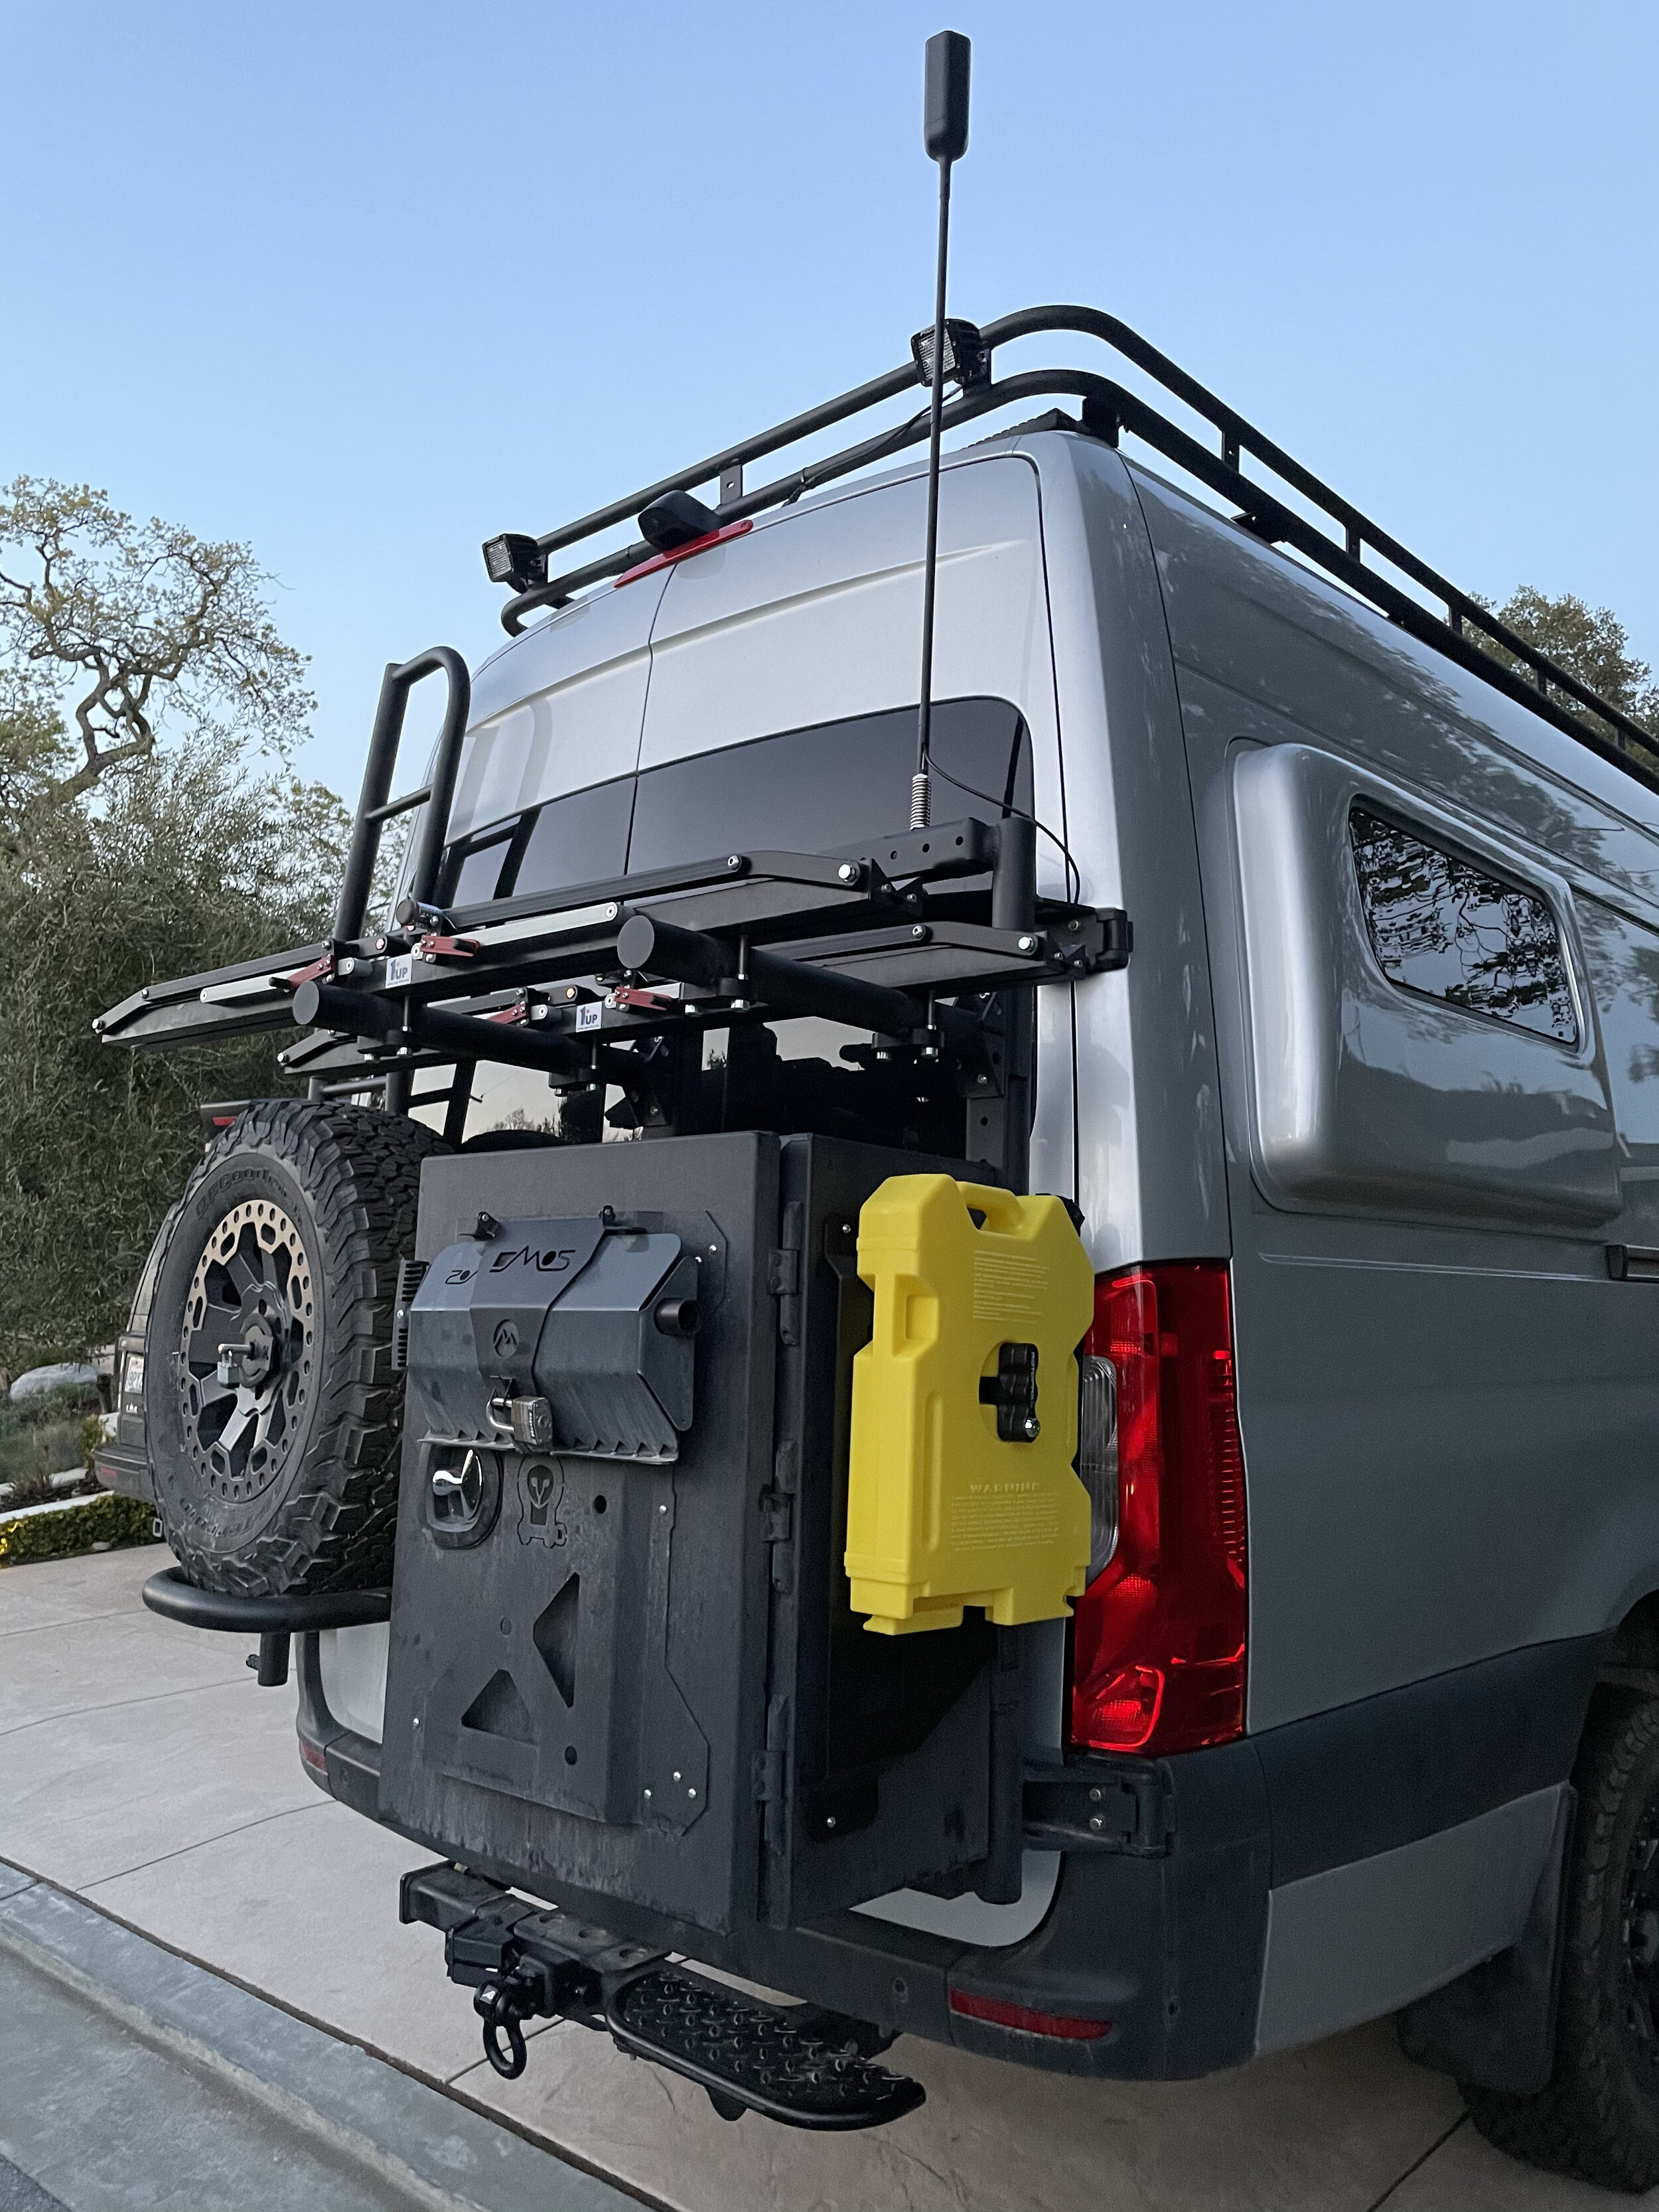
The fix to all of this is to get the bikes off the hitch and put them somewhere else. So we decided to get Owl Vans B2 Bike Carrier. This thing mounts to the rear door, matches perfectly (look and size) to our Owl Vans tire and ladder, accommodates two 1 Up bike racks and gives you mounting space for a large cargo box or an Owl Vans Sherpa panel. This solves our ground clearance issue as the bikes are up high (very high) and it gives us a place to mount our Owl Vans Expedition cargo box. The obvious downside here is that it only holds 2 bikes not 4. So what we do is put 2 bikes outside on the B2 and 2 bikes on the inside of the van in the cargo area under the platform bed. Problem solved…..well not totally. Our platform bed was just a couple inches too low to accommodate bikes under the bed panels so we are in the process of putting the panels on a hinge that will allow us to flip the panels up (more on that in another post).

IMG_0329.jpeg

When it is all said and done we ended up with a huge amount of storage outside for gear, mounting panels on the cargo box to store our shovel and two fuel tanks, and two bike racks that no longer reduce our ground clearance. You might say we went to an extreme to solve a logistics problem and you are right, but that is what a van conversion is all about…..solving a giant puzzle.

UPDATE 3/36/21

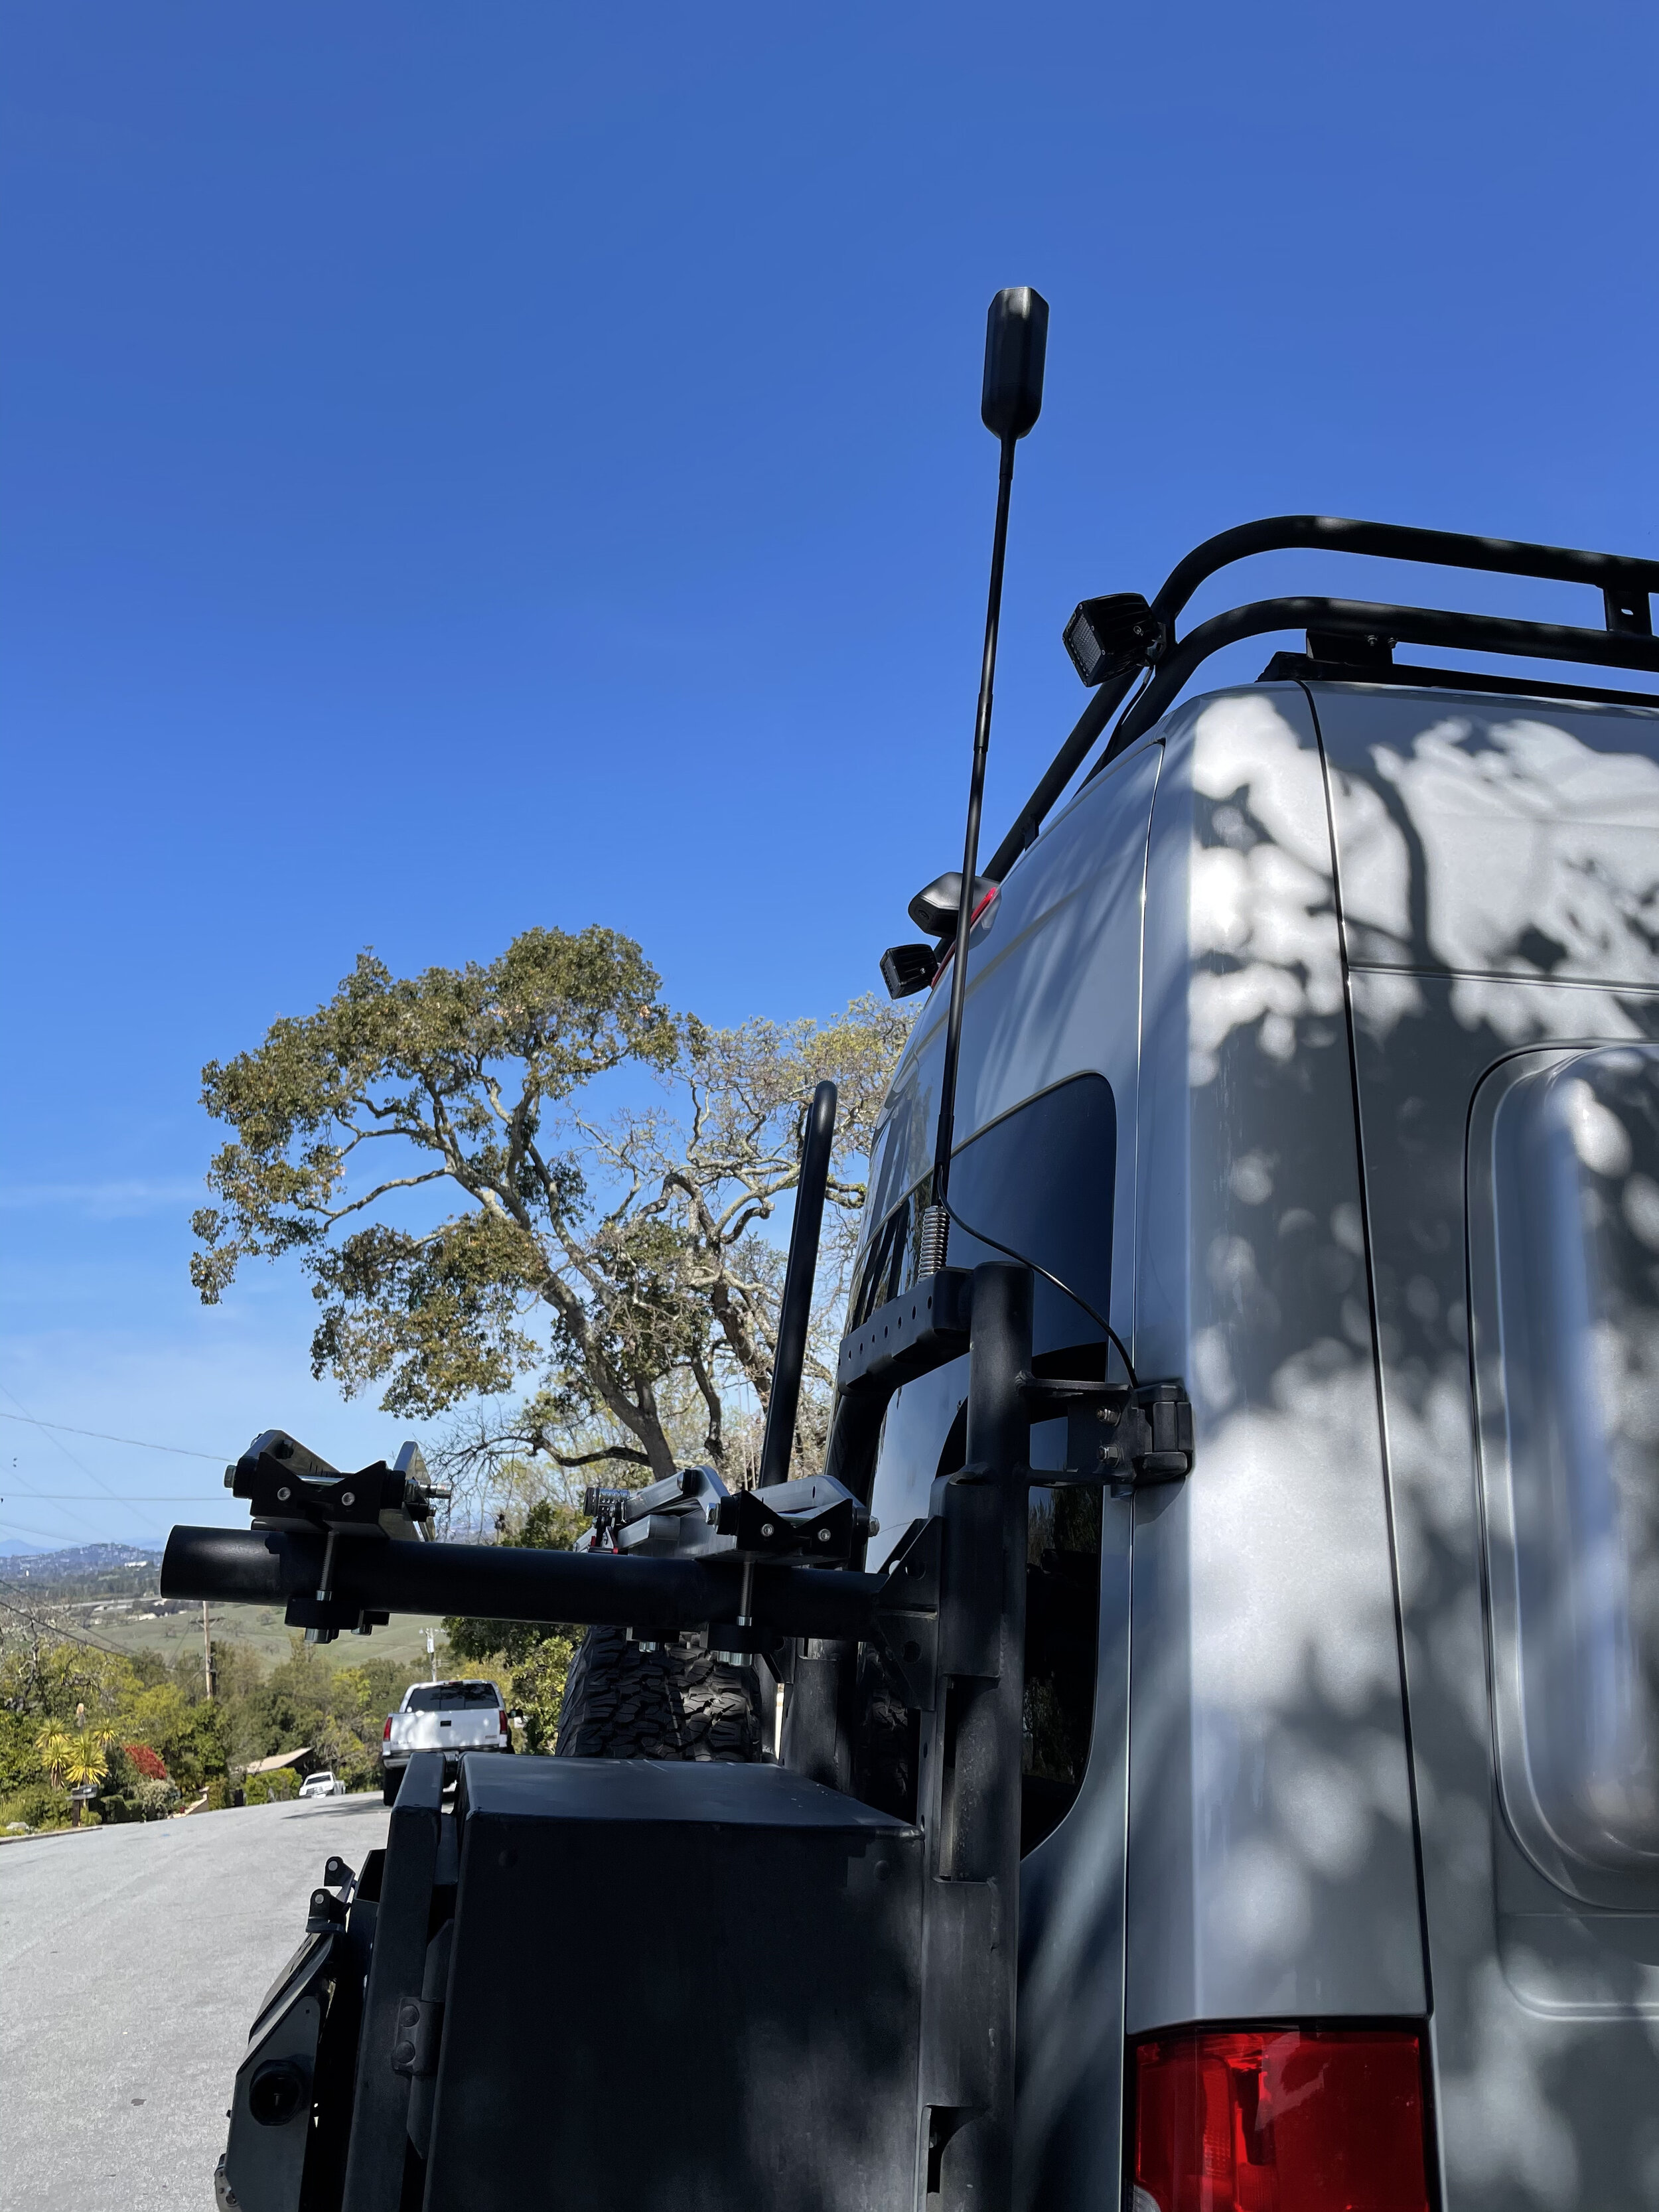
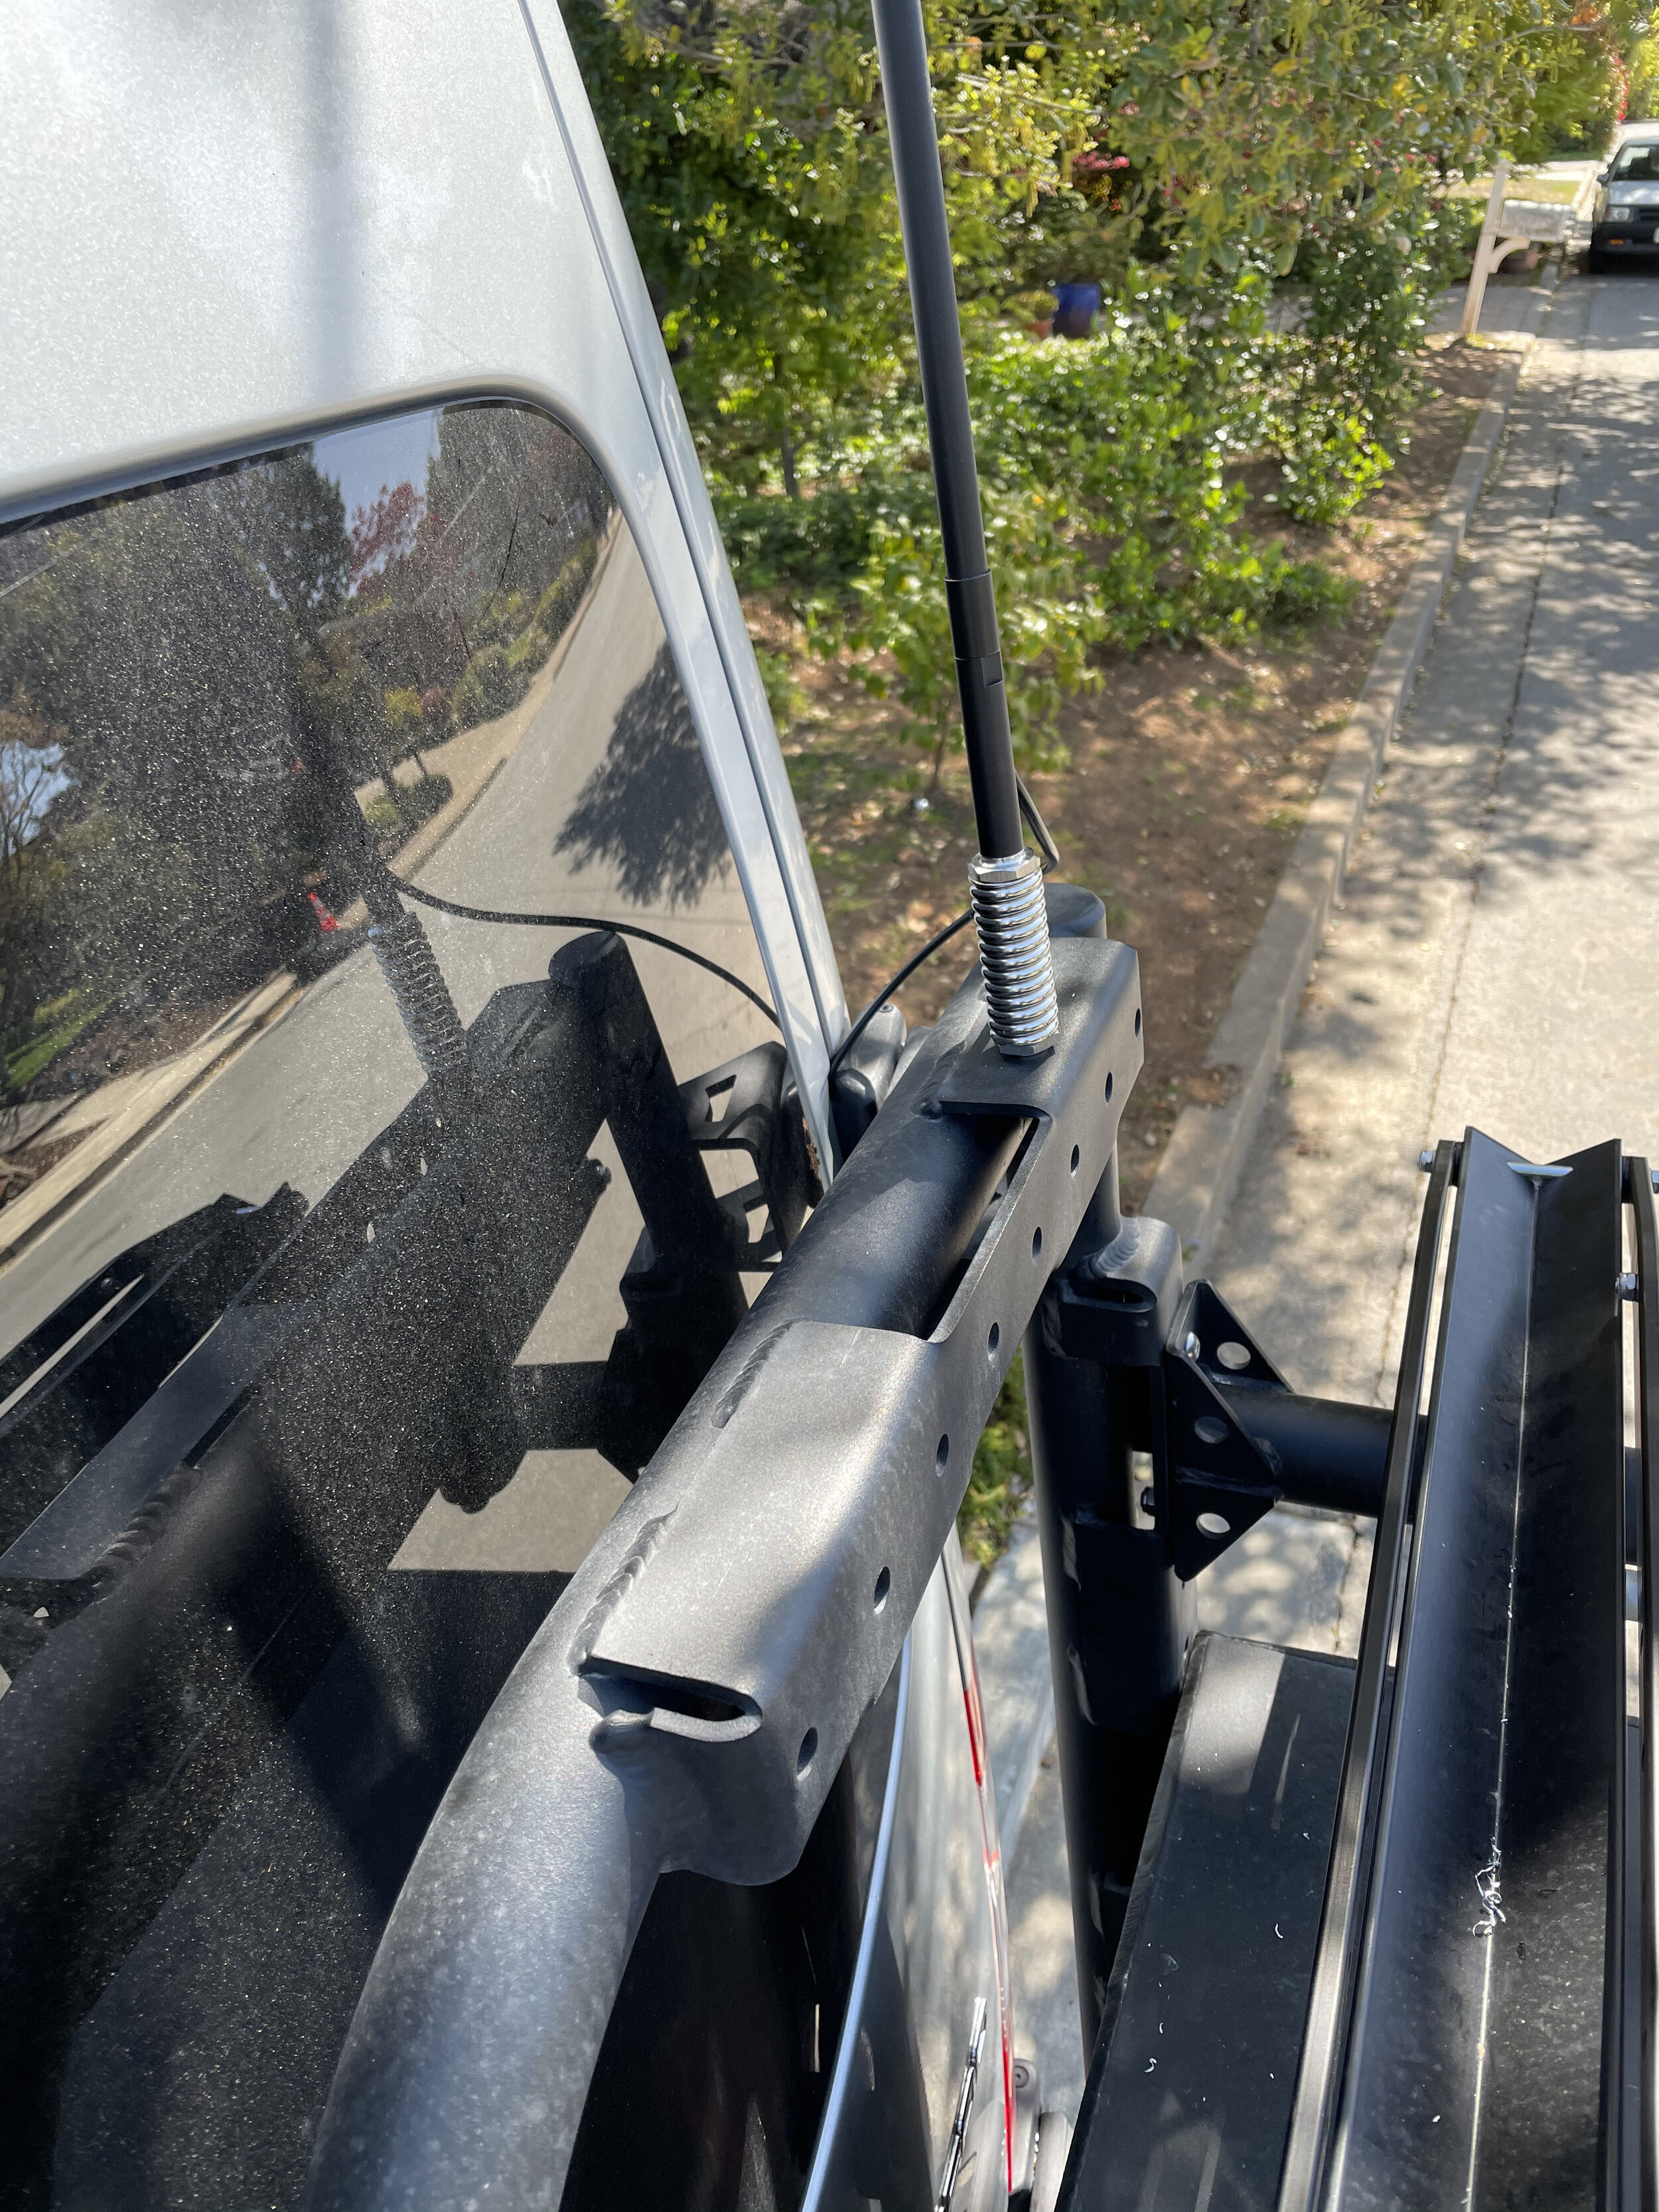
The cargo box also gives you a base to mount thing to. As you can see in the pictures above I mounted a DMOS Stealth shovel to the exoskeleton panel on the front. I also mounted two exoskeleton panels from Backwoods on the sides. On each of these I attached a Rotopax diesel fuel tank. Each tank is 2 gals so with two of them I have about 60 miles of reserve fuel. Finally I needed a permanent place to mount my WeBoost cell antenna and the frame part of the cargo box was perfect as it ensured the top of the antenna was above my roof rack but it was out of the way.

Sprinter Build - Suspension

While the Sprinter is not a true off-road vehicle you can make it a decent people mover on dirt roads. The 4x4 functionality of our van is…..ok. There is only so much you can do when you don’t have true lockers or proper off-road suspension geometry and an extremely long wheelbase. In order to improve what we could we decided to upgrade the suspension, wheels, and tires.

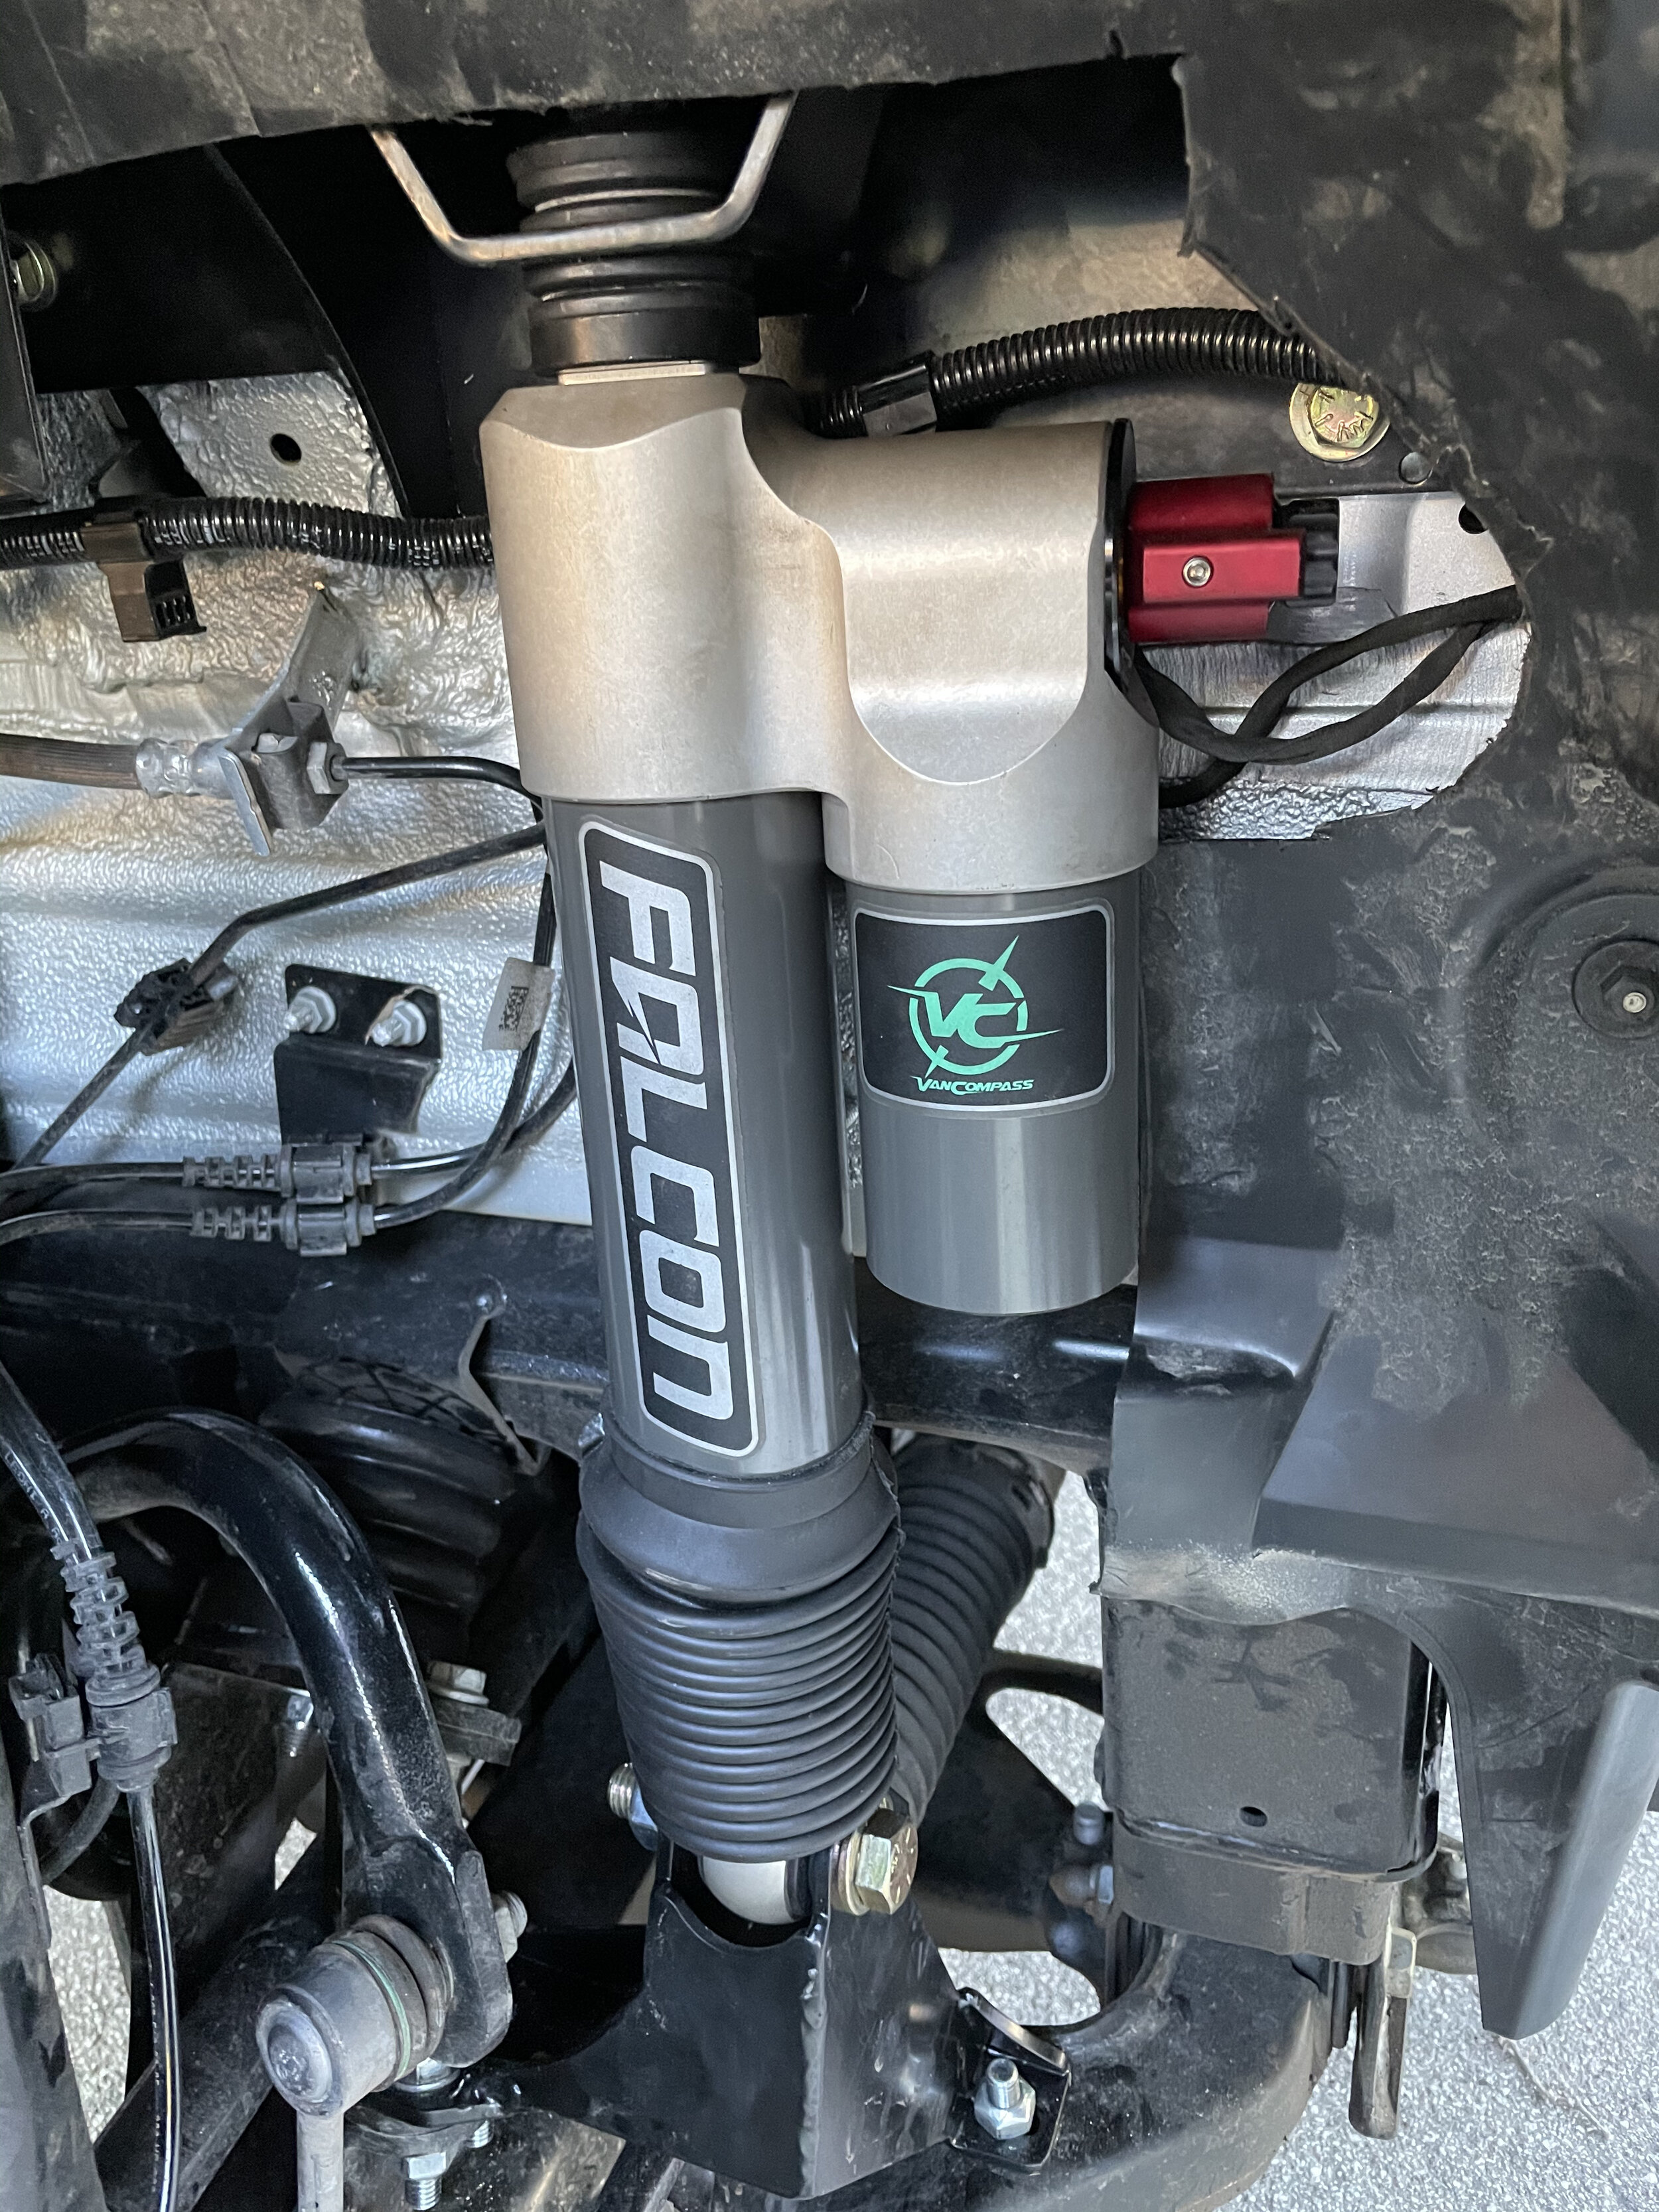
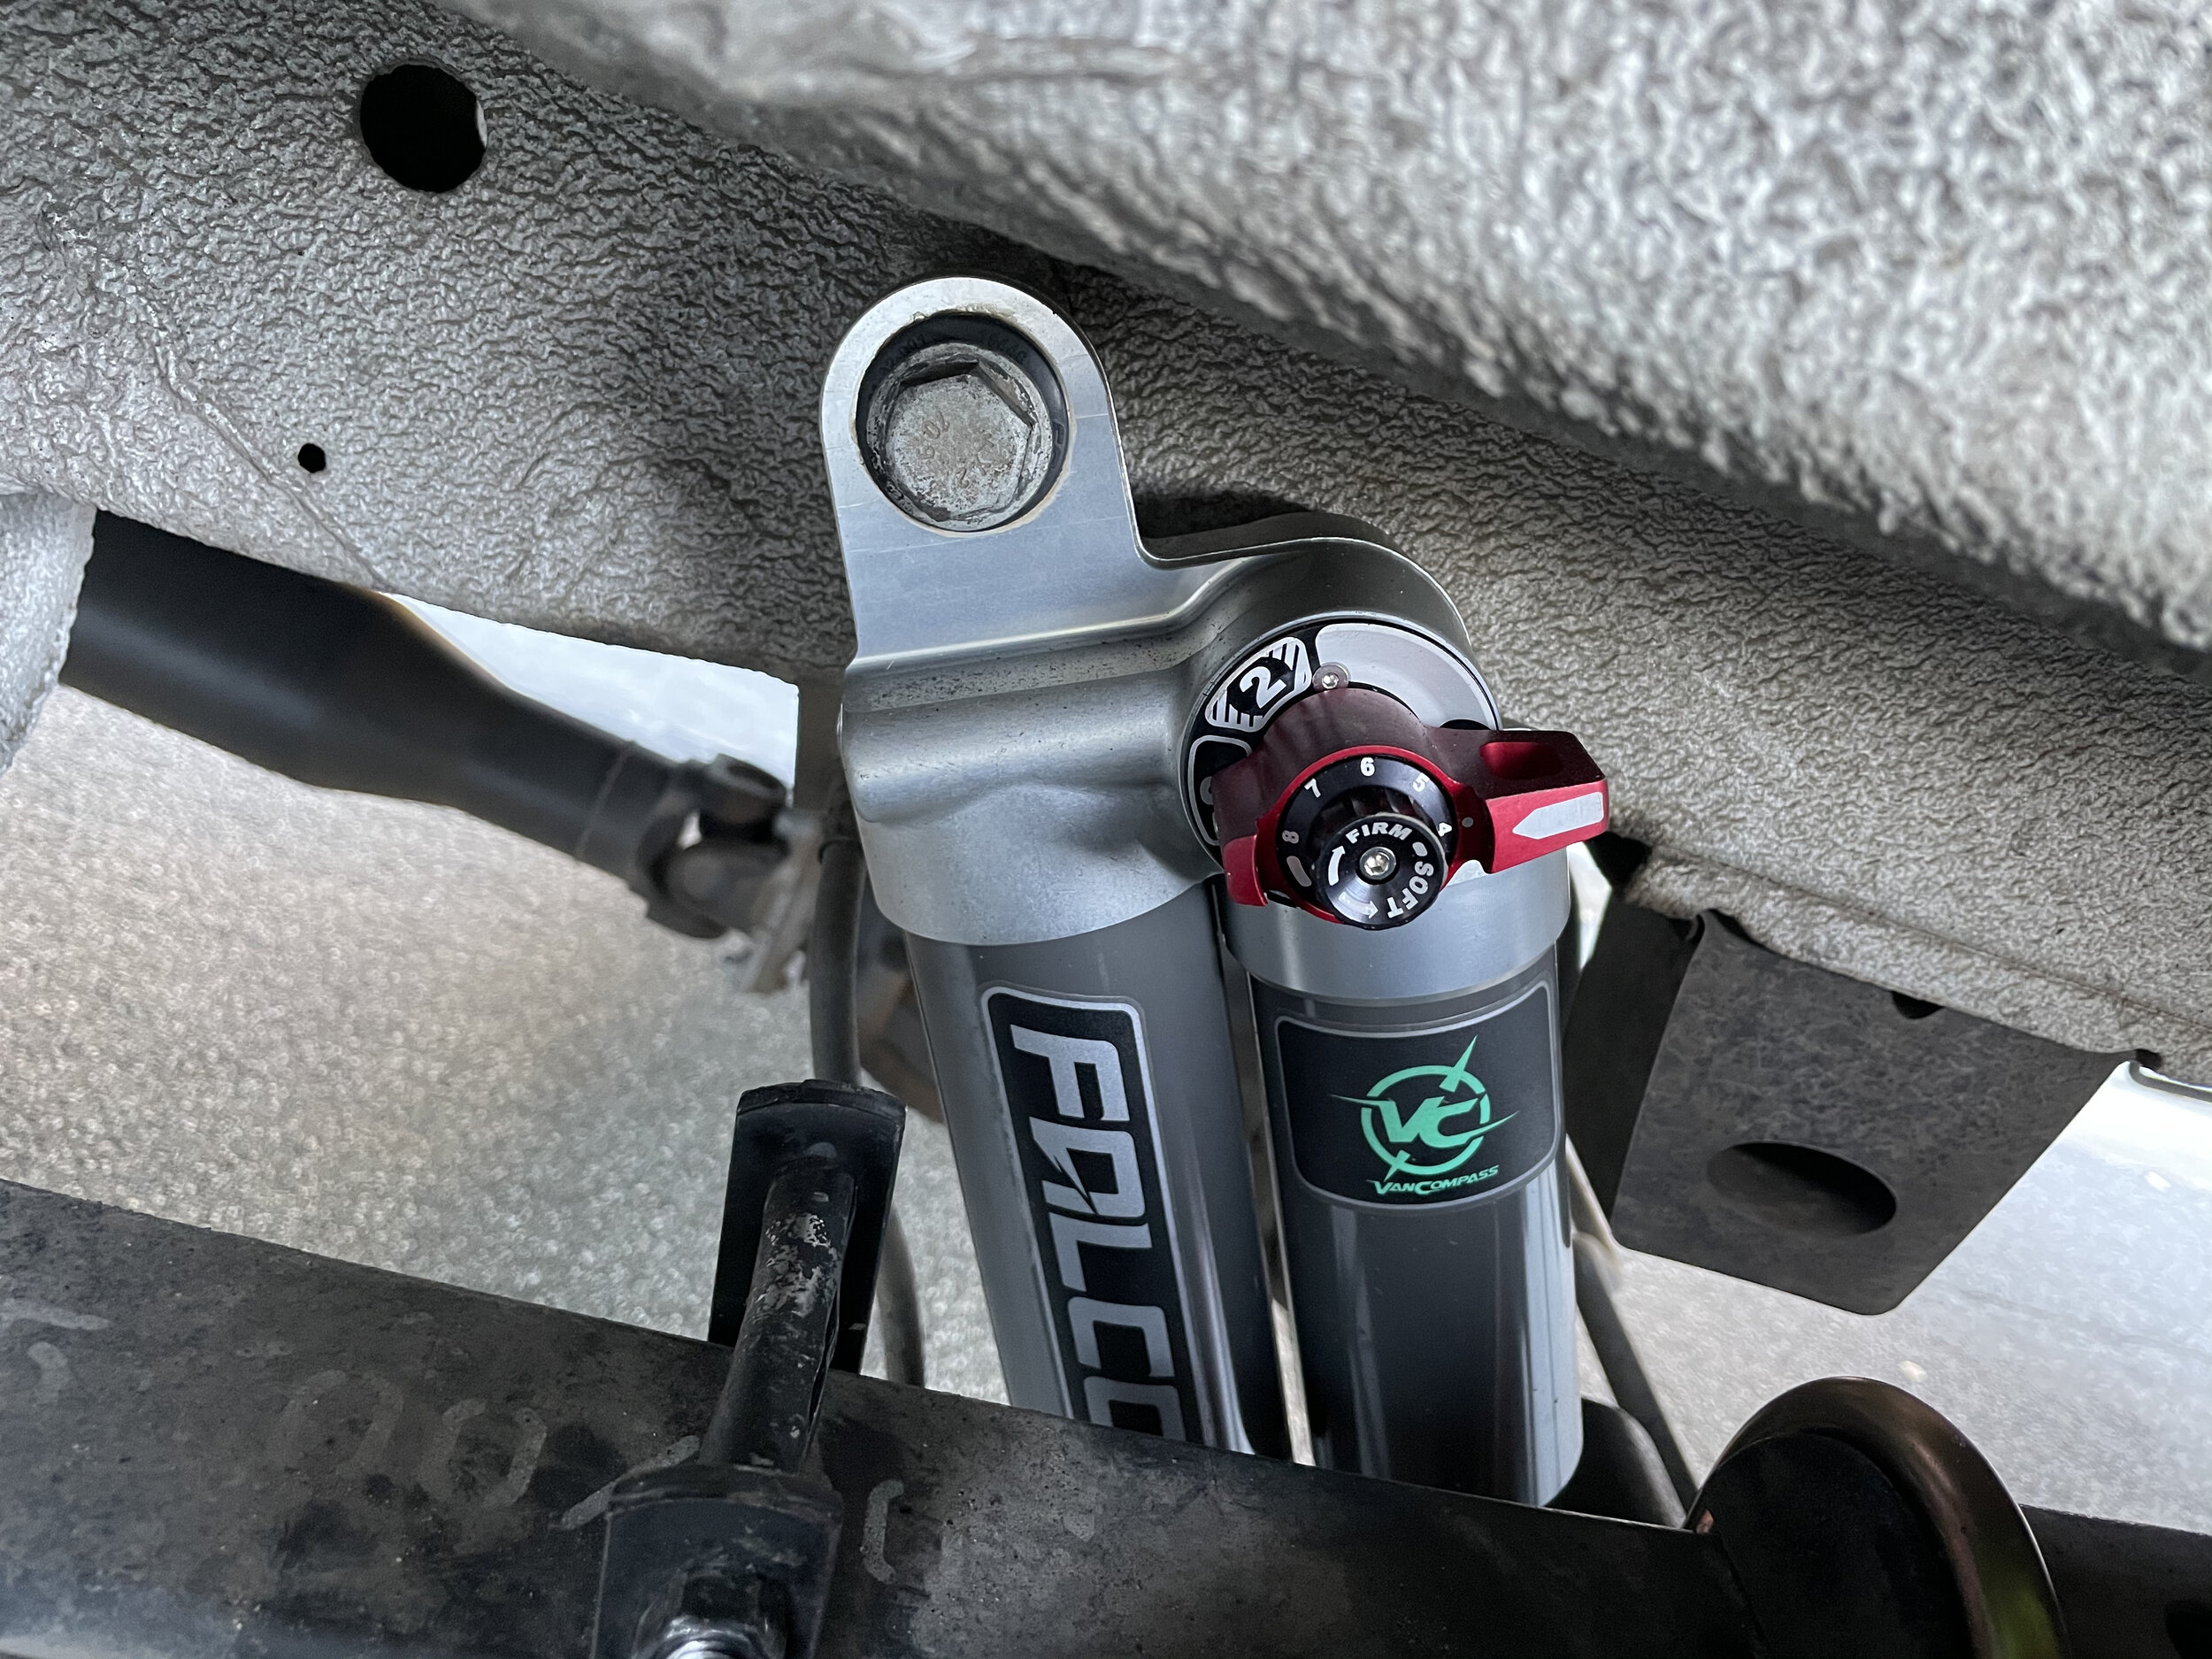
We went with a Van Compass suspension kit, mud flat relocation kit, Black Rino wheels, and BFG KO2 tires. The Van Compass kit we went with is their new 4.3 Falcon kit that has 3 main driving modes and within each mode they have 8 minor adjustments. One mode is firm for street driving and towing. The middle mode is just that, a balanced setting between the two extremes. The last mode is for off-road. The minor adjustments of 1-8 simply make things progressively stiffer or softer within the mode you selected. You change the settings by simply turning two dials on each shock by hand which only takes seconds. Van Compass requires you to get your van corner weighted so that they can tune your system before they ship it out. Everything is bolt on and the quality is fantastic.

The drive improvements from the Van Compass system are impressive. In the stiffest setting there was less sway and more control. It also helped cut down on the cross wind pushing. We generally leave it in this setting around town and on highways. When we do mixed driving we drop to the middle setting. Once you know you will be on dirt for a while we go to the softest setting and it really helps the van become a bit more capable off-road. We keep the minor setting at 4 (in the middle) but over time we might play with that setting some. Unlike some of Van Compass’s other suspension kits this setup does not raise the van. I didn’t want to mess with the geometry of the van for this family adventure camper, but if you are looking for more clearance Van Compass does offer raised kits.

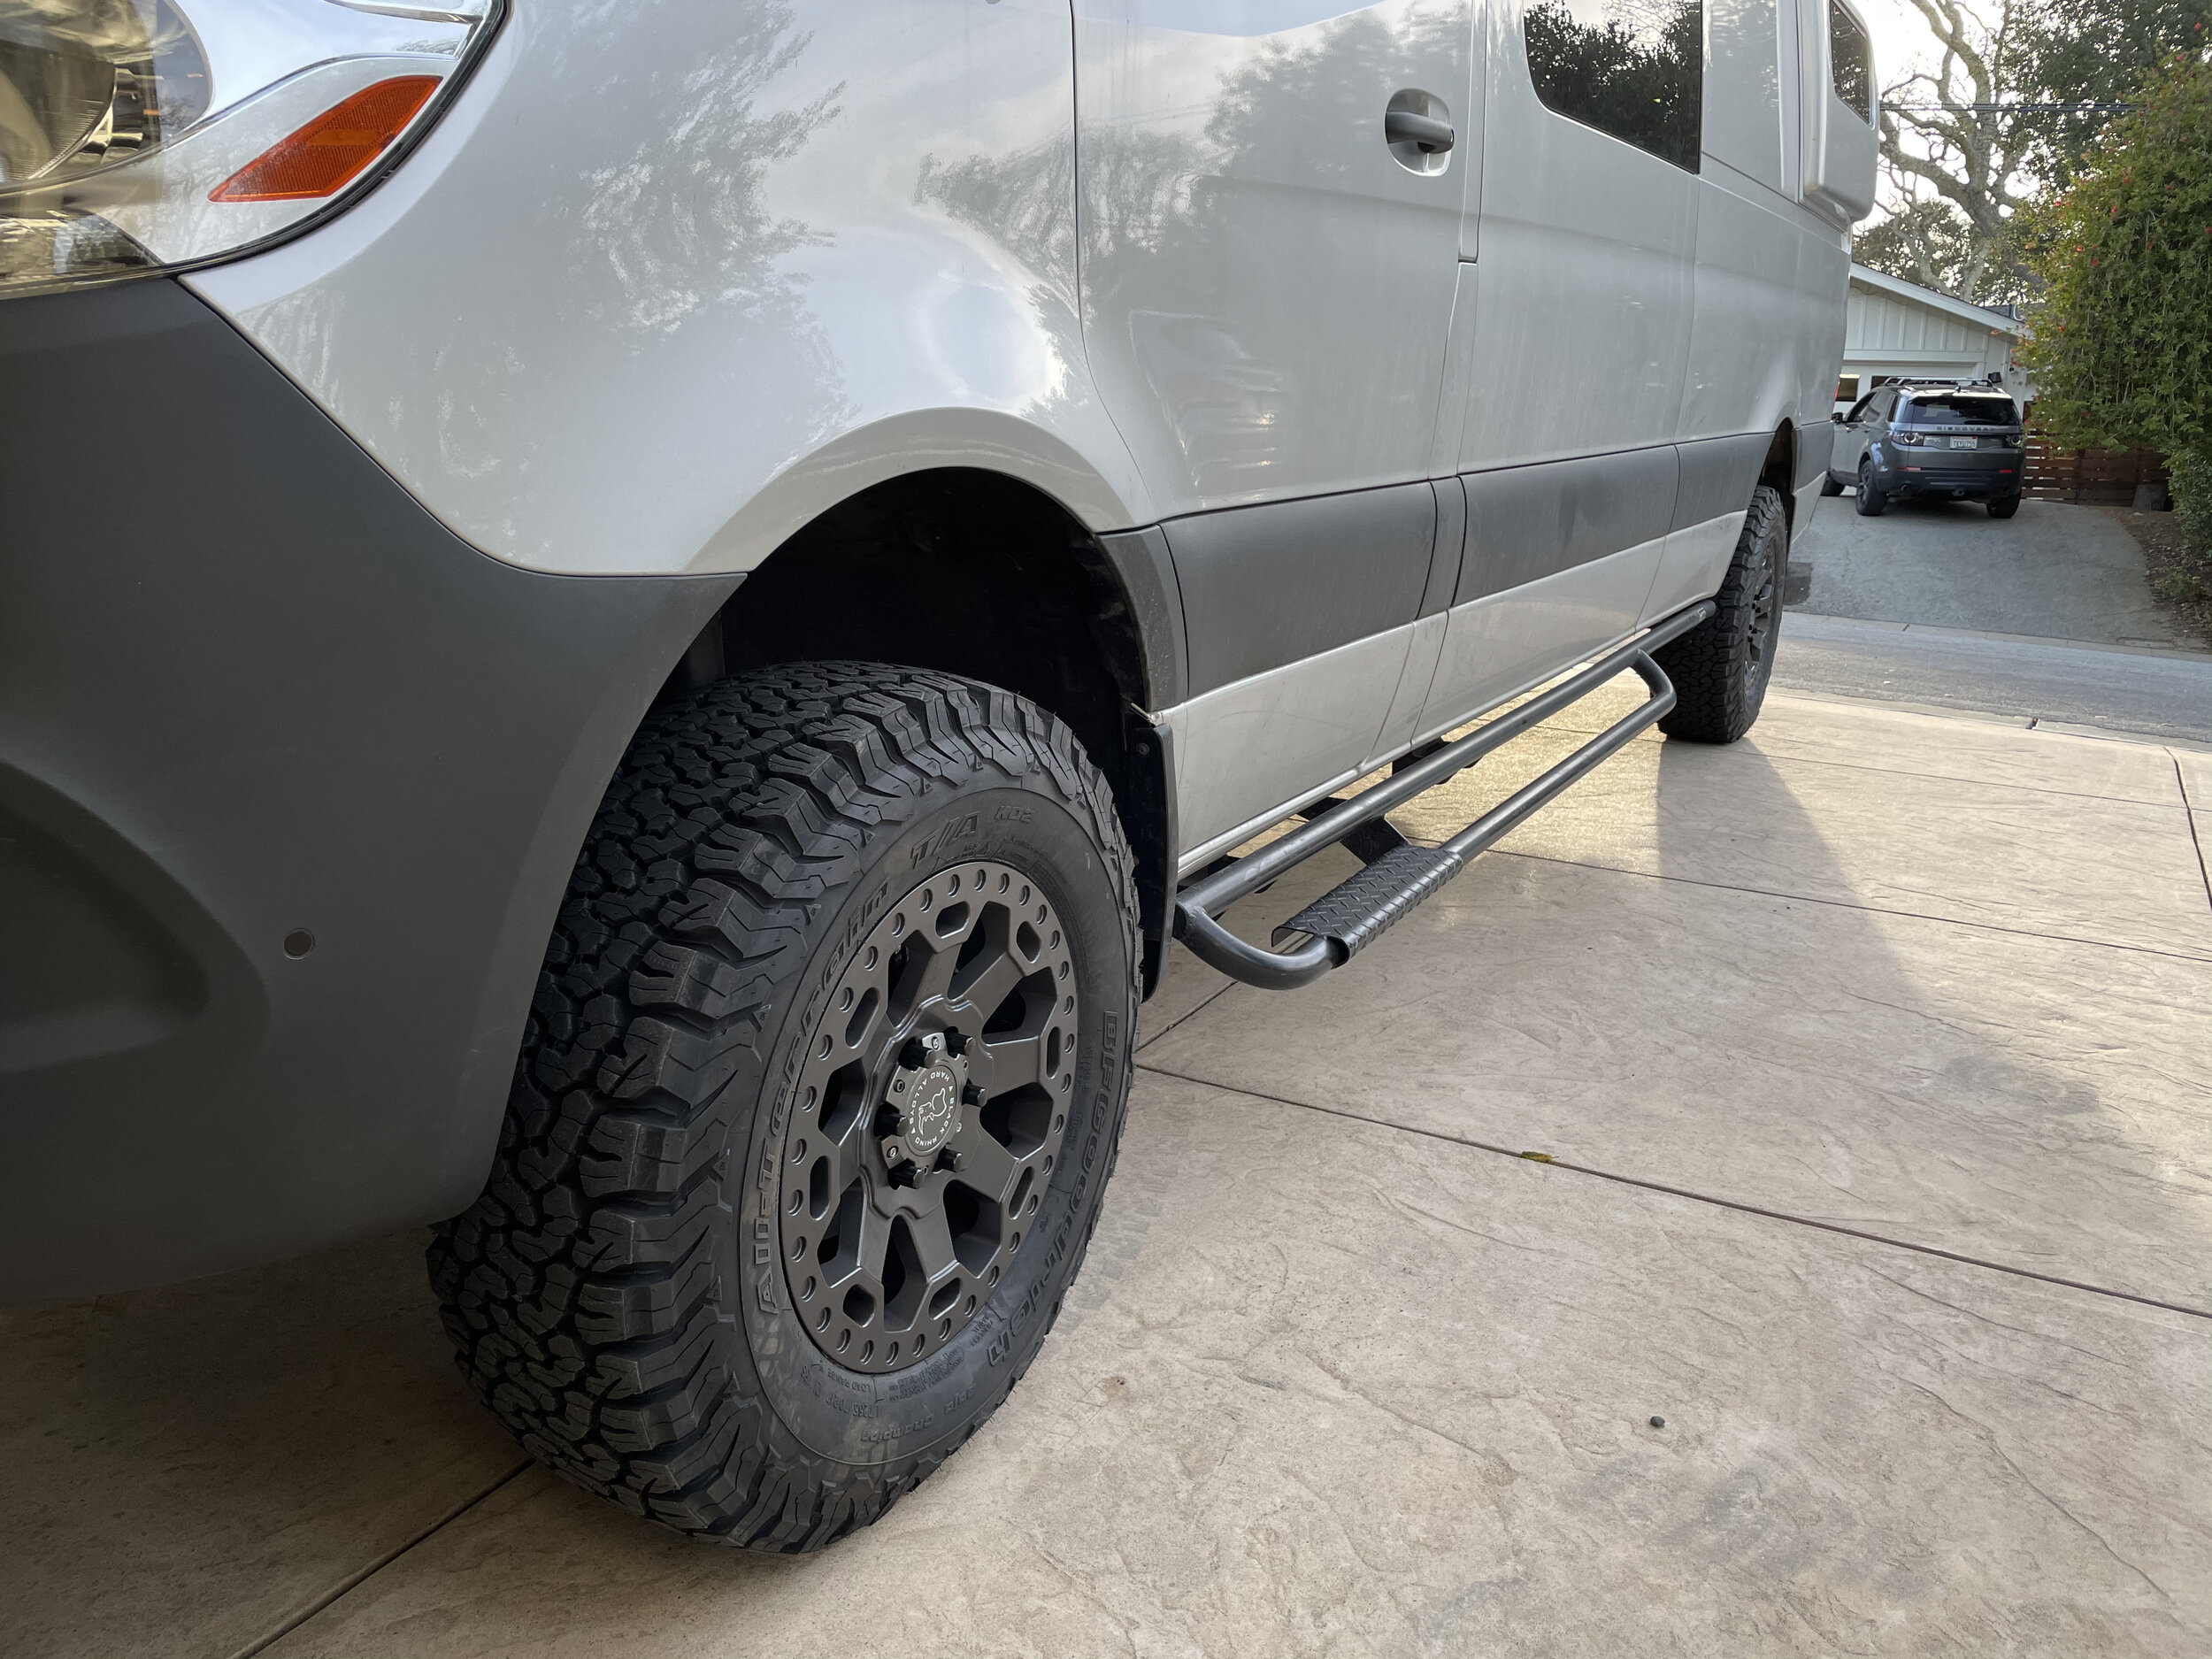
Van Compass says that the largest tires you can use without messing up the Sprinter’s electronic systems is 275 (stock tires are 245). We decided to go with 265/70/17 BFG KO2. These tires give us a bit more clearance, are three peak rated, drive well, and perform well off-road. Because the stock wheels are 16 we also had to upgrade the wheels to 17. We went with Black Rino Warlord matte black wheels. These require you to also upgrade the lug nuts/bolts because the stock bolts have a round head versus the standard cone head. It is also recommended you get wheel spacers. For that we went with Agile Off-road 16mm spacers. To fit these tires properly you need to use a Van Compass mud flap relocation kit to give you some proper clearance. This is especially needed if you plan on using chains for the snow.

This is a great modification to make your van more capable and look the part, but keep your expectations in check. A vehicle this large will never be a real rock crawler but these modifications will reduce your risk of getting stuck and make your dirt road and highway travels more pleasant.

Sprinter Build - Accessories

Here are some of my favorite accessories for our Sprinter van. We will keep updating this list as we find amazing products that better our van life.

  • Adventure Wagon Mule Bags: These things hold a ton, look great, and are removable in case you need to change your configuration. The new version comes with interior material in a bright orange to make it easier to see and find your gear. We have three large units which holds food and clothes for the 4 of us.

  • Overland Gear Guy Organizers: We have kids. Kids are messy. These seat organizers help the kids be less messy. We also have their kitchen organizer which helps store knives and spices above our galley.

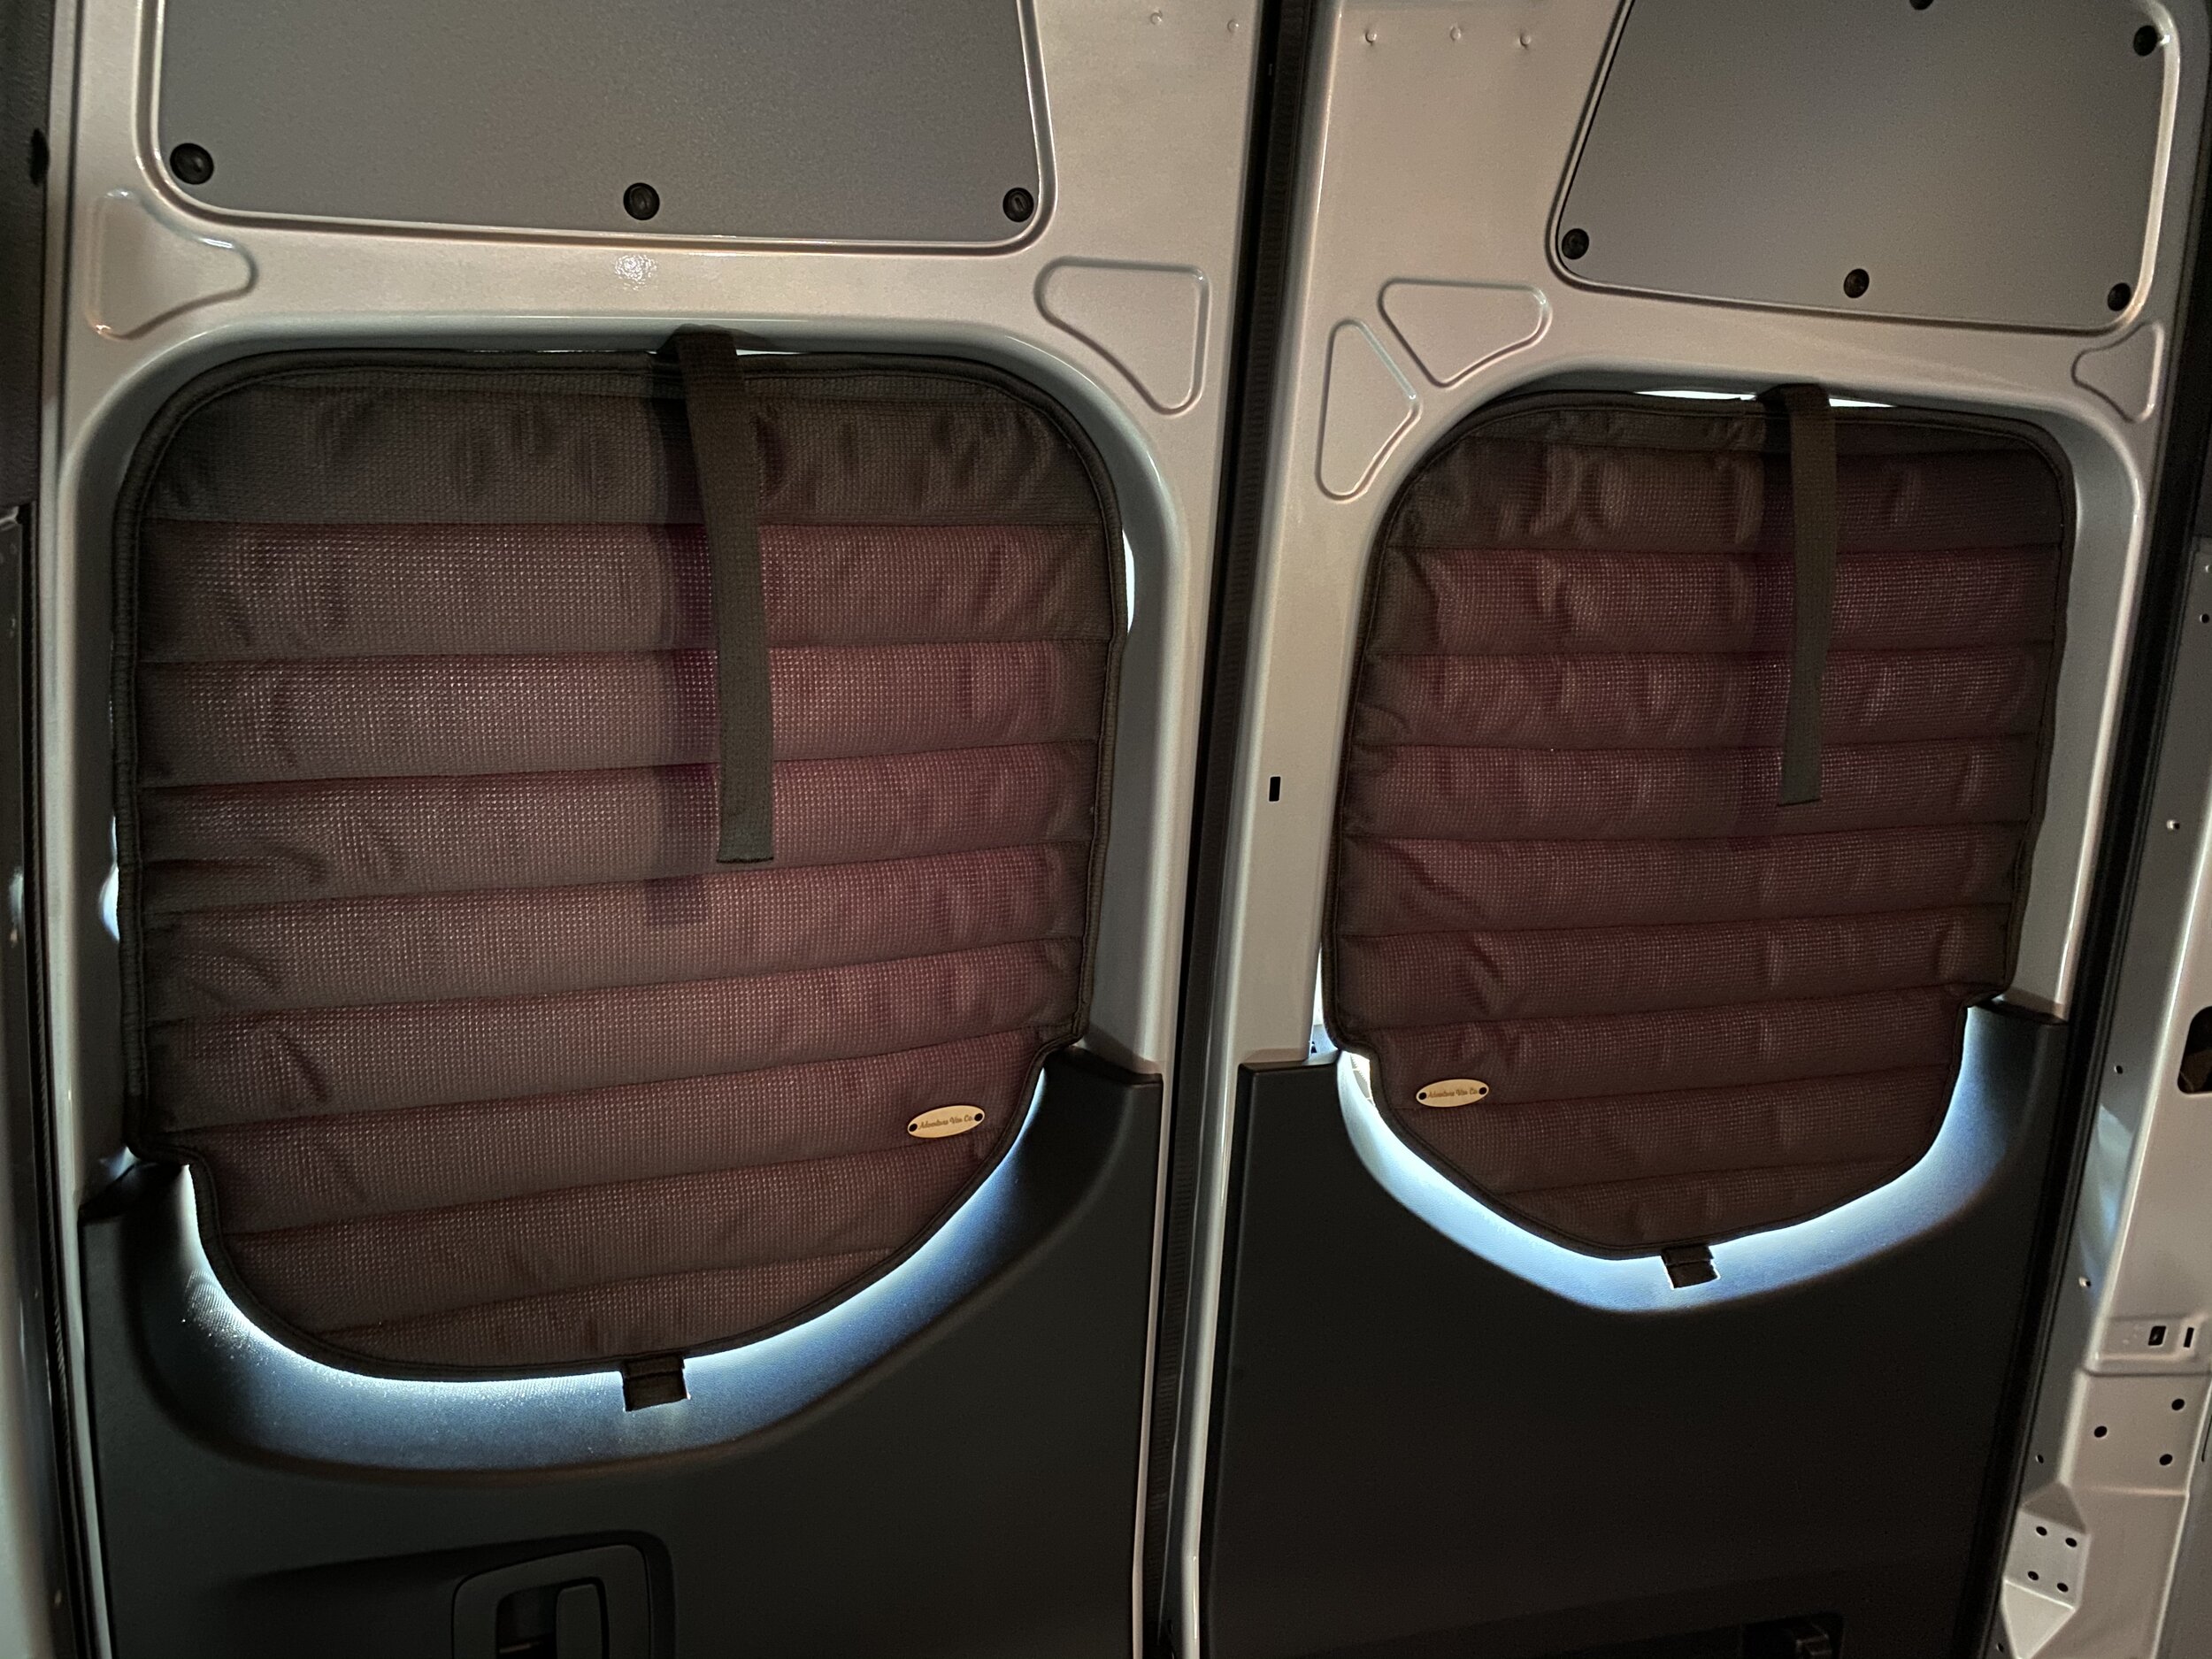
  • Adventure Van Co Window Coverings: There are literally hundreds of options out there to cover your van windows. We like these because they are insulated and great looking. My one complaint is that the magnets are not really strong enough to hold the weight of the coverings sometimes. We have fixed that my coming up with some semi-permanent holding options.

  • Wrappon Dry Seal Toilet: This was so game changing I wrote a dedicated blog posting about it. Rather than a cassette toilet or a holding tank (which both stink) this dry seal toilet from Japan heat seals your waste into individual plastic bags that you simply throw away. No mess and no smell. Game changing when you have 4 people in a van on a 2 week trip.

  • RB Components Bug Screens: One of the best things about vans are the huge doors that open up to bring the outside inside. But you don’t want bugs so these screens were the perfect solution. They are easy to install, are removable, function perfect, and look good.

  • RB Components Storage Pockets: You can never have too much storage in a van. These fabric storage pockets come in different sizes to accommodate just about any space.

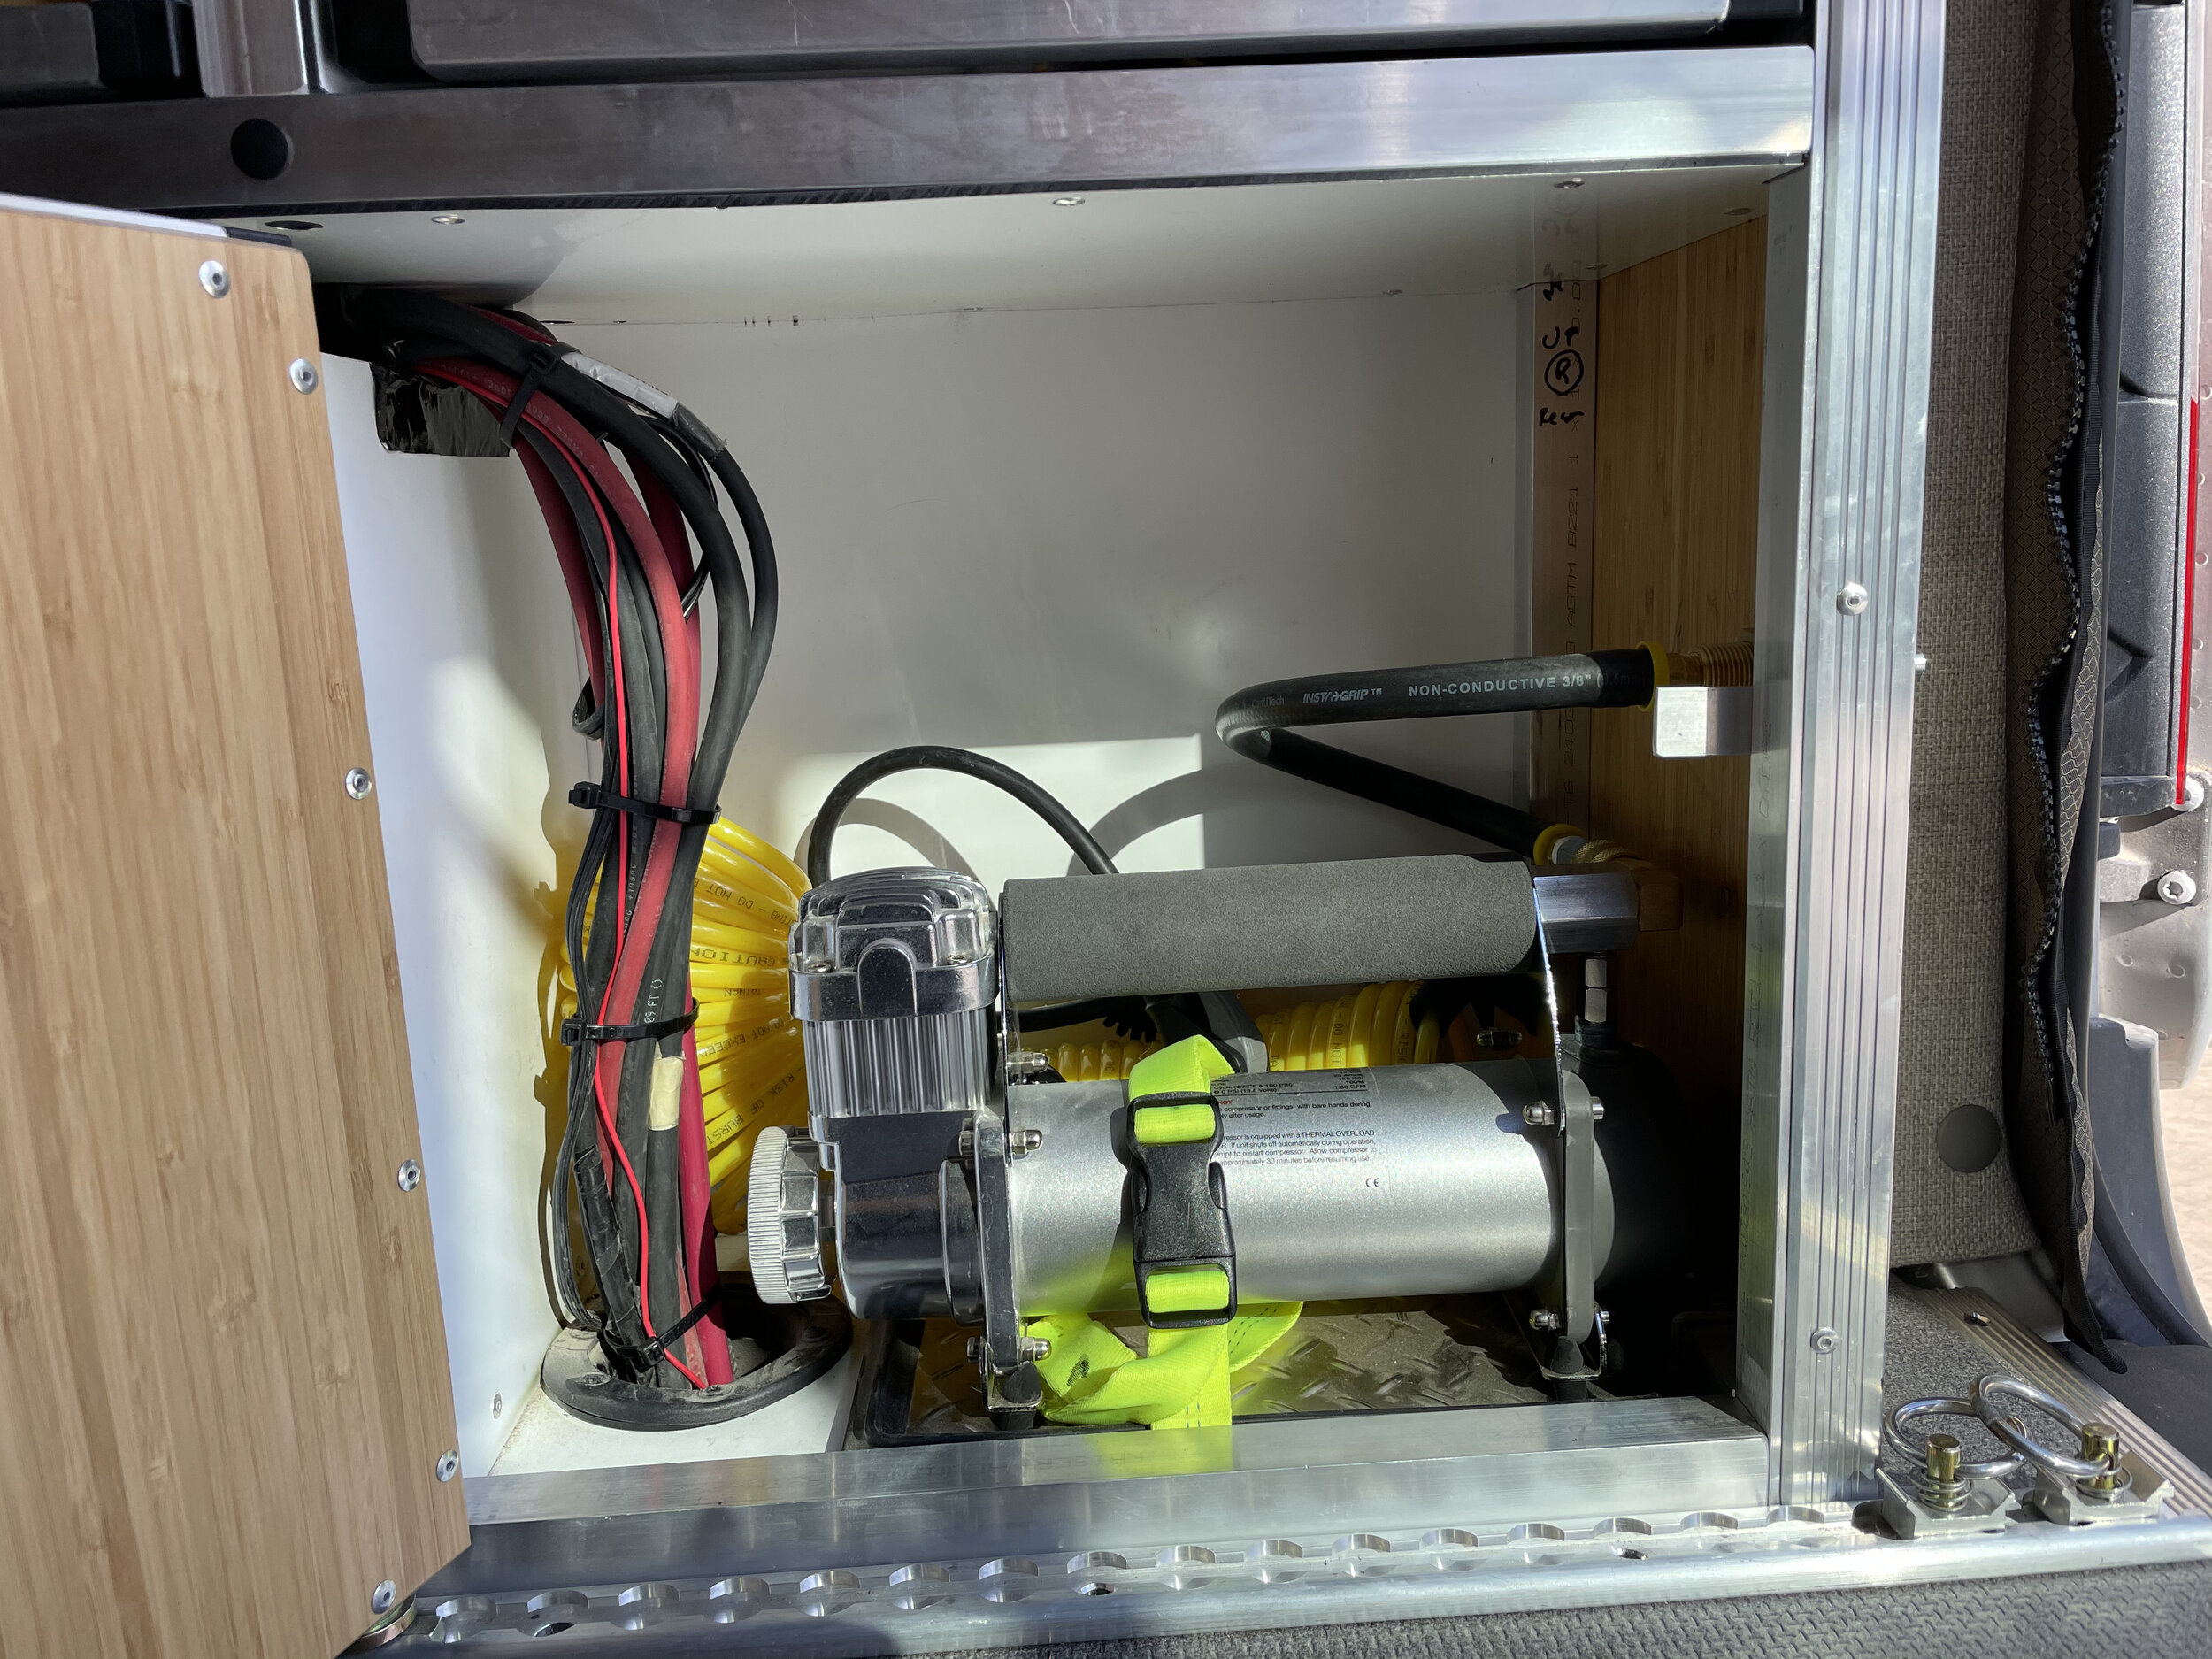
  • Air Compressor and MORRFlat Air Lines: We use our van off-road a lot which means deflating your tires becomes a need. But what gets deflated needs inflating. So an air compressor is nice to have. We have a Viair compressor and hardwired it into the van. For quick and easy deflate and inflate of the van tires we bought the MORRFlat dual tire air lines. We also can use our air system for bikes when we do MTB trips.

  • Trigger: With a van you can wire up a ton of fun and useful stuff (lights, air compressor, winch, you name it). But all those things need switches which can be a pain to wire. The Trigger4 Plus and Trigger6 is a central switch controller that makes your switches app enabled and you also will have an RF based remote switch panel. We used this to wire up all of our outside lights.

  • Rotopax: Our van gets about 15 mpg which is not terrible given the weight but certainly not great. The onboard tank is modest in size so we only get about 350 miles per tank. And then you have the issue that not all gas stations have diesel, so it is nice to have some external reserve fuel tanks just in case. We went with two Rotopax diesel tanks that hold 2 gal each and mounted them to our external cargo box. We also got Rotopax locking mounts to keep the fuel tanks secure.

  • PedalBox+: This is a game changer if you ask me. This device will give your van more throttle responsiveness which increases the drivability of the van. It will not increase power but it will change how your electronic throttle communicates to your engine which in turn makes it feel like your van has more power. It is an inexpensive and easy way to make your van more enjoyable.

Sprinter Build - Water and Electrical Cabinets

2010-Crawford Sprinter-31.jpeg

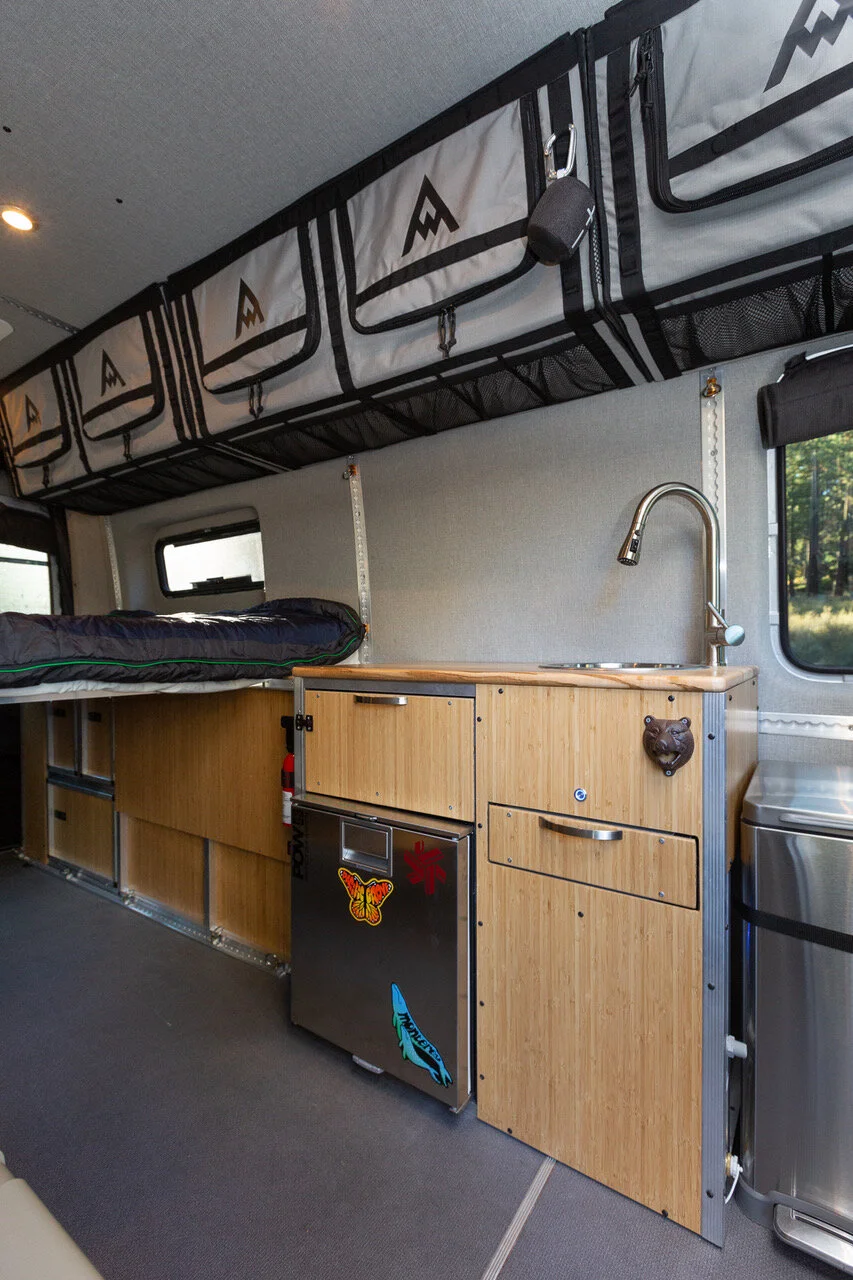
There are so many configuration options out there, but once you decide to make a van that can comfortably sleep 4 people in 4 seasons your configuration options quickly shrink. One of the biggest choices you need to make is how comfortable are you trying to make the van, what are your water and electrical needs, and how to make your water and electrical needs fit with your sleeping needs. For us it was important that we could take our van anywhere at any time of the year. That meant we wanted the water tanks and water lines all inside the van to reduce the risk of freezing (we have a dedicated cabin heater). We also needed enough water for four people for multiple days. We also wanted the ability to take a shower, have a small fridge, hot and cold running water, and basic cooking. We needed enough electrical capacity to run our gear without shore power or a generator. And lastly all this needed to still allow a family of 4 to sleep comfortably, give us room for gear, and accommodate the Adventure Wagon interior kit and Flarespace pods.

After many hours of research I came across Truckee, CA based Trails Kitchens. Hans and his team hand build a variety of kitchen pods for Jeeps, trucks, and vans. Some of these are removable and some are permanent. They have configurations to accommodate fridges, sinks, water tanks, showers, electrical cabinets, stoves, you name it. All of their stuff is built using aluminum framing and then they finish off the units with aluminum or bamboo panels. They look great, they function well, and they are thoughtfully designed. Because Hans is an electrical engineer he has designed fully contained electrical cabinets with the latest electrical components. Once I saw the options Trails Kitchens offers I knew it was the way to go for our build.

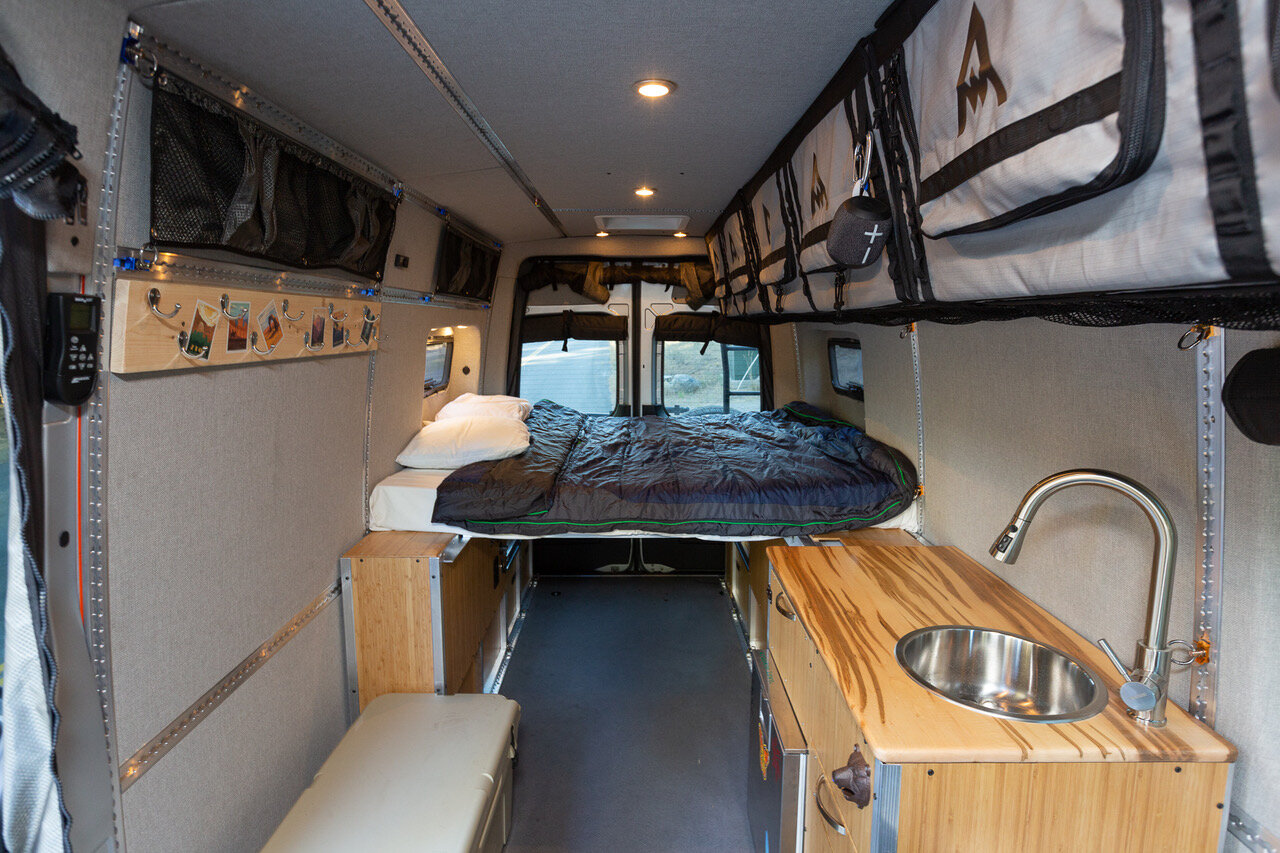
So here is what I ordered. Driver side wheel well cabinet that houses all the water elements, a driver side sink and fridge galley, and a passenger side wheel well cabinet that houses all the electrical components. I also ordered a bed panel that spans across the wheel well cabinets to form the main bed. This lines up perfectly with the Flarespace pods. The bed panels are removable so that you can take the bed out and use the van for hauling. We are in the process of converting the bed panels to be mounted on a hinge versus bolts like they are today. This will allow an even quicker conversion from hauling van to camper van, but that will be a future post. For now let’s dig into the water and electrical system details.

2010-Crawford Sprinter-44.jpeg

First let’s talk about the water system. For the water wheel well cabinet we have a 20 gal tank, an electric on-demand water heater and a propane on-demand water heater, plus outdoor shower hookups. The reason we wanted both electrical and propane water heaters is because we wanted flexibility on which to use based on our trip needs. For quick and easy hot water the electric heater is perfect but it comes at a cost…..battery draw. If we were doing a short trip this is the way to go, but if we were doing an extended off the grid trip that heavy battery draw would eventually take its toll. That is where the propane water heater comes in. We can simply hook up a small propane tank and get hot water with no power draw. This does make the water system more complex but it also makes it more flexible. The driver side galley also has a water tank that is about 10 gal. The galley also houses the gray water thank, a small fridge, a sink, and two drawers for kitchen items. There are electrical switches to isolate the two water tanks or you can link the two tanks together for around 30 gals of water capacity. Trail Kitchens even provides a four person dish set and a single burner stove. What I like is that the stove is portable so that you can cook inside when the weather is nasty or you can take the stove outside to cook when the weather is nice. This is smart because you will find that cooking outside is WAY better than cooking in your van. I know many other builds have a stove built-in but I honestly don't think that is ideal if you plan on using your van year round. Permanent cook tops takes up valuable counter space and you are stuck cooking inside making your van smell (just wait until you cook fish). One last comment on the water system that I get questions on all the time. “Why have an outside shower versus an inside shower?” The short answer is….space. Inside showers, or wet closets, take a ton of space and create a fixed element in your floor plan design. We have found that we don't need a shower for short trips and for longer trips where you do want to clean up an outdoor shower does the job without taking ANY space in the van. You shower off the back of the van with the rear doors open and we put up an RB Components shower curtain for privacy. Or just give the world a show :)

IMG_3660.jpeg

That brings us to the electrical wheel well cabinet on the passenger side. It took us some time to really dial this in but now its amazing and works perfectly. We ran into some issues due to the Sprinter’s smart alternator. This seems to be an issue mostly with 2019 and 2020 models. What happens is that the smart alternator decides when to engage based on the needs of the van battery which often results in your house battery not getting charged even after driving for hours. I have outlined the solution we used below. The electrical cabinet houses a Renogy 200 amp hour AGM battery, all the electrical components, and most of the wiring. We went with an AGM battery because lithium batteries don’t like the cold and this van sees a lot of snow. But AGM does have a downside in that you don’t want the SOC (state of charge) to drop too low, in our case below 50%. I am sure at some point we will switch to lithium batteries but for now the AGM works just fine for our needs. That battery has a dual charge controller by Renogy (RBC30D1S) which is the solution to the smart alternator issue I mentioned. This controller will monitor the van battery, the smart alternator and the solar panels to determine how best to charge the house battery. It even takes into account the temperature of the house battery to optimize the charge. It can have a bluetooth module added to make it app enabled and you can add a dedicated display panel for the controller if you want.

We also use a Balmar SG200 to monitor the entire system. When wired properly, the Balmar will monitor all the charges and draws on the system to give you a net impact reading along with SOC (state of charge) and SOH (state of health) readings for the house battery. It even calculates the time remaining on the battery at the current net draw level. In order to get a complete view of your system you need to wire all the negatives to the Balmar shunt. The Balmar also has a module to make it app enabled. For solar we installed two Renogy 160w solar panels on the roof. To round out the electrical system we have a Xantrex Freedom XC 1000 inverter that gives us 1000 watts of AC power in the van as well as access to shore power for charging. All of the accessories (lights, fridge, etc) wire into one of two fuse boxes or to a safety hub so that each circuit can be on a dedicated fuse.

When it is all said and done our van can be charged by the alternator, solar, or shore power. We have enough power for the four of us without needing a stinky, loud generator. The only thing we need to top off about once a week for long trips is water….making this a great off-the-grid van for our family.

Sprinter Build - Roof Rack and Ladder

A proper adventure van needs a proper safari rack, at least in my mind. There are some good options out there and after checking them all out we went with the Freedom Van Go roof rack. This rack looks the part and has some great features. It is basically a round bar frame with a ton of mounting points on the side and rear. It also has a mounting plate for a light bar in the front. It does not come with a floor but it does have a TON of attachment points where you can customize a floor based on your needs. The build quality is great and it accommodates an easy mounting solution for a Fiamma F45S awning.

IMG_3709.jpeg

We wanted a floor we could walk on so we worked with Owl Van to fabricate a custom floor that wraps around our ceiling vents and to accommodate solar panel mounts. Owl Van has since gotten out of this custom fab work so if you are looking for a truly custom roof rack I would suggest working with a local metal fabricator or checking out Aluminess who still does custom fab work. Another option is to get Freedom Van Go’s roof floor panels but they don’t wrap around vents or AC units, but they are quick and easy and might do the trick for your needs.

IMG_0319.jpeg

We plan on mounting a KC Gravity Pro6 LED light bar up front and then Rigid D-series Pro light pods on the sides and rear. After doing many nights of off-road driving to find some privacy we have found we need surround lights to avoid cliffs and rocks. What I love about our rack is that I can have two large solar panels, two ceiling vents, an awning, and lights and still have some flat space for storage or just hanging out to watch the sunset.

Now comes the question of how to get up to the roof rack. For that we went with an Owl Van ladder and tire carrier. This serves two purposes. The first is a strong and clean looking ladder to get you up to the roof. The second is to move the spare tire from under t he van to the ladder which also means you can get bigger tires. The Owl Van stuff is extremely well built. I also liked that they are based in the Bay Area as I am trying to work with local businesses as much as I can.

IMG_3708.jpeg

Sprinter Build - Interior Kit

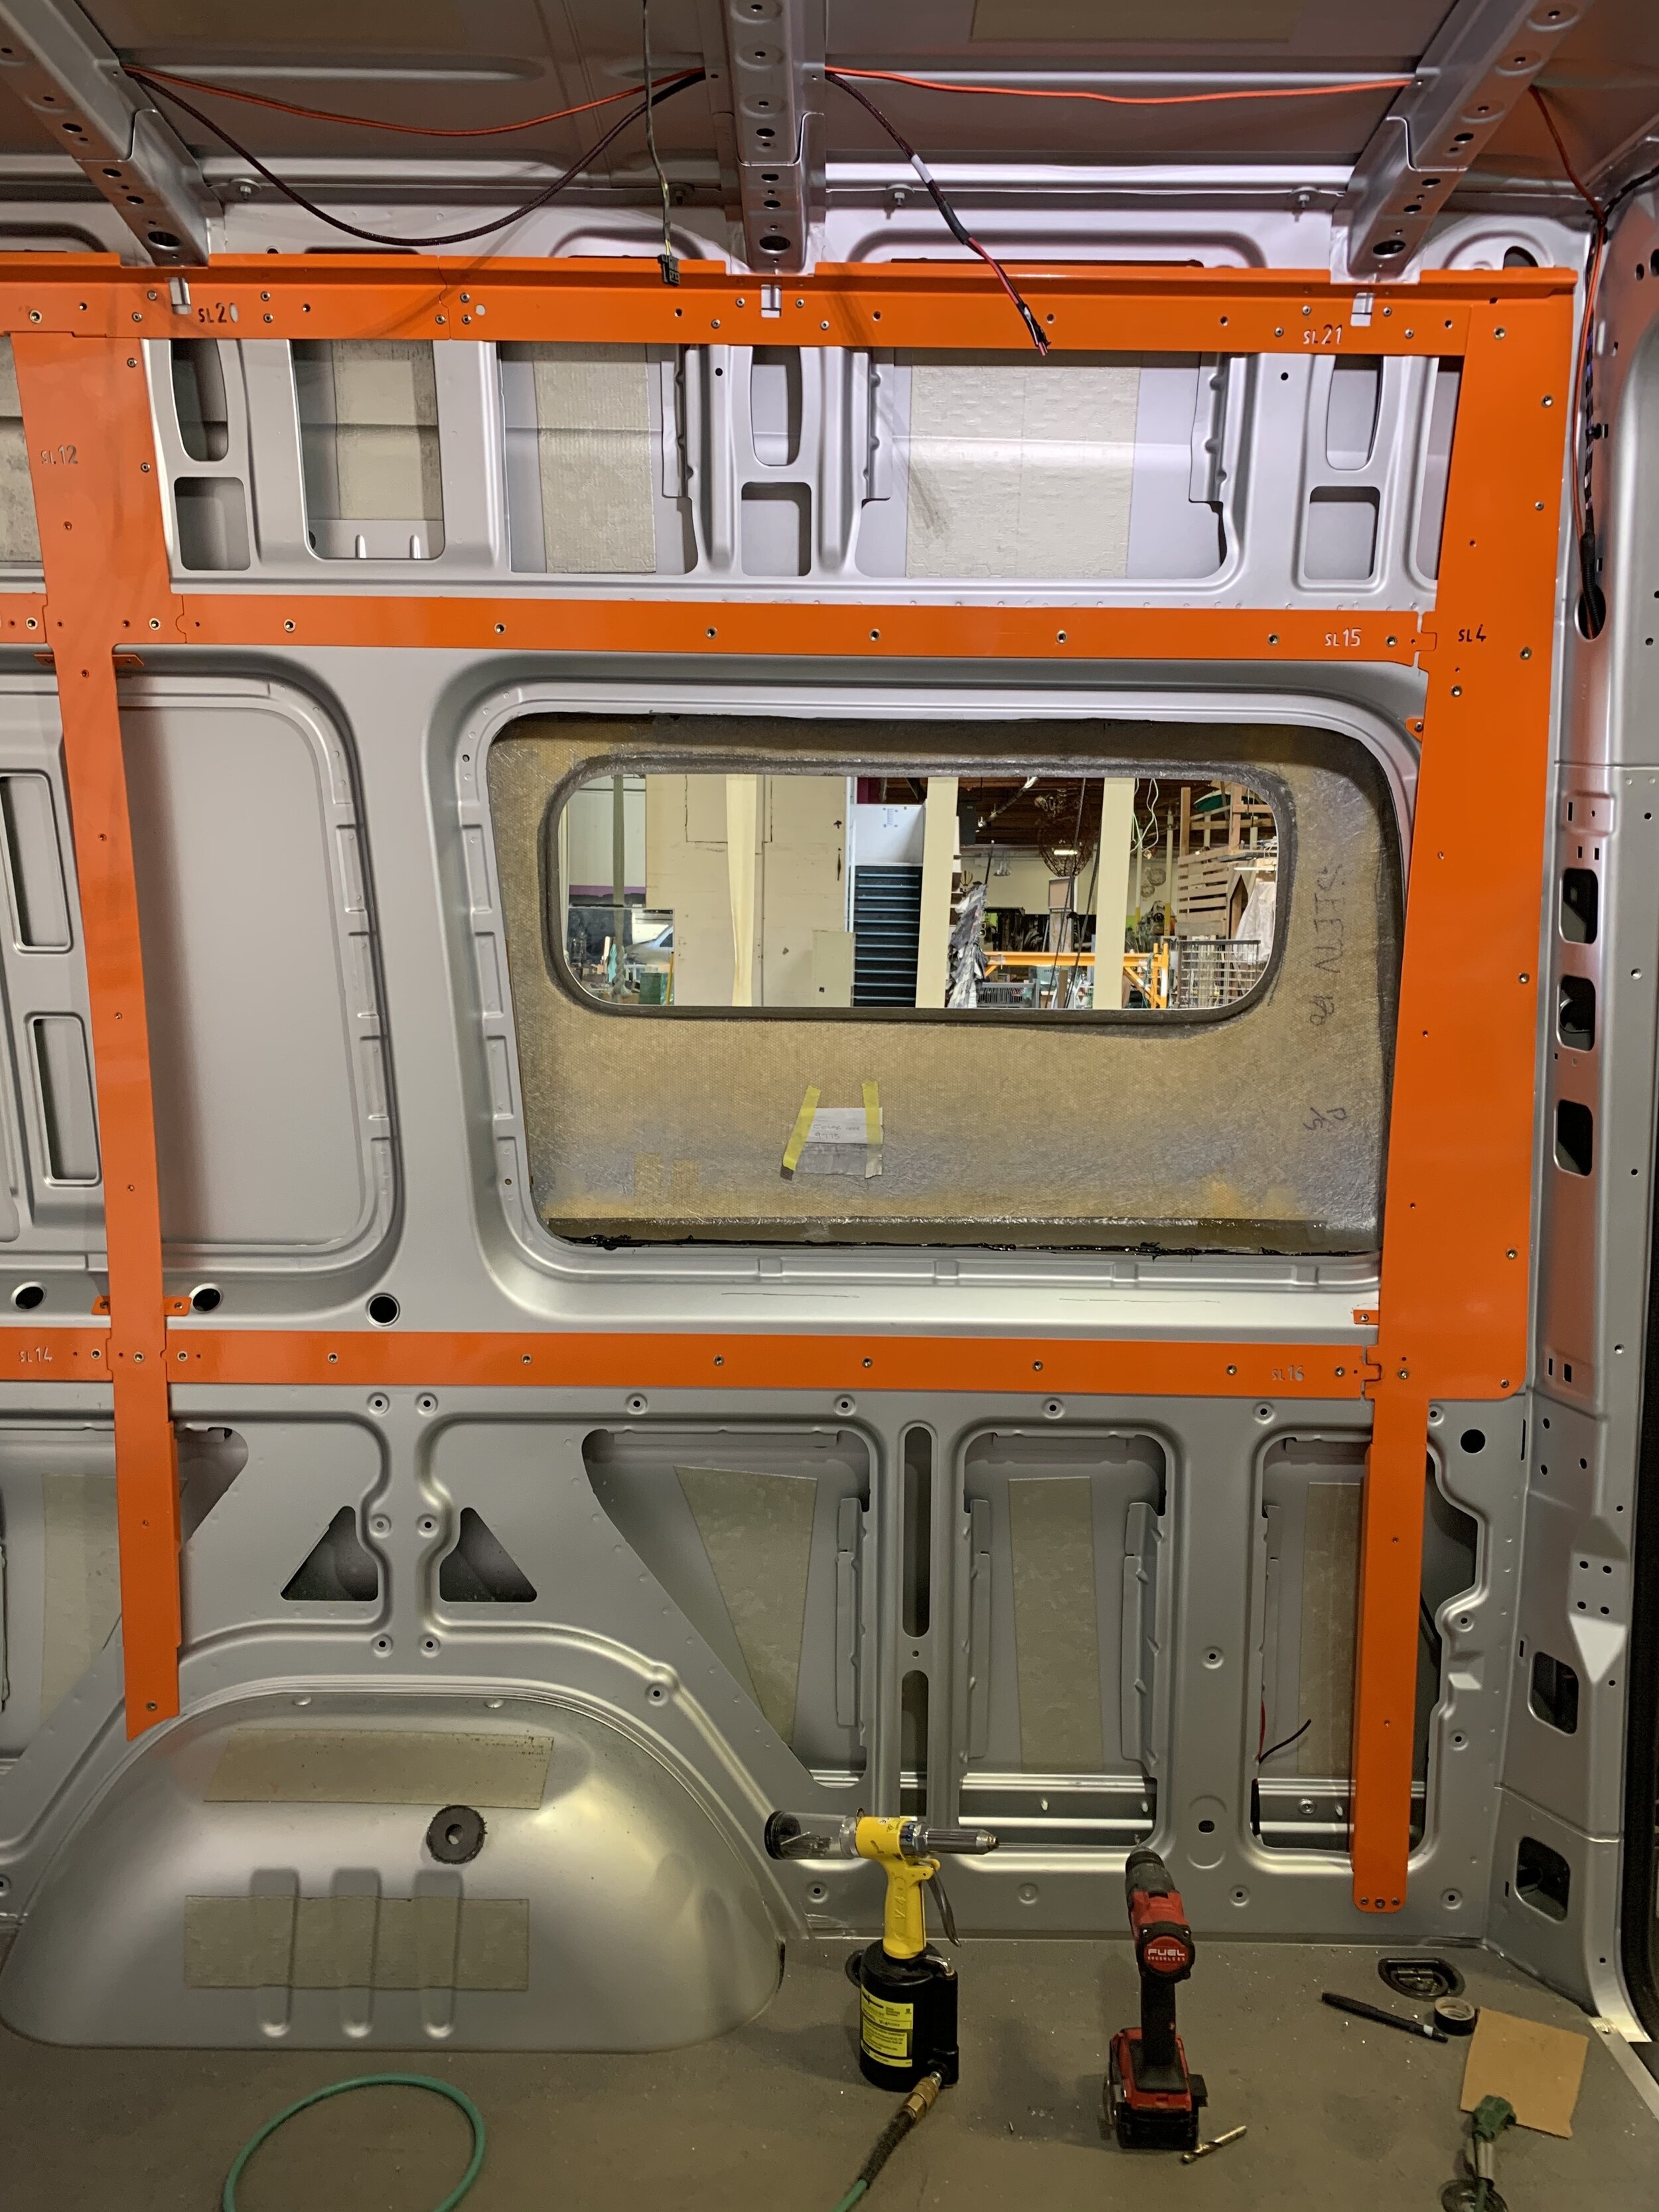
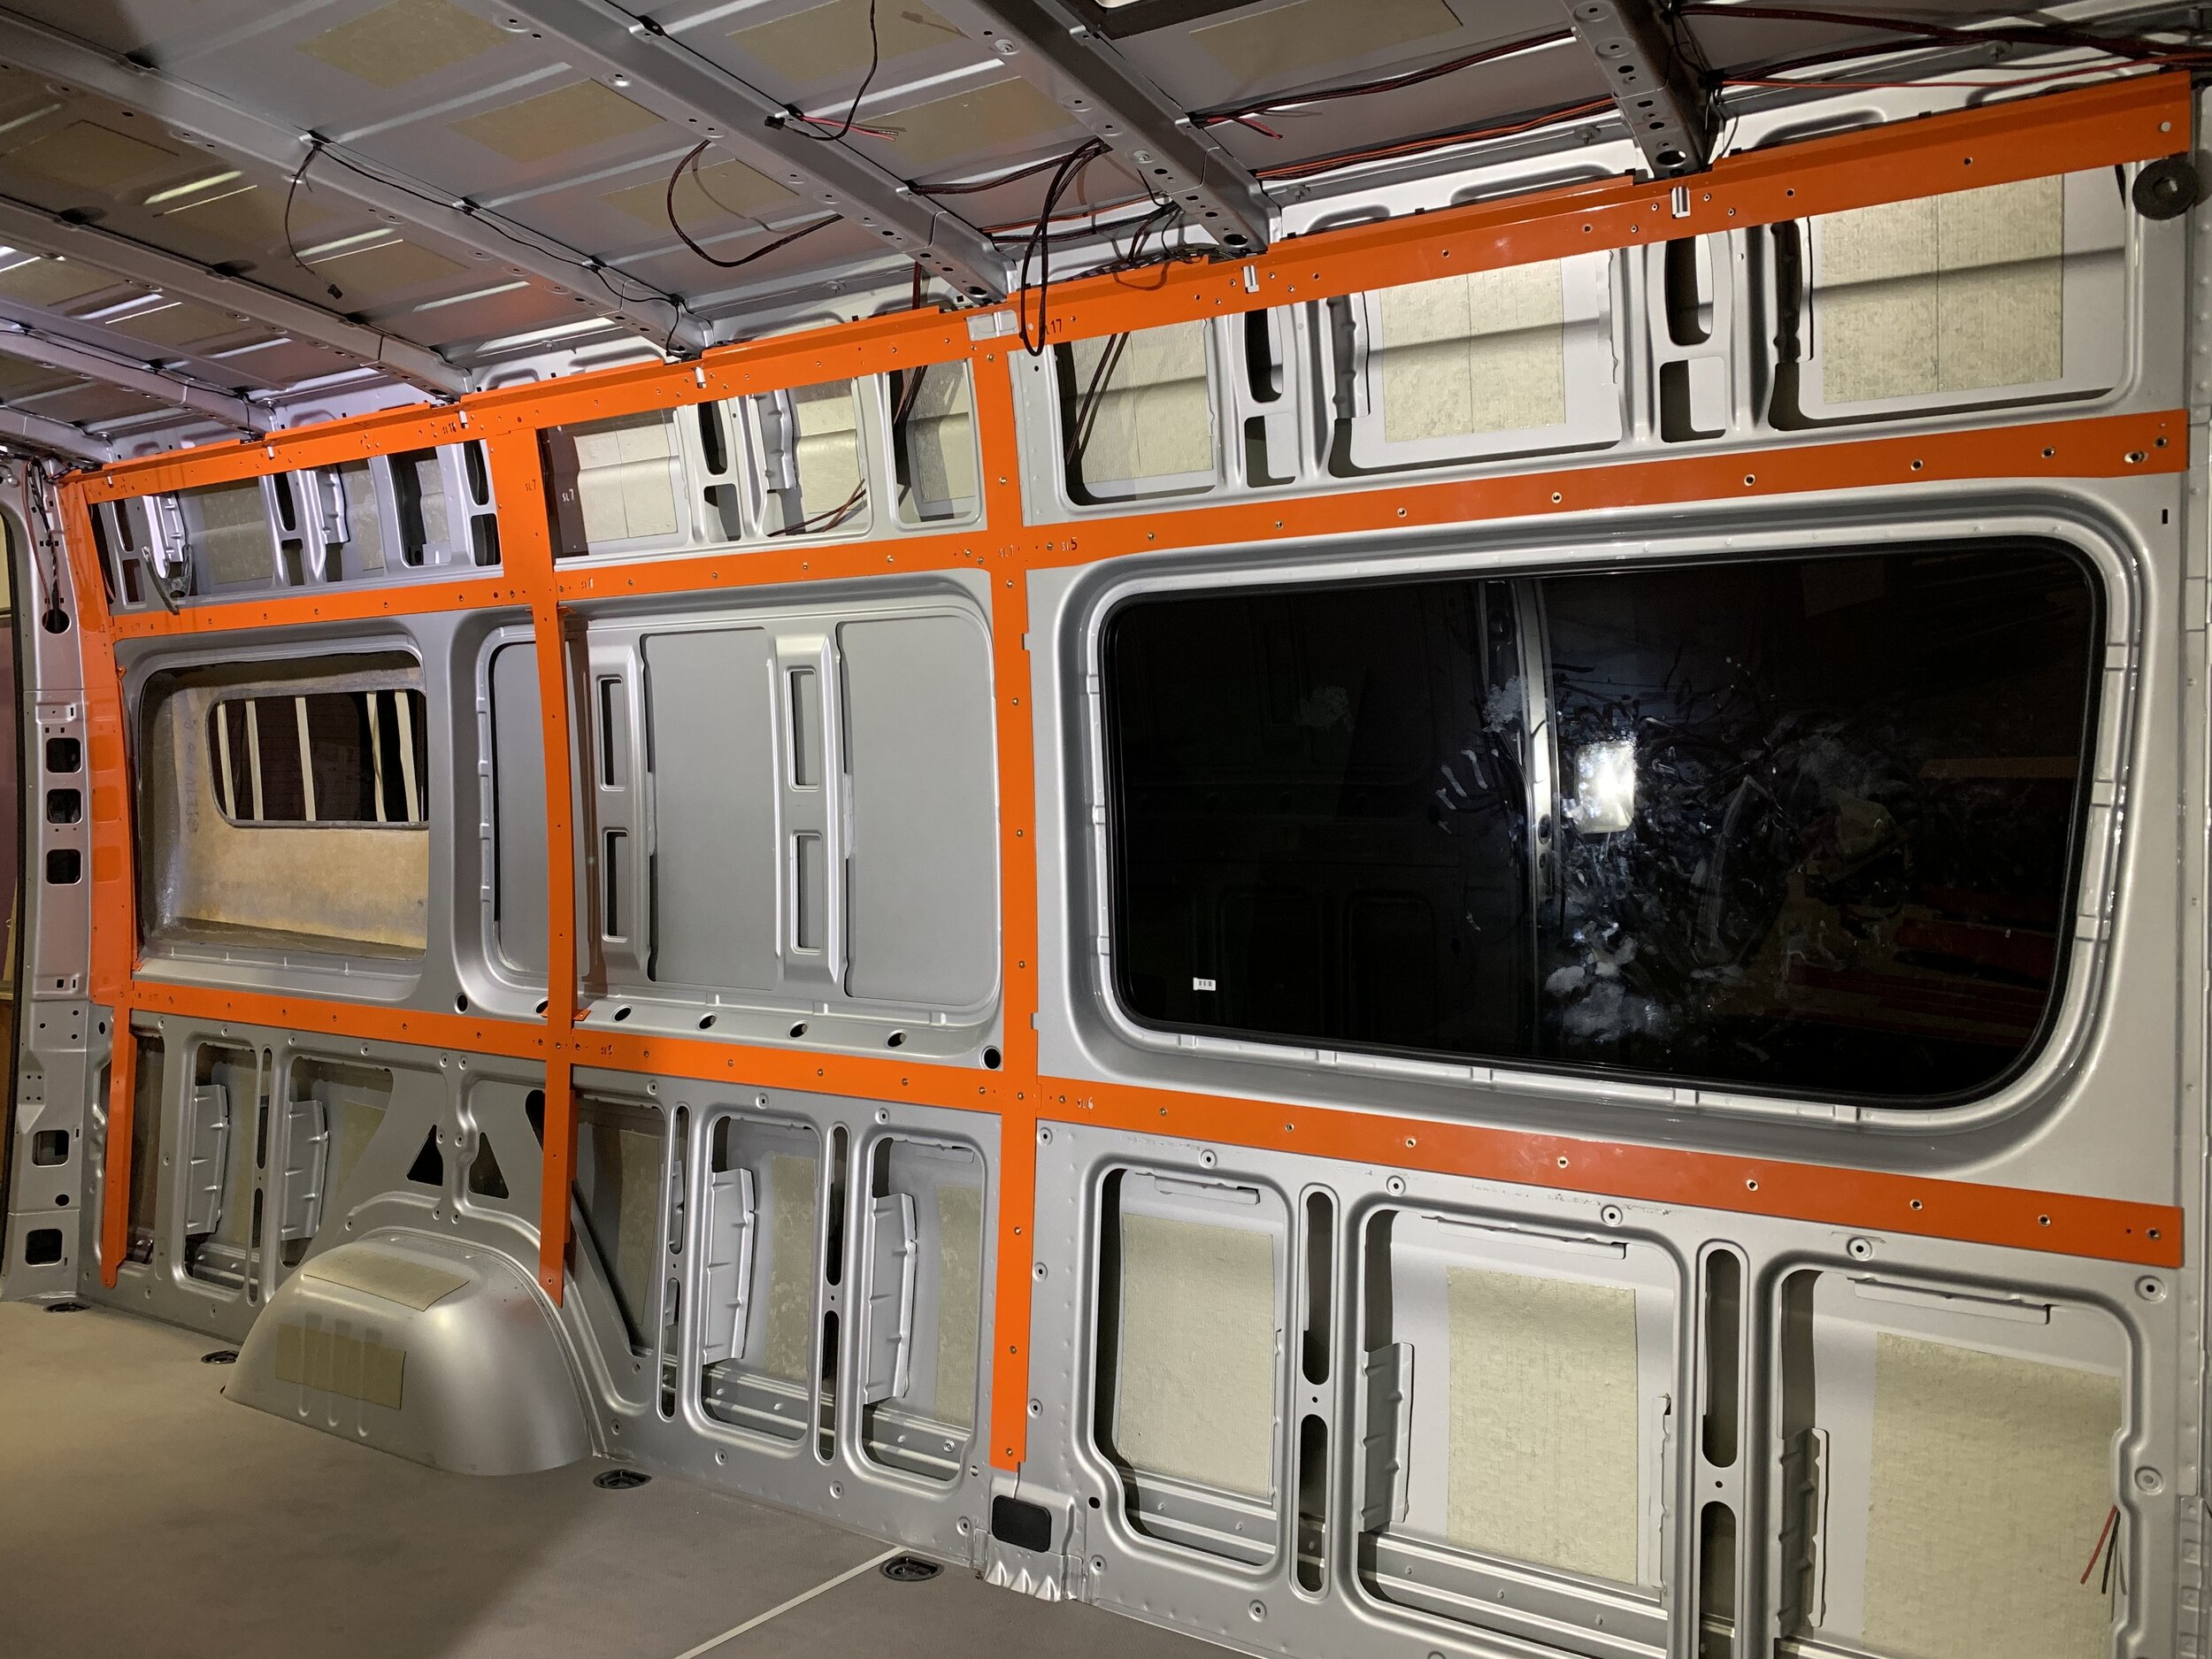
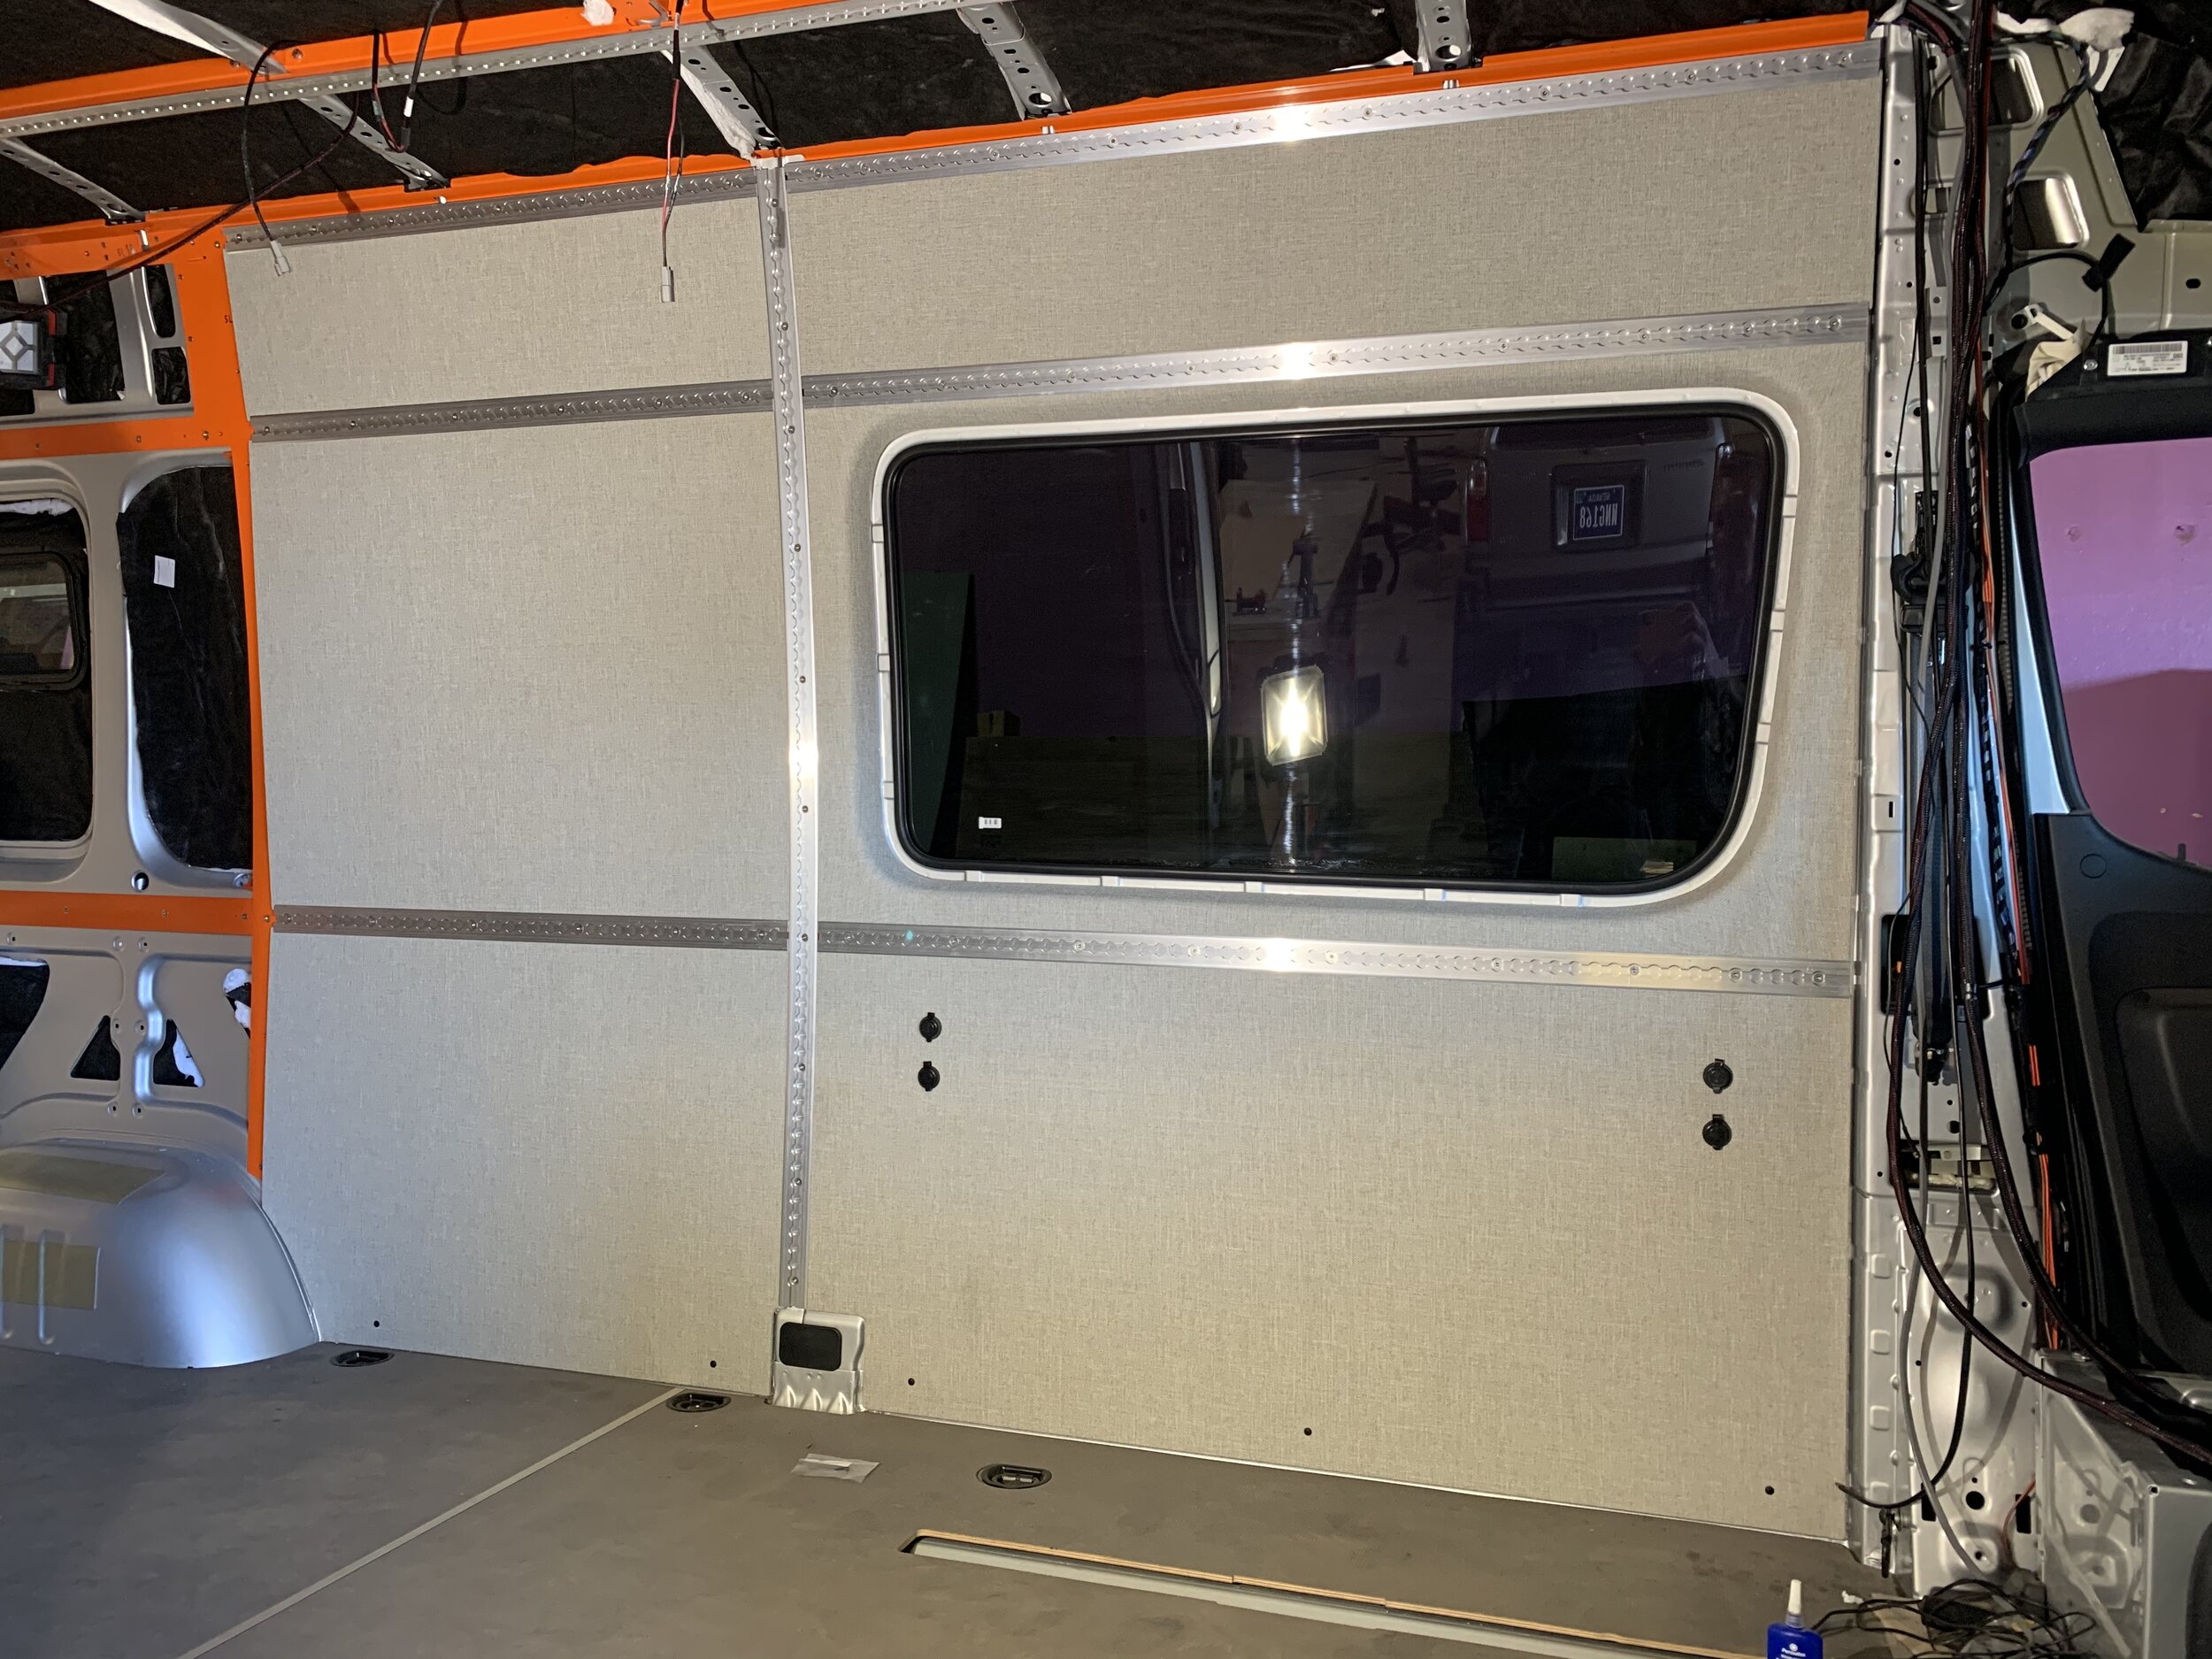
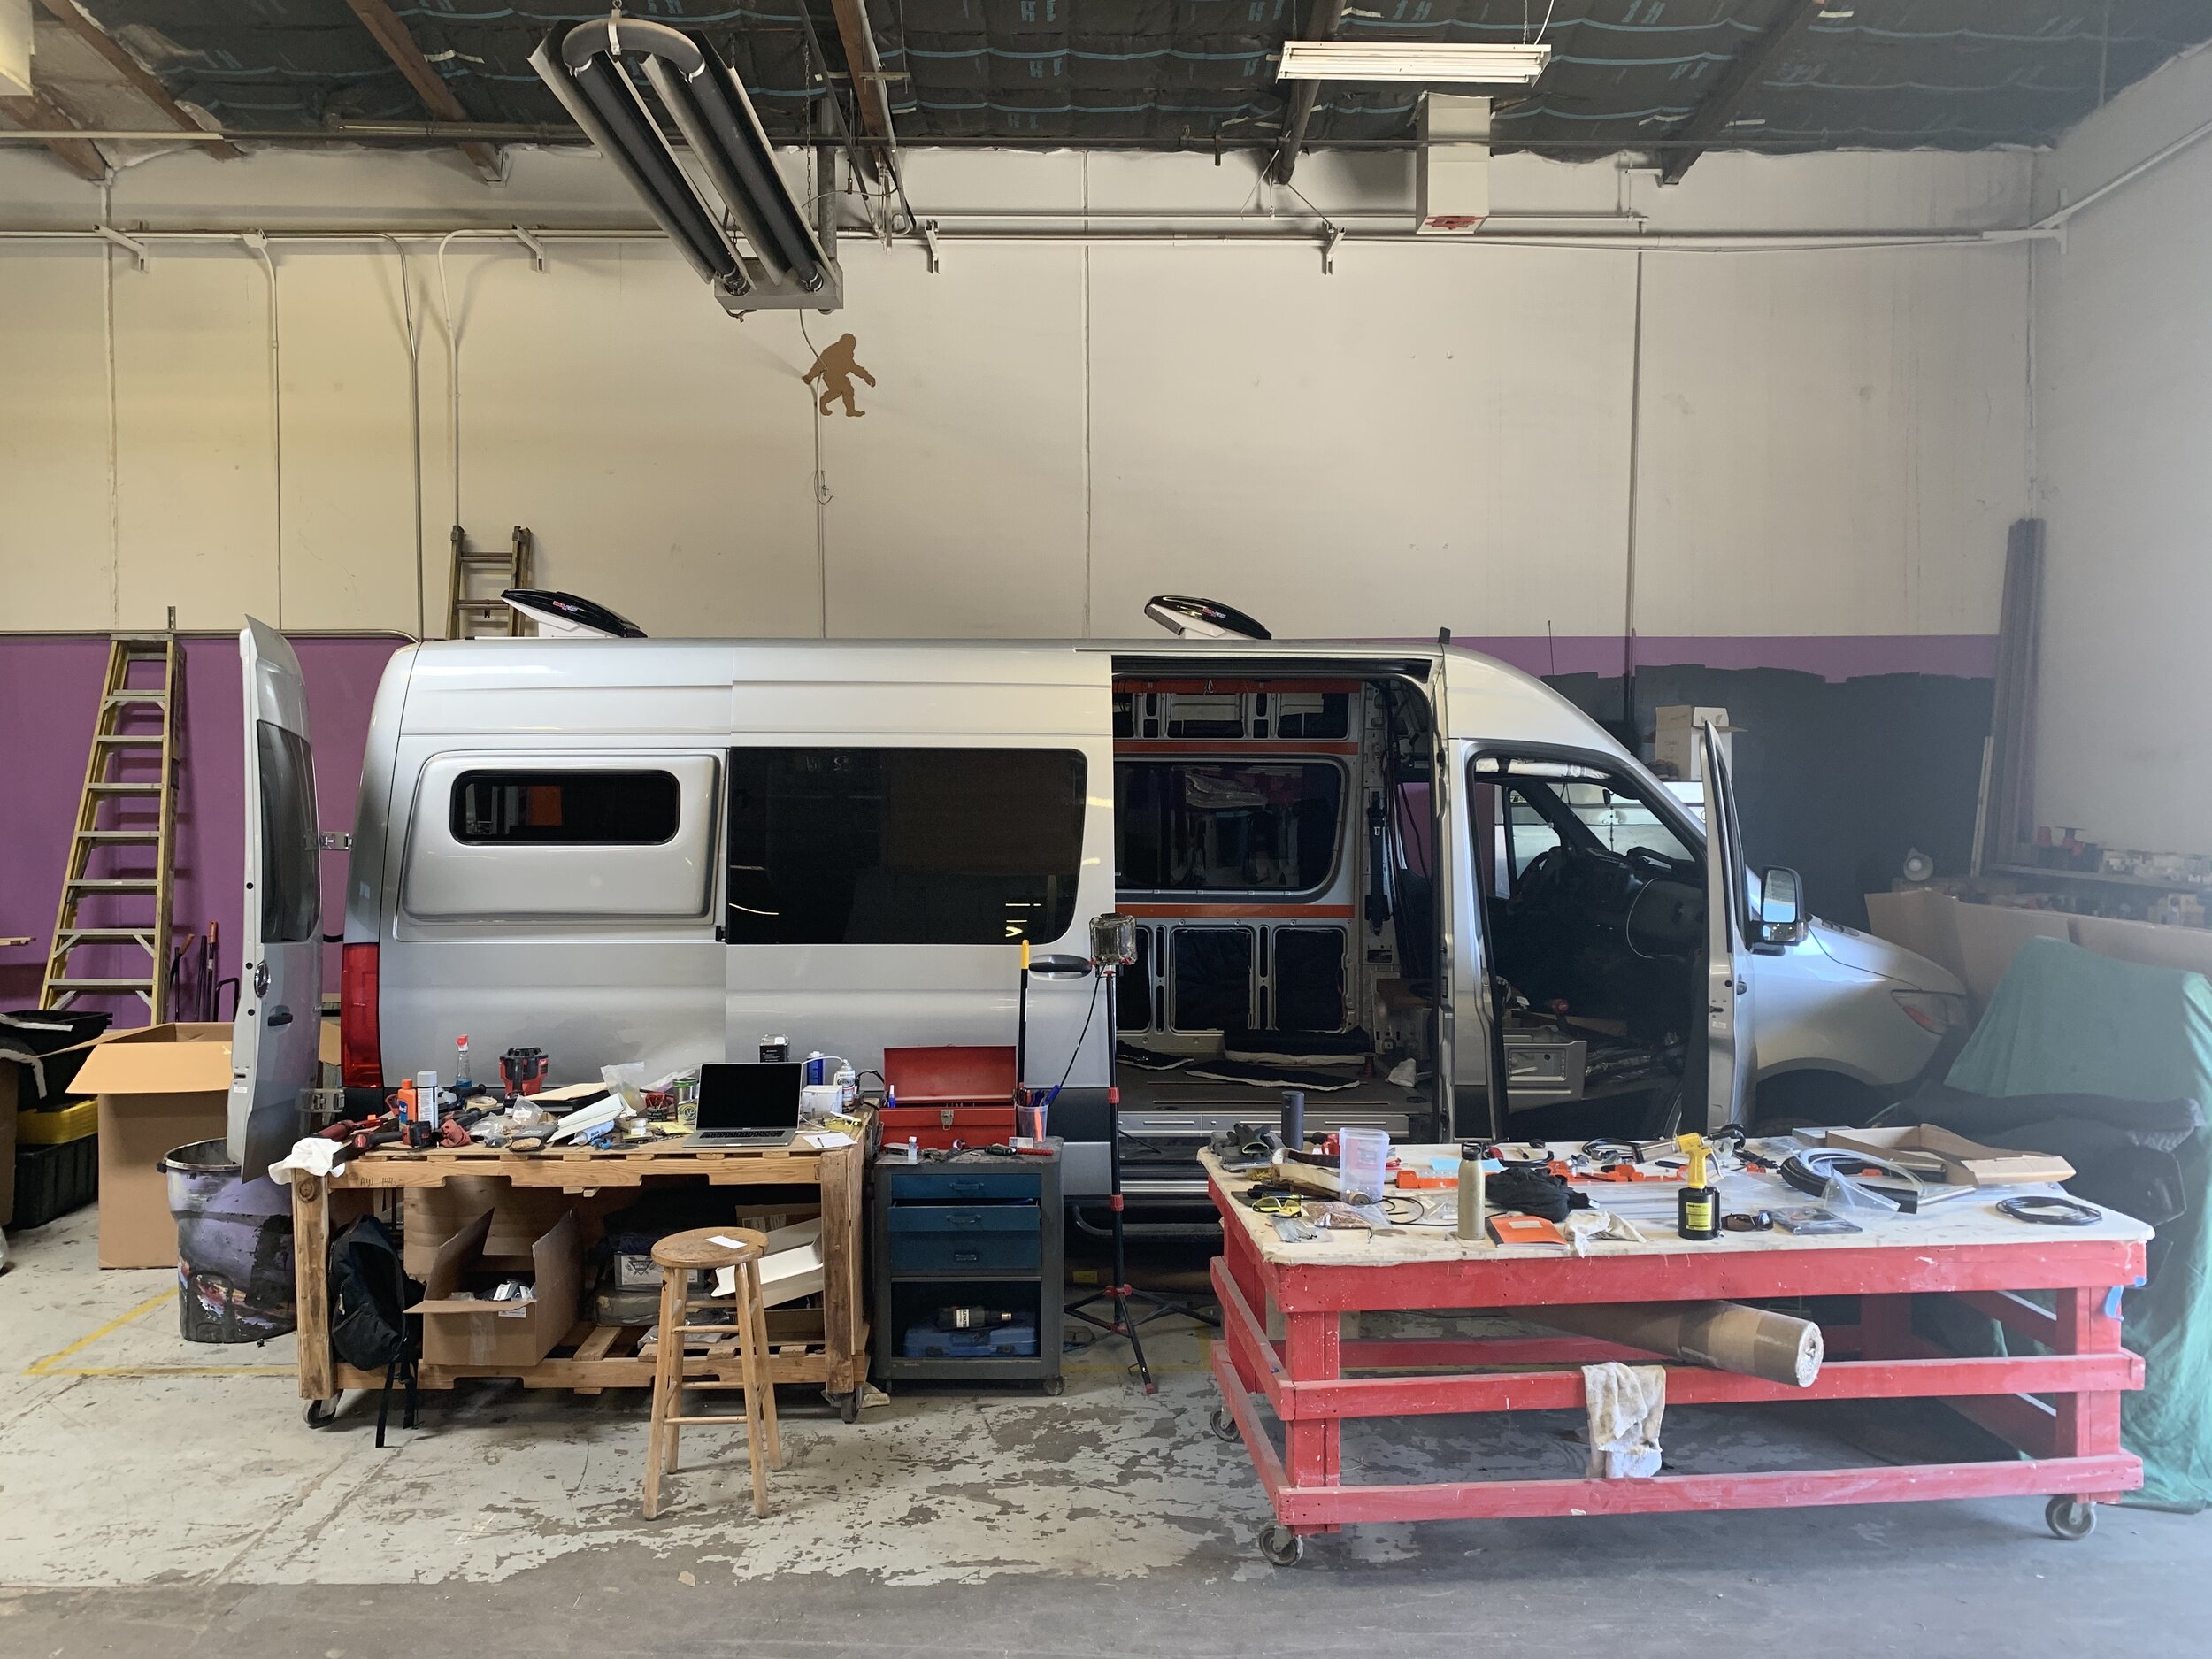
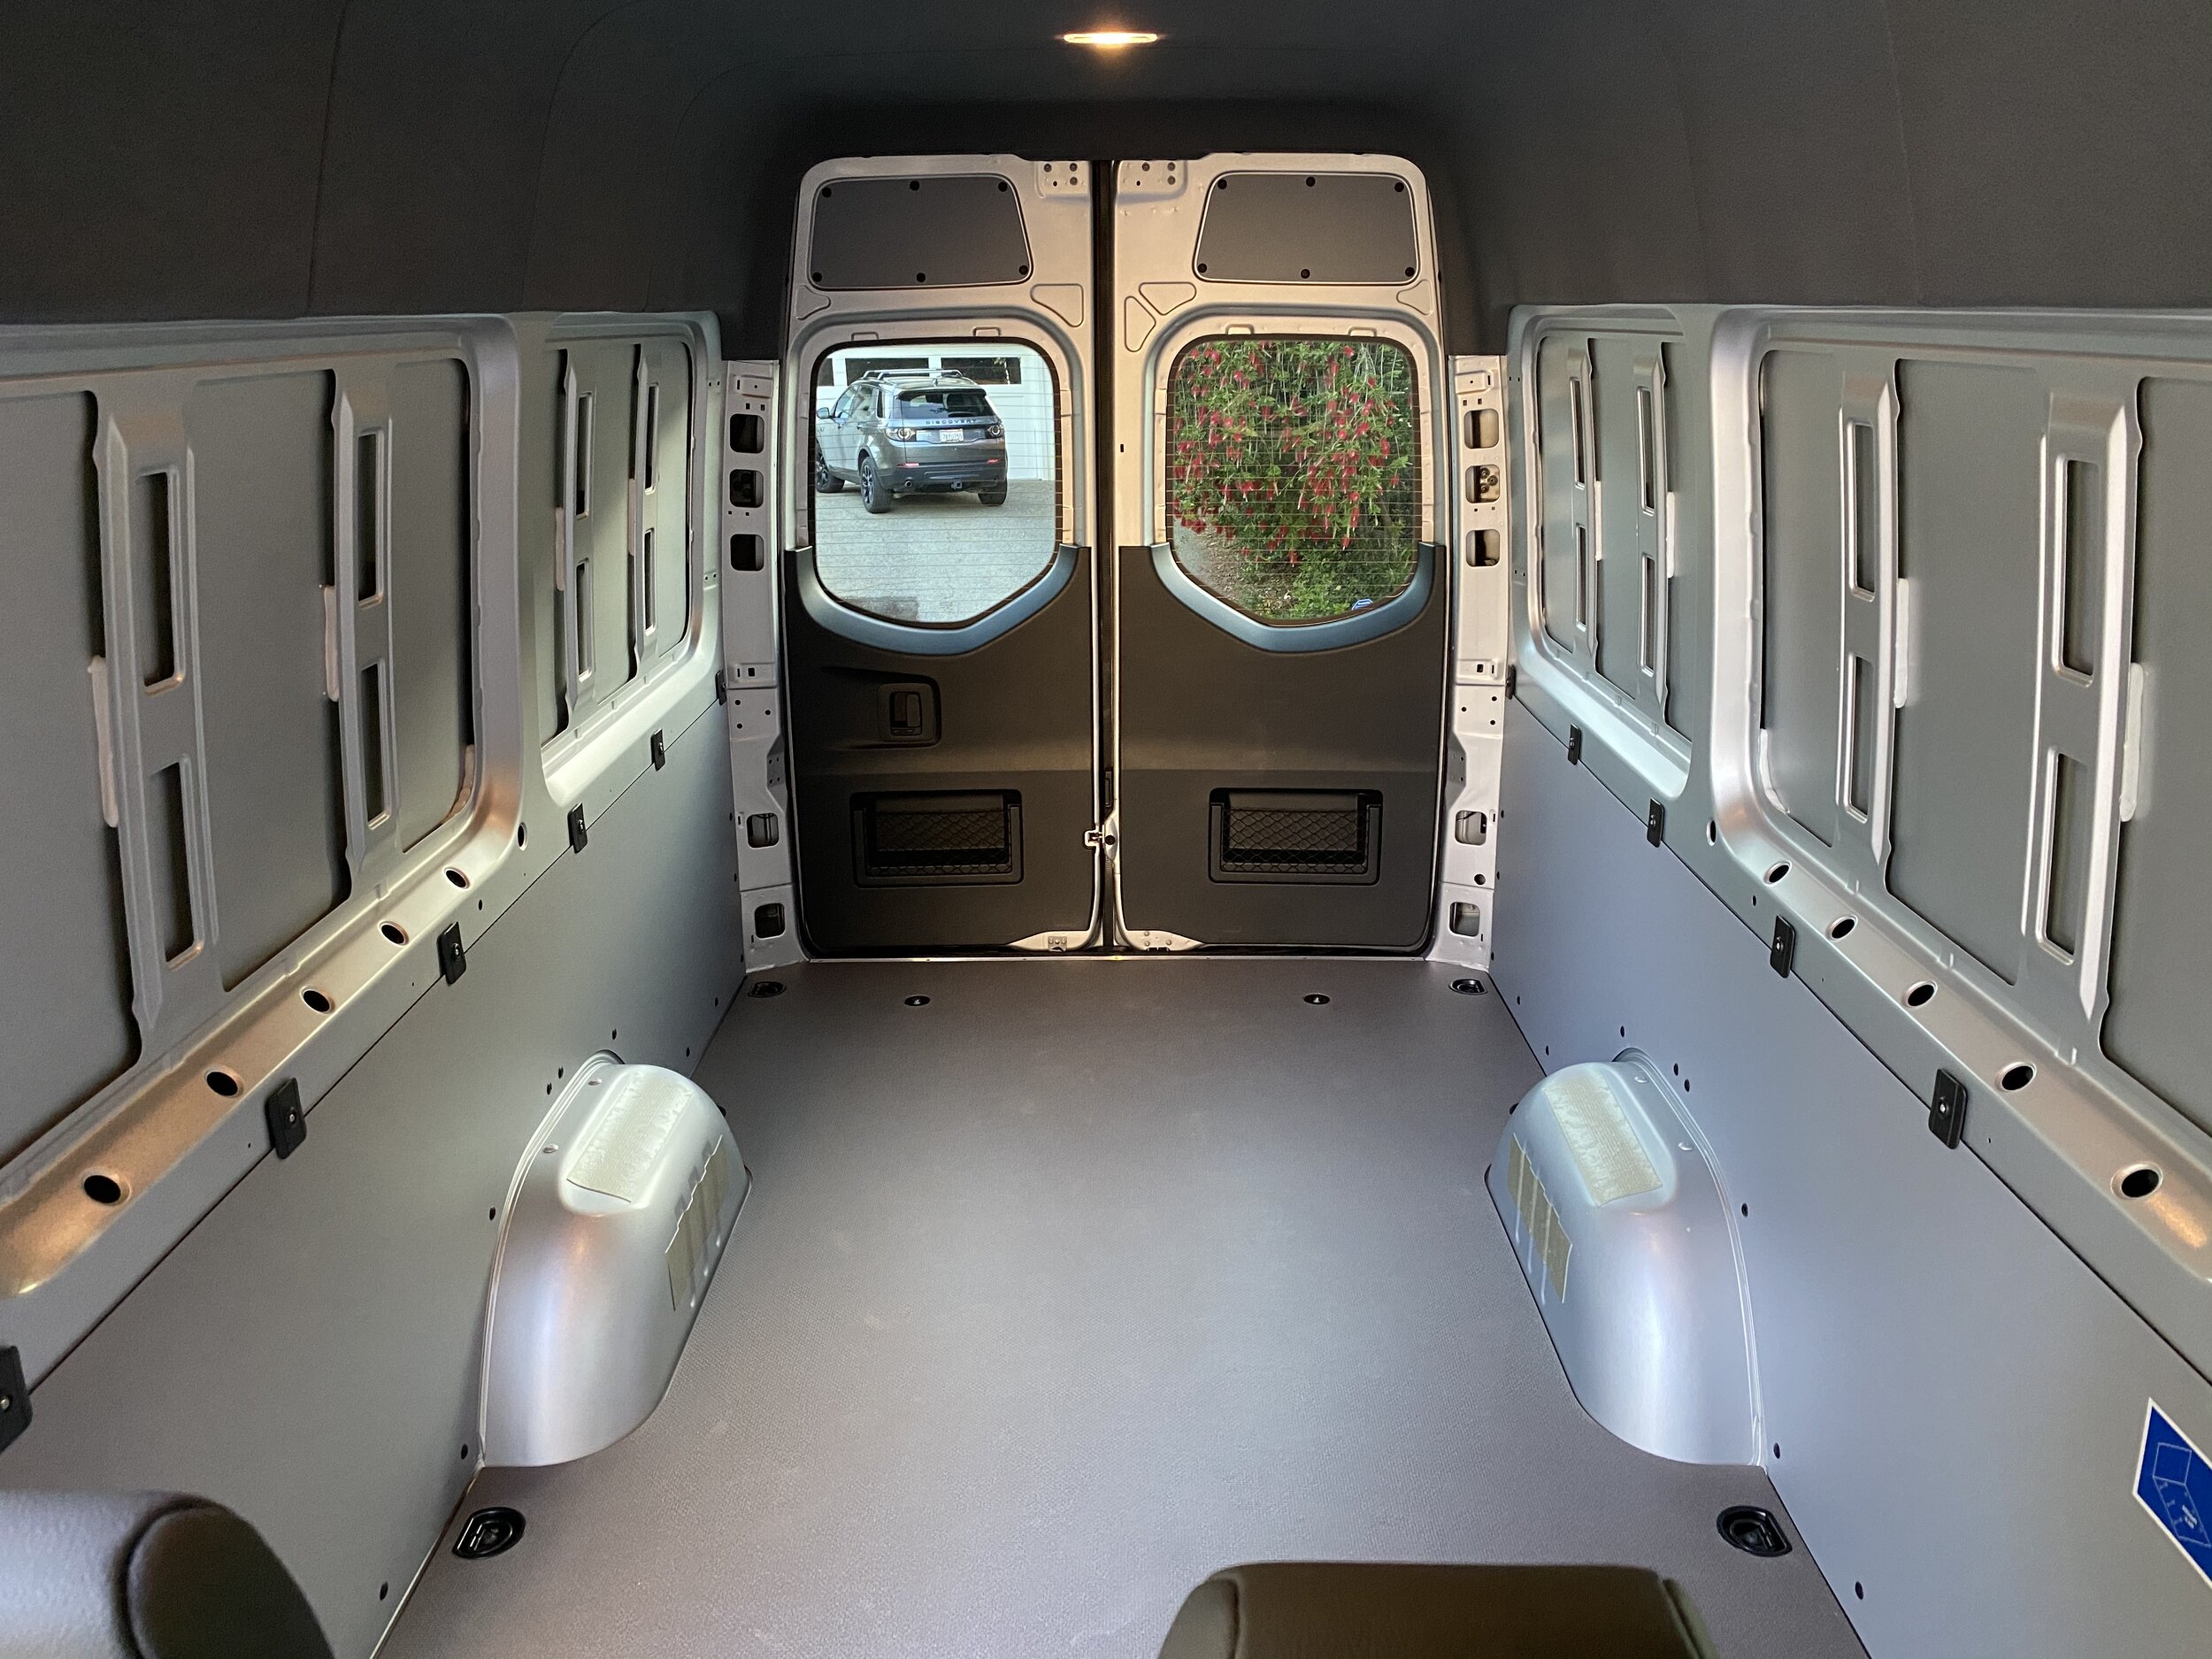
It’s been awhile since I did a write up on the Sprinter build but that doesn’t mean we haven’t made progress on the project. The first major step in the build was to completely strip the interior of the van and install an interior kit. We choose an Adventure Wagon kit. There are others to choose from but AdWag is sort of the premier option out there.

You can go completely custom but that is more expensive, takes longer to do, and you end up having to learn as you go. AdWag has some great options on materials and configuration. We went with the lighter gray fabric, two ceiling vents, L-track everywhere, and the full electrical package. You can get some or all of the panels in bamboo instead of fabric but since this van sees snow a lot we wanted a slightly warmer panel option. We also ordered the insulation for the walls, ceiling, and floor. At first I felt the kit was expensive but once I saw the materials and kit design I quickly realized it was worth every penny.

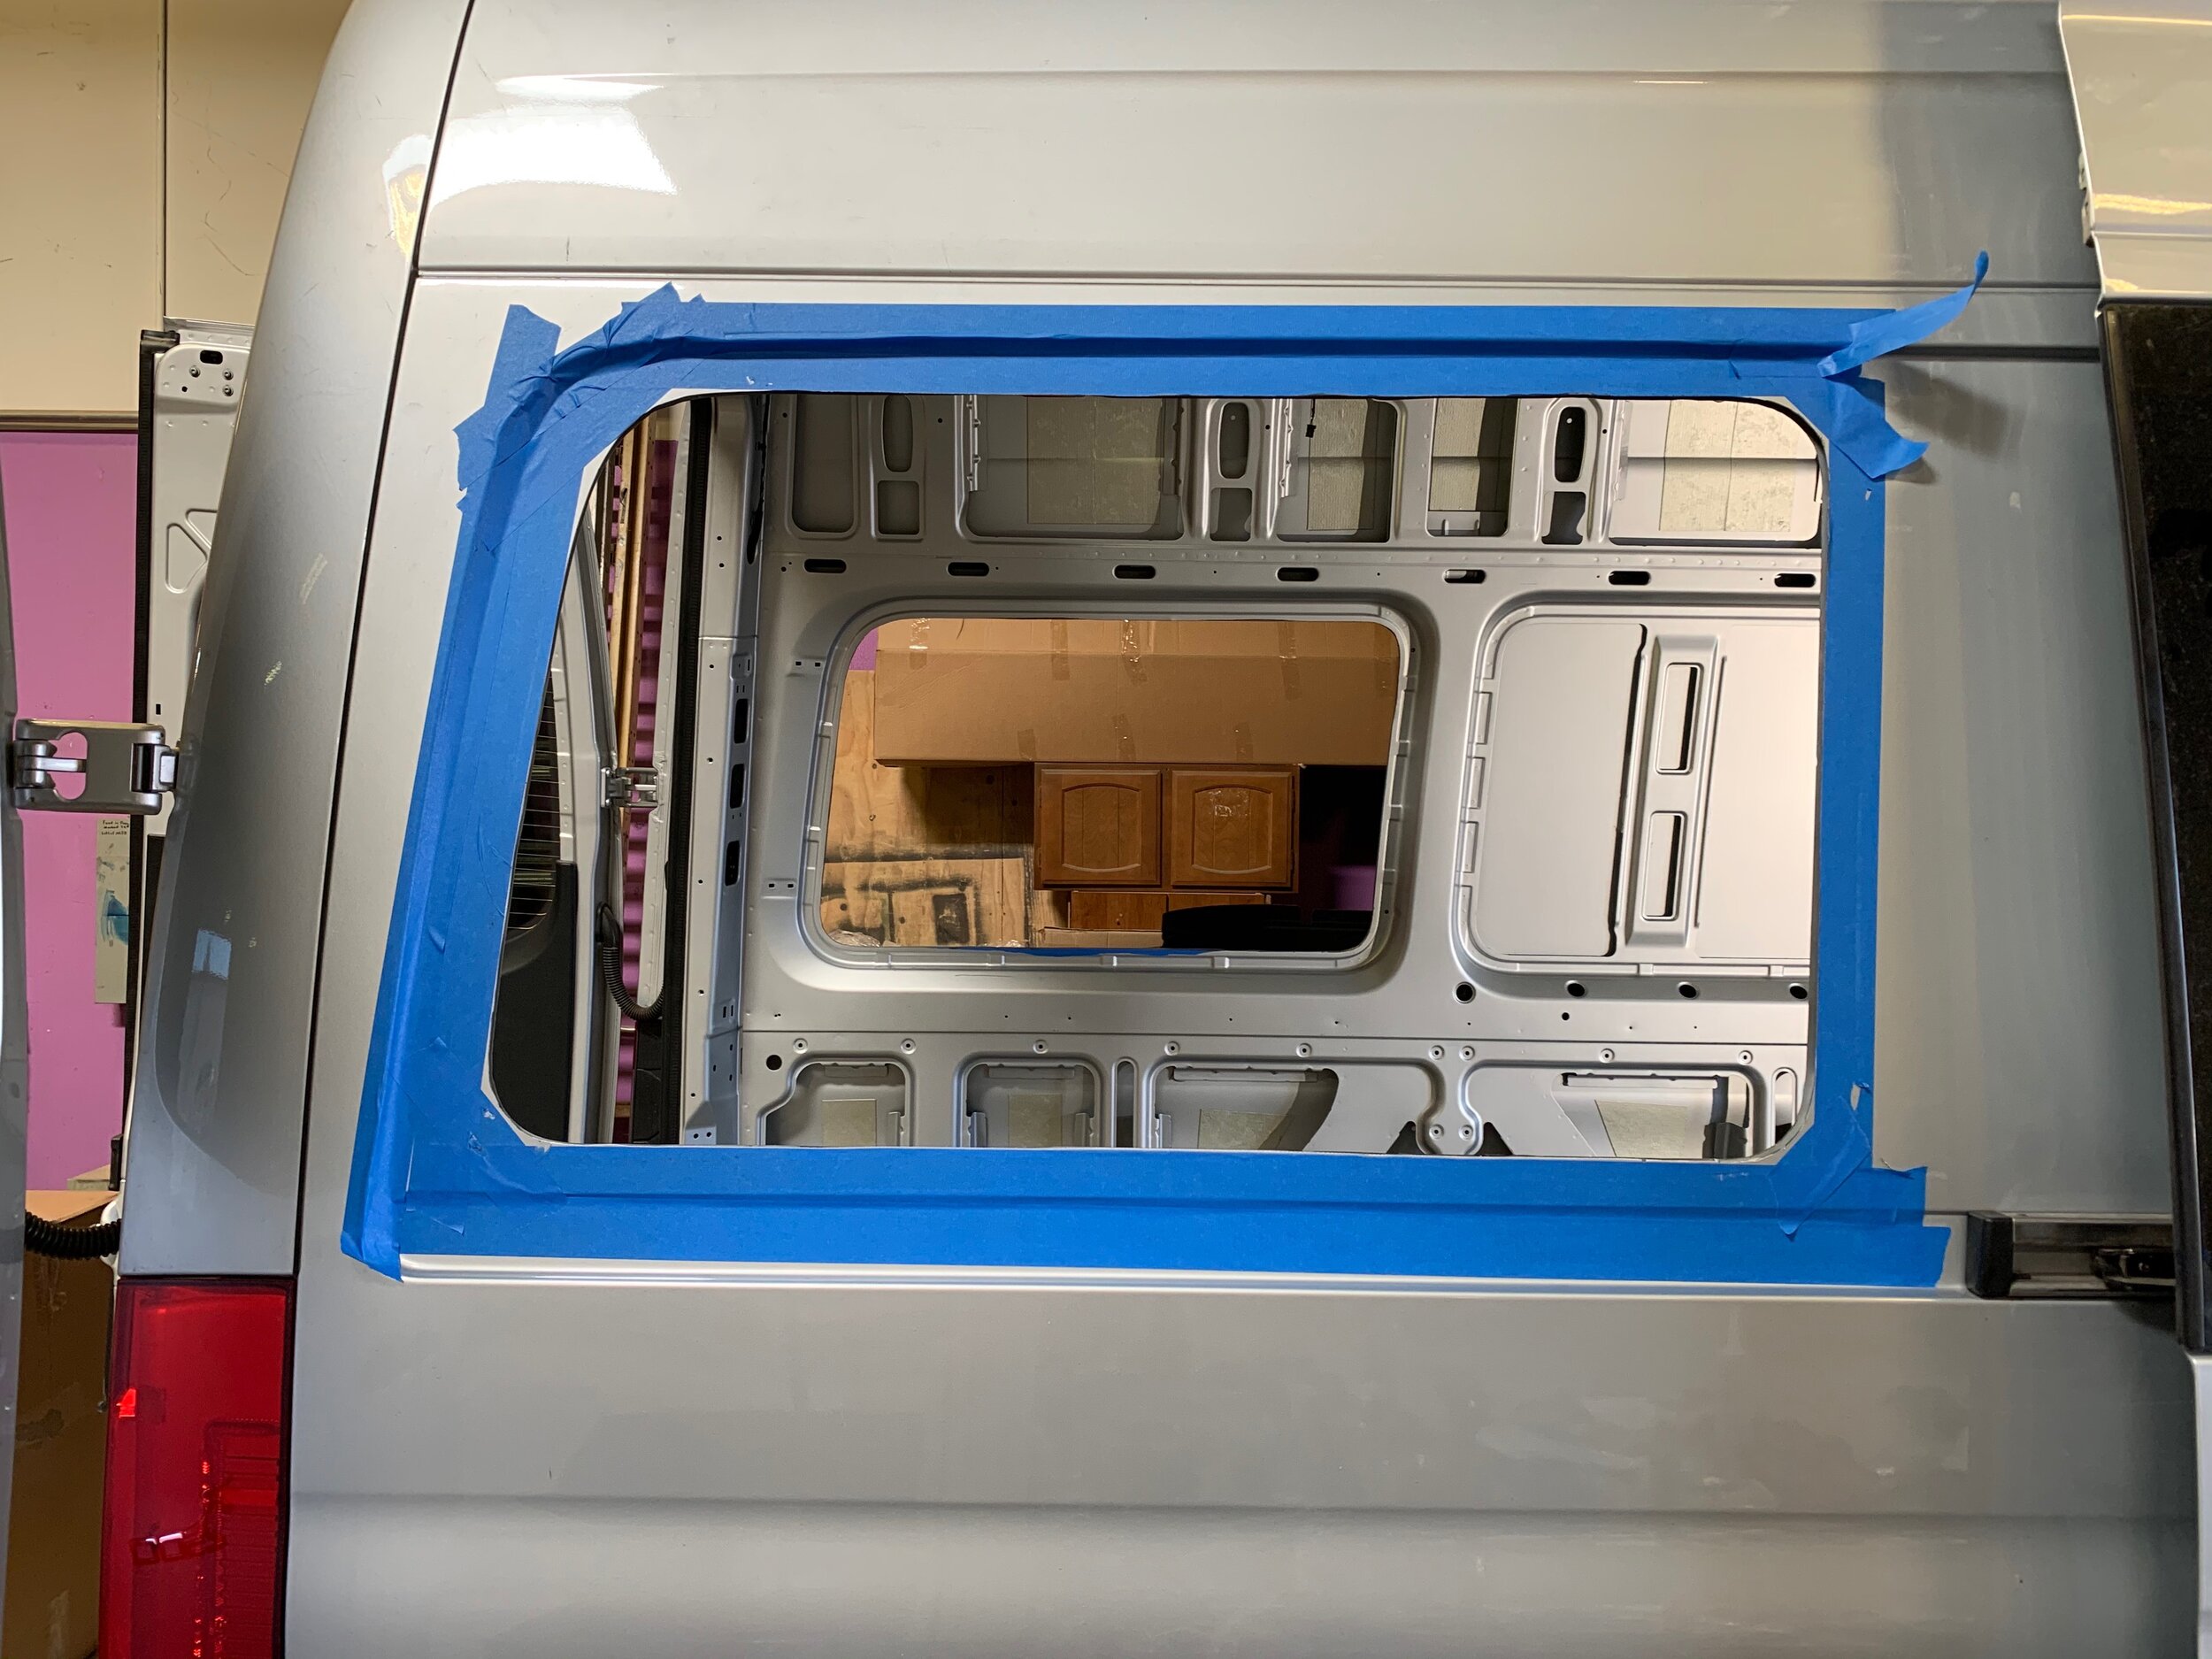
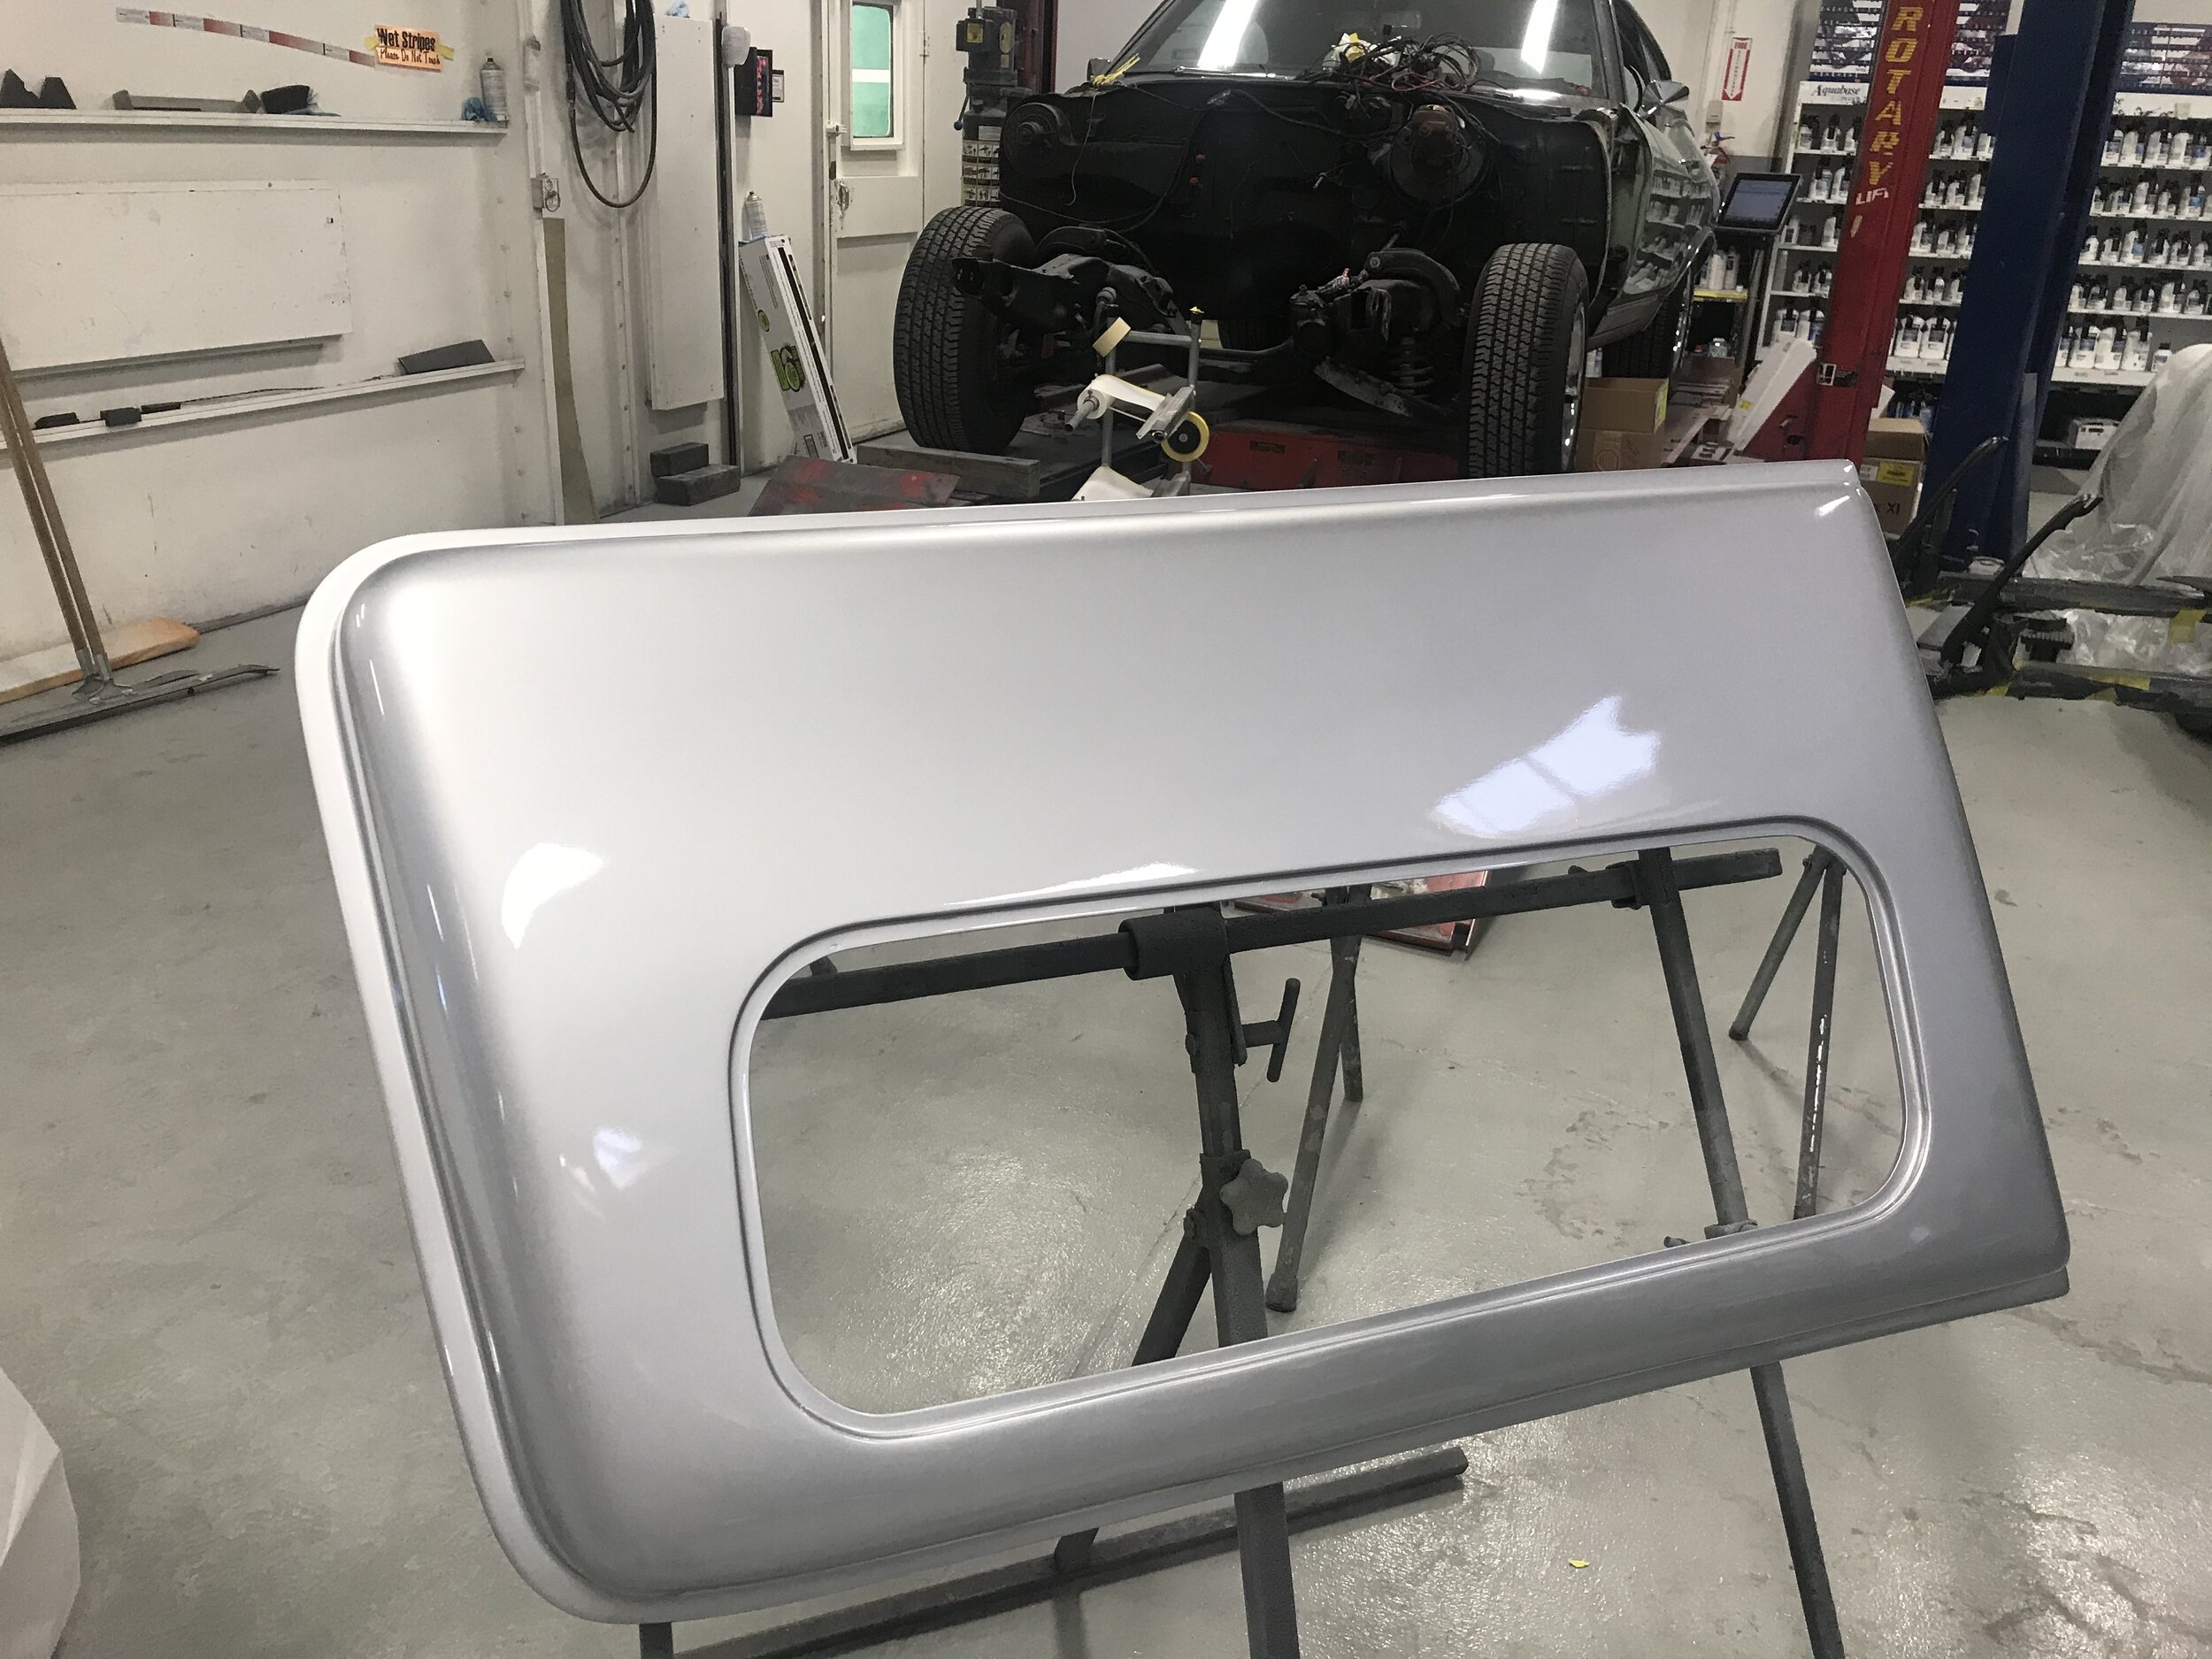
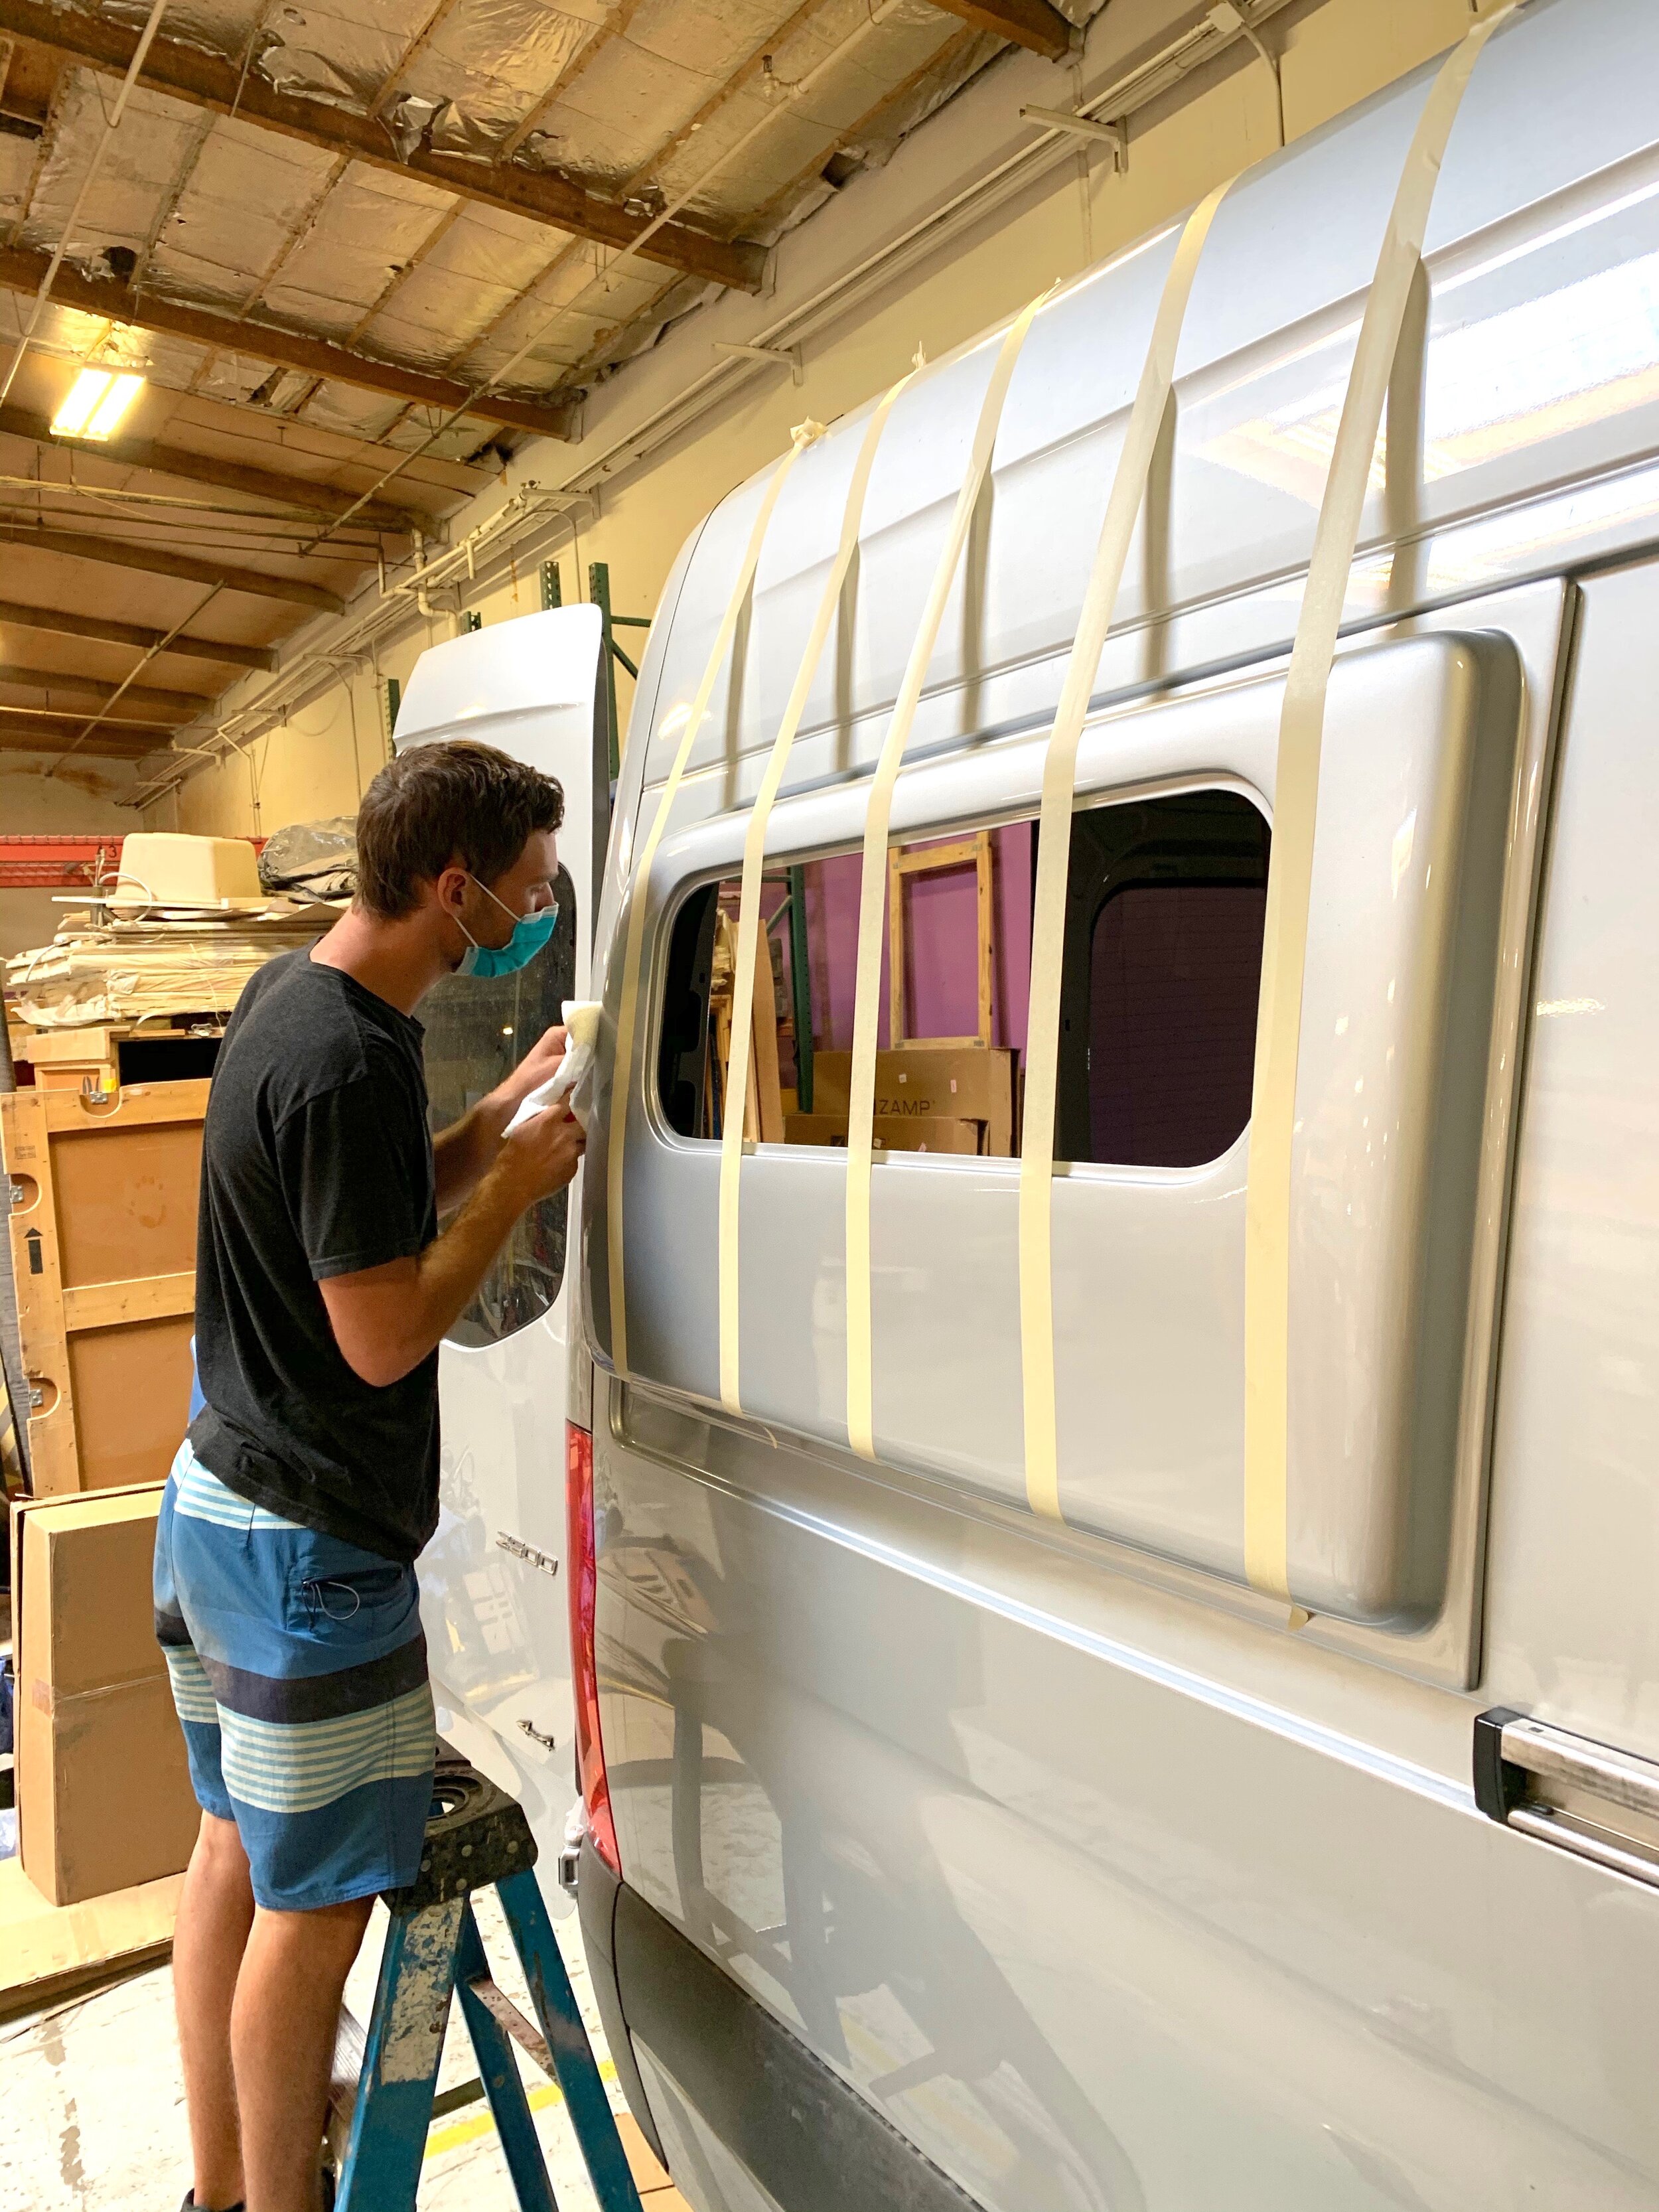
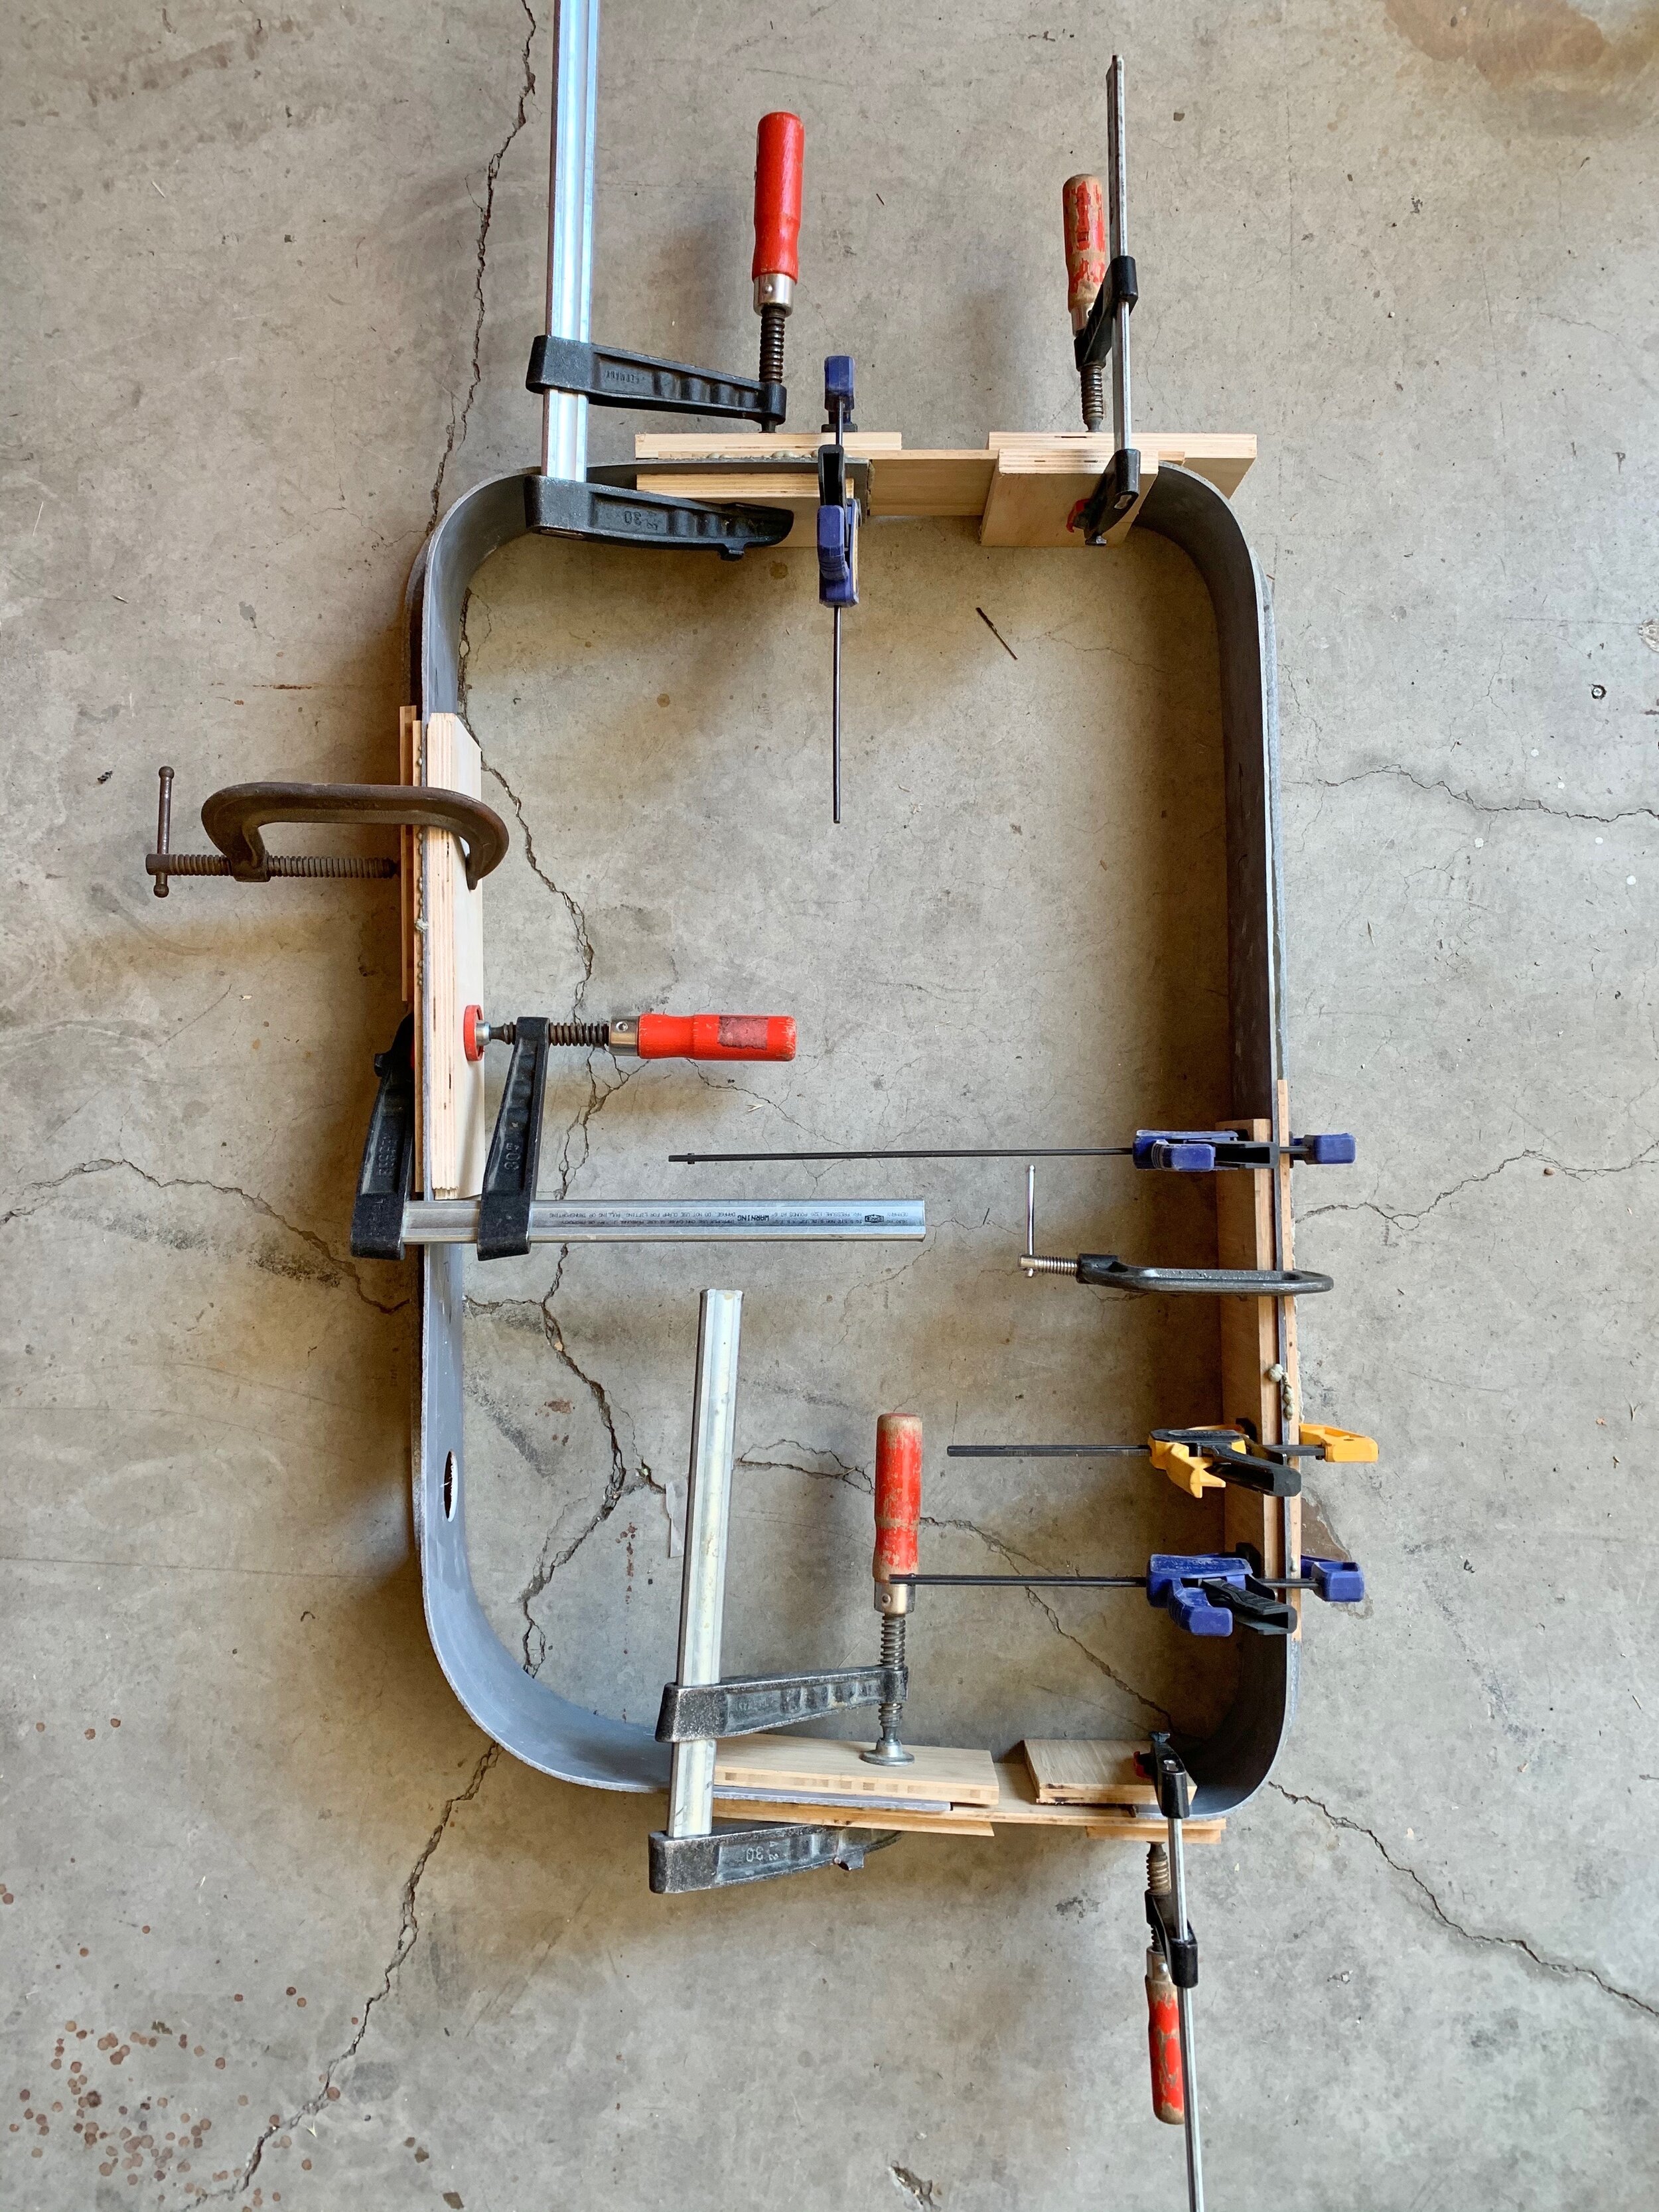
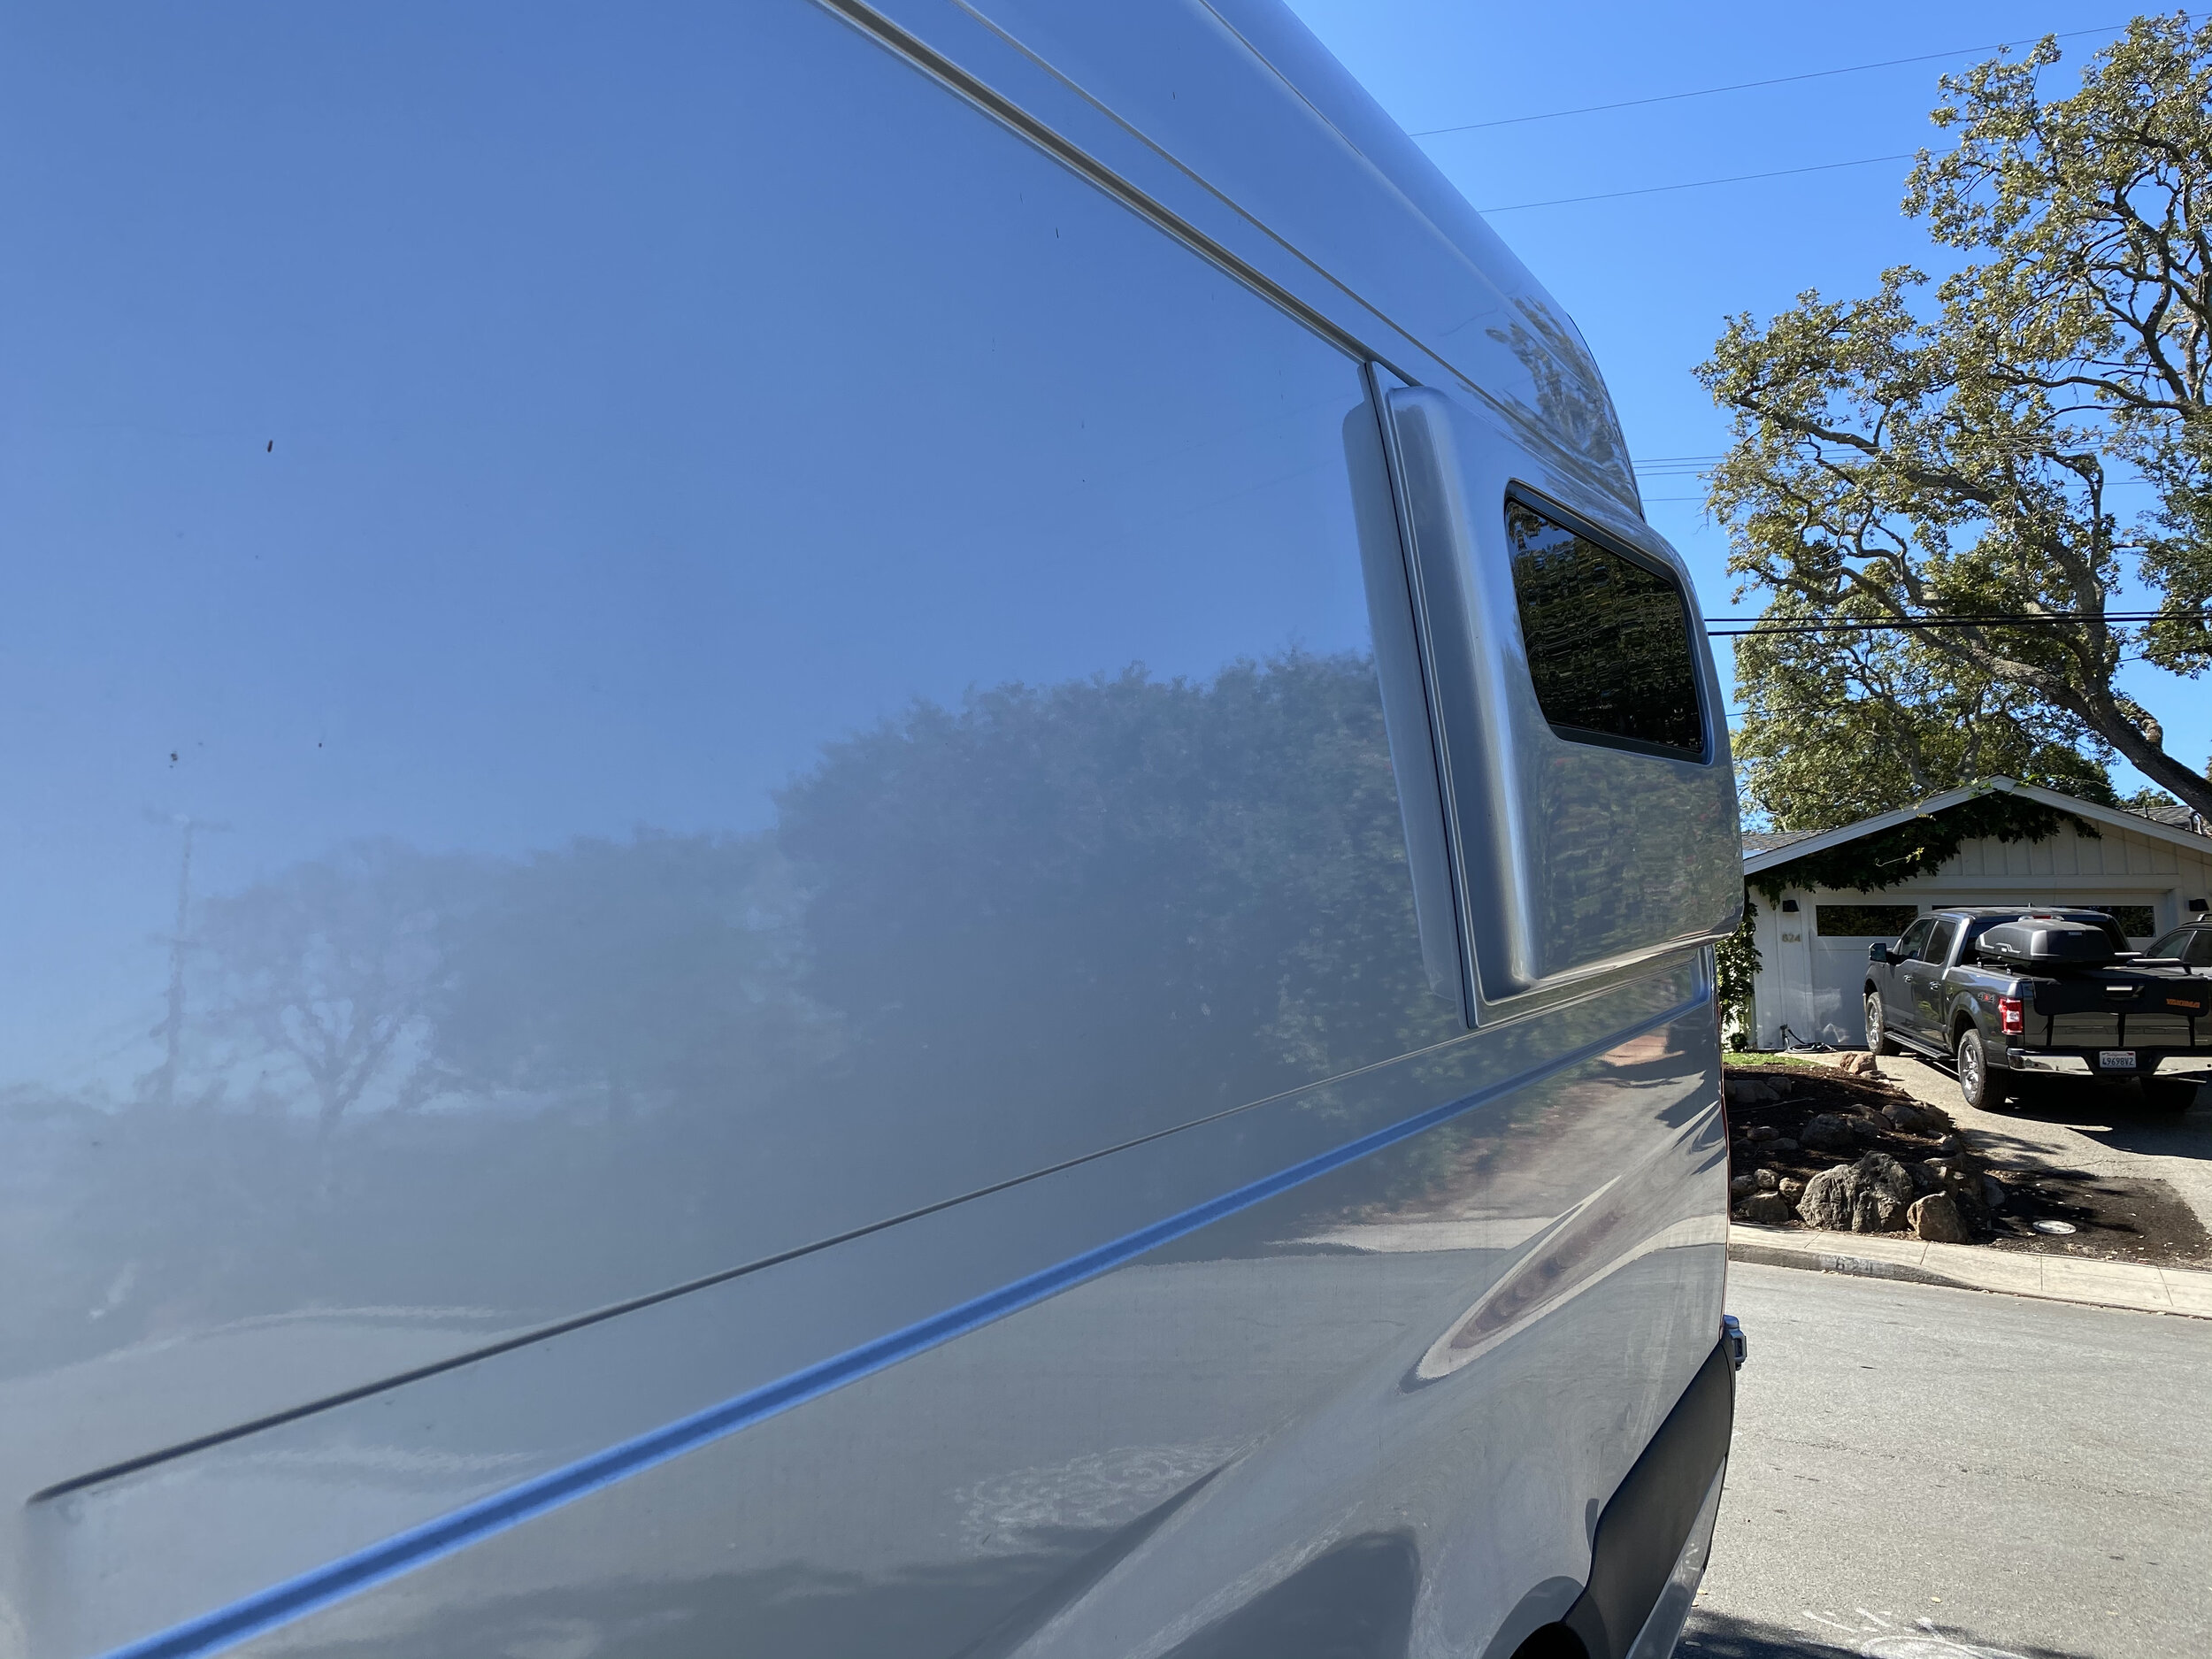
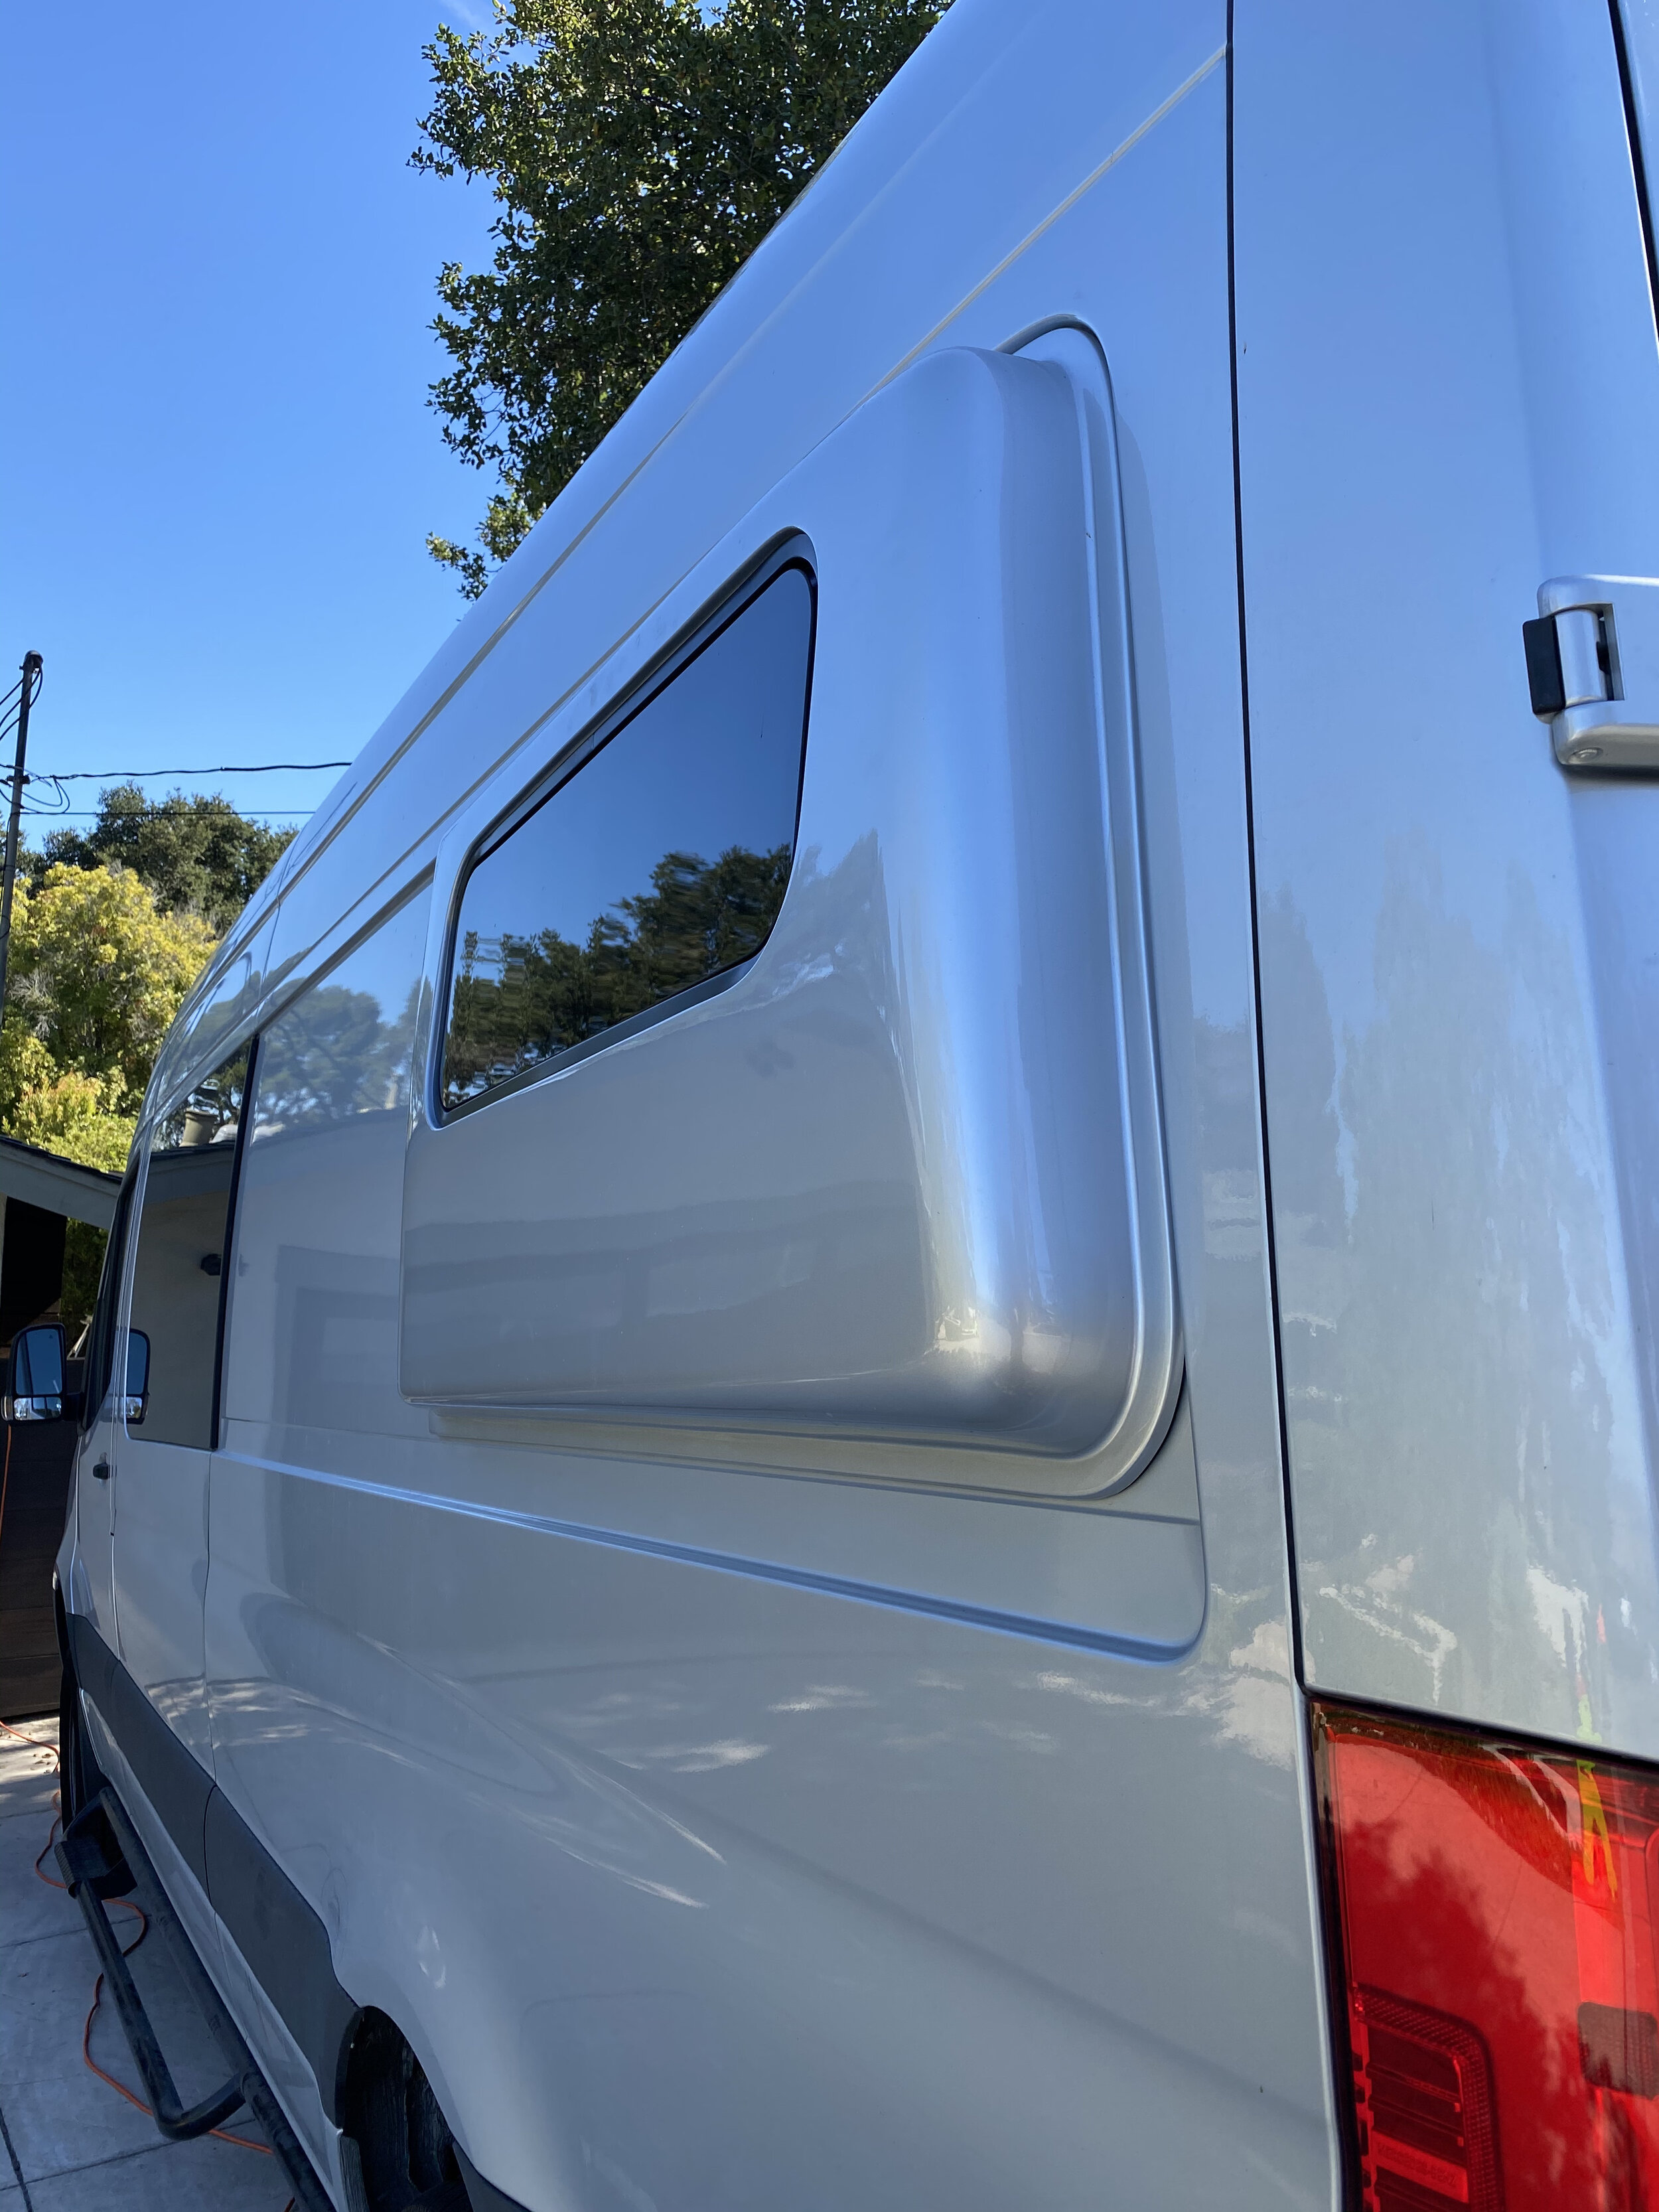
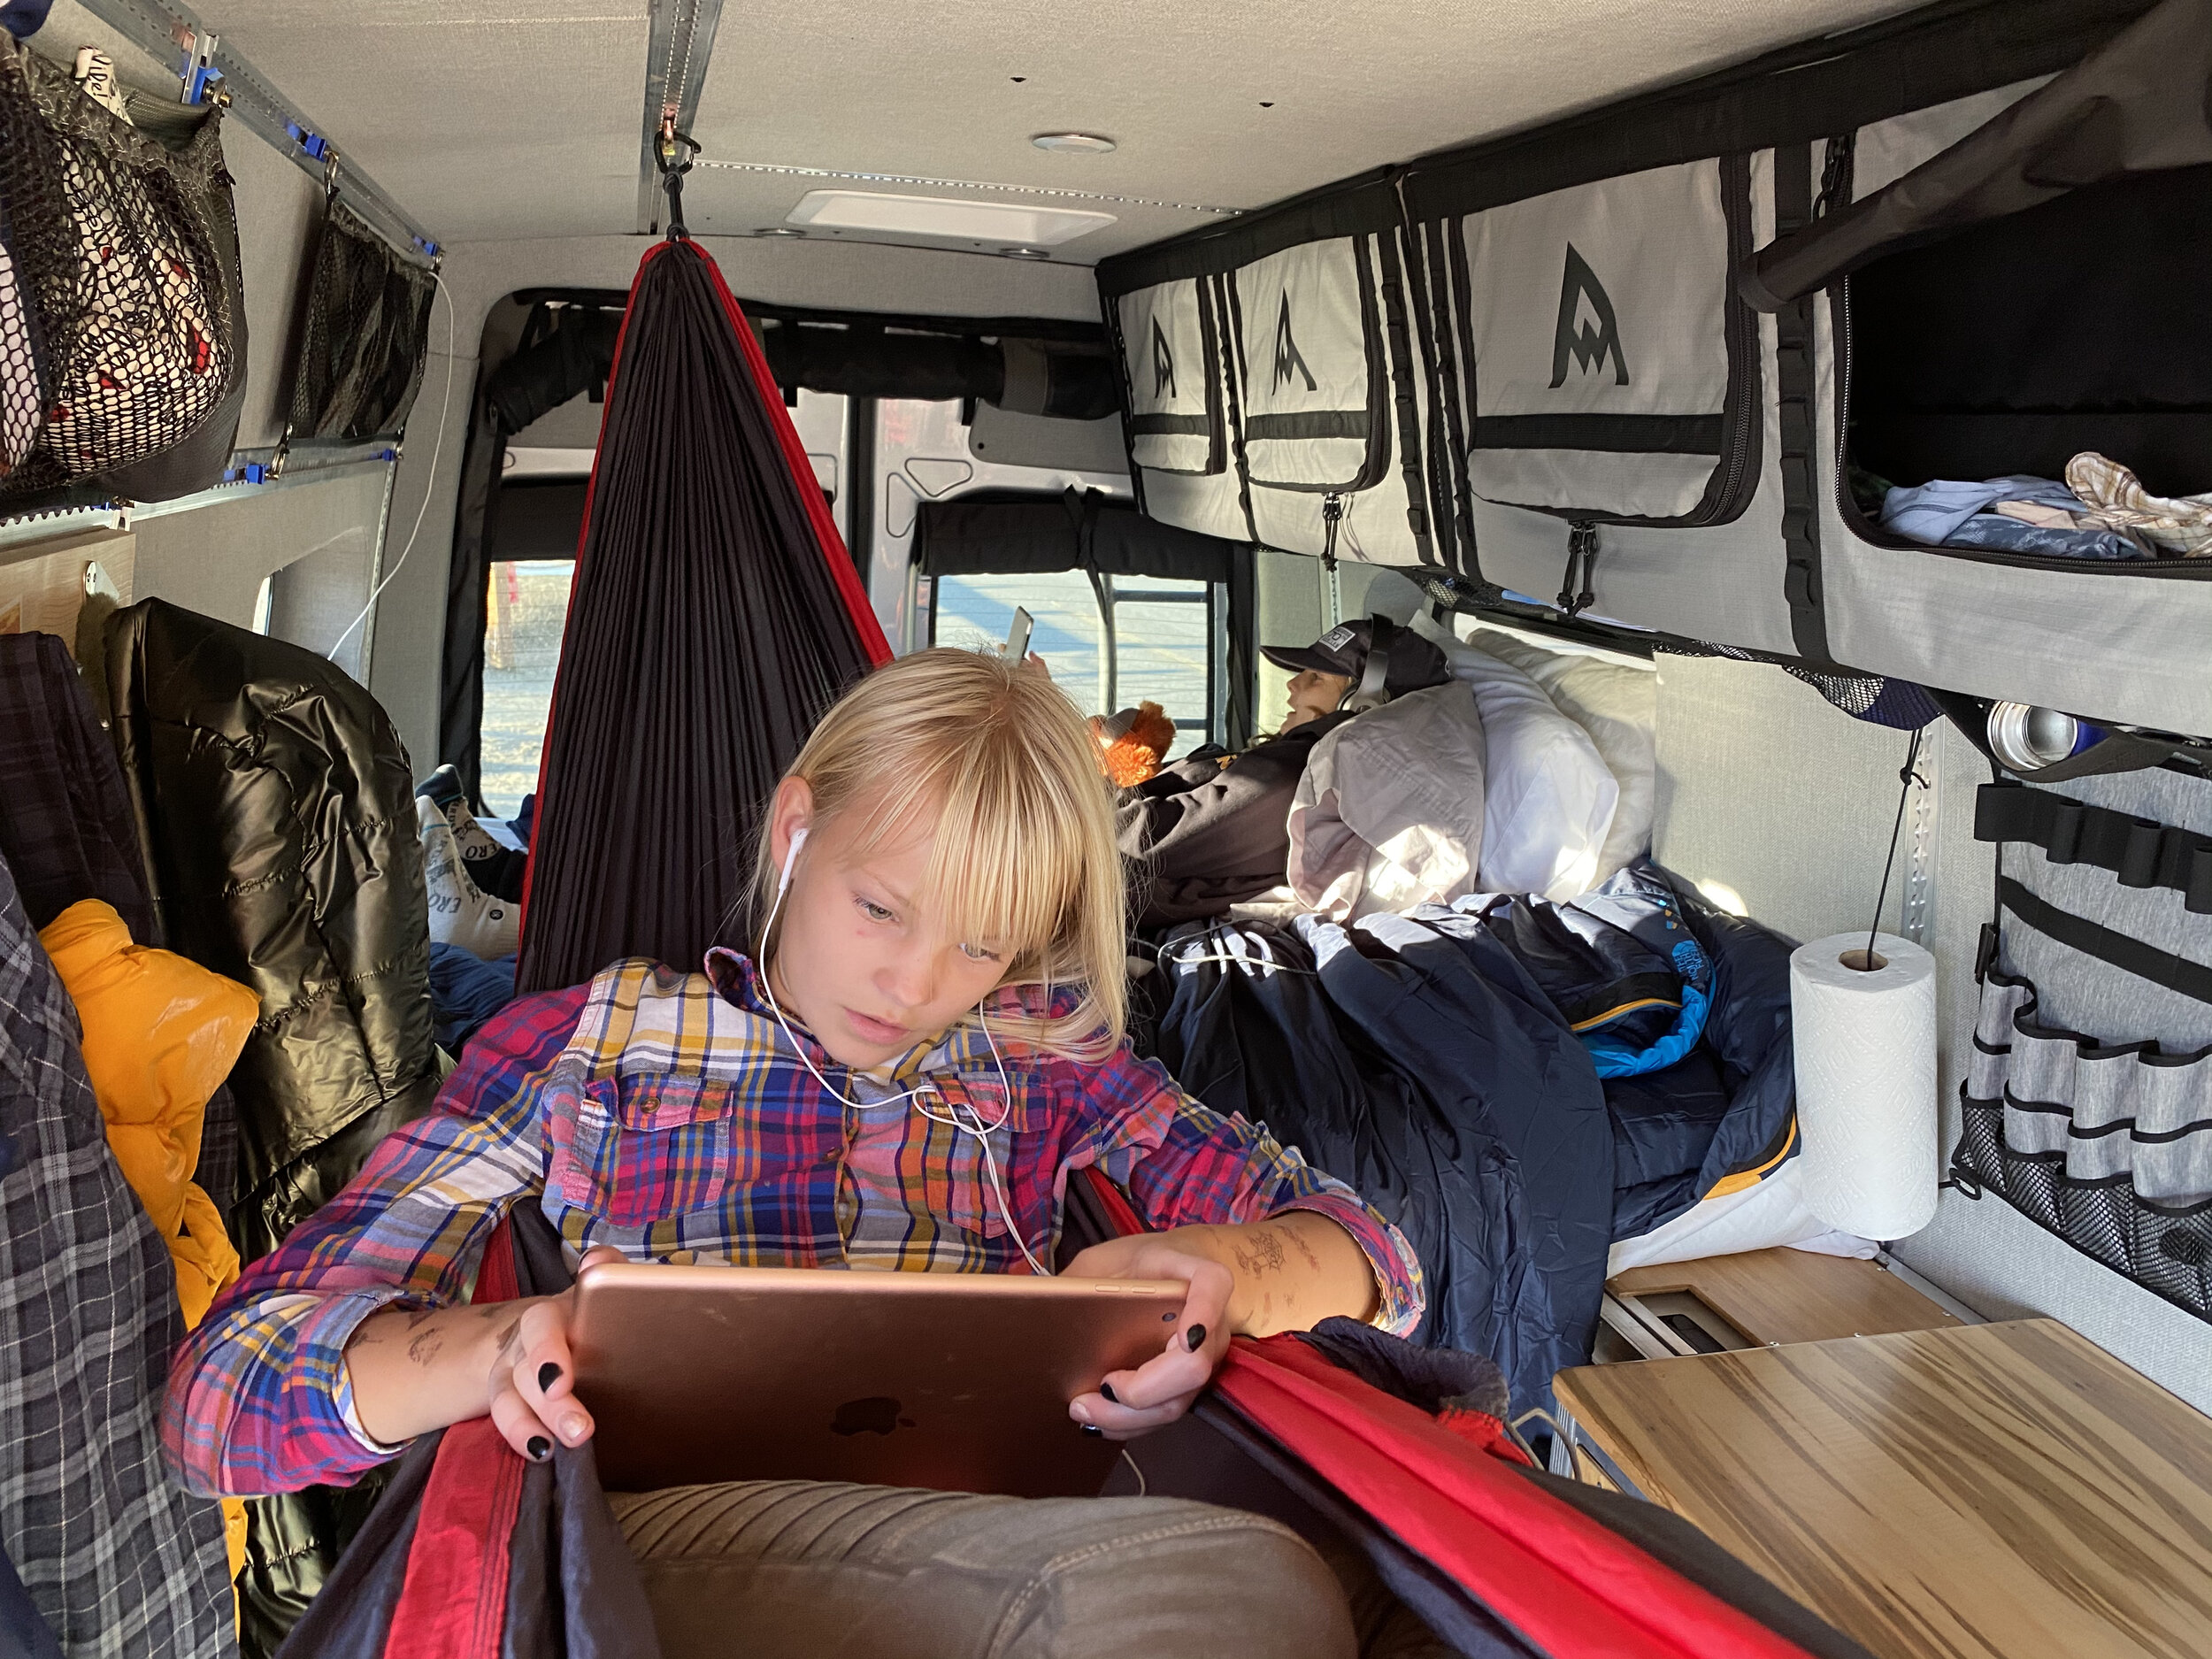
As usual we wanted to customize things so we decided to also install Flarespace pods. These are fiberglass inserts in the back that pop out the width of the van a bit so that you can sleep sideways versus length wise. It means your bed is sideways which ends up giving you some additional van space for the living area. The Flarespace pods on a Sprinter 144 are much larger than they are for the 170 due to where the support beams are. So if you have a 144 you end up with an even larger area for sleeping sideways. You can order the Flarespace pods with or without windows and they come in two different depths. They also now come with trim rings and electrical kits. We got the deepest ones with windows with the electrical kit on one side. We did order the trim rings but we ended up deciding to cut up the trim rings and fabricate our own. The reason being is that if you are creative and handy you can make the interior space a bit taller and wider if you fab your own trim rings. It took some work but we were able to take their trim rings and make then a few inches wider and taller by cutting their trim rings and creating gap plugs (see pictures). We also did this because we were trying to get the AdWag kit to work with the Flarespace kit and for those to match up to the Trail Kitchen kit (more on that later). In the end it turned out great. We have a large bed that allows two adults to sleep sideways while maximizing our living space. My wife is 5’10” and I am 6’1” and we fit pretty well. If you are a bit taller than 6’1” then you will end up sleeping at a slight angle sideways. If you are a few inches taller you wont fit and you should skip this mod and just sleep lengthwise. The whole reason for doing this was that we wanted to have a large bed for the adults and to put the two kids under our bed platform on mats on the floor of the van. This would allow us to have gear space in the “garage” (the space under the main bed platform) while having comfortable sleeping for 4. Another option is to skip the Flarespace pods and to install two Adventure Wagon’s MOAB bed systems in a stacked formation. But if you do this you can’t have large wheel well cabinets to house water and electrical. So in the end our configuration allowed us to have comfortable sleeping for 4, tons of gear storage during the day, and two large cabinets to house a sophisticated water and electrical system (more on that later).
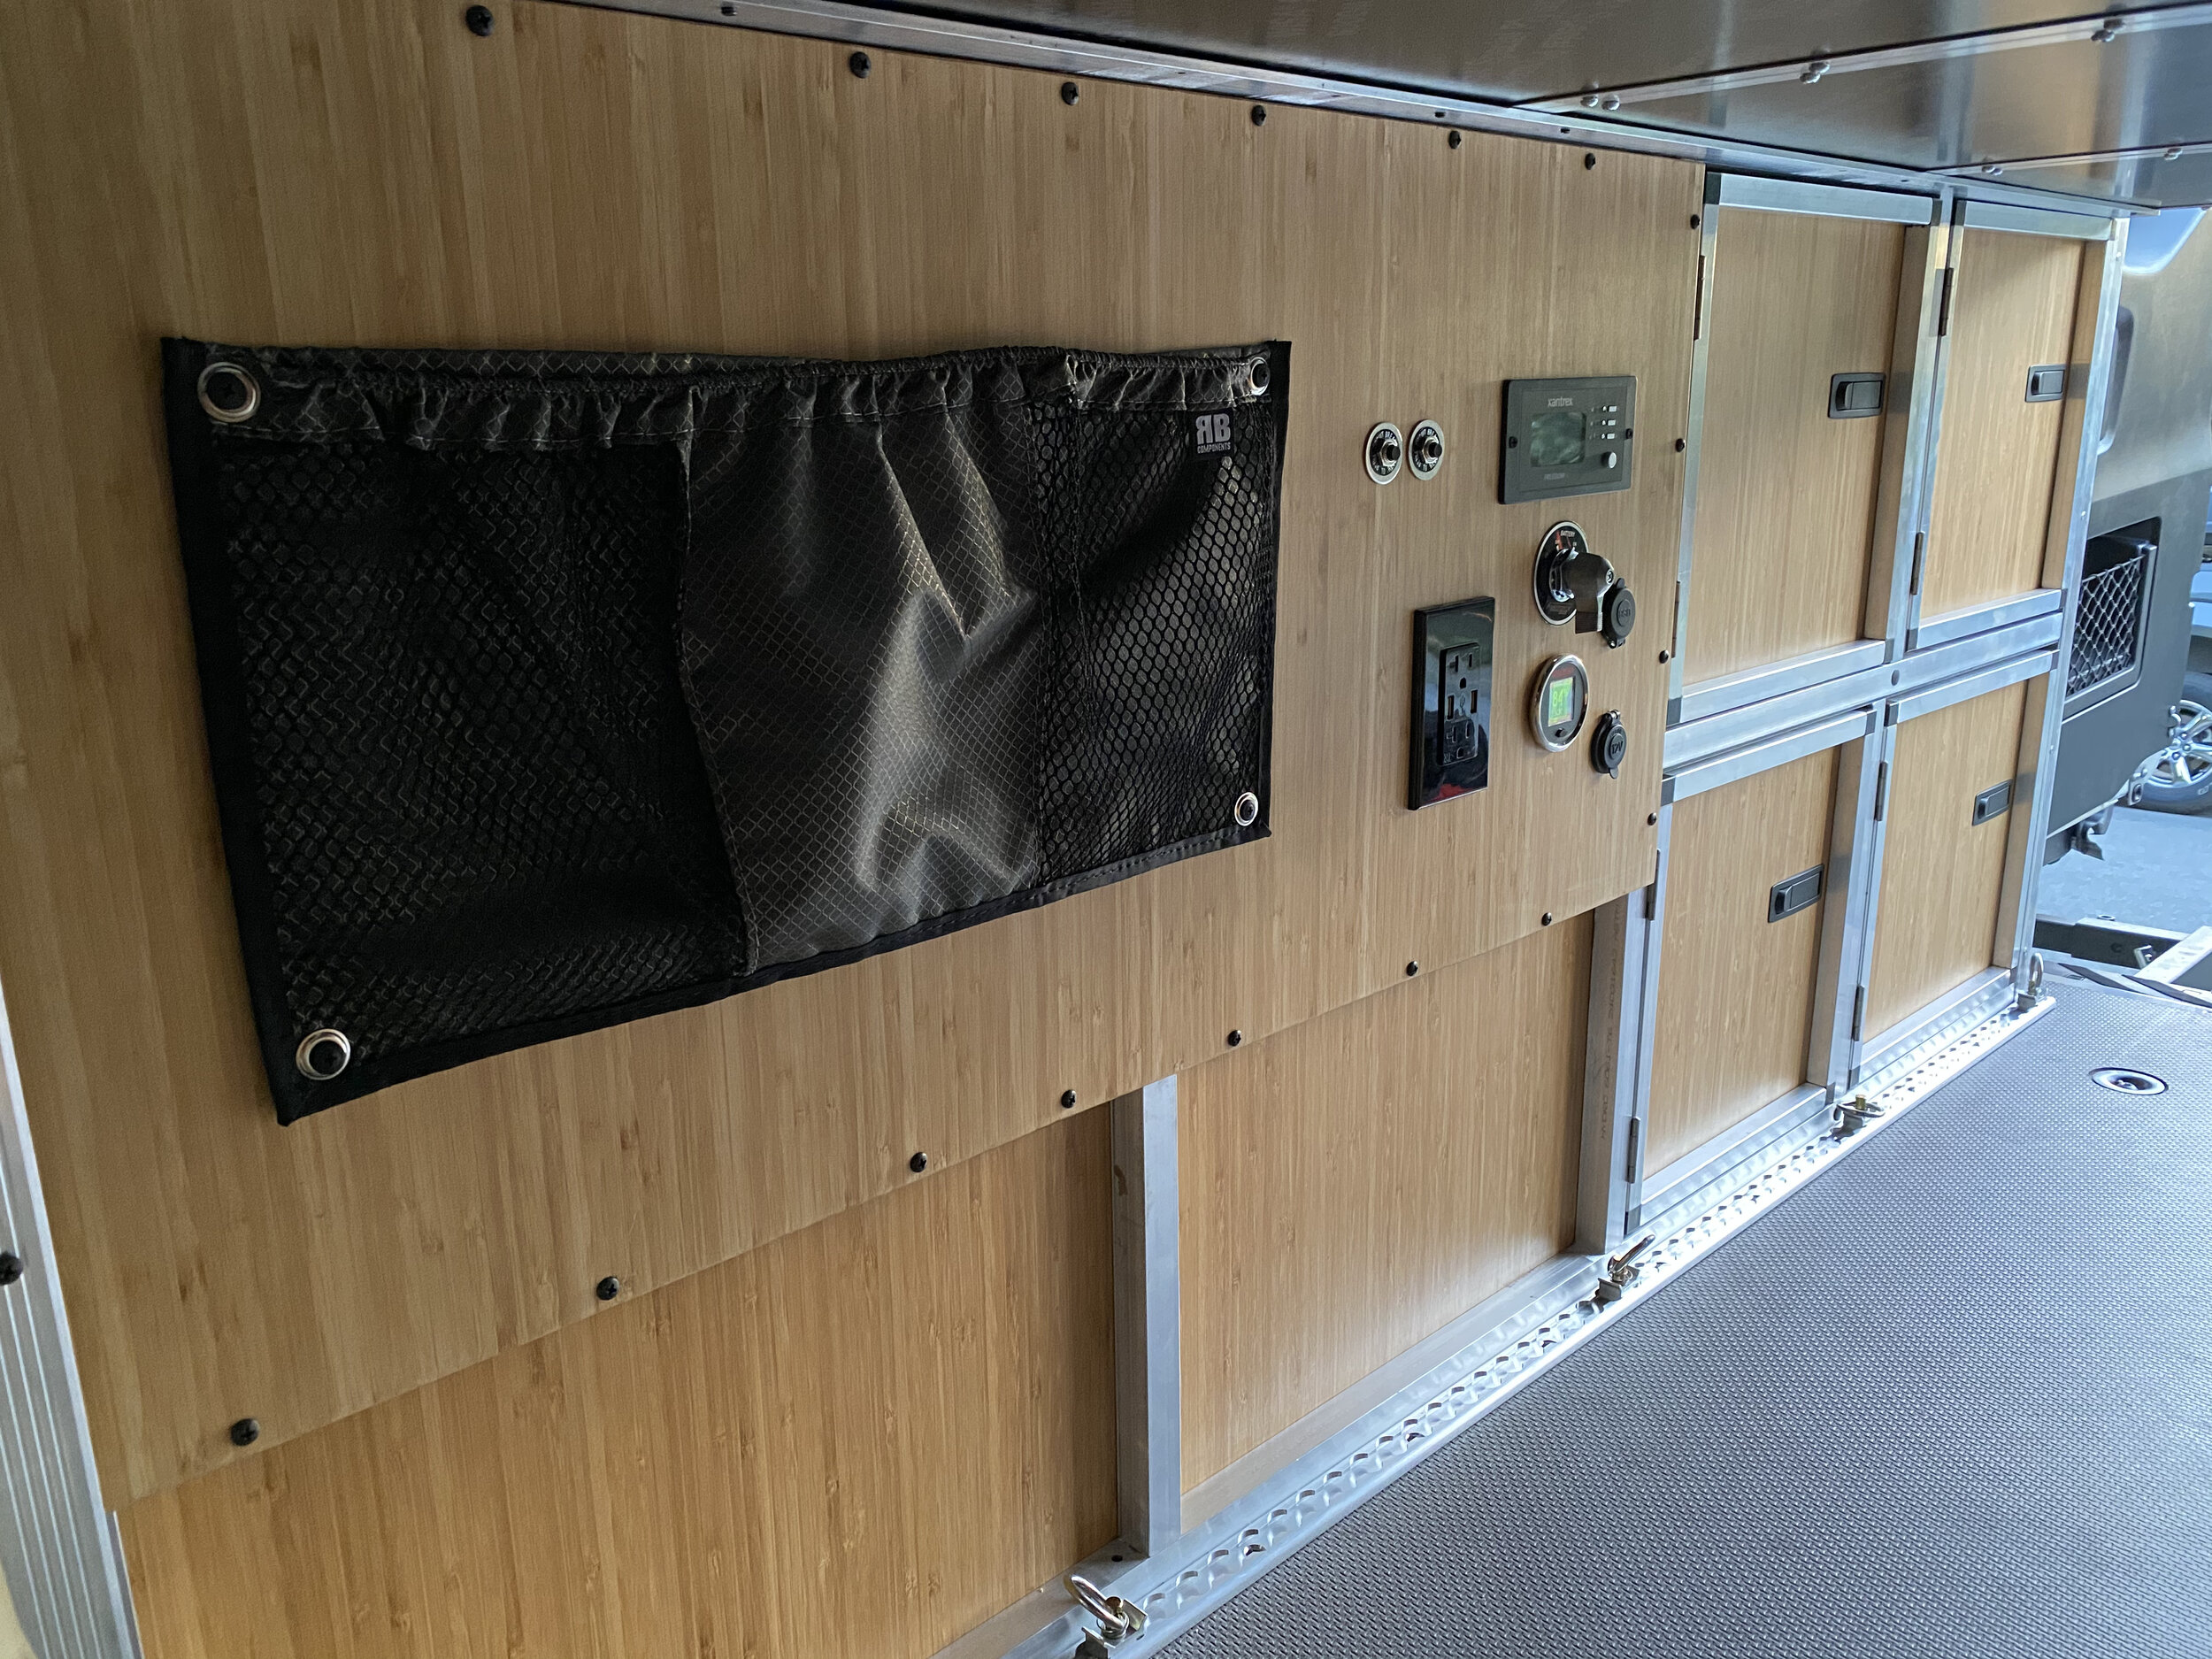
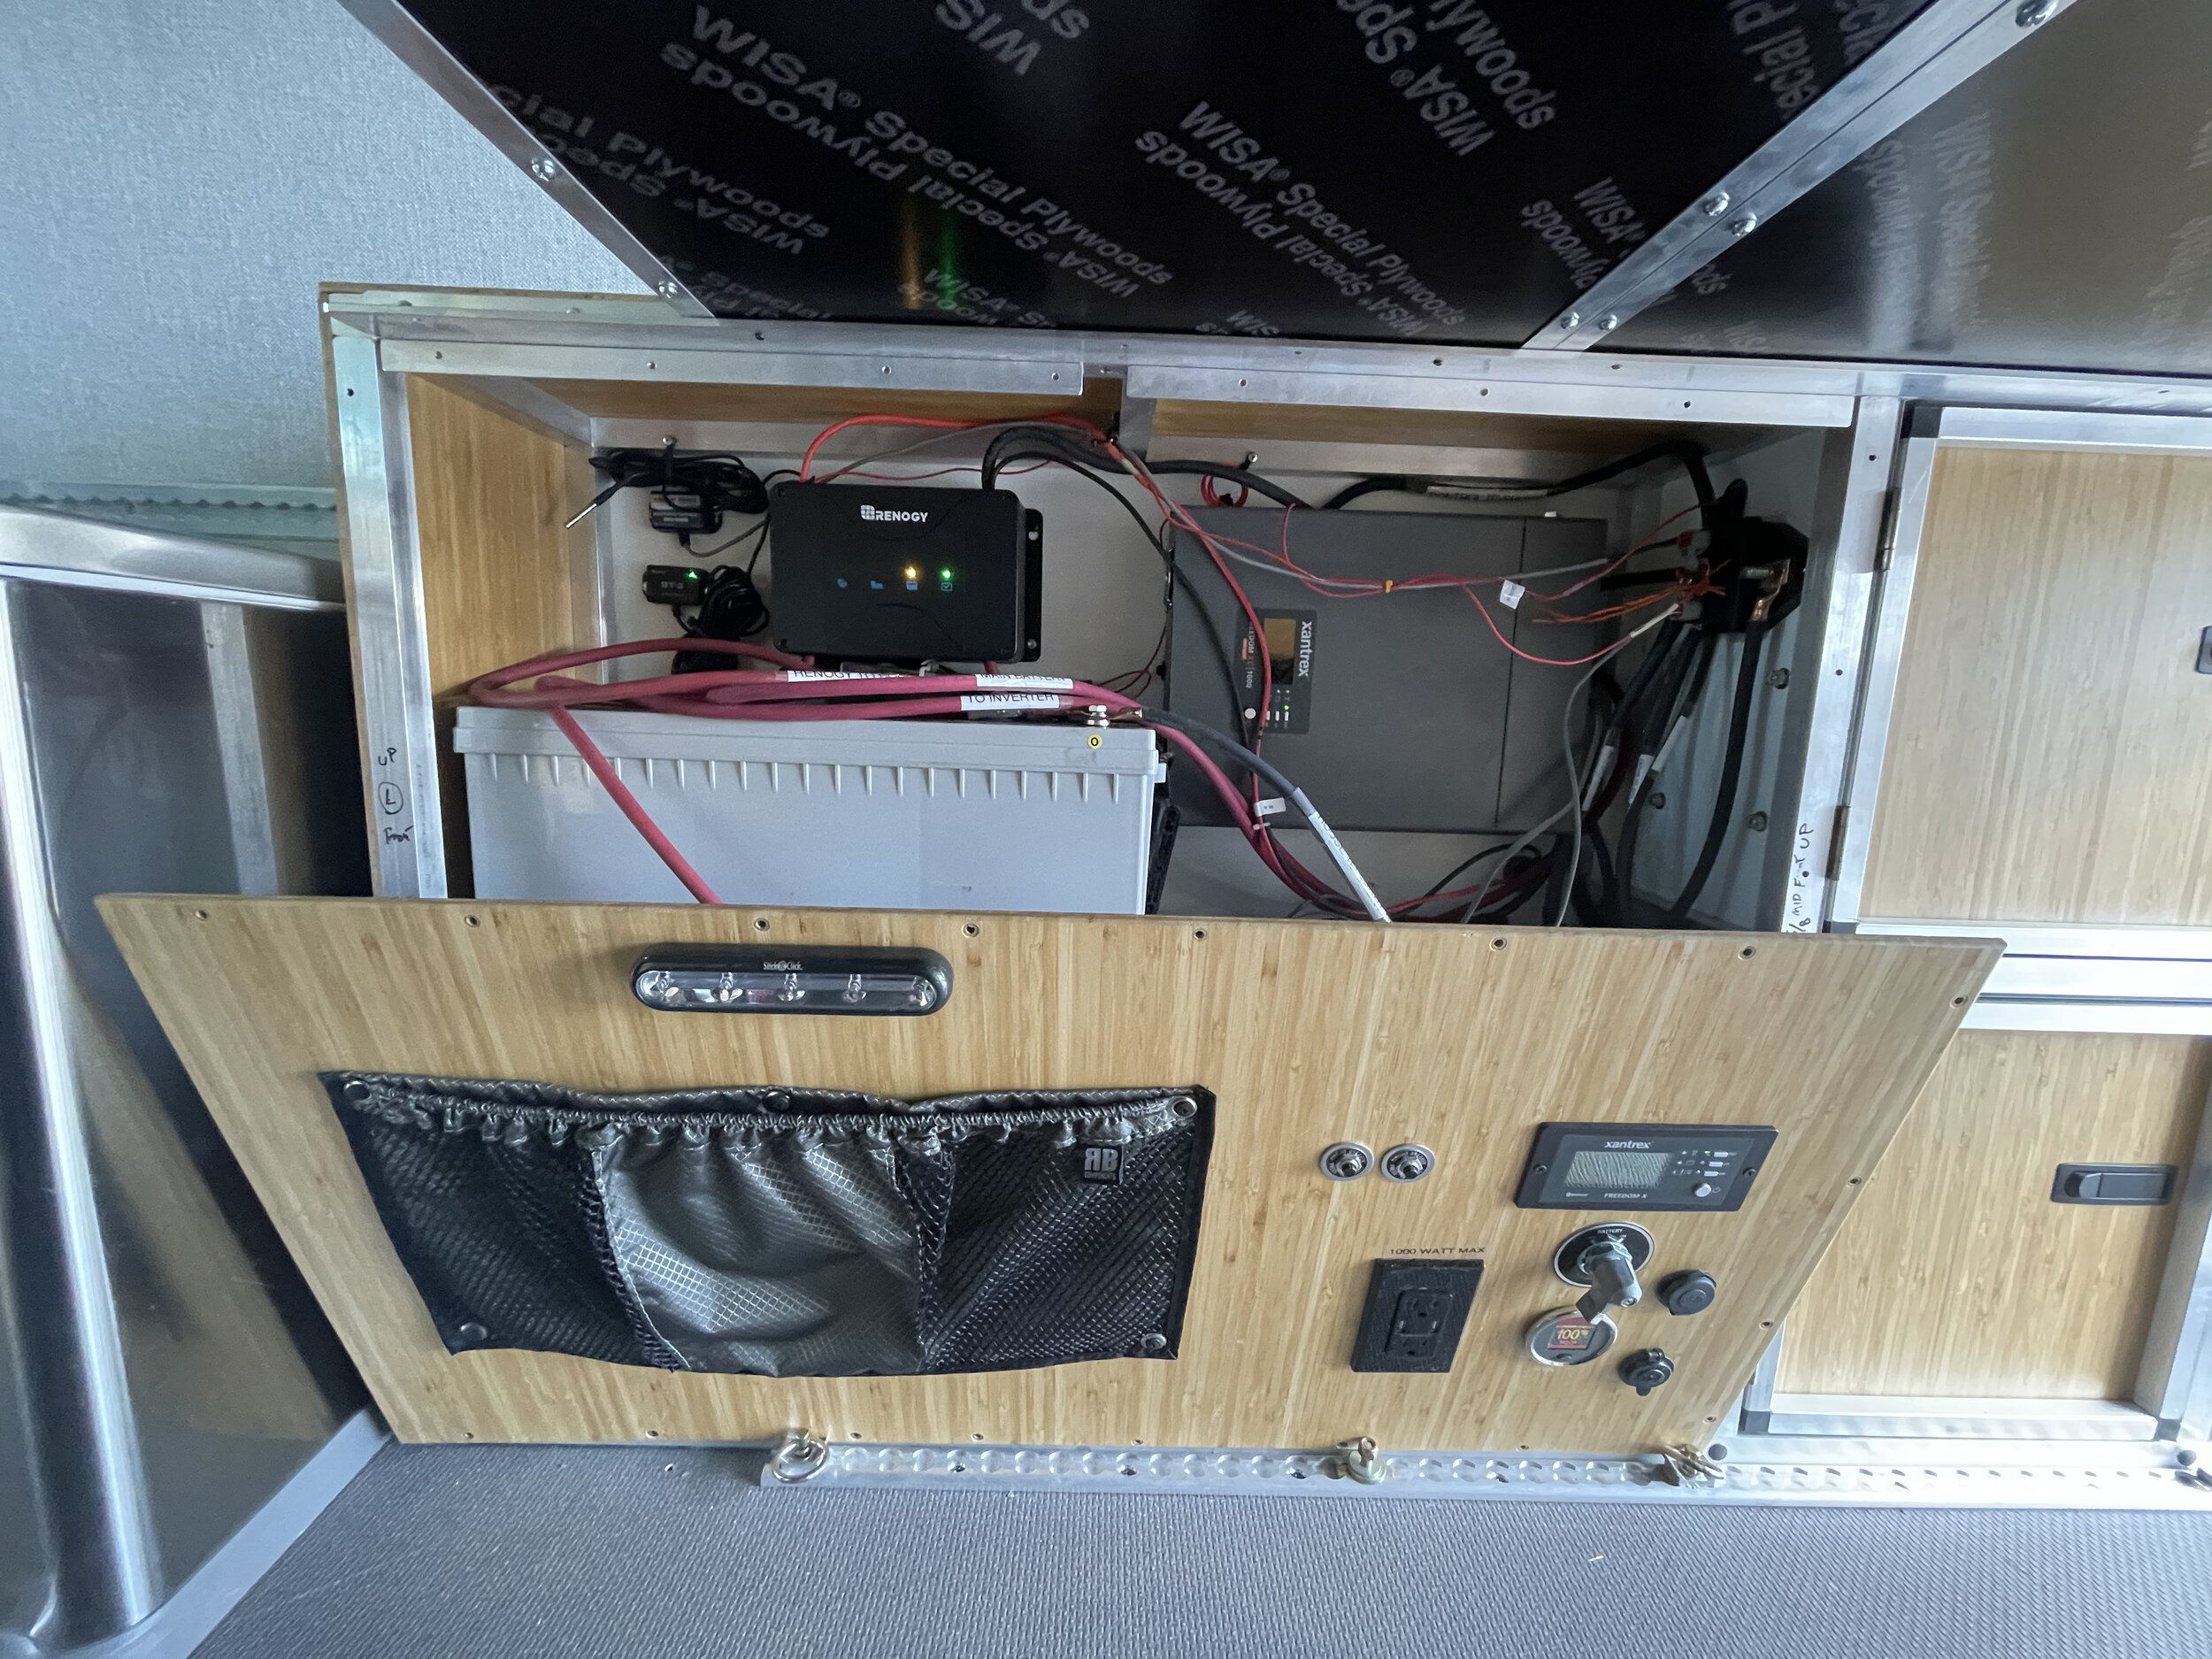
The electrical kit of the AdWag and Flarespace gives you USB ports in 4-5 locations plus a couple of cigarette lighter ports and LED lights in the ceiling and Flarespace area. The ceiling vents are remote controlled and offer the ability to pull in or push out air. We decided not to get an AC unit on the roof because they take up a huge amount of roof space and draw a ton of power. As much as people claim to have battery systems that can power the AC unit all day the math doesn’t pencil out that well. We figured it was safer to skip the AC unit and conserve the power and go with two vents plus nets on the large doors (more on that later) to cool the van down. We have done summer trips in the Utah and Nevada deserts and while it is hot it is doable without a dedicated AC. Also I prefer to have fewer expensive electrical components that could break or require maintenance.

The AdWag L-track system is amazing. It allows you to attach a ton of things to the walls (storage bags, cabinets, gear, etc.). They are also extremely strong as they are bolted into AdWag’s support braces which are riveted into the van’s support beams. The L-track is strong enough to attach a ceiling hammock for the kids.
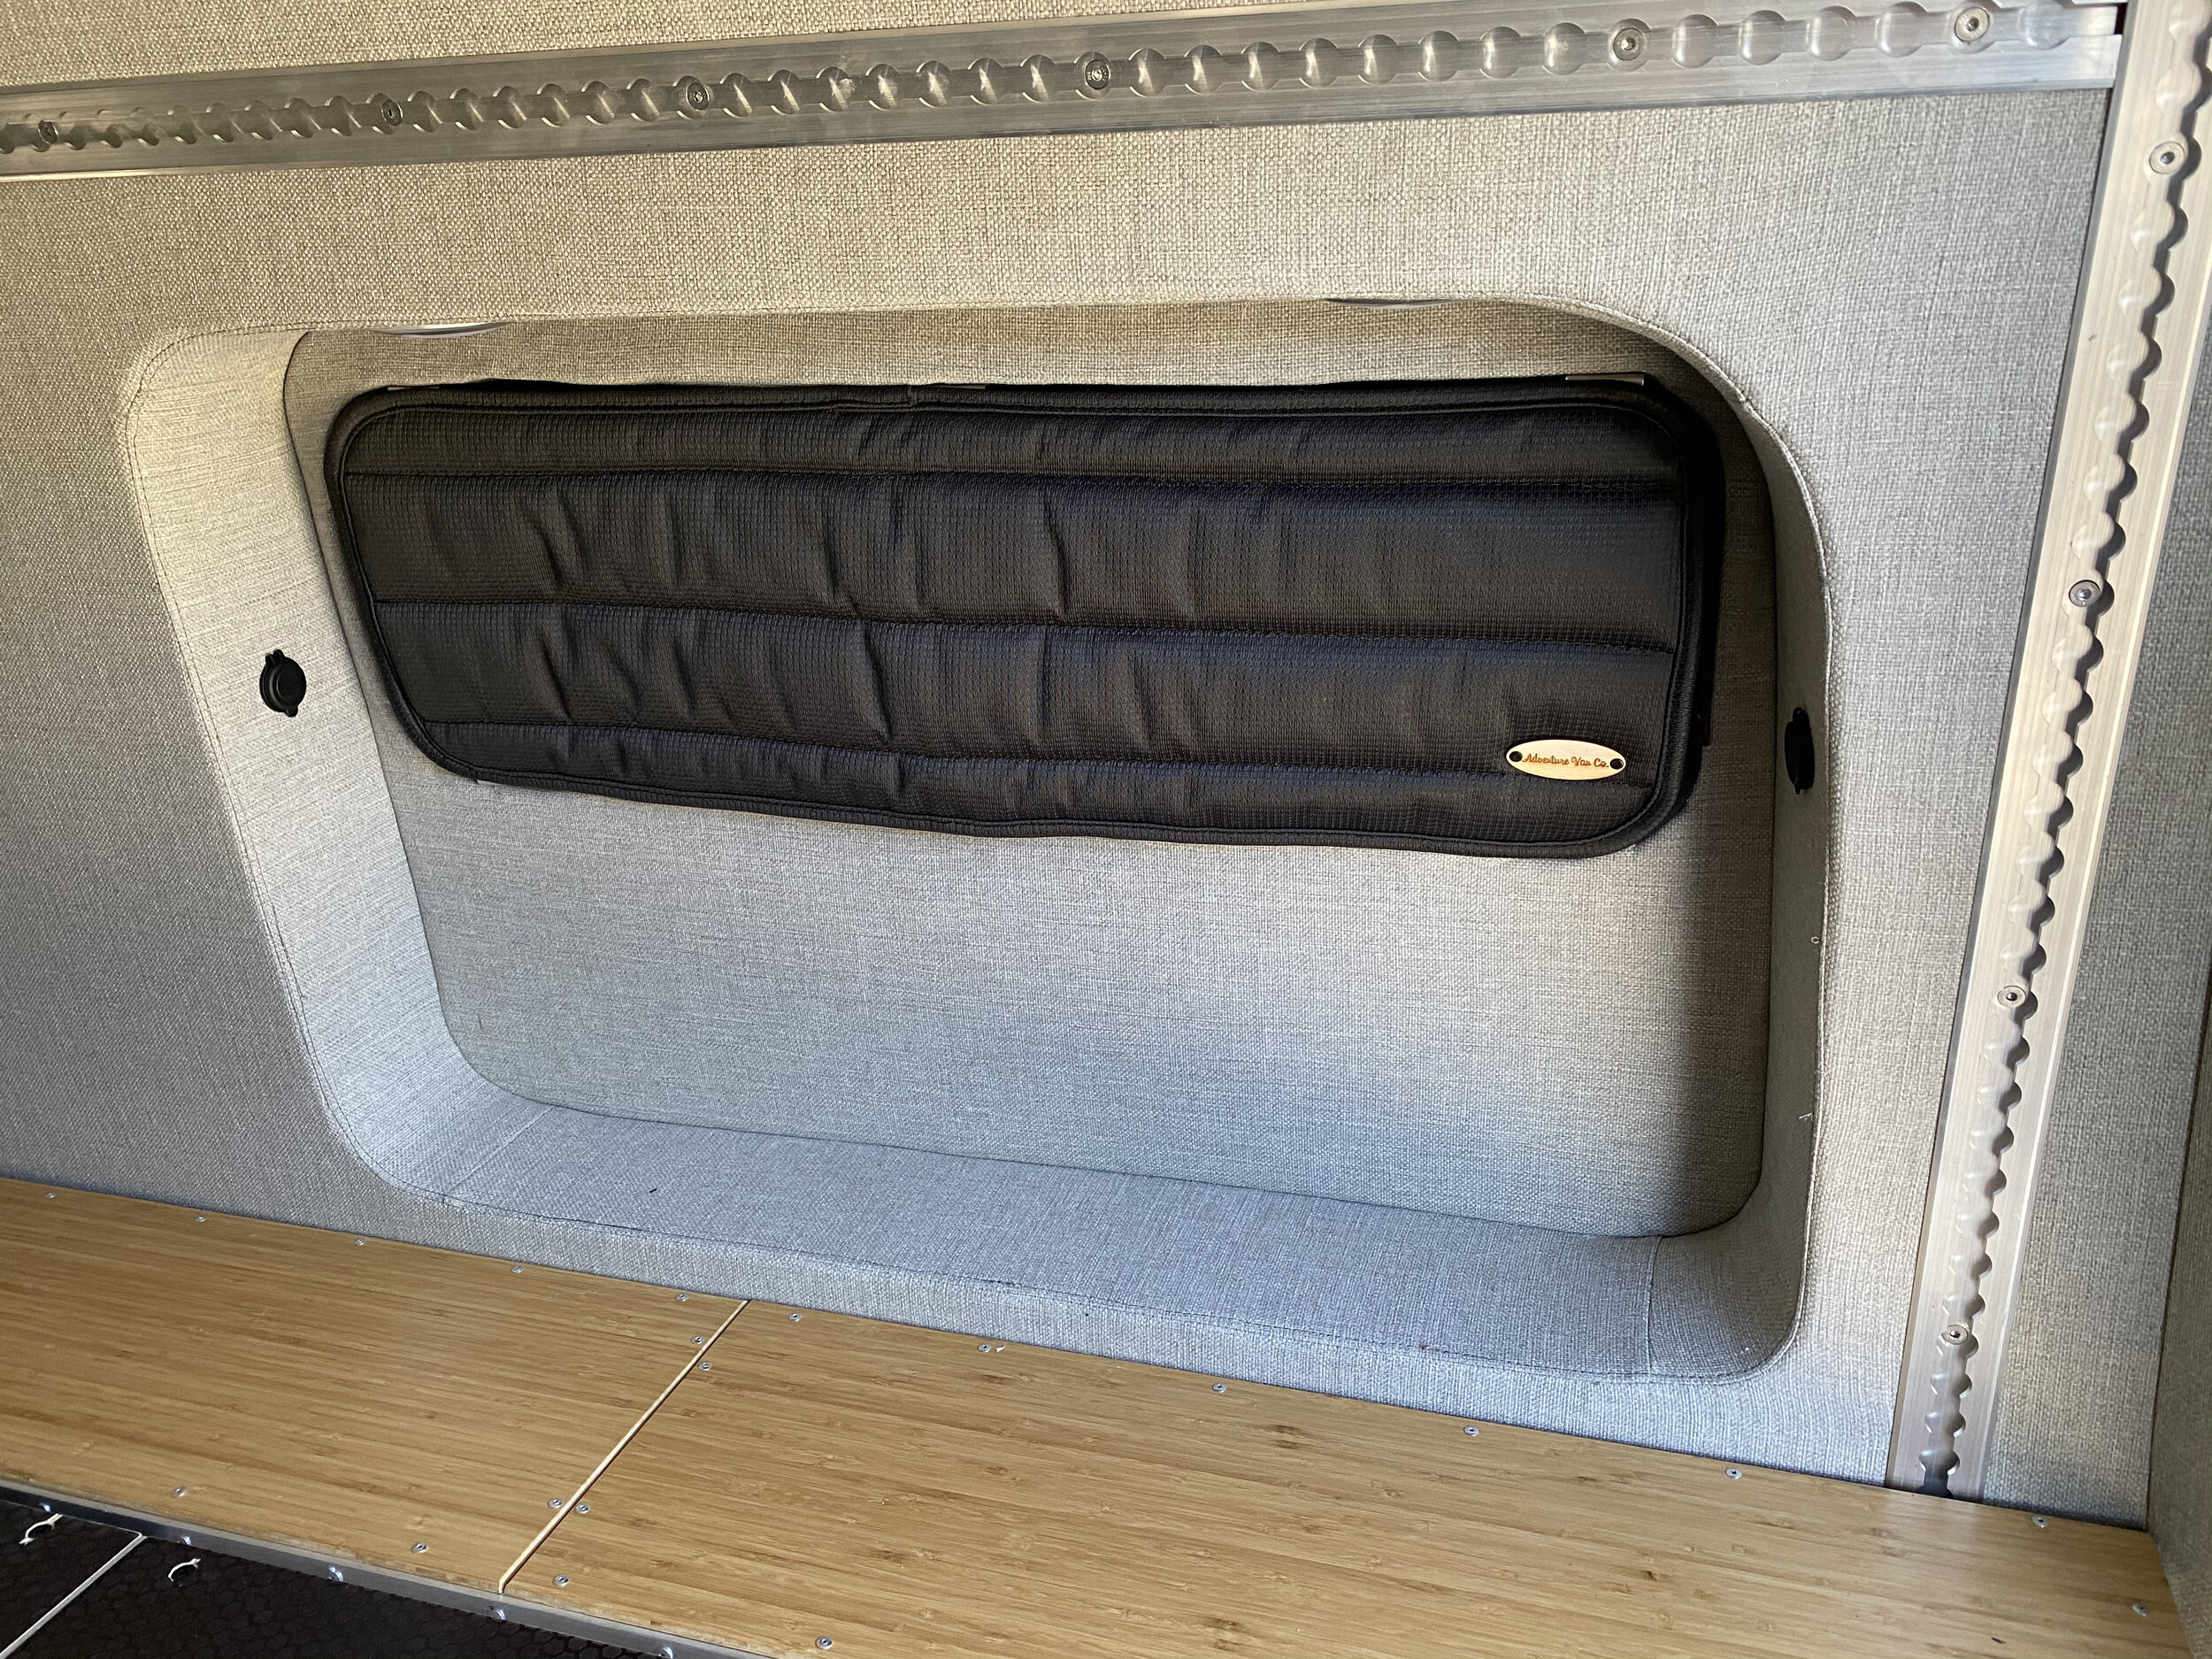
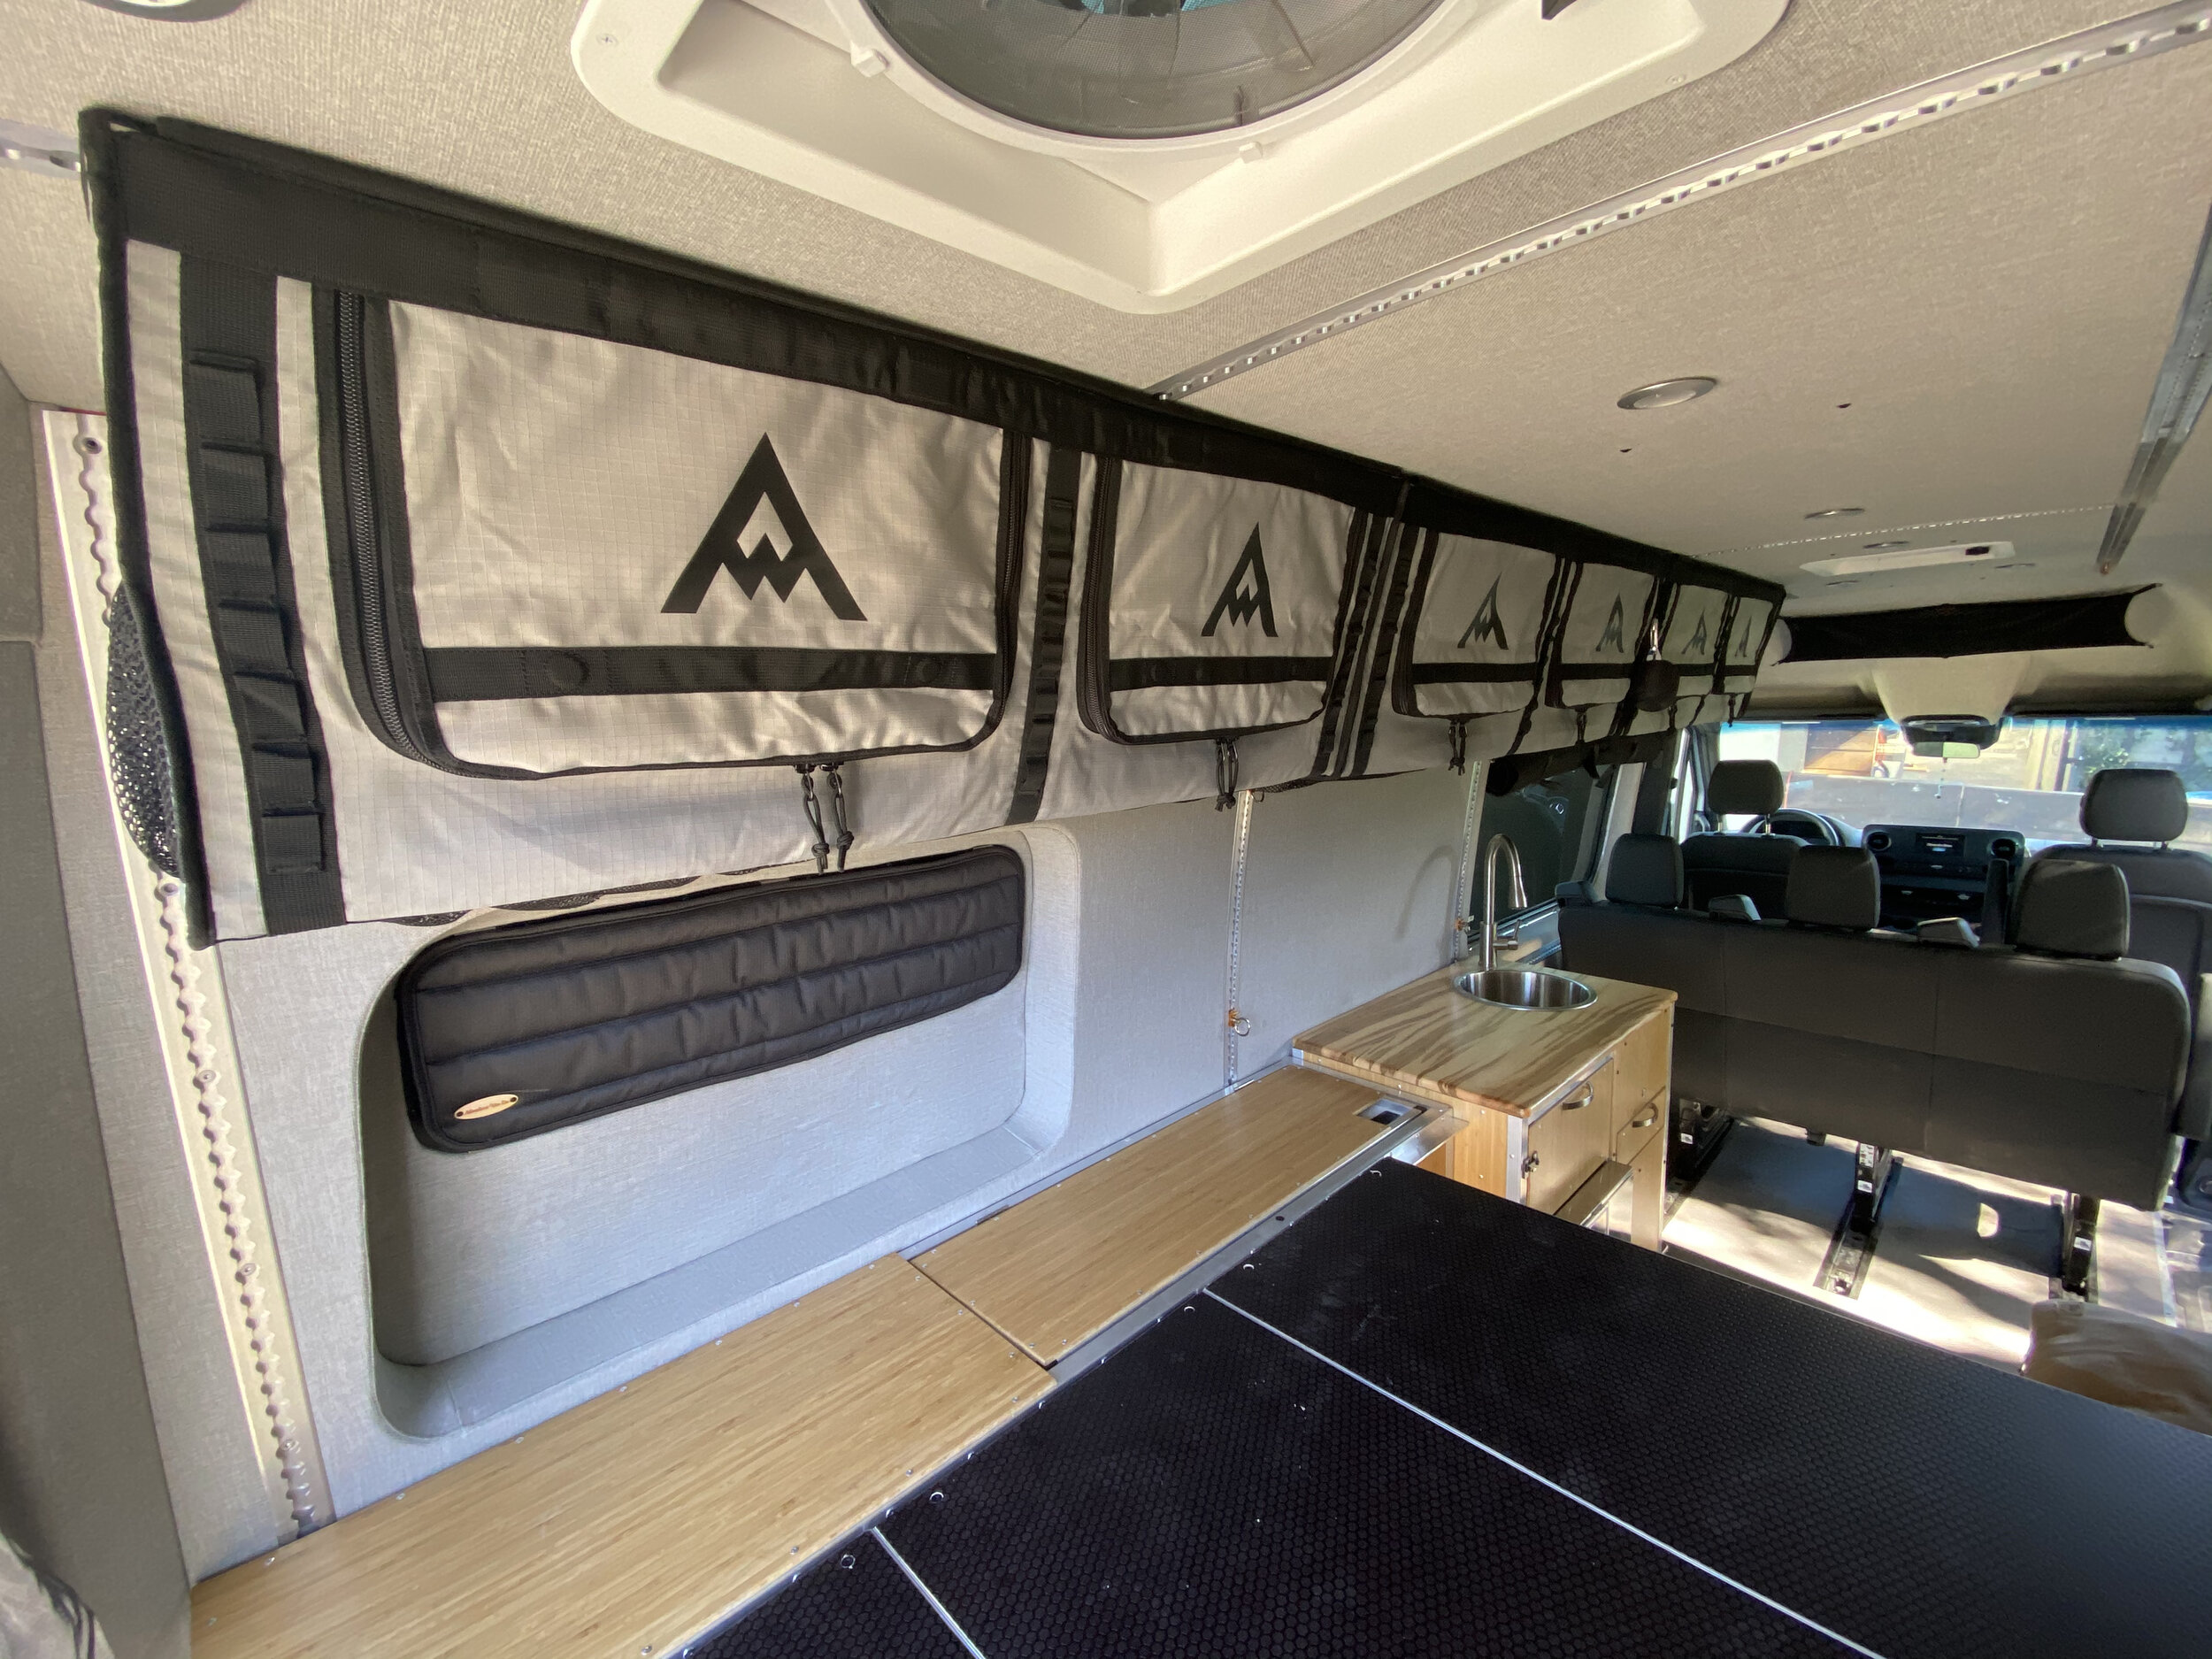
One last thought…..if you plan on doing this mod plan out ahead of time where else you will want electrical items. Once the walls are open you have great access to route wires but once the panels are on it will be much harder. It is possible to remove individual panels but might as well run the wires when you can. The AdWag interior kit will give you a 12 slot fuse box on the wall right behind the driver. But I have learned (the hard way) that you should also consider putting a smaller fuse box (6 slots perhaps) on each side of the van in the rear. This will give you plenty of connection options down the road for other electrical gear with short wire runs. I will go into more details in our write up of the electrical system.

Sprinter Build - Side Steps

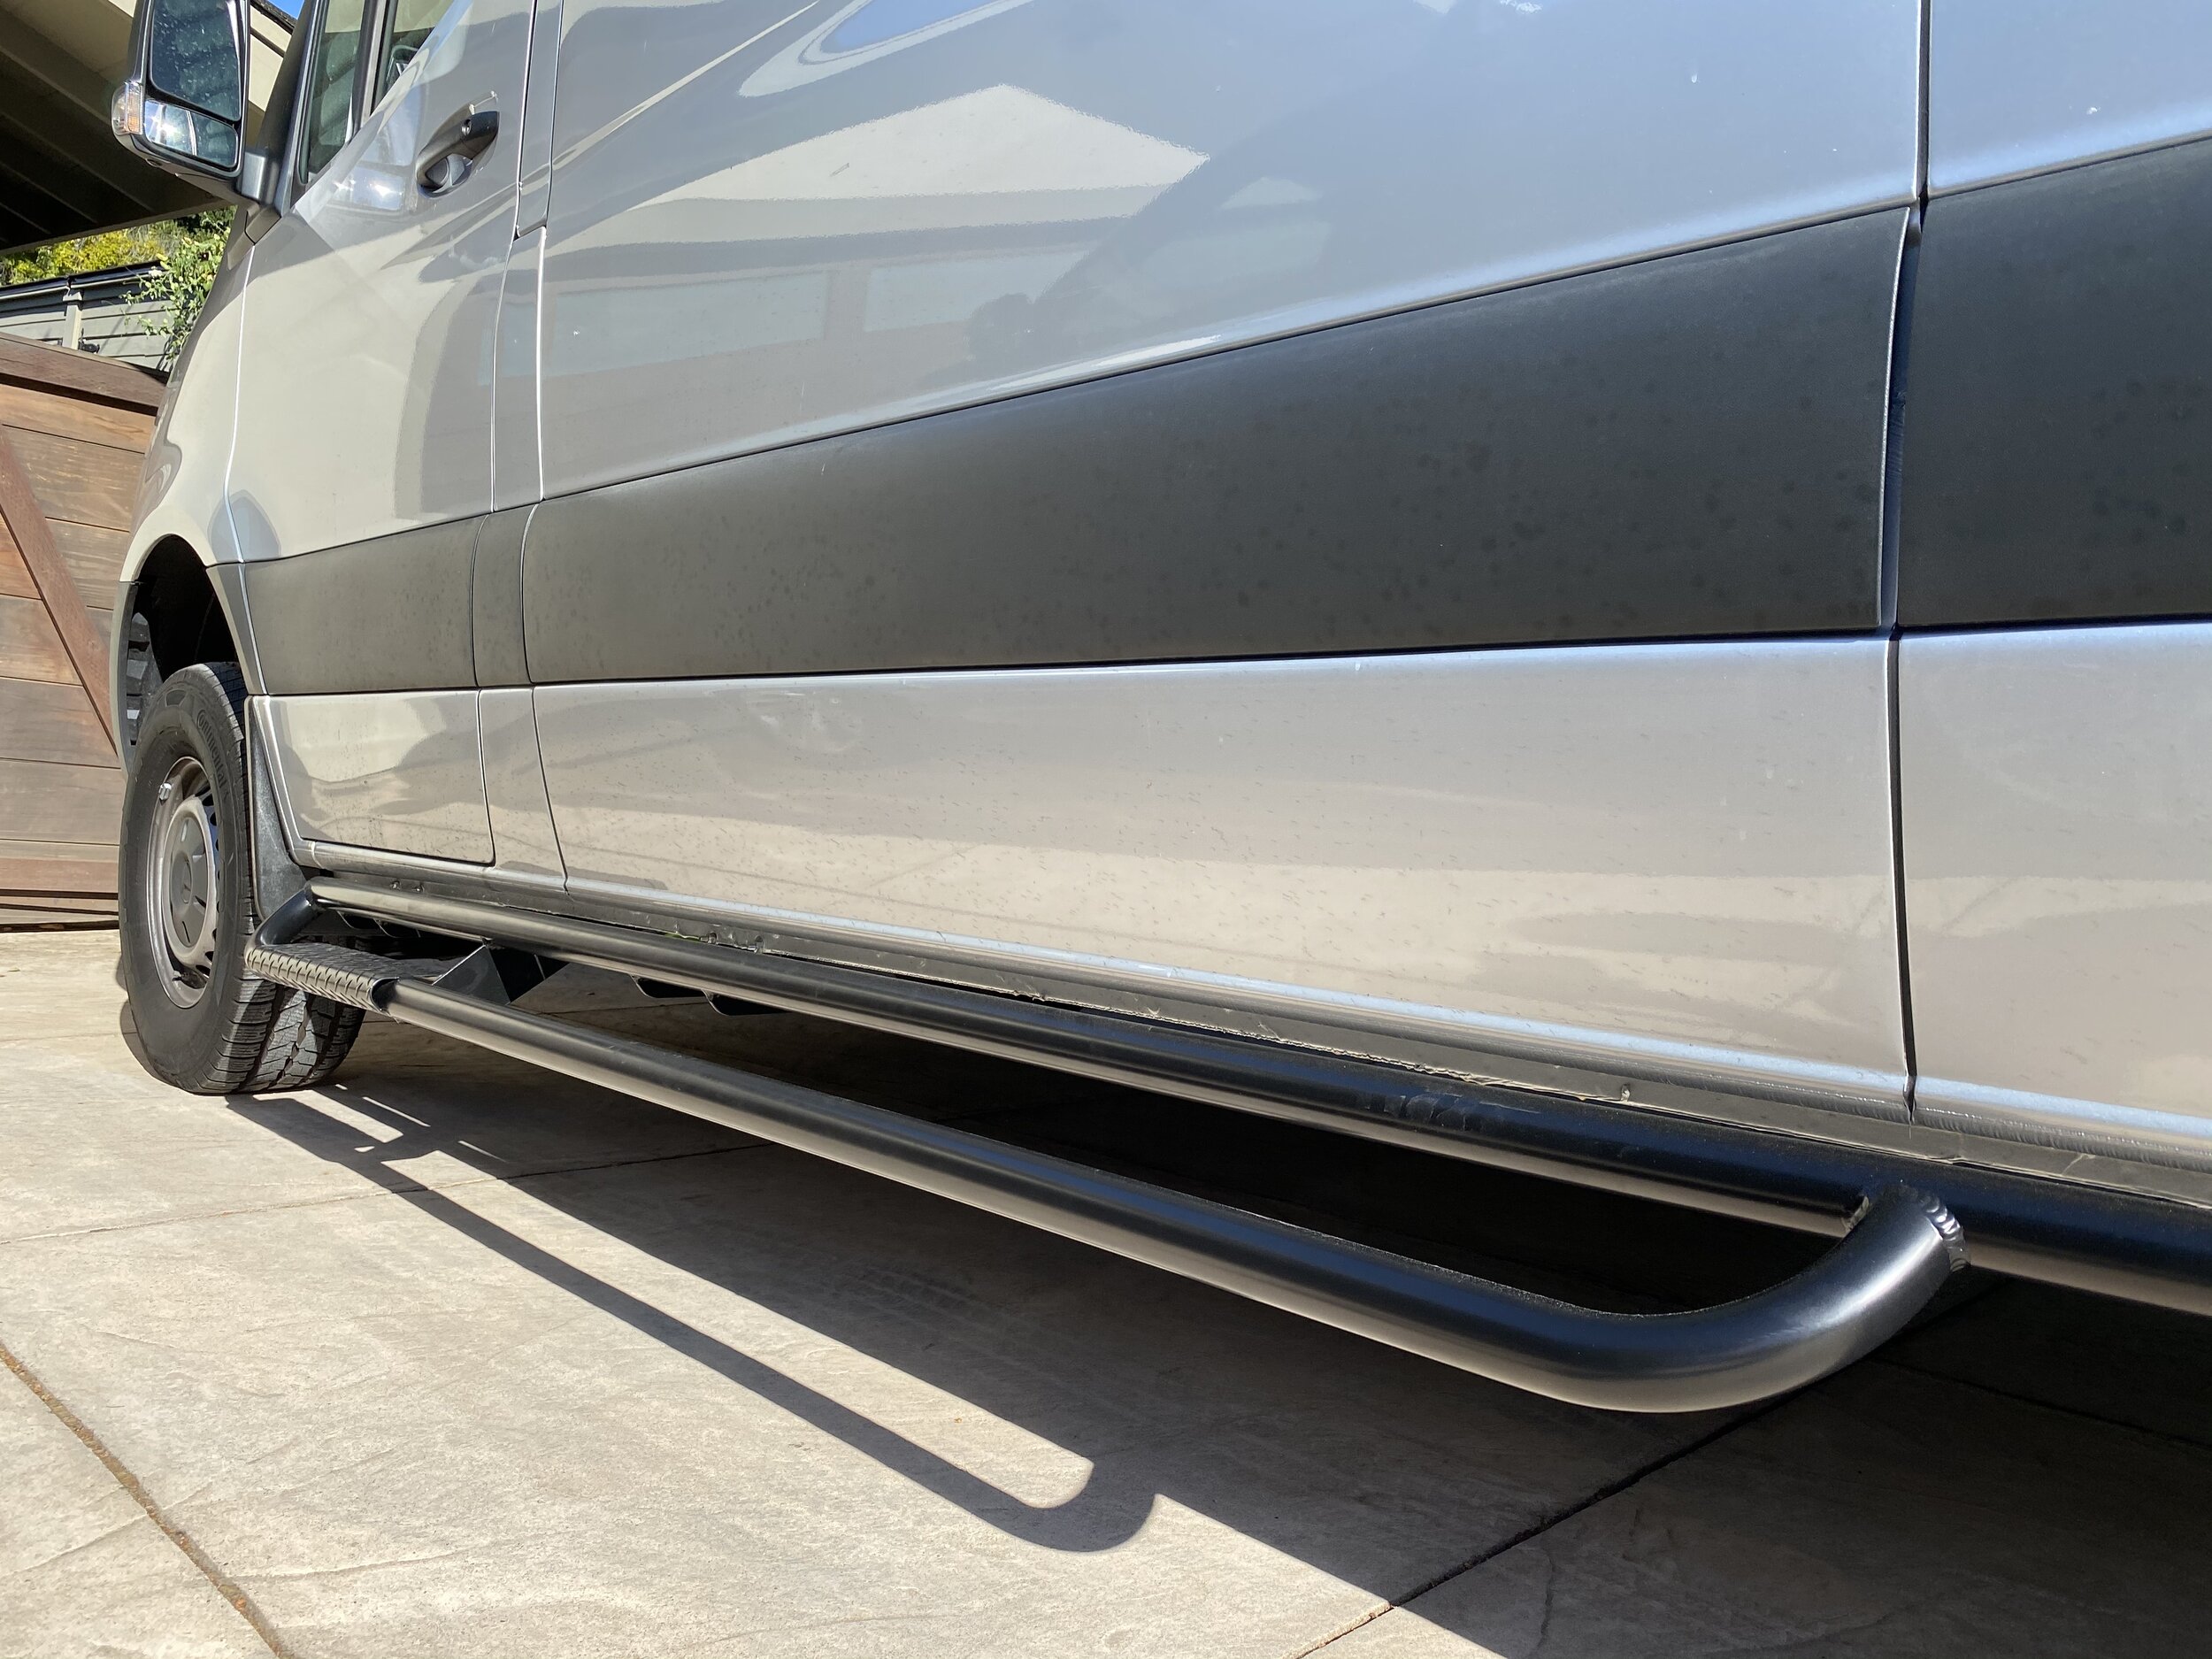
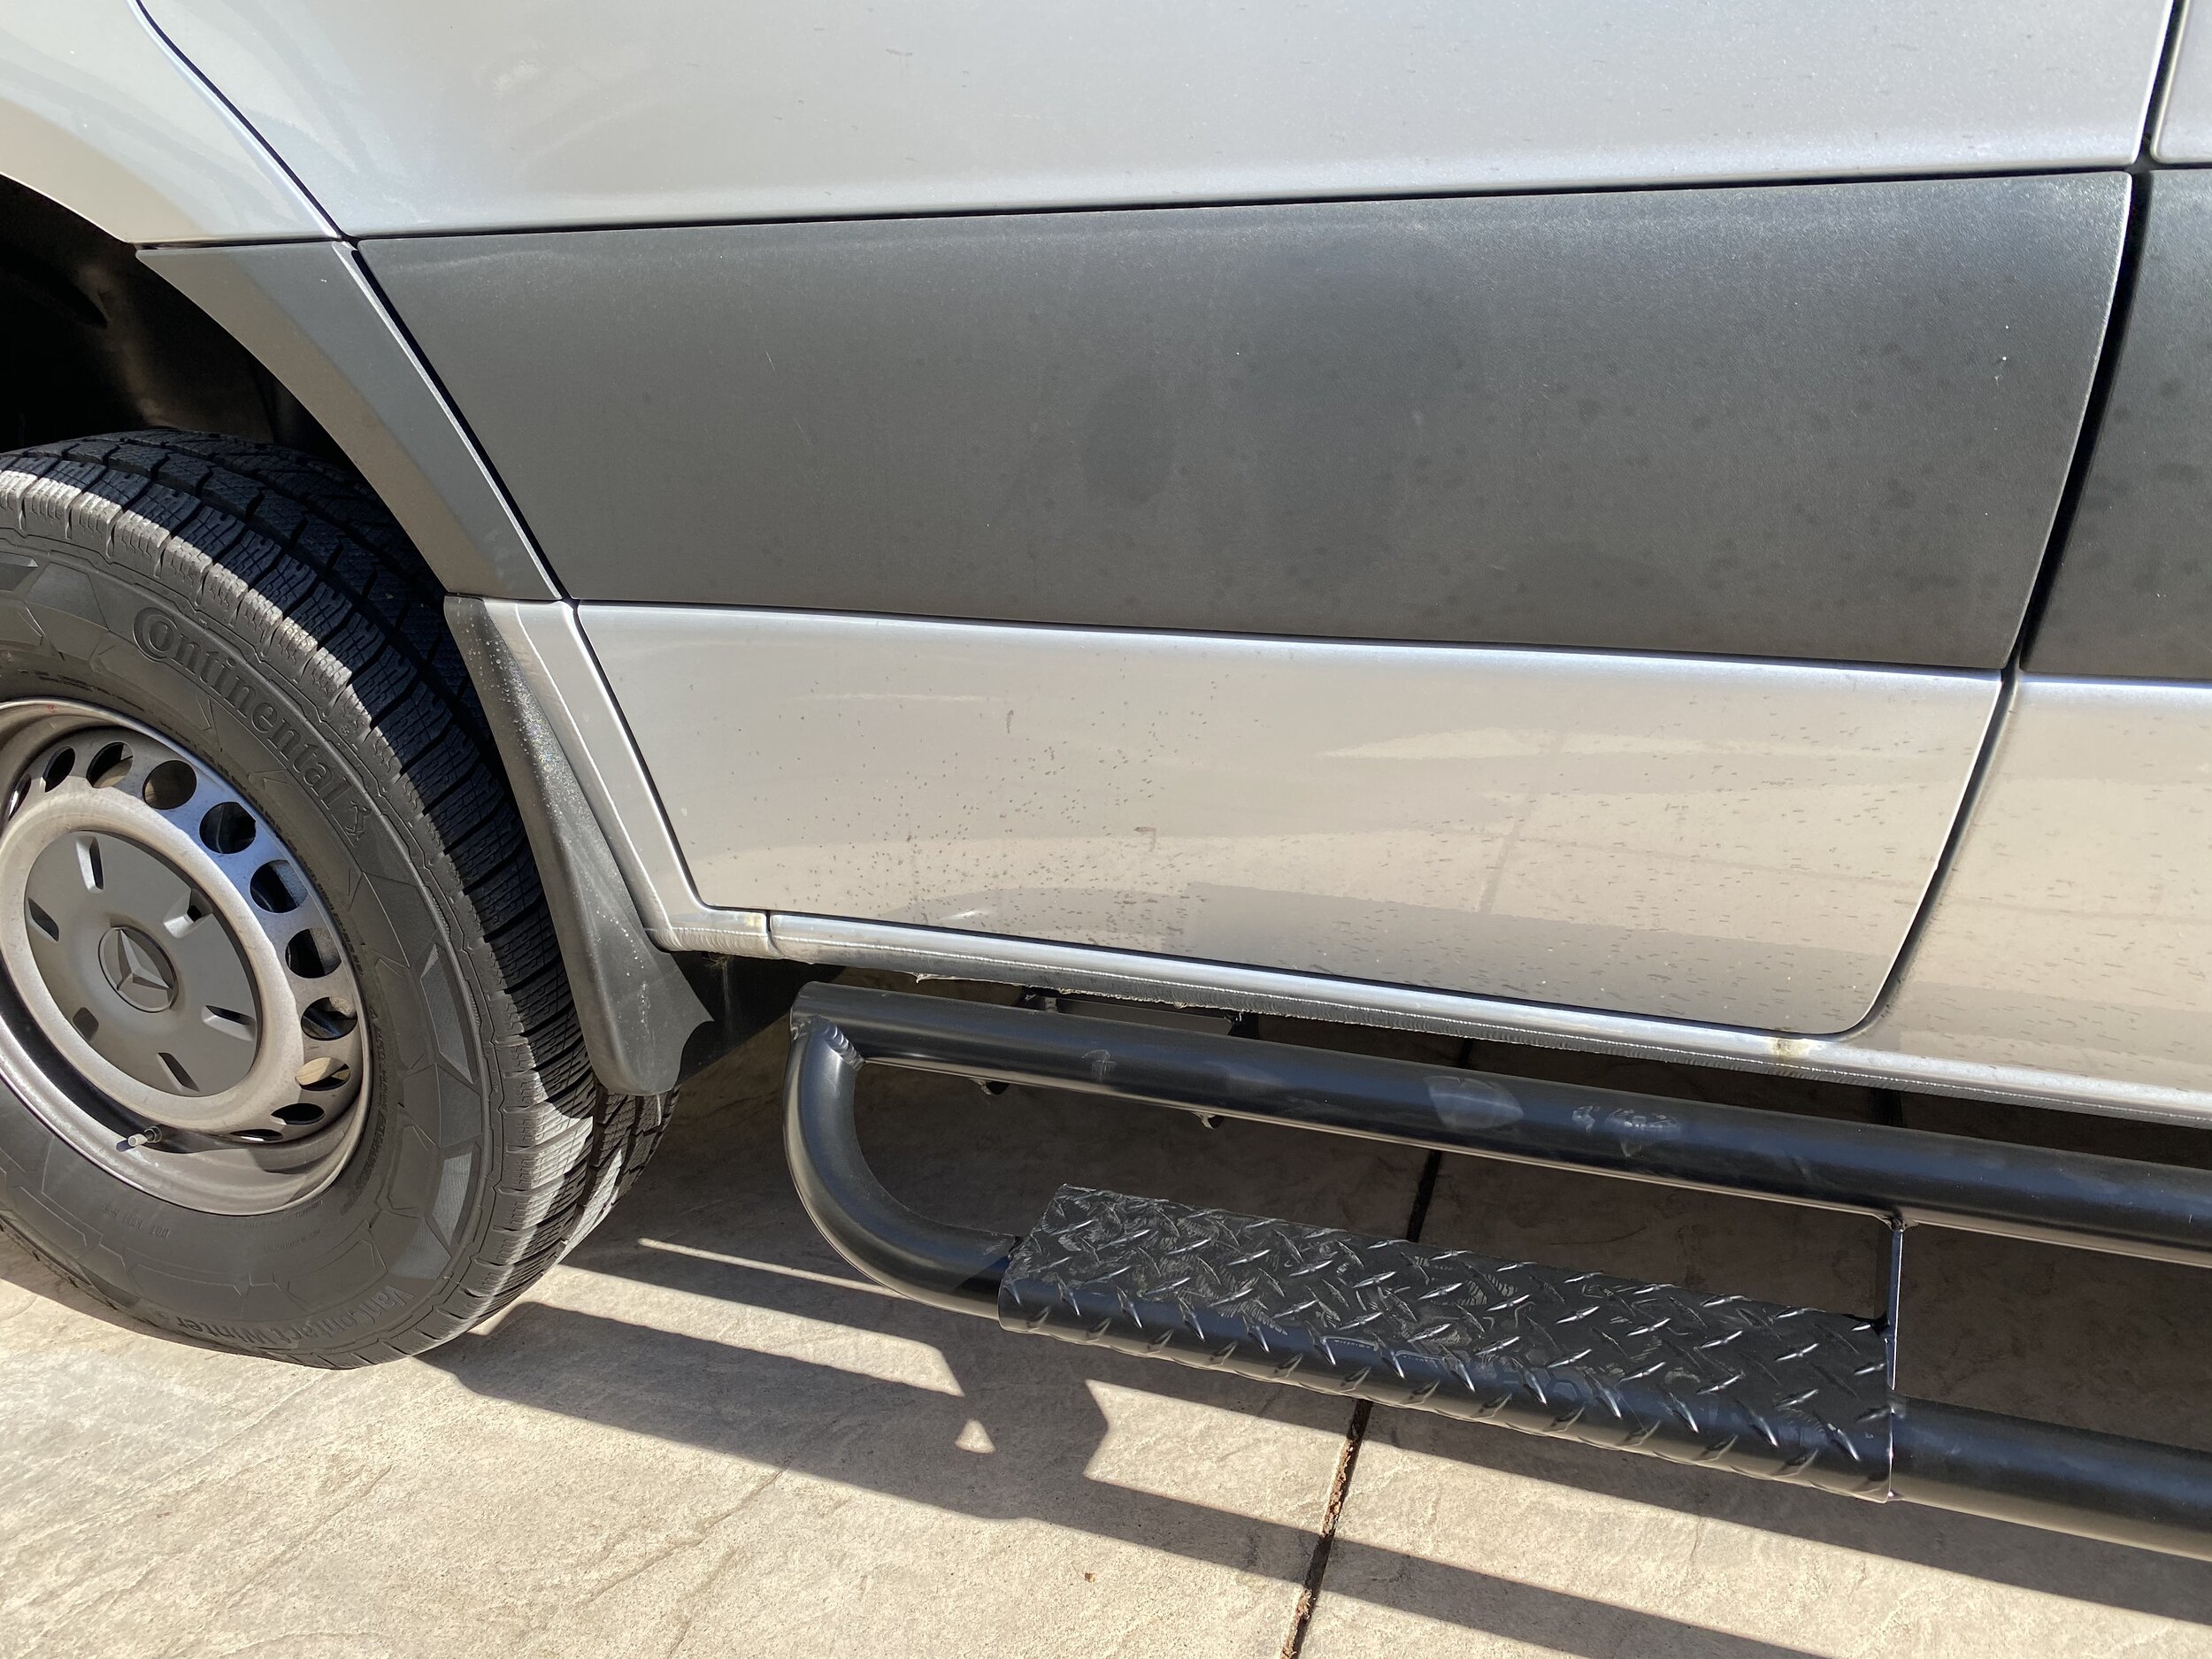
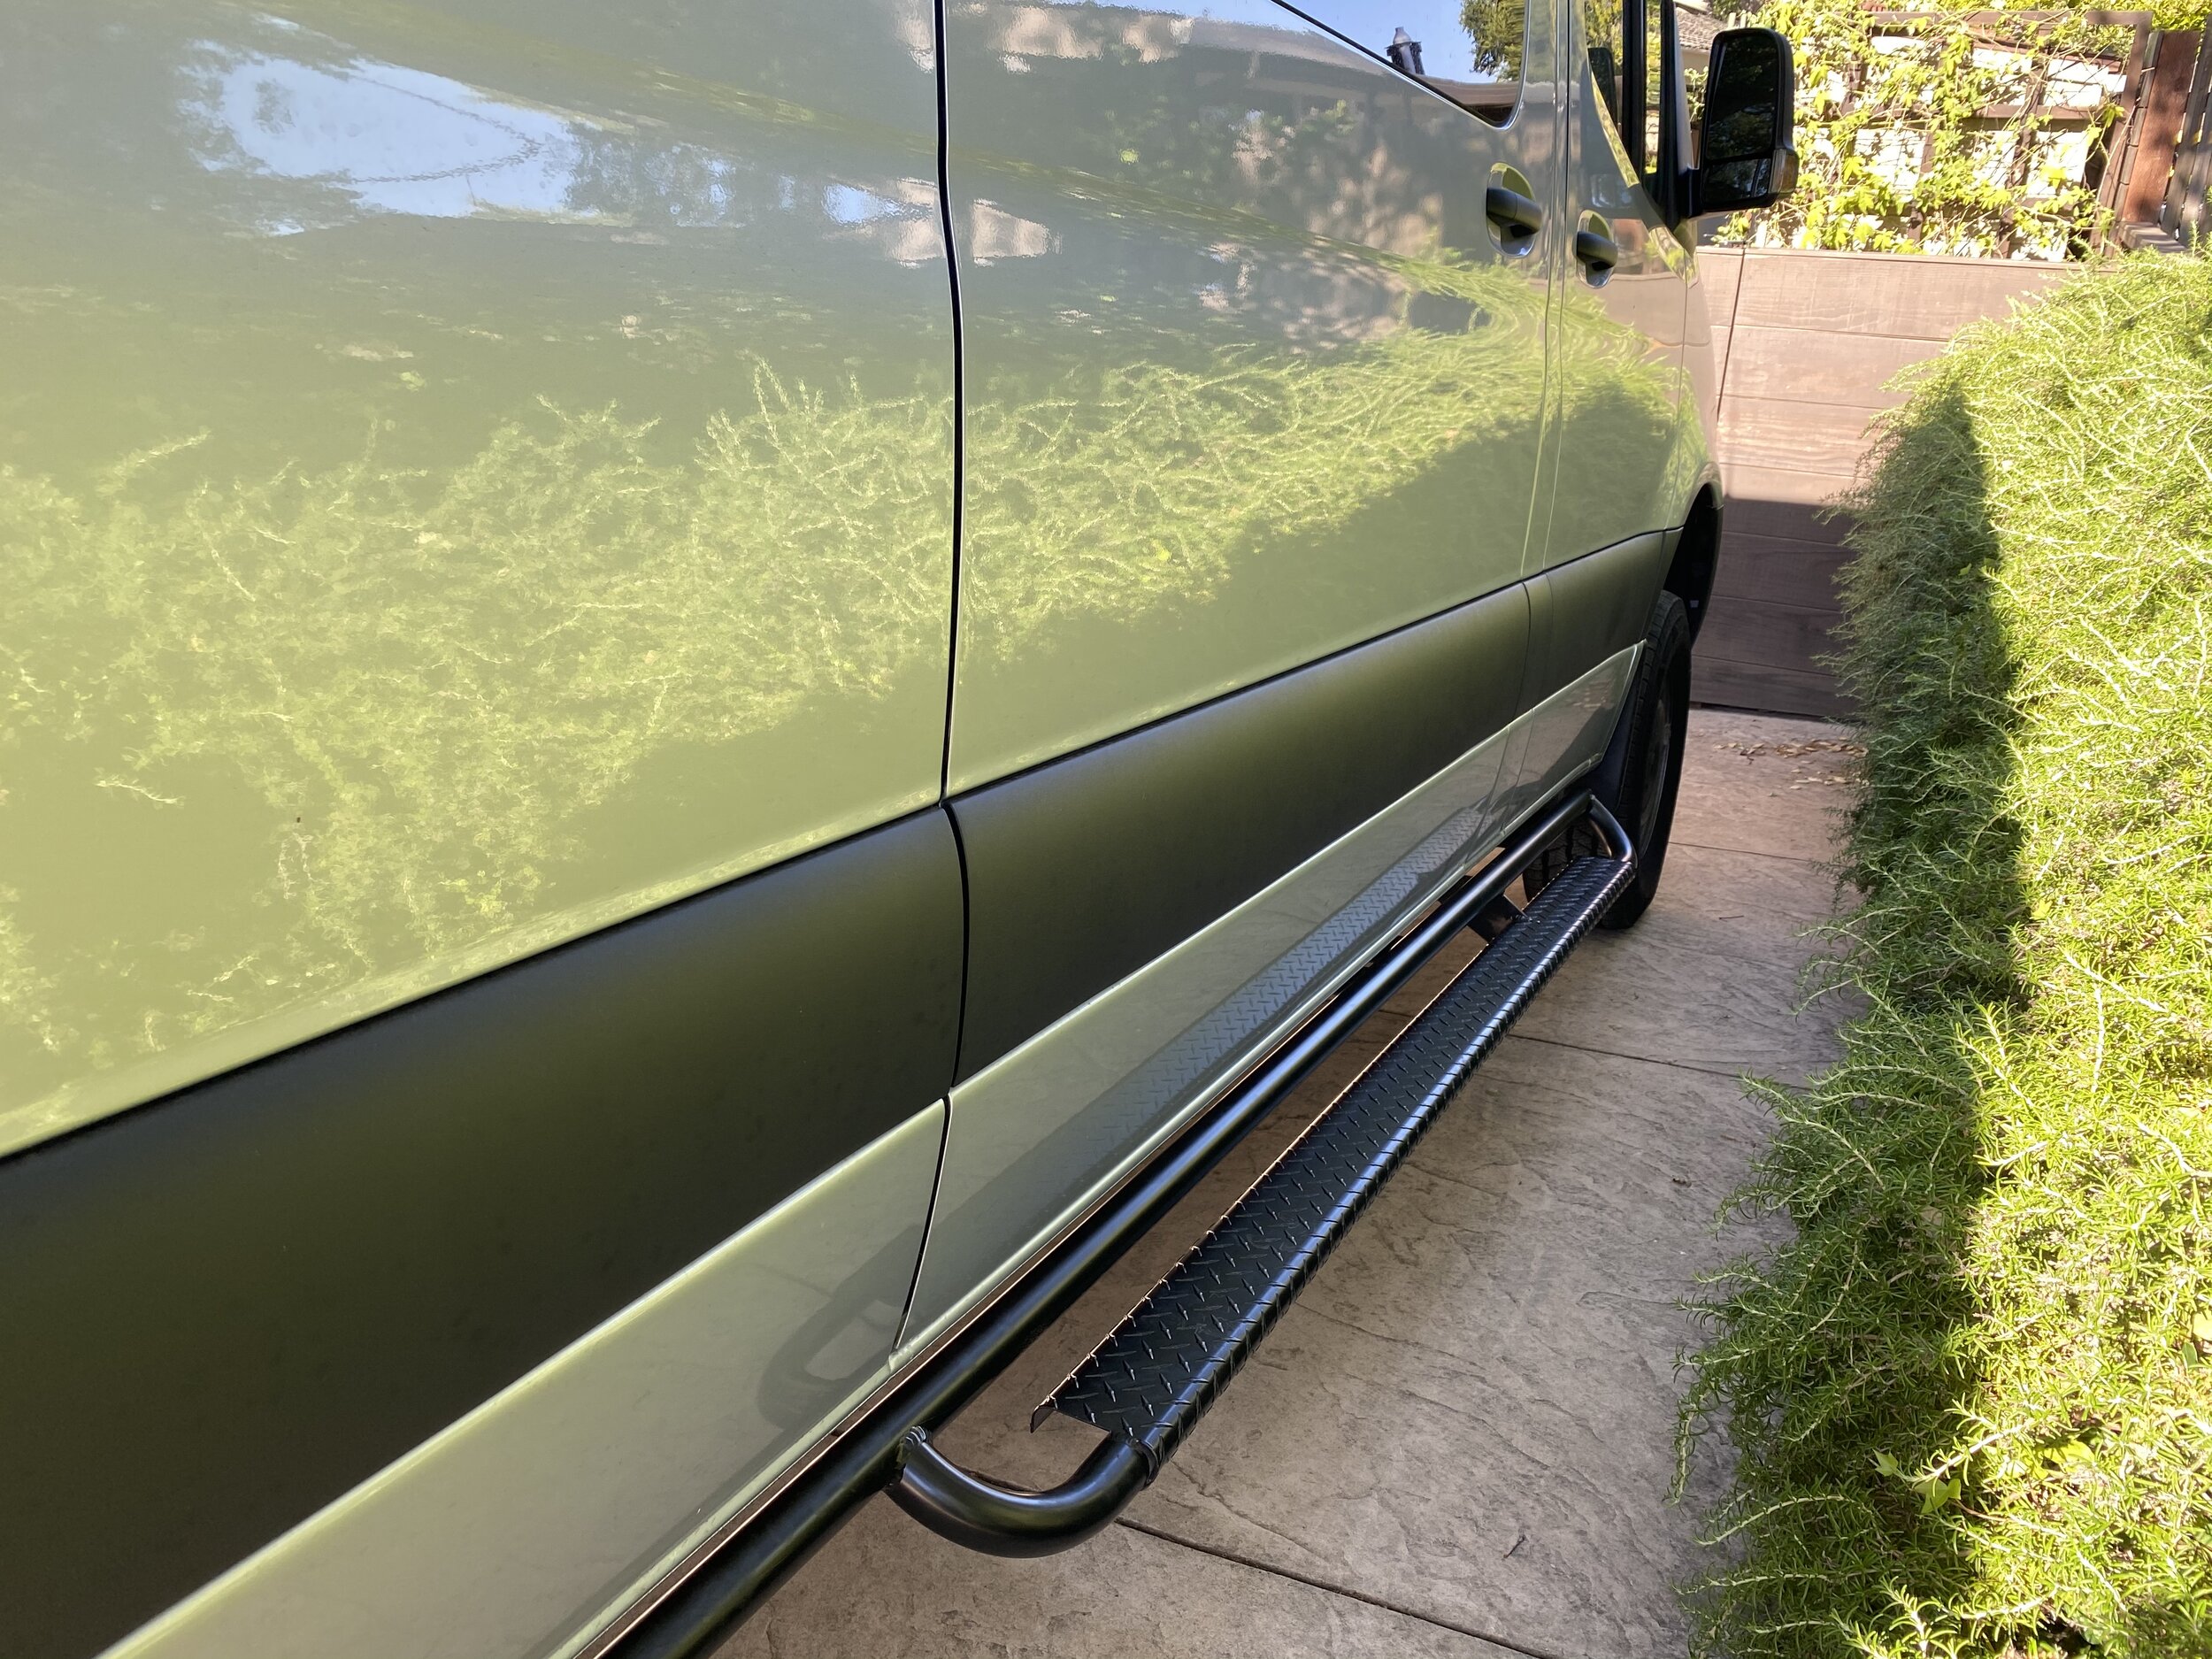
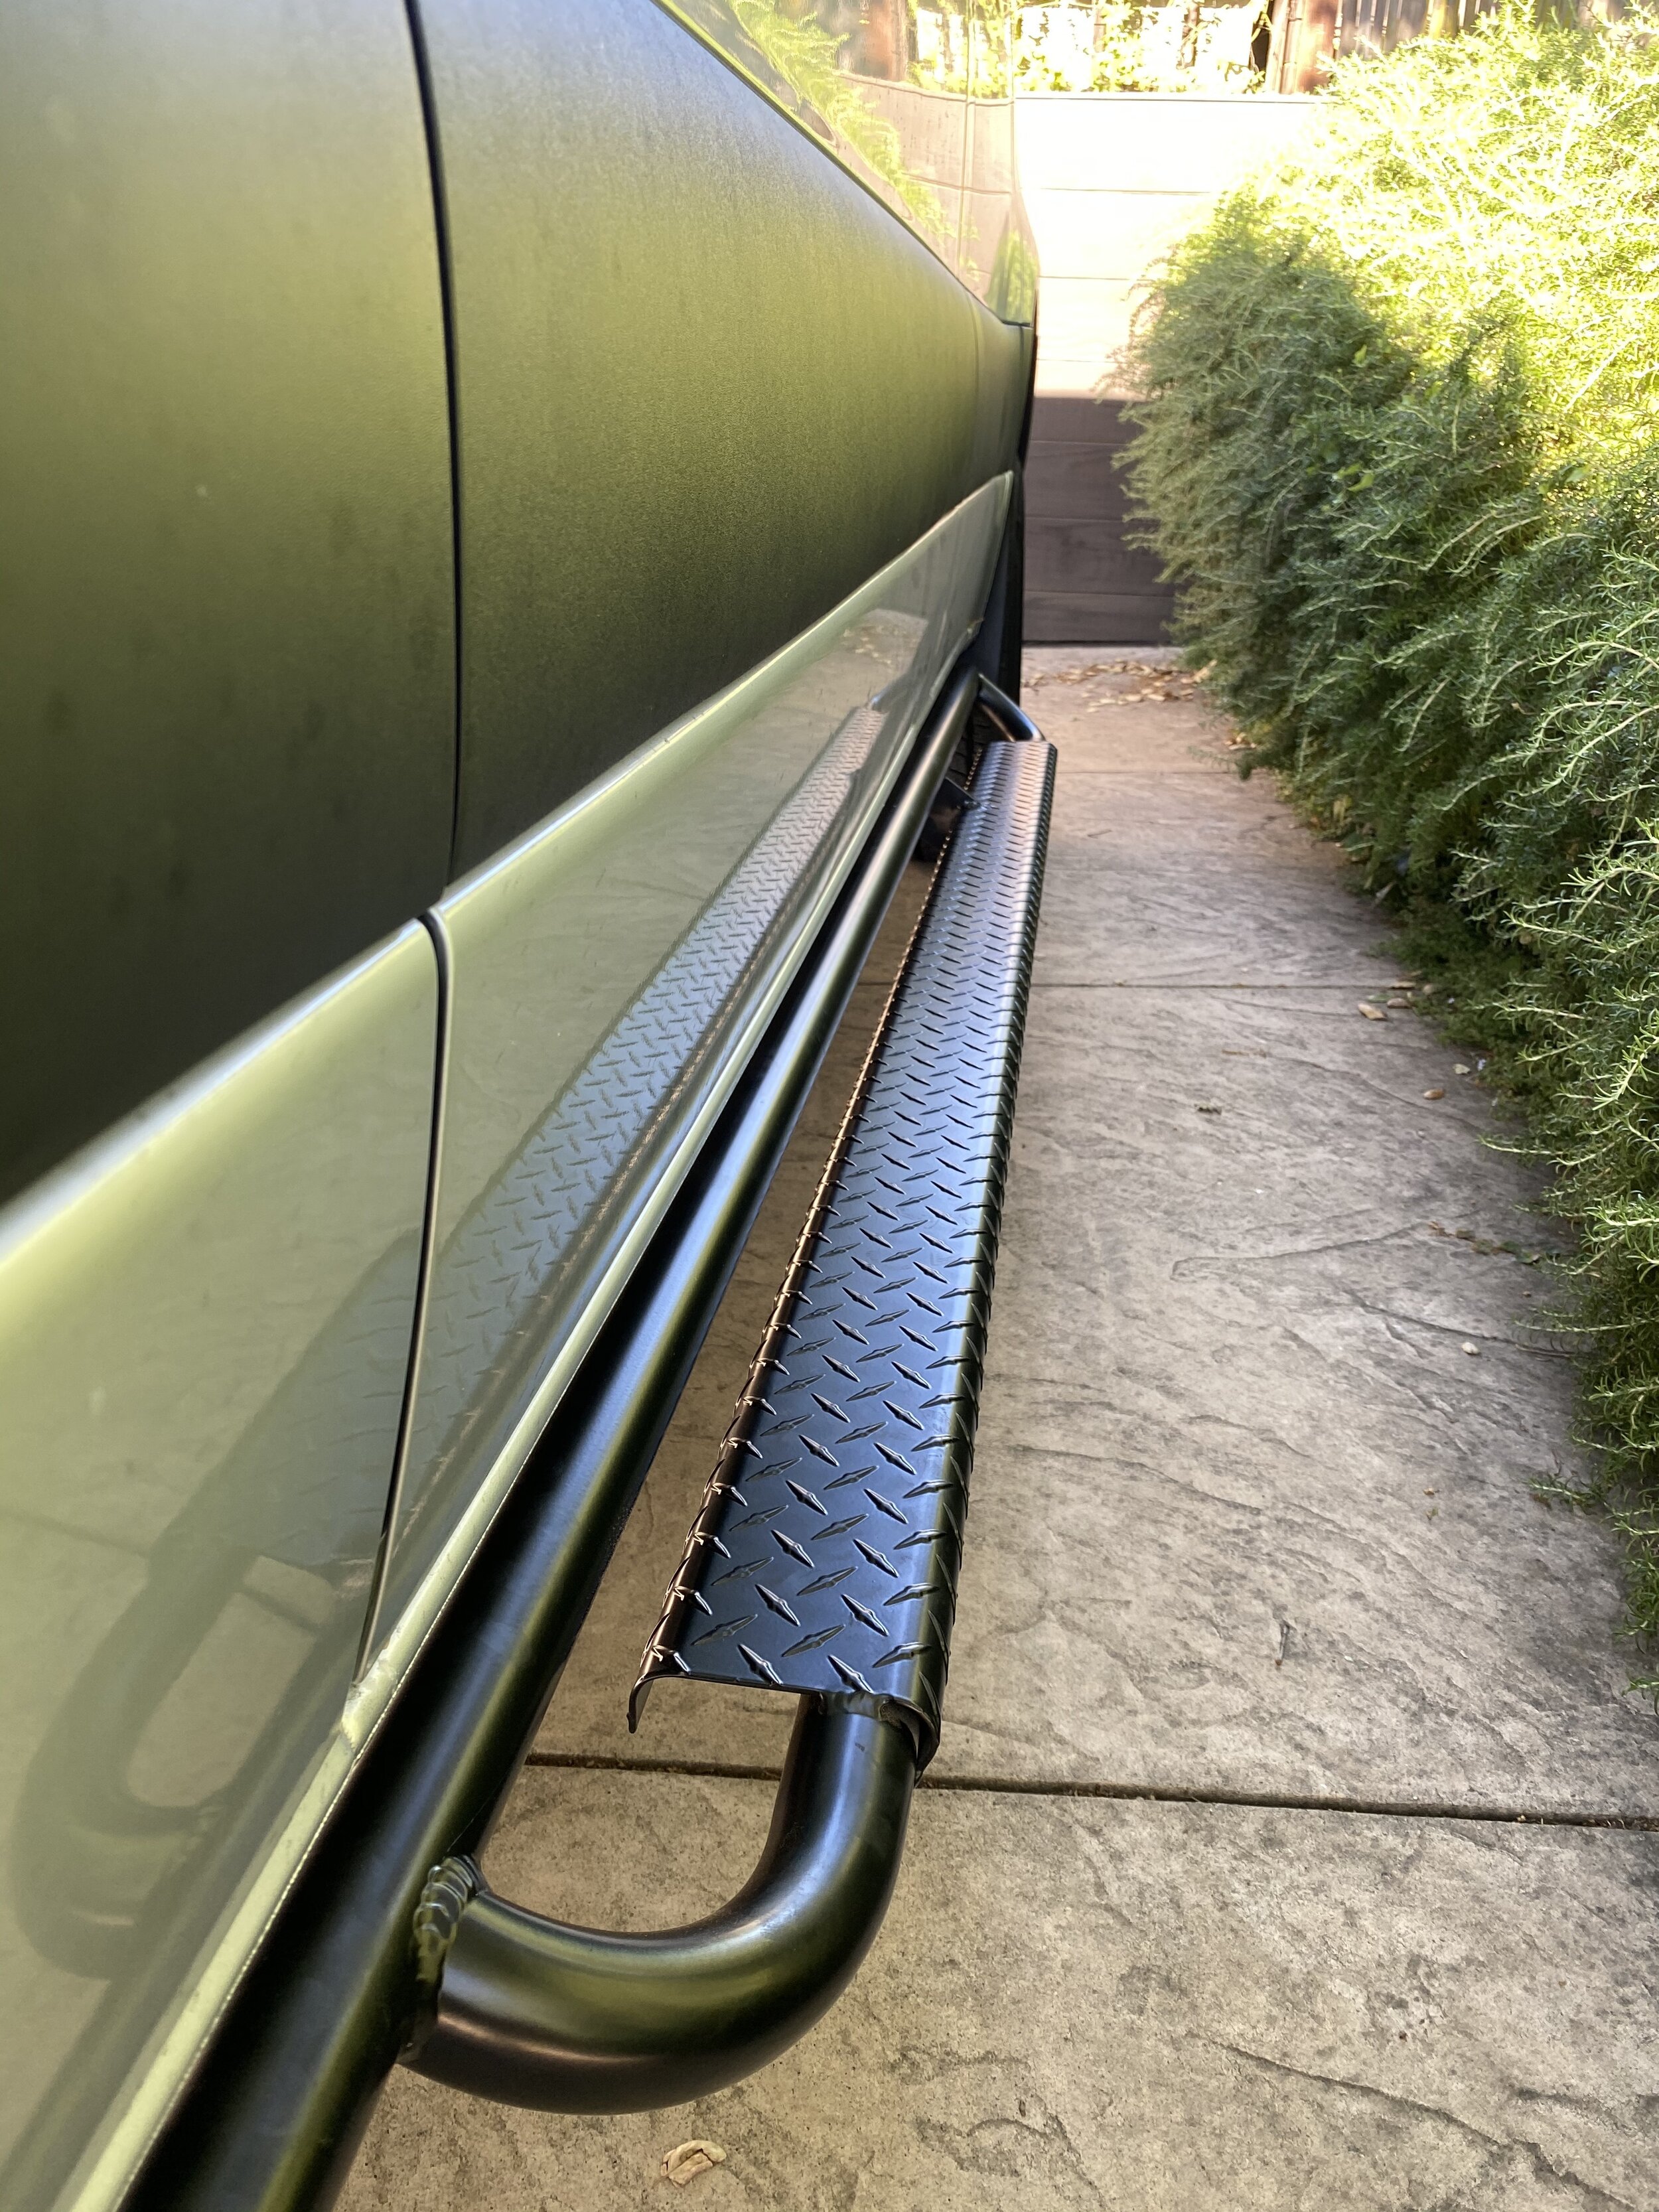
We have officially installed our first set of mods to the Sprinter. We installed a set of Aluminess nerf bars to make it easier to get in and out given the height of these vans. The fit and finish is great and the design is certainly well thought out. They are made out of aluminum so they are light but they also do flex a bit. So these are really only built to act as side steps….not rock sliders.

If you need true protection for your van from rocks you should pick something else. They simply bolt on with good hardware but they will not stand up to major abuse. For 99% of the van owners out there that is not a problem, especially if you have a 170 or 170 ext Sprinter as you wouldn’t be doing real 4 wheeling in these long wheelbase (top heavy) rigs. If you are just doing fire roads and light 4x4ing I think the Aluminess nerf bars are great and they do make it much easier for the wife and kids to get in and out.

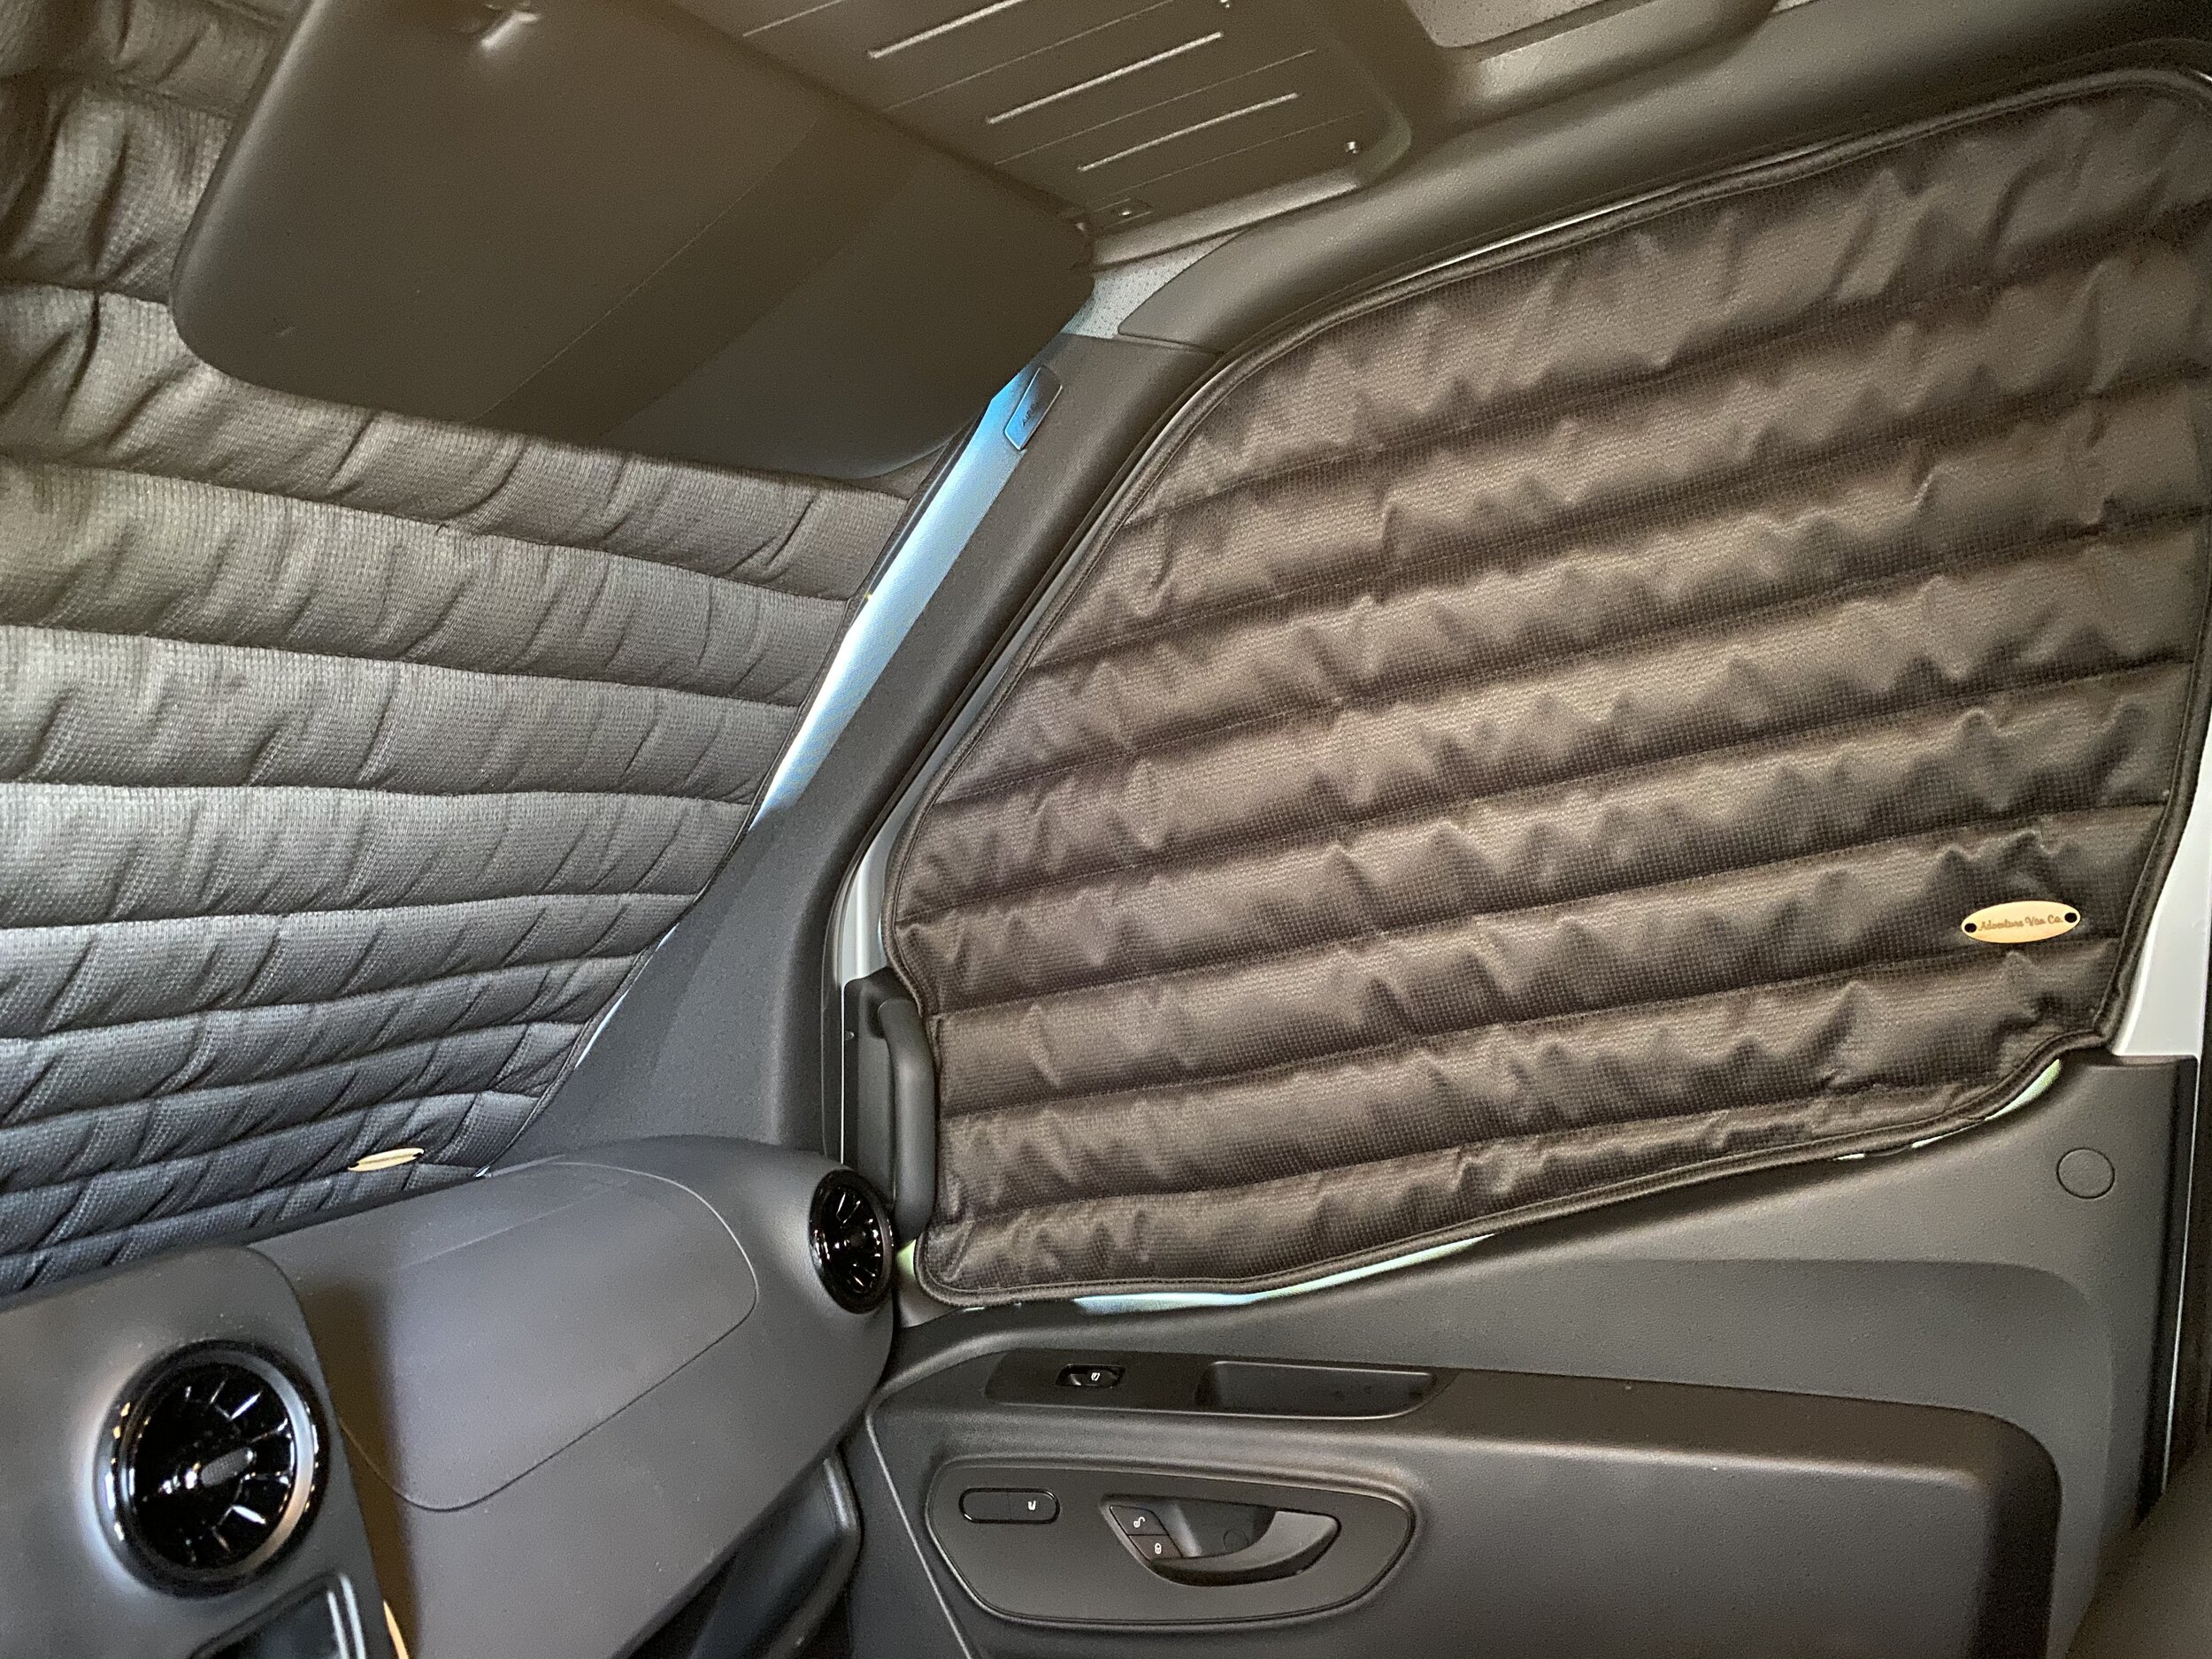
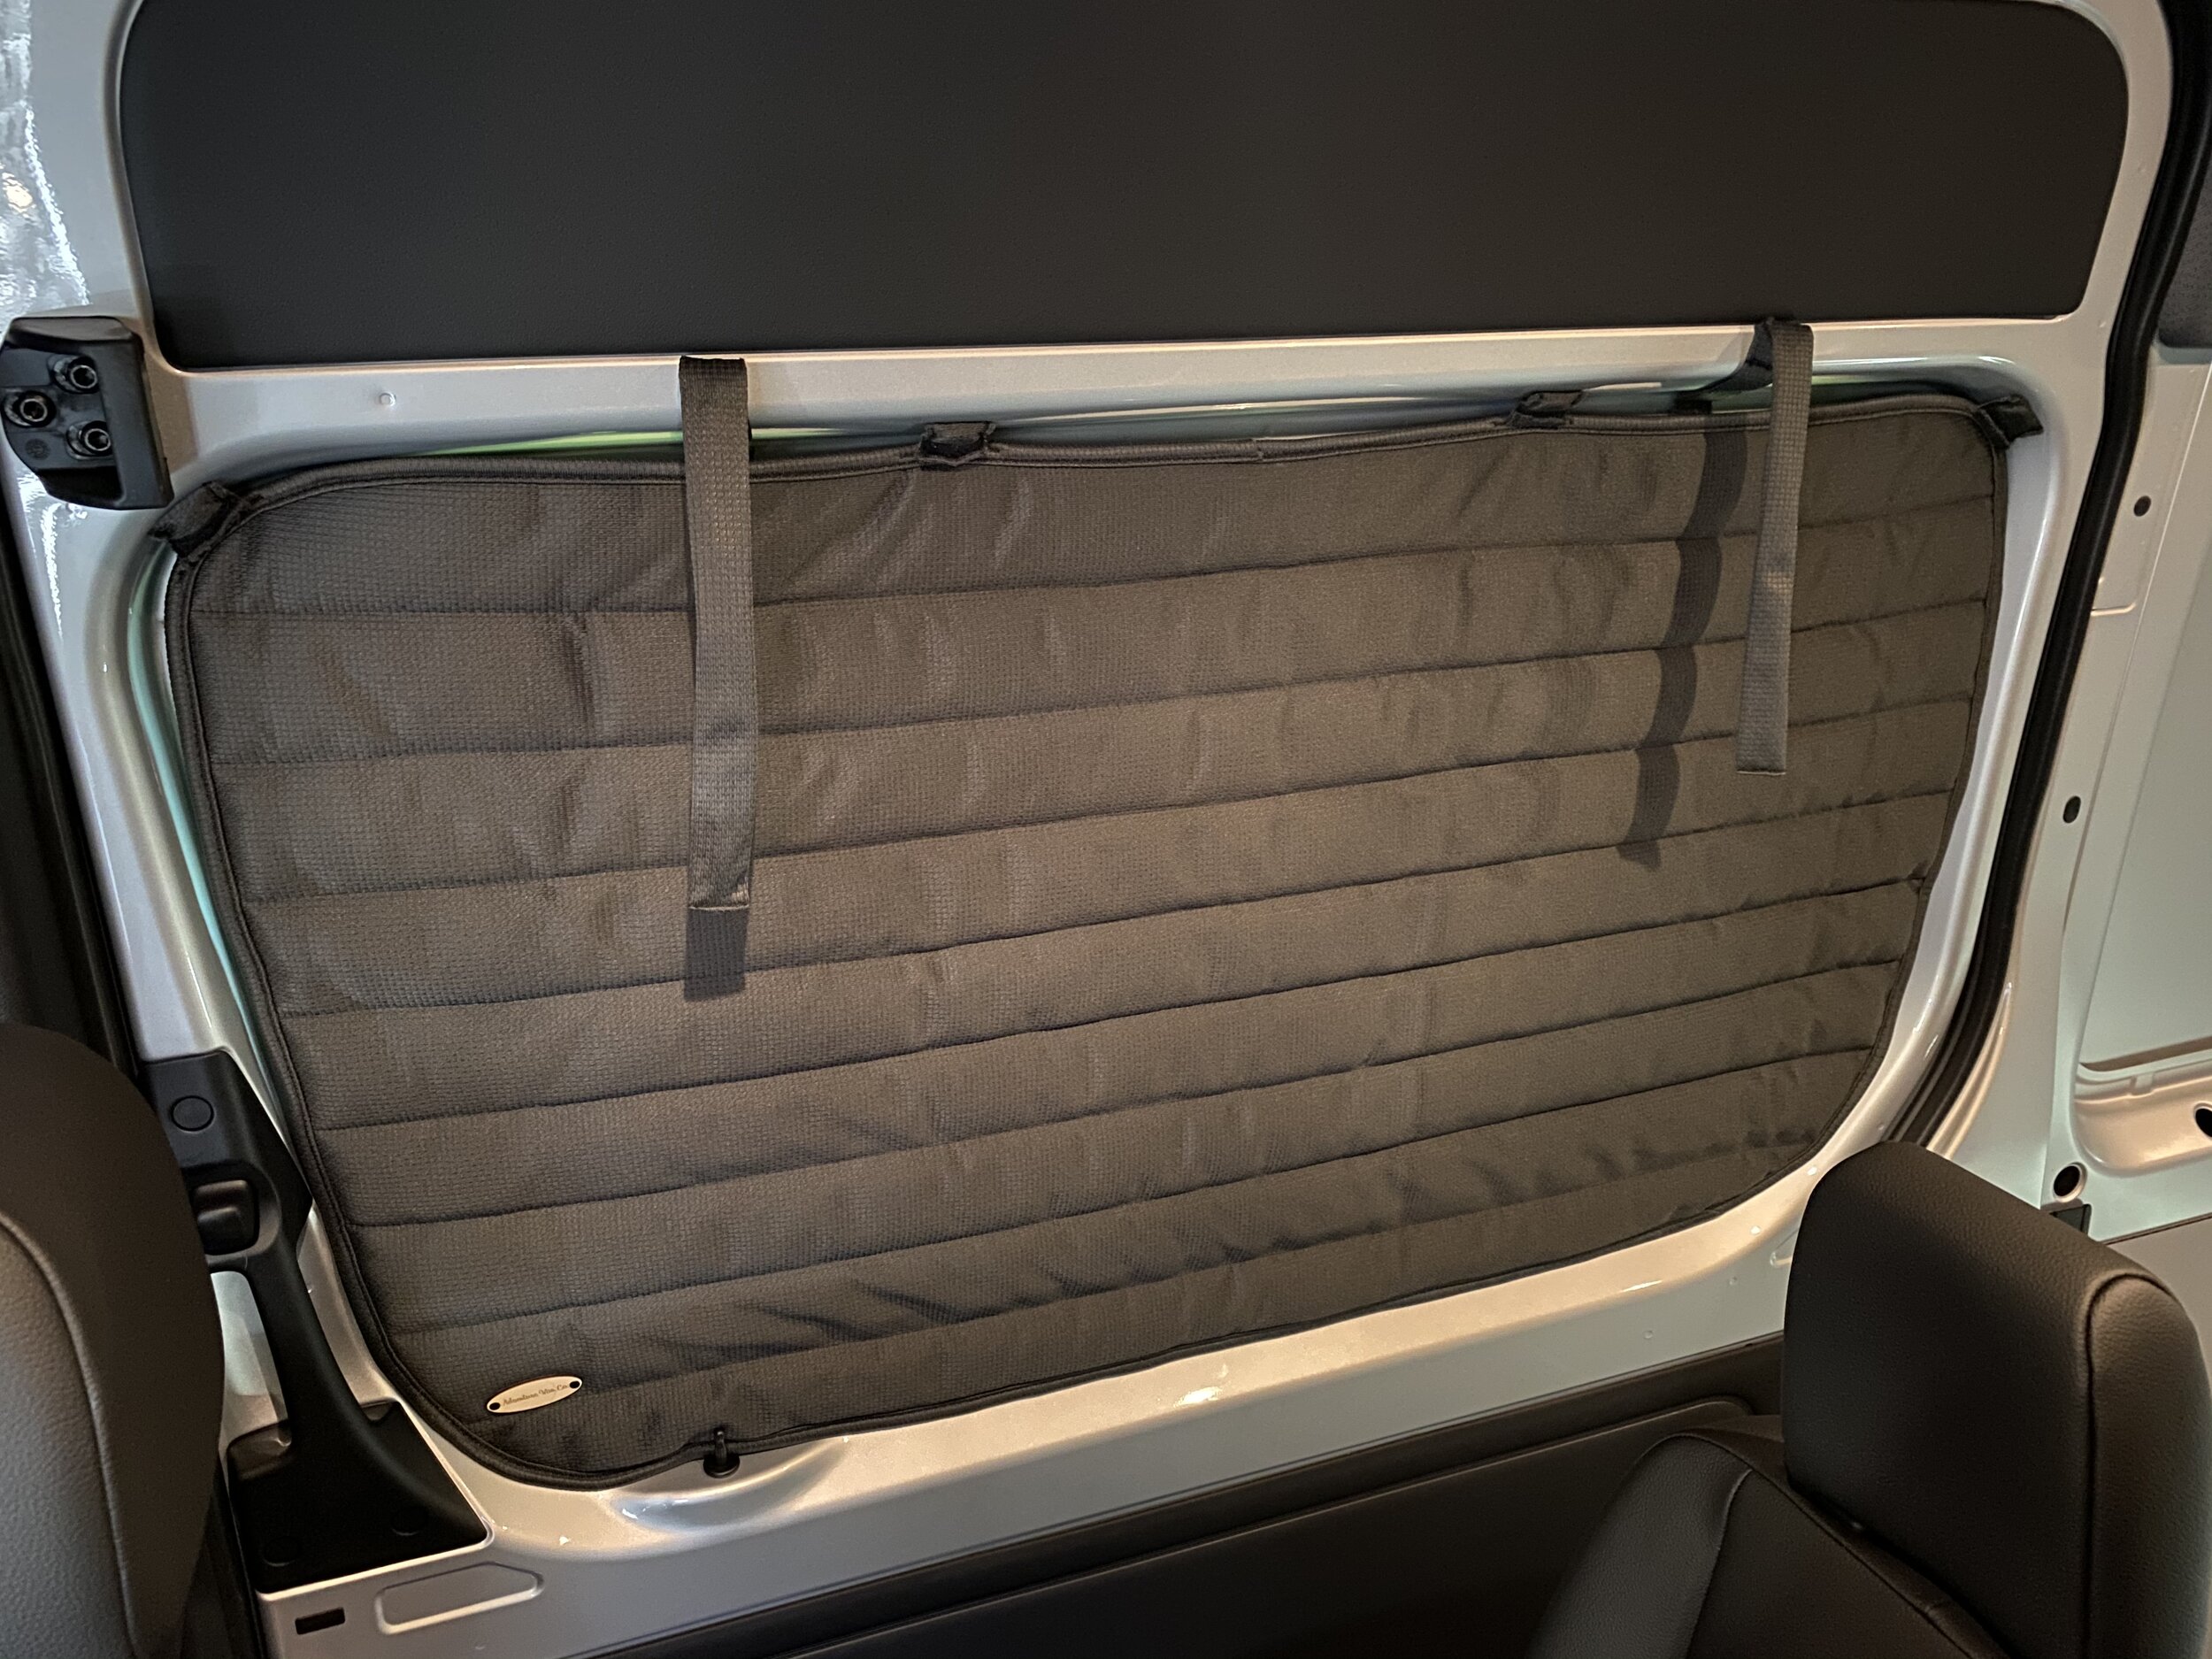
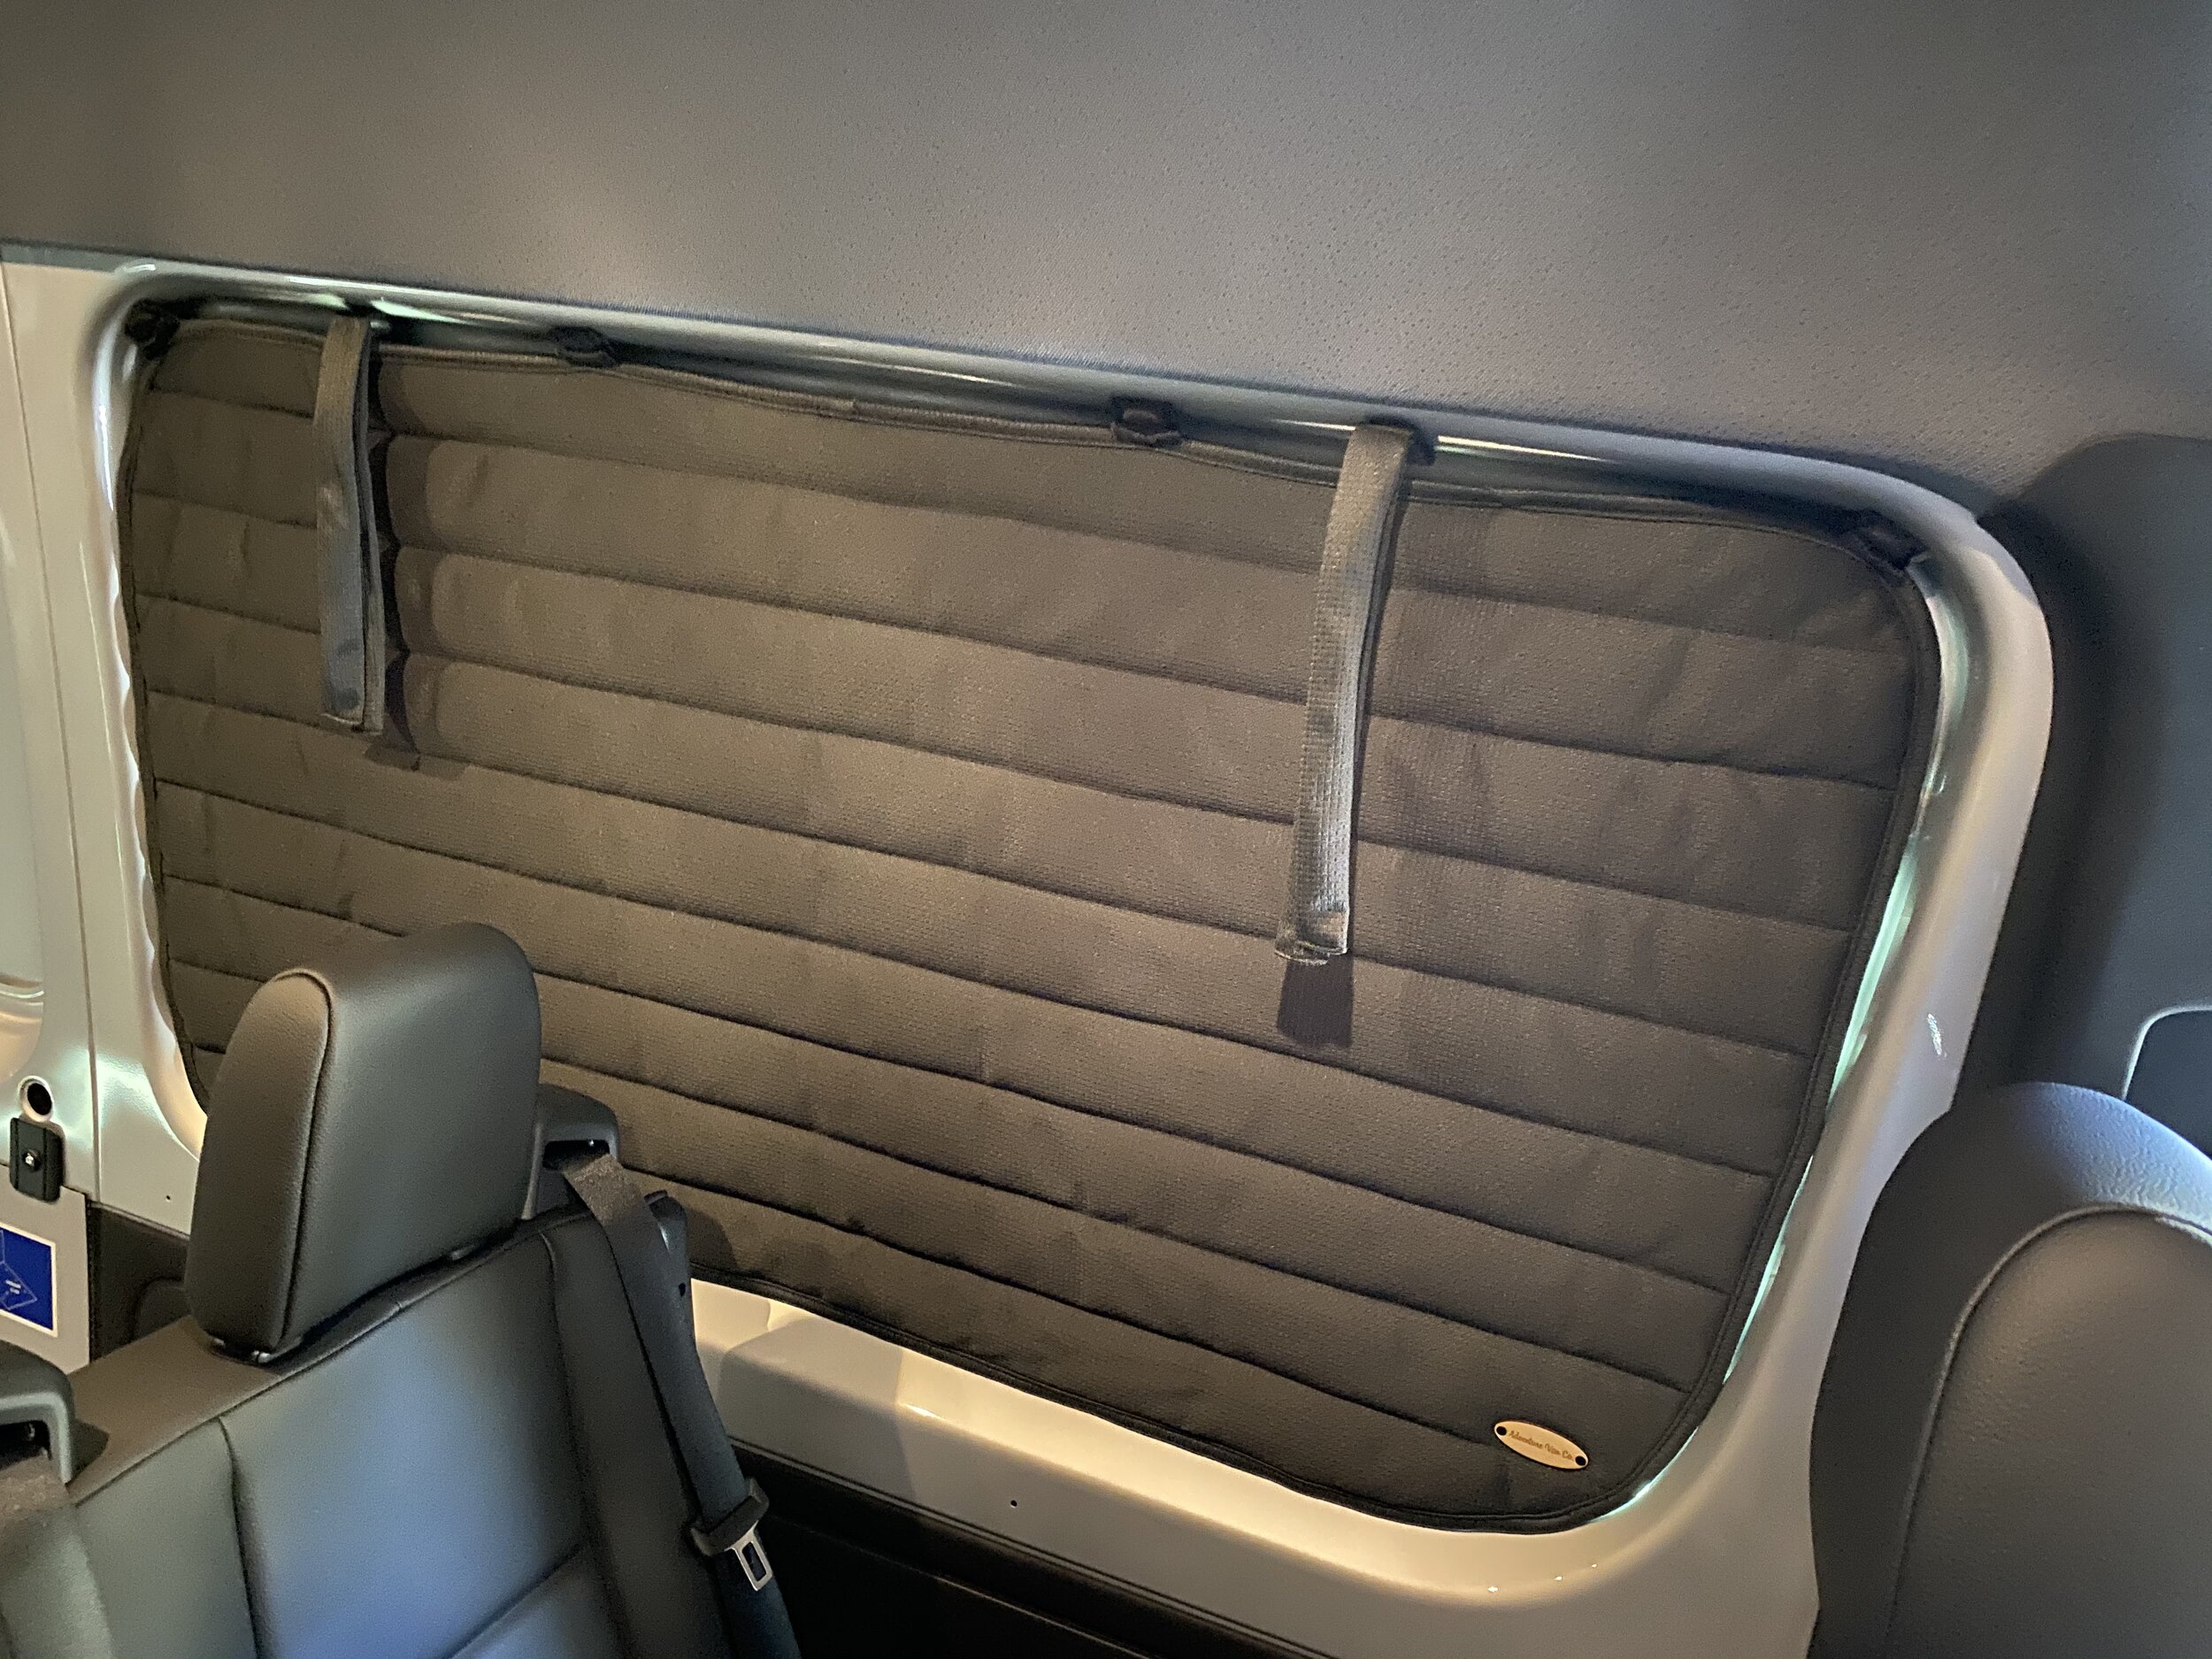
We also installed a full set of Adventure Van Company window covers. These things are amazing. They are insulated, have magnets built-in for a clean attachment to the van, and the fit and finish is excellent. We also bought the ties so we can roll some of them up as needed. They are expensive but they are worth it if you are looking for a perfect fit blackout insulated window covering system. The ties are nice but often come down since they are also simple magnets. In my opinion the ties should come included given the price of this set.

We also picked up a Yeti Goal Zero Power Station 1000. We will ultimately have a robust power setup but if you need something turnkey in a simple package and very portable the Yeti Goal Zero Power Stations are AMAZING. I have heard of other van projects that skip all the complex power setups and simply go with one of these (usually the 1400 or 3000 version). These can be charged with 120, 12, or solar. They handle all the complex switching and optimizations and have multiple outputs. These can even be hooked up to your house with optional power tanks so it can power 4 circuits of your house during blackouts. I could talk for an hour about how great this product is but frankly there is plenty of videos and write-ups about these so simply do a search. We will likely still put this in the van to have truly portable power outside of the van as needed.

We also got a Thetford Porta Potti 365 for our first road trip from CA to UT to CO and back. But let’s face it, you likely don’t want to hear about our Porta Potti so I will skip the review.

We have placed orders on LOTS of other parts and mods which will be installed in late July and into August so be on the look out for more updates.

Sprinter Build - The Plan

We have done a lot of planning in the last week. Our plans have evolved a bit and some of the parts have been ordered. The back order on most of the parts is 4 weeks but some will take 8-10 weeks. Something to think about if you plan on doing a Sprinter build.

Here are the revised plans:

(UPDATE 3/12/2021)

This plan has taken many turns since I posted this. First off the back order situation for vans has gotten worse. Also we made some minor tweaks to our plan as we went because once we hit the road we learned what was important and what was not. So don’t rely on this post for our plans, rather check out our Sprinter Build page to see a listing of all our decisions and modifications.

Sprinter Build - Base

I love projects. Just check out the SVMC BMW M2 build to see the extent I will go to chase a dream. But life has a way of changing one’s priorities. For years I was a track rat, taking track and racing courses, getting private coaching, and refining my driving skills. And for years I loved it, still do. But being a father of two pre-teens has shifted my priorities. I realized I only have a handful of years left before they either don’t want to hangout with me or they are off to college. The idea of me spending more time alone at the track working on my lap times has become less and less appealing as it takes time away from family.

So I have decided to sell the SVMC M2, limit my track time to a few times a year in someone else’s car, and focus more time with the family. So with that as the plan, I obviously needed a new project to bring that plan to life. I grew up doing lots of outdoor activities and I have created a life with my family that is centered around the outdoors. So what project fits my plans but facilities our outdoor lifestyle? Seems obvious doesn’t it? A Sprinter Adventure Camper.

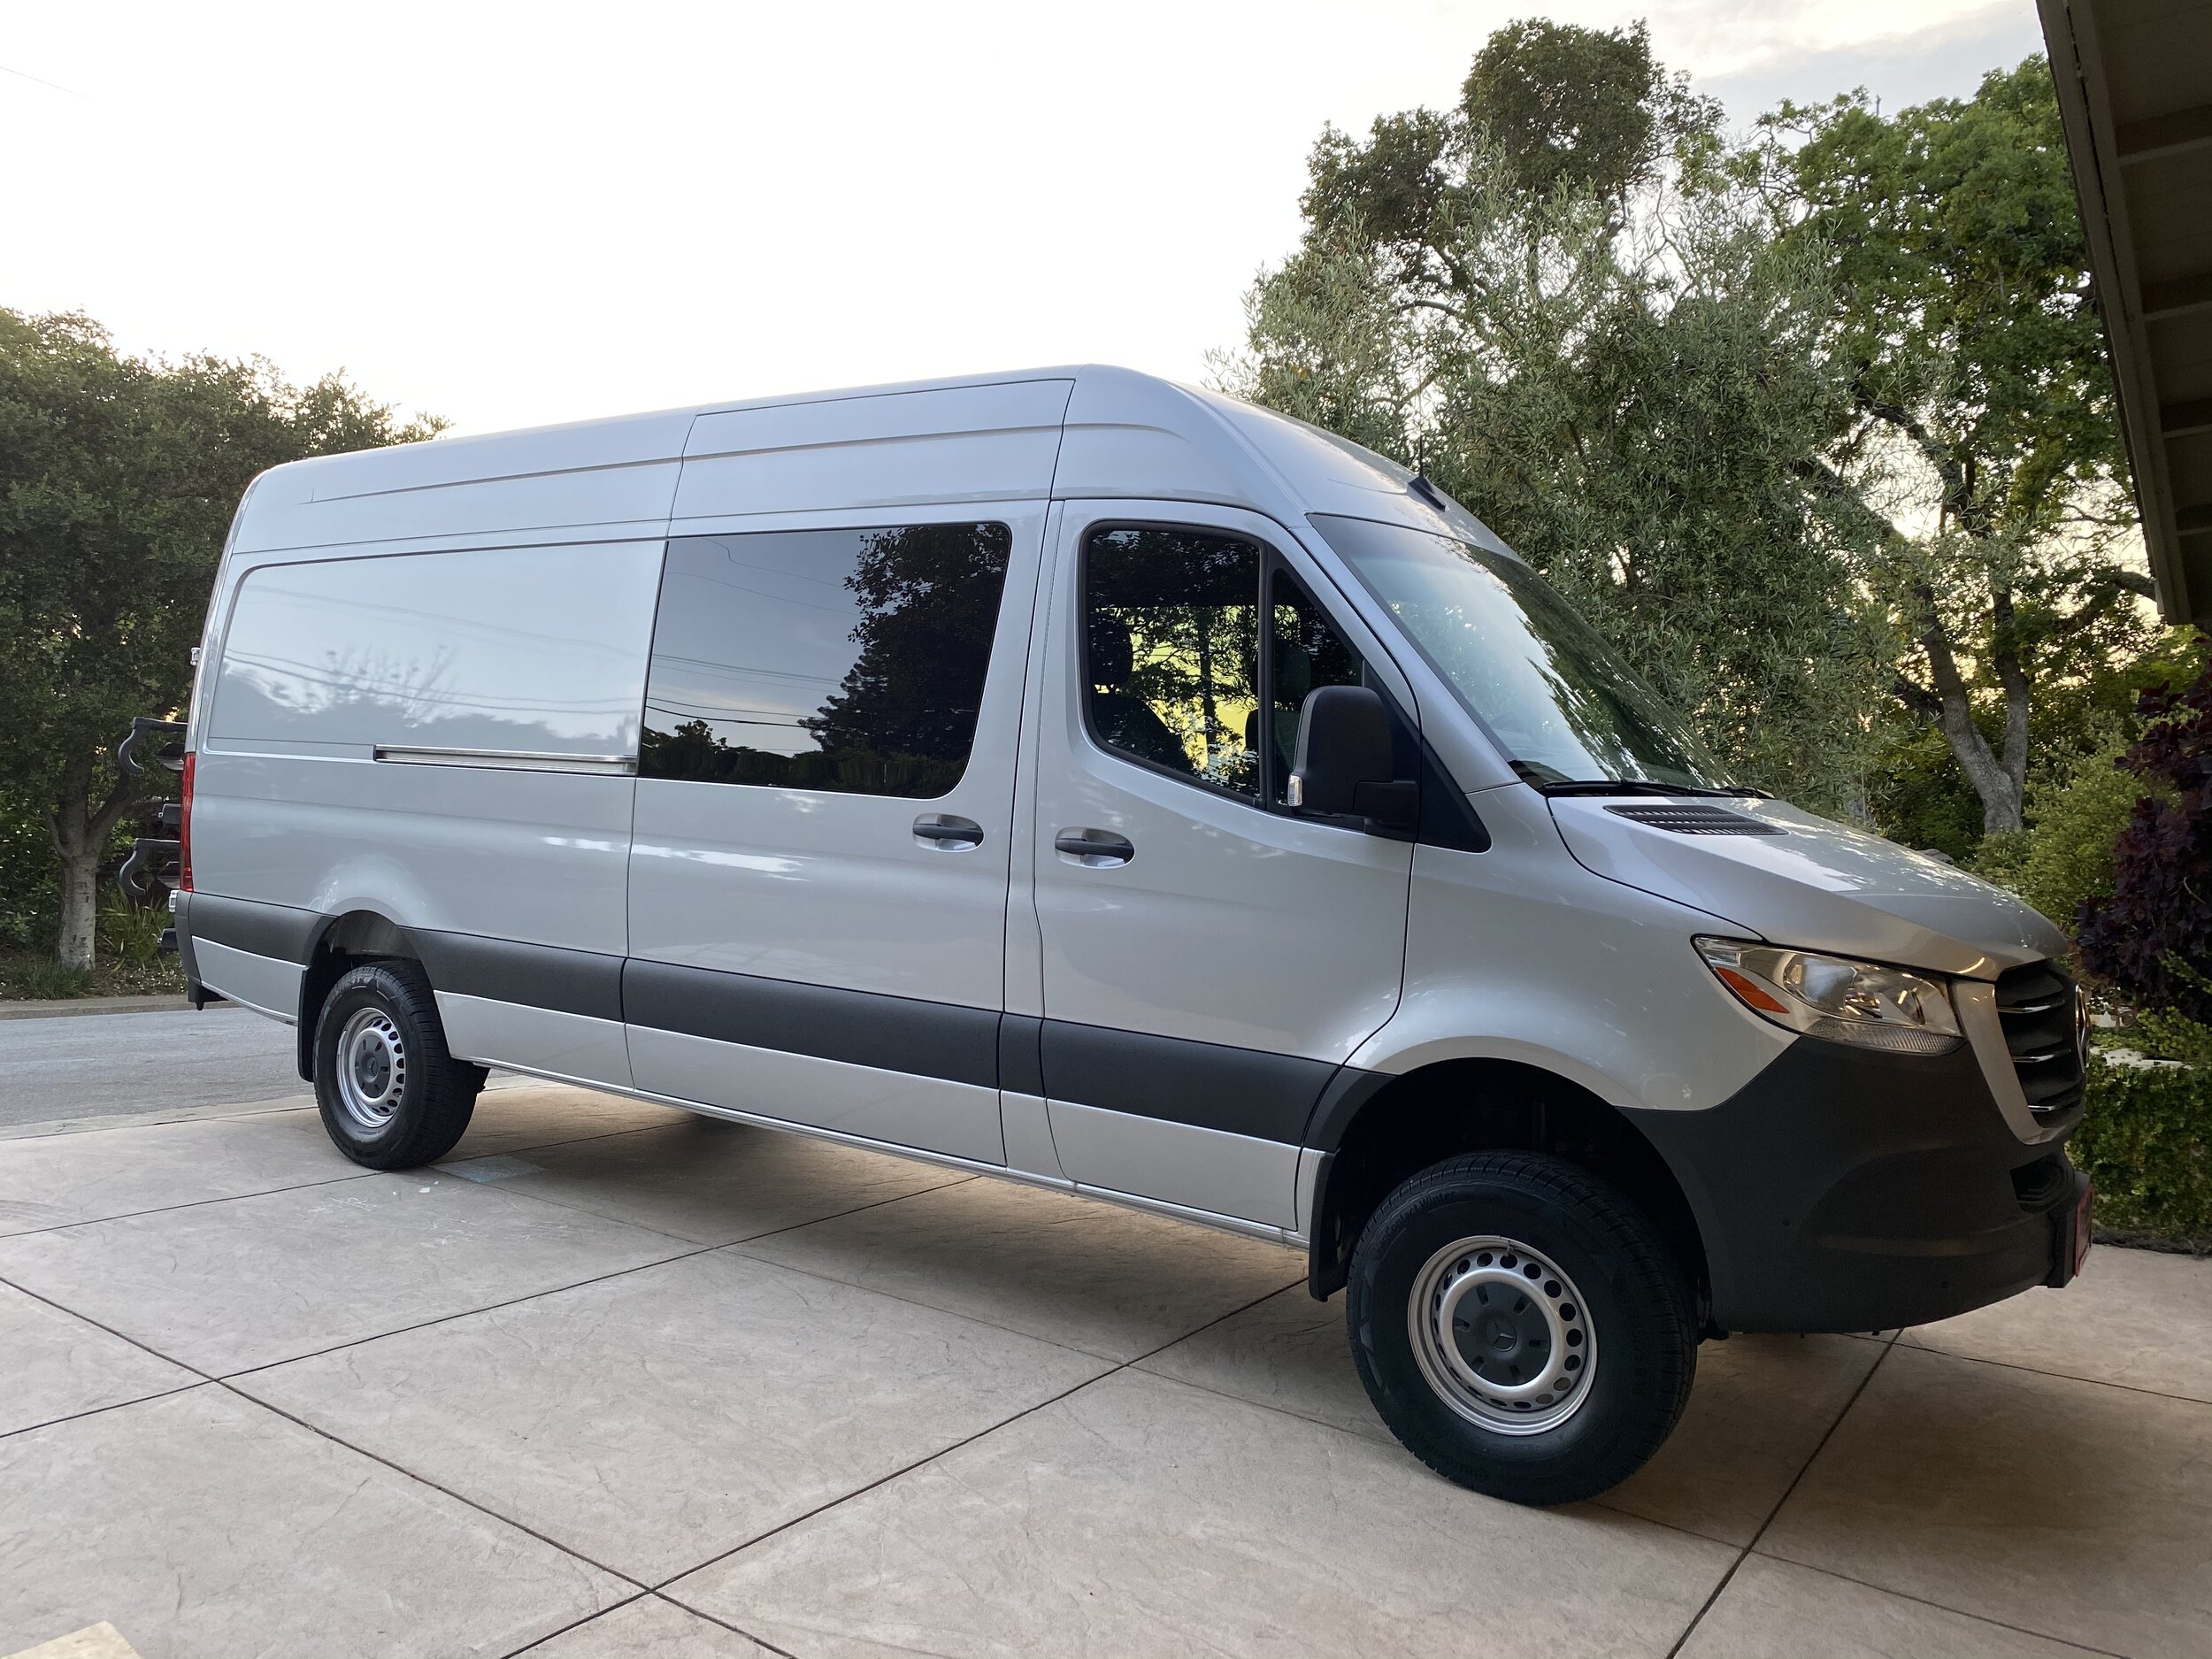
Here is a run down of the project. Take a 2019, 170 wheelbase, 2500 crew, diesel 4x4 Sprinter and convert it to an Adventure Camper that can sleep 4 and hold all our gear. This thing will need to be able to handle the desert, National Parks, beaches, and storm chasing in winter. Or to put it in activity speak….it needs to allow us to go hiking, biking, camping, surfing, and snowboarding in comfort.

We are new to this kind of build so we are going to refine our plans as we go. So far this is what we have in mind.

Phase 1 (July)

  • Adventure Wagon interior kit

  • Adventure Wagon MOAB platform bed

  • Flarespace side pods and windows for a wider sleeping area

  • Custom fold down sleeping platforms for the kids under the main platform bed

  • Solar system

  • Cabin heater

  • Owl rack, ladder, and tire holder

  • Awning

Phase 2 (Oct)

  • Galley with water, sink, fridge, cook top

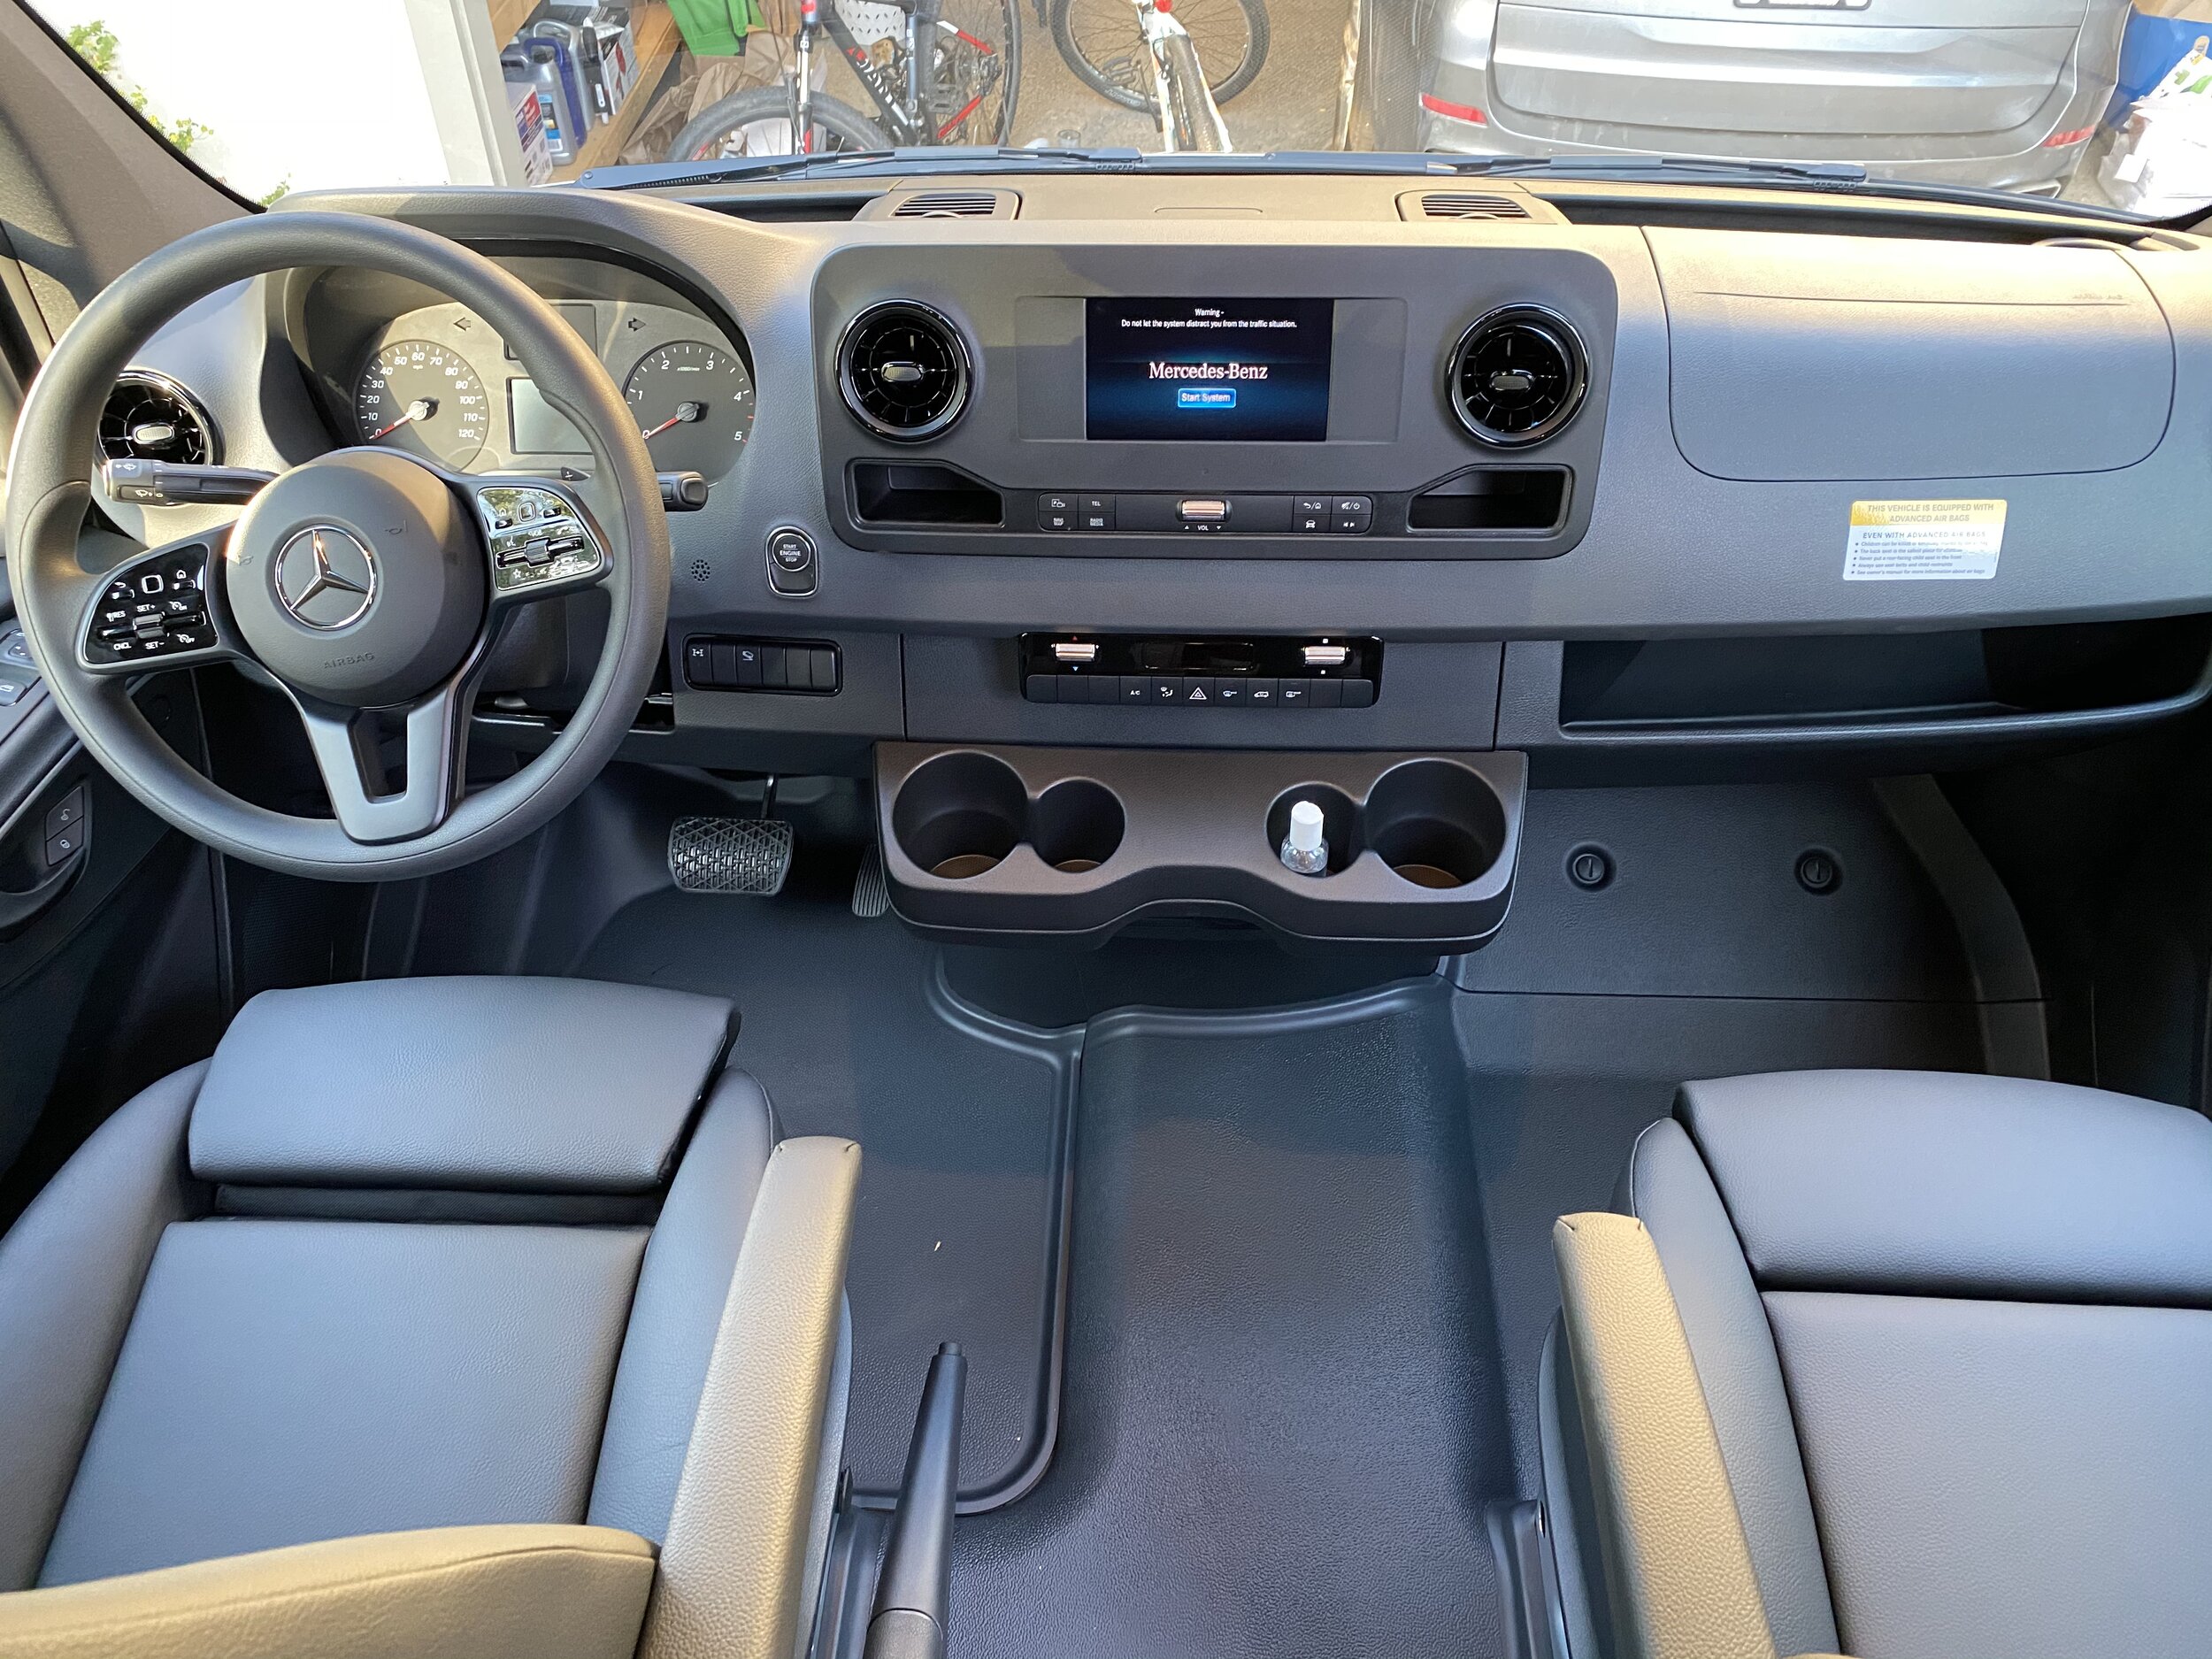
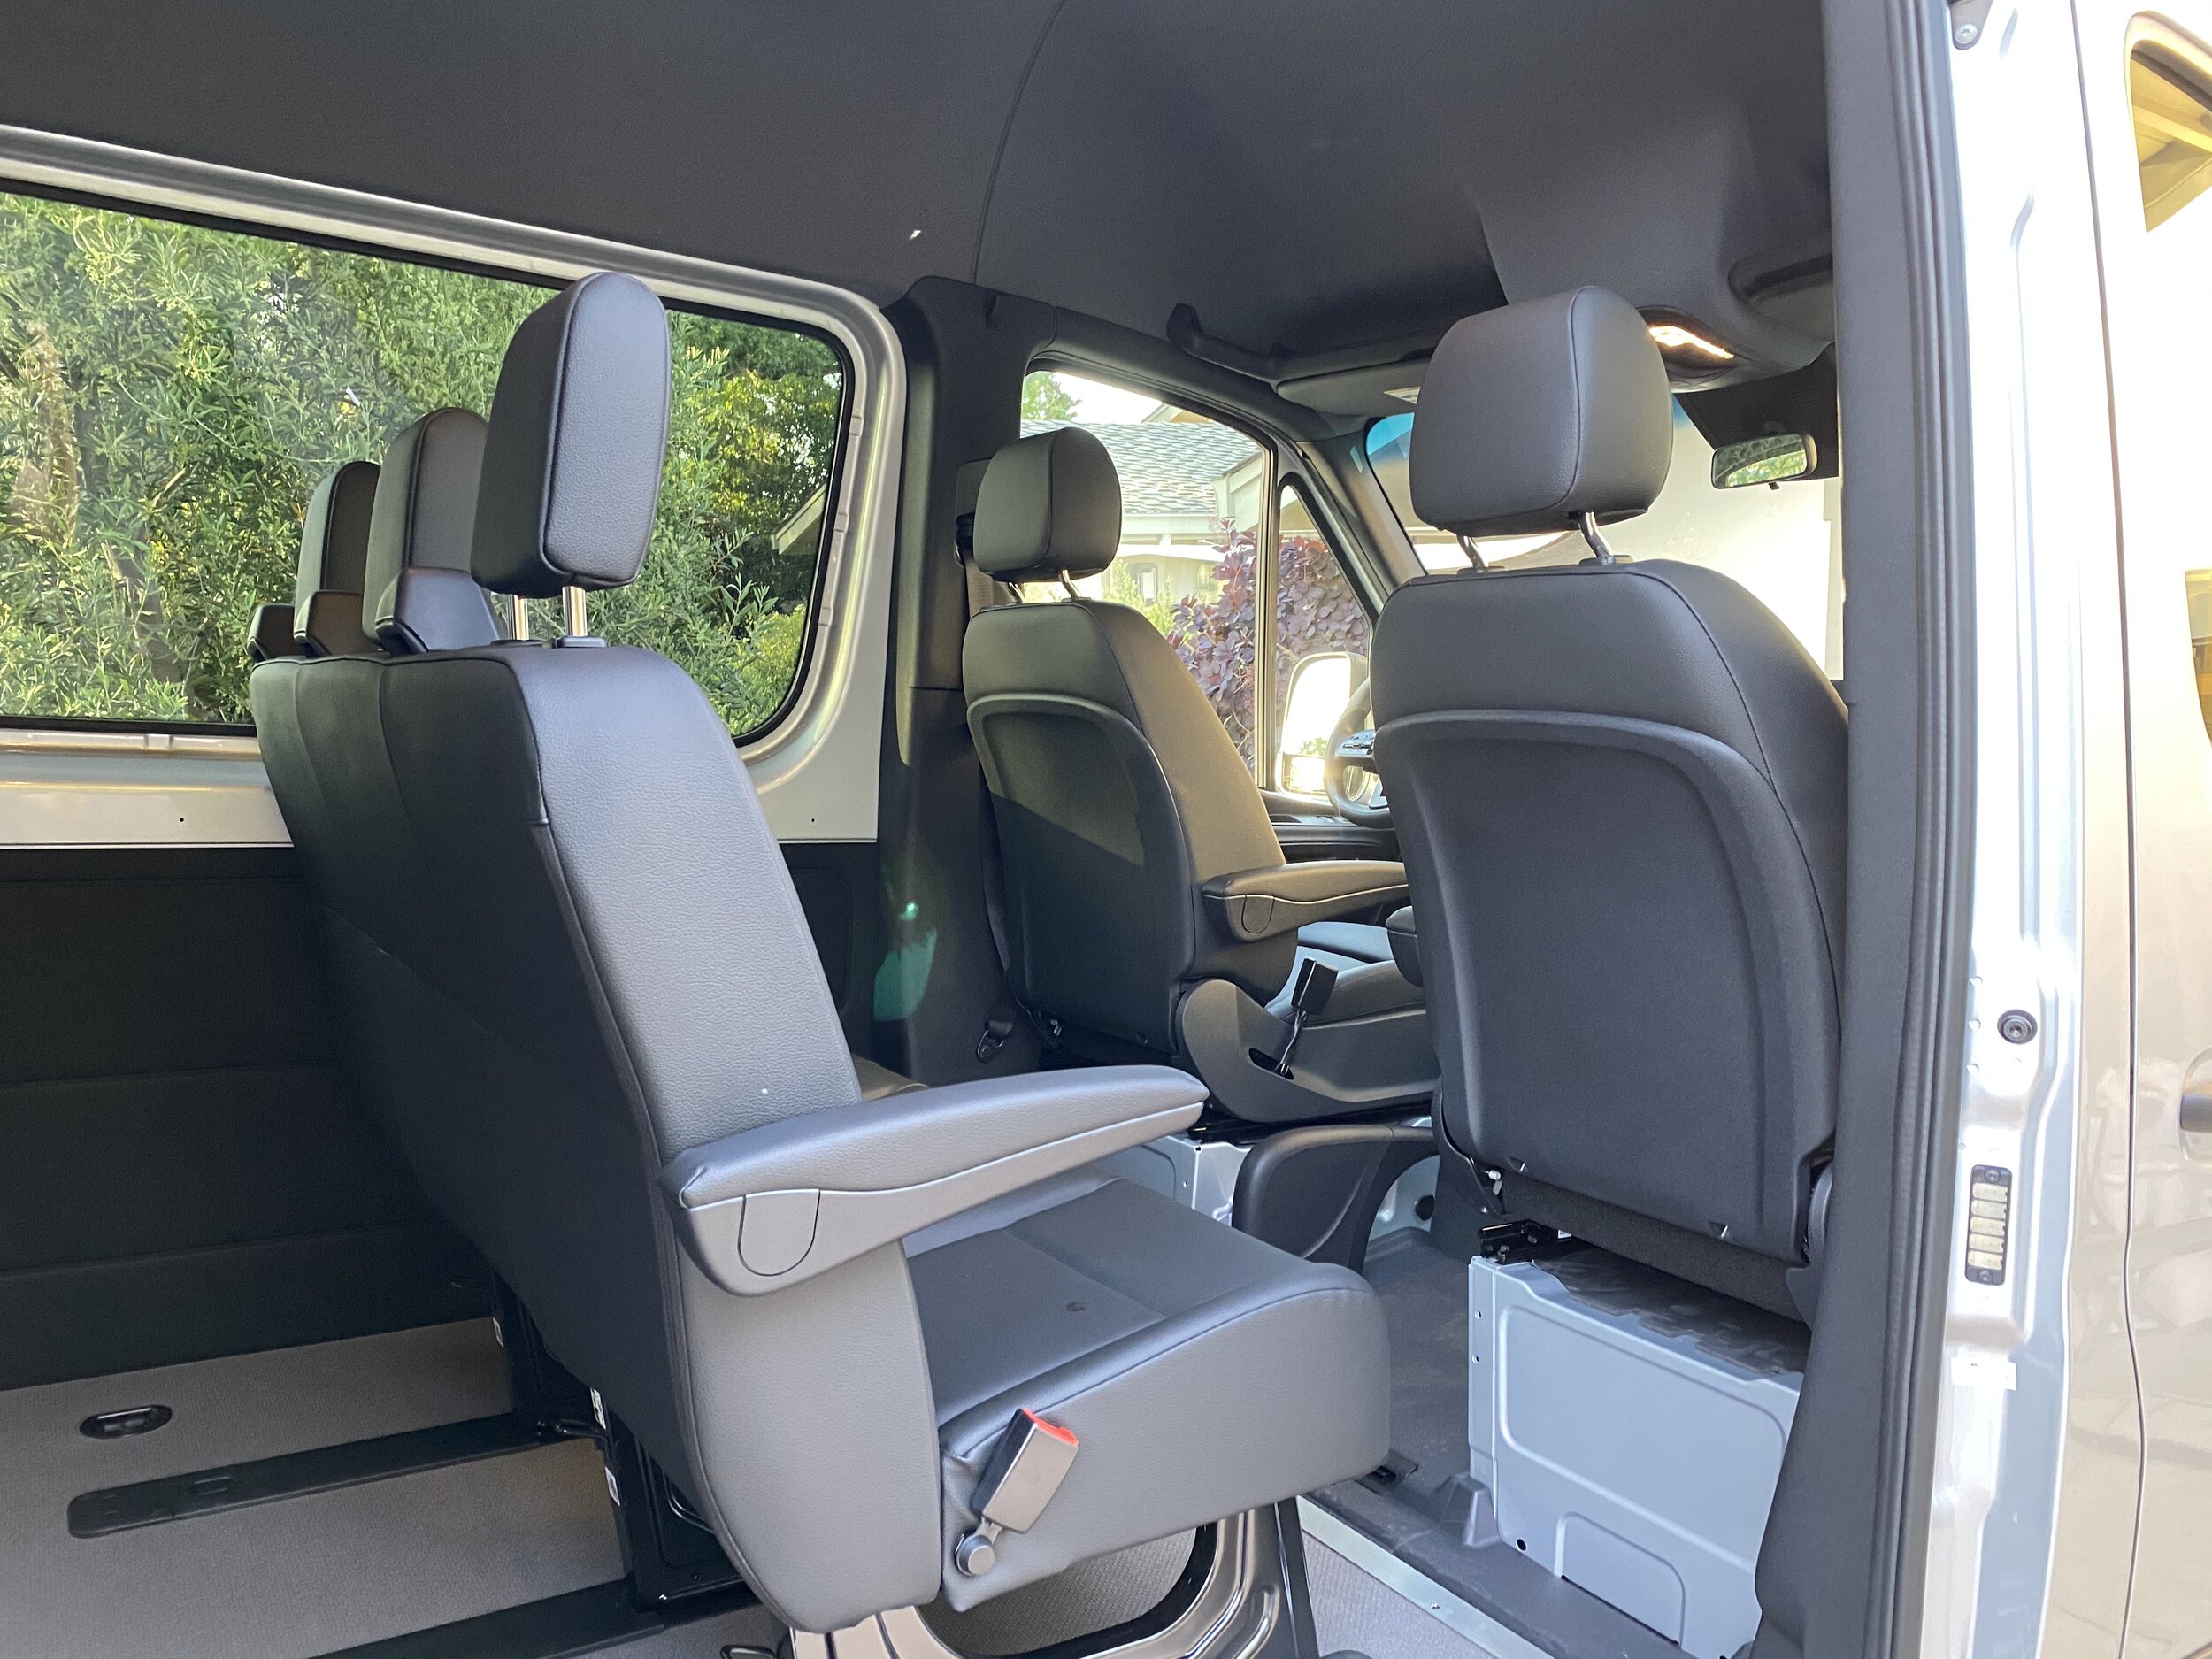
  • Replace OEM bench seating with captain chairs

  • Lounge bench infant of the beds to chill

  • Lagun table

  • Hot water system for sink and outside shower station

  • 4x4 suspension upgrade

  • Black Rino wheels and BF K02 tires

  • And likely more stuff

My rough design skills don’t win any awards but this is what we THINK we have in mind.

Pasted Graphic.png
Pasted Graphic 1.png

BMW M2 Build - Hood Repaint

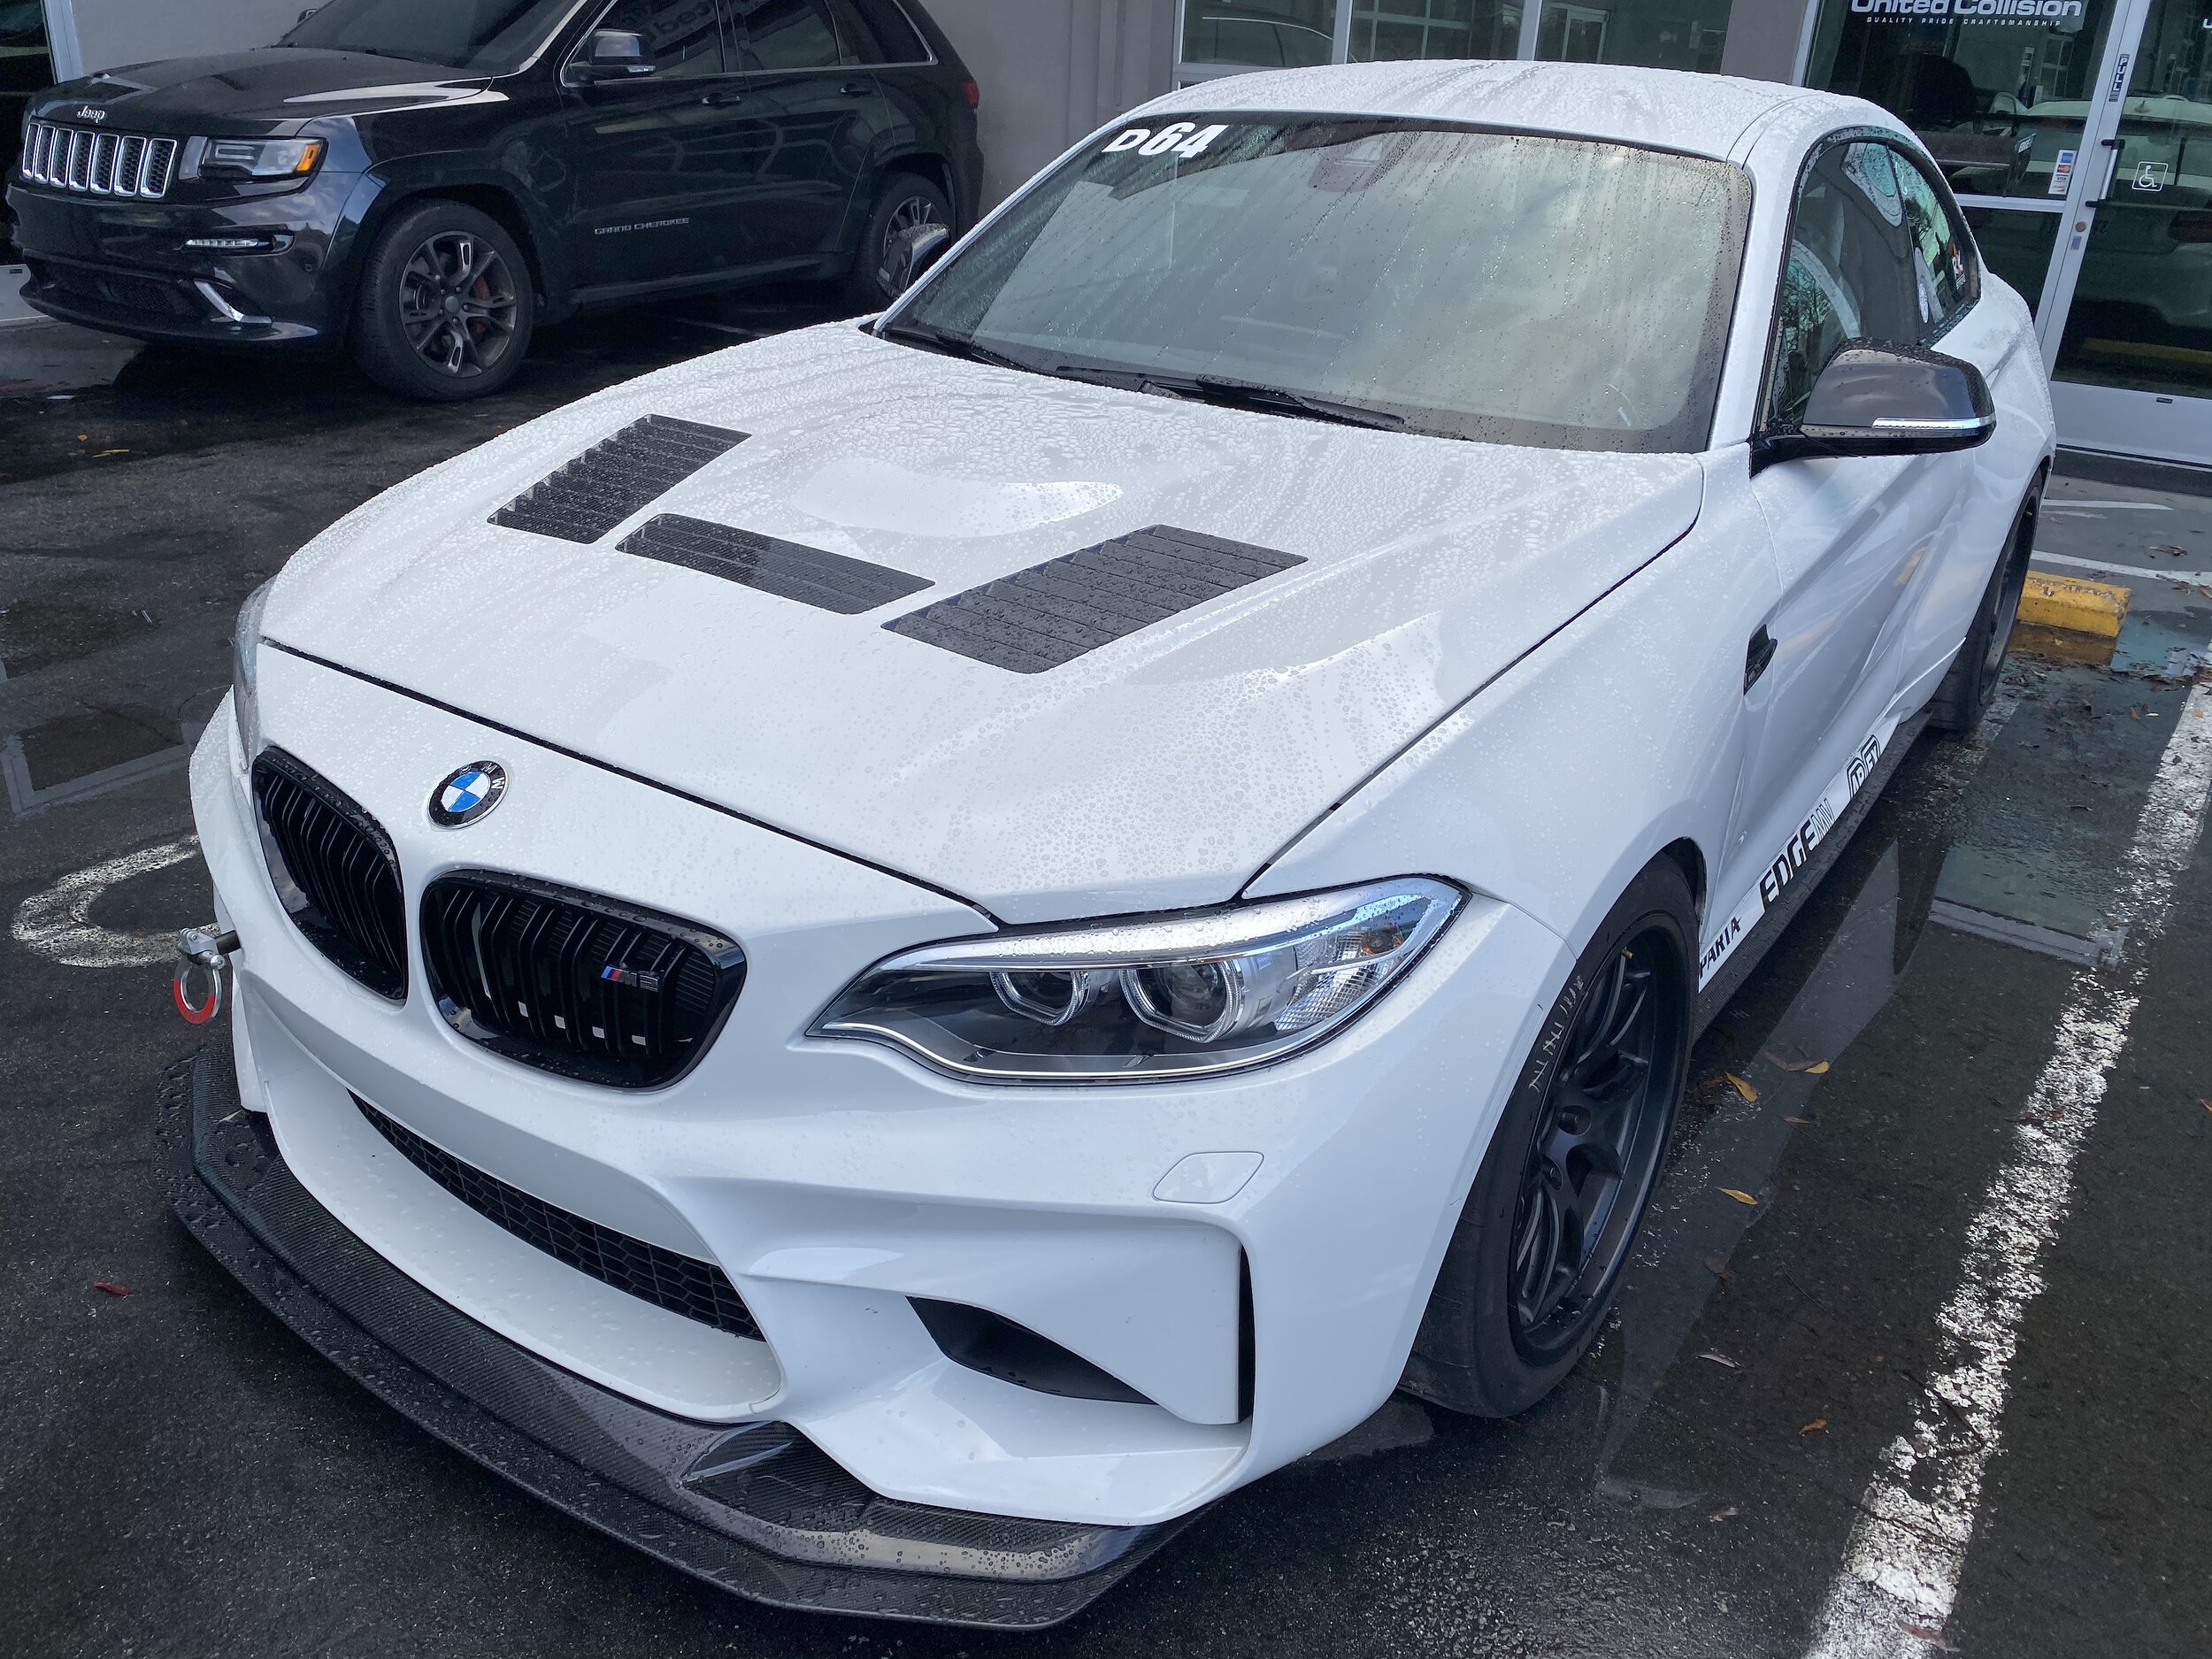
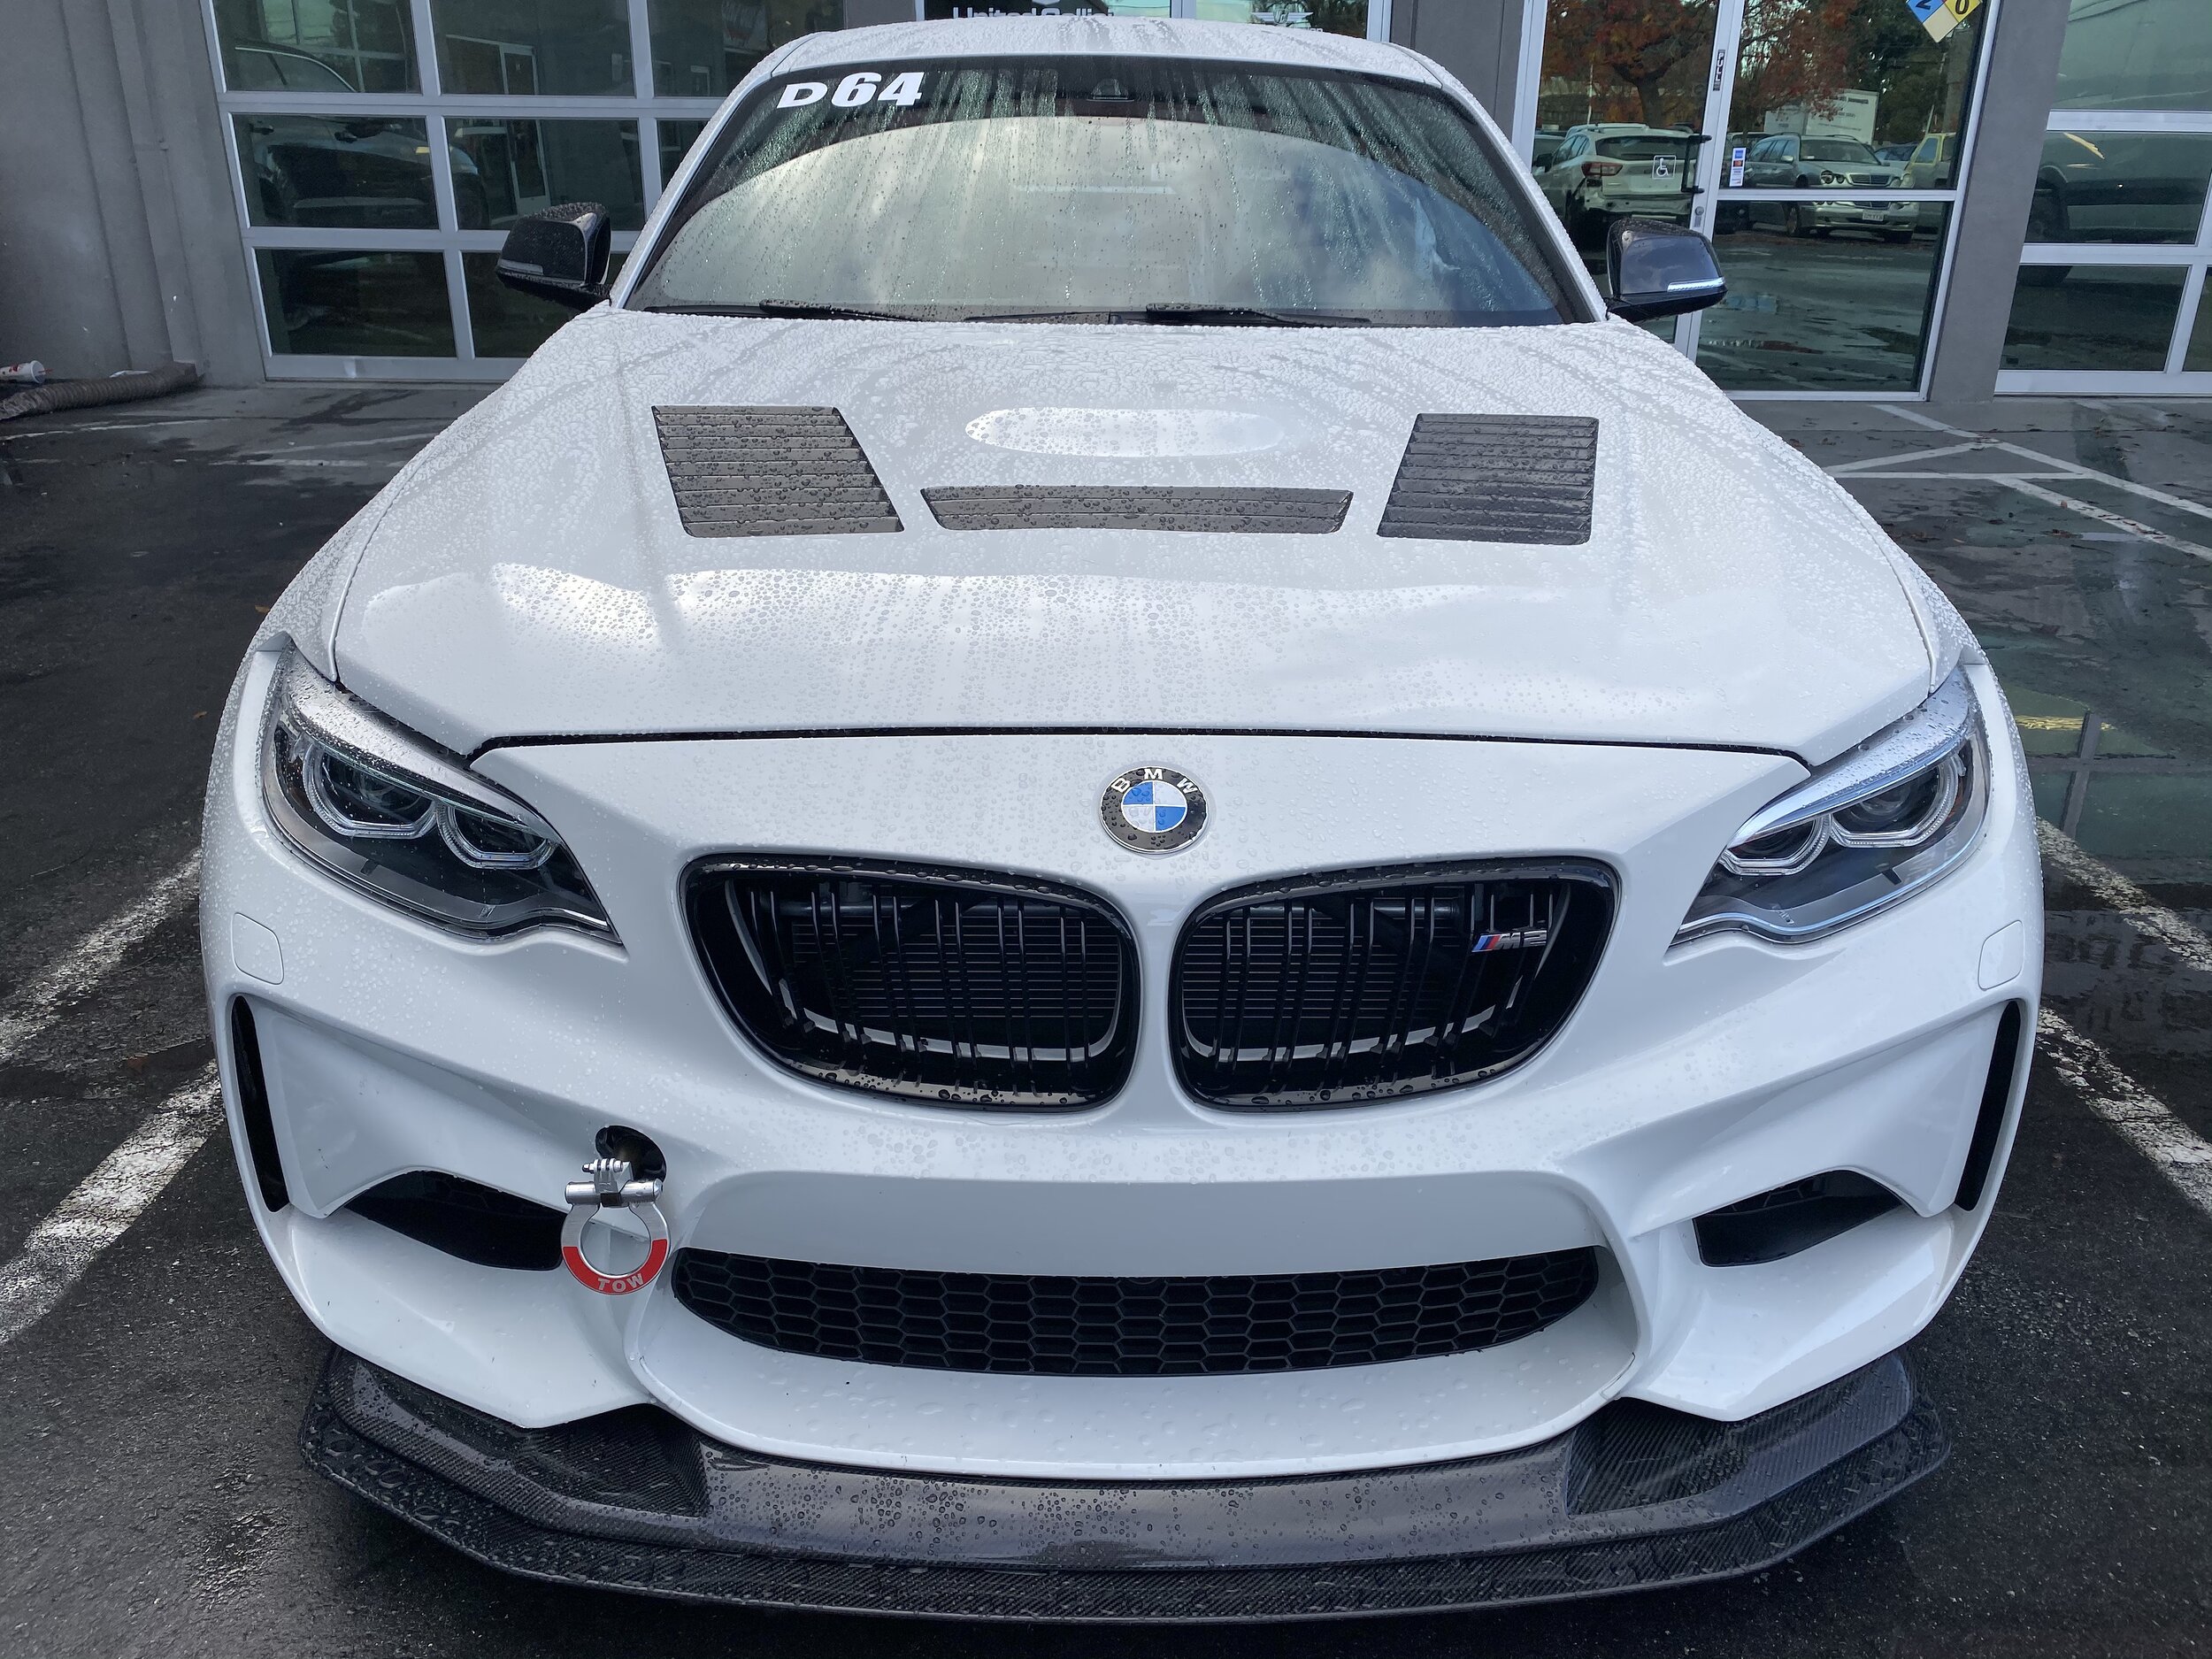
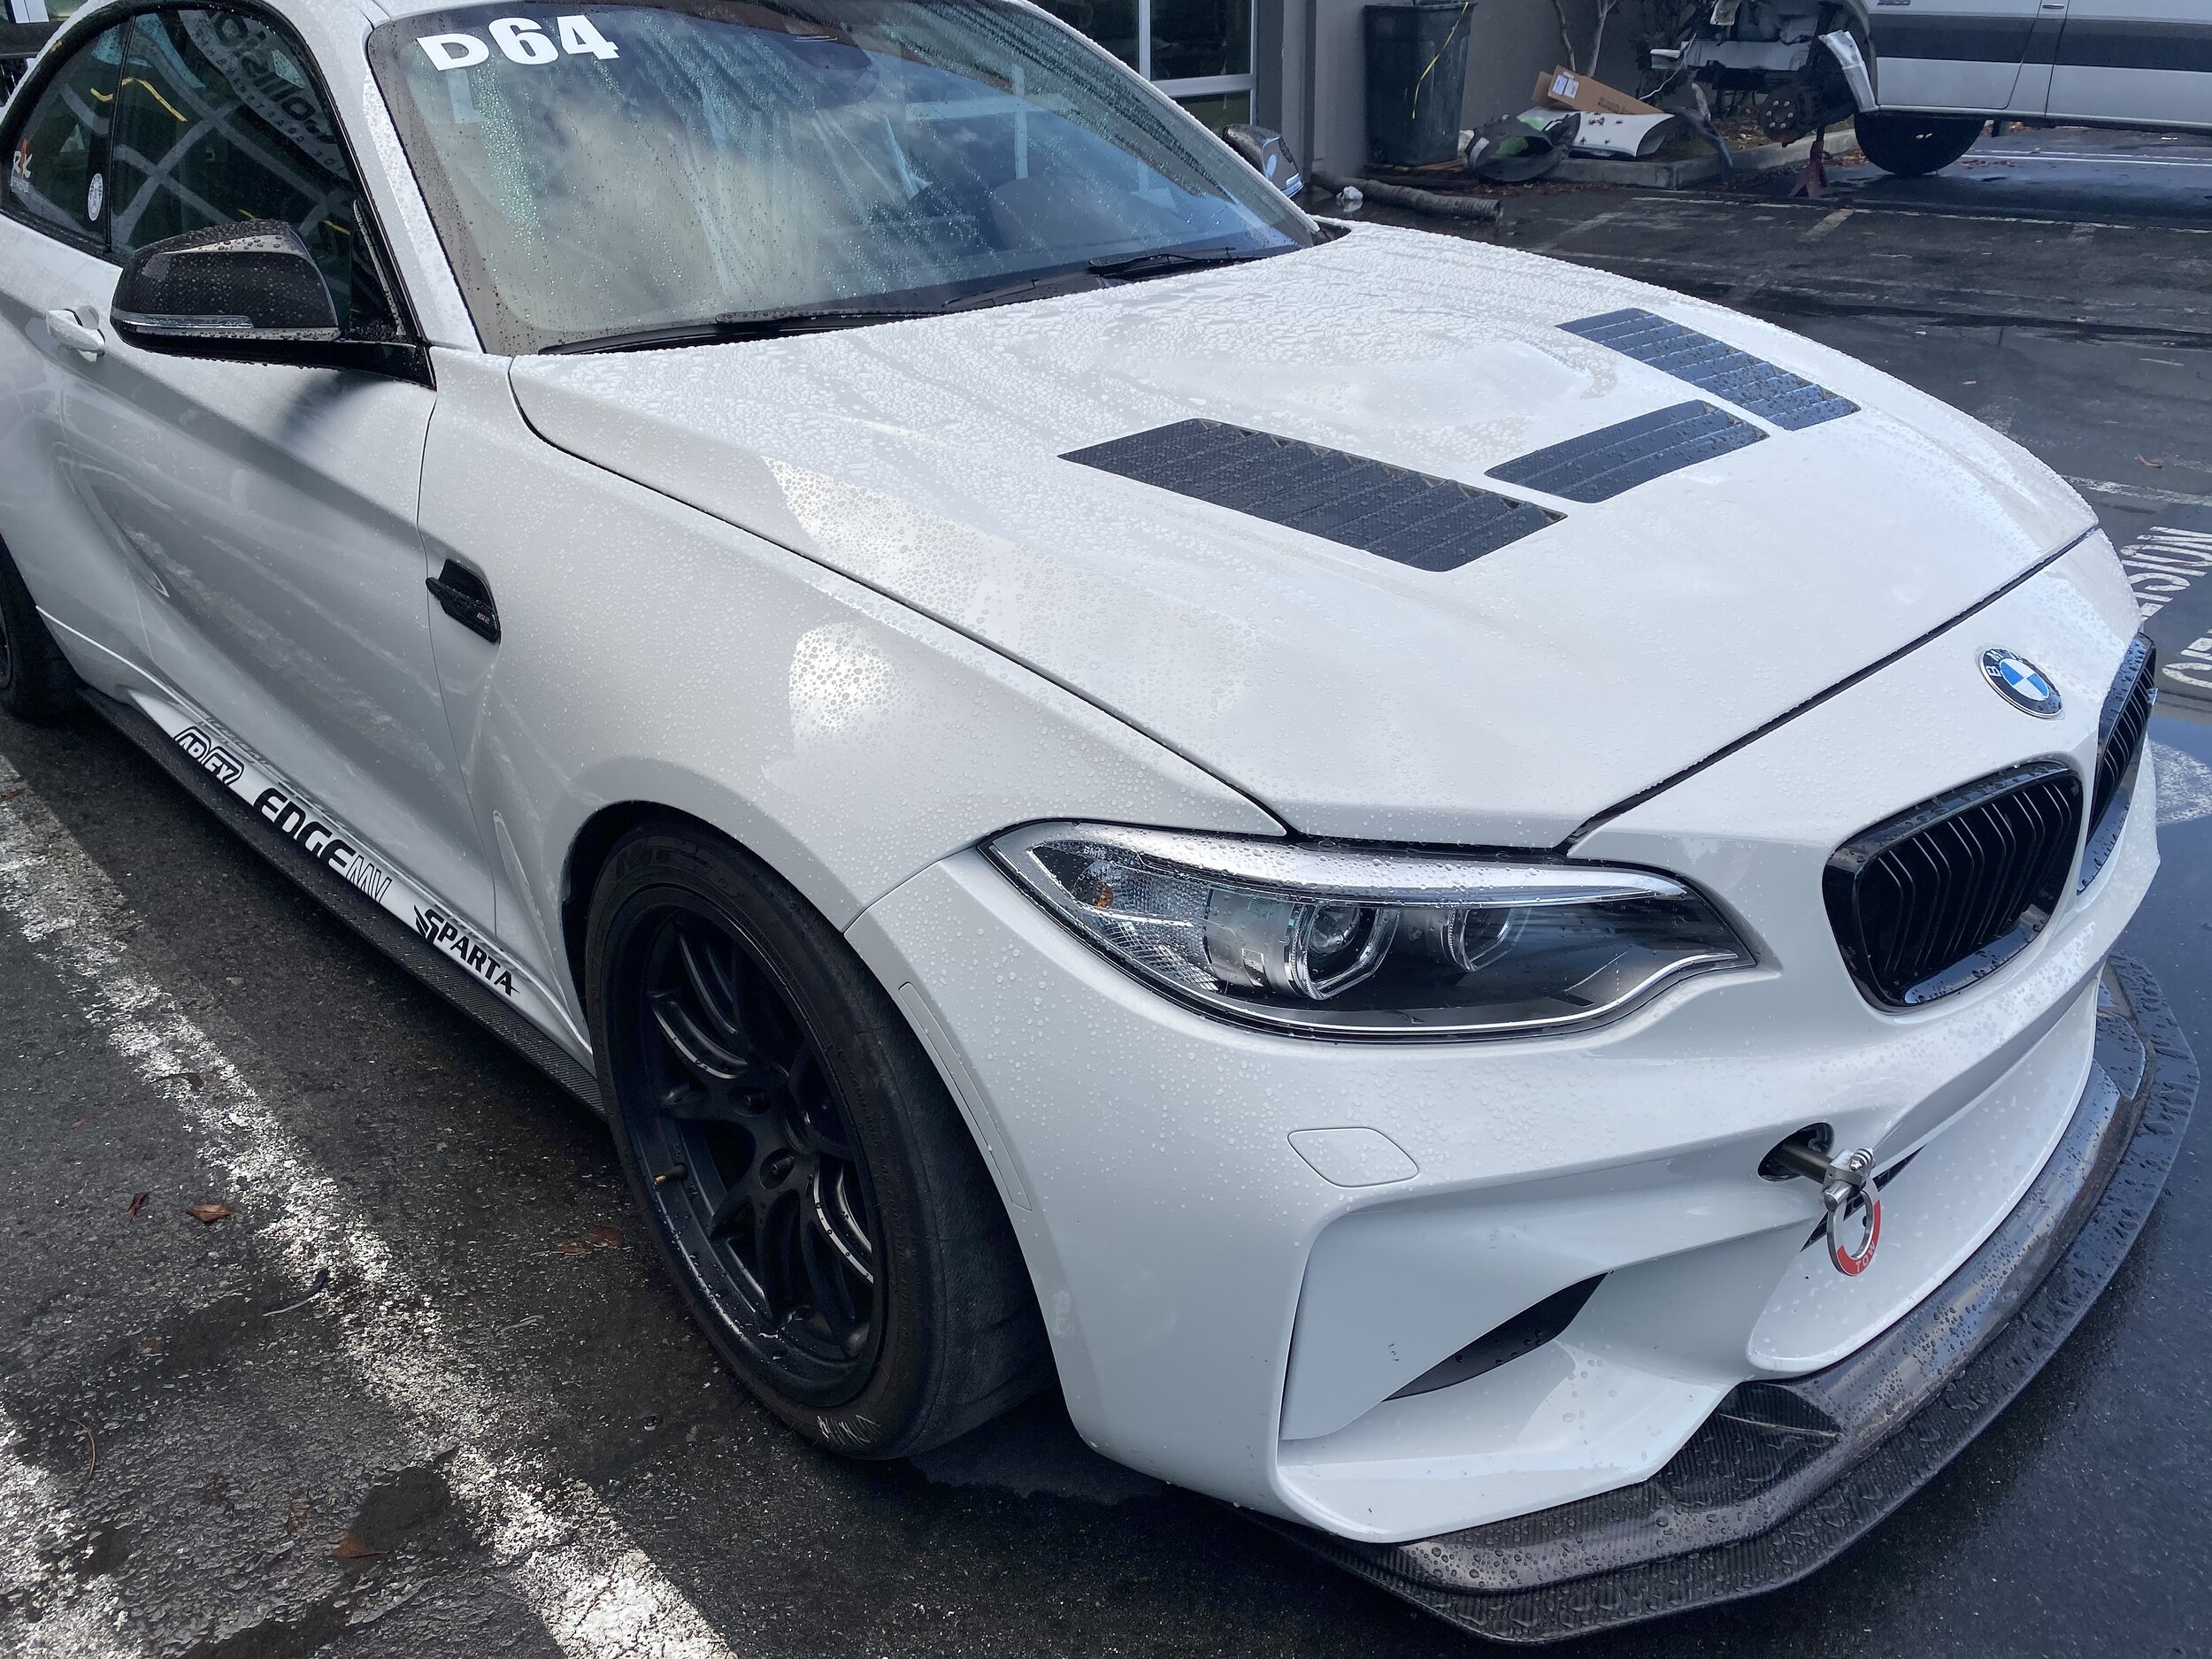
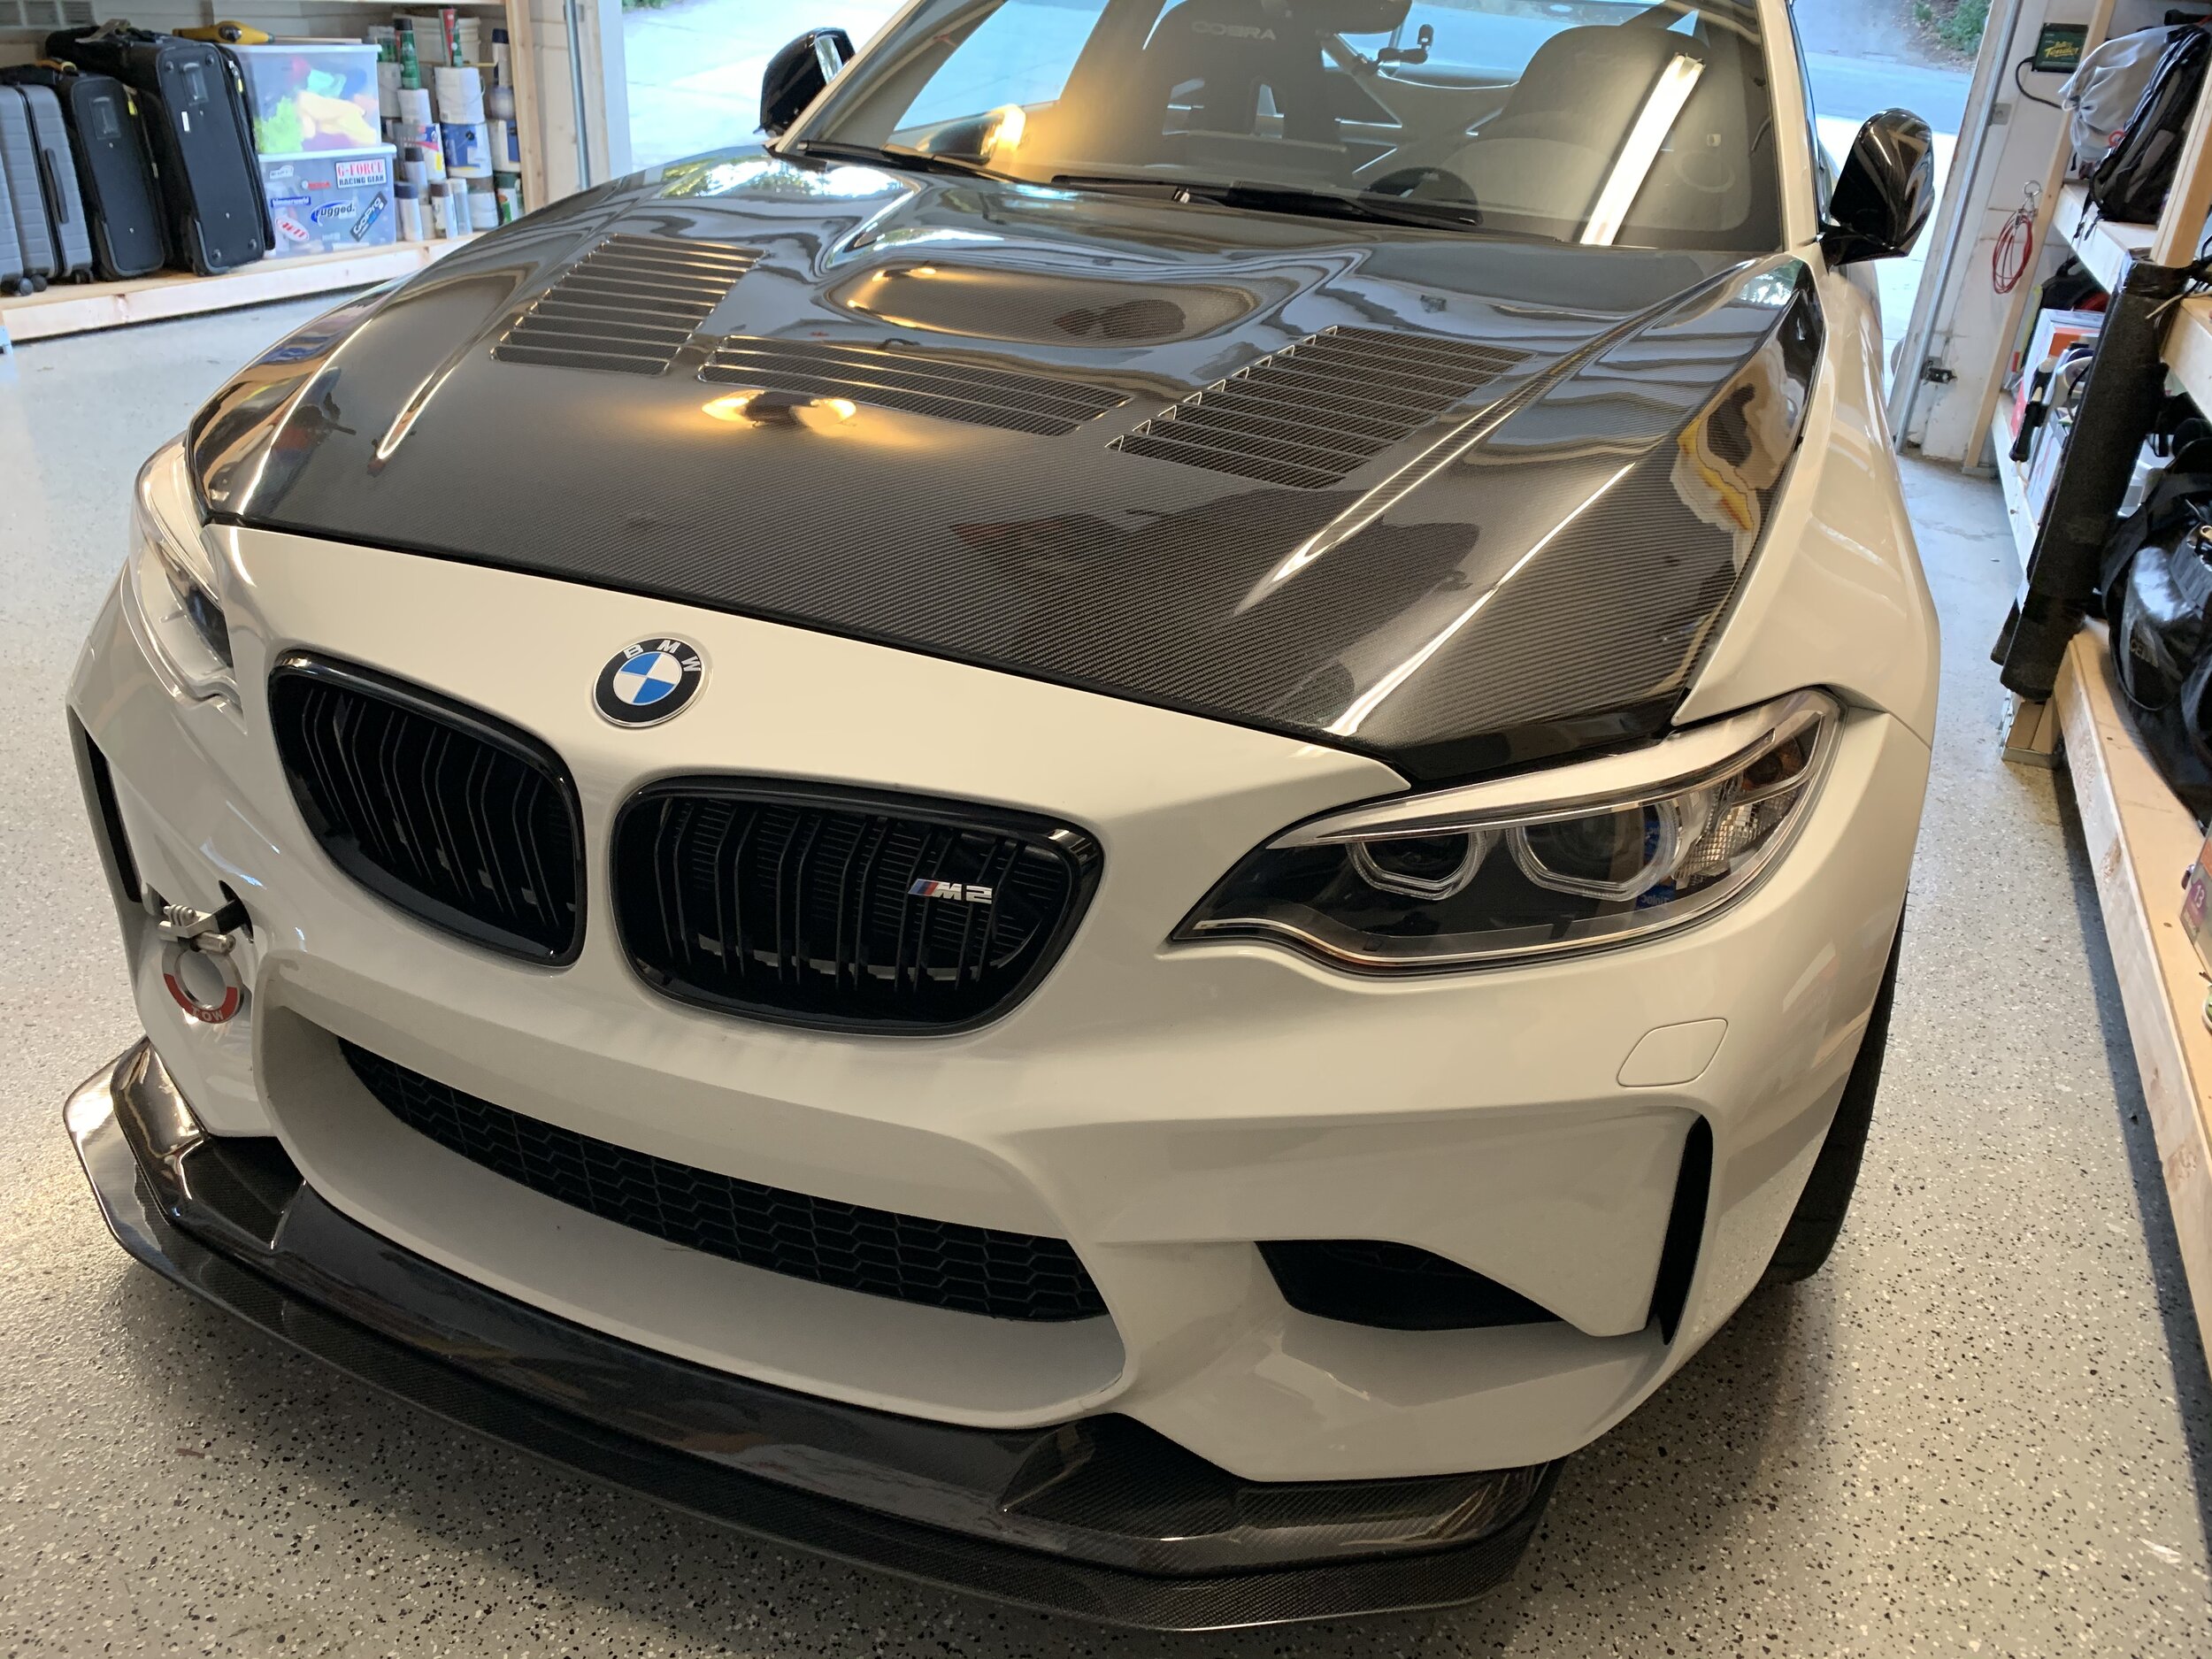
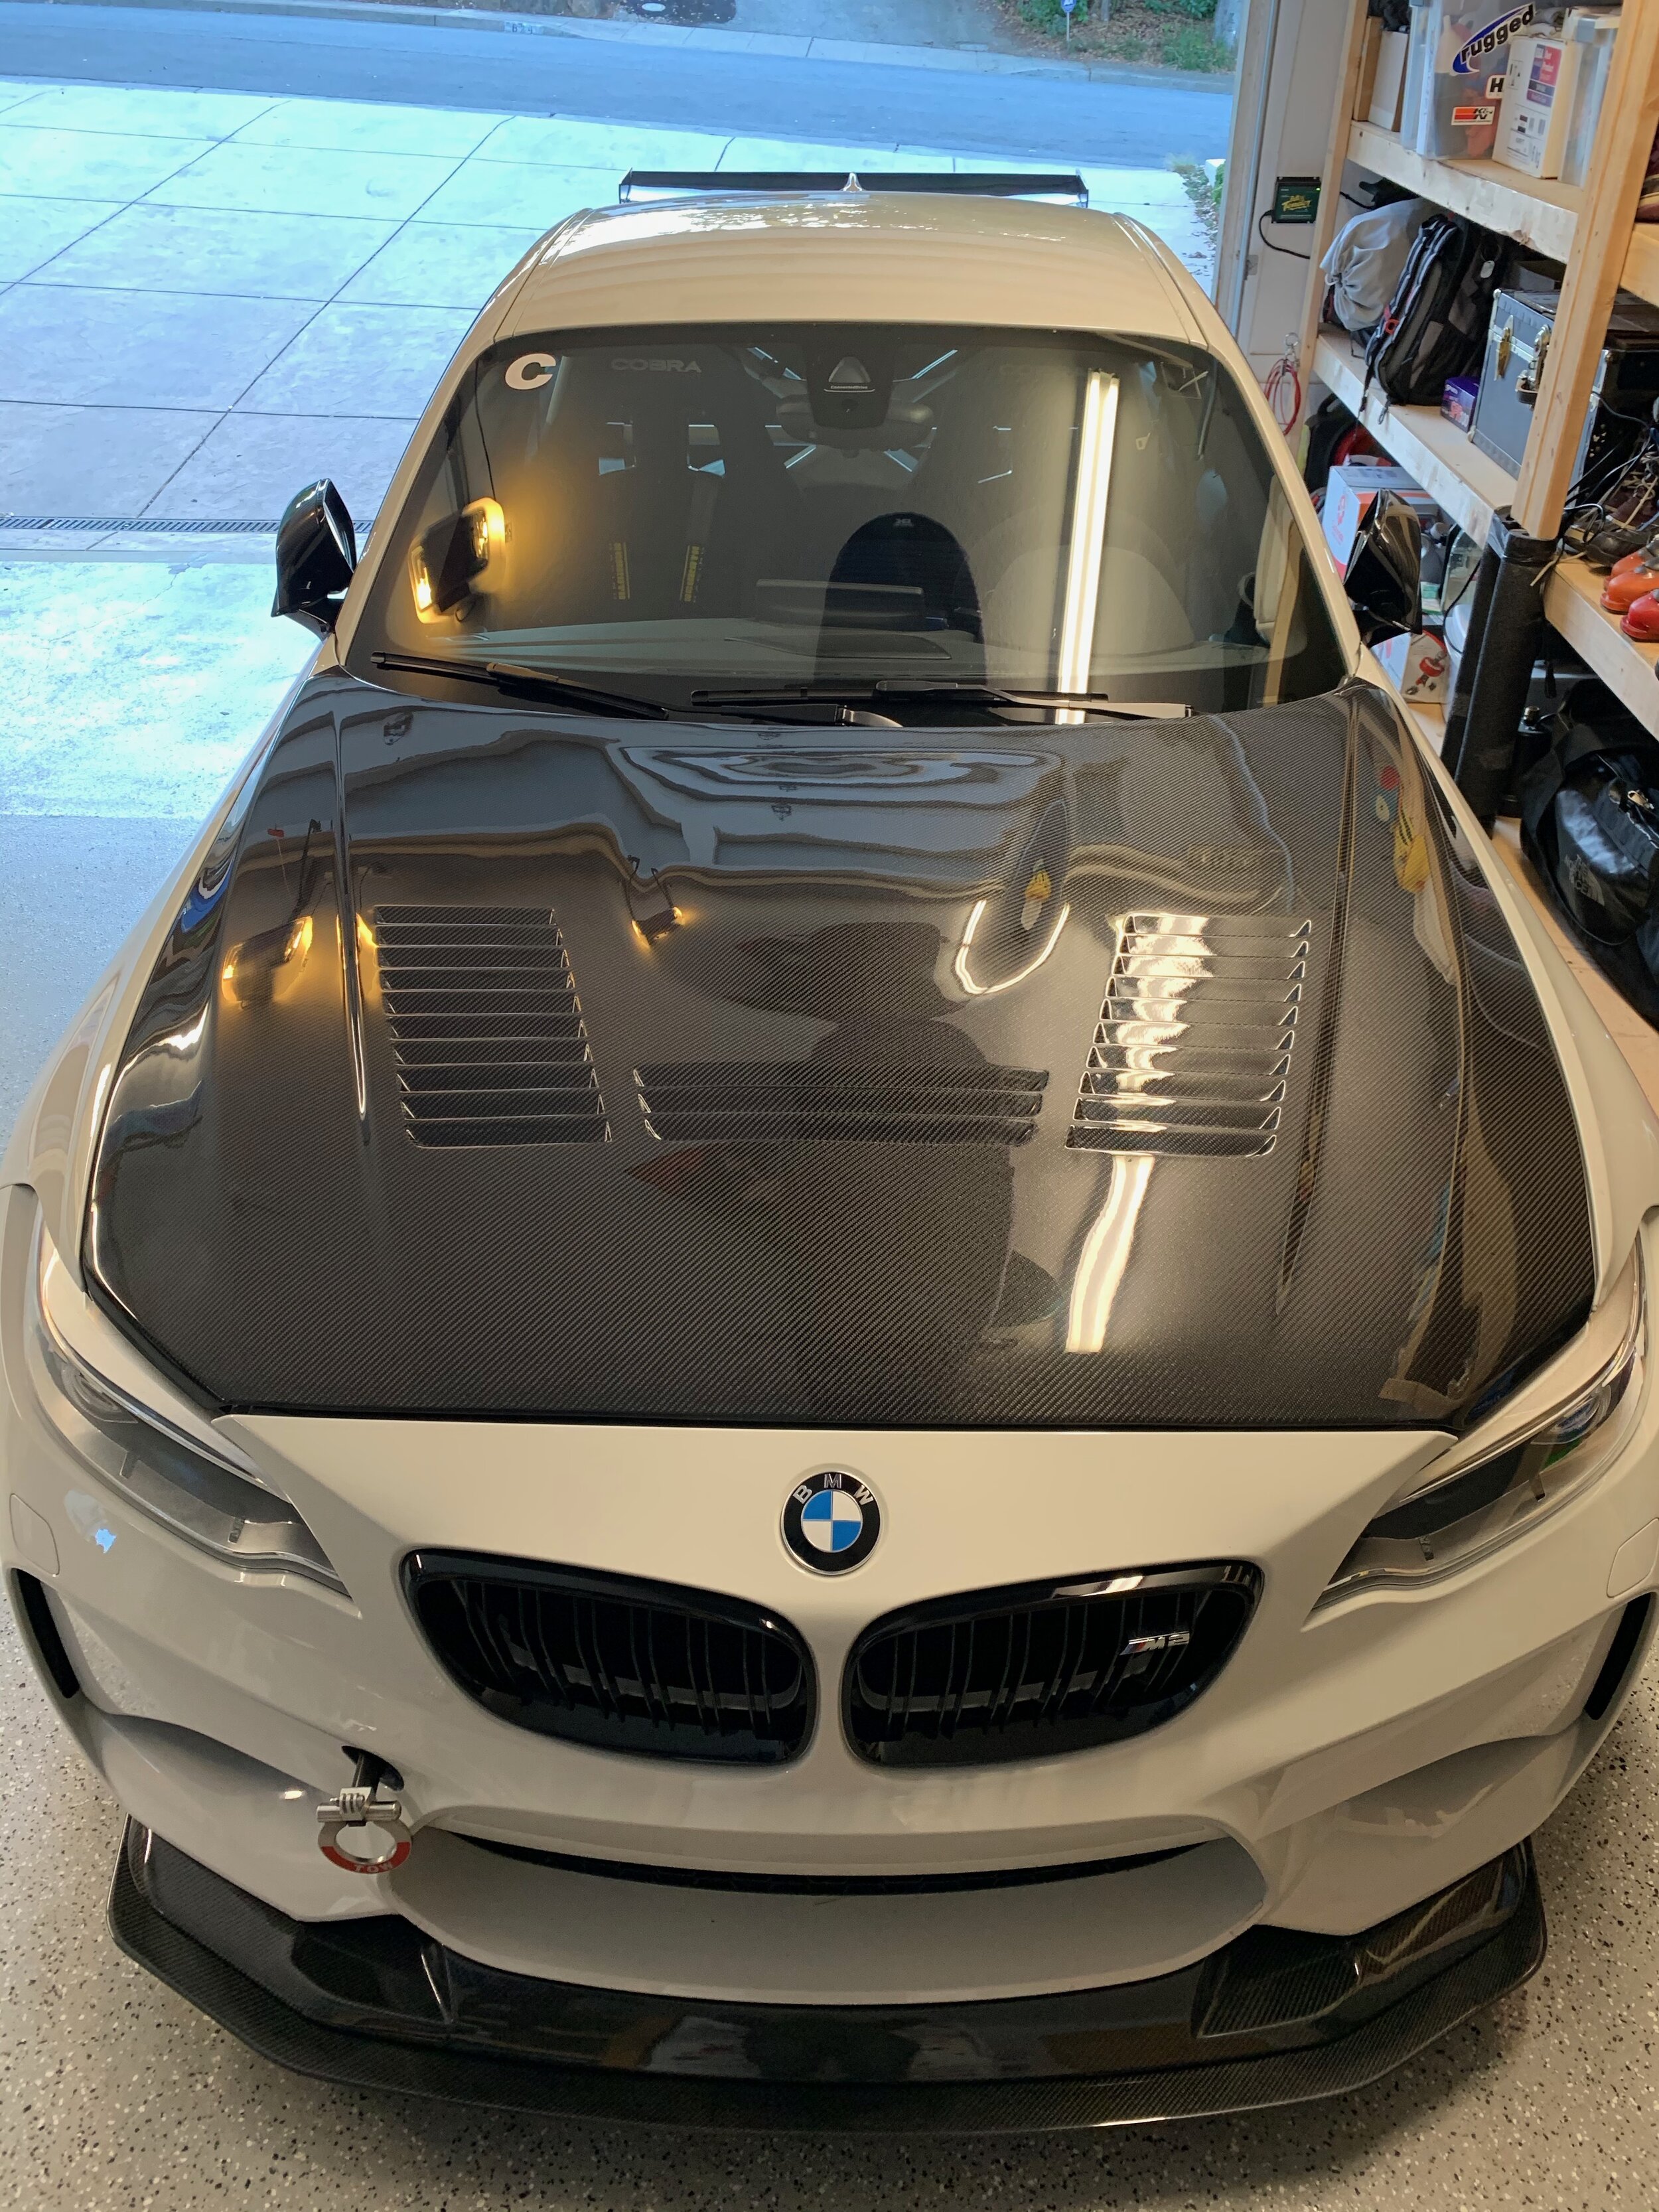
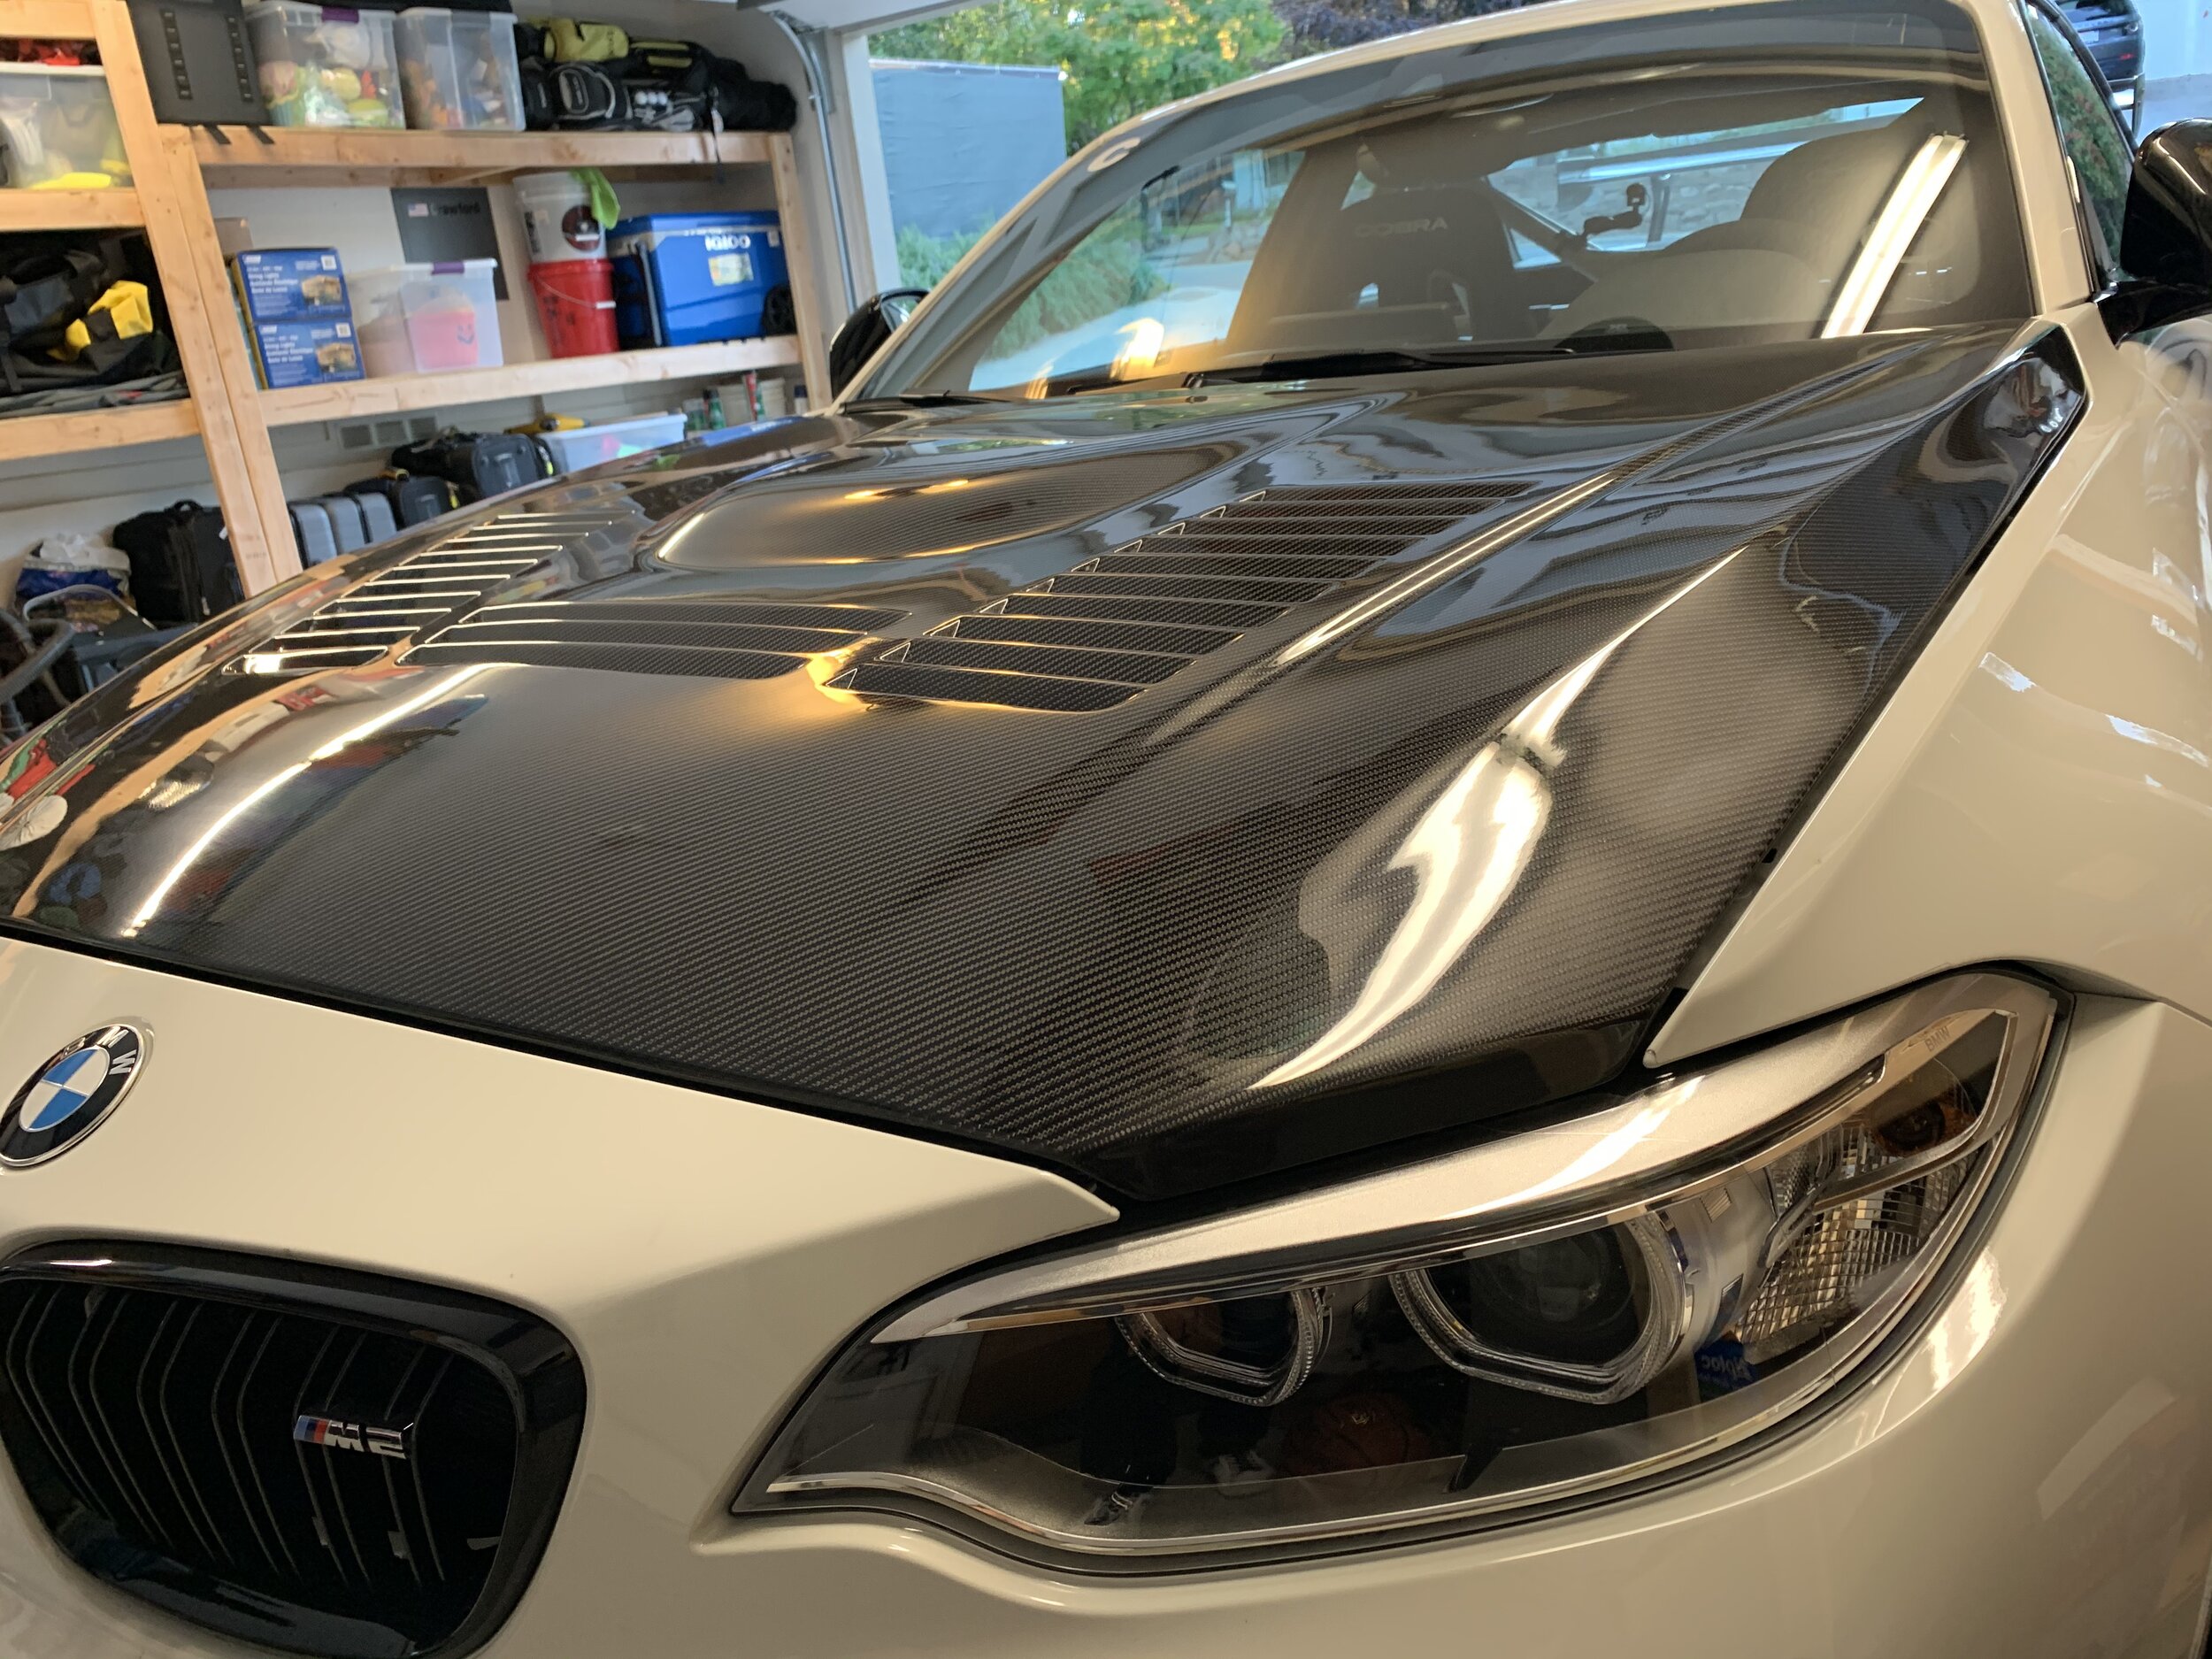
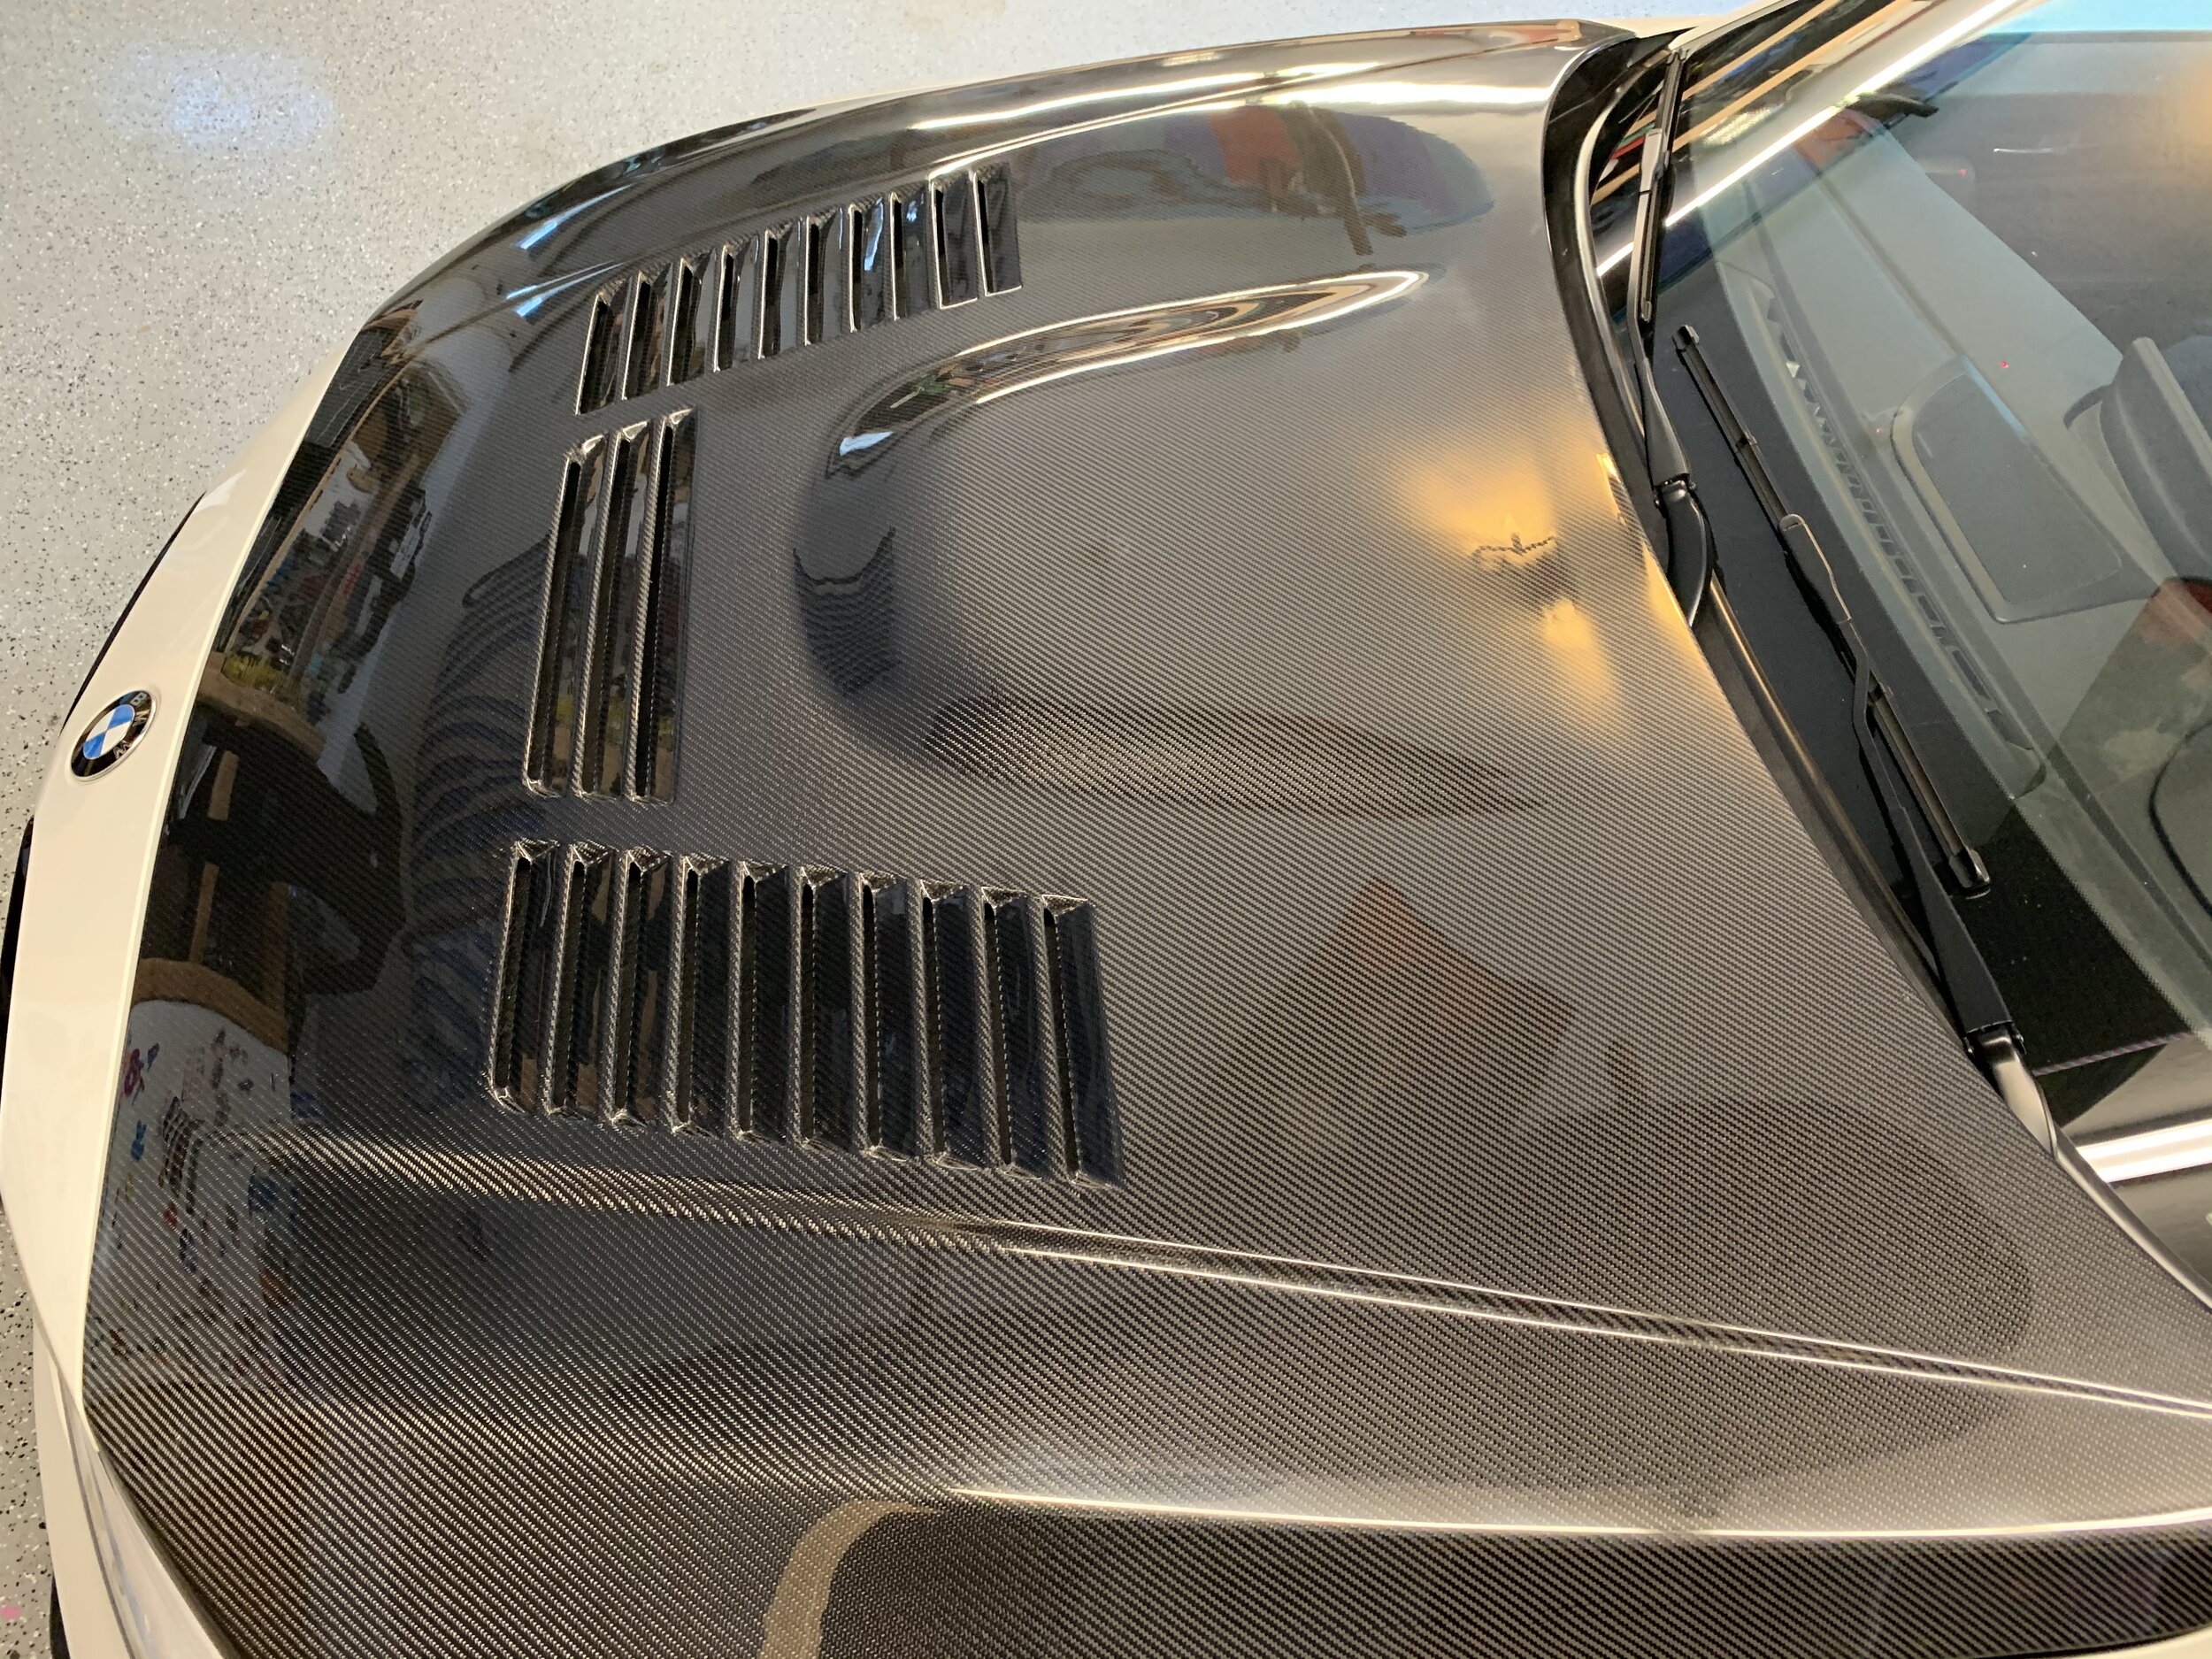
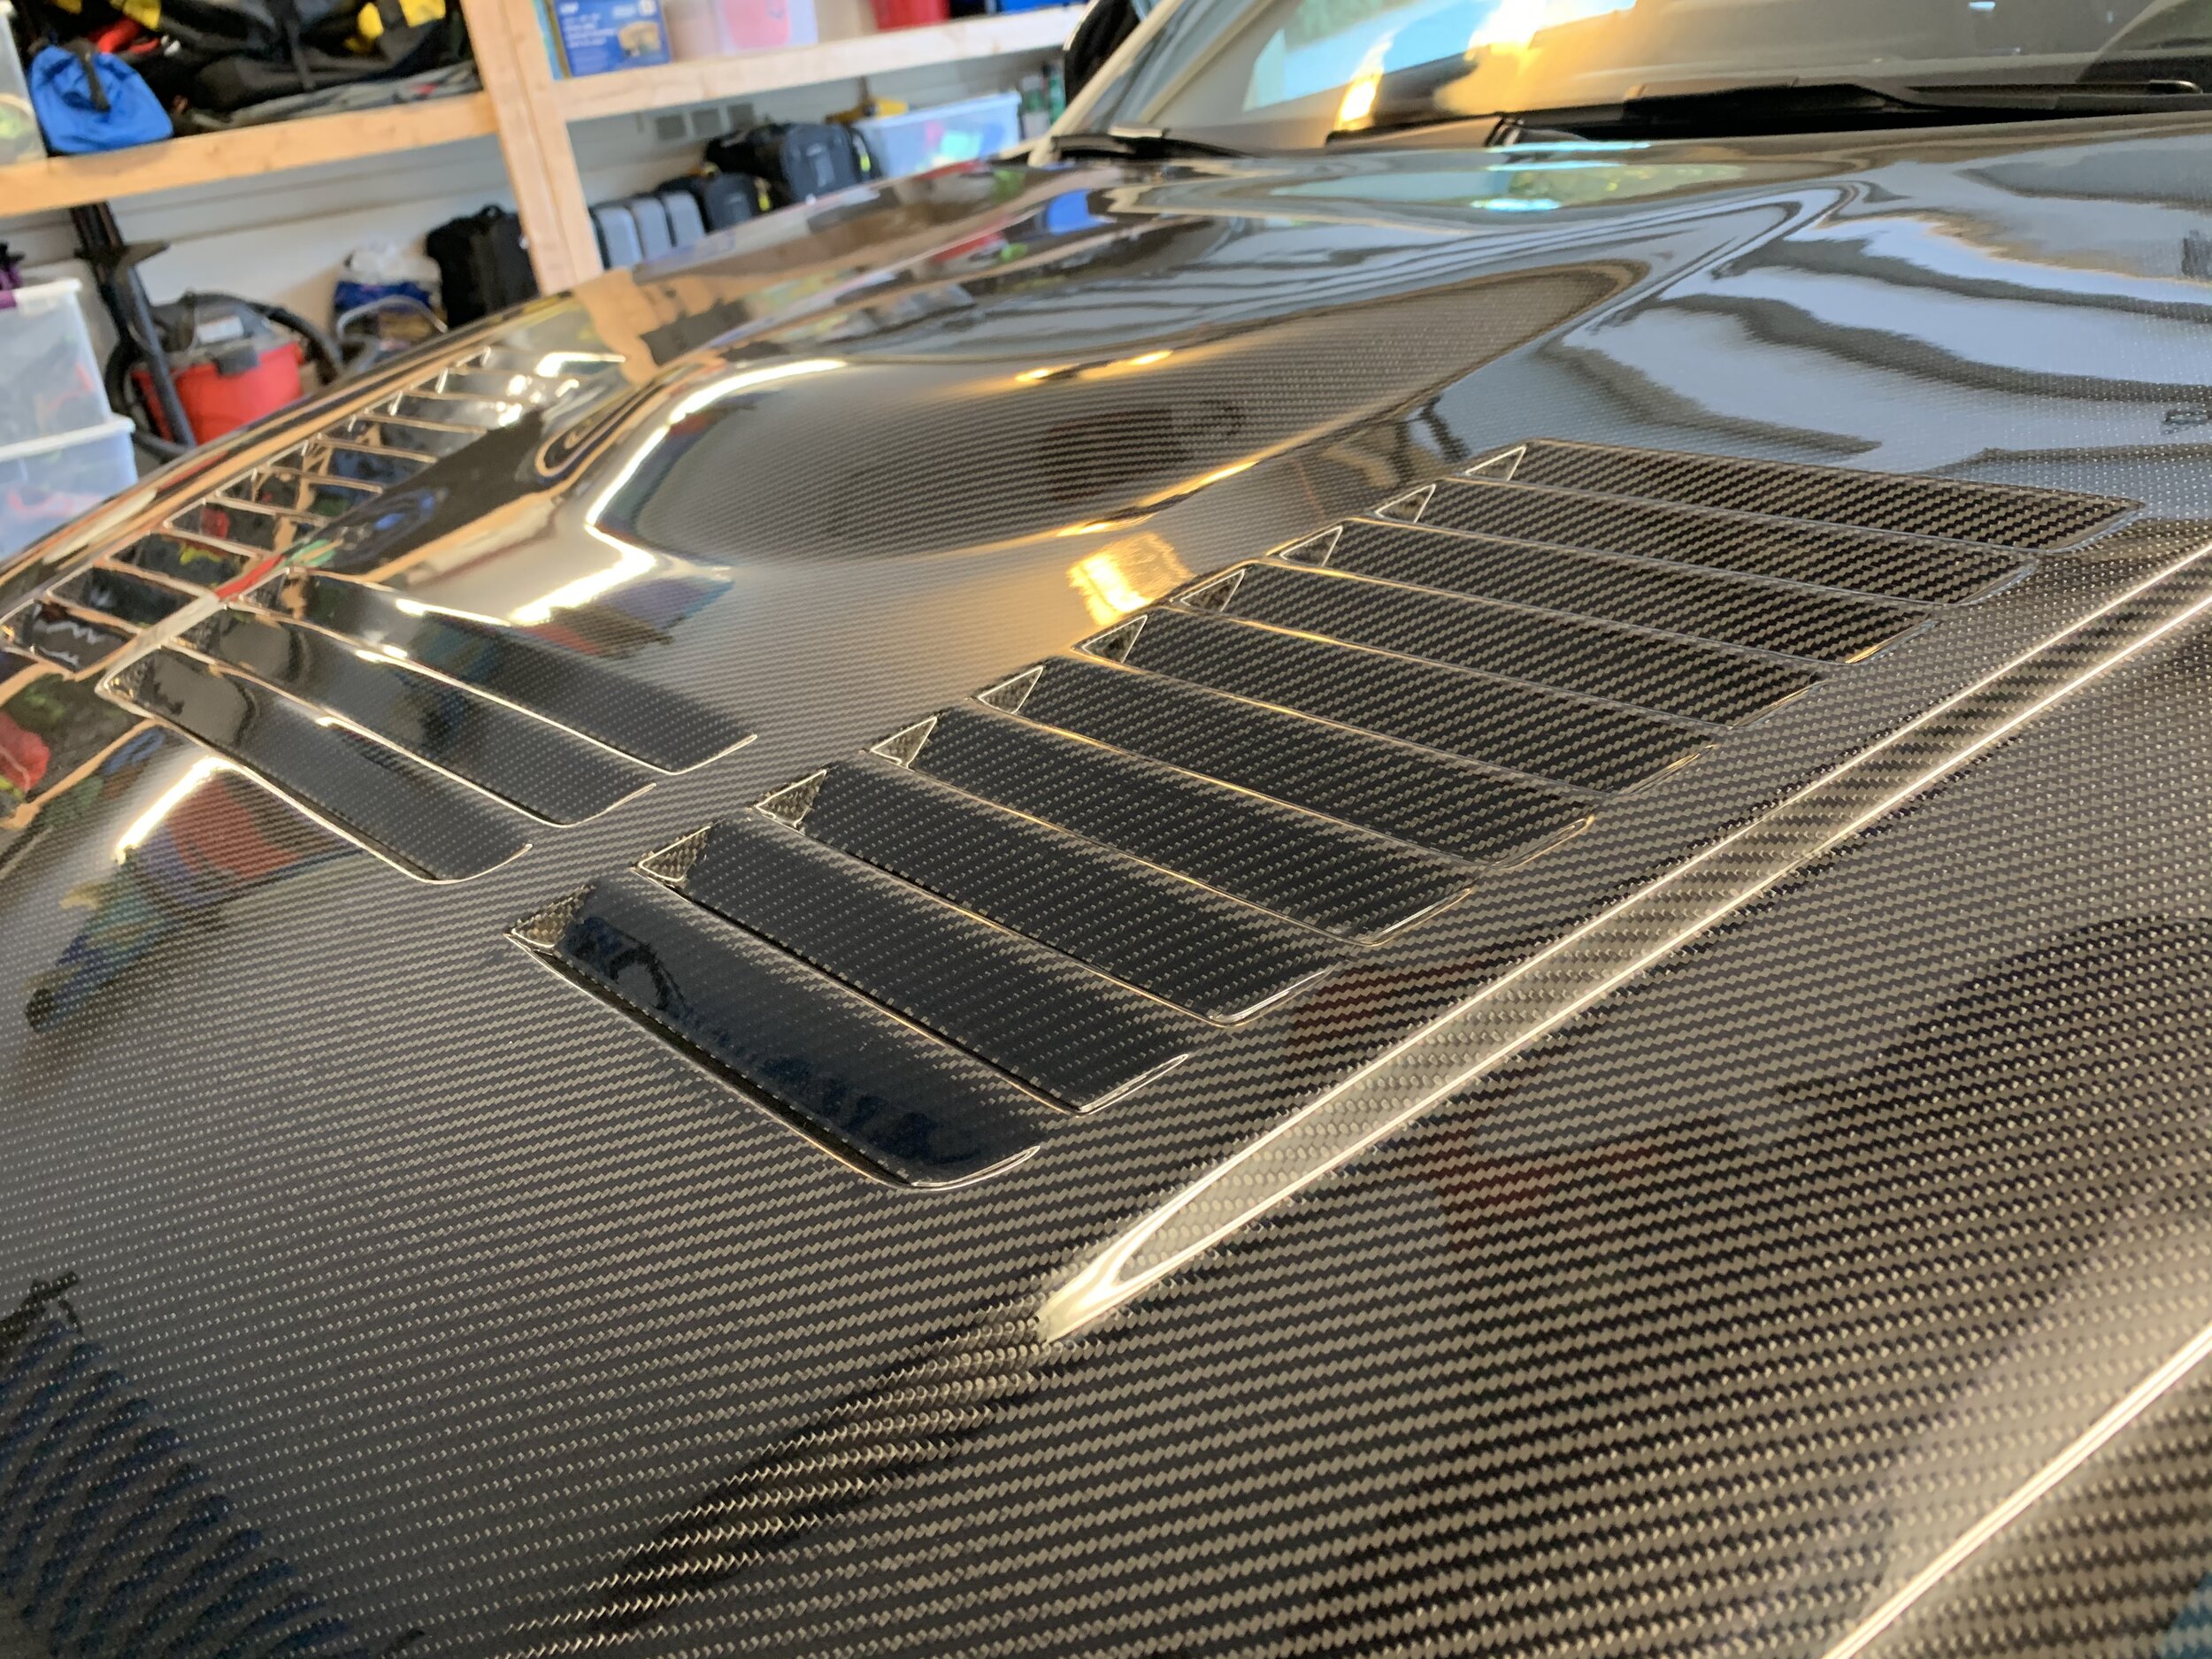
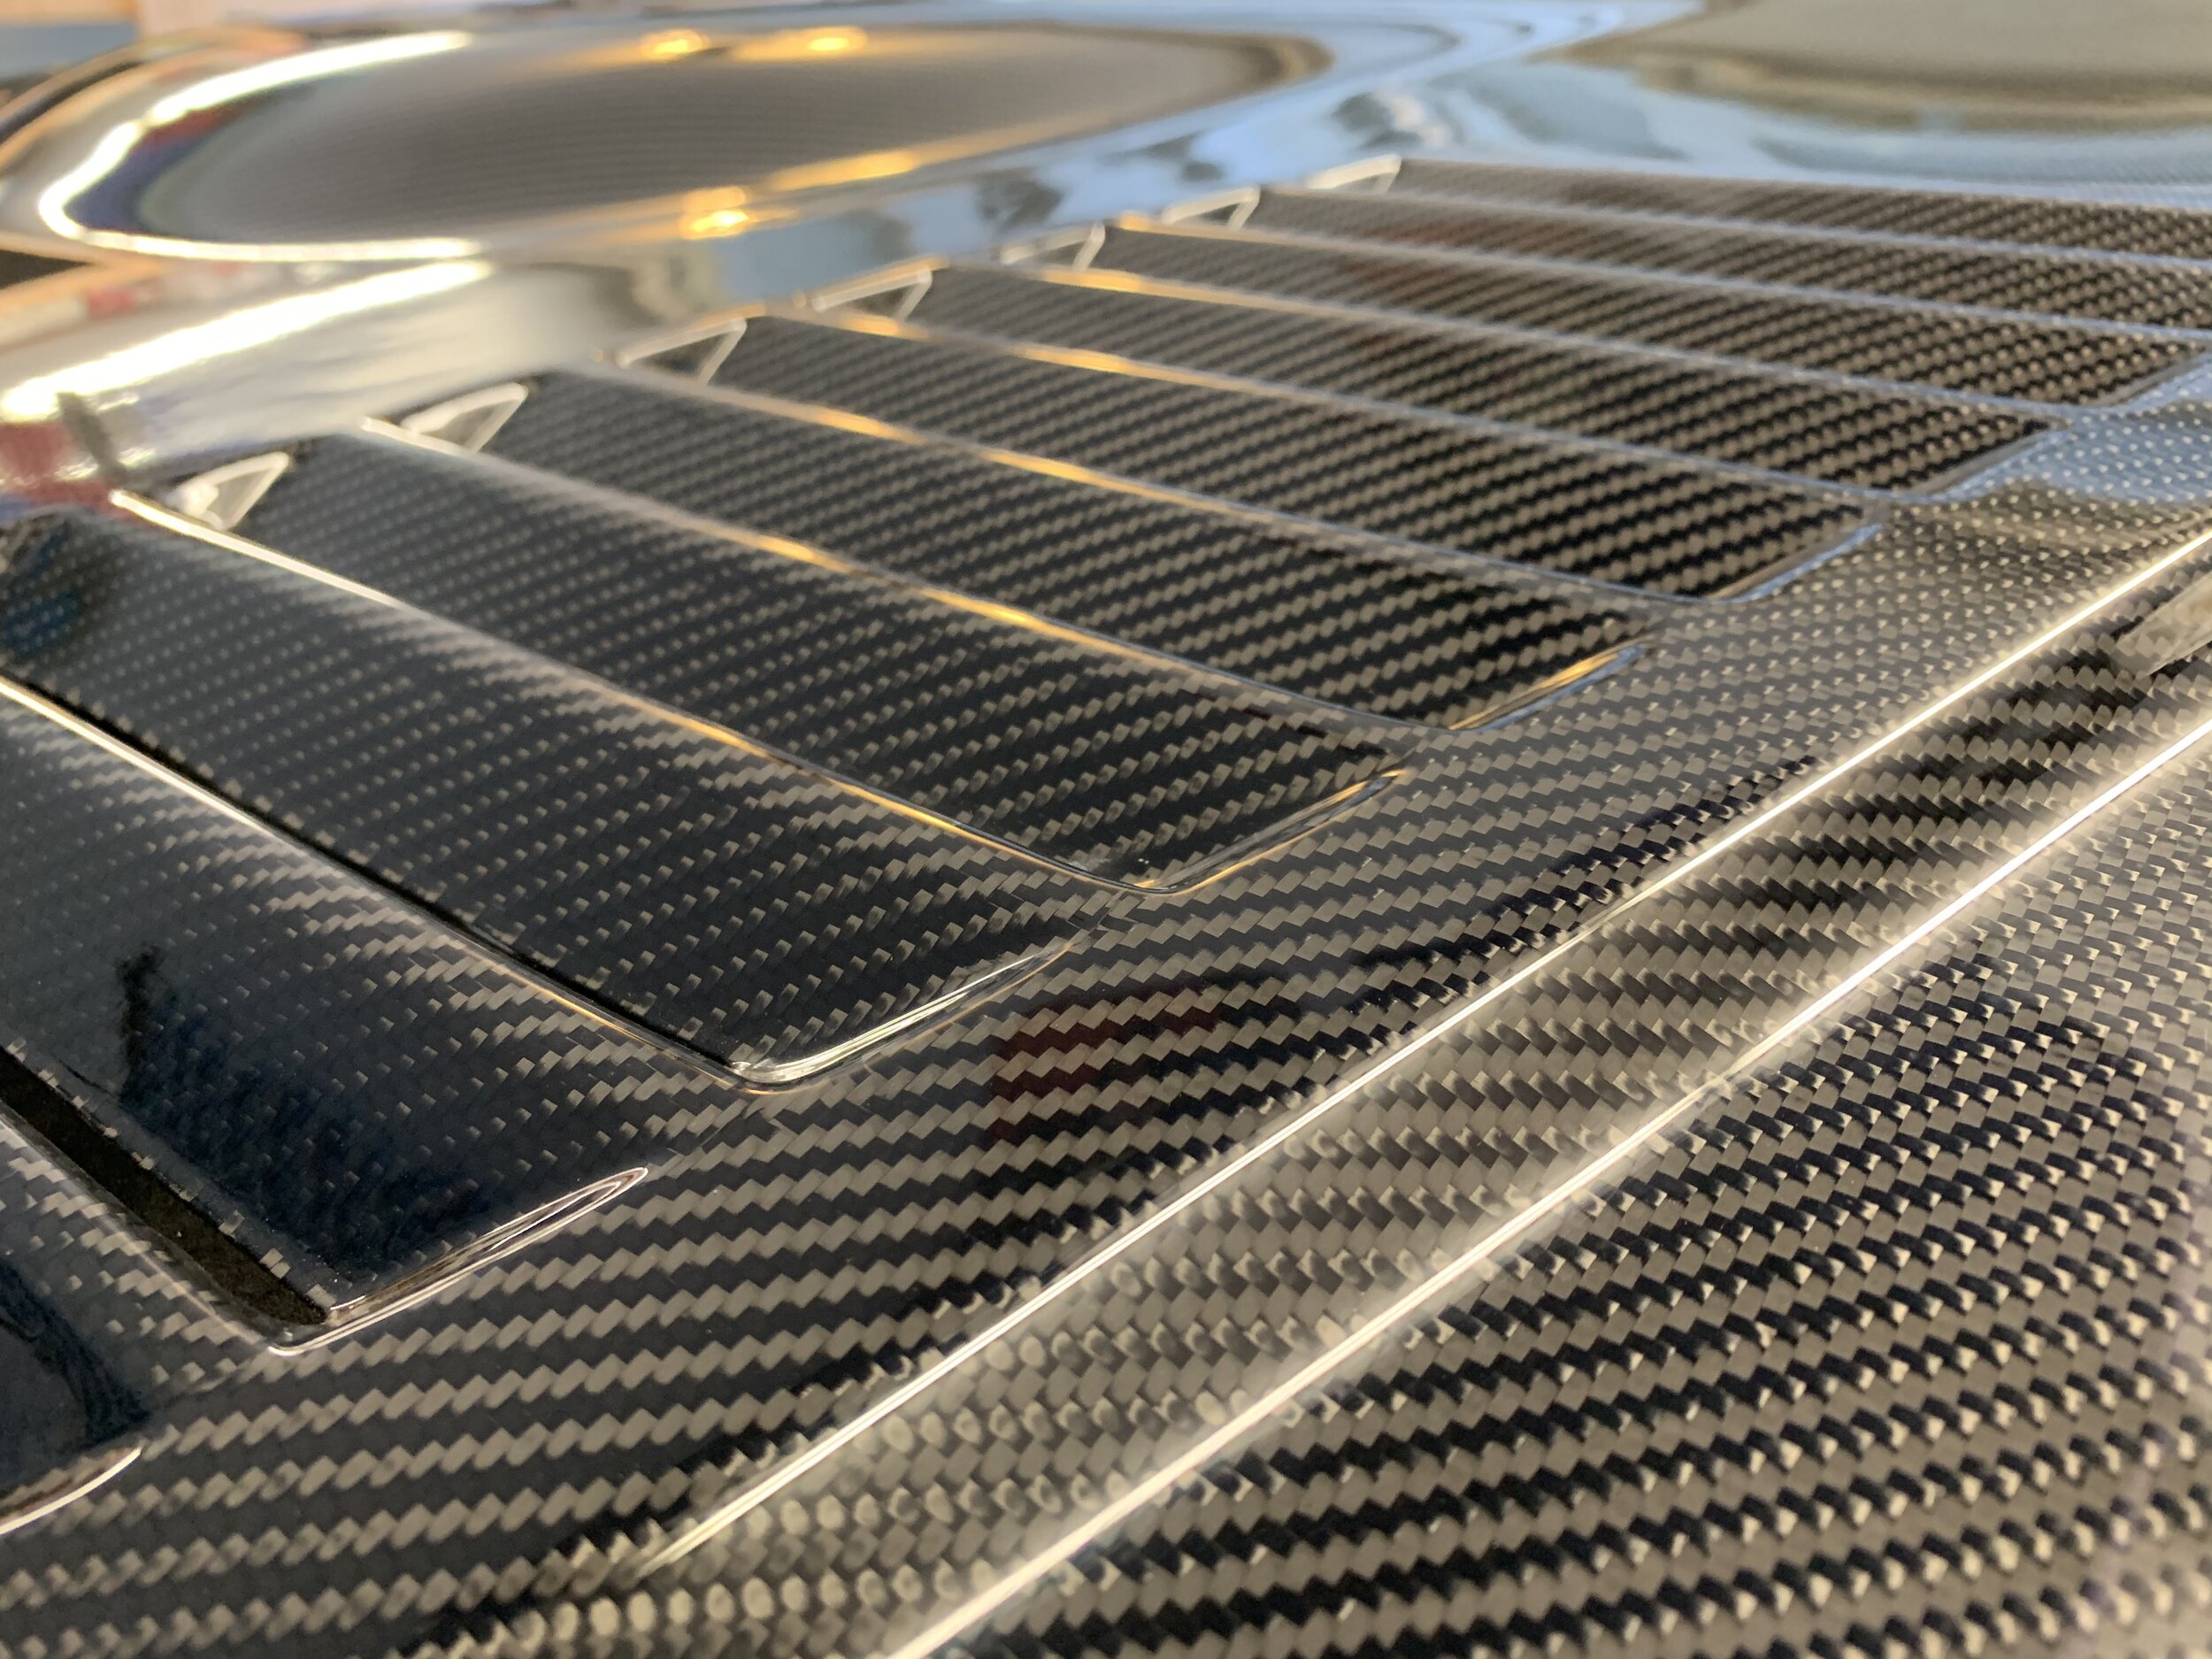
In the category of “more show than go” I wanted to paint my Agency Power carbon fiber vented hood in OEM alpine white. The carbon fiber is a nice look but a little too Tokyo Drift for me. So I took my hood to a local paint shop and I had them paint the hood except for the vents which I kept in exposed carbon fiber. I have been letting the paint fully cure before getting it wrapped in clear Xpel to protect the paint from the track marbles. The hood now looks like it came from the factory as a GTR option. Its a nice throwback to the E36 and E46 M3 GTRs of past.

2020 SVMC Cars and Coffee Calendar

As most of you know I take off the winter from motorsports to focus on the holidays, skiing, and snowboarding. This also allows all of us to get our cars ready for the new season. So I hope you are finishing up your restorations, modifications, and detailing as the club is eager to see your beauty at the next Cars and Coffee come the spring. Speaking of the spring events…..I have posted the 2020 SVMC Cars and Coffee event schedule on our calendar page. So check it out and save the dates.

I have been asked what I am doing with the SVMC M2 during the winter break…..well that car is completely dialed in at this point. My latest tweaks increased grip, lowered engine temp, and gave it some more bling with a new hood. I am now focused on replacing the AIM data logging system with a VBOX HD2 system. Other than that all I need to do is swap tires, get an alignment, flush the fluids, and hit the track.

See you in May.

SVMC member discount - Apex Pro track coach

I have worked with Apex Pro to bring SVMC members a great discount on the Apex Pro system. Discount info is below but first let’s talk about what Apex Pro is…..

I have used this for over a year and love it. This device and smartphone app can not only be a great and simple way to get your lap times, but the real power in this setup is that it shows predictive grip compared to the amount of grip you are actually using in real-time! I don’t think there is another system that does this. So how this works is that you buy the Apex Pro device (a small bar with LED lights) that is packed with GPS, accelerometers, gyroscope, and a slick algo. It will then calculate (in real-time) the predictive grip your car has on that track at that spot at that moment and then show you with the LEDs how much of the grip you are effectively using. What you are not using is your room for improvement as a driver.

That device can (but it doesn’t have to be) paired with a smartphone app which is free. If you do pair it with a smartphone it will act as a dead simple lap timer for you with some pretty slick data logging and analysis tools. This is an inexpensive, wireless, way of getting some good data on how you are driving. You can go a step further and pair the Apex Pro and app with an OBDII adapter to then get even more measurements (car sensors) to analyze later. You can also use the smartphone app as an AUX display while you are driving.

What I love about this is that it is simple, wireless, inexpensive, and can be used as your only data logging system or as a separate system augmenting your AIM or VBOX or what ever pro data logging system you are using. The predictive grip compared to actual grip is a measurement those other systems generally don’t provide and certainly don’t provide it in real-time to the driver……as they are driving.

$30 off Apex’s OBDII Interface with the code “obdtester” - Purchase Now

So now that you are excited about getting an Apex Pro here is the discount. If you go to their website and put in the following code “obdtester” you will get $30 off Apex’s OBDII Interface. That OBDII can be used without the Apex Pro LED unit if you simply want sensor data but I would highly recommend getting the Apex Pro system with the OBDII adapter. The OBDII adapter is regularly $129 but if you use the SVMC code “obdtester” it will only cost $30.

The APEX Pro OBDII interface fits all OBDII compliant vehicles. Not only can you view real-time vehicle data in the OBDII Dashboard, diagnose check engine lights, and set 0-60 times, you can log all of the OBDII data for review. You can also use the new gear selector feature to show which gear you were using while on track.

The APEX Pro OBDII interface will log: Throttle Position (TPS), Engine RPM, Coolant Temperature, and MAP Pressure. OBDII channels do not include steering position or brake pedal pressure.

Check out this video for info on how to use the APEX Pro OBDII Interface.

If you want to learn more about the Apex Pro system visit their website here.

BMW M2 Build - Data Logging Setup

Not only do I love to modify a car simply to modify a car, but I love it when those mods actually make you go faster and become a better driver. Getting good (and easy) data logging in a track/race car is critical. There are many different options to choose from ranging from smartphone setups, to advanced amateur setups, all the way to pro level setups. To read about what data system I put into the SVMC M2 check out this blog posting.

But what I found out once I began using that setup was that I was getting some confusing data readouts. Getting bad data is worse than getting no data. So I once again reached out to my friends at Edge in Fremont and they hooked me up with their data guru Jeremiah Wennermark from Man & Machine Consulting. Very quickly Jeremiah found out that my config files for my AIM Solo 2 DL and Smartycam were not setup quite right. He was able to provide me new config files remotely and I was able to simply load them up.

Jeremiah and I also talked about how to get better data from the SVMC M2 which either means upgrading the AIM system or moving over to a Motec system. Both of those options will require a good amount of coin so for now I will use my AIM Solo 2 DL but I do agree a more flexible and powerful system is preferred. Jeremiah also offers track side analysis, remote analysis, and complete data logging car setups. If you are in the need to work with someone on getting the best data logging you can, or you simply want someone to help you understand what all those squiggly lines mean after your race…..reach out to Jeremiah at Man & Machine Consulting.

A bit more about Man & Machine Consulting:

We are proud to focus on the analysis and development of drivers, vehicles, processes, and teams across the motorsports spectrum. Our passion revolves around efficiently getting drivers and vehicles up to speed. We can support teams' with the most basic data acquisition and excel with professional motorsports' grade instrumentation and controls.

Our passion lies in objectivity, engineering, growth, and sharing all of the above with teams. We strive to elevate our clients' standards by sharing our passion and processes. Doing so allows them to continue to grow long after our contracts are complete. Many consultants hold their processes and information close to their chest thus hindering clients' long-term development. We take pride in supporting our clients, their vehicles, and their sponsoring partners. VISIT US

BMW M2 Build - Wheel and Tire Update

I have been asked what my current wheel and tire set up is on the SVMC M2. If you have been following the build you will notice that I started out with a square setup, but then I did go to a staggered setup for a while. While that allowed for a slightly wider tire in the rear I ended up going back to a square setup because I did run into some clearance issues when I went to a 285/305 setup.

I currently run Apex FL-5 ET40 18x10.5 satin black with Nitto NT-01 275x. This setup doesn’t require any fender rolling and it clears the Sparta big brake kit and KW clubsport suspension. Because the wheels are 10.5 yet the tires are 275/35/18 the tires are stretched a bit to give them a slightly larger contact patch. I have found this to be a great all round setup without compromising much of anything. The Nitto NT-01 give me about 20 heat cycles so about 4 full track days. They are my preferred track tires as they are very progressive, very grippy, and handle the heat cycles well. They are not the best for the street as they are loud and they are a bit slick for wet roads but given I am in CA I have no problem using them on the street simply to get to the track.

You got to love the simplicity of a square setup that just works.

BMW M2 Build - Fixing Track Failures

Contrary to what a Porsche owner says…..the BMW M2 is a great track car platform. Sure a GT3 or GT4 is more capable than any of BMW’s M line. But those Porsches cost significantly more (like 3-5 times more) than a stock M2/3/4. Even after you spend a ton of money turning an M2/3/4 into a track beast you are still in the hole less than a stock GT3 or GT4. Yes a Porsche will be faster, but speed and lap times are not always the main point of a car build. For some of us the main point is to simply have FUN and to create a one of a kind car. So if you are like me and you want a project car, but also want a great platform to work on, and you are on a budget, then the M2 might be a great option…..at least until you have a Porsche budget to play with :)

With that said, there are a couple things you will need to address on the M2 to make it a great track car that frankly are annoying oversights by BMW. The first, which is very well documented throughout the web, is the tendency for the M2 to go into limp mode on the track due to fuel starvation. While that is bad enough as is, what is worse is that you don’t know it is due to fuel starvation unless you have a code reader. This happens when you are pushing the car on the track under G load and the fuel tank is 1/2 full or less. What happens is the car will signal a drivetrain malfunction and immediately put you into a 35 mph limp mode…..not awesome. Fortunately the fix is easy and cheap. All you need is Dinan’s Fuel Upgrade Kit.

Another annoying mod you need to make on the M2 for the track is to either turn off all the nannies or code in new settings for the nannies so you have more control of the car. The US MDM settings are a joke. The Euro MDM settings are better, but the best for the track are the M4 GTS MDM settings. You can also use the M4 GTS settings for steering, the differential, and the transmission (DCT). To learn more about how I coded these into the SVMC M2 check out this post.

Other than those obnoxious, yet required, mods you enter the normal mods like wider wheels and tires, better brakes, better suspension, and more power. In case you are wondering what order of mods you should do I would suggest tires, brakes, suspension, codes/tunes, and then power. No need to have more power if you can’t do anything with it. If you are wondering what the priority is for the safety mods (cage, seats, belts, fire suppression, etc) my philosophy is that once you get out of the “A” run group and are driving solo then you should begin creating a plan for your car and start increasing safety along the way. Safety mods should never be overlooked and as you get faster your budget should shift from fun stuff to safe stuff.

One last comment about BMW’s for the track. If you are working with a modern BMW (anything after the e46 M3) weight is an issue. There is only so much weight you can strip out of a modern BMW, but you can say that about most modern cars due to safety standards.

UPDATE 11/12:

I took out the SVMC M2 to test out the Dinan upgraded fuel pump kit and it worked perfect. Before this upgrade I would go into limp mode if I let the fuel get to 1/2 a tank due to fuel starvation. With the upgrade kit I am able to take my tank all the way to empty without going into fuel starvation. I know this because yesterday at Sonoma after lunch I forgot to refuel and in my 4th session out I drained my tank to near empty without ever going into limp mode. The Dinan fuel pump kit is a must buy for any M2 that is going to see track duty.

BMW M2 Build - More Coding / Tuning

I have already done some coding and tuning but I did not go very extreme right away as I wanted to see how the car performed closer to stock. Now that I have done a handful of track days in this car I decided to code/tune a few more things. Here is what I had previously done:

Engine Tune

Coding

The Euro MDM was a huge improvement over the US MDM. The Euro settings are far less restrictive for aggressive street driving but still not great for the track. If you are just starting out on the track the Euro MDM settings might be perfect, but as you pick up speed on the track and start to push the car you will find the Euro MDM settings still a bit too aggressive on the exit of the turns. I track my car in Sport+ mode which still allows some nannies to take over at times. This is not ideal, and frankly I need to simply turn all the nannies off on the track, but if you still want to hold onto some form of a safety net the Sport+ mode is pretty good.

The best way to keep some nannies but to have the car set up for the track is to code in the M4 GTS settings for MDM, steering, differential, and the DCT. You can have an outfit like CodeMyCar do this for you remotely by hooking up a laptop to your OBDII…..or you can do it yourself if you use something like Thor - The M Flasher. Thor uses an OBDII bluetooth adapter and a smartphone app so that you can change the settings between stock, aggressive street, and track. This method costs a bit more than the usual remote coders but I like that I can do it myself at any time without needing to schedule an appointment. This also allows you to switch back and forth between settings with a quick (10-15 minute) code refresh. So at the moment I have changed out the Euro MDM for the GTS MDM along with the GTS settings for steering, diff, and the DCT. Now it is time to go test out the new settings (off to Sonoma Raceway).

UPDATE 11/12:

Yesterday I was out at Sonoma shaking down the SVMC M2. I was running with the M4 GTS mappings and I have to say they are nice. I honestly can’t say I noticed a huge difference between those mappings and the Euro mappings but my impression is that in Sport+ (most traction control turned off) the car slipped when it should, didn’t slip when it shouldn’t, shifted fast, and handled well. So if you are looking for the most aggressive settings for the track I would recommend the M4 GTS mappings. One down side to Thor’s M Flasher…..when I flashed the M4 GTS mappings it re-enabled my previous TPMS delete. So that makes the entire day I had my TPMS alarm going off but it did not impact the car. Now I have to work with Code My Car again to get the TPMS disabled again.

SVMC New Club Gear is Here

New club gear arrived today featuring the new logo and colors. Check out our gear page to see three new shirts, a sweatshirt, and stickers. In a few weeks we will have two new hats and a patch available as well. Show your support for the club and buy some gear today.

BMW M2 Build - Carbon Fiber Vented Hood

As you can tell I have tried very hard to get the SVMC M2 to look and perform like a GTS, just in M2 form. The meaningful mods have all been performance oriented, but I have done some cosmetic mods along the way to achieve the right look. Most of the time I don’t have heat issues with the M2 but every now and then I will get an error message. It has never gone into limp mode but those error messages are annoying nonetheless.

So I started to look around at heat management solutions which got me thinking of getting a larger intercooler, radiator, oil cooler, and DCT cooler. I have that all picked out but have decided to wait a bit before doing that project as the cost gets up there pretty quick. Seems like a great winter project to keep me busy.

Another option for heat management is a vented hood. While this usually doesn’t “solve” a heat issue it can help increase air flow to the engine bay as well as let the heat dissipate better. I had looked at just buying vents and cutting into the stock hood but that is involved, runs some risk of it not looking clean, and does not have other benefits like cutting down on weight. So I looked for carbon fiber vented hoods for the M2 similar to the ones found on e36 or e46 GTRs. There are a few options out there but most try to mimic an M4 GTS hood which has a power dome + 1 small vent. It looks decent but the vent is so small I doubt it will do much (if anything) for heat management. So I went with the Agency Power Carbon Fiber Dual Sided Vented Hood. It has three good sized vents, full carbon fiber, plus a power dome for some M3/4 style. The fit and finish is very good with only modest gaps along the body seams. The vents are the largest I have found for the M2 and there is the added benefit of some weight savings compared to the stock metal hood.

The plan is to paint the hood in OEM Alpine White but to leave the vents in gloss black carbon fiber. Once that paint job has fully cured for a few weeks I will wrap the hood in Xpel to protect it from the abuse of the track. So far I am very happy but I won’t know if it actually helps with heat management until I get back out on the track and do some sessions and compare my heat measurements. Stay tuned for details.