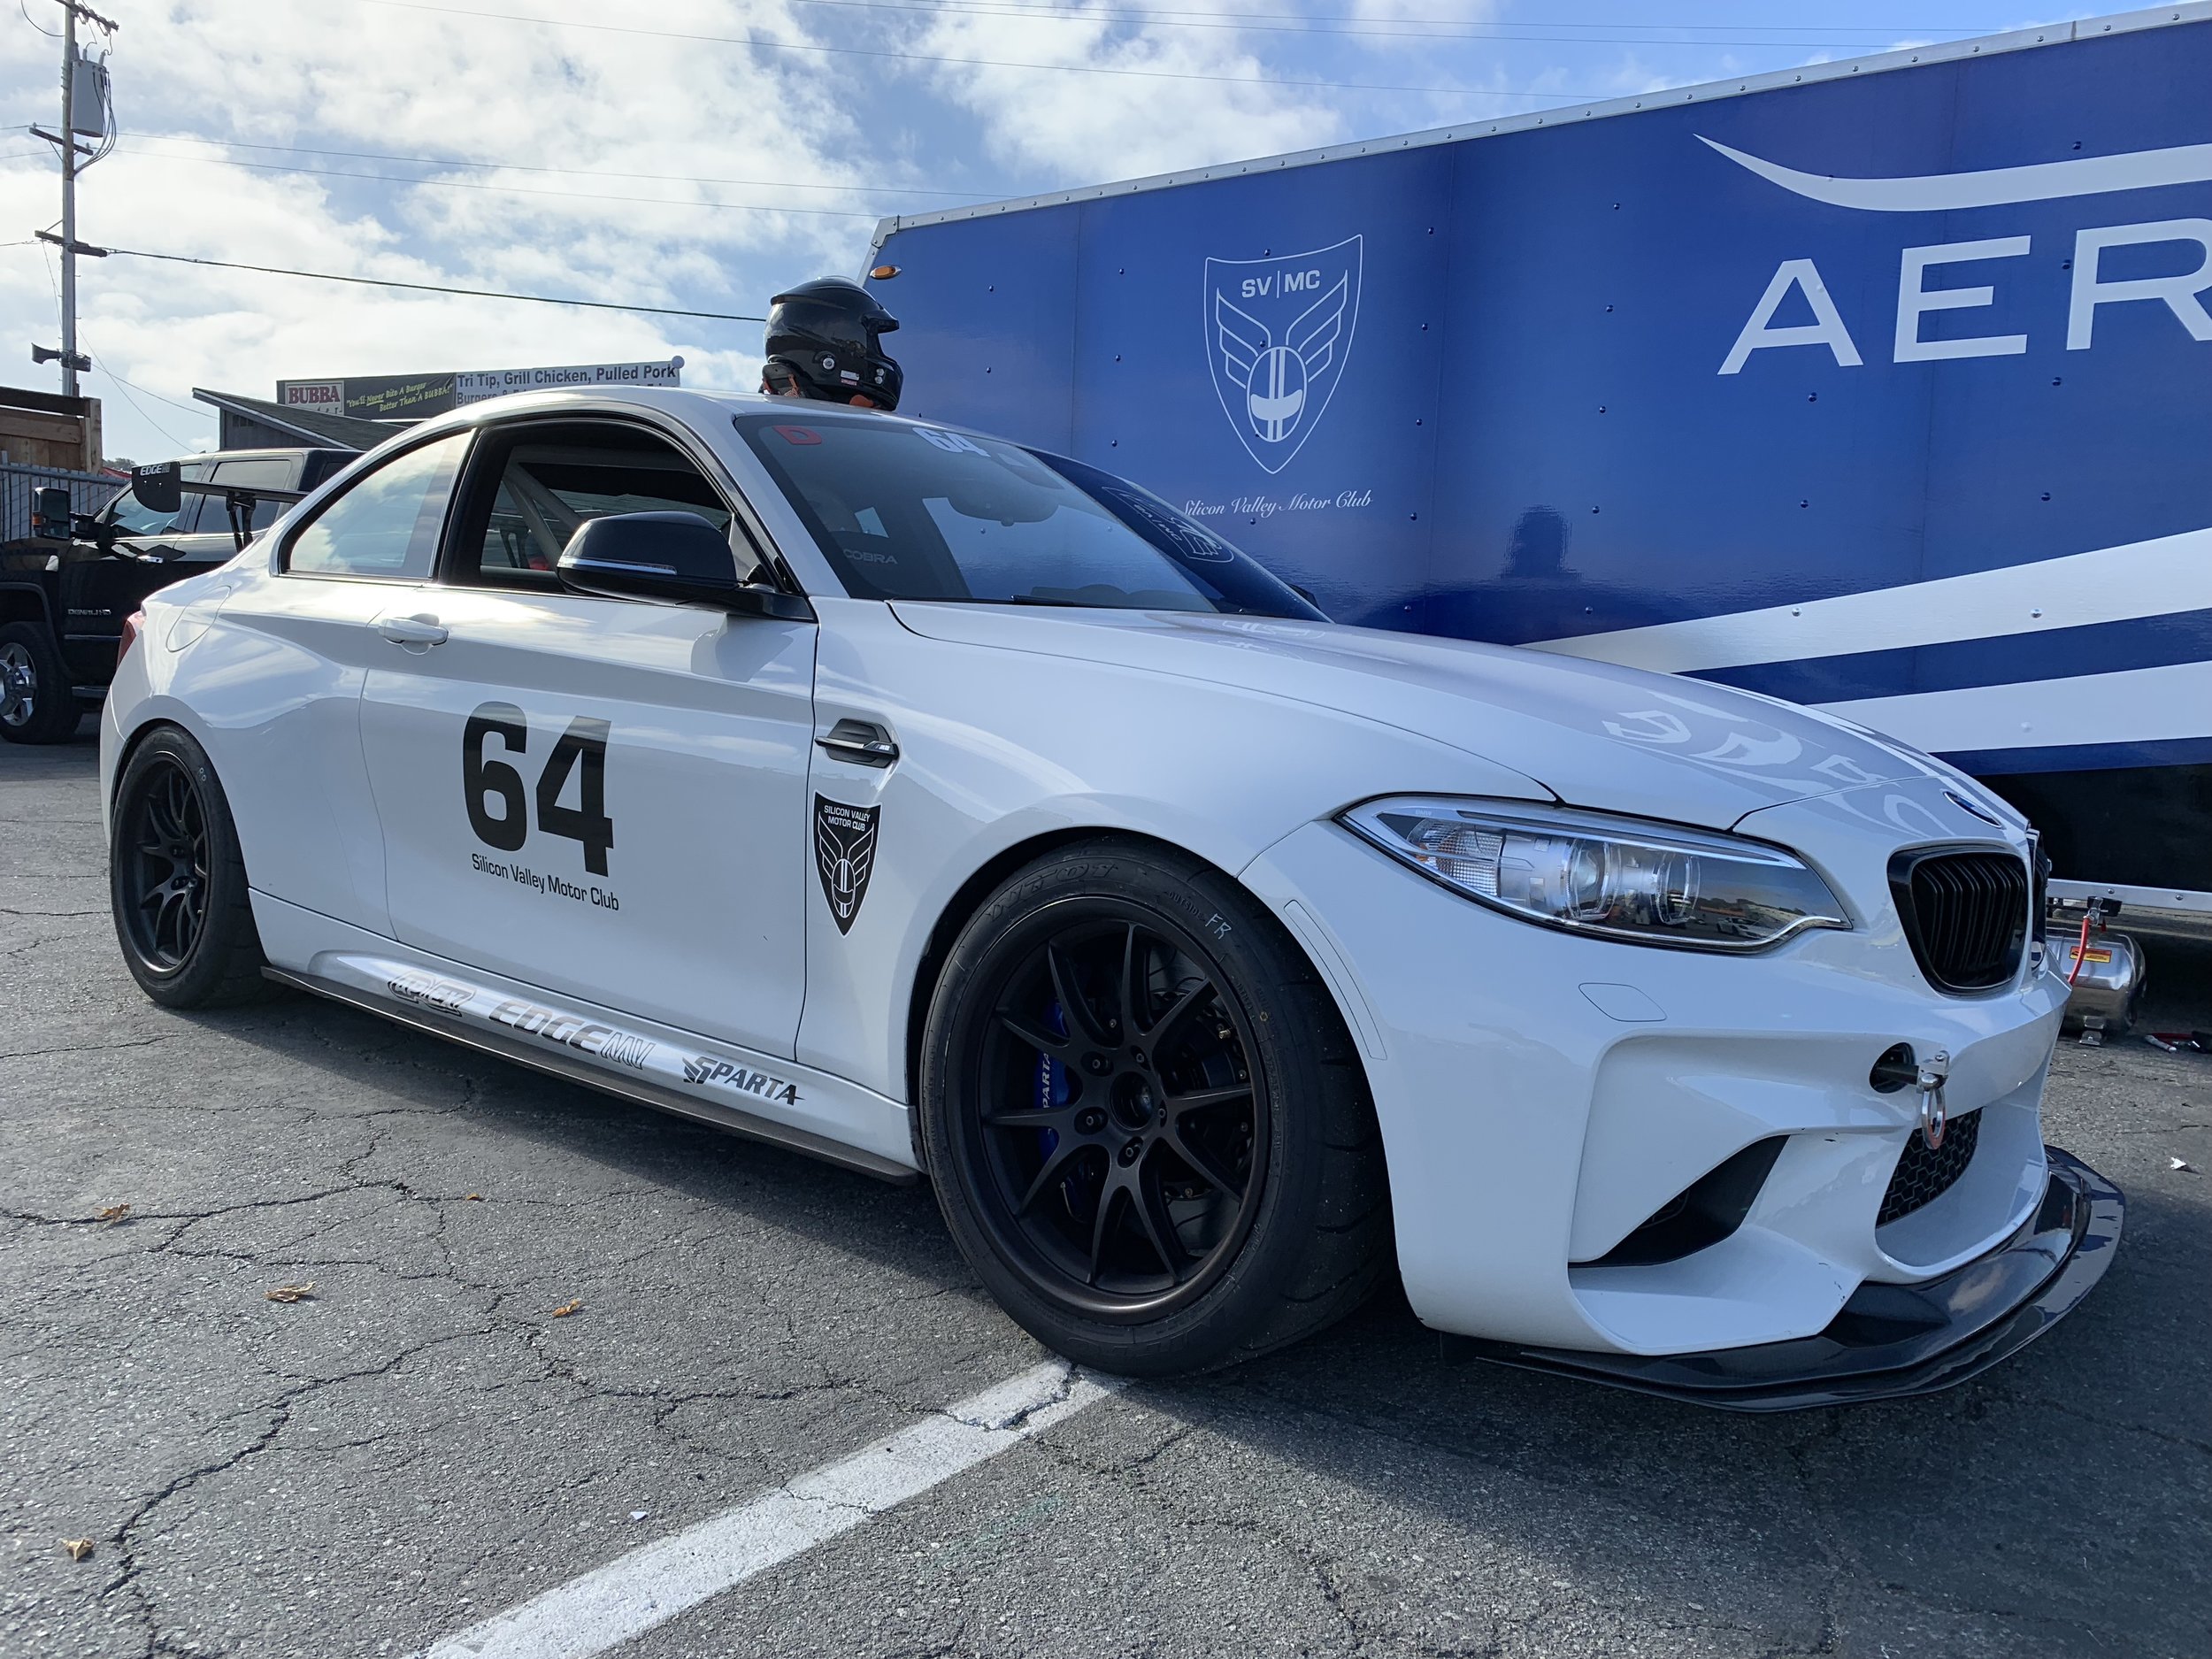
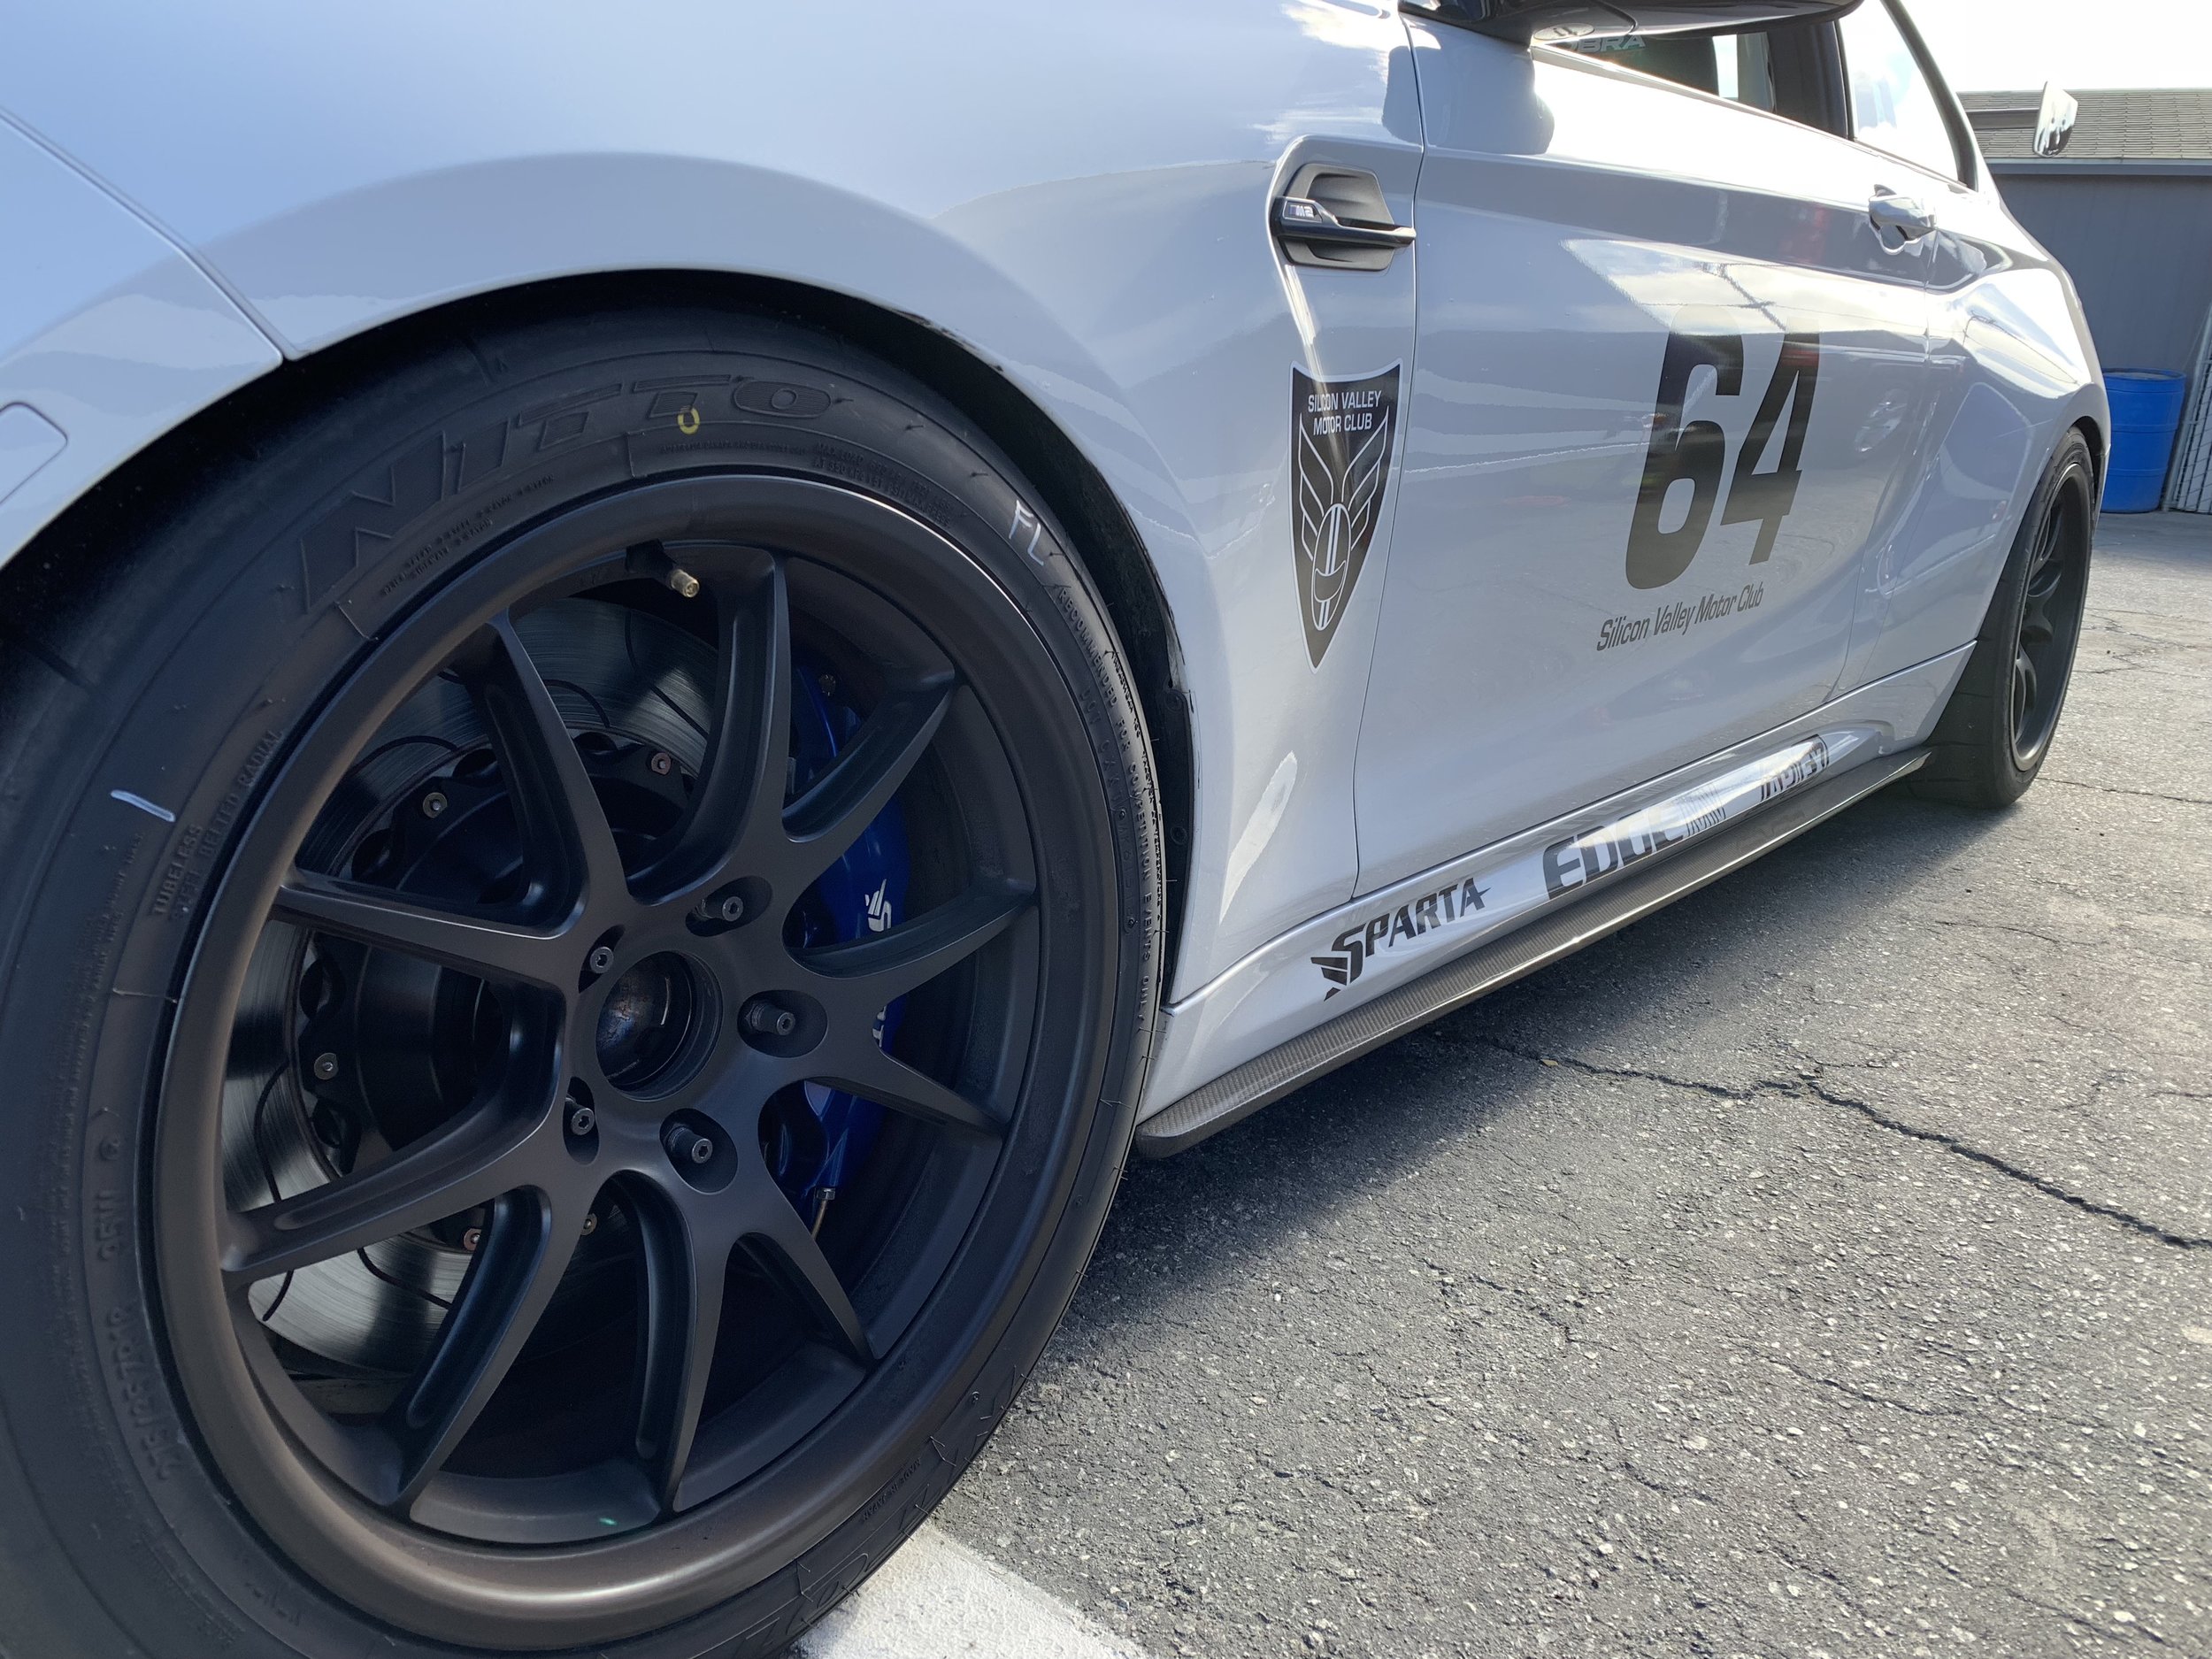
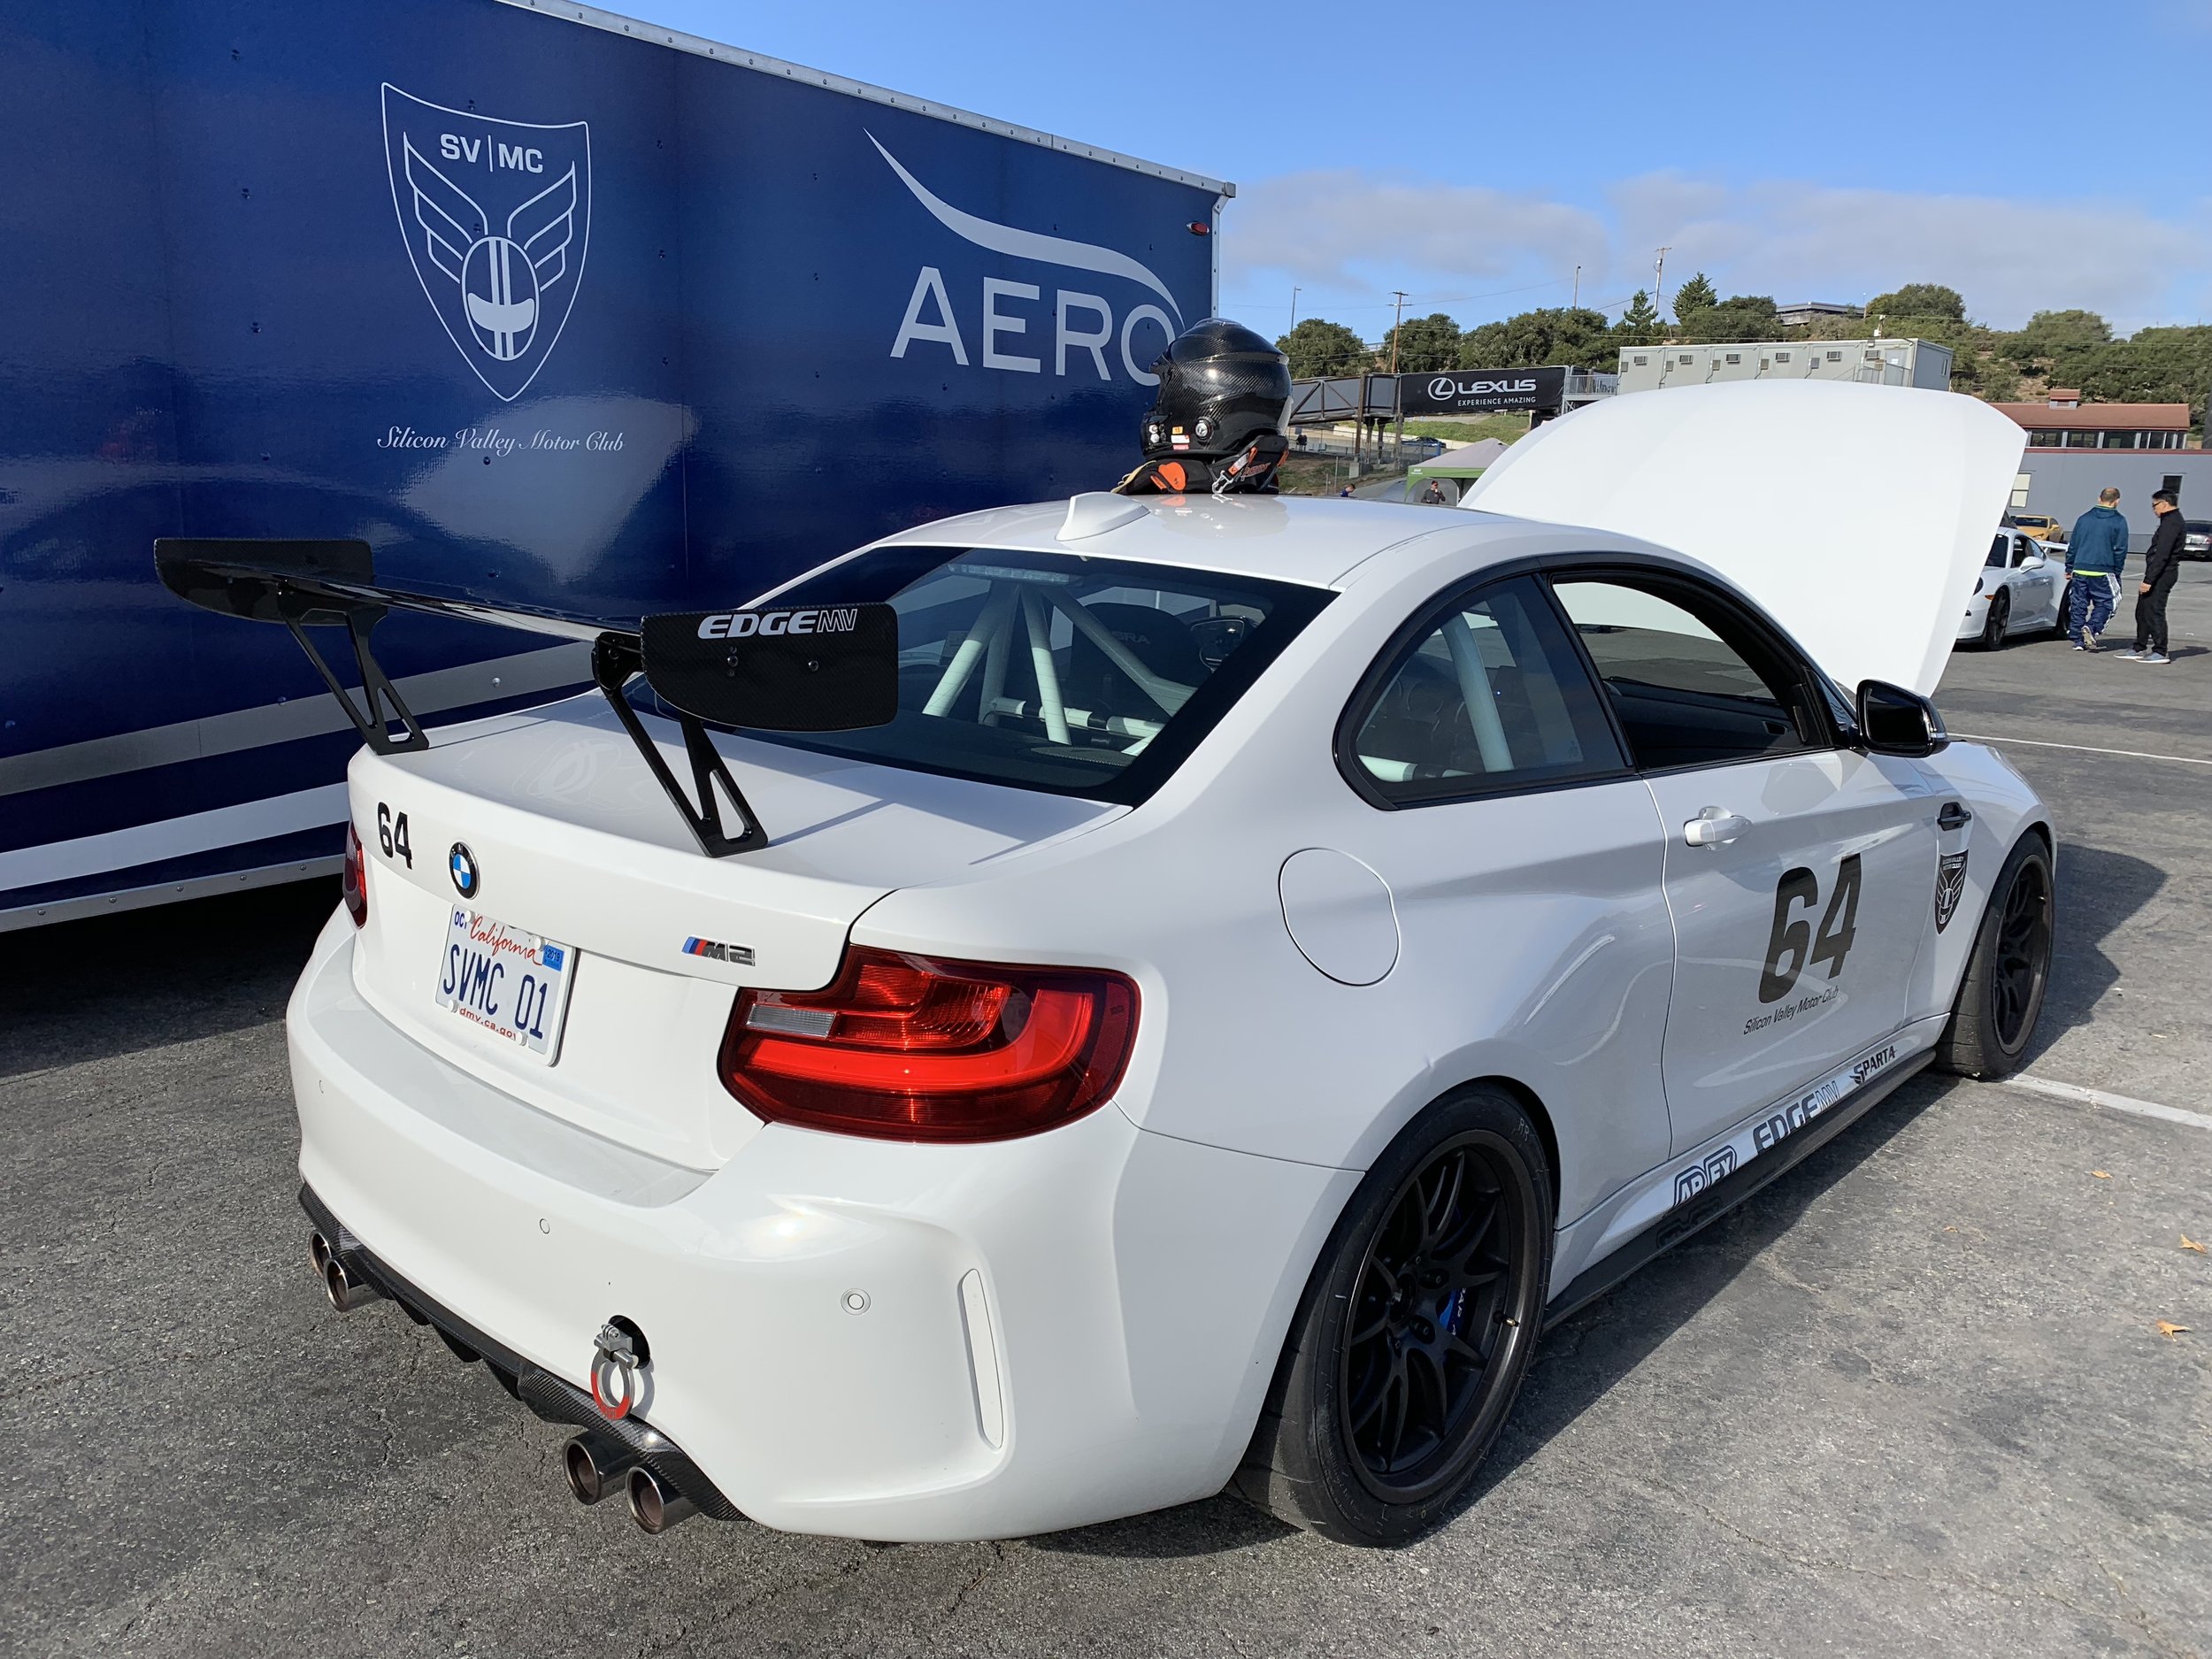
While our shield logo is great, it is hard to work with at times given the shape. So I decided to post an online design contest to see what other logo ideas the community could come up with. I uploaded some ideas and gave some general direction which resulted in us receiving over 250 design ideas. Here is the one we picked (in a few different colors). You will see this roll out across our website and social media in the coming weeks. We will also create some new gear using this logo. If you love the shield, don’t worry. We will keep the shield around for certain purposes.
SVMC M2 Turner Motorsports Article
I love it when my SVMC M2 project gains any level of notice. While I have done this project for myself it is always nice to have your work appreciated. Back in November 2018 Turner Motorsports reached out to me about doing an article on the M2 for their newsletter. Turner is a great company so I was more than eager to help out. A lot has changed on the M2 since that article but I wanted to share the article link nonetheless. Here is a link to the article.
SVMC showing support for FemPowered
As you can read from SVMC’s vision below I created this club with the idea that motor enthusiasts should simply get together and not get hung up on gender, age, brands, or specific events.
I am happy to say that SVMC has a handful of women members which I am very proud of, but at the same time surprised there are not more. While I understand motorsports might attract more men than women in general, I have seen plenty of women at various car and bike events. That leads me to think that there is interest from women but there must also be barriers.
FemPowered is a new organization that is focused on breaking those barriers to create a welcoming environment for women to express their inner motor head. The founders of FemPowered (Nancy, Erika, and Rhoda) have just begun the journey to help women get more connected around motorsports and SVMC is happy to support their effort. I hope to do more things with FemPowered over the coming years because what they are doing should be supported by all of us.
Here is more about FemPowered:
FemPowered was born out of a wish. A group of women who each were involved in motorsports in their own way but wished there was a community to meet others like them. So over mimosas one summer day, FemPowered was born.
Our goal is to create the women’s motorsport community that we were looking for. A place for all women, from the diehard weekend track warrior to the casually interested fledgling. A place to meet others like them, to learn from others, and most importantly, a place where we belong and are not alone.
Each of us realized how lucky we were to have either grown up around motorsports or had the support structure in place to start our journey. But many women are not so lucky. For these women, FemPowered will be there for them. We will guide them, support them, and show them the path. And when they are ready to make their own path, we will still be there.
BMW M2 Build - Data and Video System
All respectable track cars need a data and video system of some kind to see where you can improve. In my case I need all the coaching I can get. There are plenty of systems out there to choose from. You have the inexpensive iPhone + app setup. The slightly more expensive iPhone + app + GoPro system. The expensive dedicated data and video system that tap into the ECU and receive a multitude of data channels and then overlays that data onto track video. And finally, the pro custom systems that monitor every aspect of the car and streams that data back to the pit crew for real time analysis.
On any given track day the dominant system (by far) is the iPhone + app + GoPro. I started with this system years ago and it is great for the price. You have apps like Harry’s Lap Timer that do a terrific job at capturing some data channels and video and putting it all together for engaging video footage. The only issue is that you can’t do deep analysis on the data or easily compare the data from a reference lap to the rest of your laps. Also you end up with gear all over the windshield (iPhone + GoPro + cables). There is a practical problem with all that gear stuck to your windshield or dash besides visibility……and that is “when” it falls off it may fall into the driver’s footwell and obstruct the pedals. Having something fall by your feet as you are dive bombing into a turn is not a great feeling. The other thing that bothered me with the iPhone setups was the constant management I had to do with the gear. Turn this on, check that, recharge this. All of that time and attention took away from enjoying the day and focusing on driving.
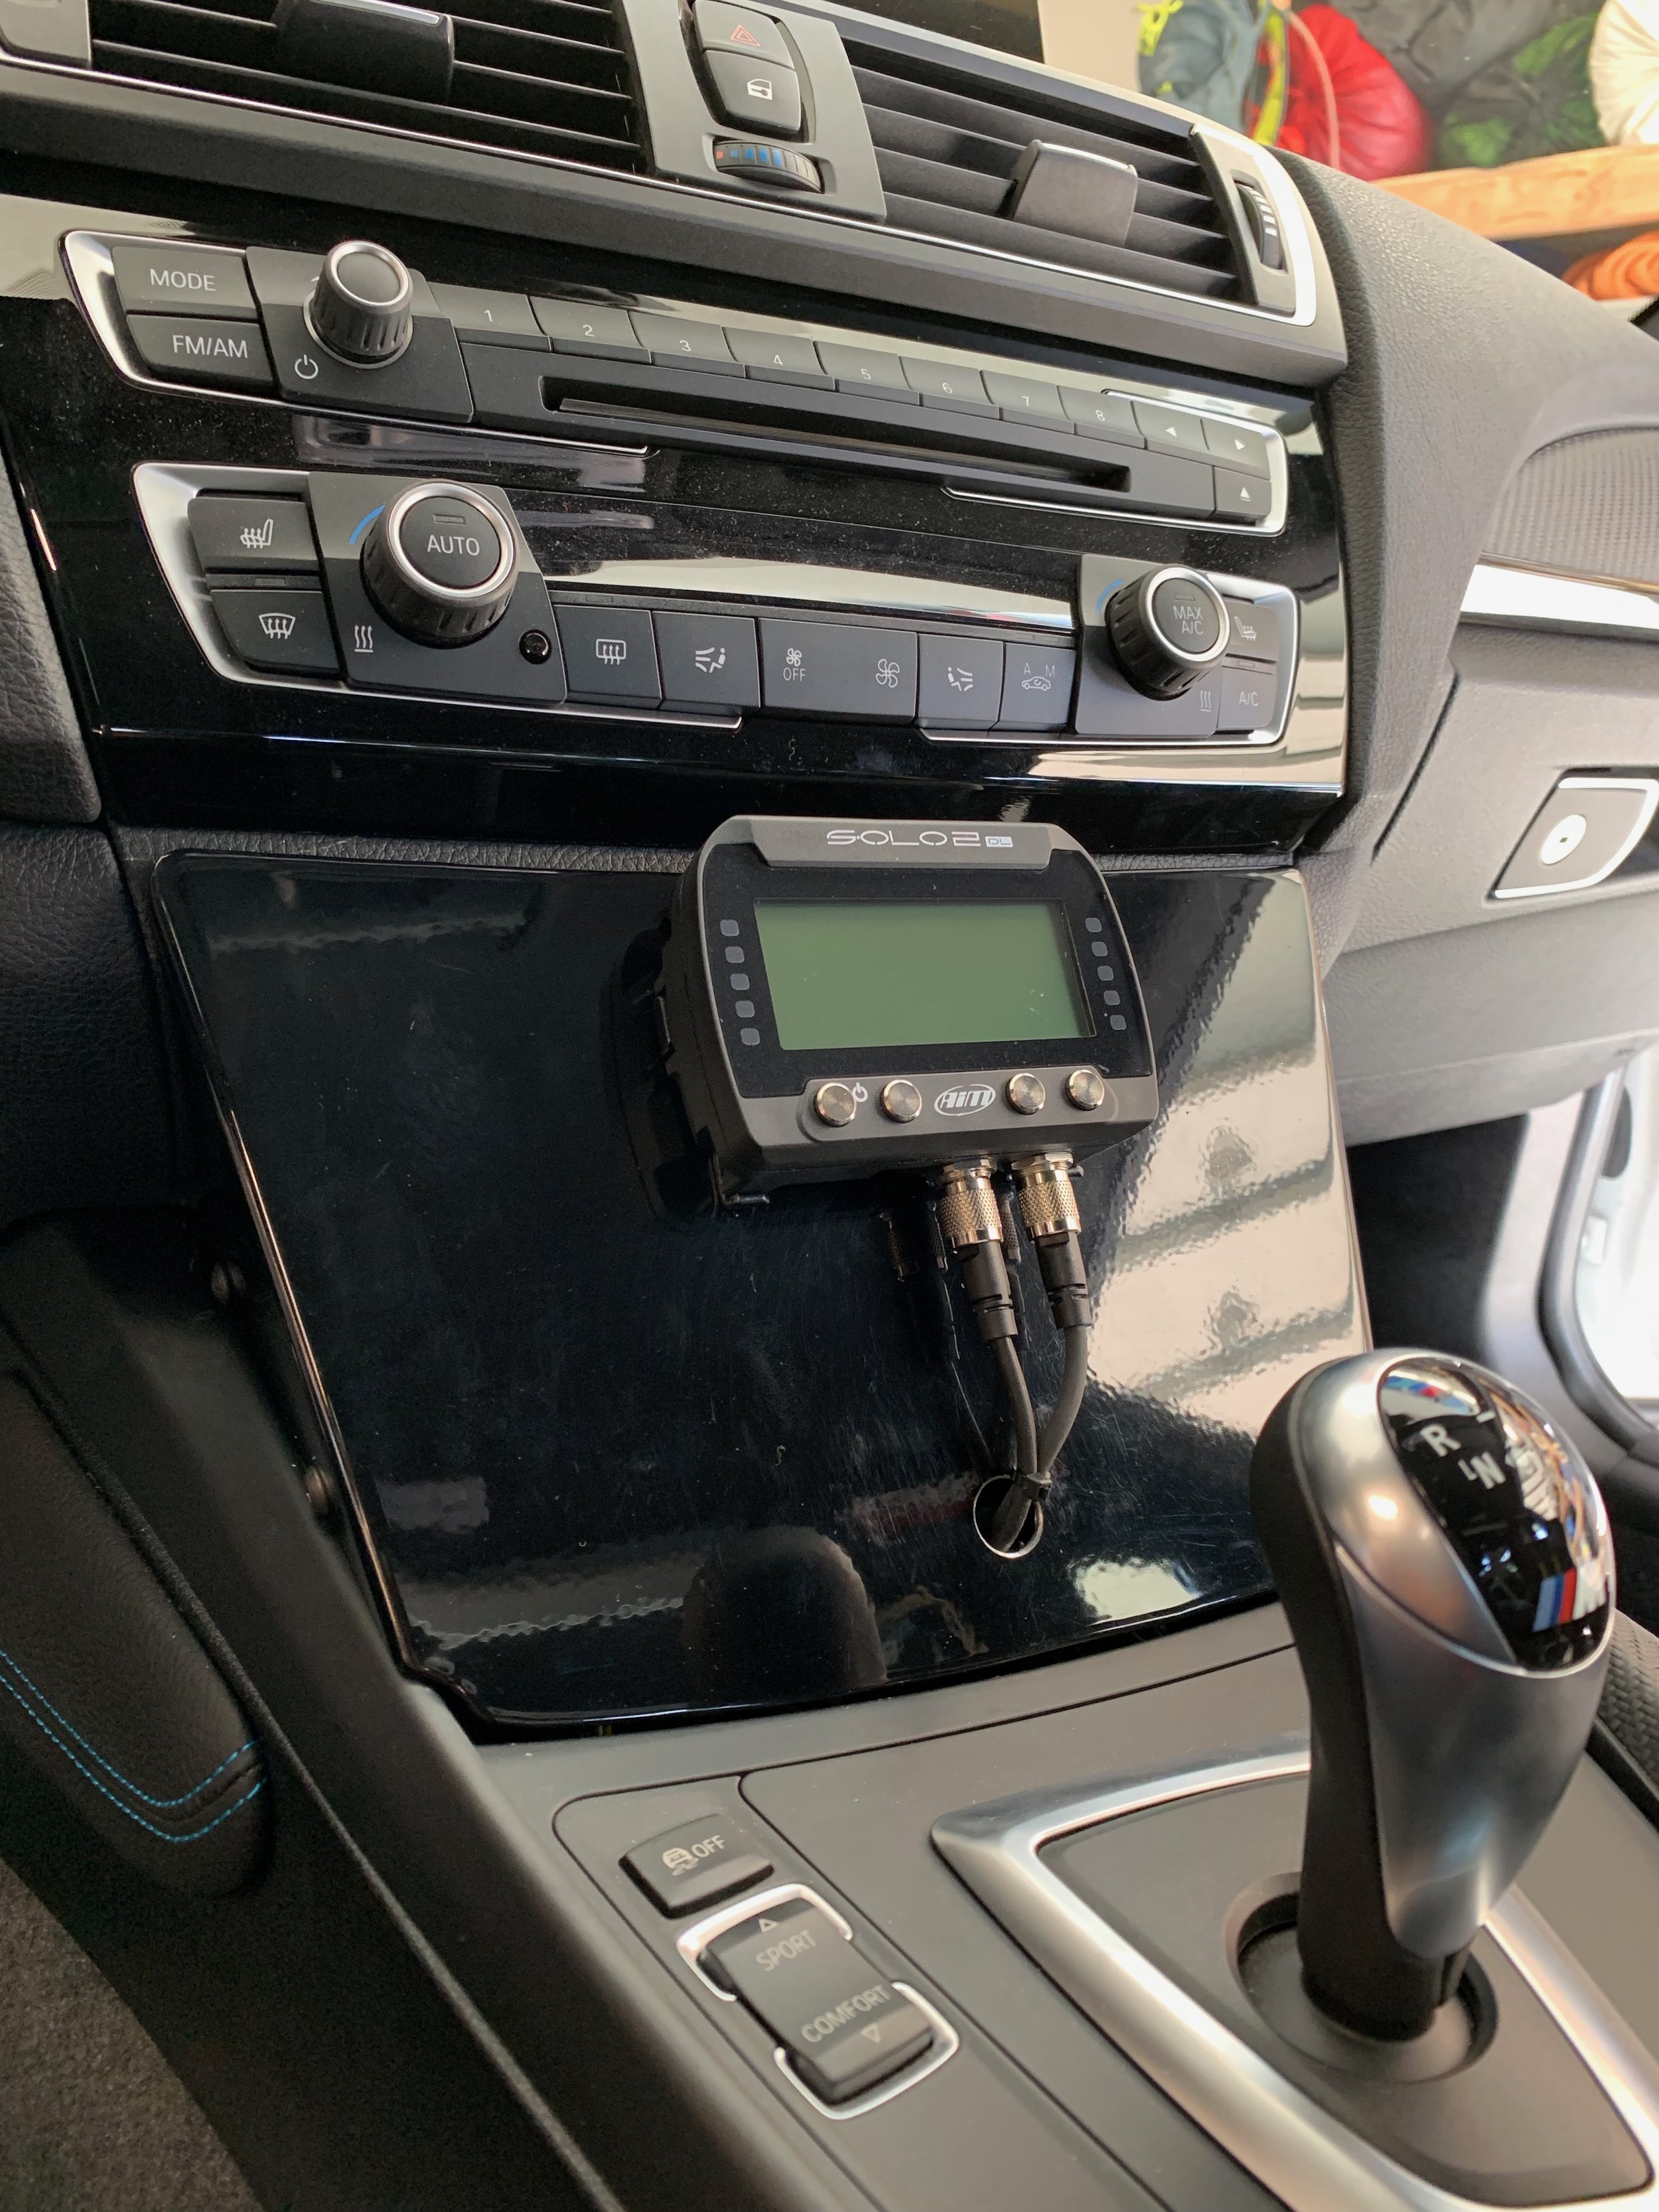
So years ago I switched to an AIM system. My original system was a Solo DL + Smartycam. A system like this is more streamlined, is automated (turns on and records and shuts off all based on you starting and finishing a session), and since it is a dedicated system it is more feature rich. The downside….price. These systems can add up quickly but if you are on the track enough they are worth it. About 1-2 years ago AIM updated their lineup and came out with the Solo 2 DL and Smartycam GP HD 2 which is the system I picked for the SVMC M2. It taps into the ECU, has GPS, draws power from the car, overlays the data onto the video in real time, and has a powerful (albeit cumbersome) computer application to store and analyze all your data. The Solo 2 DL even has wifi connectivity to pass all the data (not video) to your track side laptop.
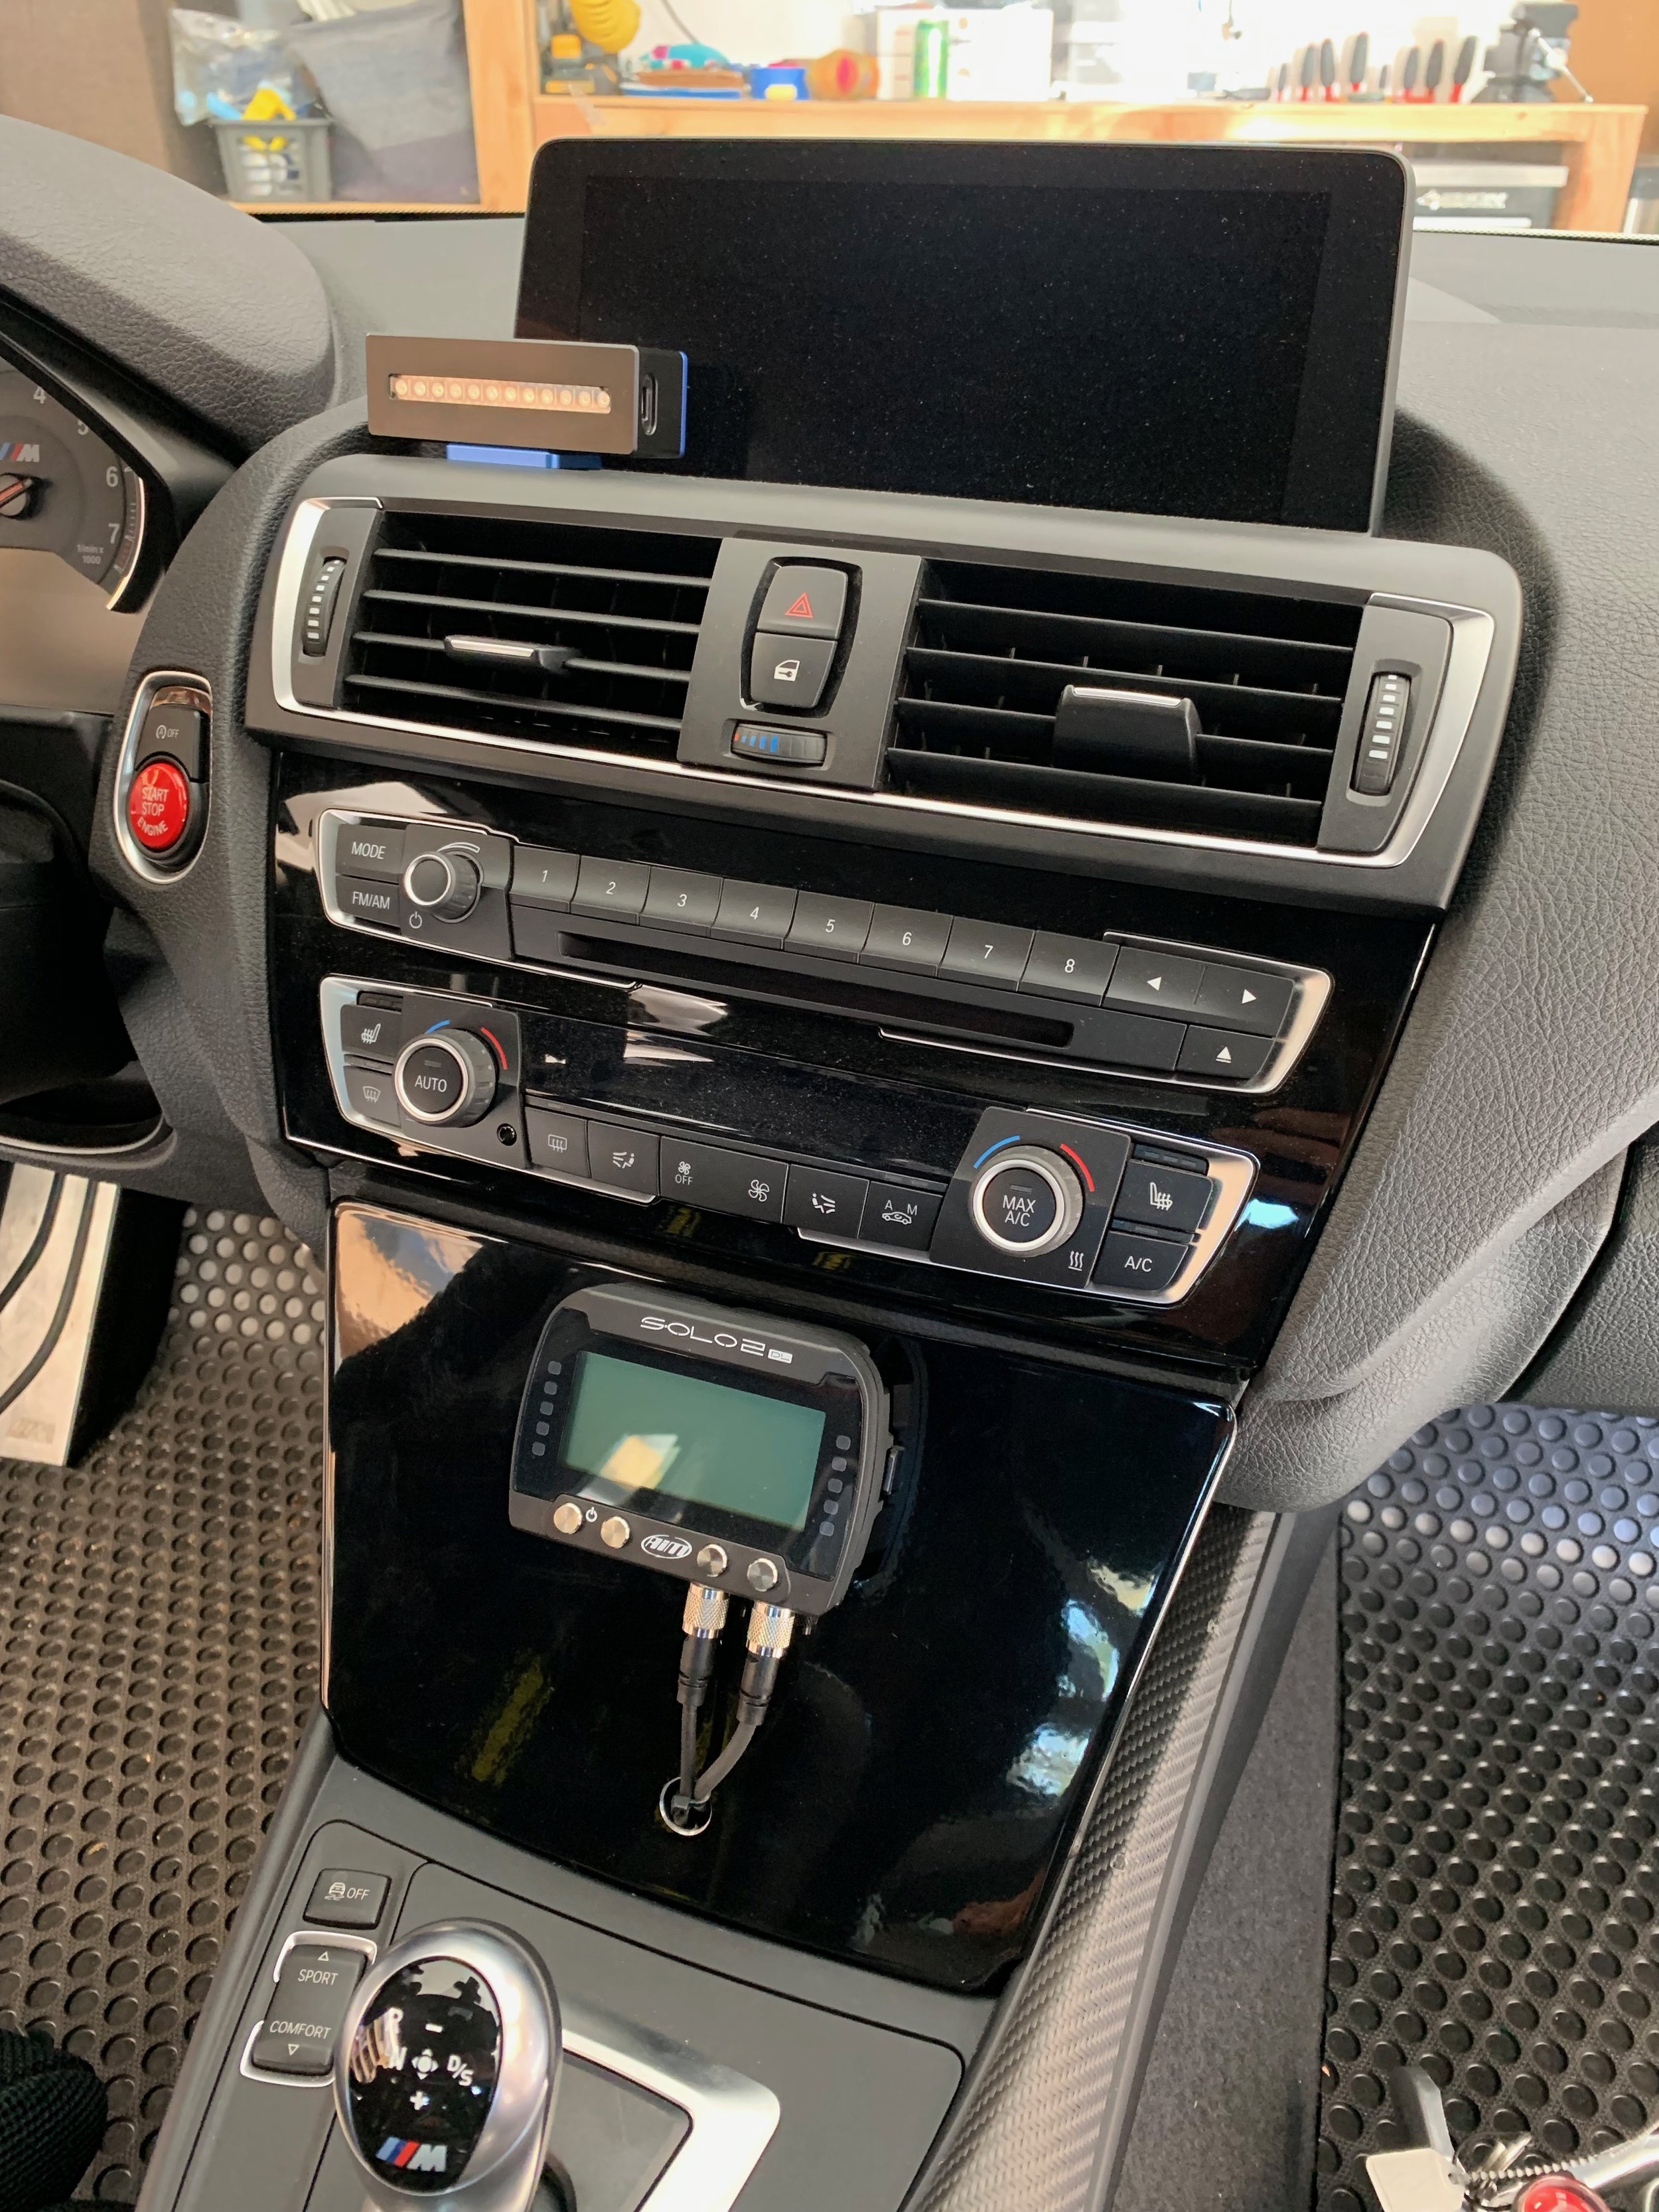
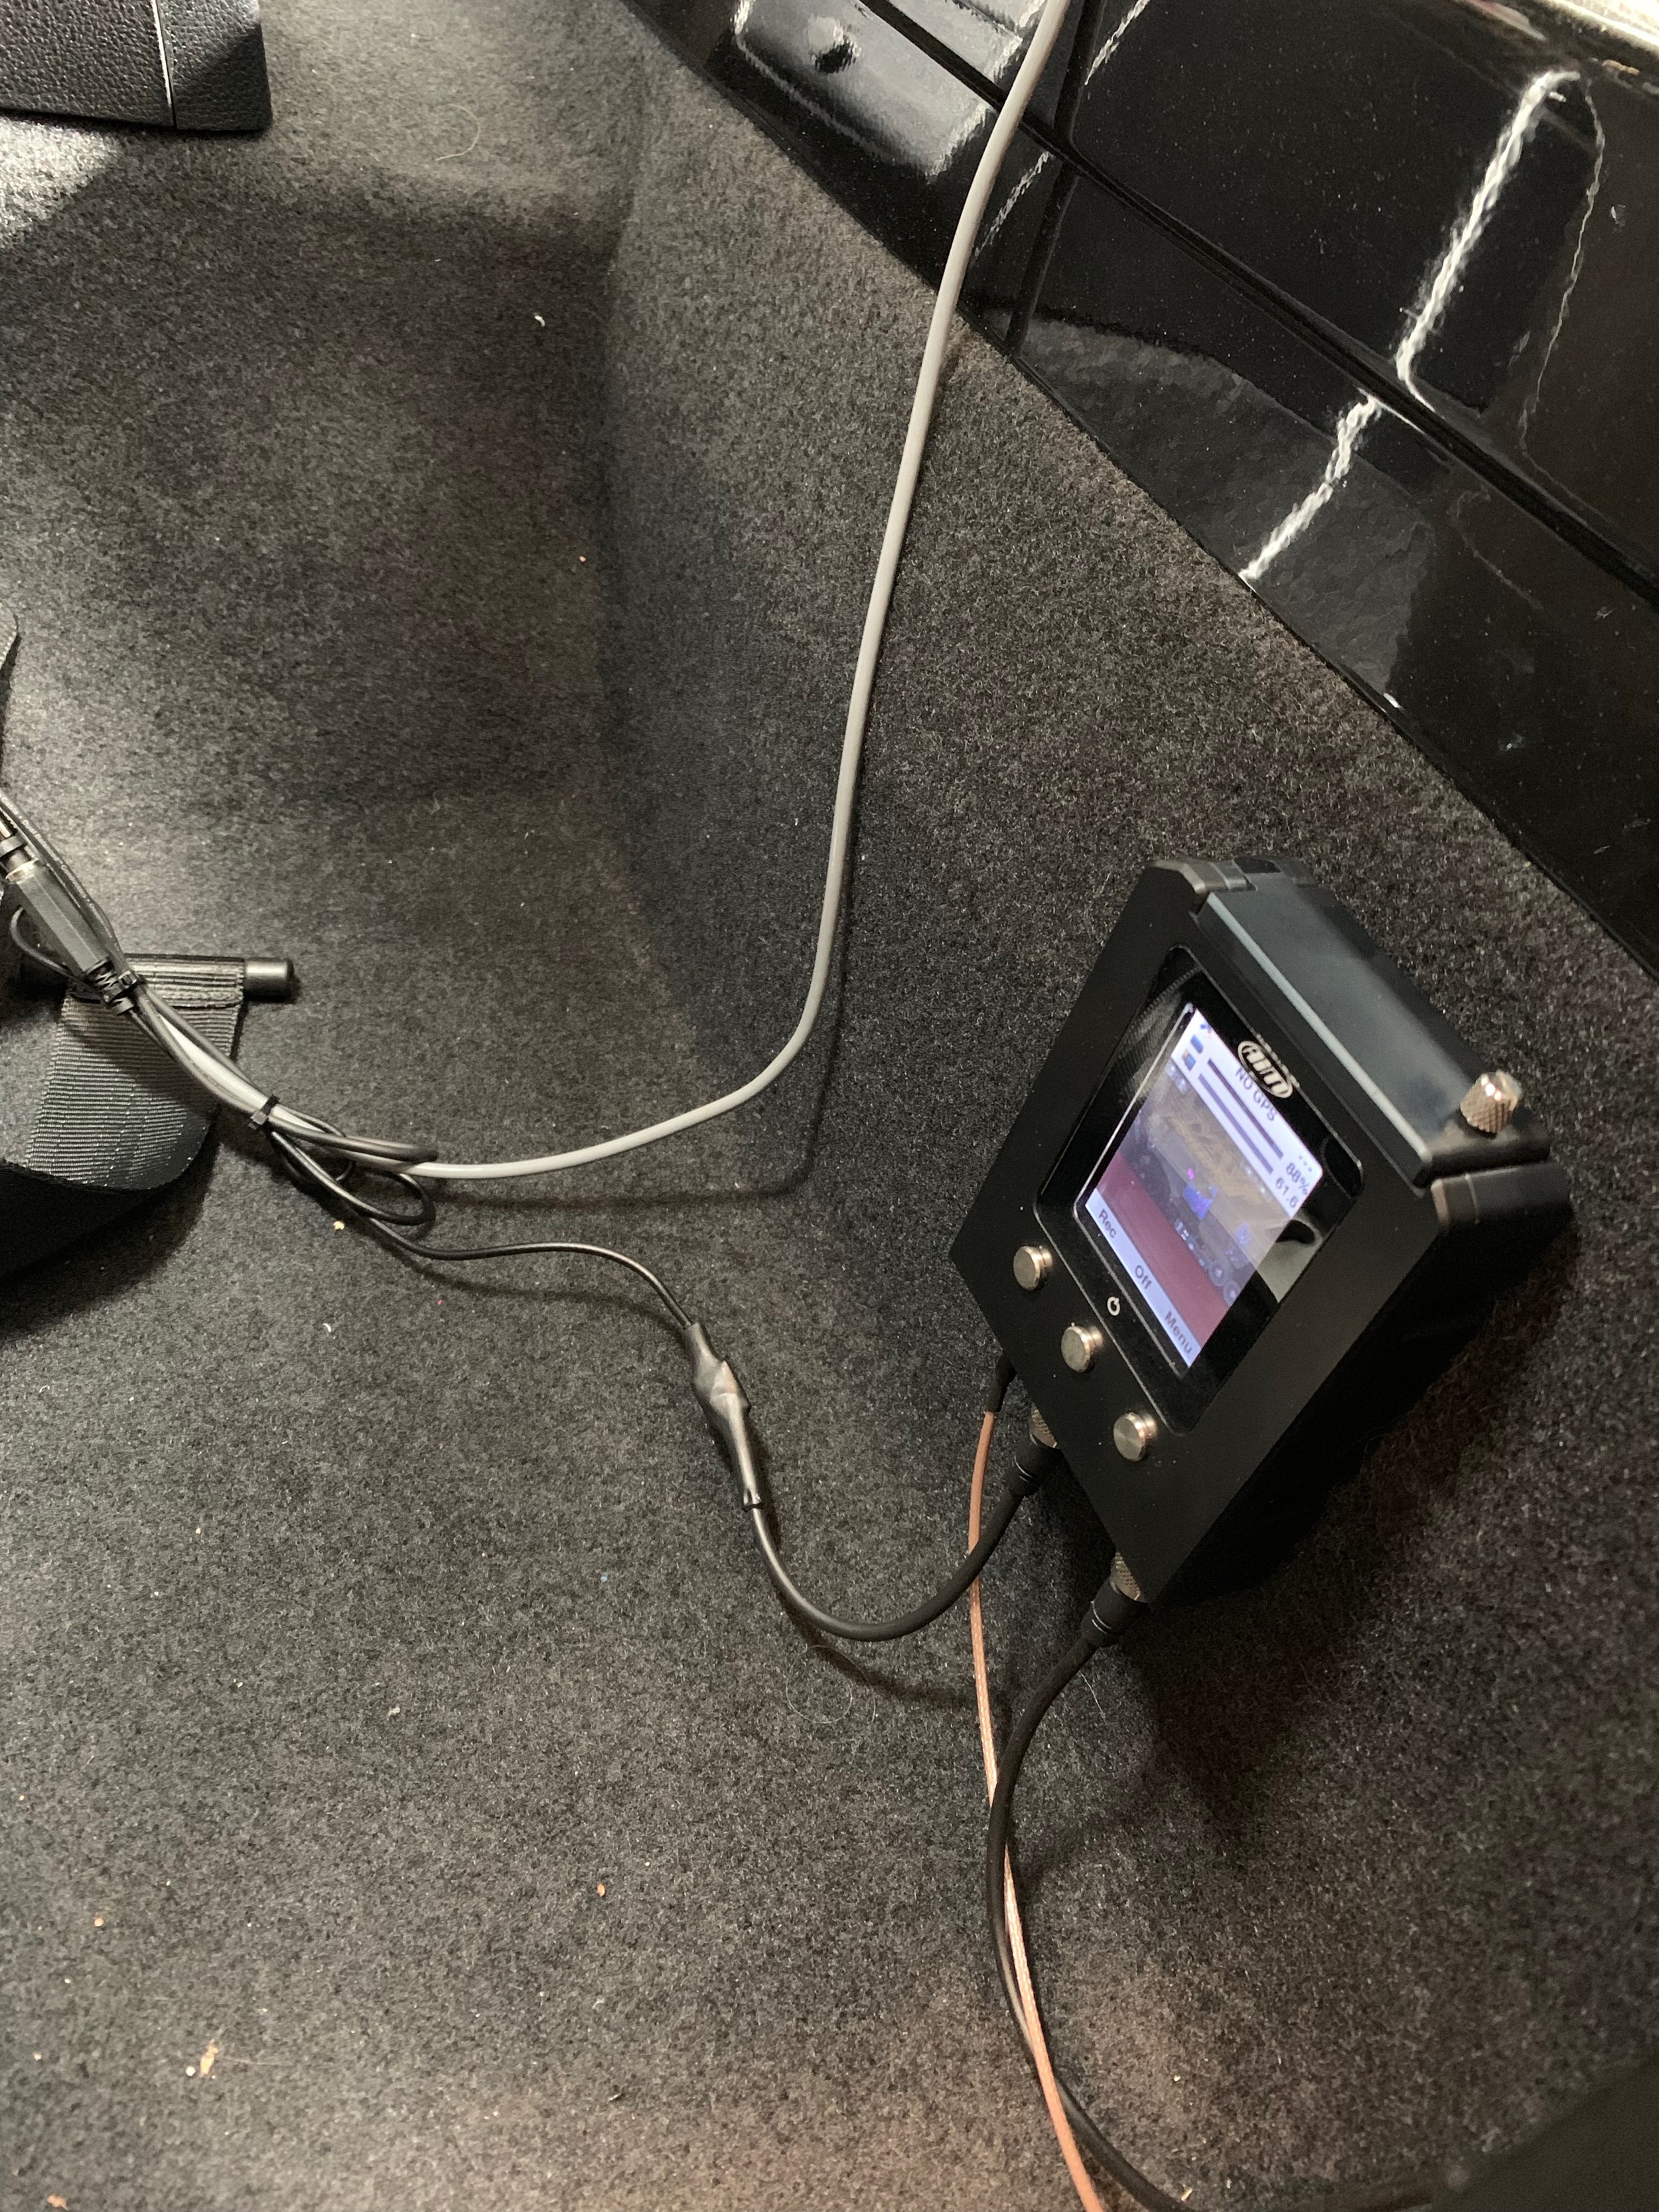
Keeping with the GTS theme for the M2 I decided to do a custom installation for the AIM system to hide all the wires and make it look like a factory option. So I had a fabricator (TC Design) build a metal housing over the cup holder area of the M2 in the center console and powder coat that glass black so I could mount the Solo 2 DL in a central place that is out of the way but easy to read. It also allowed me to tuck all the wires behind the dash. The enclosure also gives me a place to mount switches in the future. I then mounted the Smartycam GP HD 2 behind the driver in the backseat footwell so I could easily access it but keep it out of the way. I am left with a system that is fully contained, fully automated, pulls data from the car, and makes analysis quick and easy. In short it is fool proof and works every time without having to do anything. The only issue I have with the Solo 2 DL is that the level of ECU support for the F87 chassis is light. BMW is rather strict on what channels they allow to flow through to systems like AIM. This is more of an issue for BMWs as other cars like Porsches are much more open. But the data channels you do get are rather good (some temps, RPM, wheel speed, calculated gear, etc.). A slightly more advanced option would be to run independent sensors and use an AIM system like the MXm. In hindsight I wish I had gone this route.
Now let’s talk about predictive grip data. One thing that most data systems lack is true predictive grip data which is the level of potential grip your car has at any given moment. The only system I know of that has this capability is APEX. This little device has a series of lights that show you the potential grip at that moment compared to the amount of grip you are using. The APEX device wirelessly connects to your iPhone and does have other data recording capabilities, but for my purposes I only really use the APEX system to record potential grip compared to actual grip. It is a great way to see how effective you are using the grip….AKA how hard and smooth are you driving. If you are not interested in buying an AIM system you can use APEX for an end to end system that is better than most iPhone + app setups.
Once you have all the data and video information handy then you need to know how to read the data. For that get a book or take a class or watch training videos to make sense of all those squiggly lines. Good luck with that.
BMW M2 Build - Custom Laguna Pipes
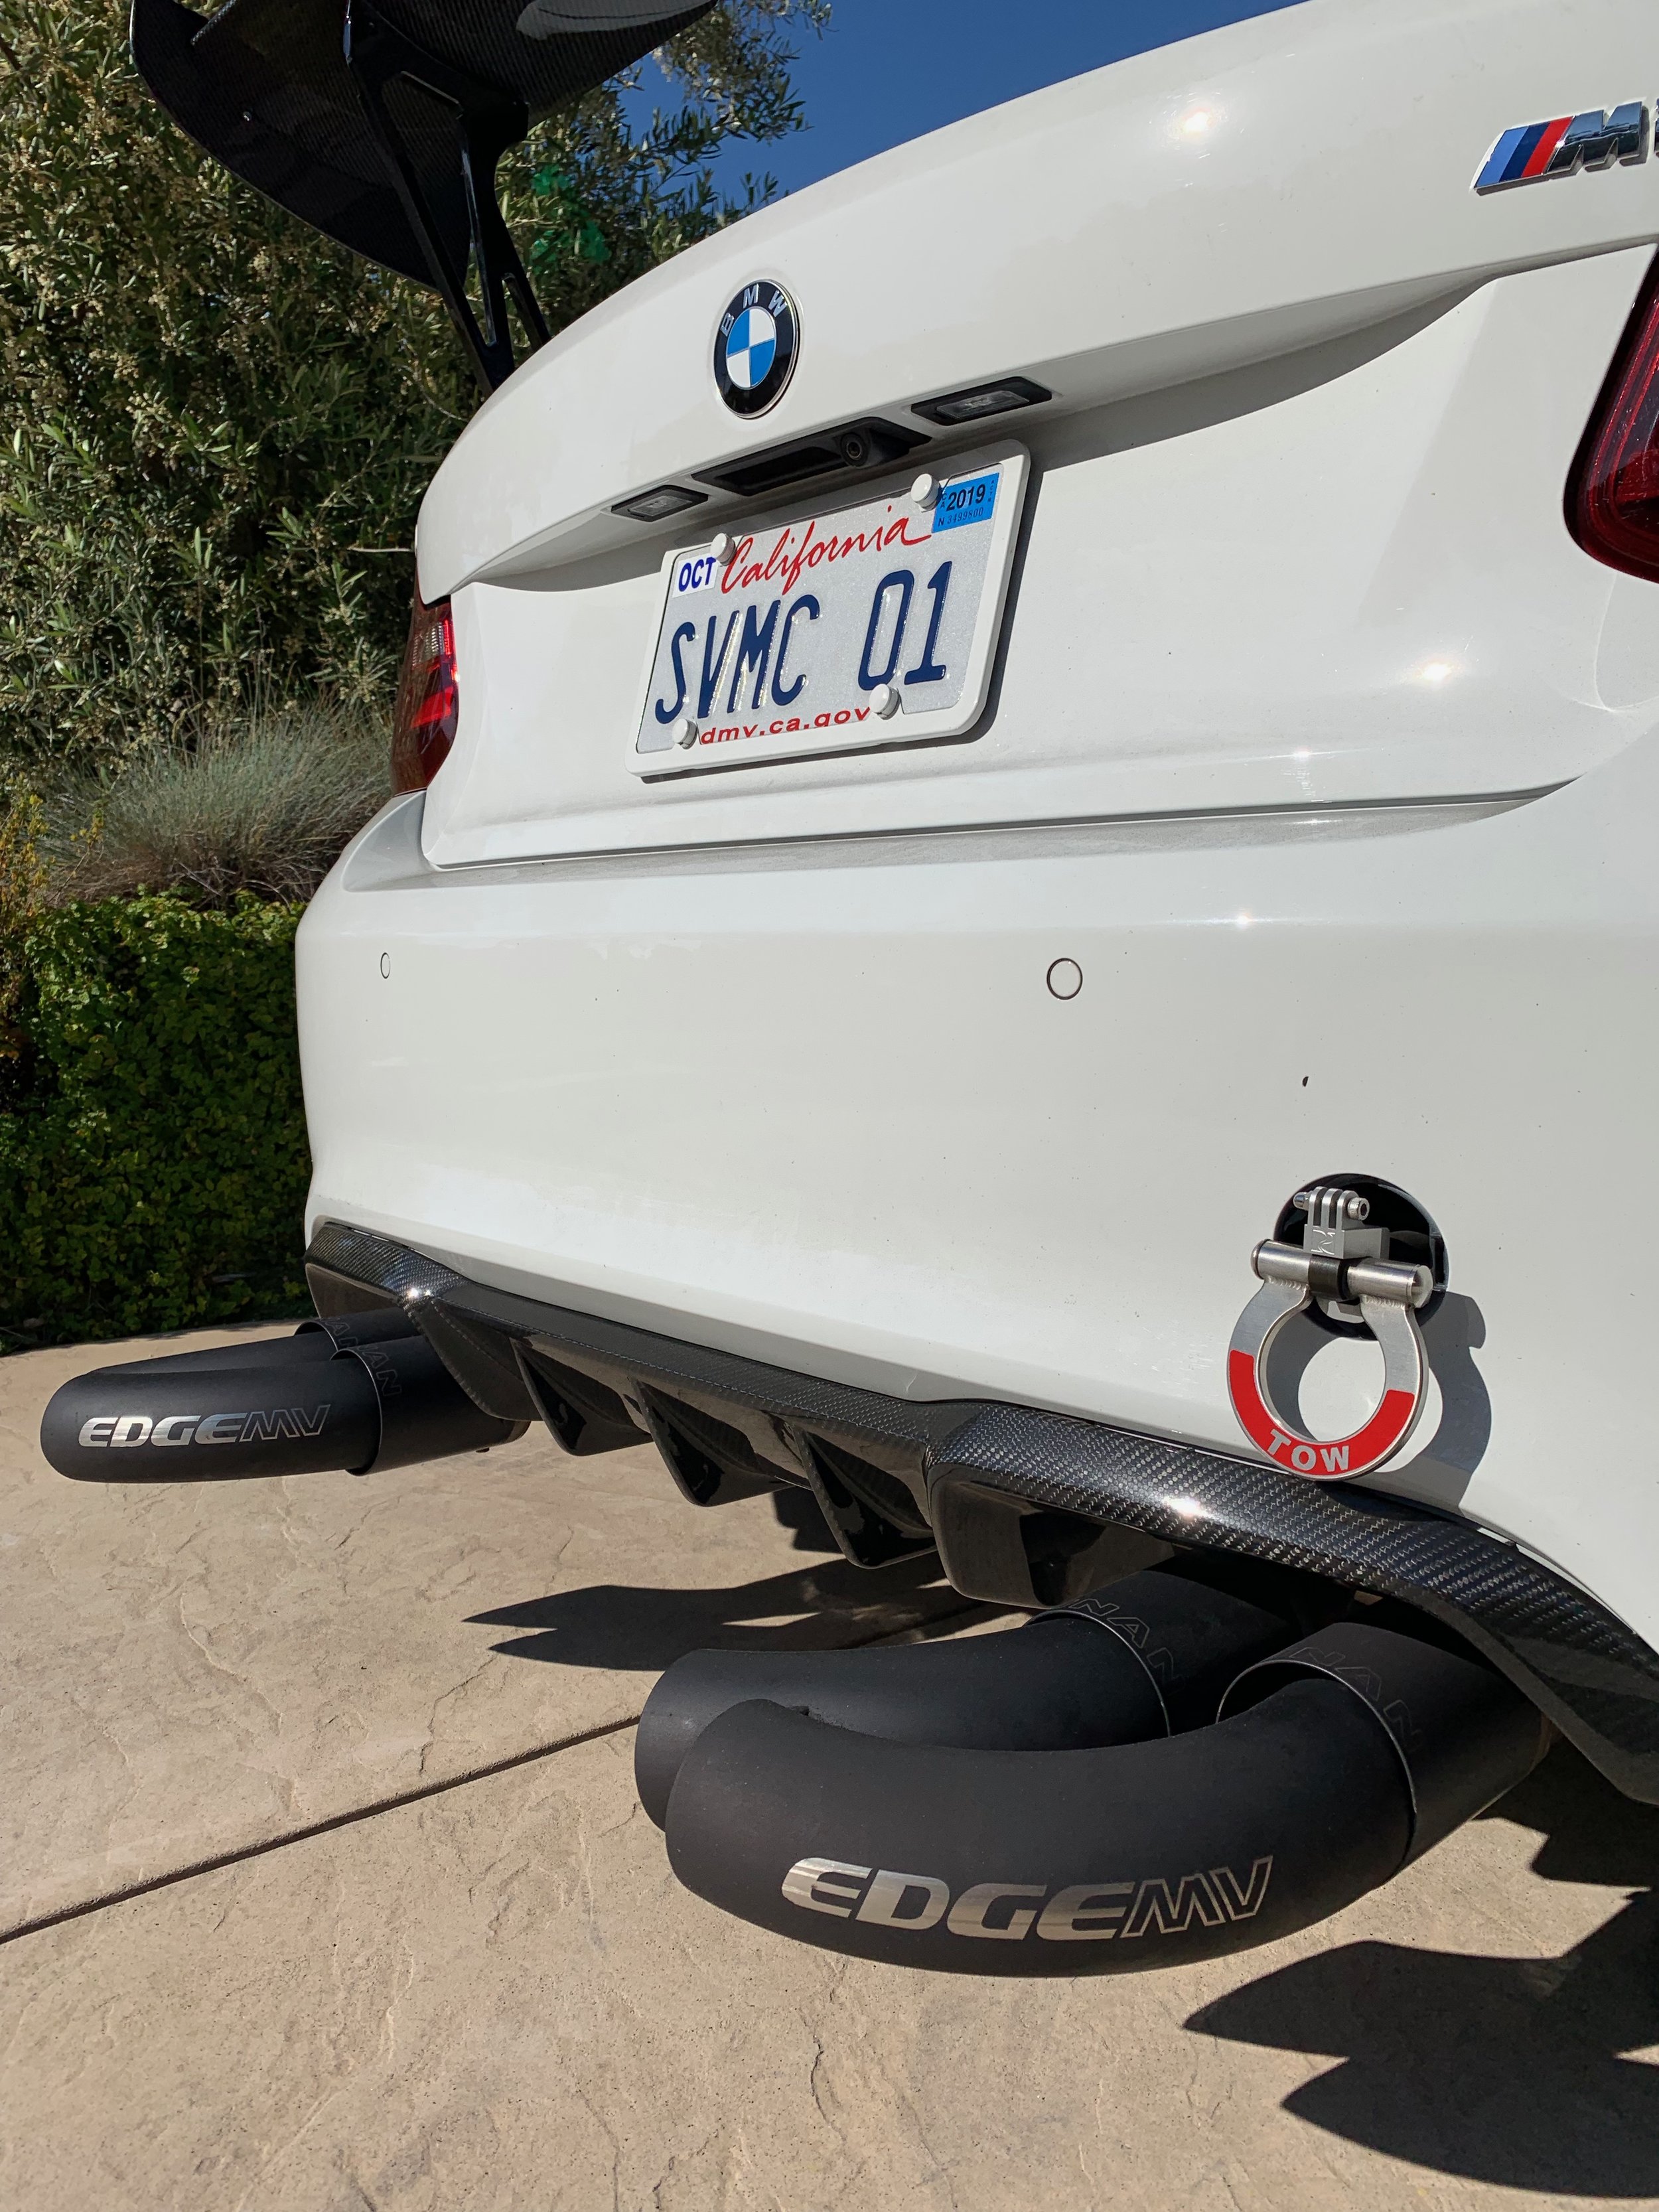
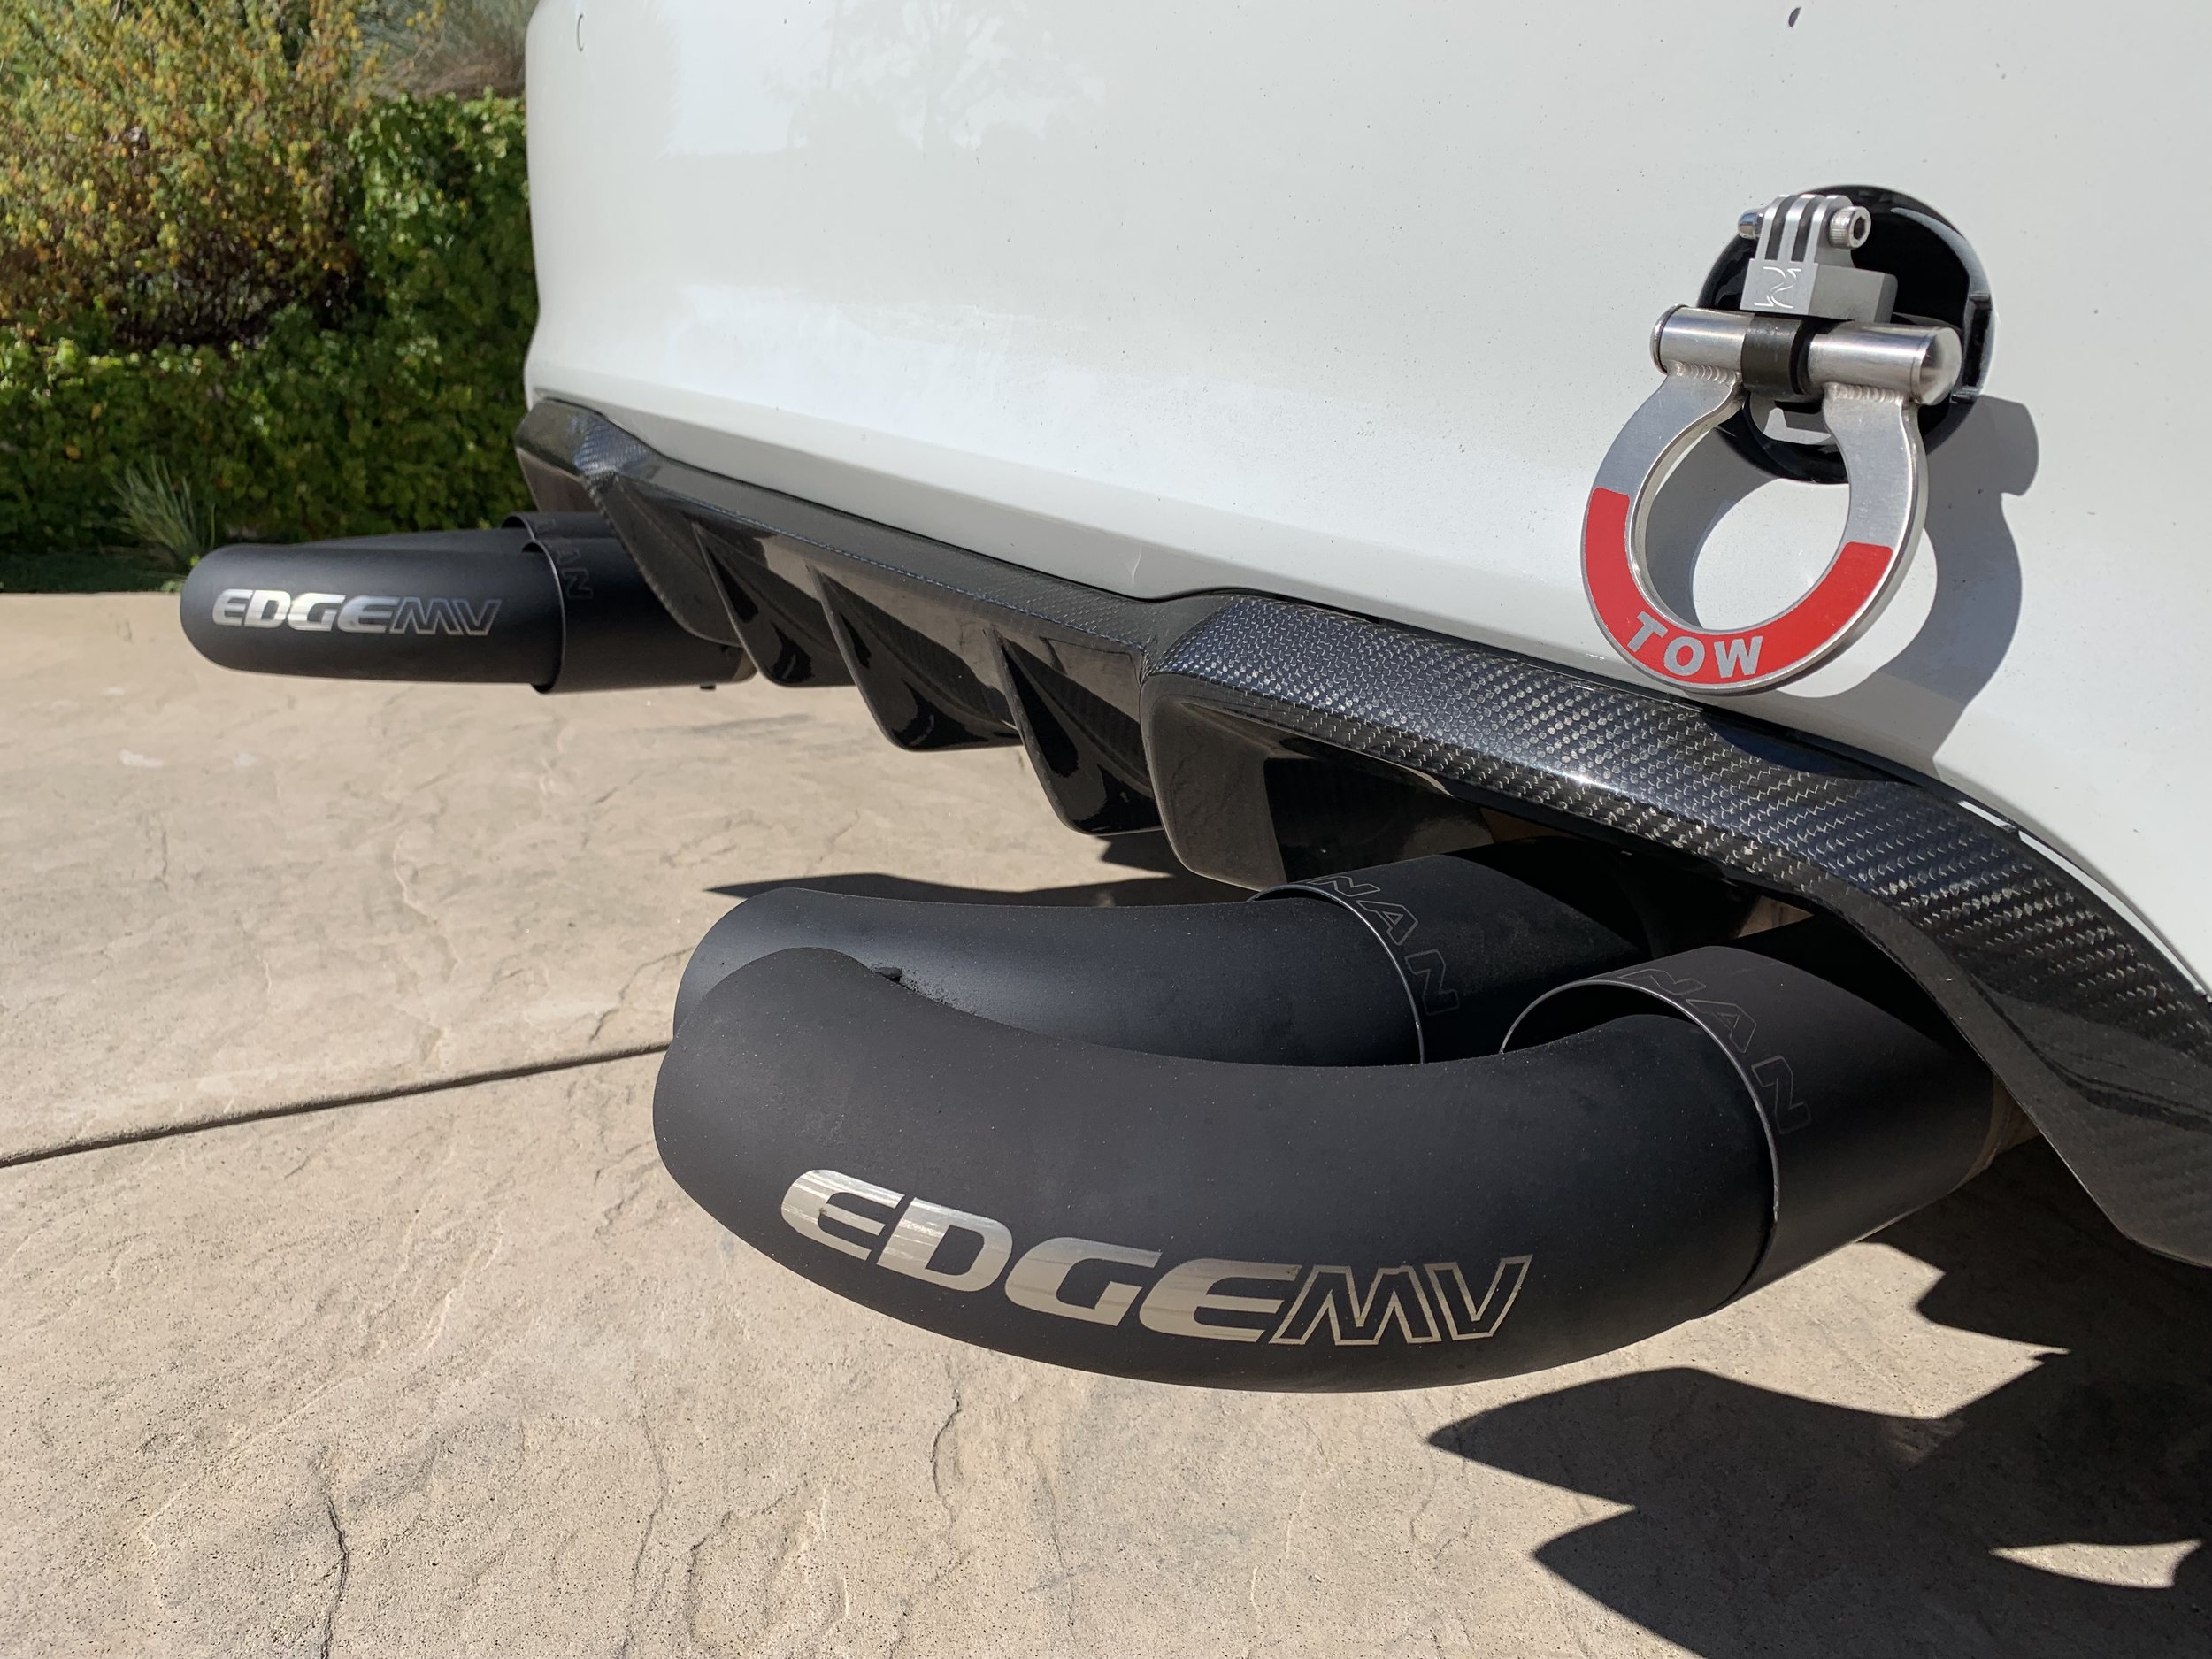
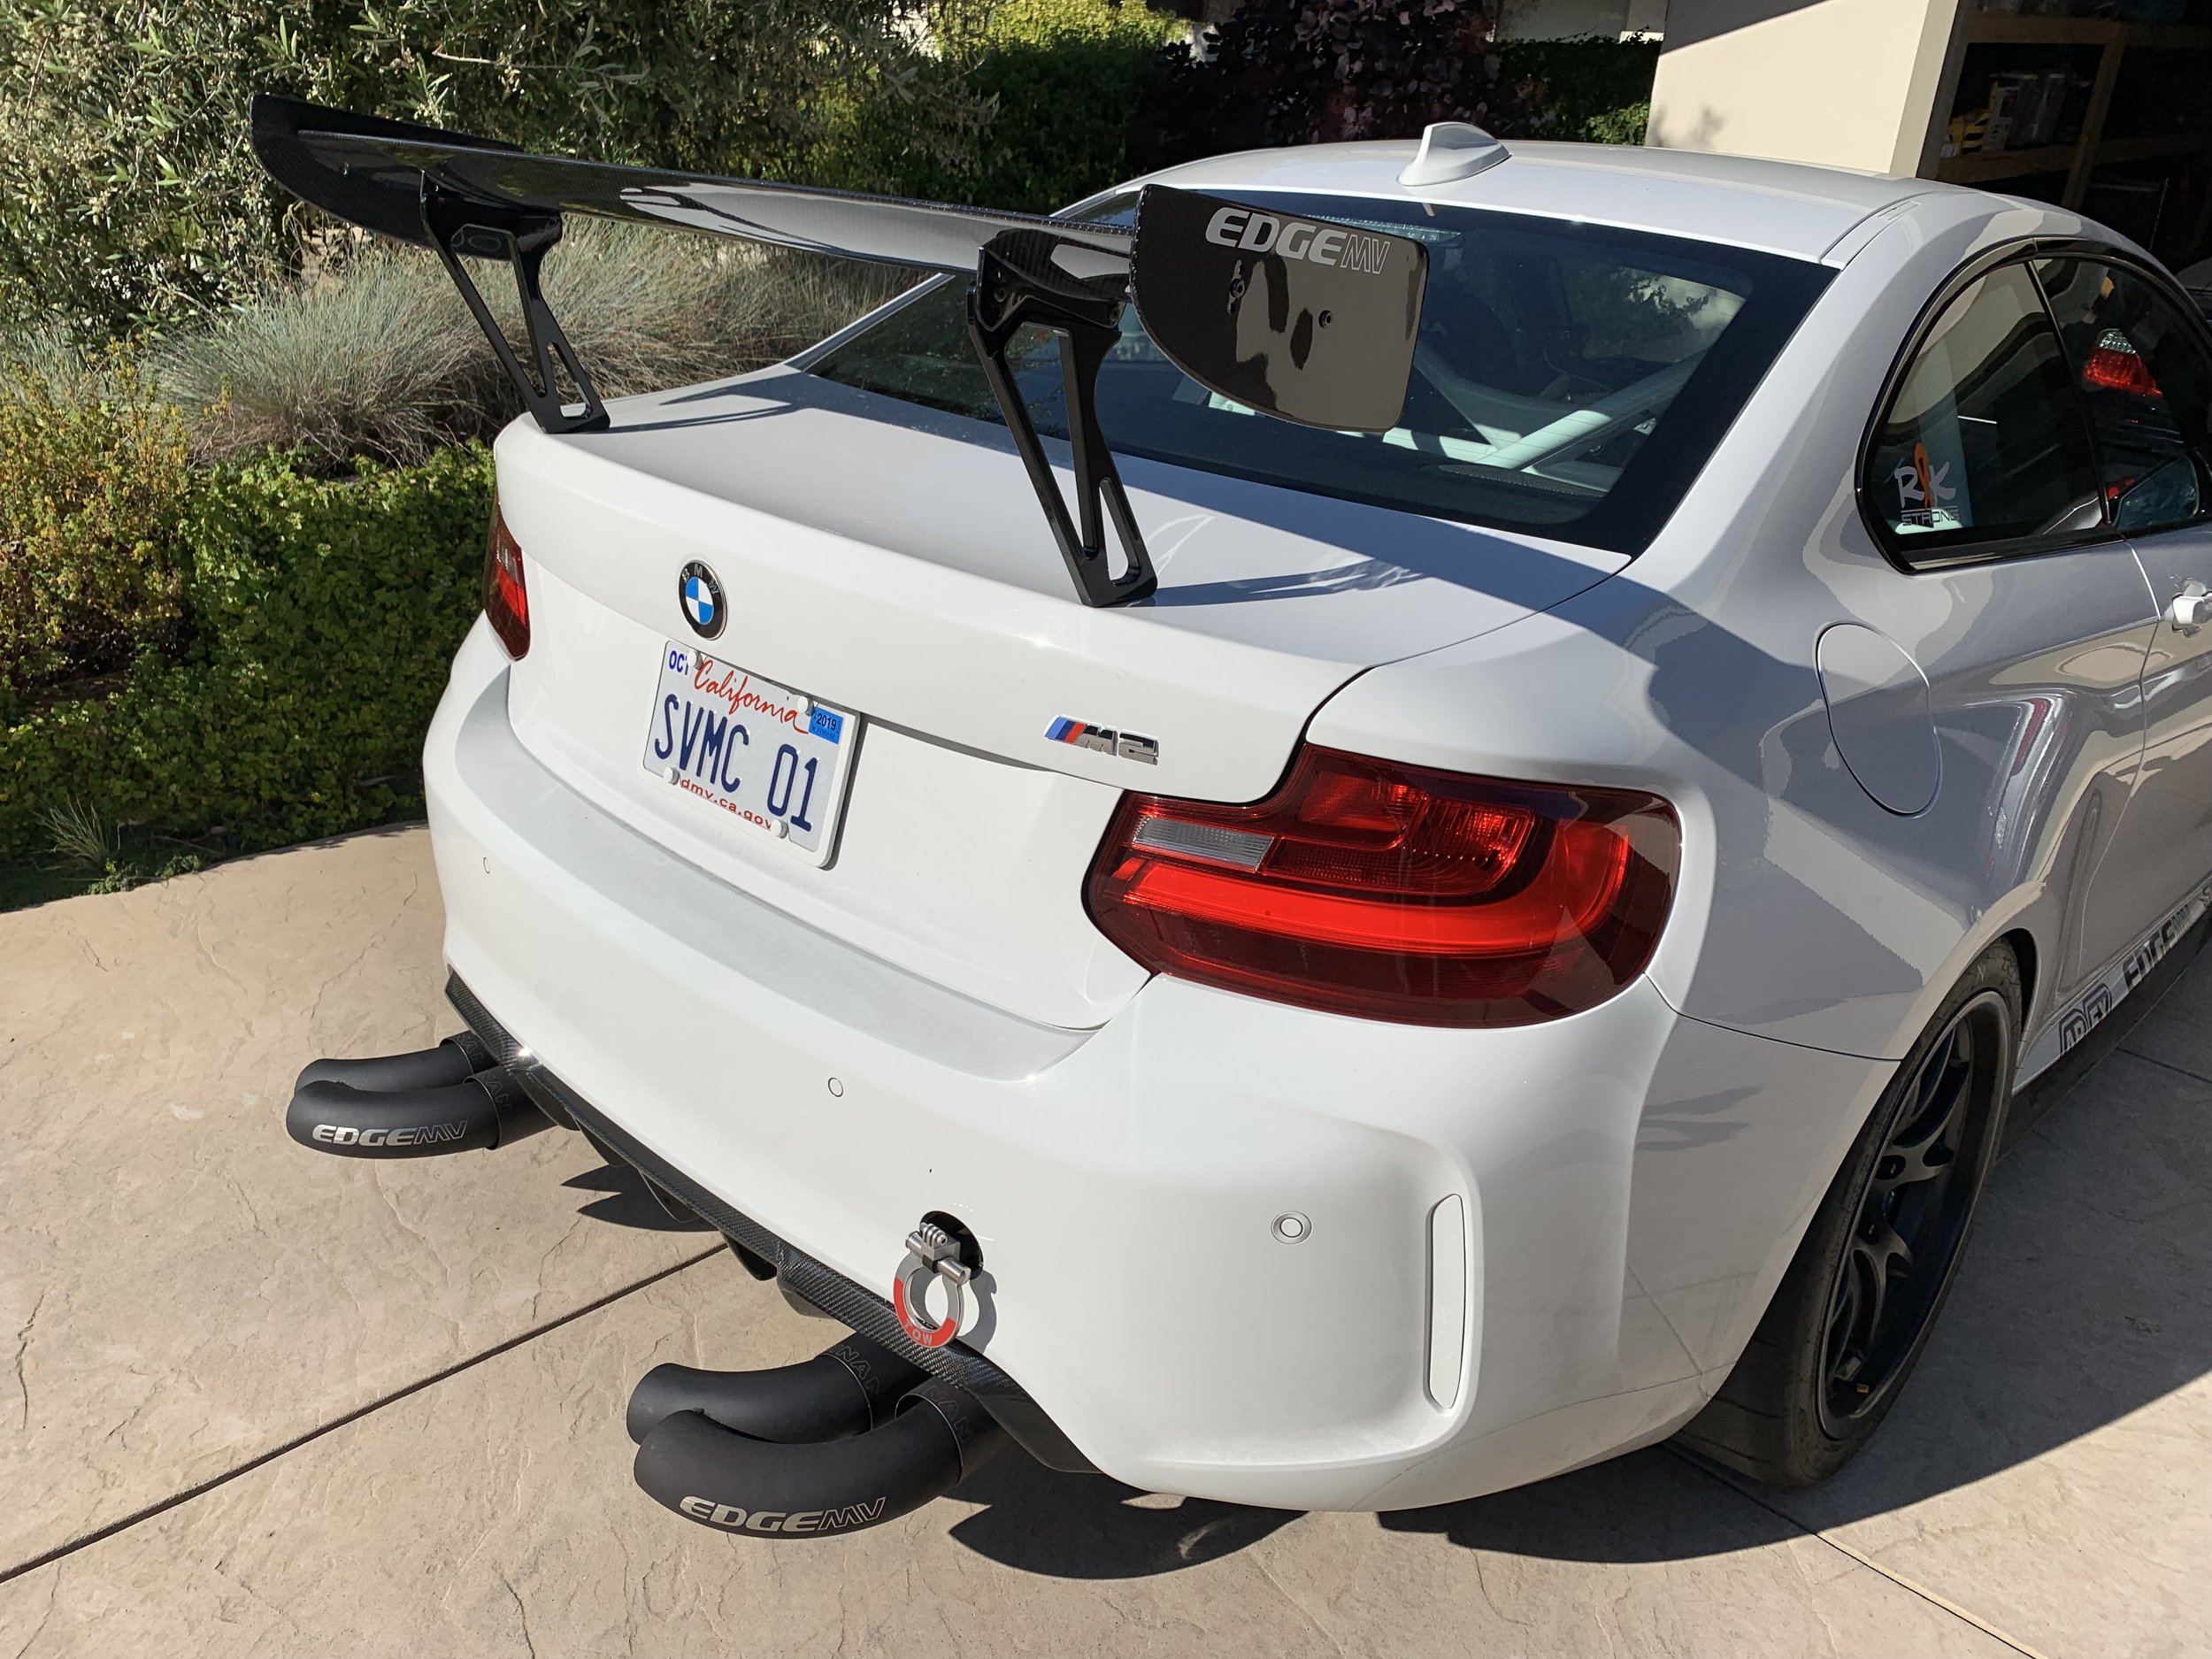
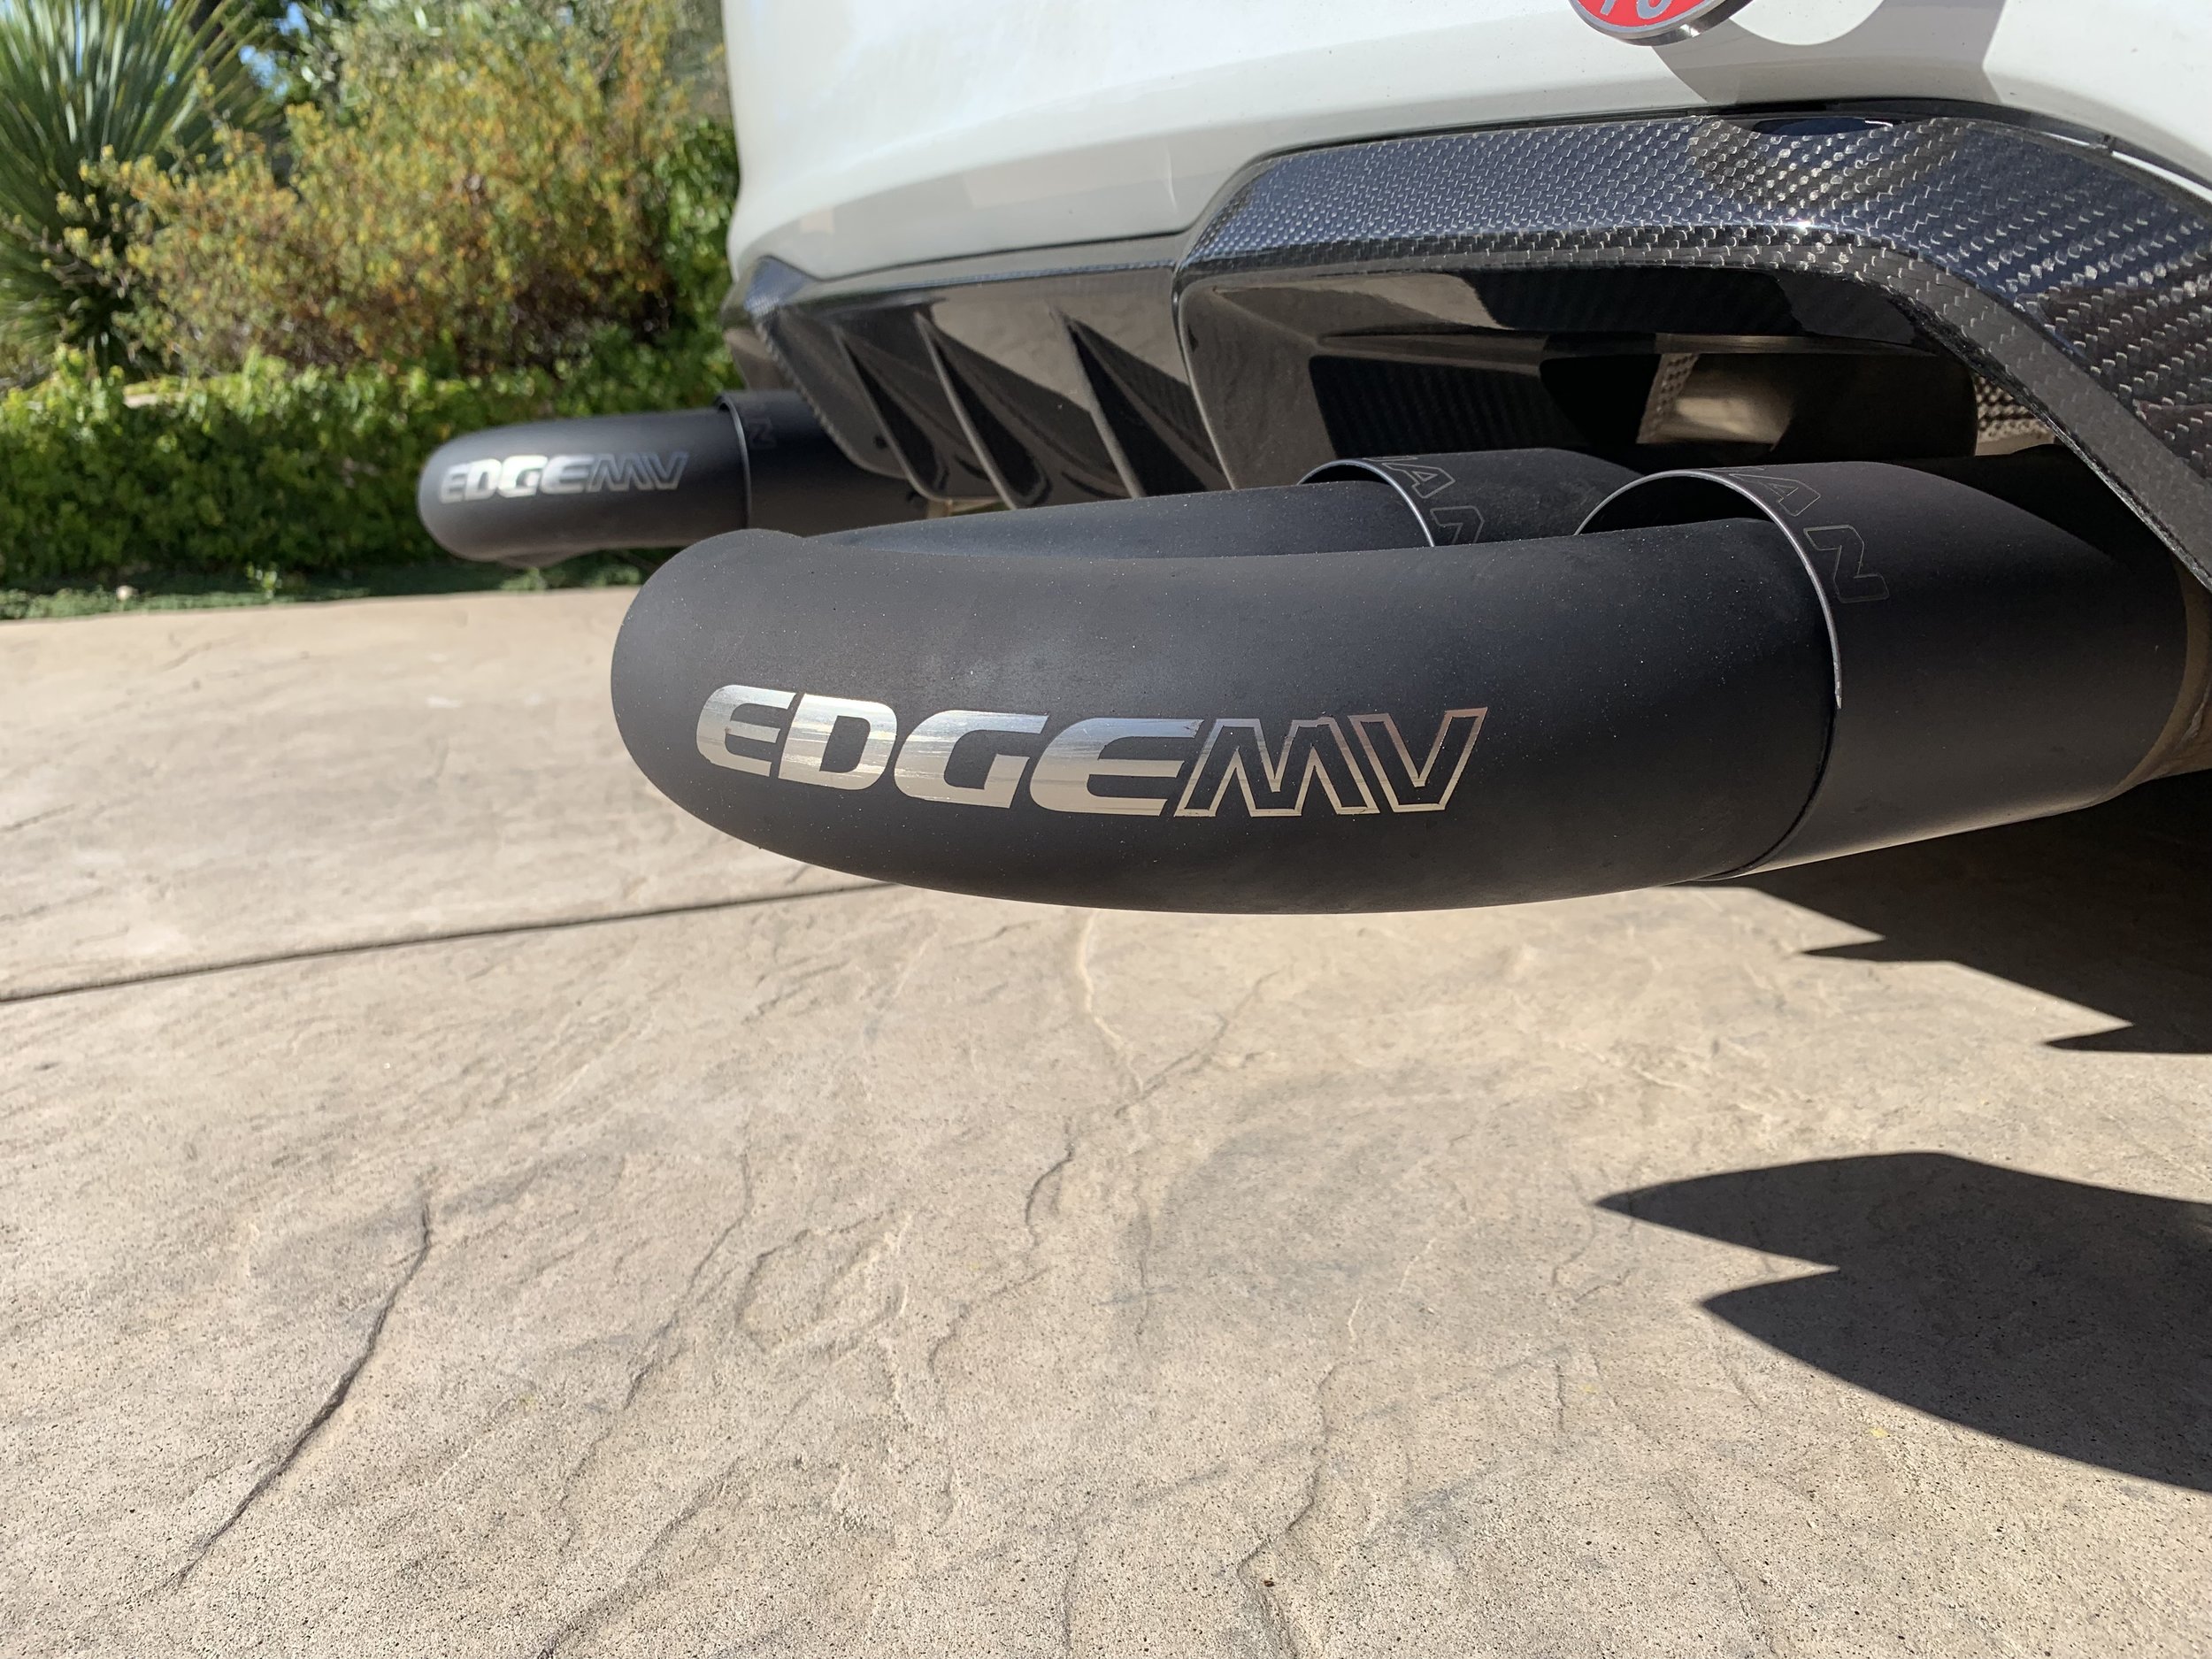
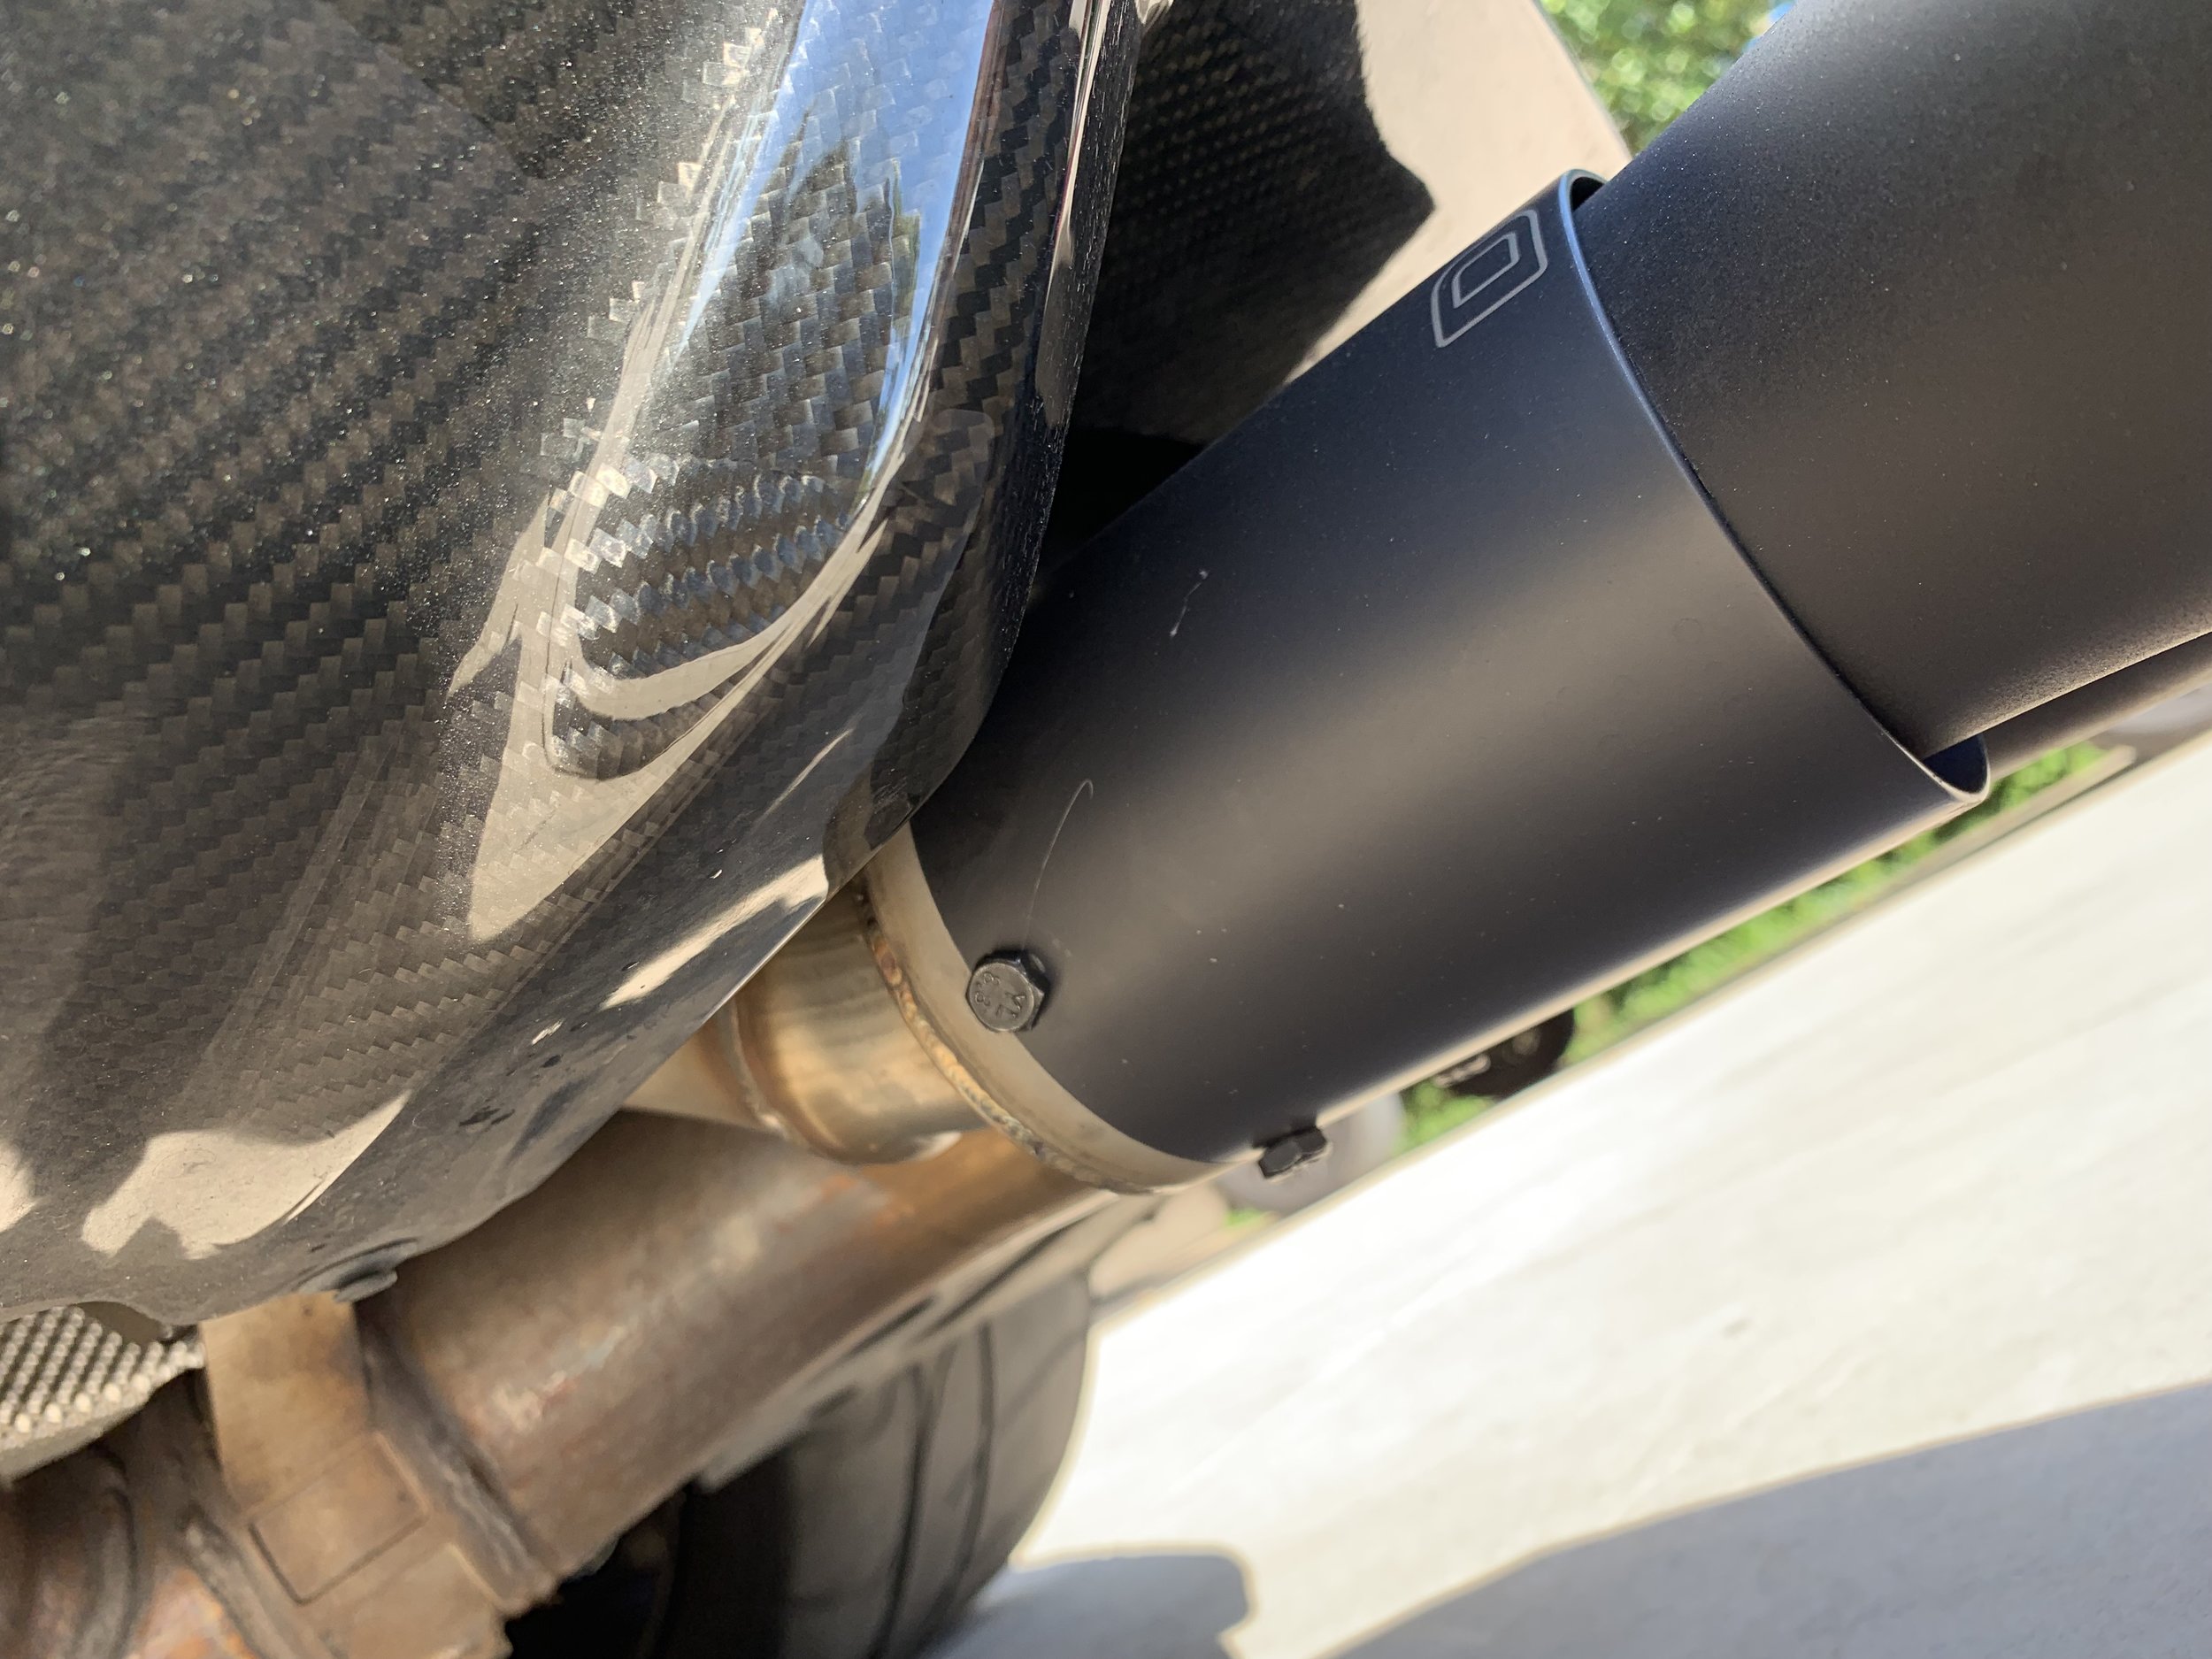
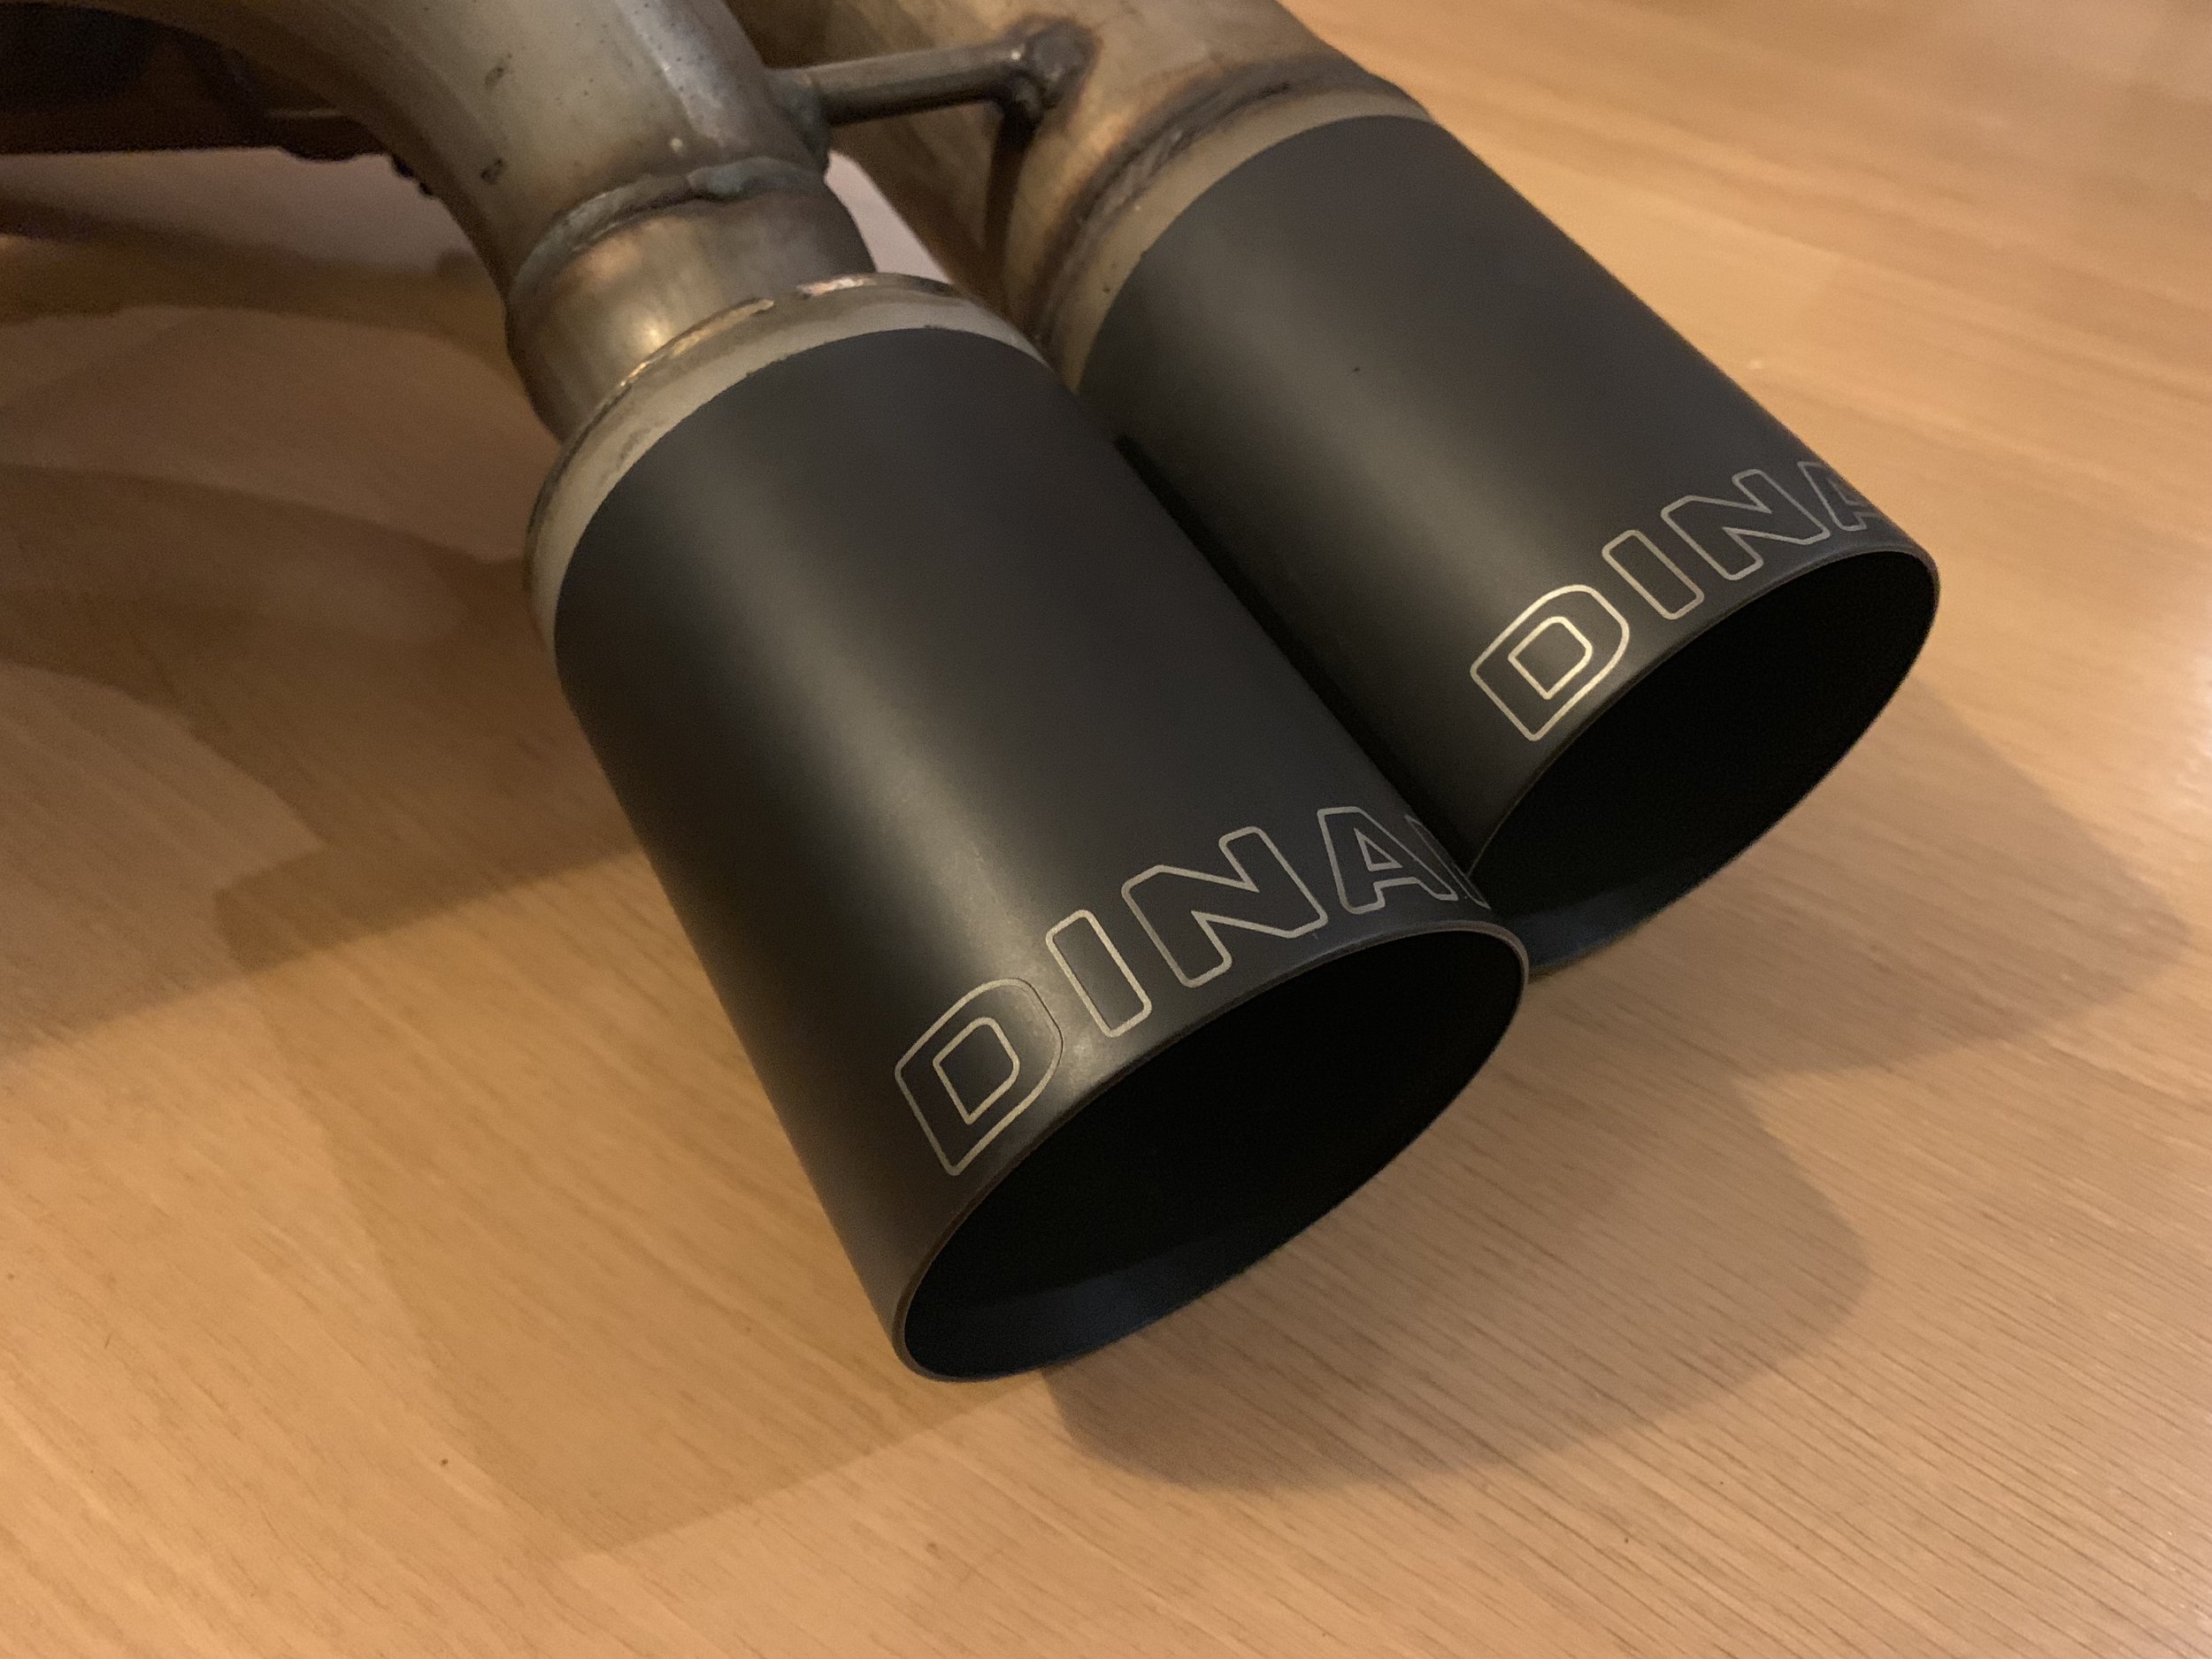
The last time I was at Laguna Seca I blew sound enough times that it almost ended my day. I ended up having to literally coast through turn 5 to pass sound (not fun). I started thinking about what kind of Laguna pipes I wanted. The issue is that I wanted them easily removable and I didn’t want them to scratch up the finish of my Dinan exhaust. So I came up with the design of putting the pipe extensions inside the Dinan tips and securing them with some simple bolts. I asked Edge Motorworks in Mountain View if they could fab them up and as always they were up for the challenge. They took it to the next level with some trick welding, stenciling their logo, and painting the pipes with matte black high temp paint. They simply redirect the sound away from the mic at Laguna but its enough to pass the strict 90 dB sound limit without having to lift or shift early. To be fair I do need to engage my electronic exhaust baffle as well but without a doubt these one of a kind pipes did the trick.
SVMC January 10th Newsletter
Read the January 10th, 2019 club newsletter here.
Winter Break - See You In The Spring
Club members, just a reminder that the club takes a small winter break between Dec and April. We have found that the weather (most years) is too inconsistent and frankly…..I want to ski and snowboard on the weekends. During this break get all those car projects done so that come April you can hit the track or our cars and coffee and show off all your hard work. Once we have our spring dates lined up we will post the event details on our club calendar. See you in April.
Winston, club member 0001
BMW M2 Build - Dinan Exhaust
For this build I tried to focus first and foremost on performance mods….but every now and then you need to do a mod simply to do a mod. I have had a few of those on this build but the most recent one is getting a Dinan free flow exhaust added to my Dinan resonator delete. While Dinan claims some performance enhancements for their exhaust system they are not material in my eyes. They are simply enhancements to make the car more enjoyable. Here is a great video highlighting the different options Dinan provides for the M2.

There are other systems that are louder or more exotic but the Dinan system is loud enough, 50 state legal, well fabricated, looks great, and reasonably priced. For all of those reasons I felt it was the right choice for the SVMC M2. Now I just hope I pass sound at Laguna Seca!!!!
SVMC M2 video by Apex #2
Another short video by Apex focused on the SVMC M2. This time we were trackside at Sonoma doing some test and tuning. I currently run their matte black 10.5” wide FL-5 wheels, their stud kit, and spacers in the front. This gives the SVMC M2 a 275 (stretched) square setup which is about all we can fit without body medications given we are also running a KW clubsport suspension and a BBK. Also featured in this video is Sparta Evolution's M2 racing brake kit.
BMW M2 Build - Graphics
I wanted some basic graphics to complete the look but to also show support for those that helped me in this build. Given this is a streetable track car I didn’t want anything too flashy so I kept with the black and white look.
BMW M2 Build - Aero
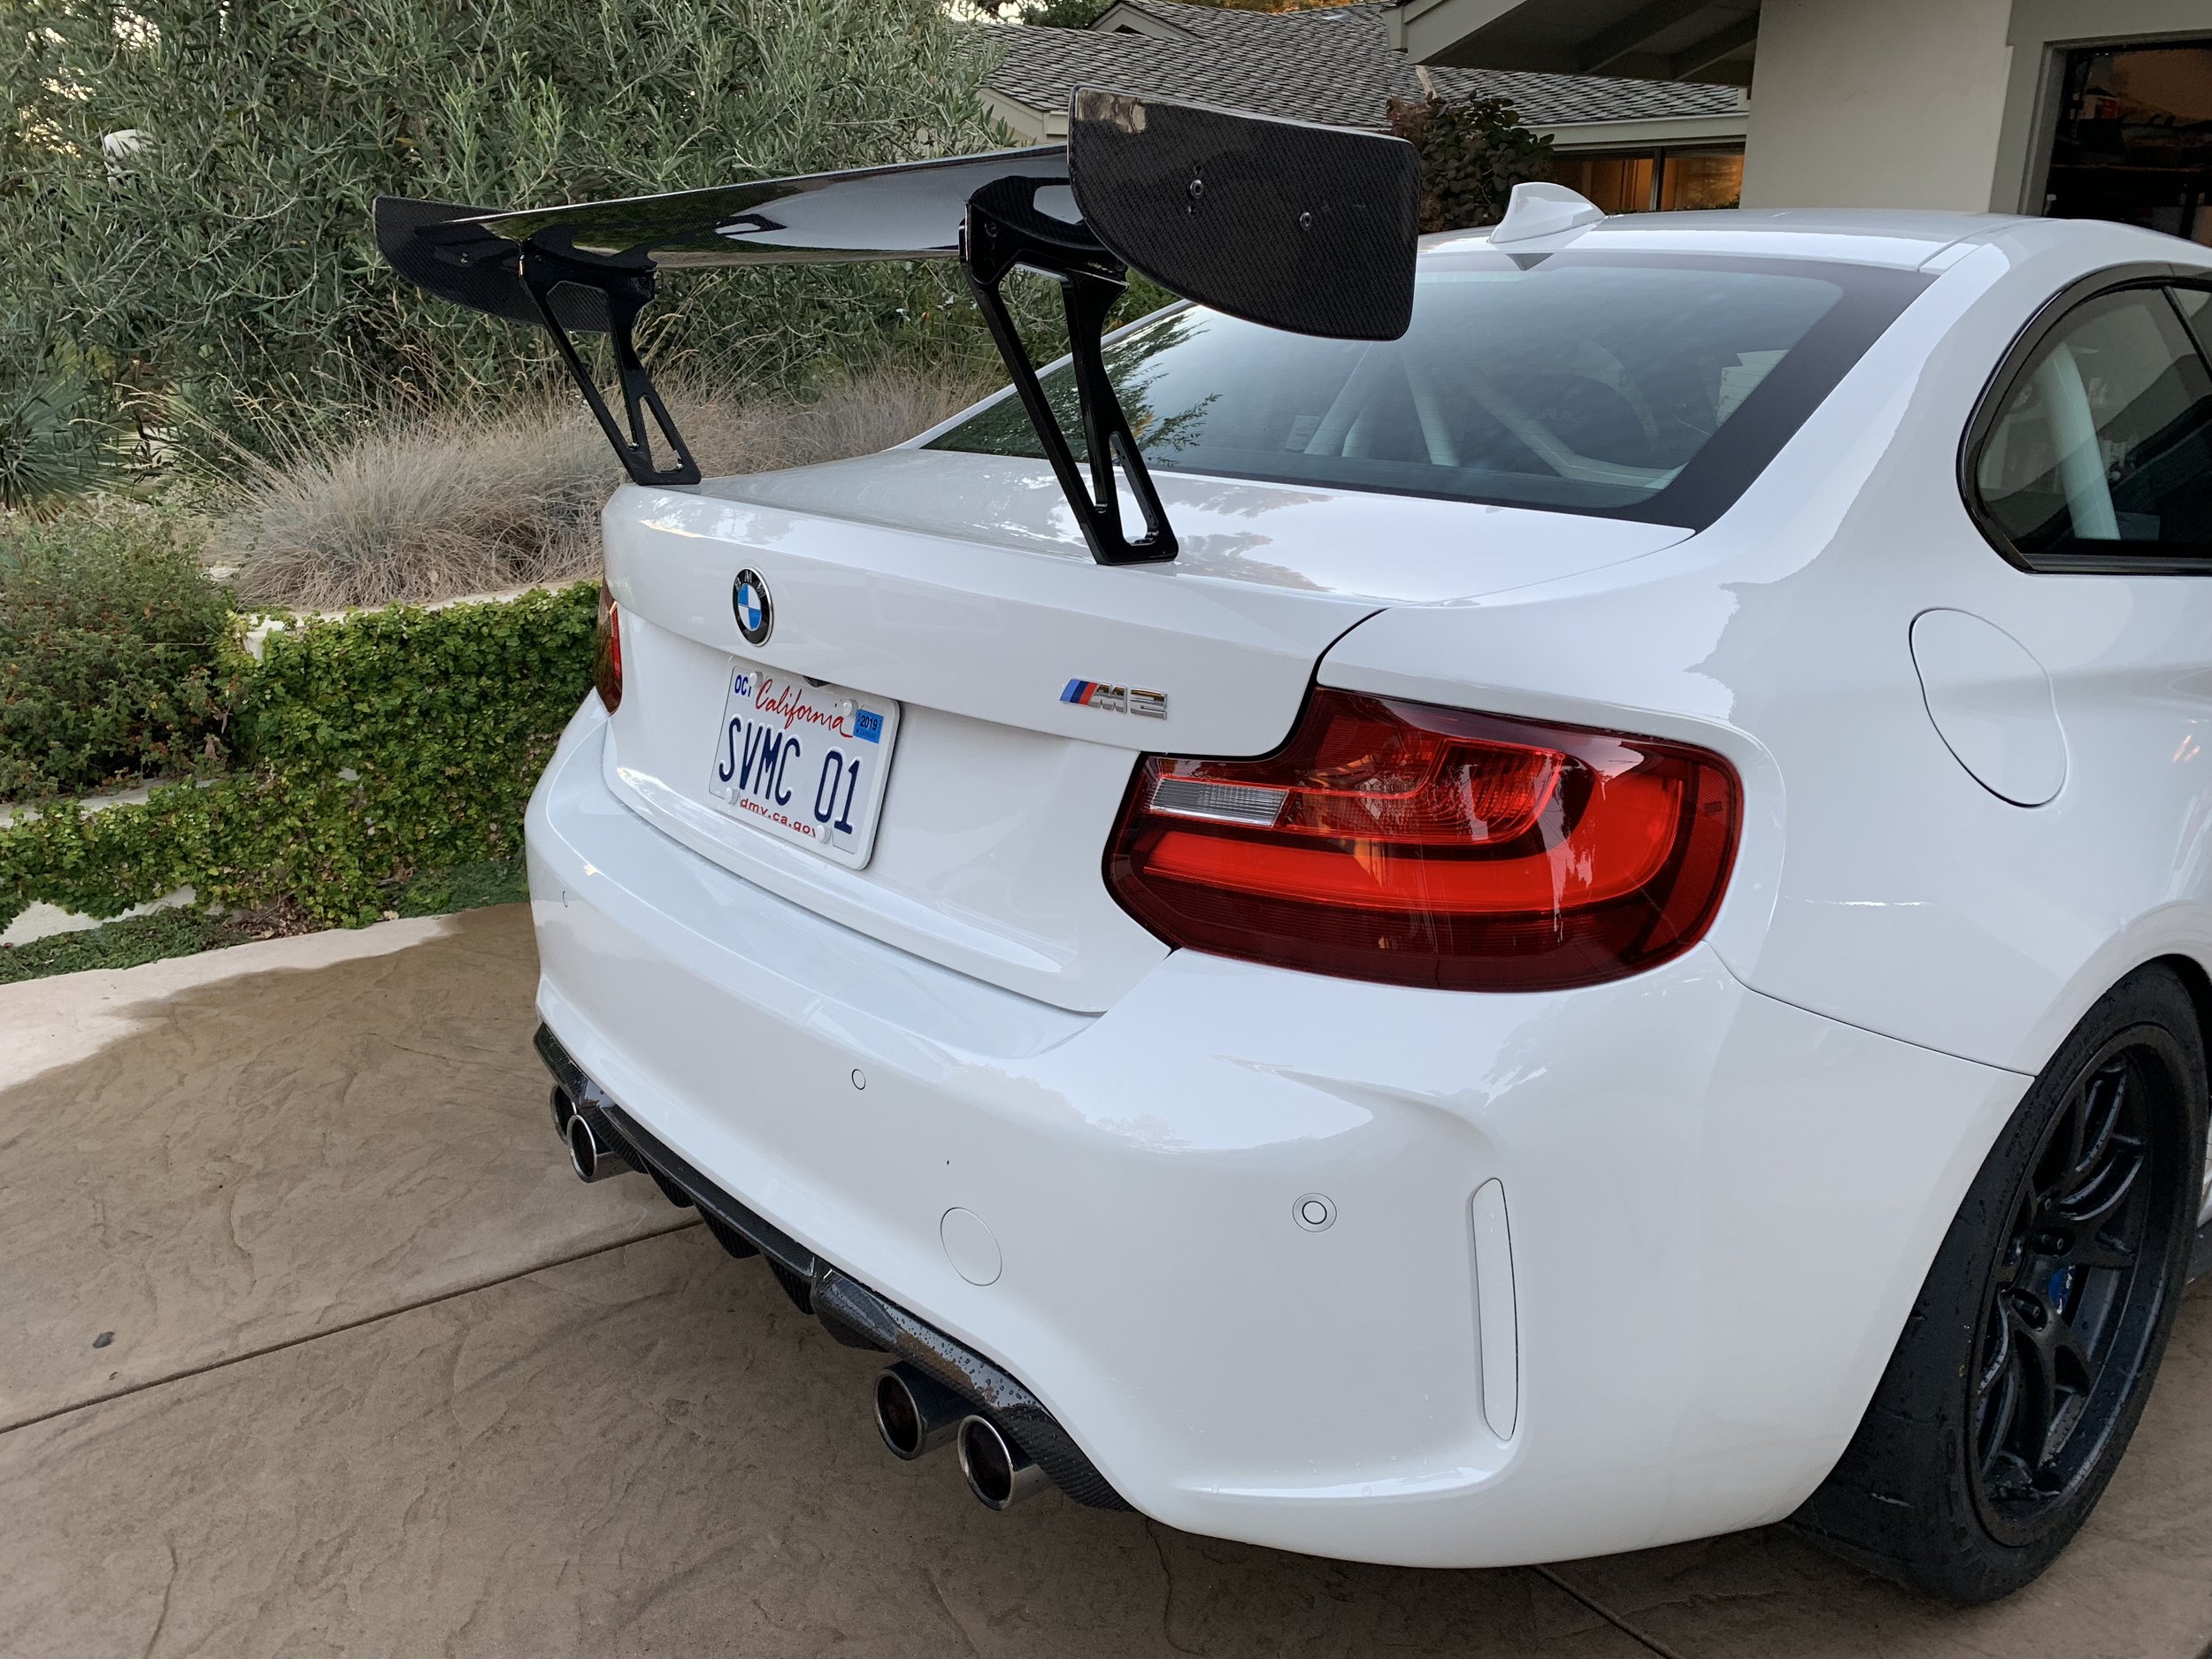
Keeping with the theme, I wanted to make the SVMC M2 as track oriented as I could, while keeping with the GTS look. So that meant putting on an aero package. I wanted something that was streetable but functional on the track. This is easier said than done as most streetable aero packages do virtually nothing on the track for downforce. To accommodate both street and track I decided I wanted the aero package to be adjustable as much as possible so I could dial up or down the amount of downforce depending on the application. Most importantly, I wanted to make the aero package BALANCED.
You can't just slap a wing on the back but do nothing to the front. You also can't put on a nice looking large front splitter but leave the rear untouched. Doing one end of the car without balancing the downforce effects to the other end of the car might upset the car's grip profile to the point that you are doing more harm to your lap times than good. So I had to find a package where the design of the parts were meant to work together.
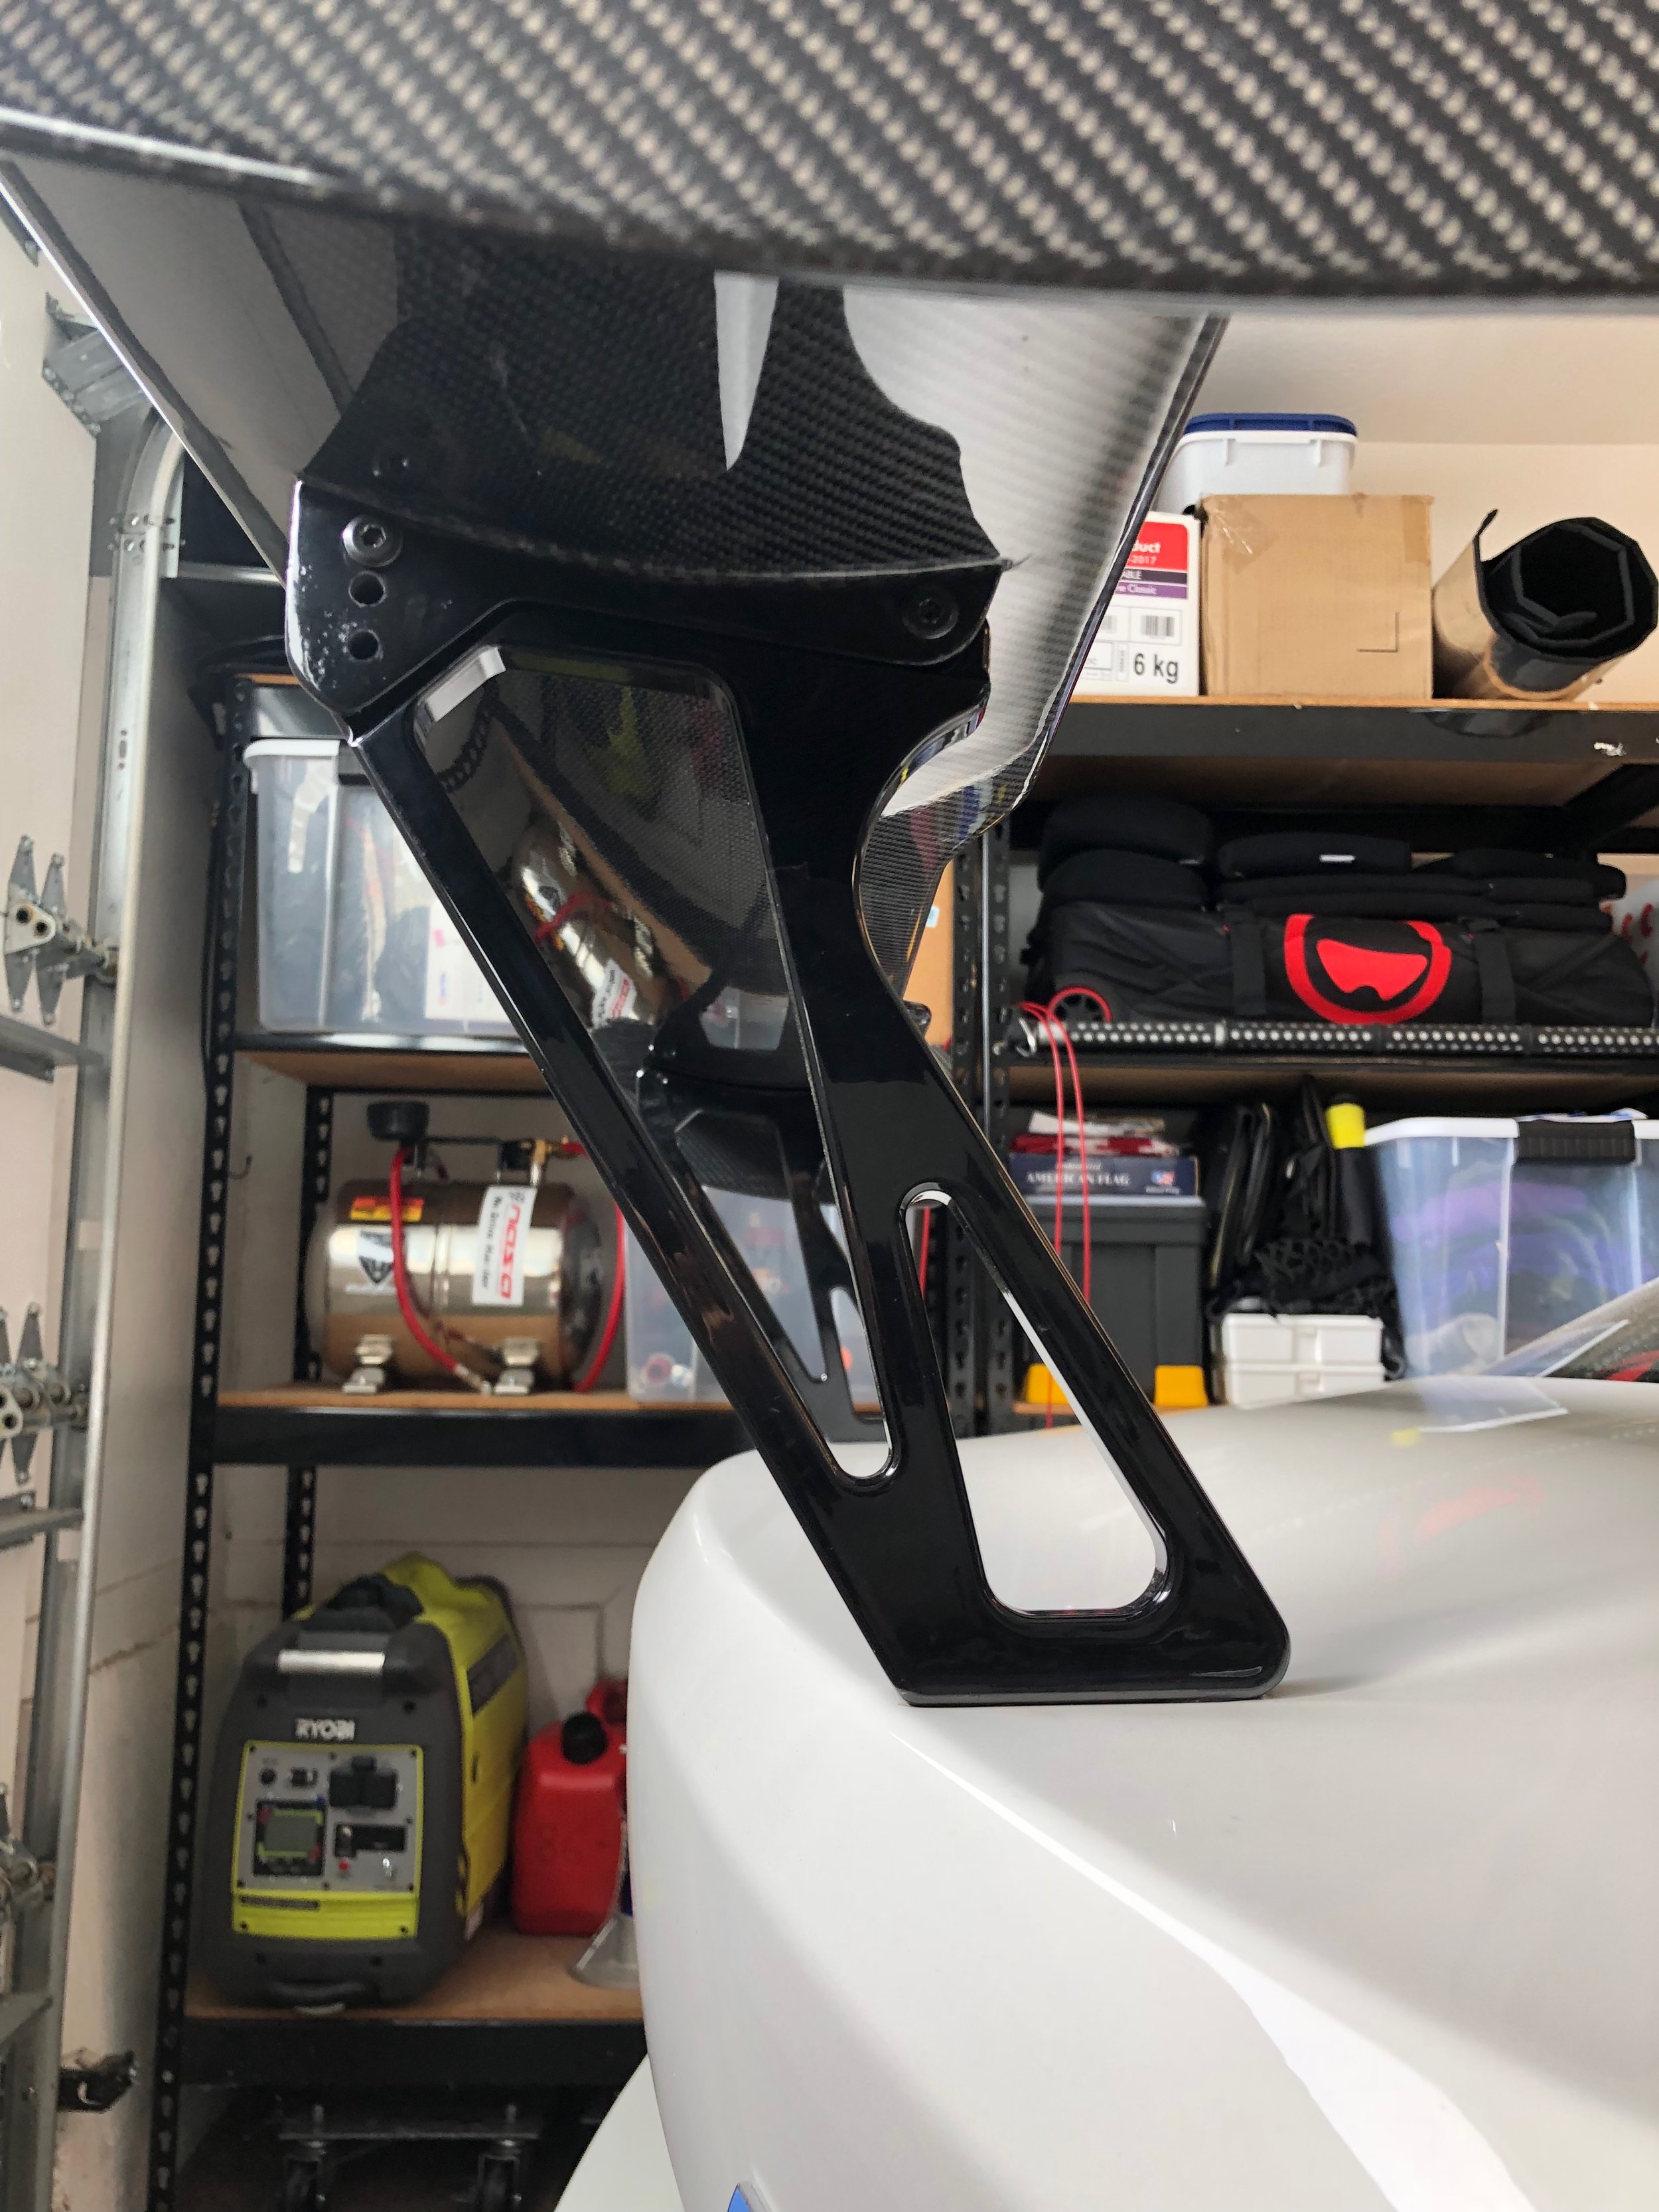
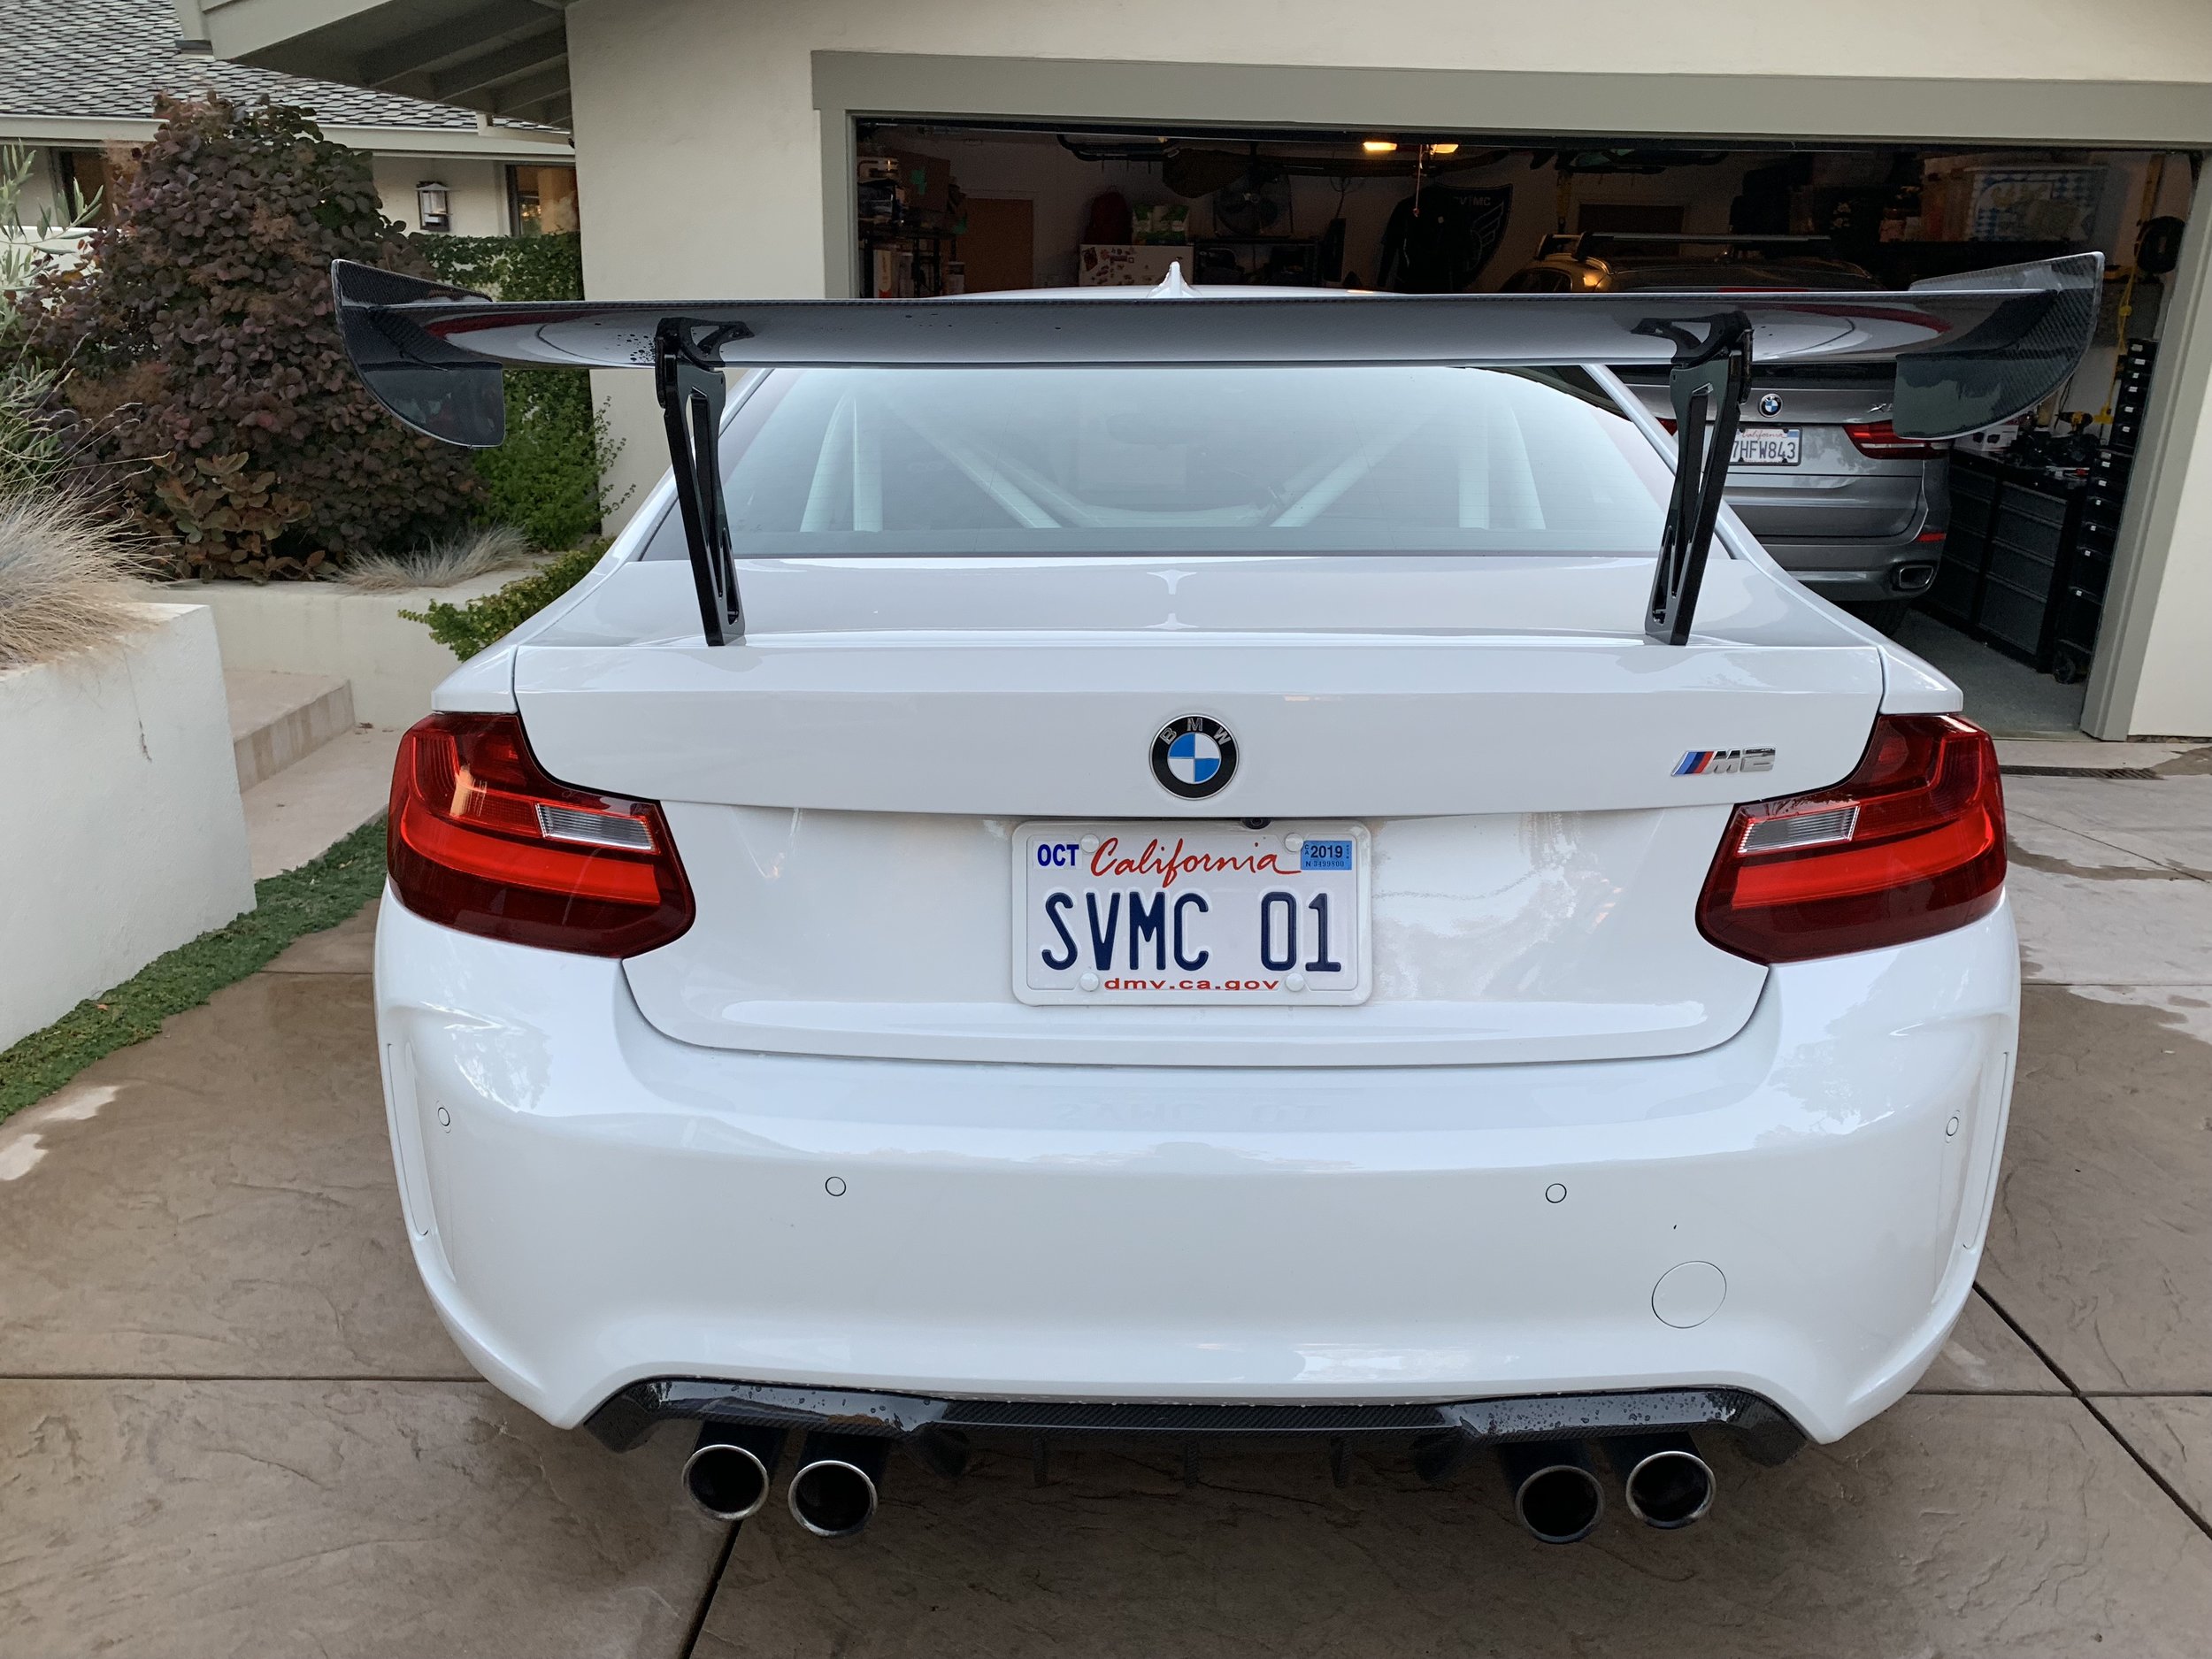
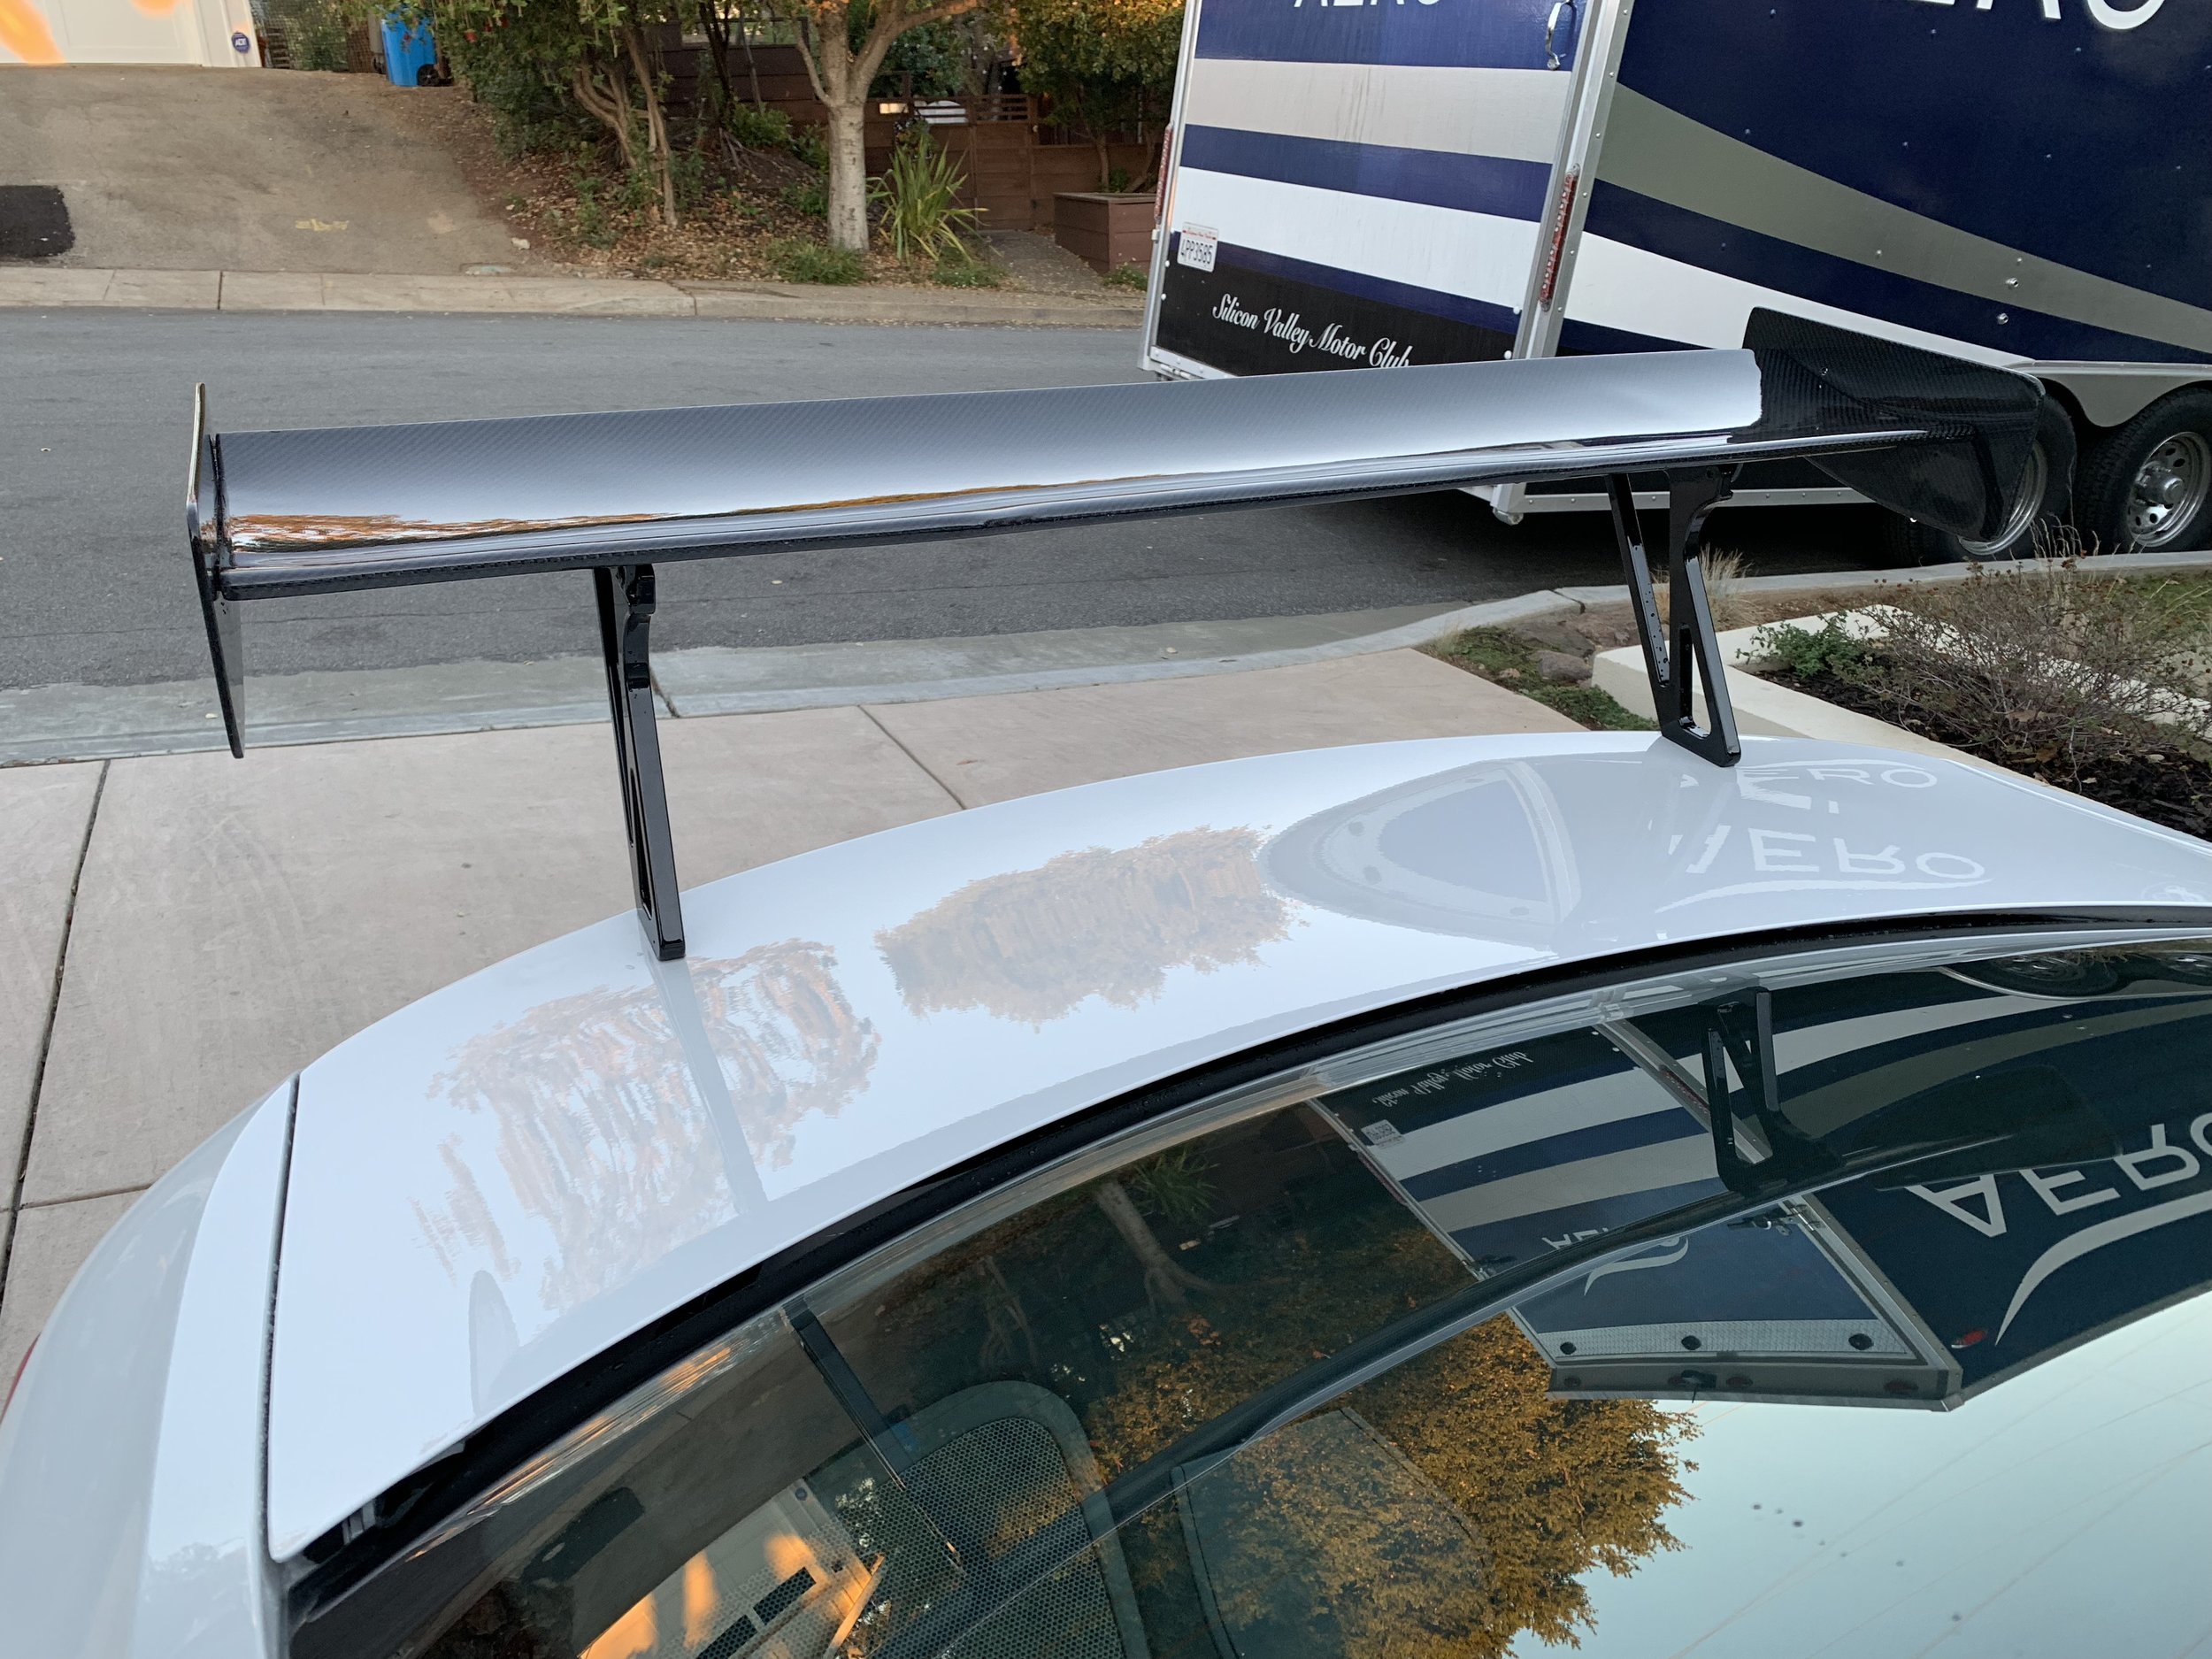
That landed me with a front adjustable splitter that was modeled off of the M4 GTS and an adjustable racing wing modeled off of the M235ir factory race car. There are a few companies making these types of aero package but in the end I went with RW Carbon out of SoCal. They make affordable, nice looking, practical parts that accomplish what I was looking for. I was pleased with the carbon fiber weave pattern and the fit of the parts to the M2 body. I did have to upgrade all of the hardware that came with the parts to ensure the parts could stand up to some abuse on the track. This meant replacing screws with bolts and adding more 3M tape in some places. Also you will need to fabricate some support plates for the racing wing otherwise you risk bending your truck over time. For this I had Edge Motorworks do the fabrication.
The front adjustable splitter was time consuming to install as you need to remove the bumper, but it was a rather simple process. The splitter has three pieces: a support piece, the main splitter, and the adjustable plate. What is nice about this design is that it is modeled right after the M4 GTS but scaled down to fit the M2, and thus follows the lines of the car perfectly. It also allows for a couple inches of adjustability or you can quickly and easily remove the bottom plate to make it more streetable. It also has some air ducts in the splitter that you could fabricate a mounting plate and hose to route to the front brakes if you wanted to. This might be something I do over the winter. Since I had to remove the bumper to install the splitter I took the opportunity to also install a front camera system so that when I park I can avoid smashing the carbon fiber splitter into parking curbs. The front camera also makes loading and unloading the car in the trailer easy.
One thing I really liked about RW Carbon's racing wing was that you could order it with low towers or high towers as well as with racing end plates or GTS end plates. With these options plus the fact the wing has some angle adjustability you end up with lots of choices and options to find tune the setup. I bought both end plate and tower styles, but my go to setup will be the racing end plates with the high towers.
Lastly I did install some side skirts from RW Carbon which does not add any downforce or performance to the car, but does help tie the look of the various parts together.
Overall I am thrilled with the RW Carbon aero package I pieced together. There are other aftermarket options, and some OEM options, but for the price and function you can't beat RW Carbon. You might notice some quality differences here and there and you might need to beef up the mounting hardware but for the price RW Carbon is hard to beat.
SVMC September 16th Newsletter
Read the September 16th club newsletter here.
SVMC August 26th Newsletter
Read the August 26th club newsletter here.
SVMC M2 video by Apex
Apex, who makes street and racing wheels with specific fitment for various cars, was kind enough to share the video they shot that featured the SVMC M2. I have run Apex on a few different cars with great success so they were the obvious choice when building out the SVMC M2. I currently run their matte black 18x9.5 ET28 FL-5 wheels and their stud kit. If you want to learn more about my wheel and tire setup for the SVMC M2 go here. Thanks again Apex for featuring the SVMC M2 in your promotional video. Also featured in this video is Sparta Evolution's M2 big brake kit.
SVMC July 25th Newsletter
Read the July 25th club newsletter here.
SVMC July Newsletter
Read the July club newsletter here.
BMW M2 Build - Racing Seats
Virtually any street car (no matter how expensive) is likely to have subpar seating for the track. I have driven some of the nicest street cars you can buy (Ferrari, Lamborghini, Porsche, McLaren, and others) and all had subpar seats for the track. Don't get me wrong, these cars have great seats just not ideal seats for the track. Most sports cars don't have enough lateral support, no or poorly placed harness passthrough holes, and their seats usually weight 50lb+. The M2 was no exception. While the seats where great for the street with nice materials, comfort, and design....they were not up for track duty.
I decided I wanted proper racing seats but I wanted them to be streetable. Many race seats have so much lateral support it is a challenge to get in and out of them. Also many have a halo design which is safer on the track but tends to cause visibility issues and are in fact not street legal. So that meant I needed to find proper racing seats that had the safety and support I wanted for the track but that were street legal and manageable enough for ingress and egress.
With that as the decision criteria I looked at all the usual suspects (Recaro, Sparco, OMP, Momo, Racetech, Sabelt) and while all of these are excellent seats none really fit my criteria. They were either too street focused or so track focused that they were not practical for the street. Some companies had the right type of seat but I did not fit them very well due to the width of the bucket or the height of the harness passthroughs.
I then checked out Cobra and found what I was looking for. Cobra is a UK based seat company that has the full spectrum of seats from vintage, to street, to extreme racing. One of their more popular designs is the SUZUKA PRO and for a period of time that was my first choice as I fit great in it....but the lateral support was so extreme for a dual purpose car it wasn't practical enough for my application. I then talked to Cobra and learned that the IMOLA PRO was very similar to their Suzuka Pro in design, but the Imola Pro had slightly less lateral support that resulted in better ingress and egress for the street while still giving enough support for the track.
Another advantage to Cobra seats is that many of their seats come in two different widths and many also offer their Pro-Fit system. The Pro-Fit system is where they offer multiple thicknesses of the back, bottom, and leg support pads. So between having two widths to choose from and three thicknesses of pads you have 36 different options to get a near custom fit.
I then had to decide what mounting hardware I was going to use to fit the Cobra Imola Pro seats into the factor mounting points of the M2. I ended up going with a company I have used in the past, VAC Motorsports. They have custom rails for the M2 that give dozens of options on where you mount the seats in order to get the perfect position. They also offer accessories for the rails such as sliders, a fire extinguisher mount, 3 point seat belt mounts, harness mounting points, and even a sub strap mounting bar. Because this was a dual purpose car I opted to have both 3 point (for the street) and 6 point (for the track). I also wanted the seats to be on sliders so that a variety of drivers and passengers could be comfortable. Finally I wanted the first extinguisher mount as some of the organizations I run with have that as a requirement. I called VAC and they were able to pull together a package for me that gave me all the options I needed.
As for the 6 point harnesses, I again went with a company I have used before. Schroth Racing is a trusted name in motorsports and I have still not found any harness I like better. I went with their Flexi 2x2 6 point. It is great with a Hans device, comfortable, and easy to adjust.
A word of caution to those that are going to do something similar to a modern car. Keep in mind that once you remove factor seats you will throw a ton of error codes and your dash will light up like a Christmas tree. By removing the factory seats I had warning messages for airbags, seat belts, seat heaters, position memory, and passenger sensing. All of those needed to be coded out which I did by working with CodeMyCar.
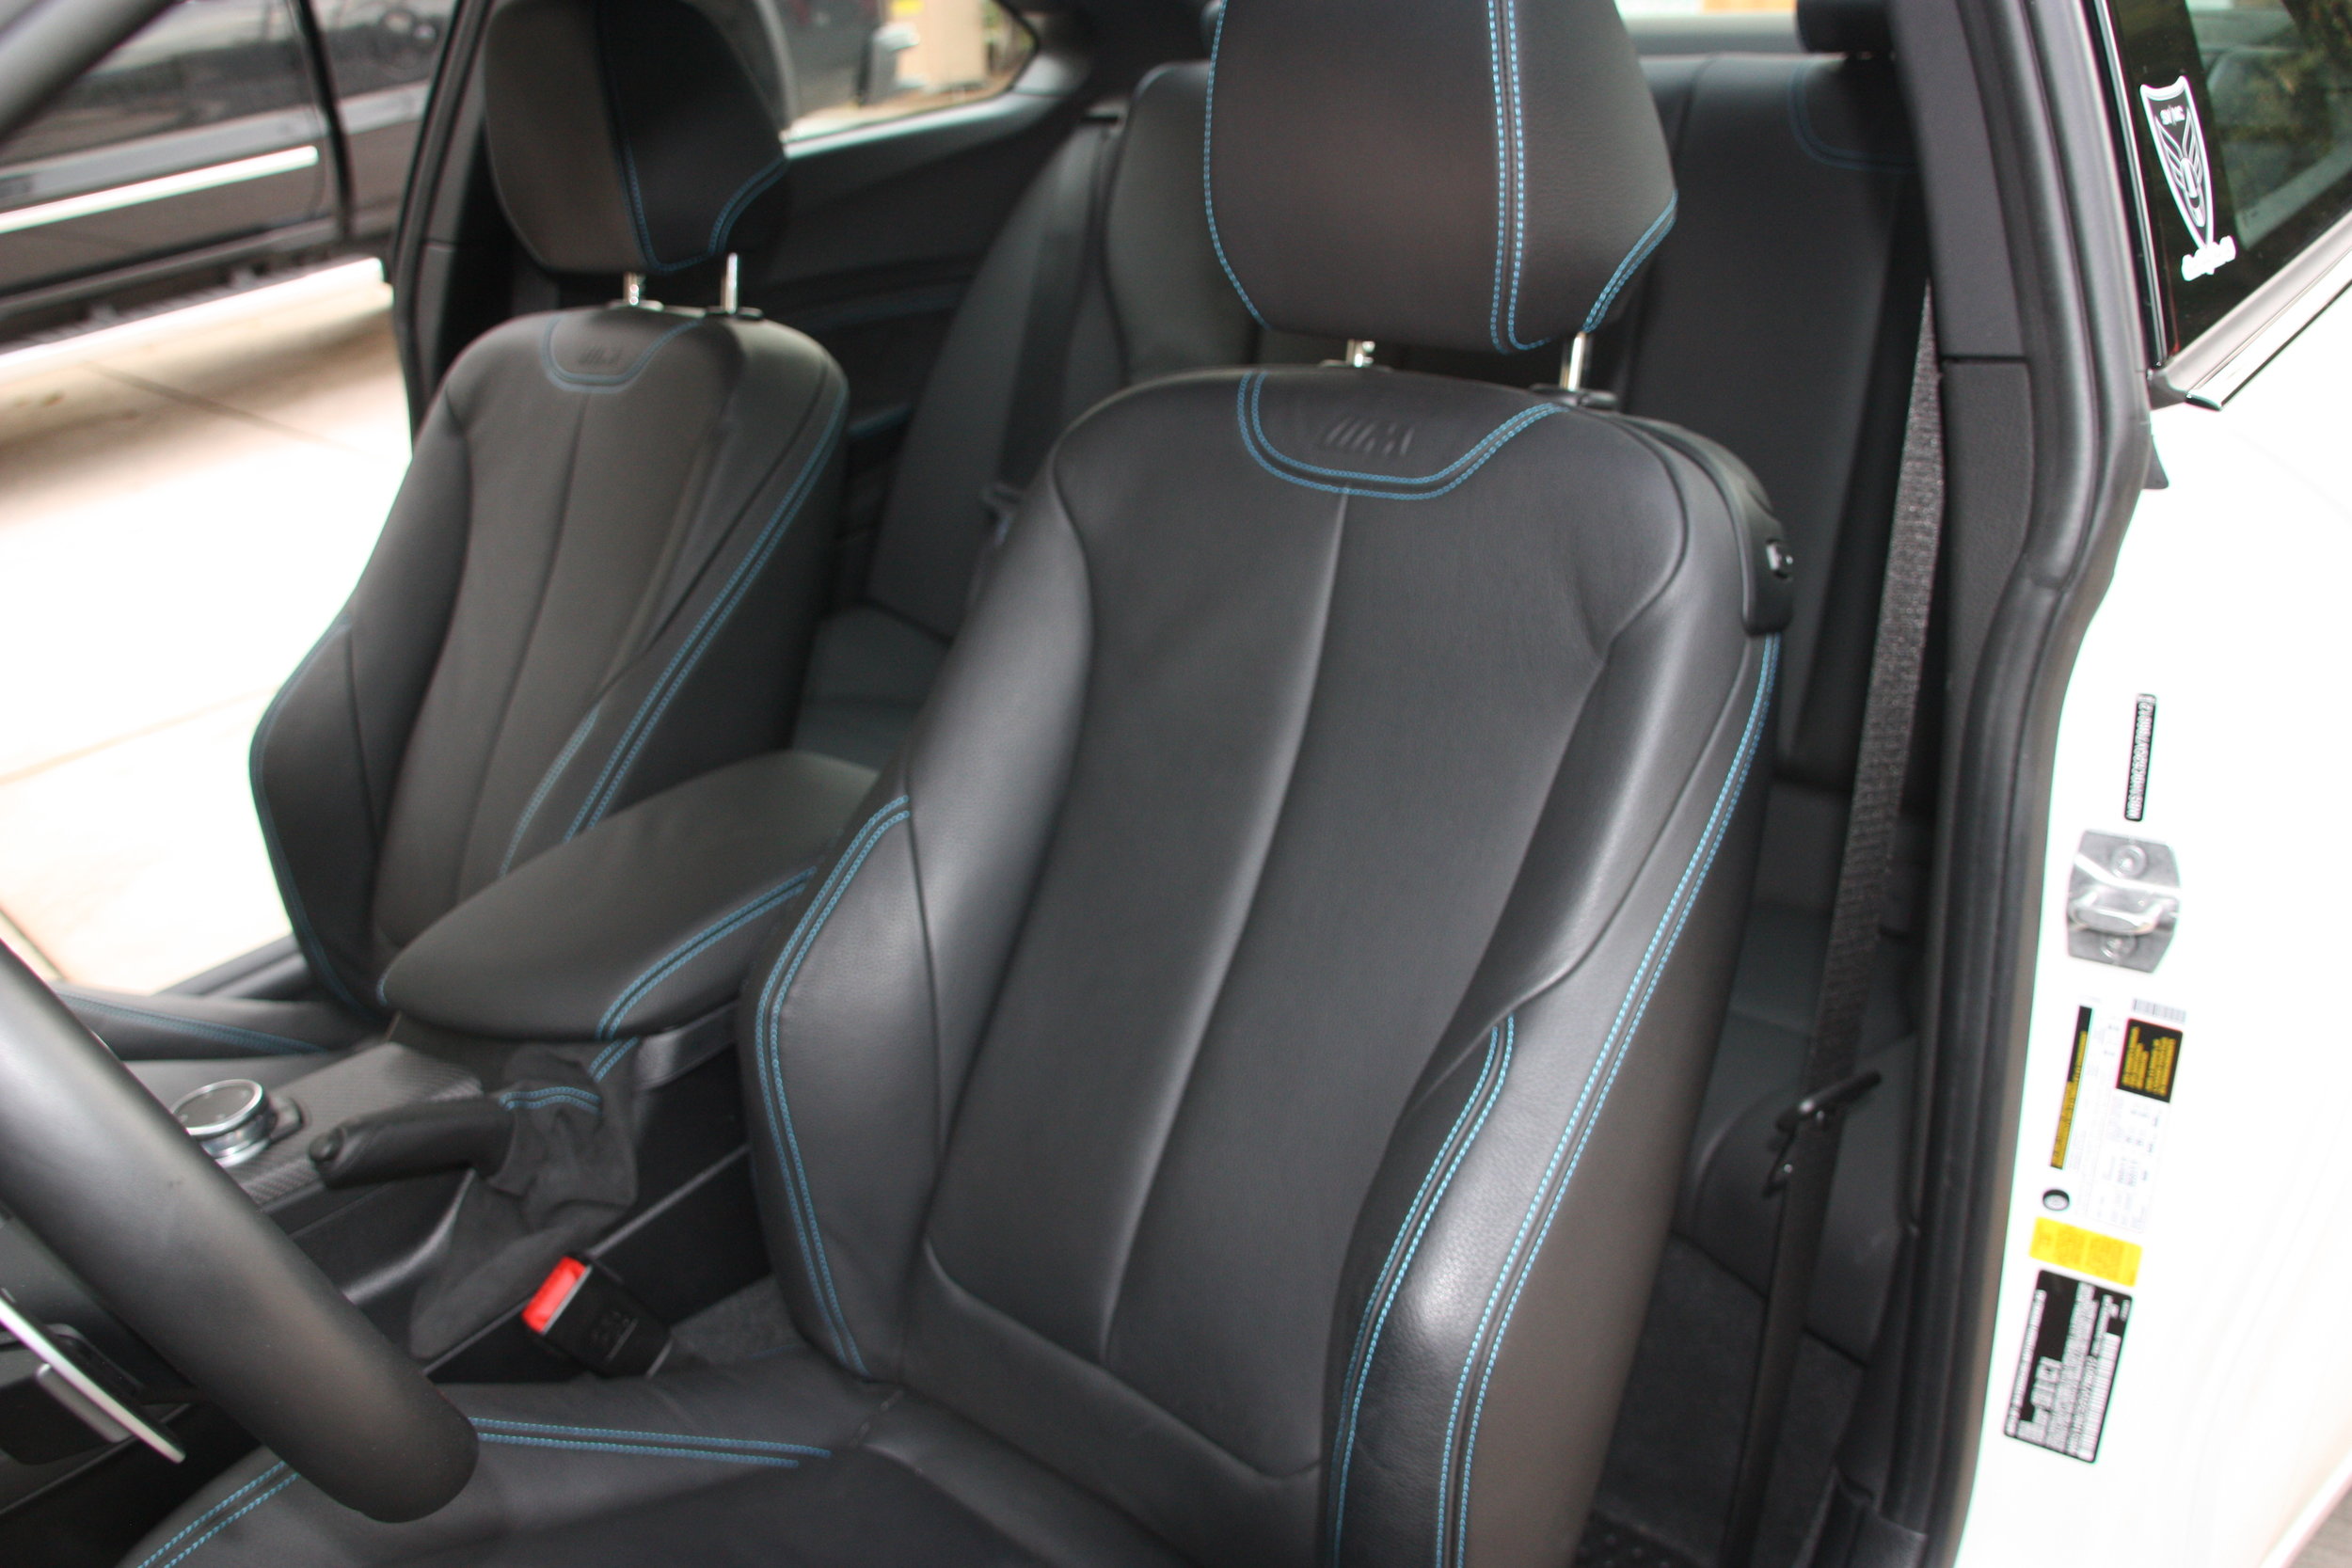
With all that done I still had two decisions to make. 1) What do I do with my factory M2 seats? and 2) Do I stay with the theme of a factory GTS style build and thus reupholstery the race seats to match OEM materials? As you can see below I was able to fab up a mounting plate and convert my M2 seats into office chairs, which are surprisingly comfortable. For question #2, I figured that if you go this far you might as well go all the way. So I am currently working with a custom upholstery shop to make the race seats match OEM materials of leather, Alcantara, and polar blue stitching. More on that in a future blog post around the custom interior - which might have been the hardest part of this whole project.
BMW M2 Build - Racing Steering Wheel with Display
Sometimes you do a mod to get better performance. Sometimes you do a mod to achieve a certain look. Other times you do a mod just because you know you will like it. That is why I added the BMW M Performance racing steering wheel with built in display. It just makes driving the car more fun and interactive.
The steering wheel is wrapped in black Alcantara and finished with a matte carbon fiber trim. The buttons, paddles, and airbag all come from your original steering wheel. There are two buttons (one on the left and one on the right) for your thumbs to toggle between the functions of the display. The center display has useful information such as oil and water temp as well as not so useful information like a lap timer. While the lap timer and other monitoring functions work well, any respectful track driver would use a real data logger. There are also shift lights to the left and right of the center display. This might be the most useful (and fun) part of the steering wheel. You can set the RPM threshold of the shift lights rather easily in the settings of the steering wheel.
I have taken the SVMC M2 onto the track a few times since this mod and while it doesn't make you faster it certainly put a smile on my face lap after lap.
BMW M2 Build - Racing Suspension & Brakes
No track car is complete without a proper suspension system. The M2 (F87) comes with a great street focused suspension that is comfortable on the track. Many of the components come directly from the M4/M3, and if the car is only going to see light track use the stock setup is likely good enough. After spending a couple days with the car on the track I decided I wanted a more track/race specific suspension system. The main things I wanted to change over the stock setup is that I wanted to put in more negative camber, I wanted a lower and tighter ride, and I wanted adjustability to accommodate different tracks and different setups.
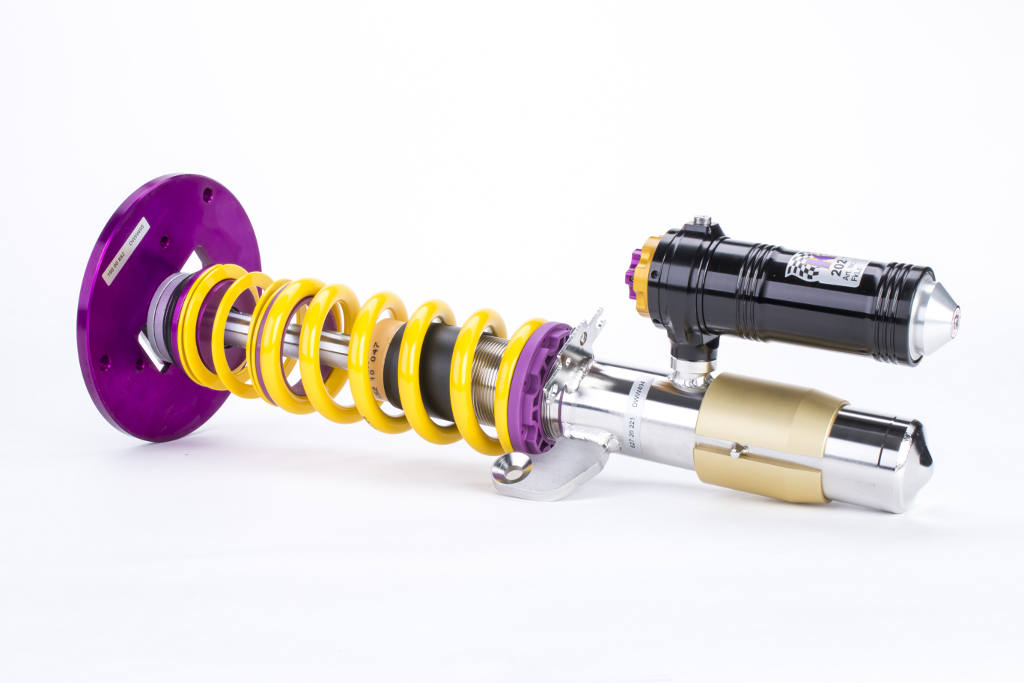
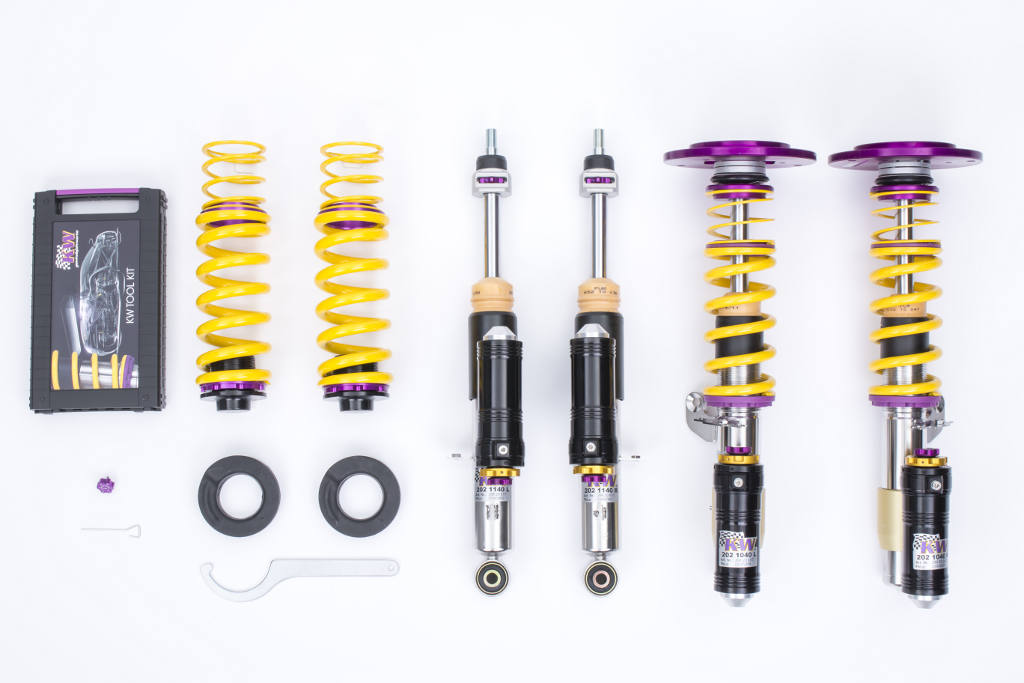
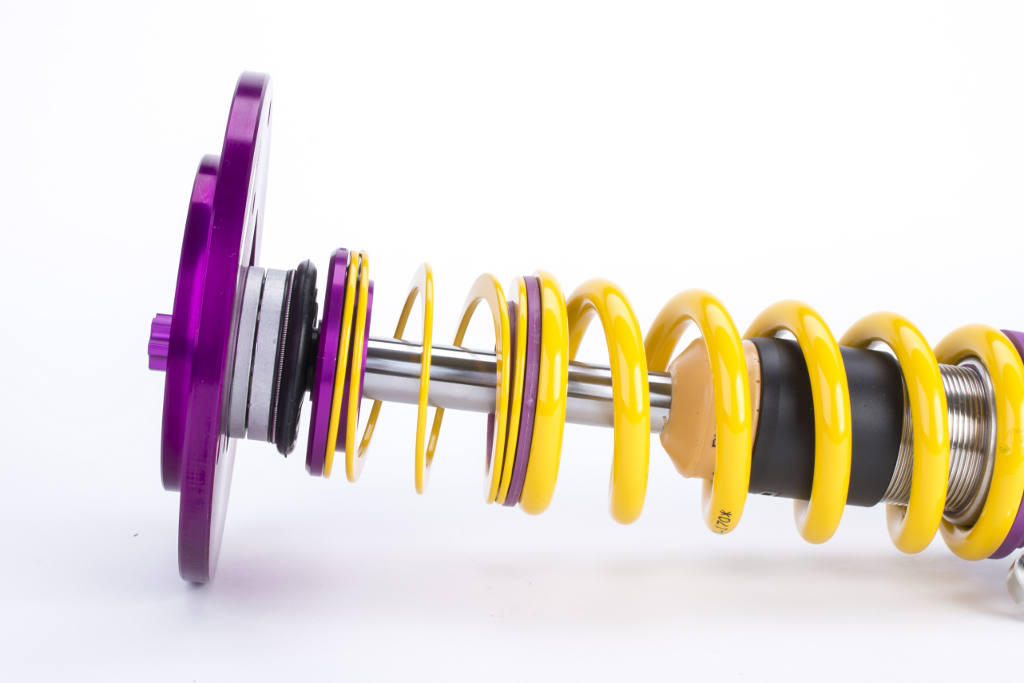
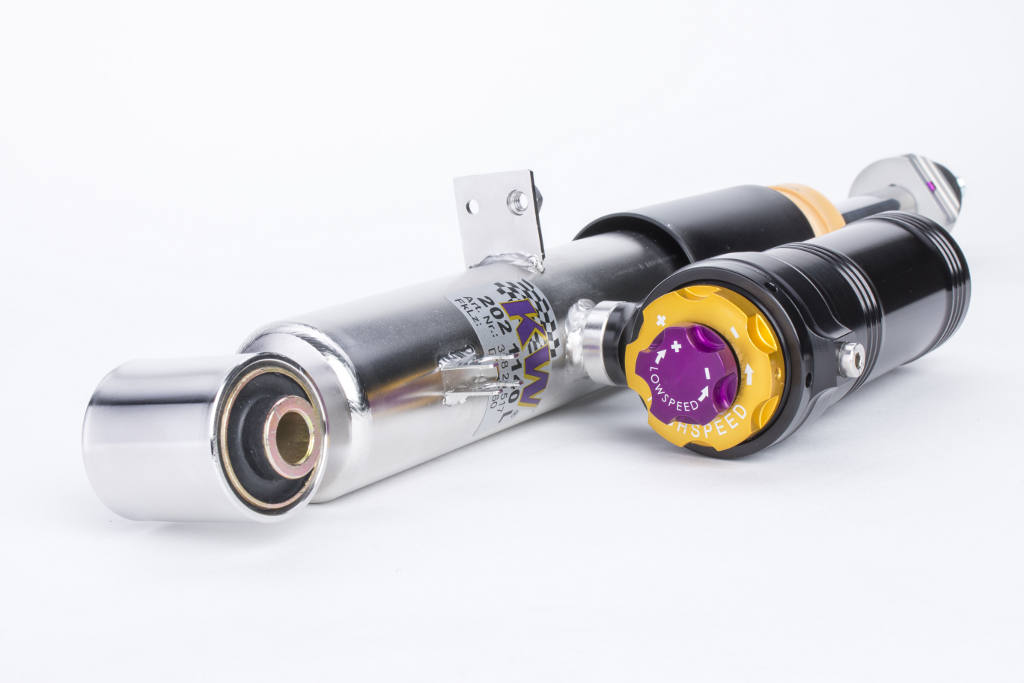
To accomplish this I choose KW Suspensions 3 Way Clubsport coilover kit and their adjustable camber plates. I also upgraded the rear camber arm bearing with Bimmerworld's M4 kit and the front upper control arm bearing with Bimmerworld's M4 kit. This will take out some of the snappiness when quickly unloading the suspension. I decided to keep the sway bars and control arms all stock for now, but after we get some more track testing done we will decide if any further medications are needed.
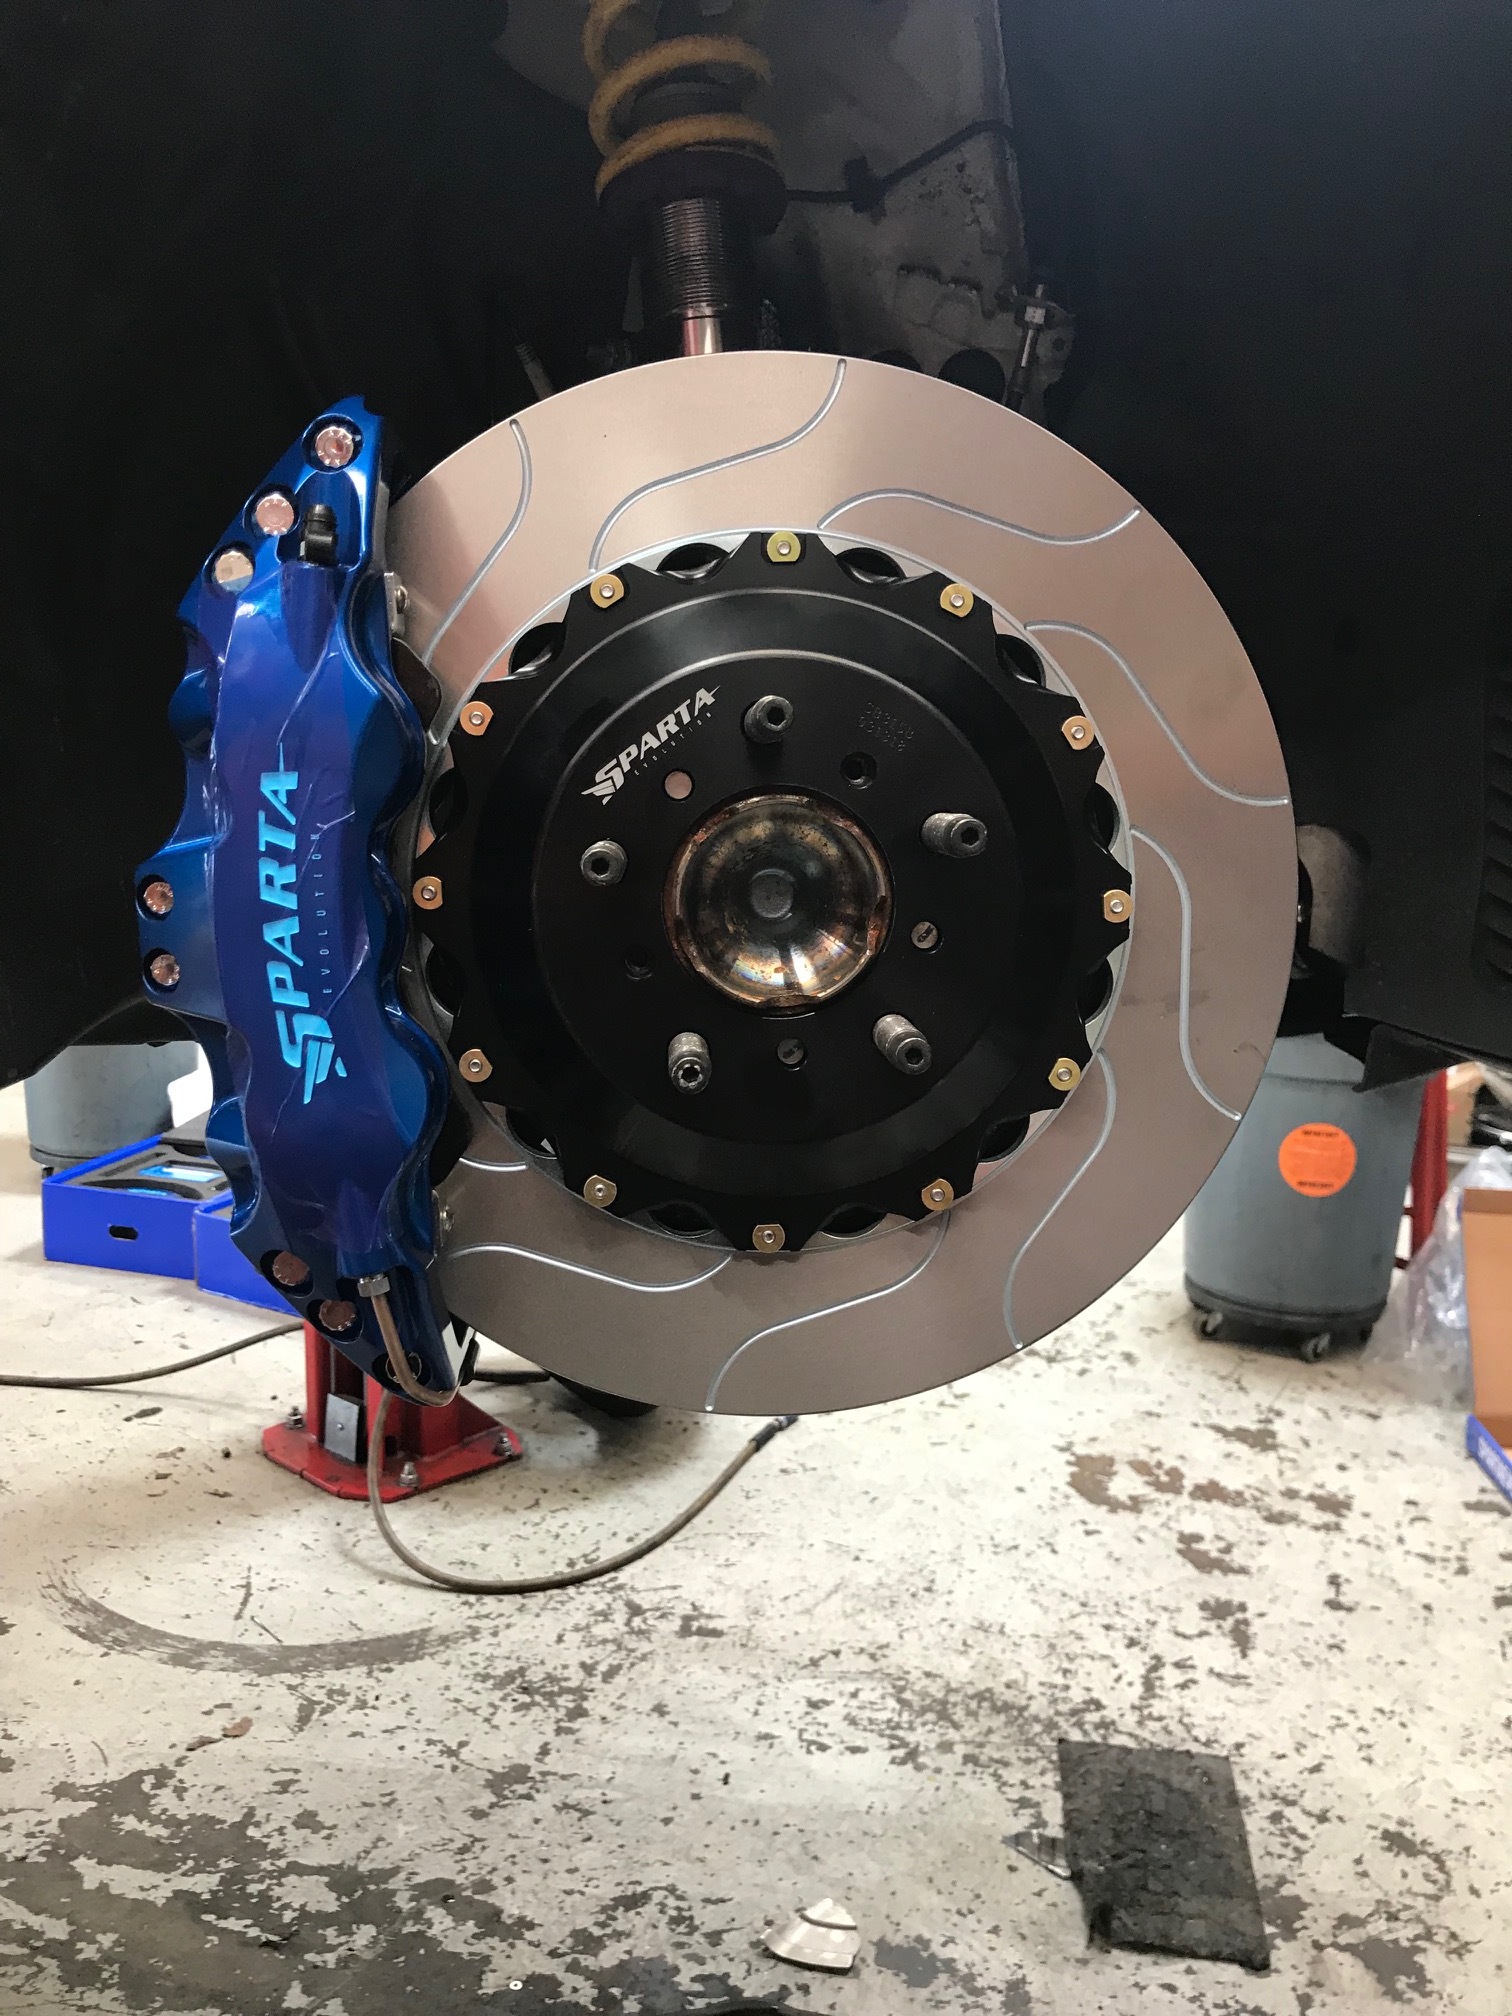
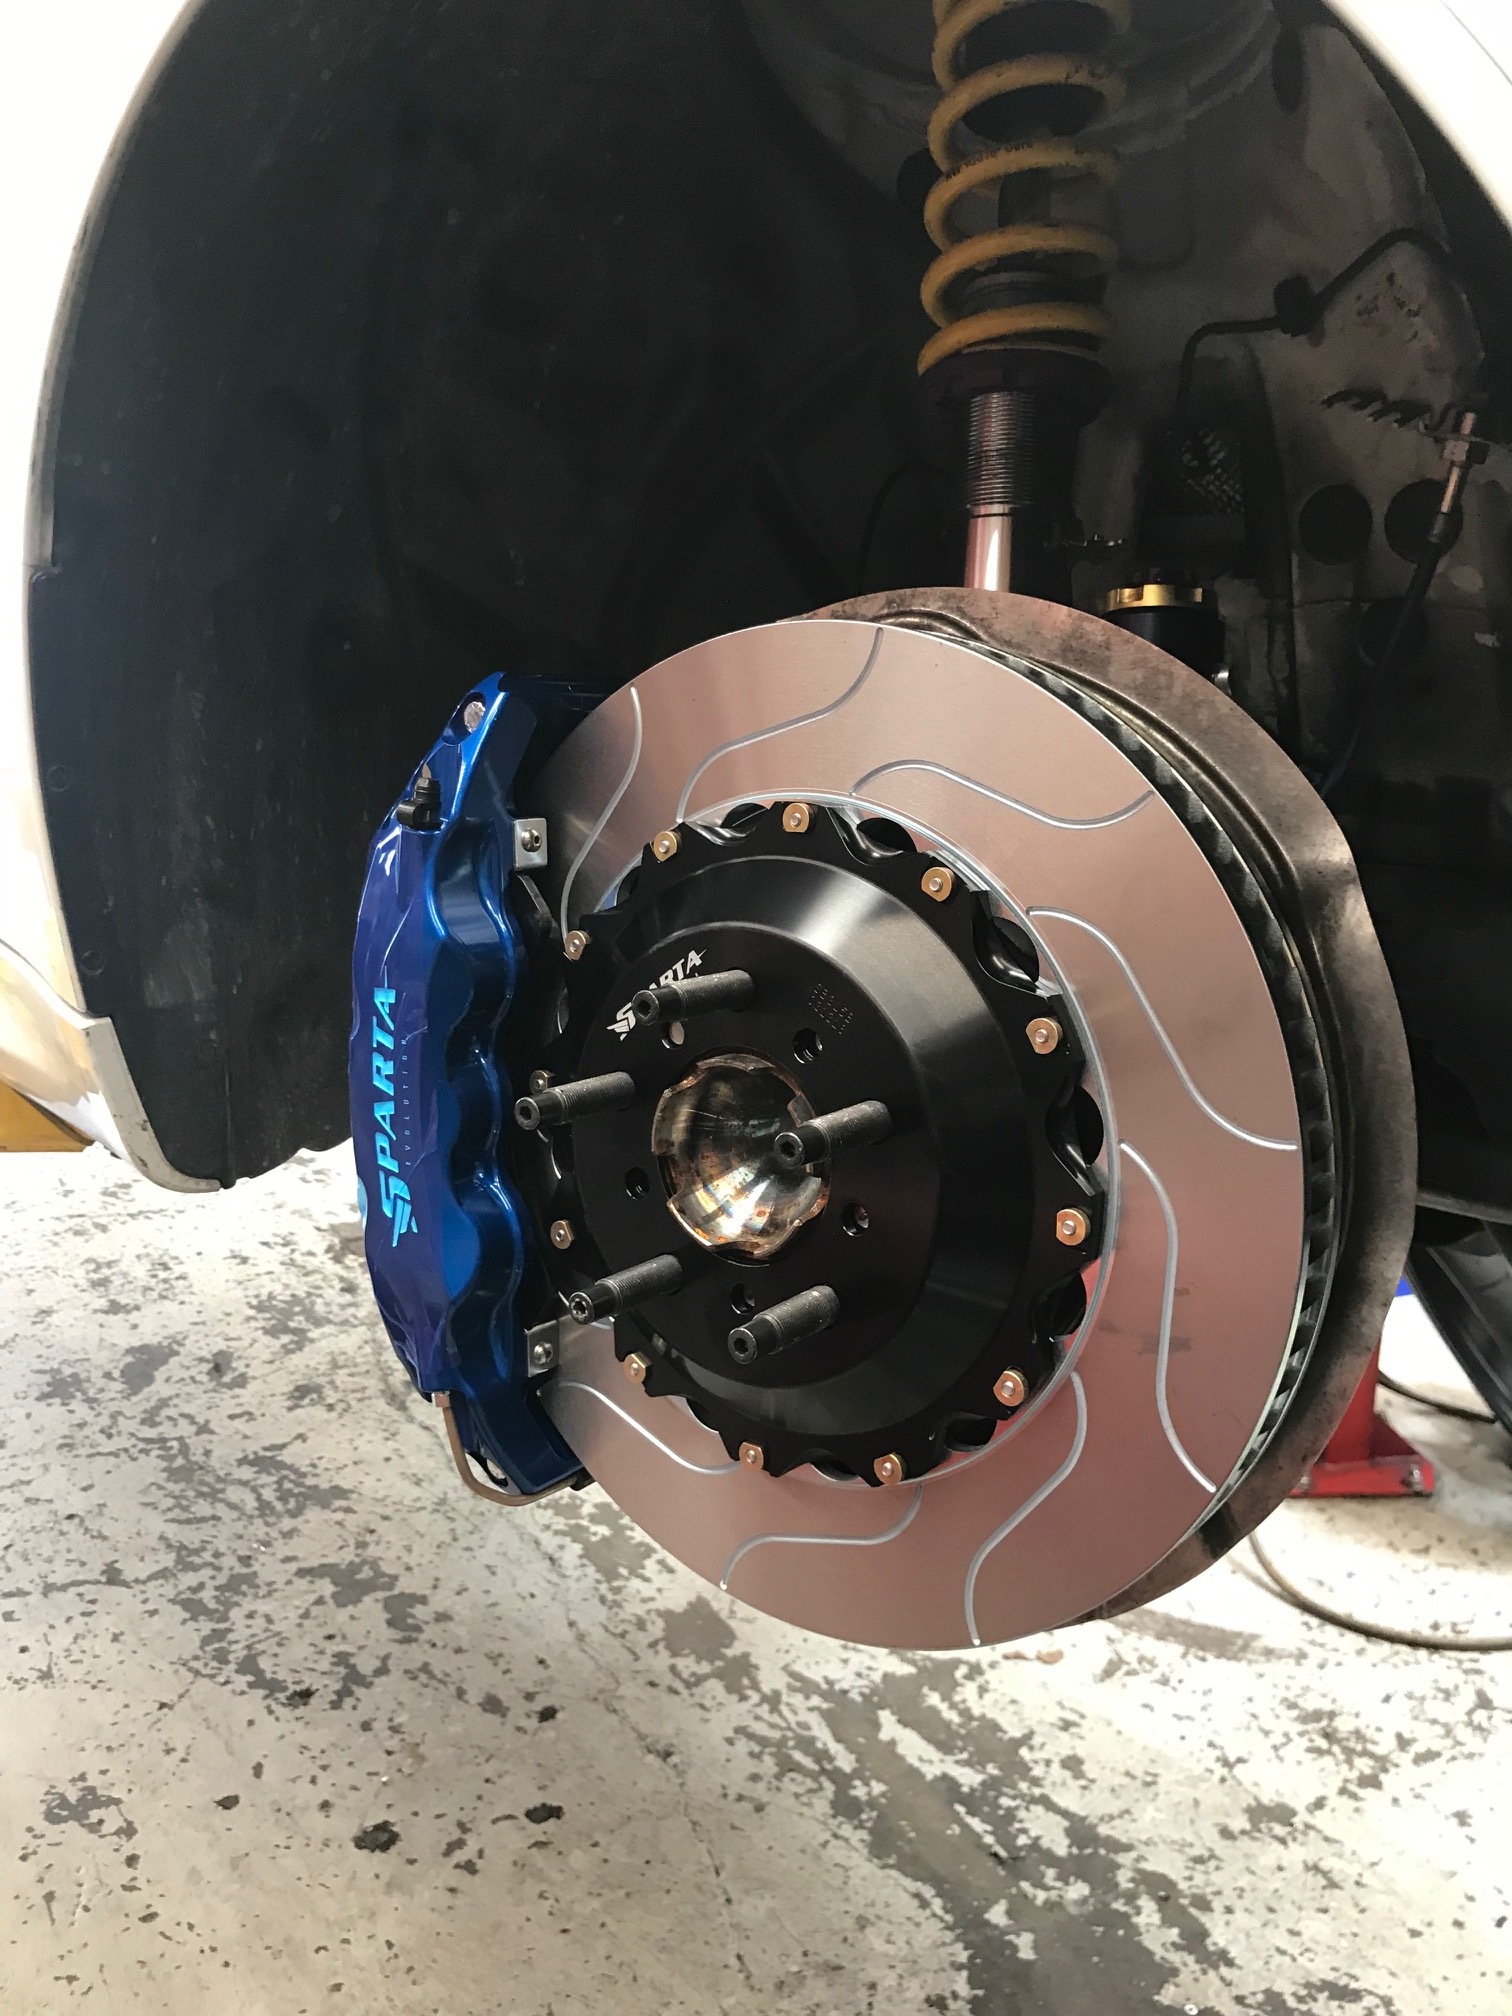
Like the suspension, the M2 stock brakes are good for street and light track duty but not up for the task of heavy track use. I had already upgraded the pads and fluid but found the brakes still needed more stopping power. Instead of going with Brembo or StopTech or AP I decided to go with Sparta Evolution out of Washington. They have fantastic track and race kits at a reasonable price that should be considered before simply going with the bigger brands.
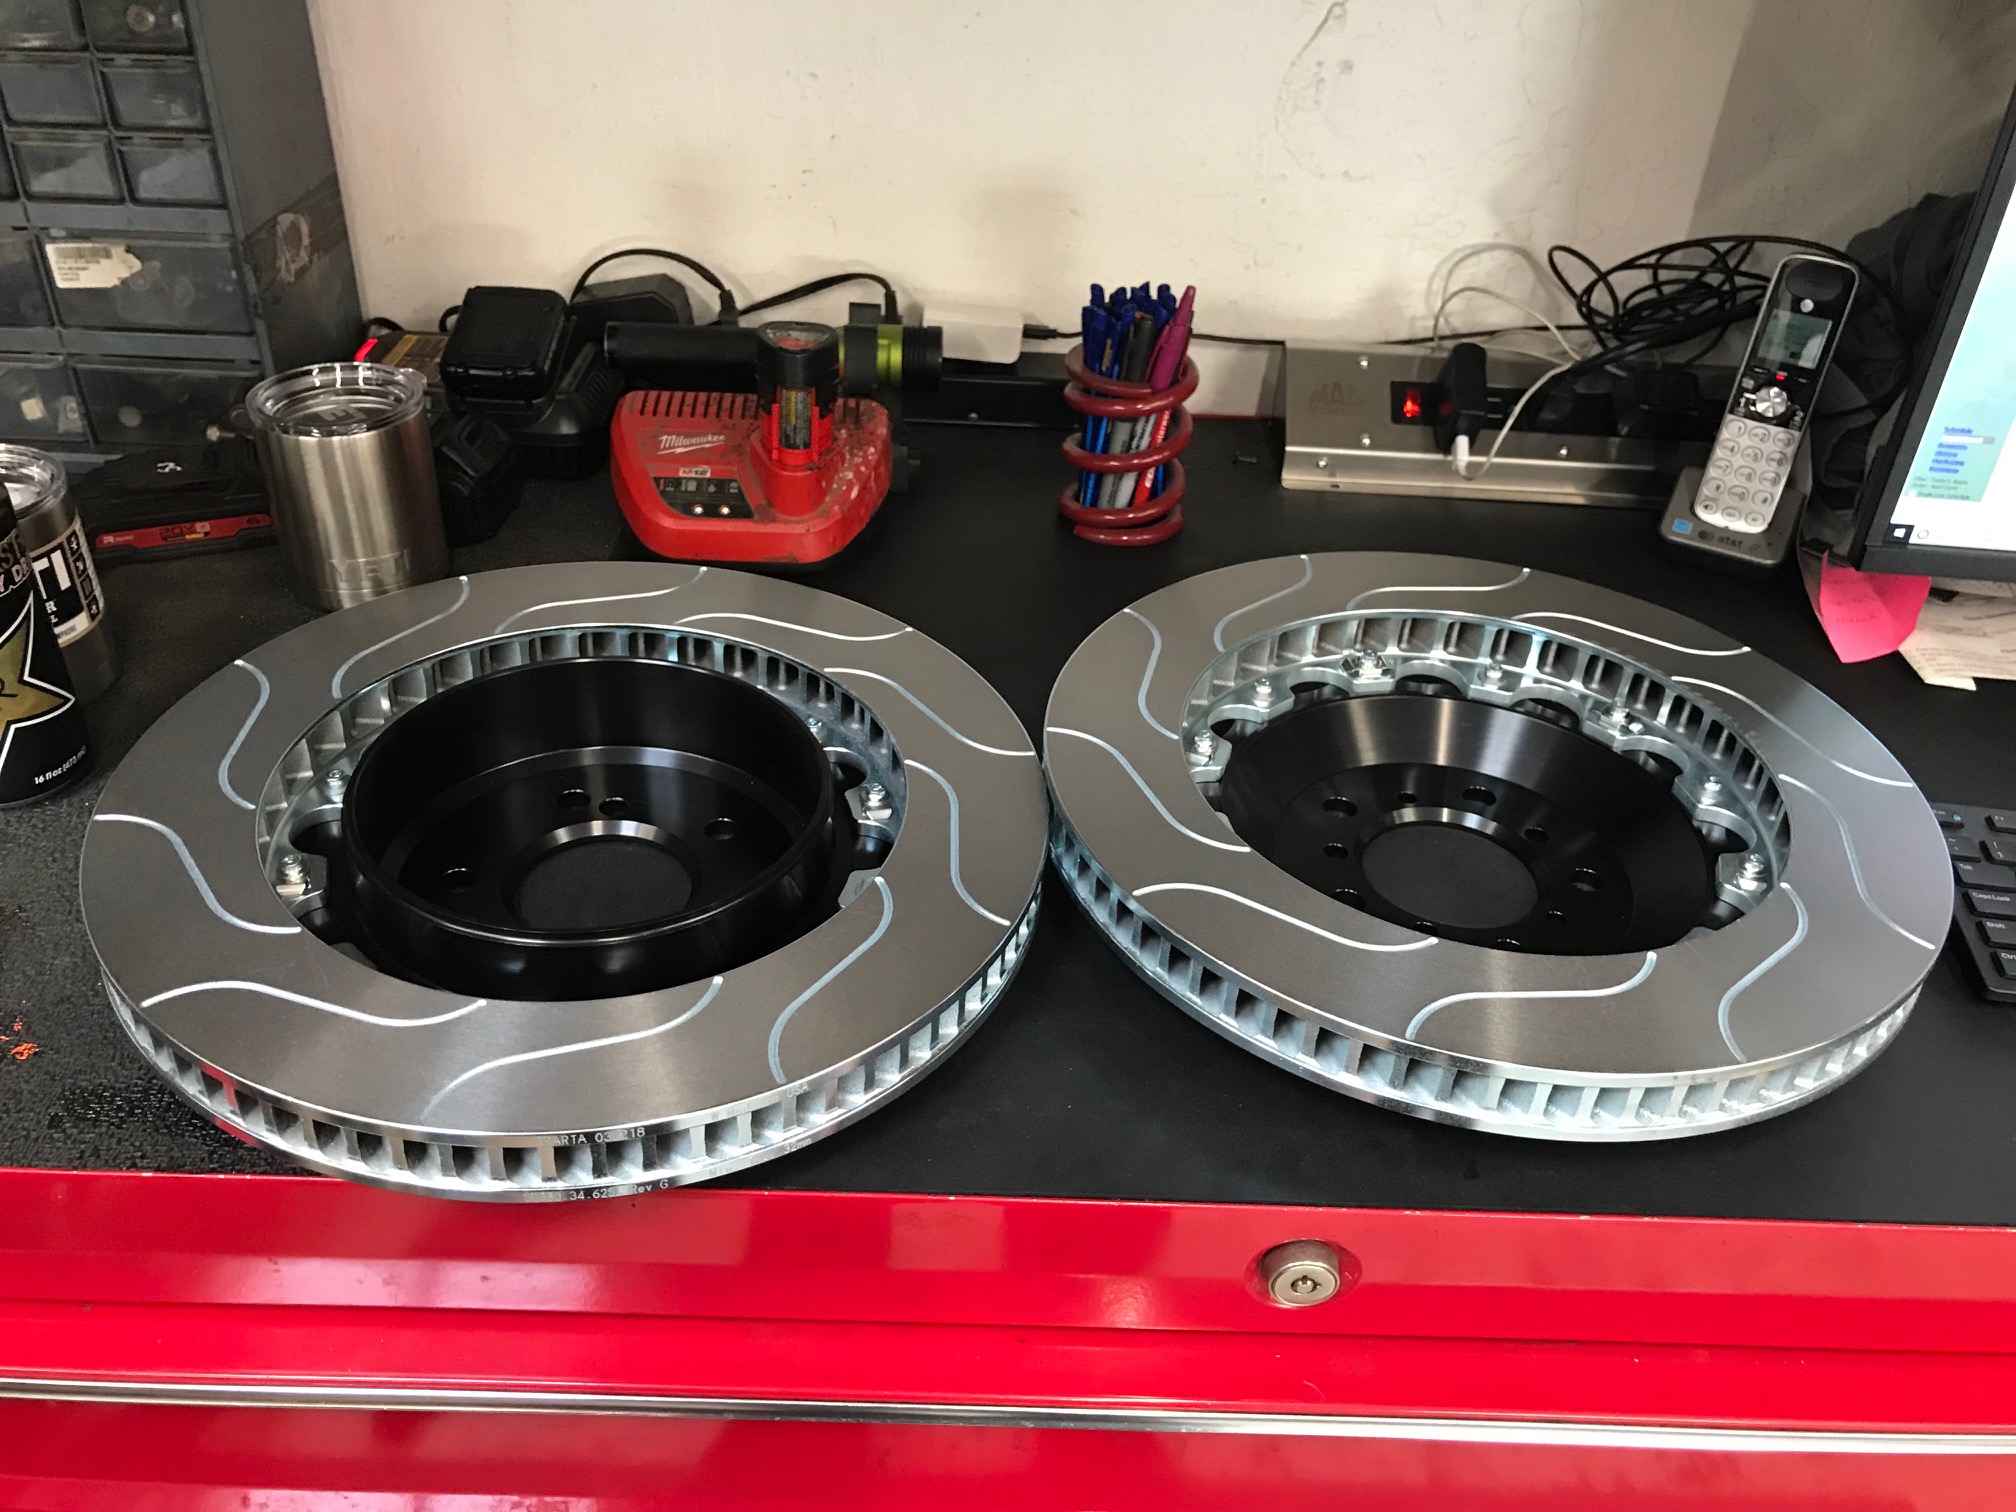
Their calipers are forged in aluminum, come powder coated or anodized, have quick release pad retainer pins, and there are a ton of pad options to choose from. For the M2 we were able to upgrade to Sparta Triton 6 piston in the front and 4 in the back (stock is 4 and 2). I went with their 3.0 pads which are designed for heavy track use but manageable for the street. They have less and more extreme pad options as well. For rotors I went with Sparta's Pegasus two piece floating hat rotors with an S-slot pattern. They are 380mm front and back (just a bit bigger than stock). This should be a huge improvement over the stock setup. There is a chance we will still need some brake air ducts which we can fabricate if needed.
Edge Motorworks of Mountain View helped me select the suspension and brake systems as well as doing all the install and adjustments. Edge also did a corner balance and track focused alignment. We did find we needed a 5mm spacer (3mm might be enough) in the front to properly clear the wheels. Now its time to test it out on the track and fine tune the setup to optimize the performance.
BMW M2 Build - Custom Cage
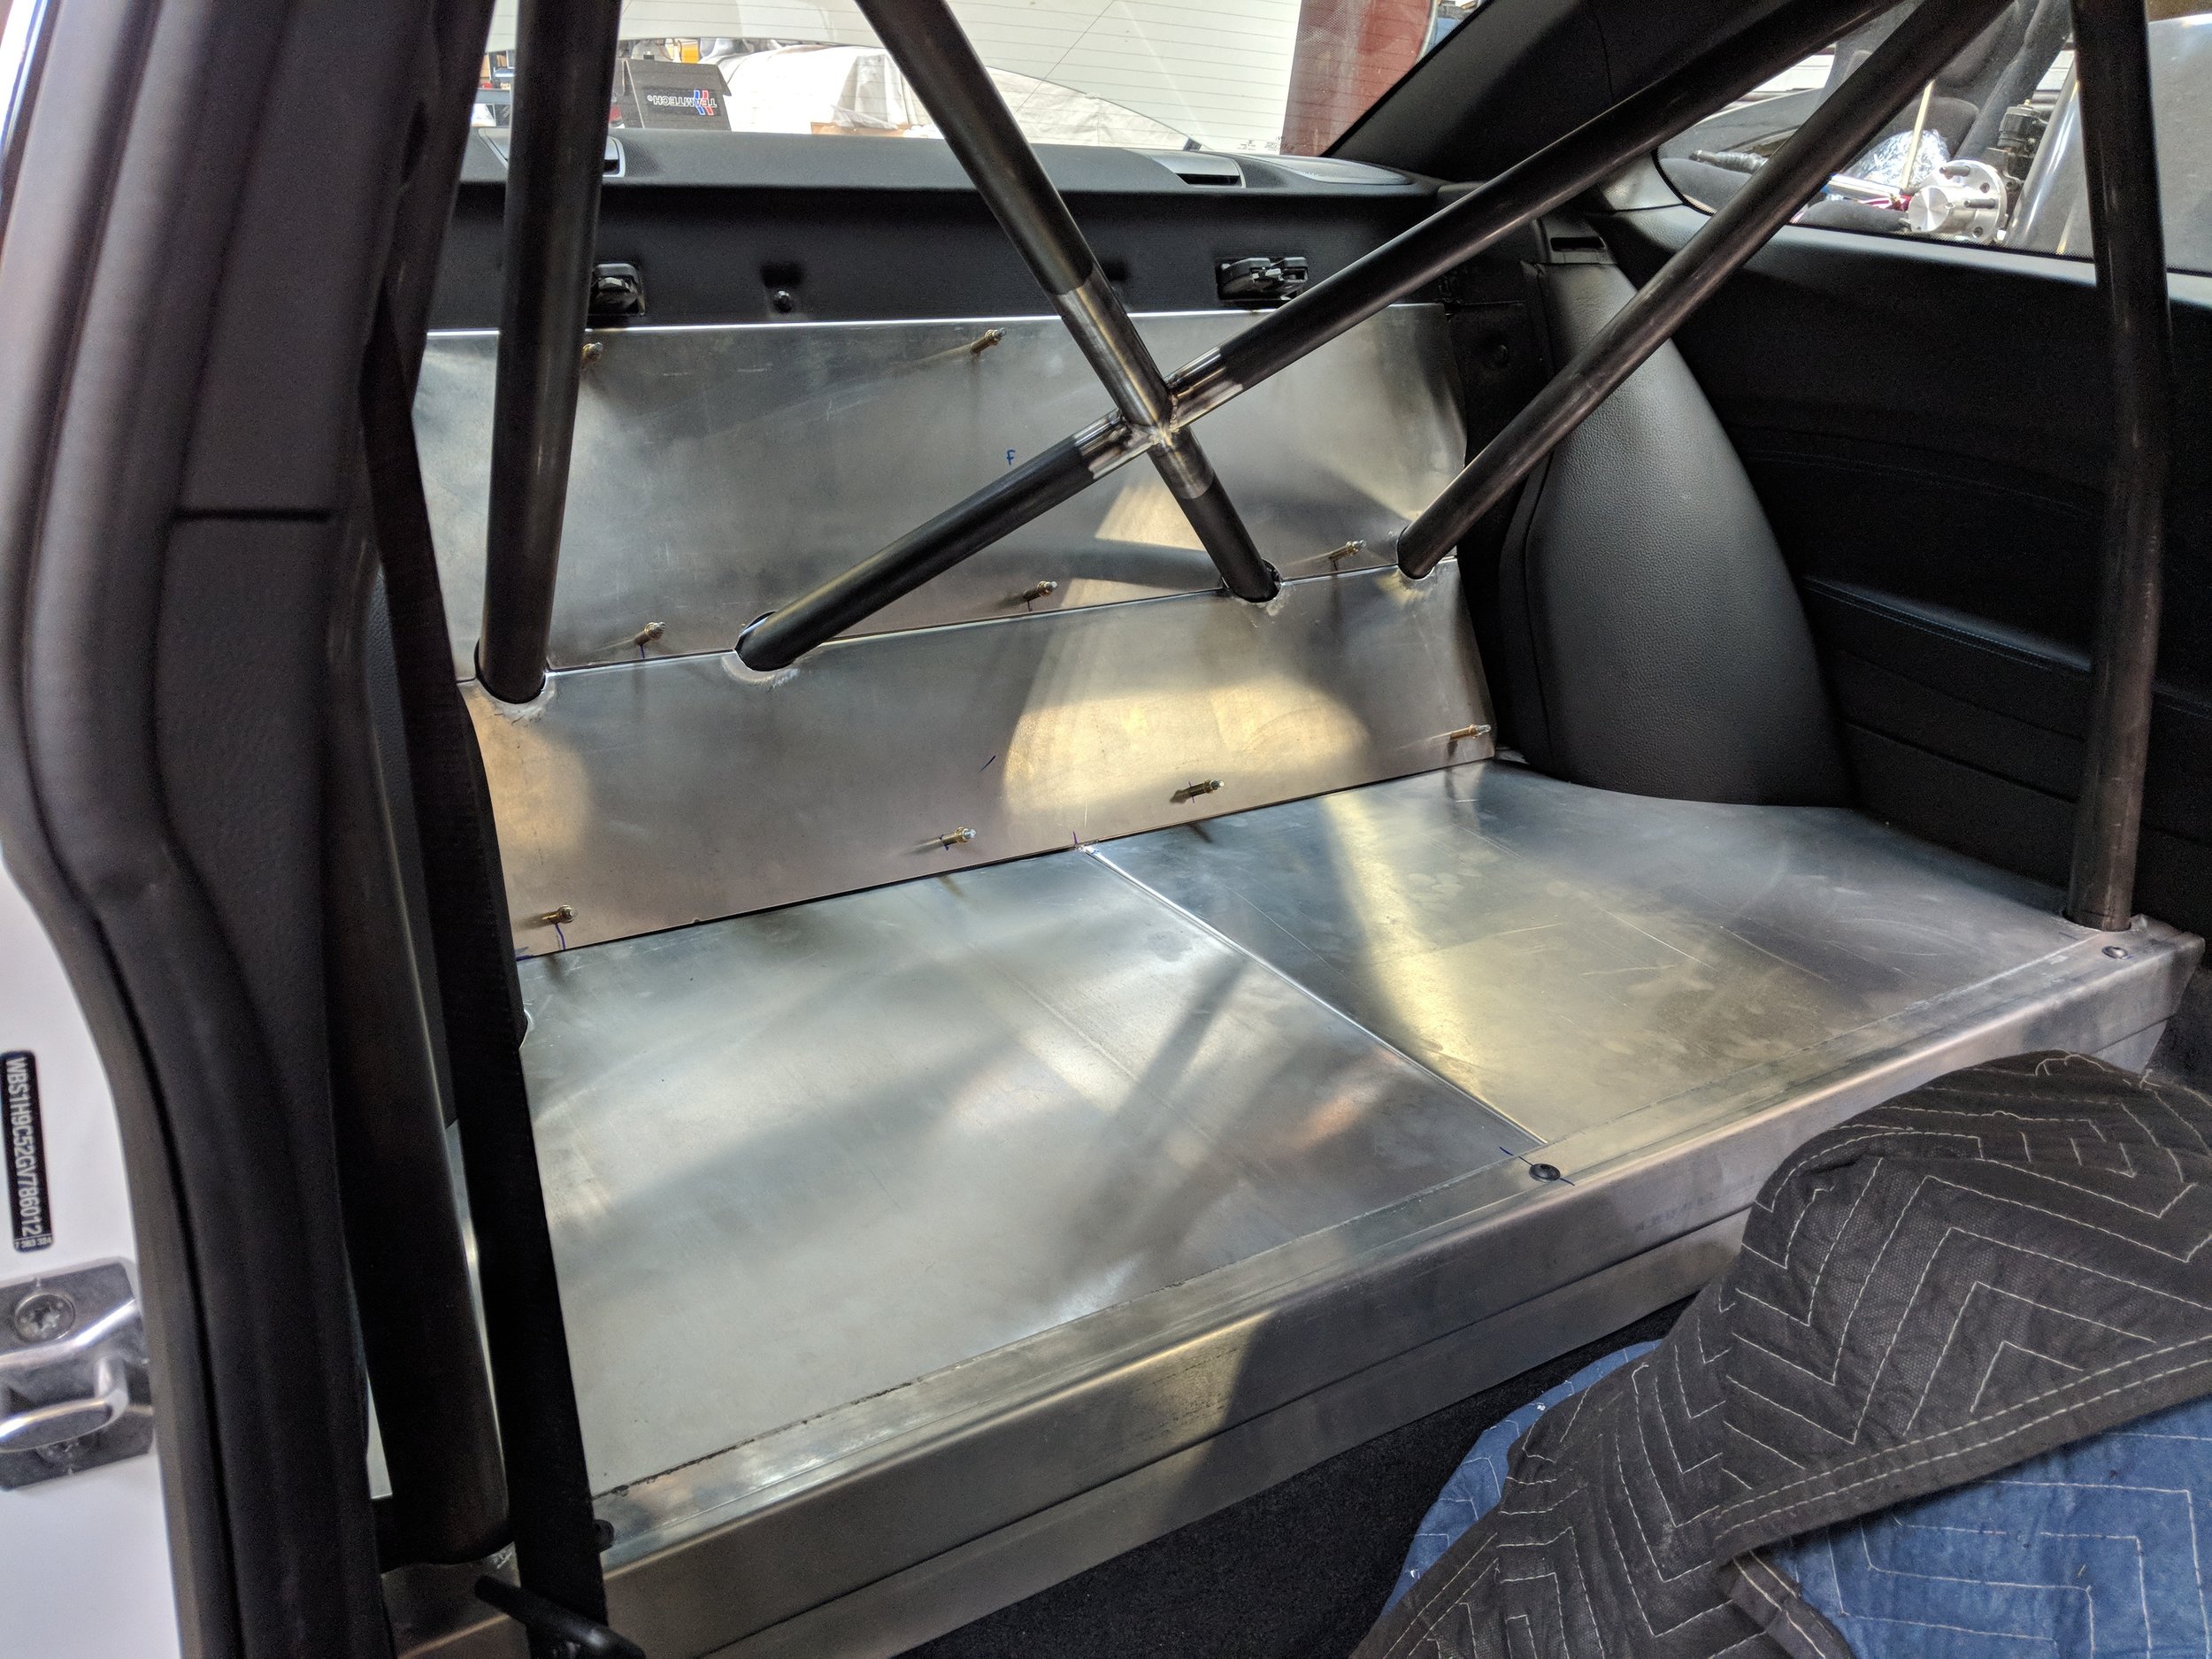
I, like many others, started my track experience in a stock street car but it wasn't long before I realized just how important safety gear is. In my opinion you can't spend too much money on safety gear. I knew I wanted a cage added to the M2 and while a full cage would have been safer it would have limited the SVMC M2 to the track as it would no longer be street legal. Because this build had to be street legal, I went with a half cage. But not just any half cage, an extremely custom and over-engineered half cage by TC Design.
I could have gone for an off the shelf half cage and pre-fabricated rear seat delete panels. I could have gone with the high end options from BMW Moto GP, RKG, or Fall Line. But when you look at all of these options you will notice some design compromises that seem to be a little less safe. All of the cages I looked at were built to some spec (NASA or SCCA usually) and certainly are better than no cage, but they seem to have sub par mounting points or had the horizontal bar at the wrong height or used a simplistic design that sacrificed strength. I have no doubt they are all "good" cages but I wanted the best possible half cage.
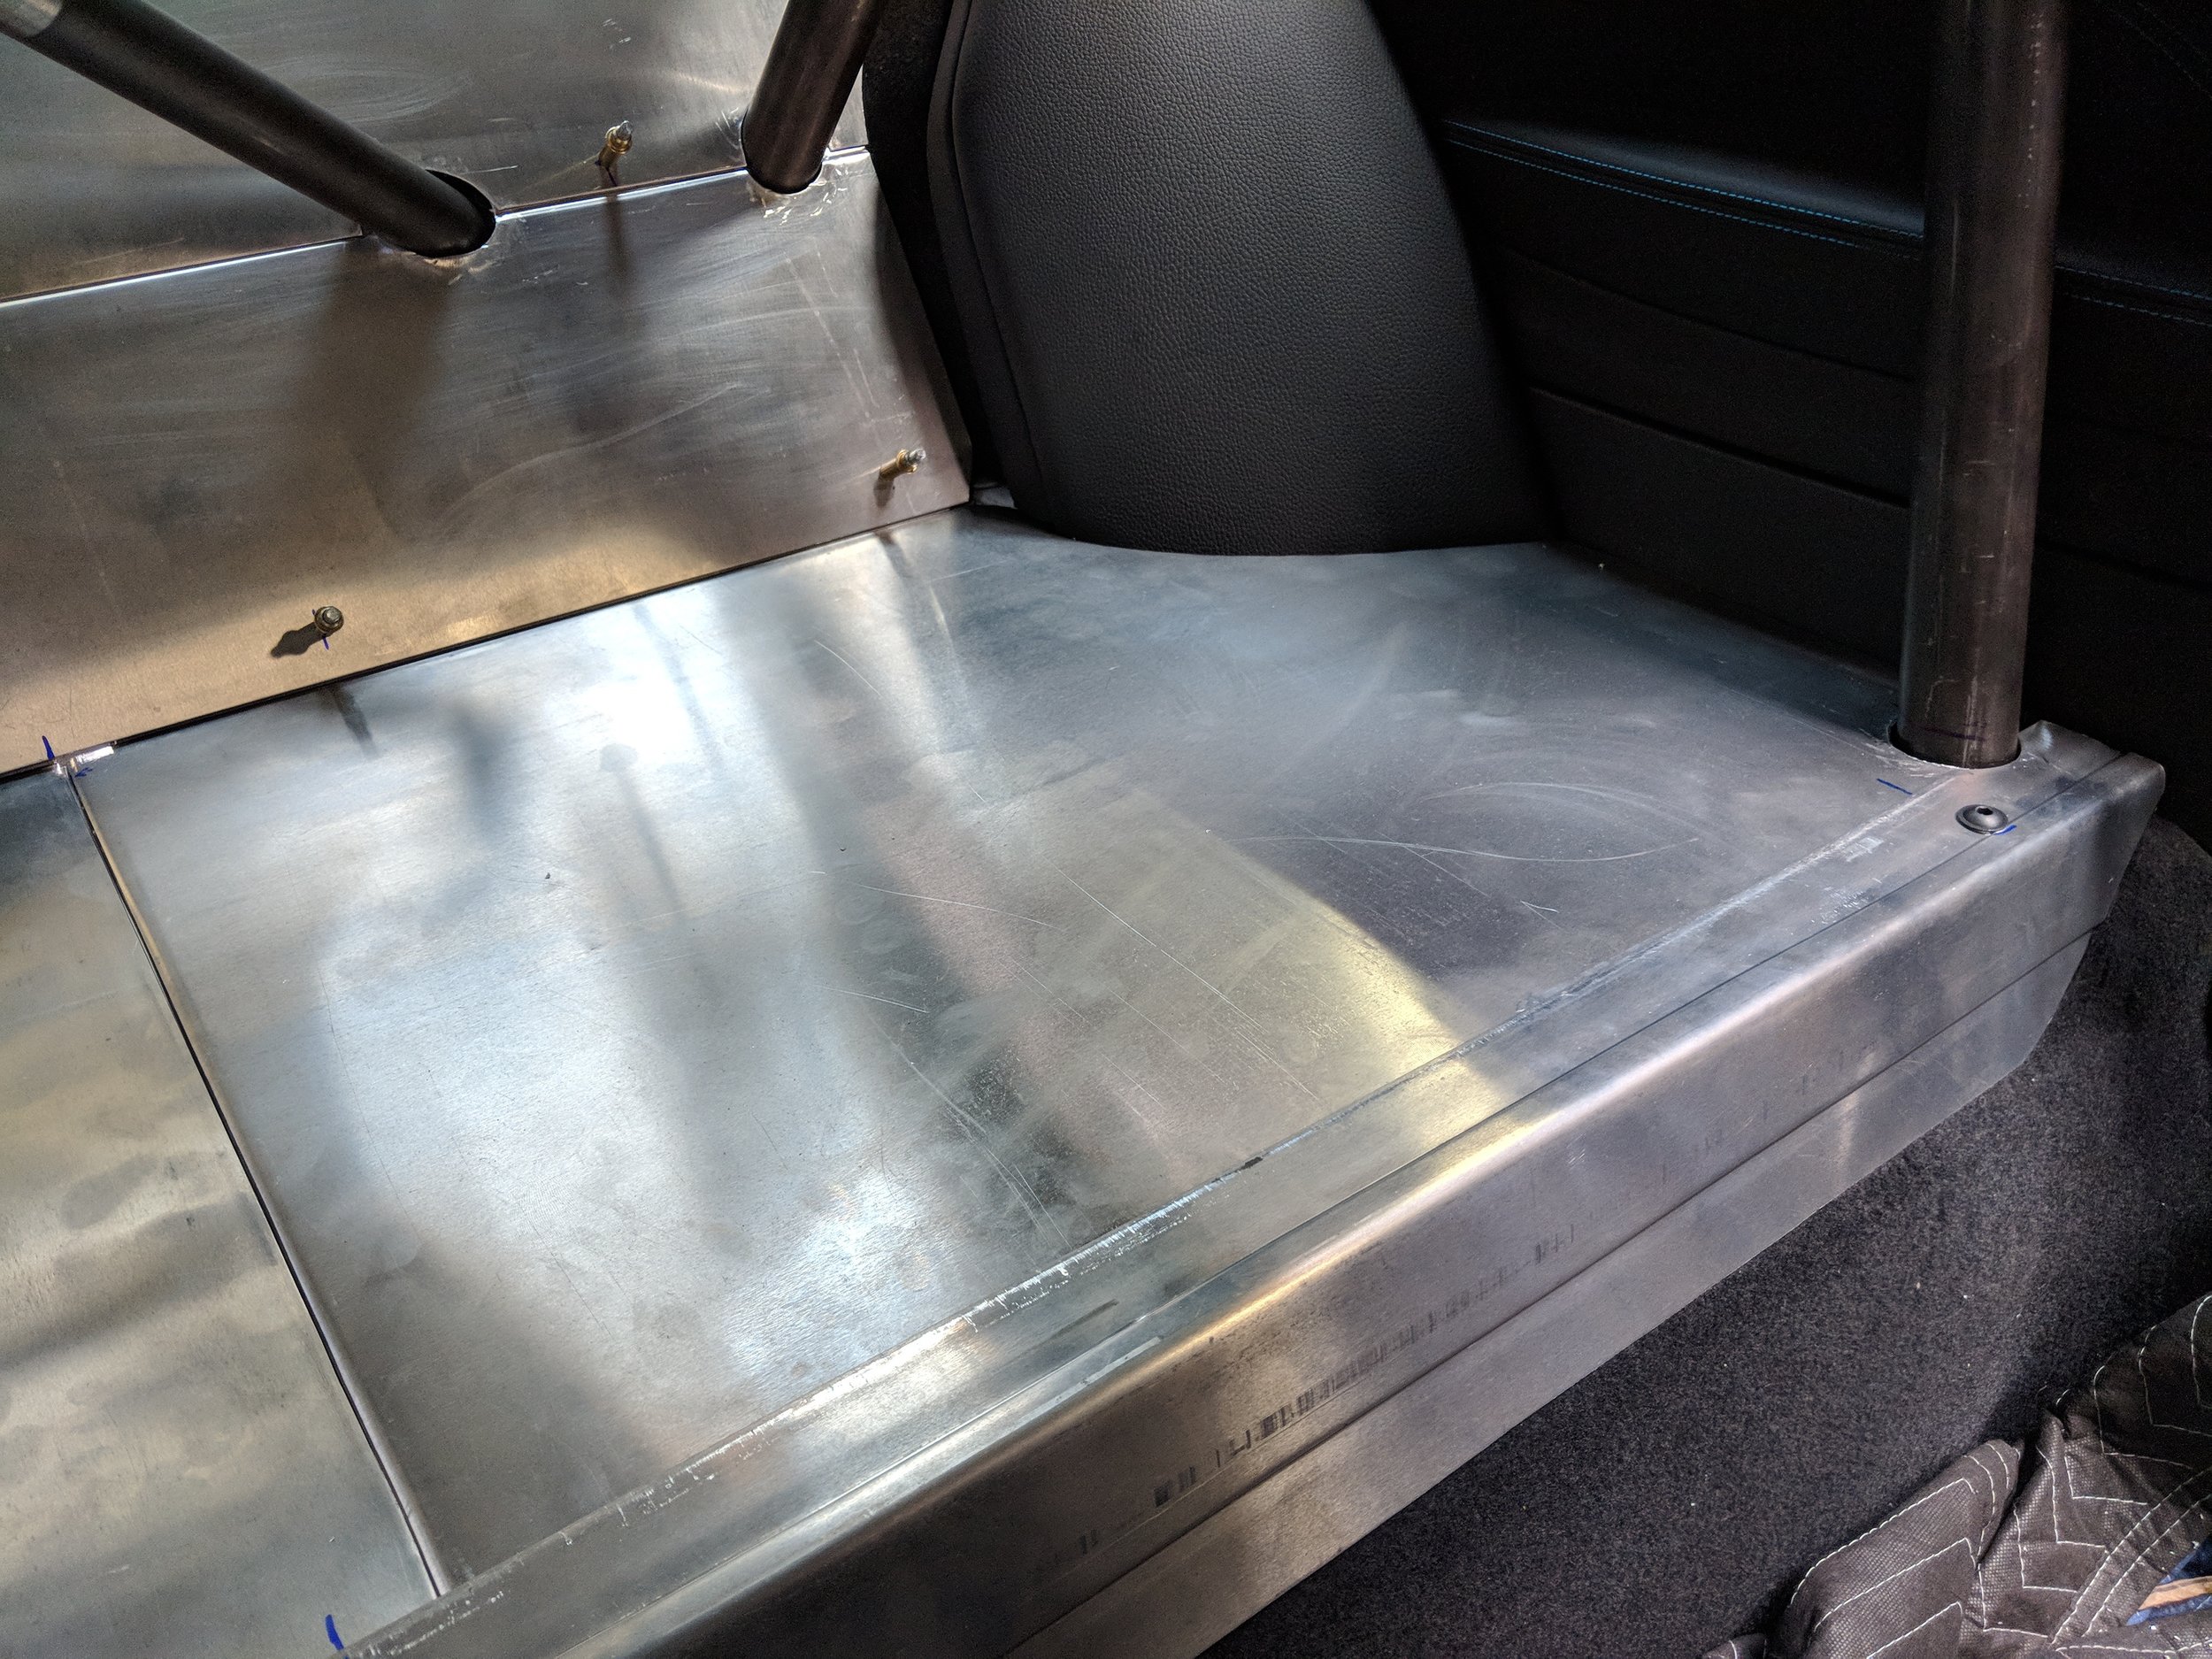
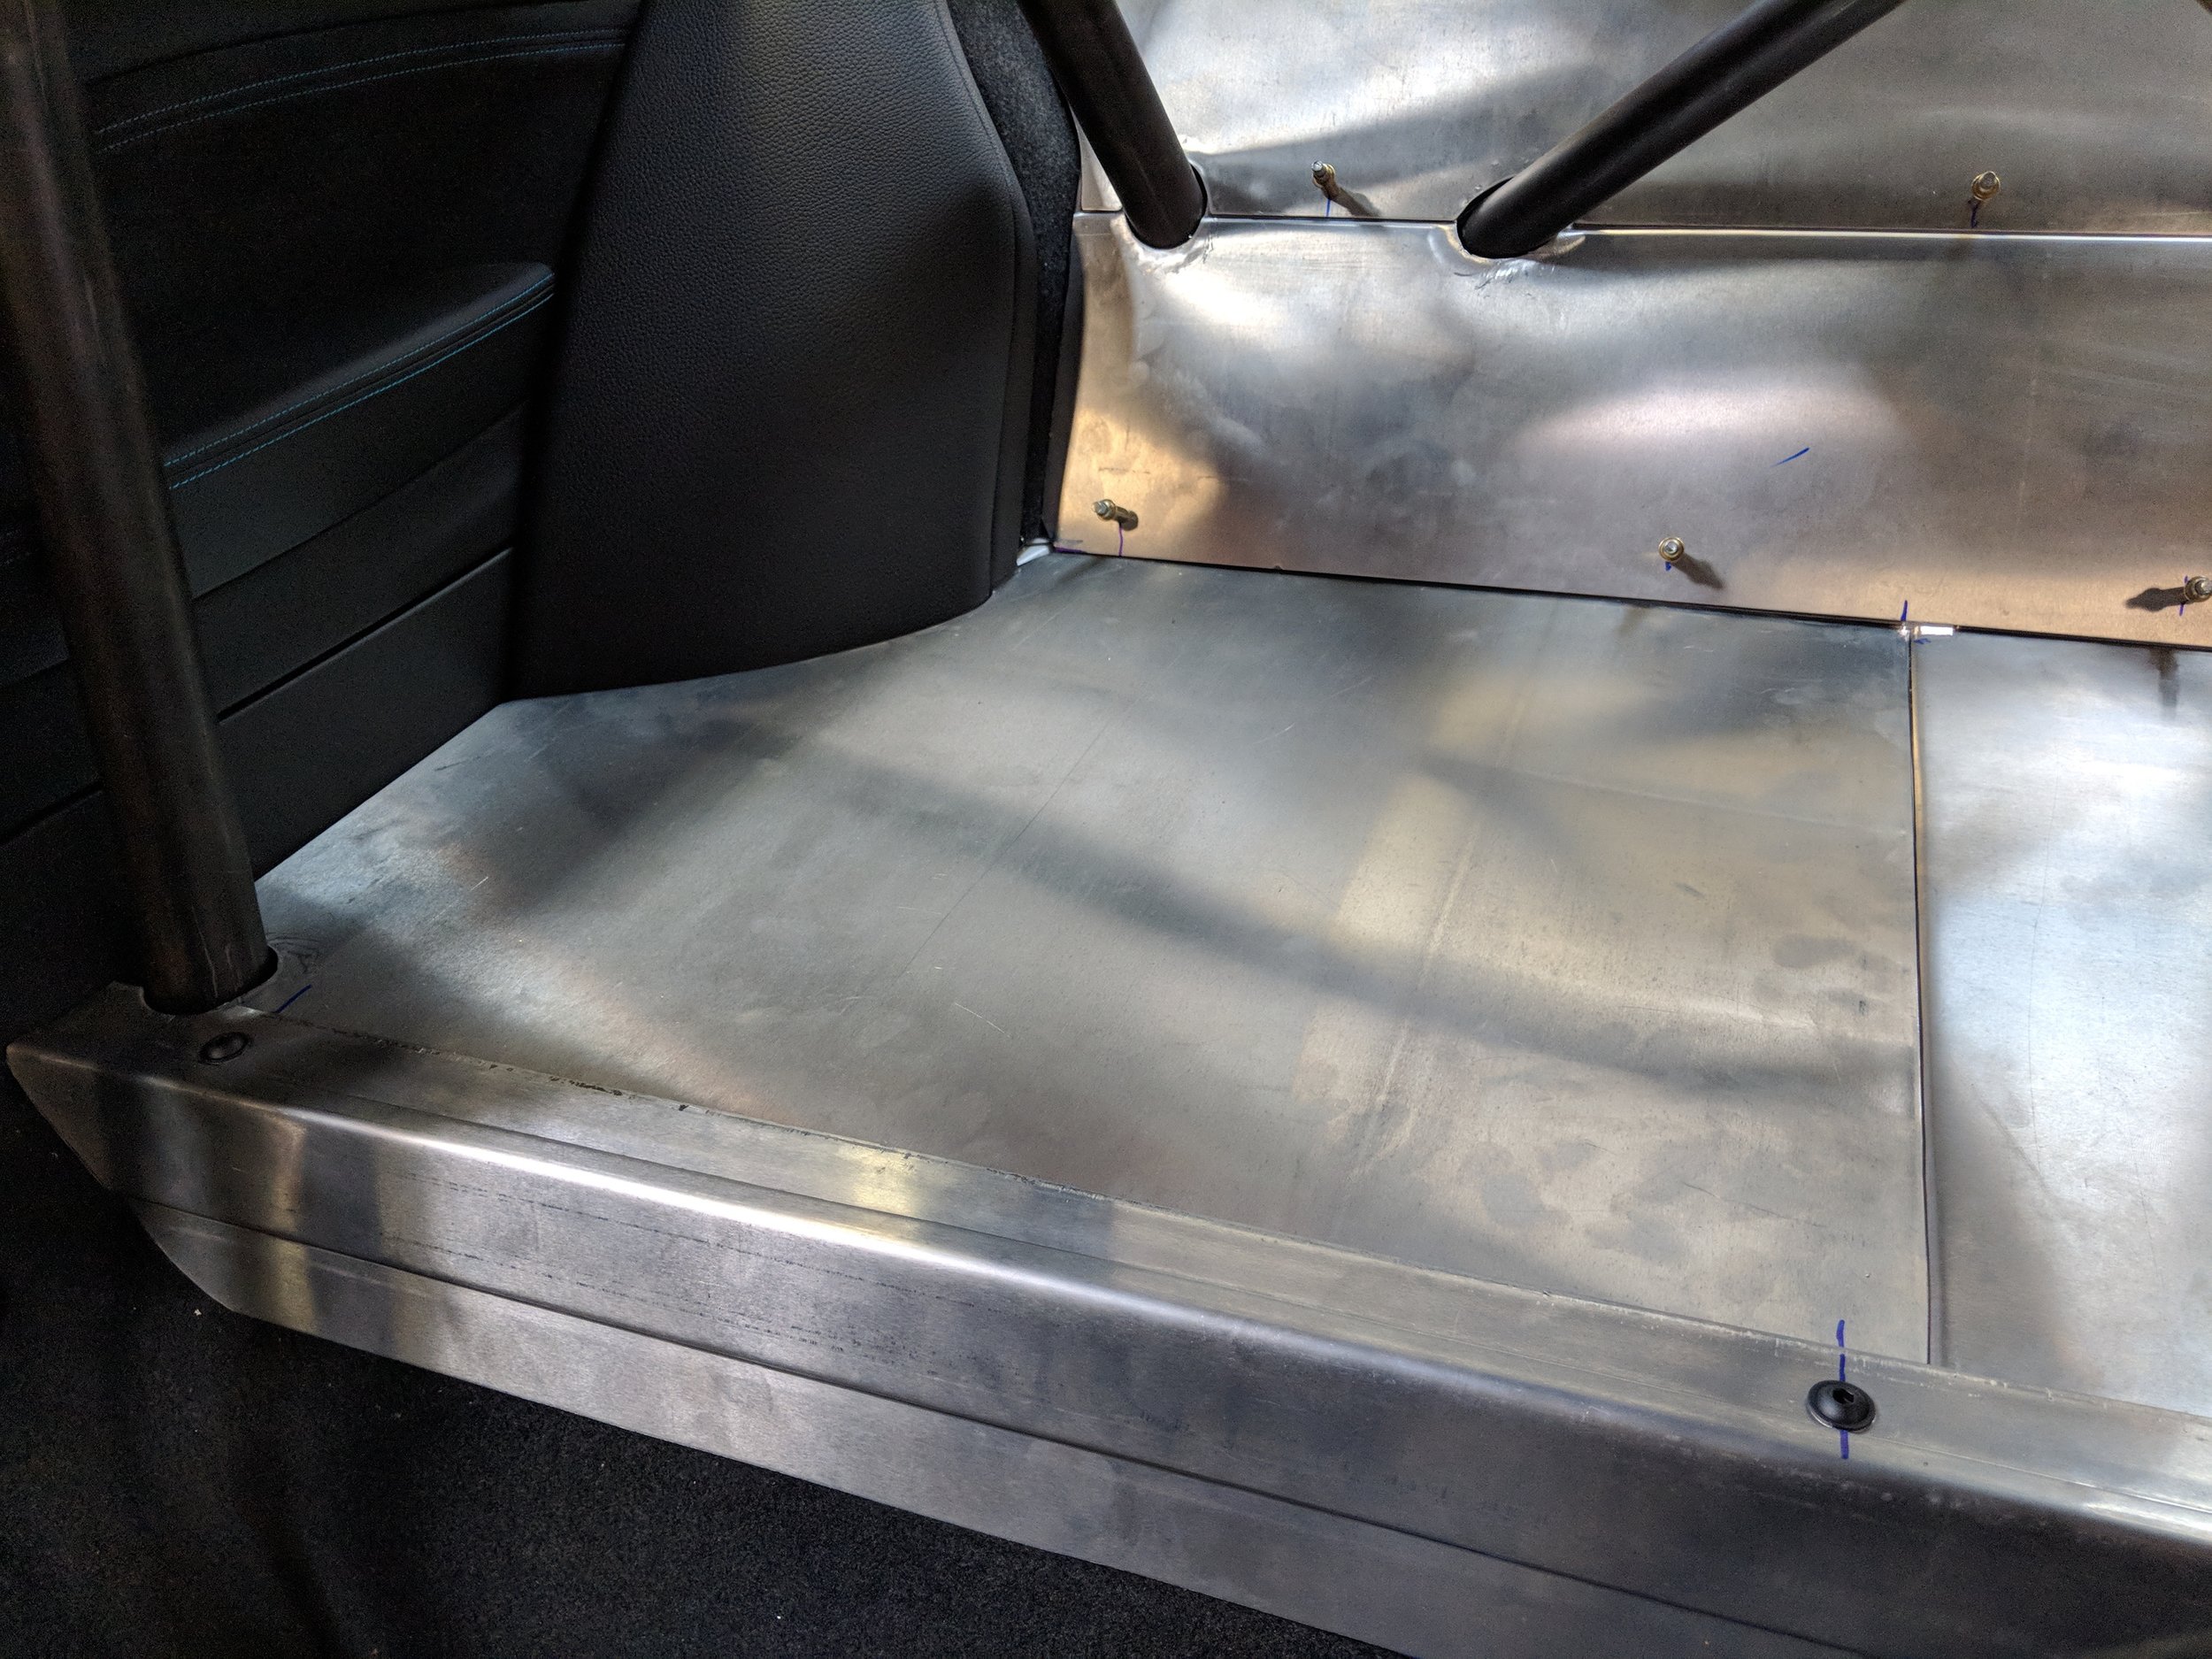
That is what led me to TC Design who I commissioned to design and fabricate the cage and rear panels. TC Design took inspiration from the BMW M4 GTS cage but made design improvements on how and where the cage mounted to the chassis as well as changing the design of the horizontal bar. The gusseted main hoop cross showcases Tony's welding skills, increases the strength of our design over the M4 GTS, and puts the horizontal bar in a better position for the racing seats and 6 point harness. We then topped it off by powder coating the cage in white to match the car.
Tony then moved onto designing and fabricating the panels which are a work of art. He was able to bend and cut the panels to fit perfect and give it an OEM look. The panels are removable as needed and were powder coated in black for durability. It is almost a shame that these panels will be upholstered in OEM Alcantara and Polar Blue stitching to match the factory interior. Be on the lookout for a future blog posting focused on the upholstery which has been one of the most difficult parts of the build to source and plan.
The end result was a stronger cage that stayed with the theme of a no compromise GTS. Next stop....back to Edge Motorworks to have the brakes and suspension finished before some much needed test and tuning. Then it goes to the uphostery shop to have the racing seats and rear seat delete panels dressed up before going back to Edge for some carbon fiber aero parts installed. Stay tuned to watch my madness unfold.