Defender 90 build

Defender 90 Build - Winch & Hella Lights

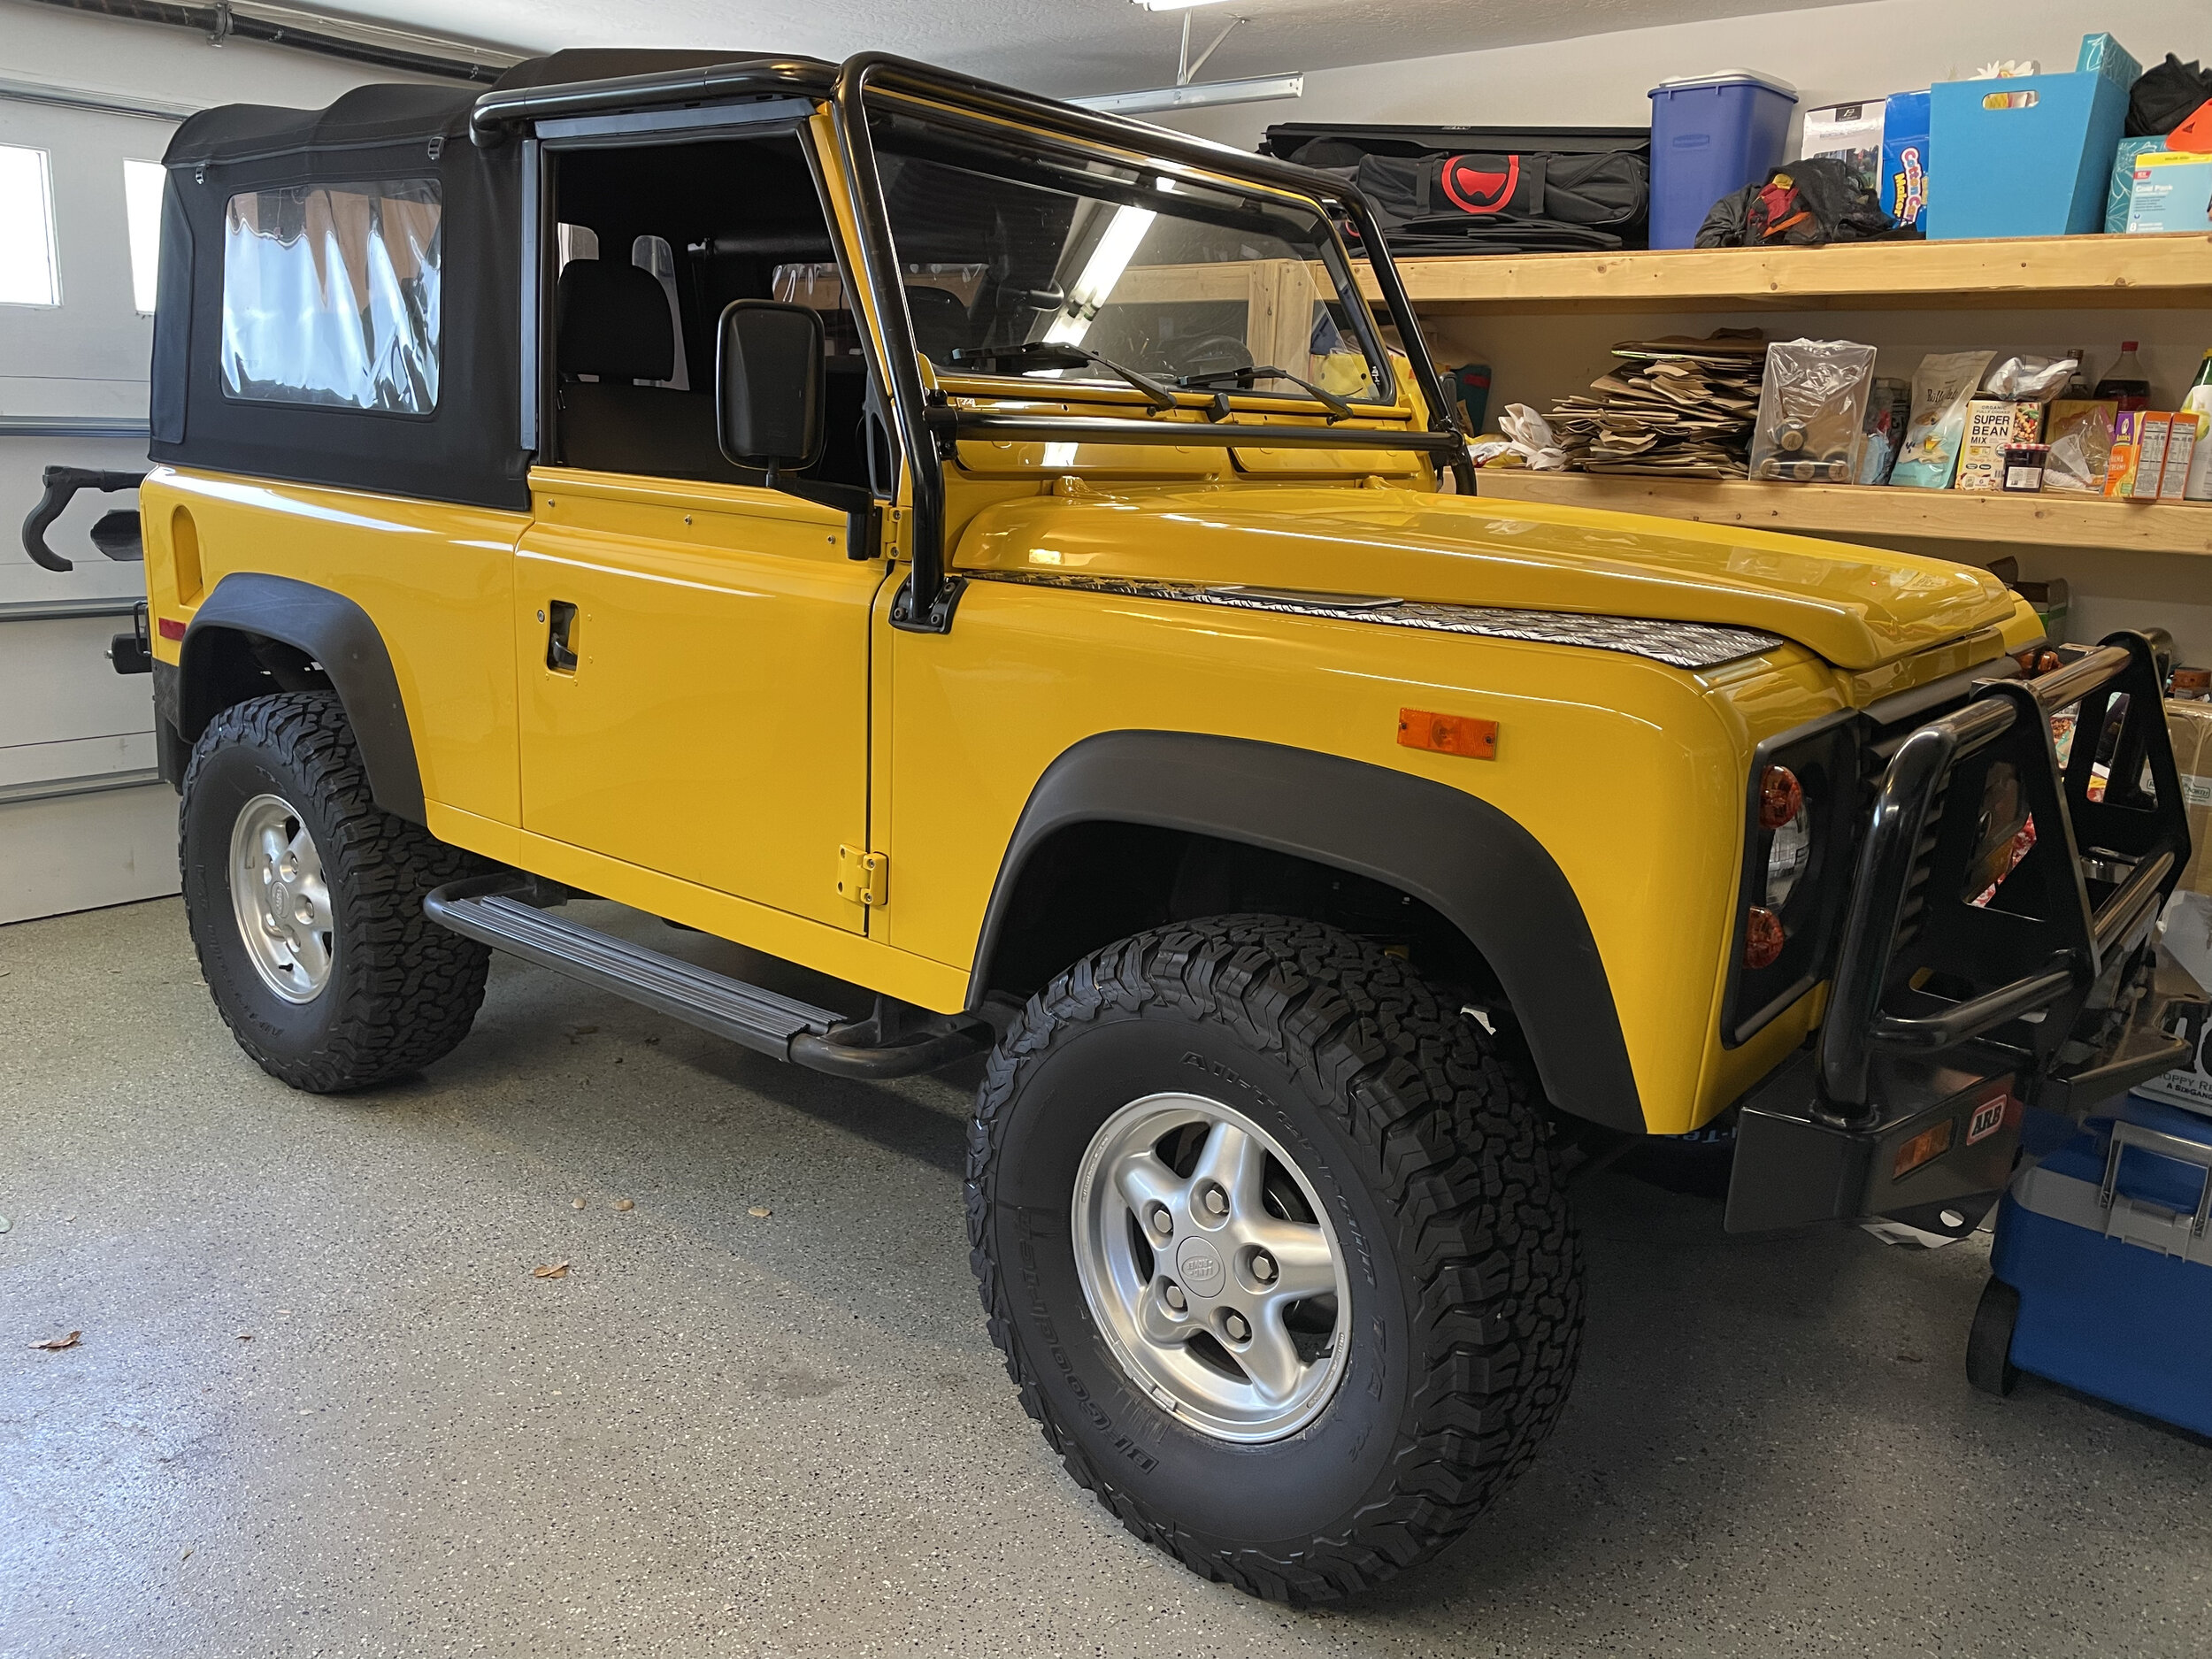
When I bought the D90 it had an ARB front bumper that is highly sought after. The ARB is an all steel bumper with marker lights, mounts for driving/fog lights, winch mount, license plate mount, recovery points, and event some aux mounts for more lights or radio antennas. So while my Defender had the perfect bumper it was not optioned with a winch or working driving/fog lights. Frankly it looked a little sad….

I decided to ditch the extra large non-working Hella lights, but they did inspire me to keep a retro look. So I bought slightly smaller Hella incandescent lights as they fit the vintage of the car. I picked up a pair of Hella 4000 compact lights which act as great offroad driving lights. Given I had recently created a power tray with relays and fuses for just this kind of modification the wiring was easy. I placed the switch in my recently modified cubby box which is where all of my aux switches will live.

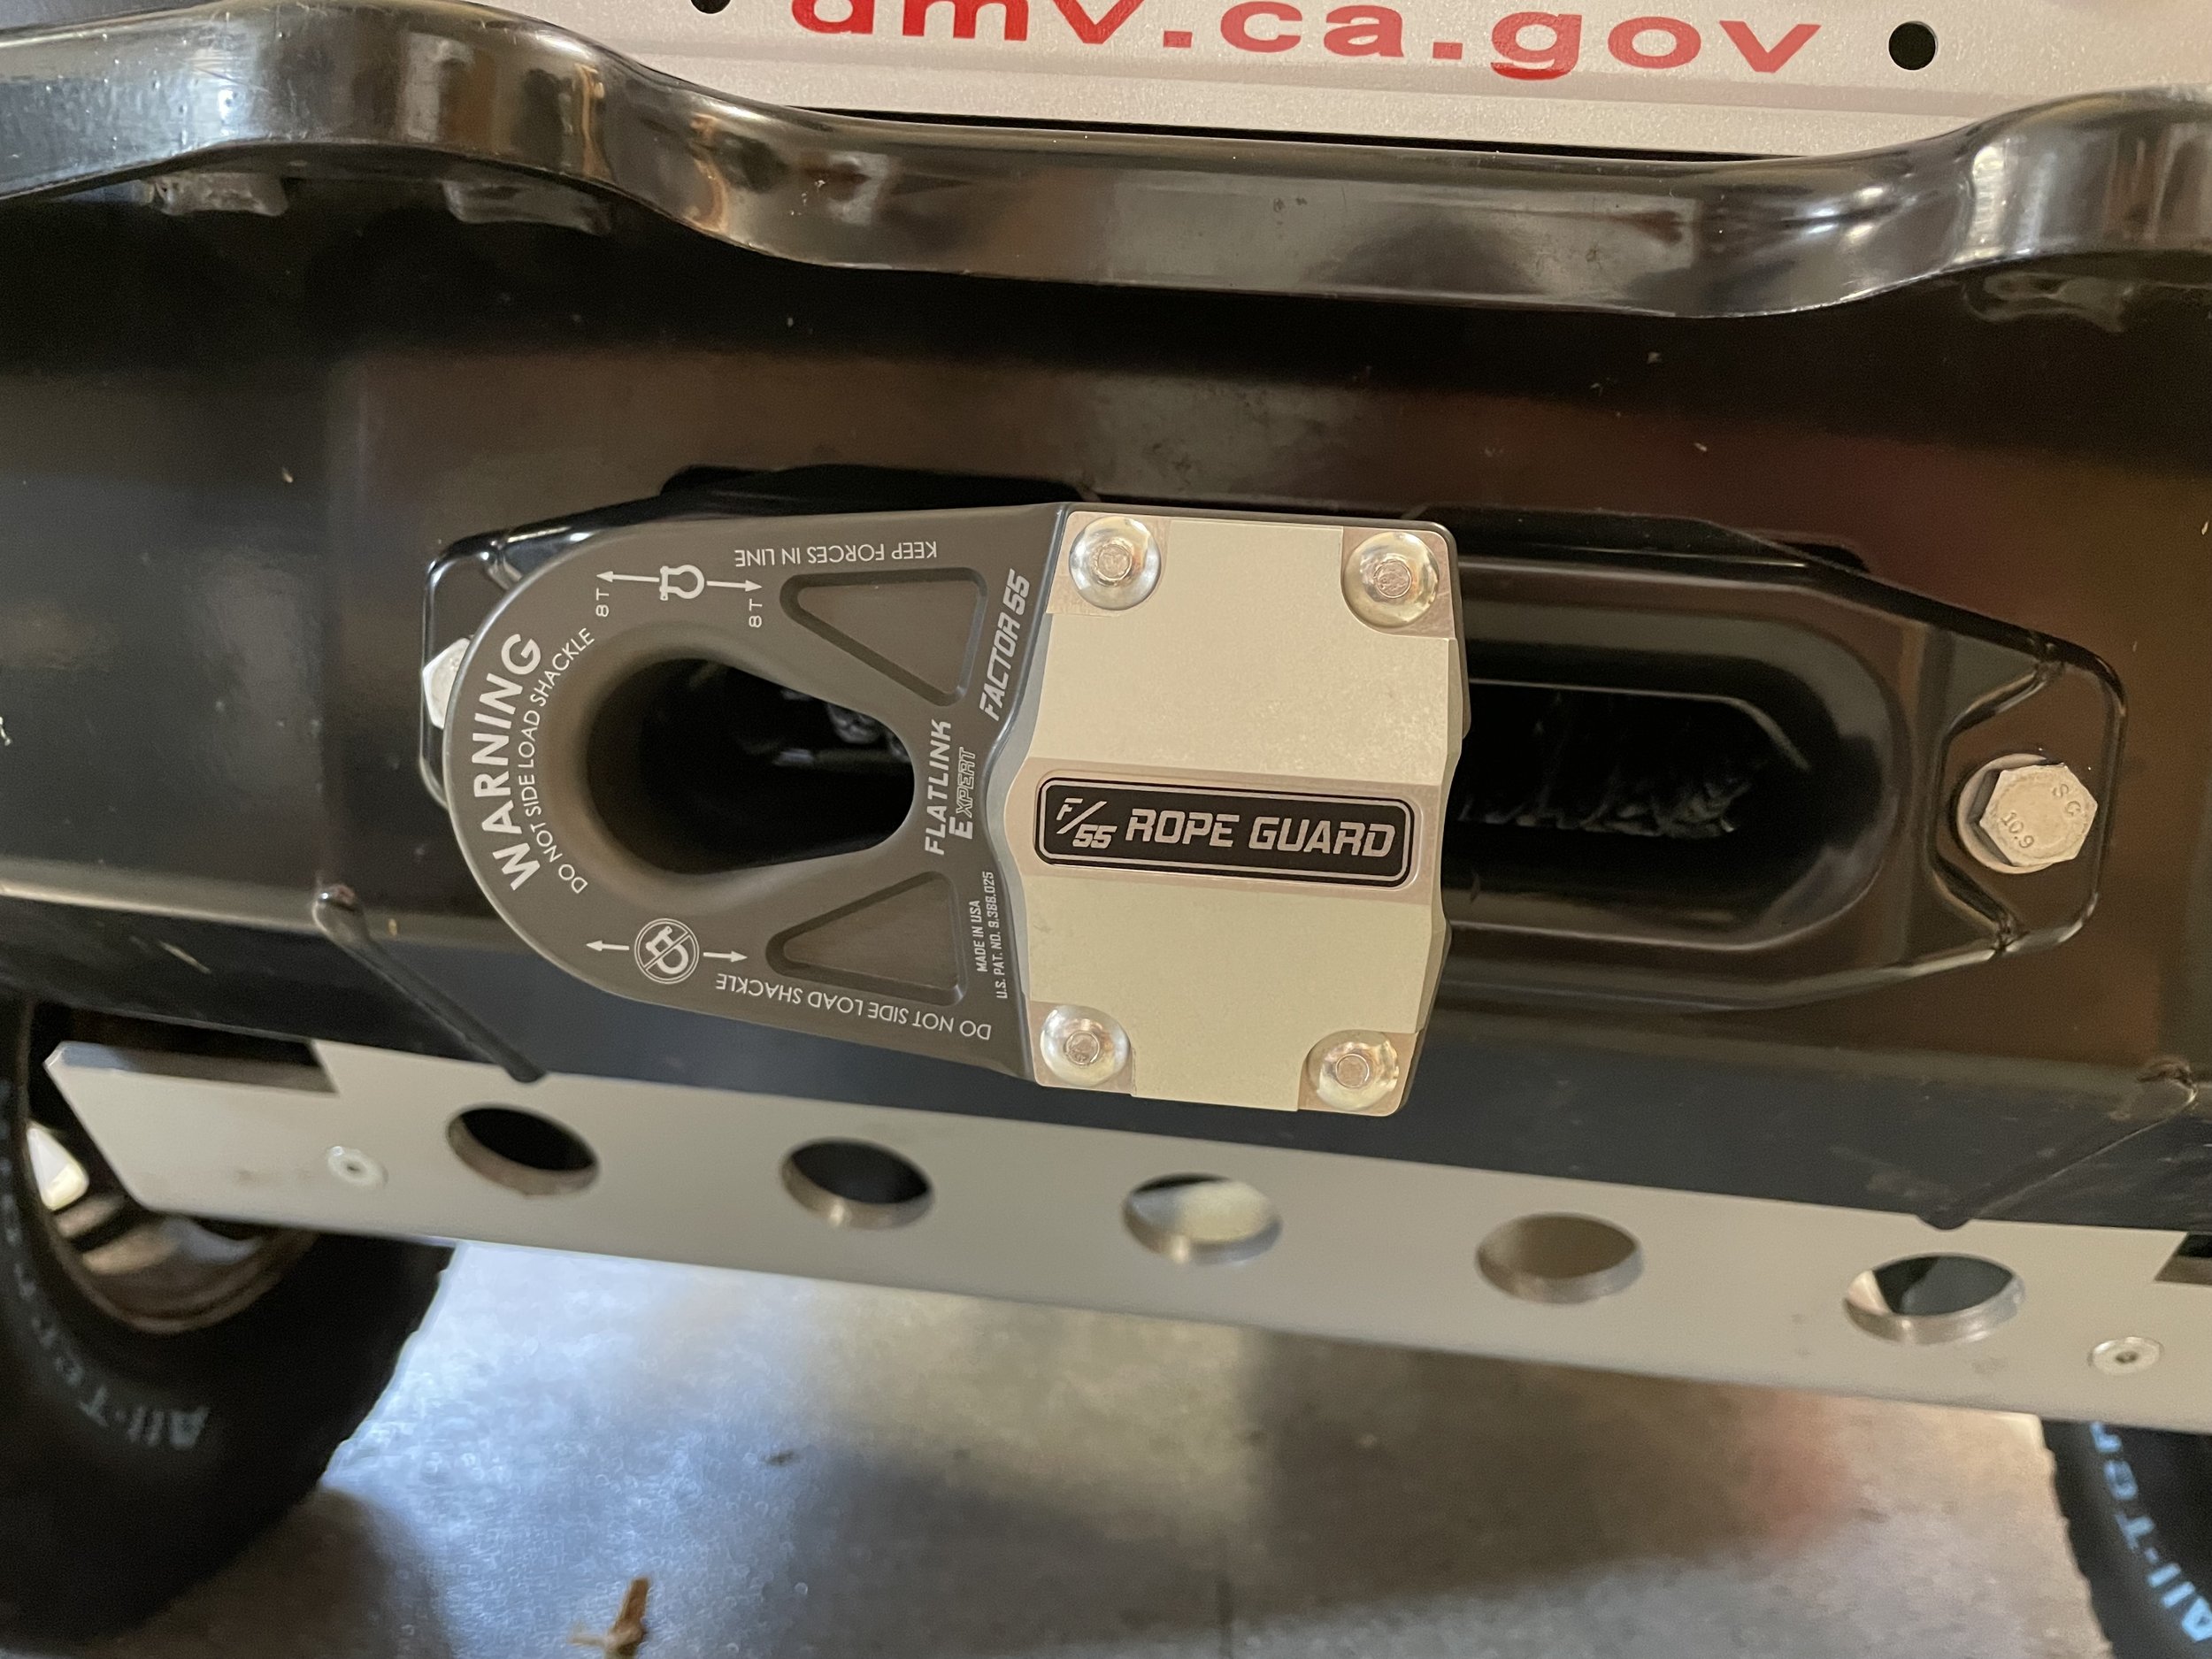
Next came the winch. I decided to get a Warn VR EVO 8-s (8k lb capacity) winch. I went with a synthetic line which is less retro but more practical and safe. What I love about this winch is that it can be mounted at just about any degree which is handle since the only way to mount this to the ARB is by rotating the housing 90 degrees. It also can have its control box separated from the winch body which is required once you mount it rotated. The wired remote can also be wireless which is great so that you can stand even further away during the recovery.
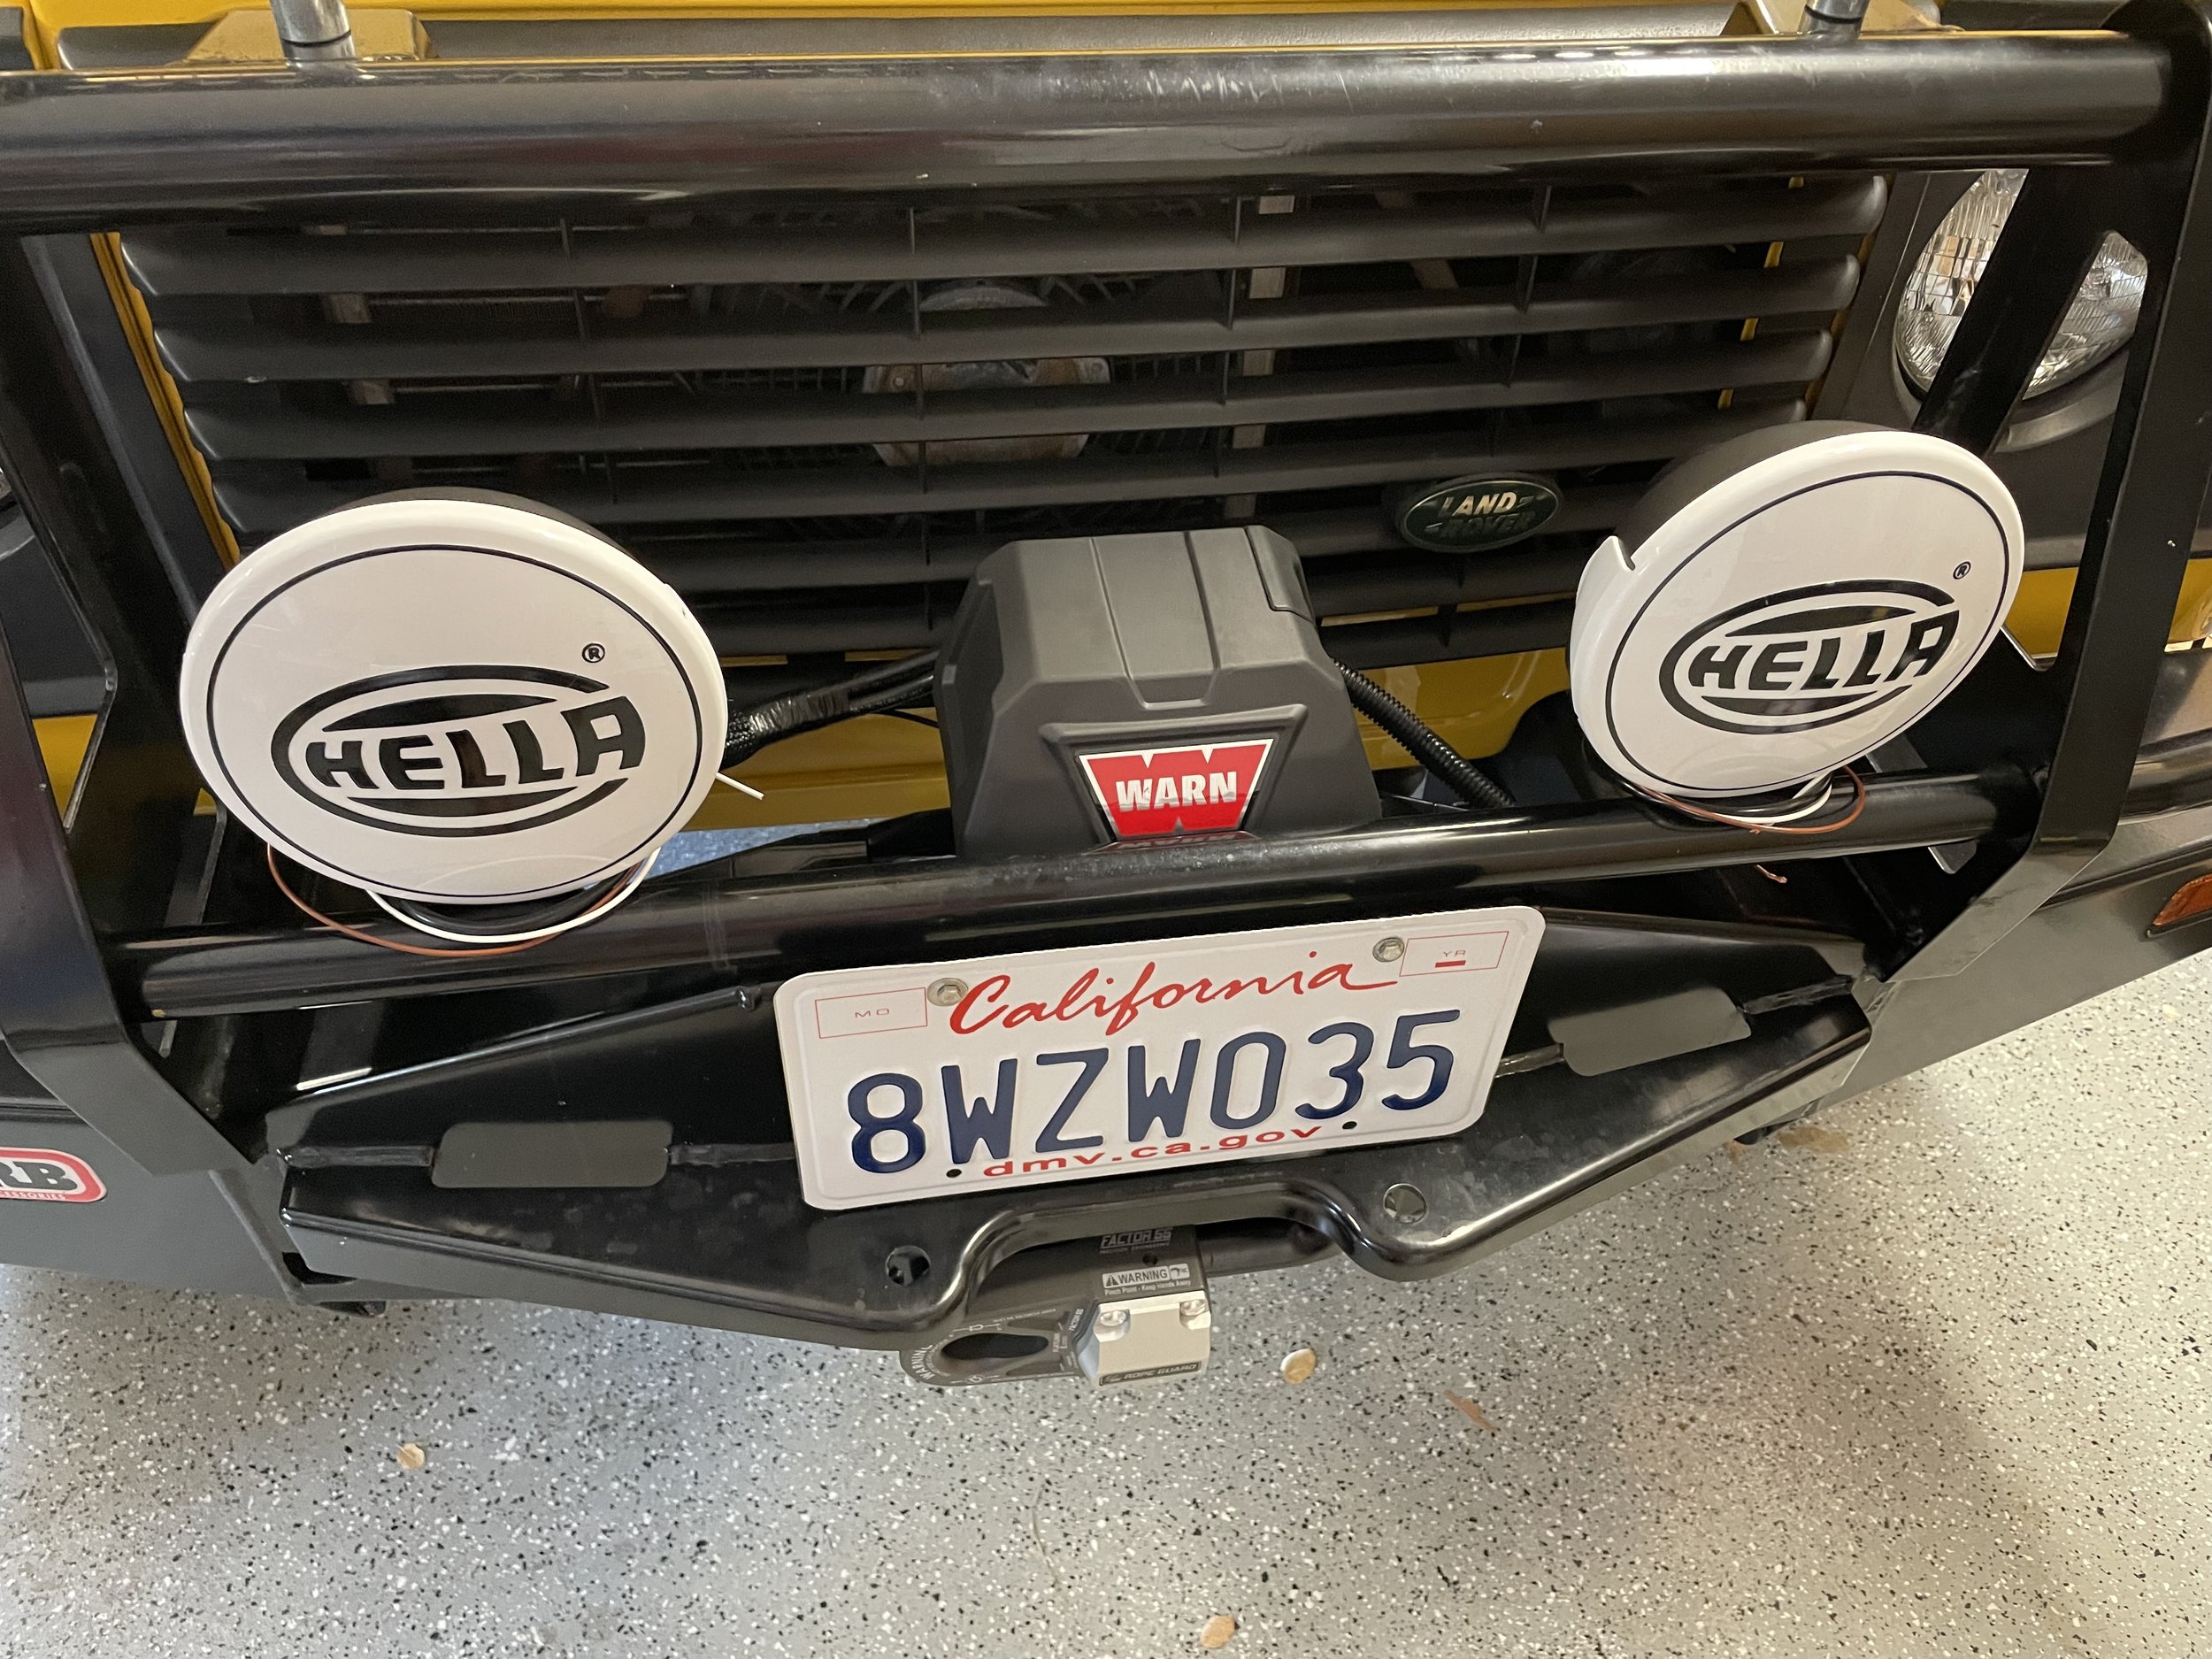
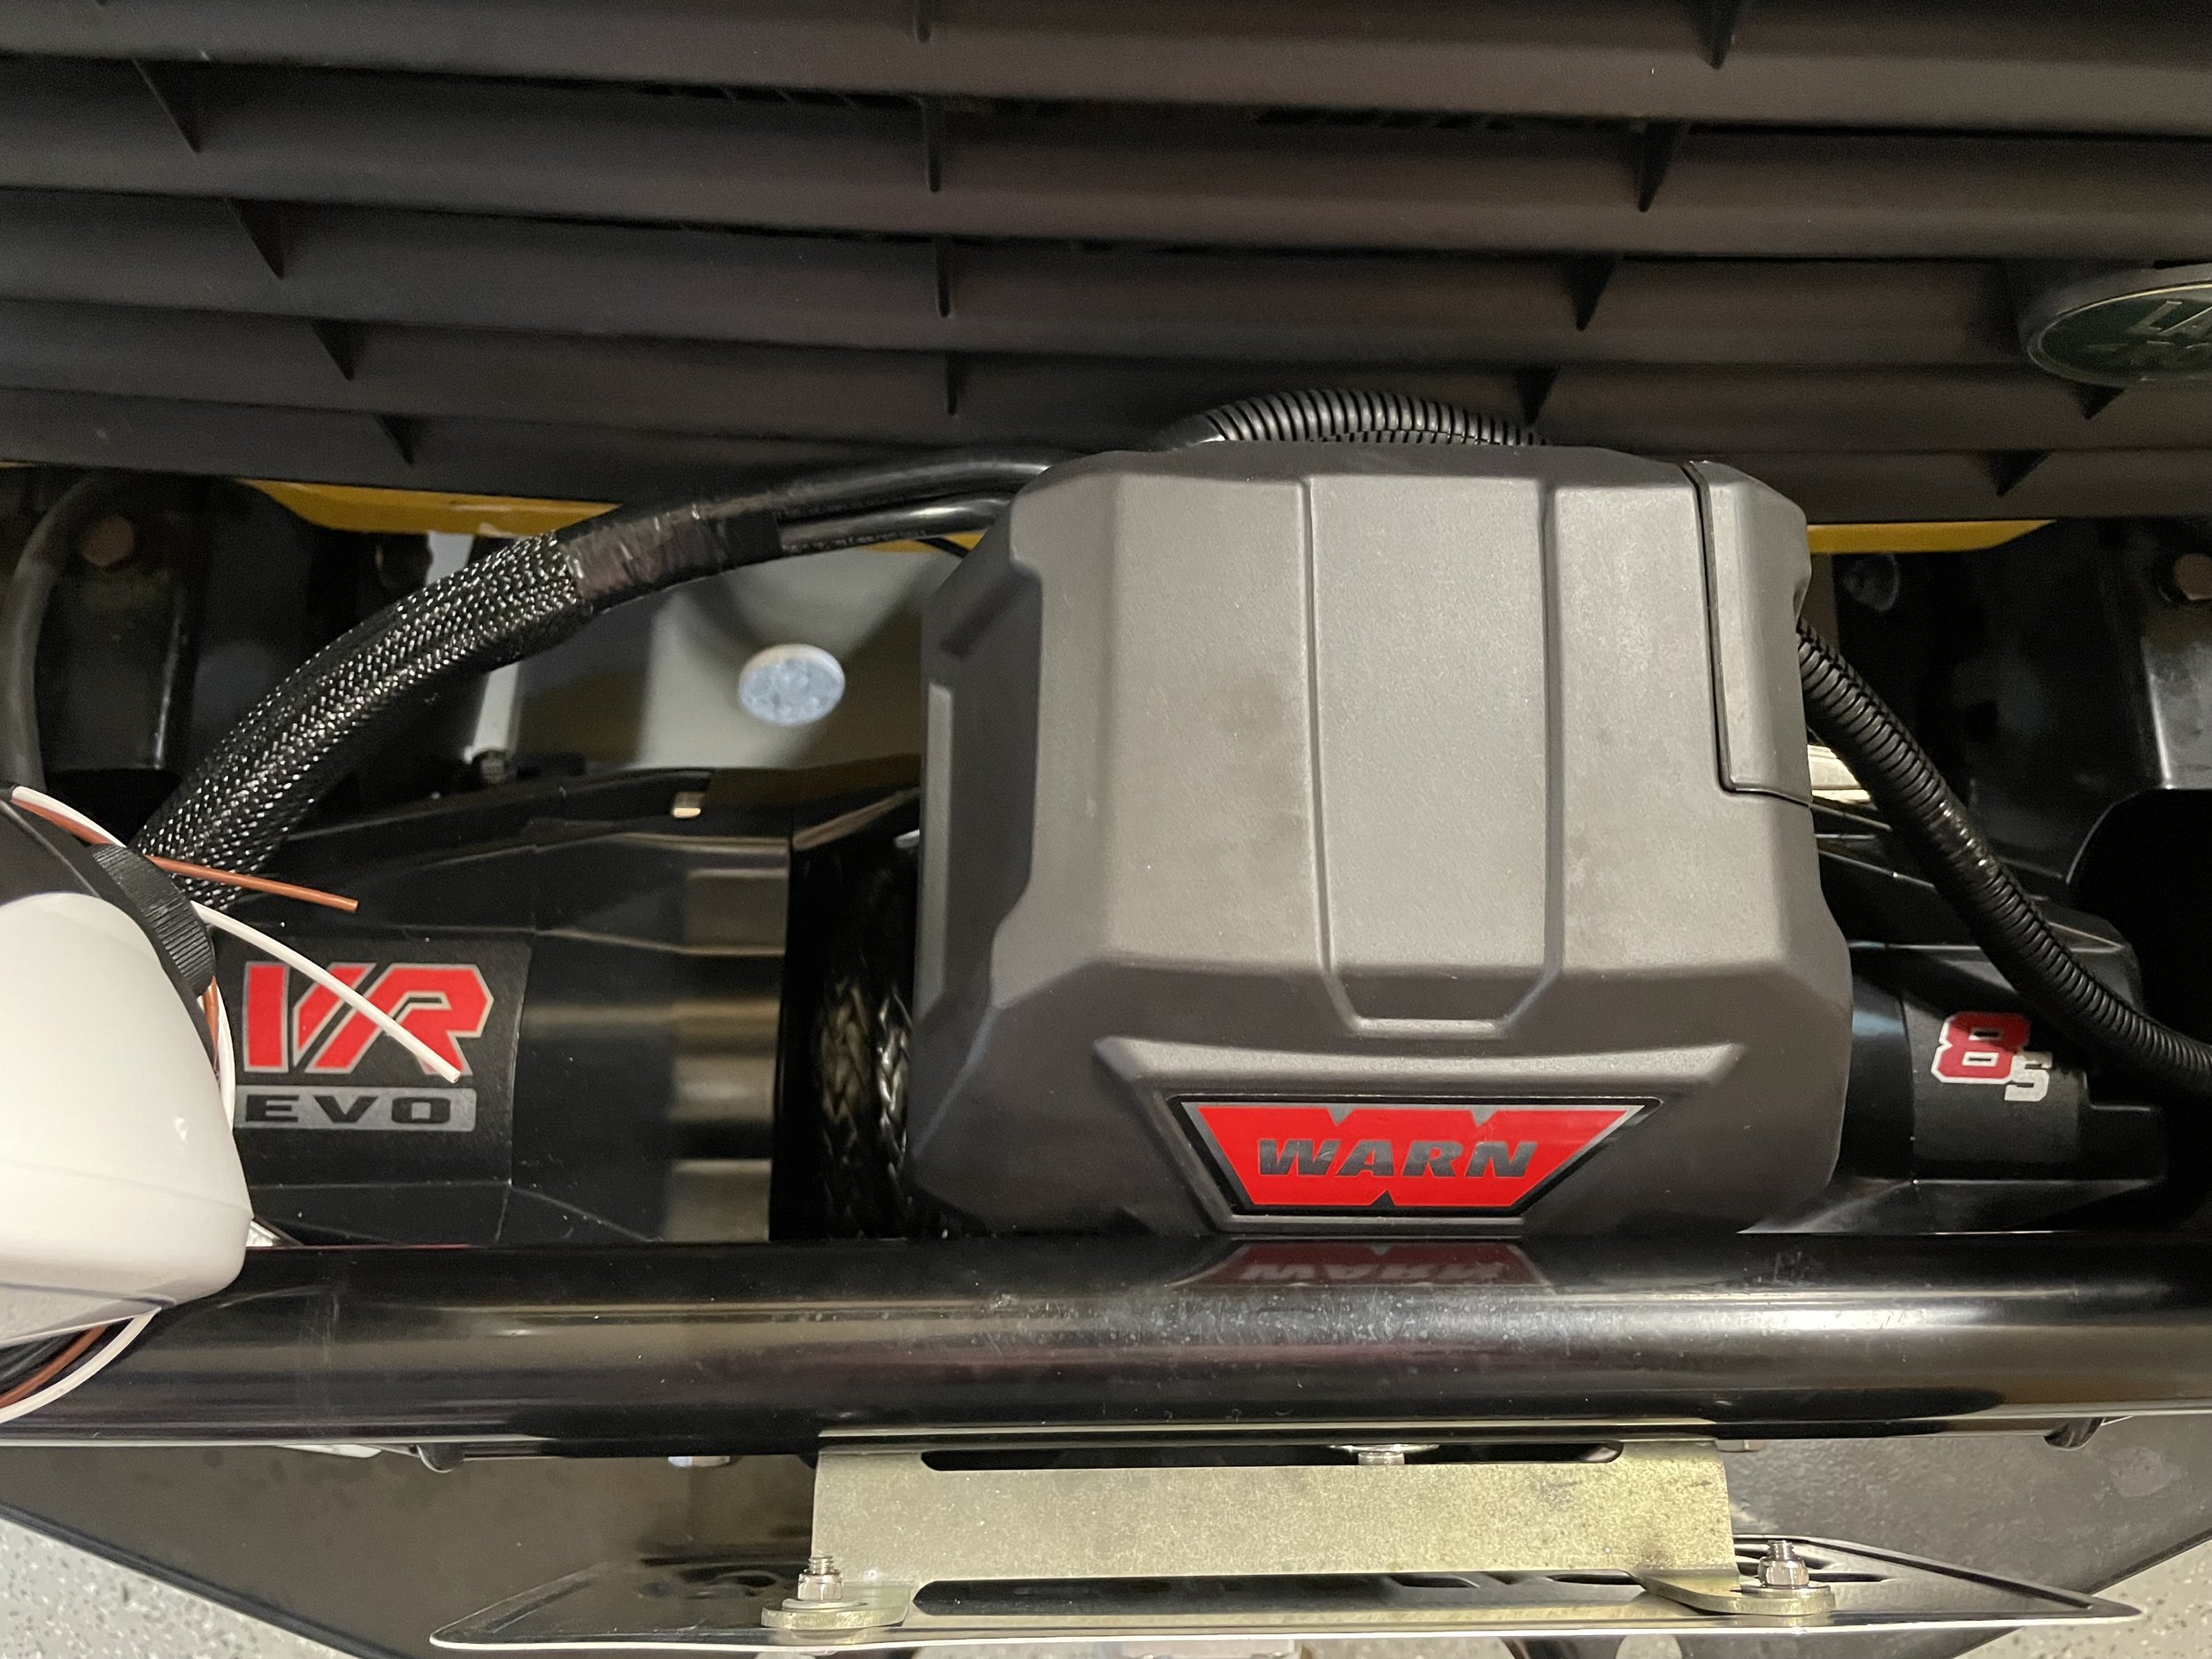
The biggest challenge was to find an easy way to mount the control box separated from the body….luckily Vice Design creates a wiring kit for this winch that allows you to mount the control box just about anywhere. I decided to mount the box right above the winch. This keeps an authentic look while fitting the ARB nicely. I replaced the line hook with a Factor55 FlatLink E (not very retro but a lot safer). My only regret is that I wish I had upgraded to the 10k winch (male ego at work here).

Defender 90 Build - Cubby Box

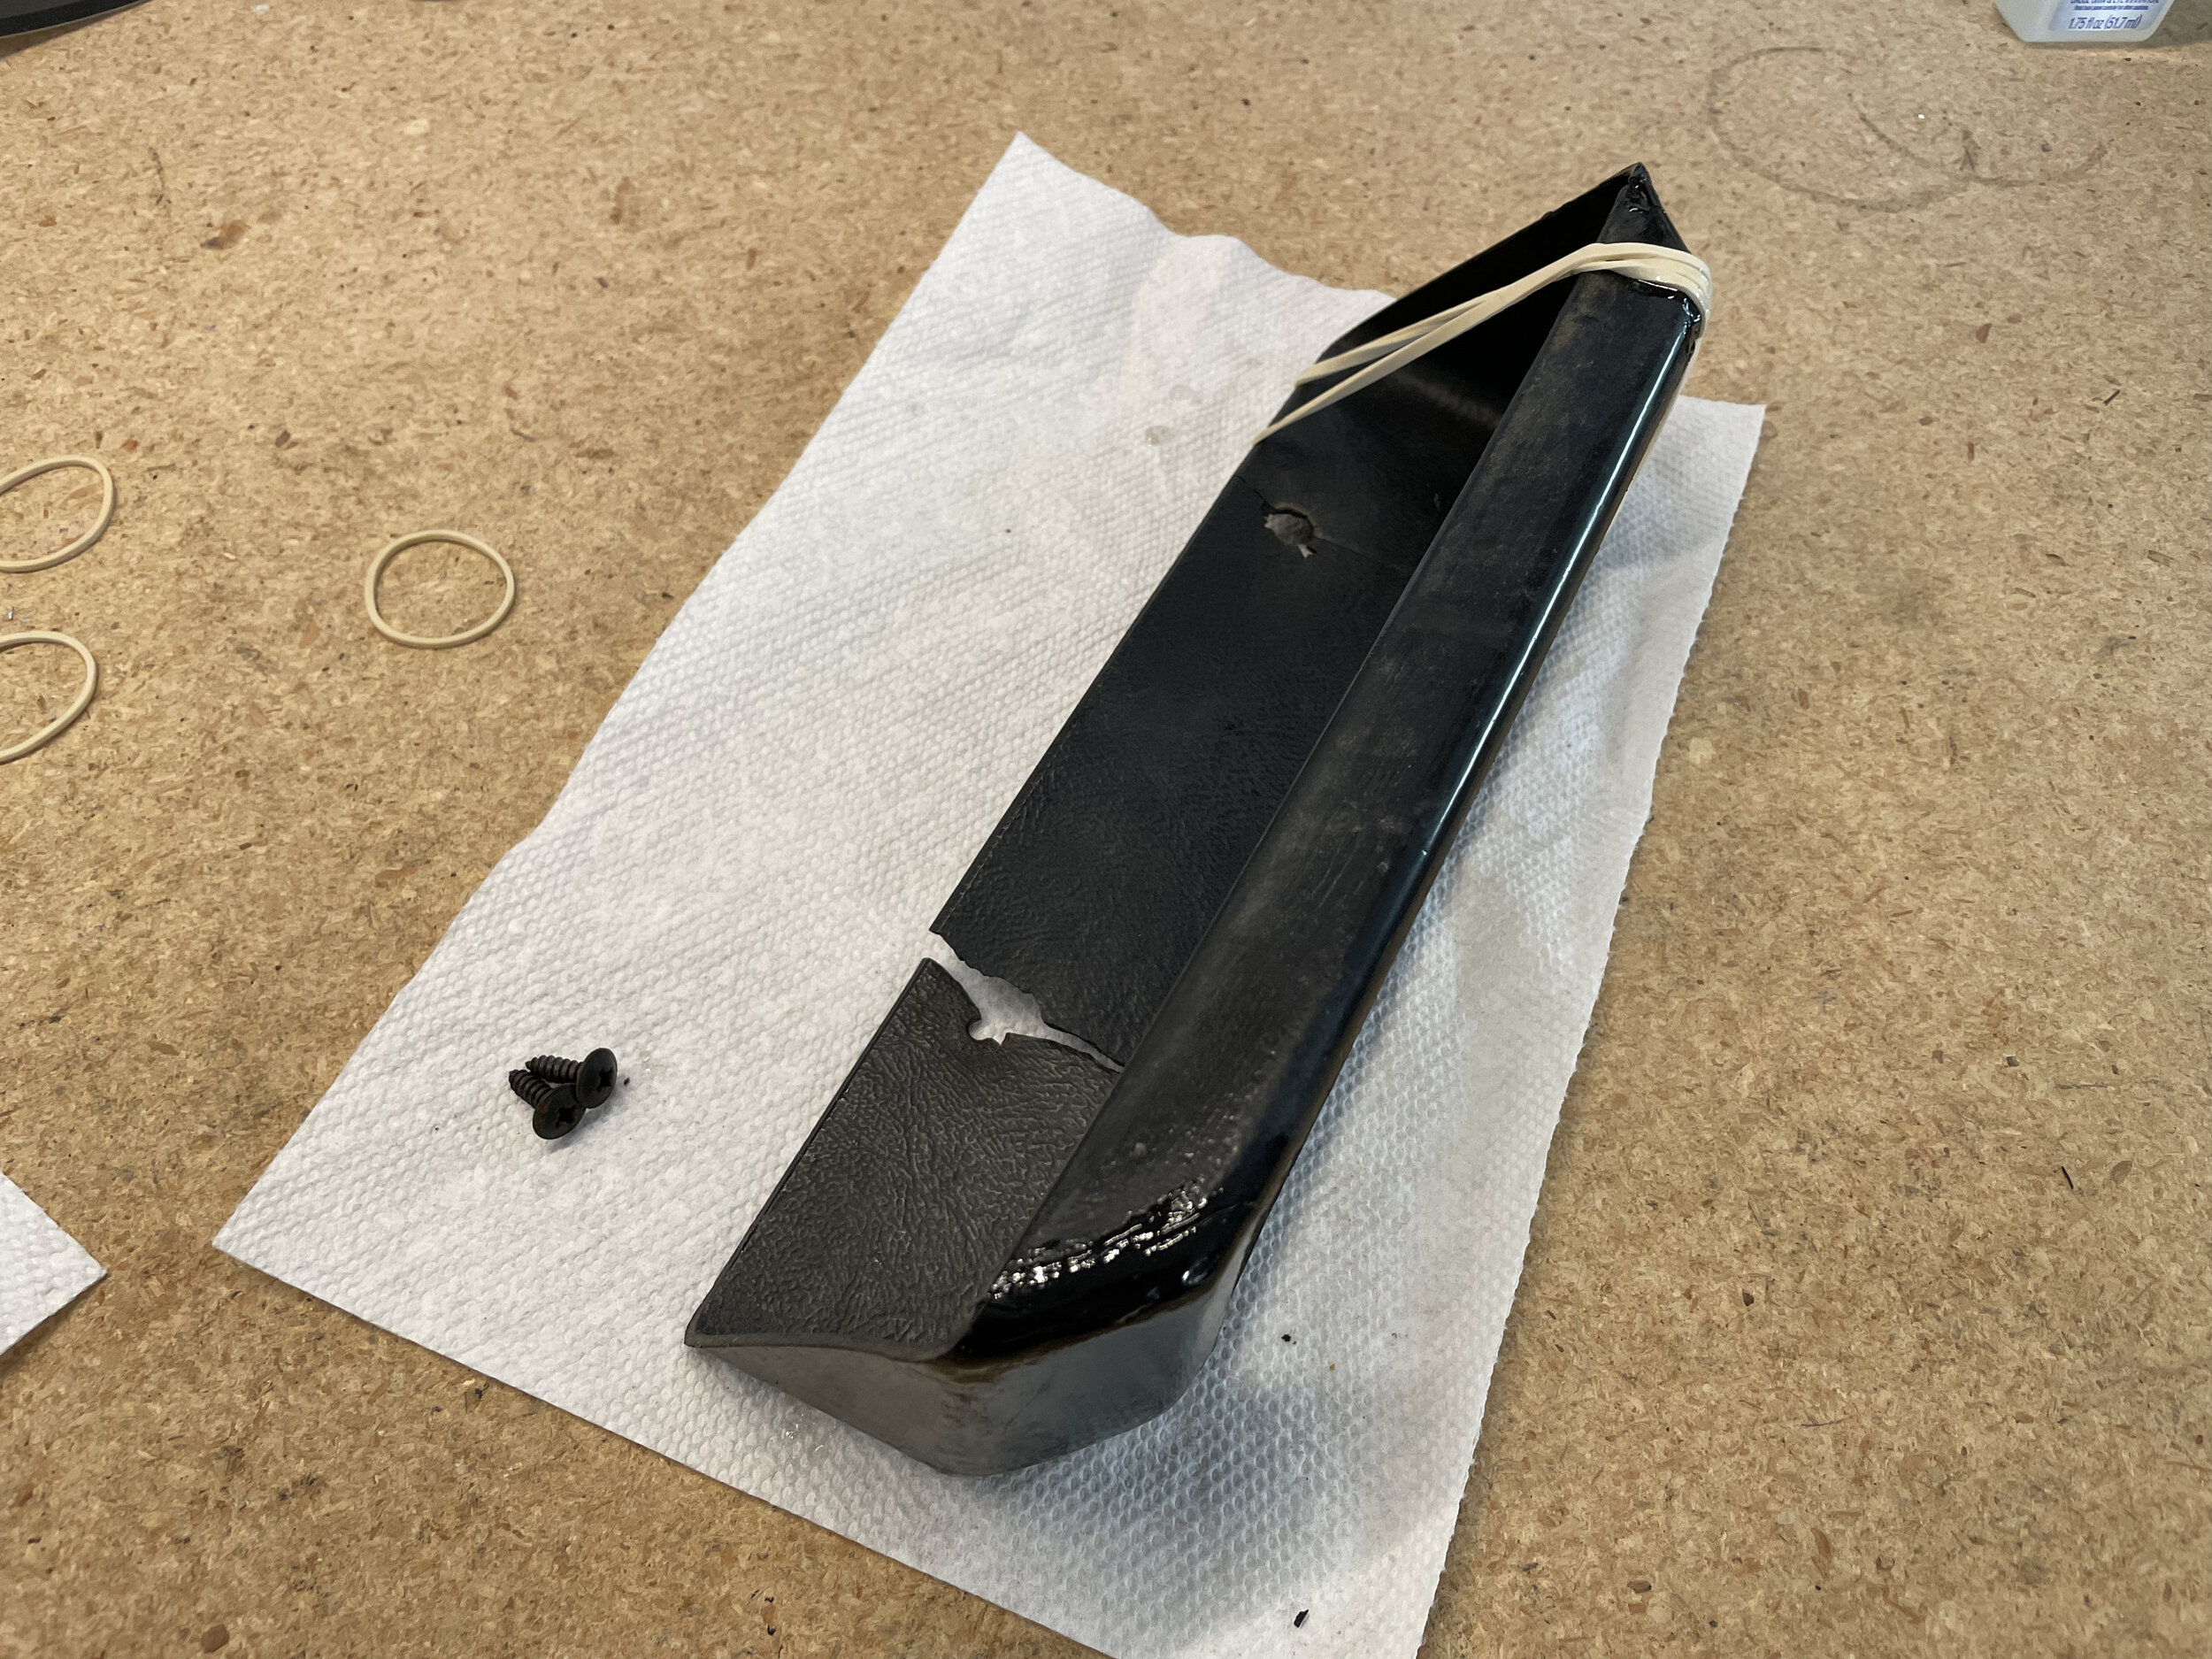
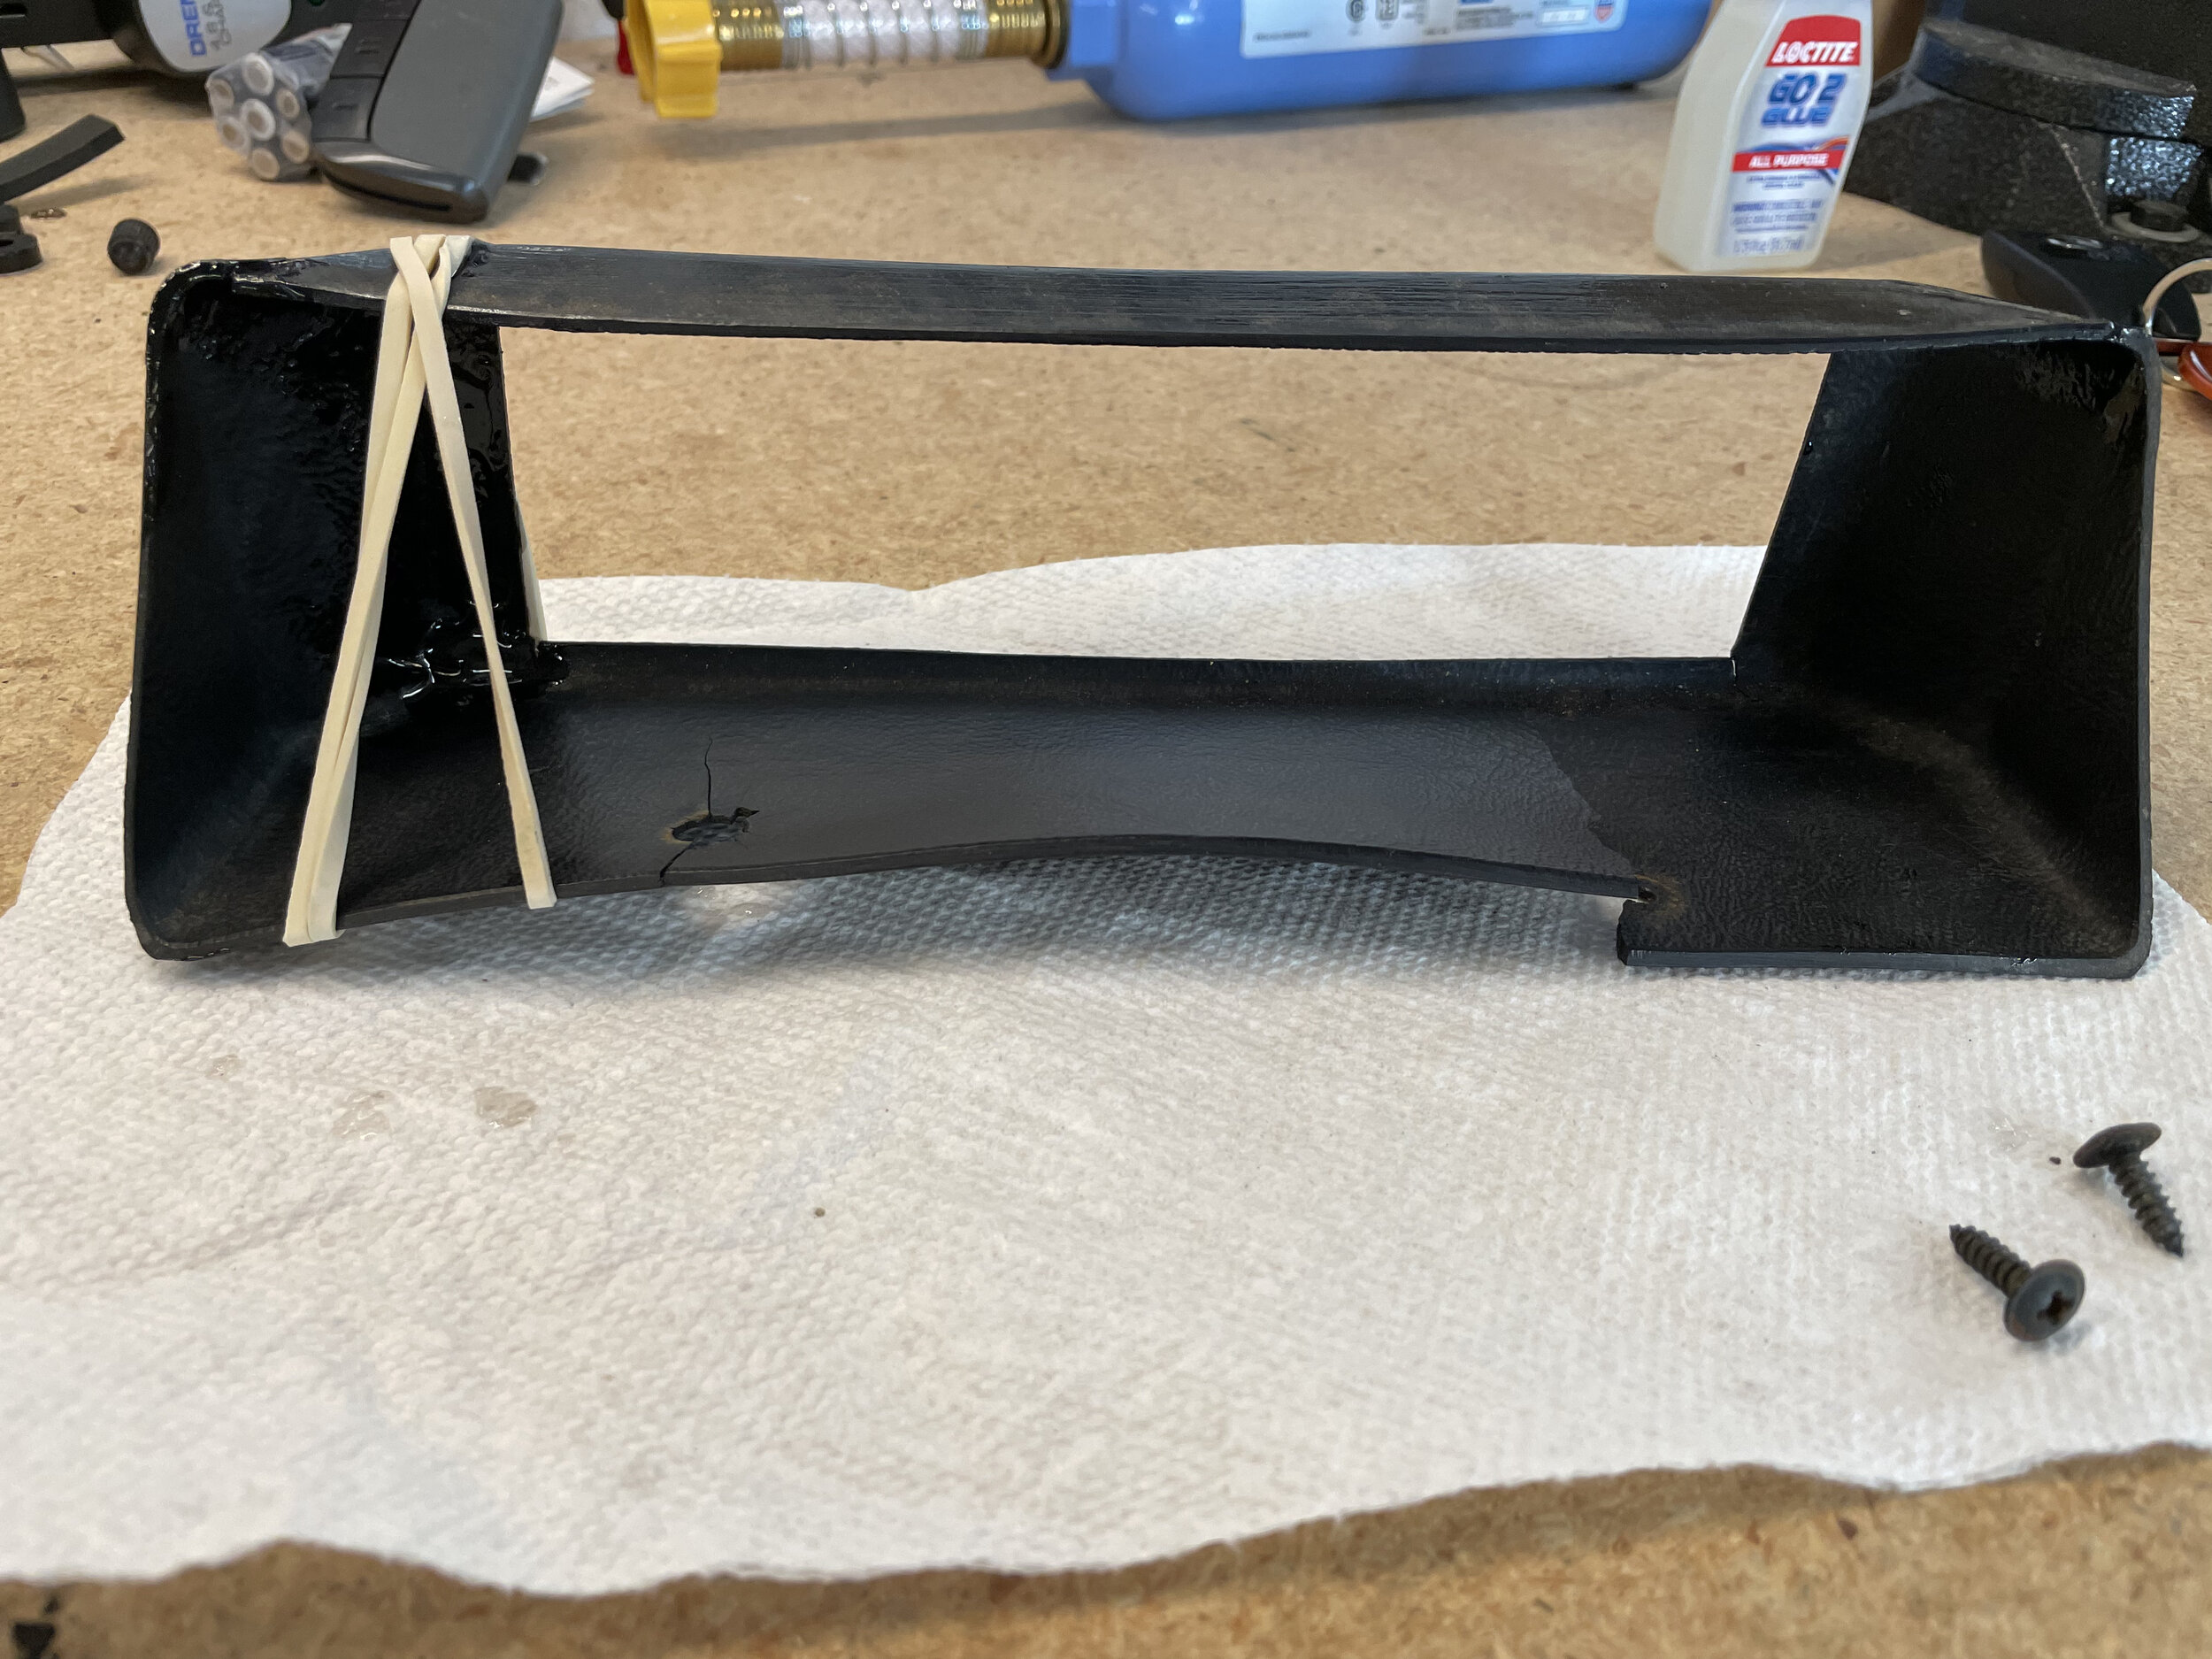
Anyone that has owned a Defender knows there is limited storage space. The original cubby box was a decent design as it has a place for the radio, locked storage, and 2 cup holders….but they deteriorate over time and there are no OEM replacement parts. There are a few aftermarket options which are nice but I wanted to try to restore my original cubby box. The lock no longer has a key, the strike plate is misaligned so the lock can’t engage, and the plastic trim for the radio mount is cracked all over.

I also wanted to make some changes to make it more useful for my needs. I want to add some switches for air compressor, lights, etc. There are some OEM and aftermarket solutions for this but none worked for my 94. The reason is that in 94 the AC unit put a switch in the center dash right where you could put an aftermarket or OEM radio mount. This was changed in 95. I also didn’t want to damage my dash in anyway. Another option is to hijack the ash tray and put a Mudd switch panel there but I am using that spot for a Rovers North phone mount.

That led me to my plan of removing the radio from the cubby box and use that space in the cubby box for a switch panel. I would then get a headless radio unit so that I could install it in a hidden location and simply stream music from my iPhone. I also wanted the option to install a two way radio system for when I am off roading with friends. To accomplish all of this I bought a Mudd subwoofer cage that mounts under the cubby box. Rather than using the cage for a subwoofer I would mount the headless radio and two way radio there which happens to be where all the wires go anyway.

IMG_0840.jpeg

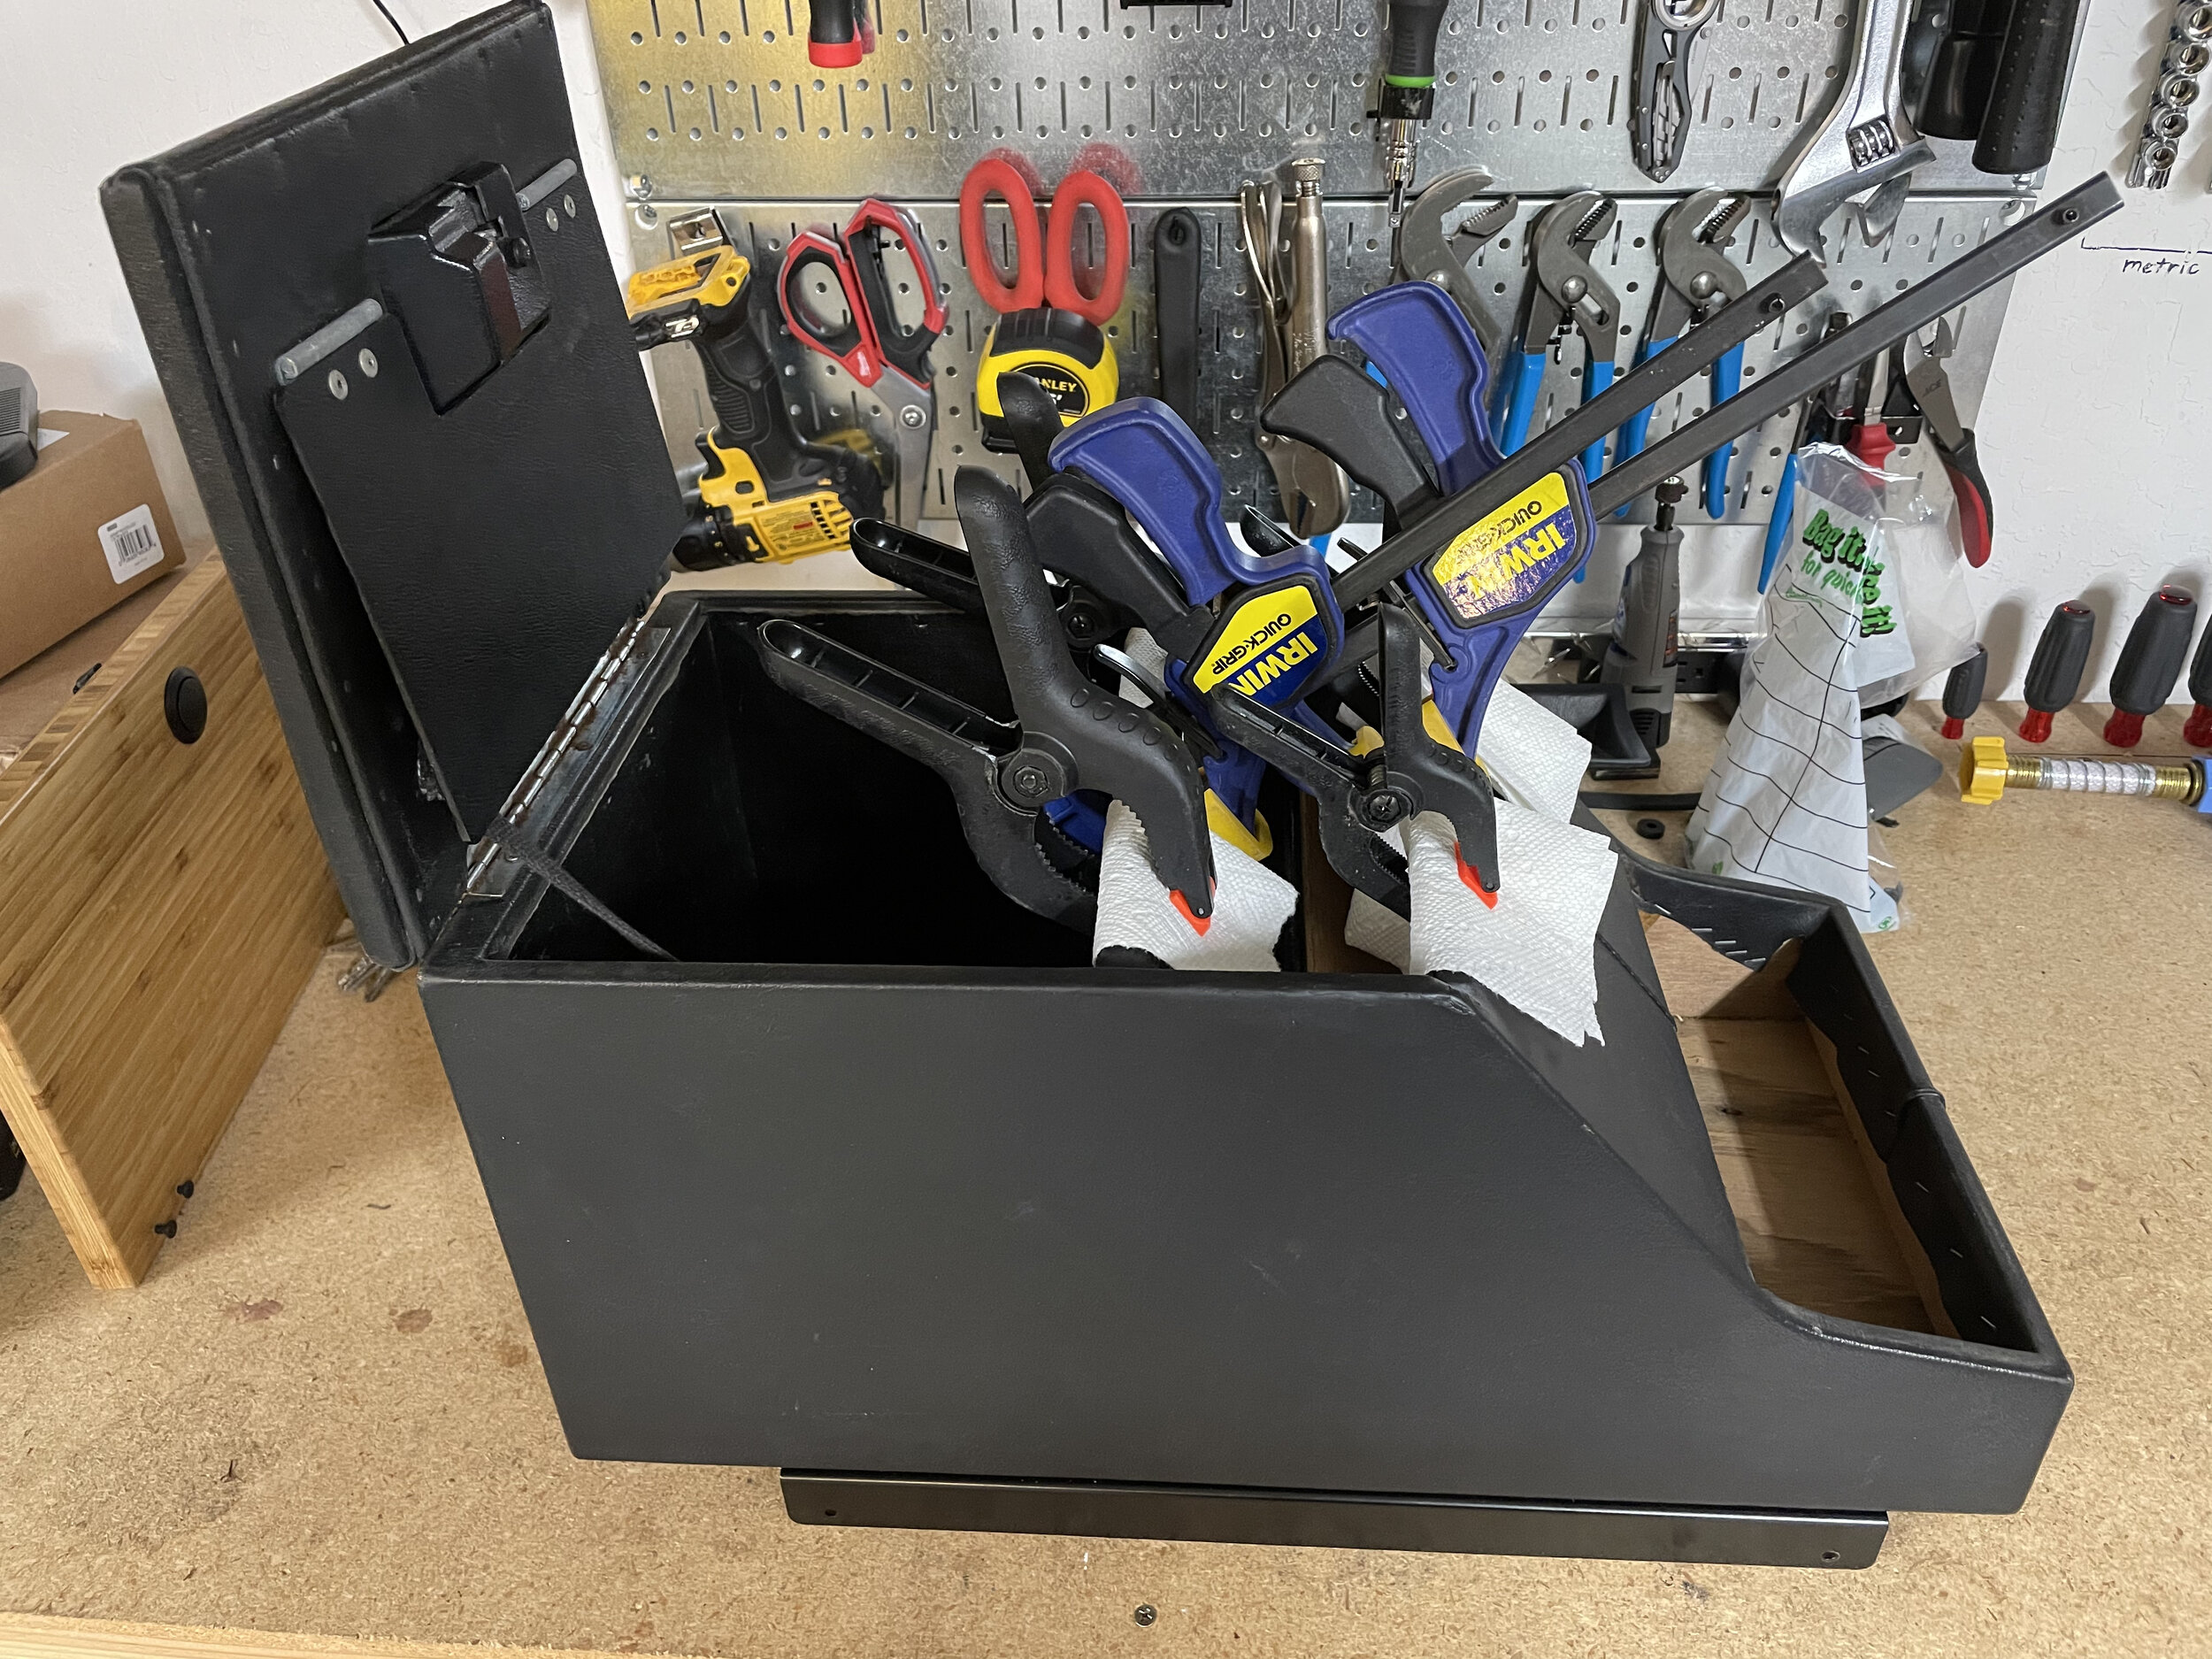
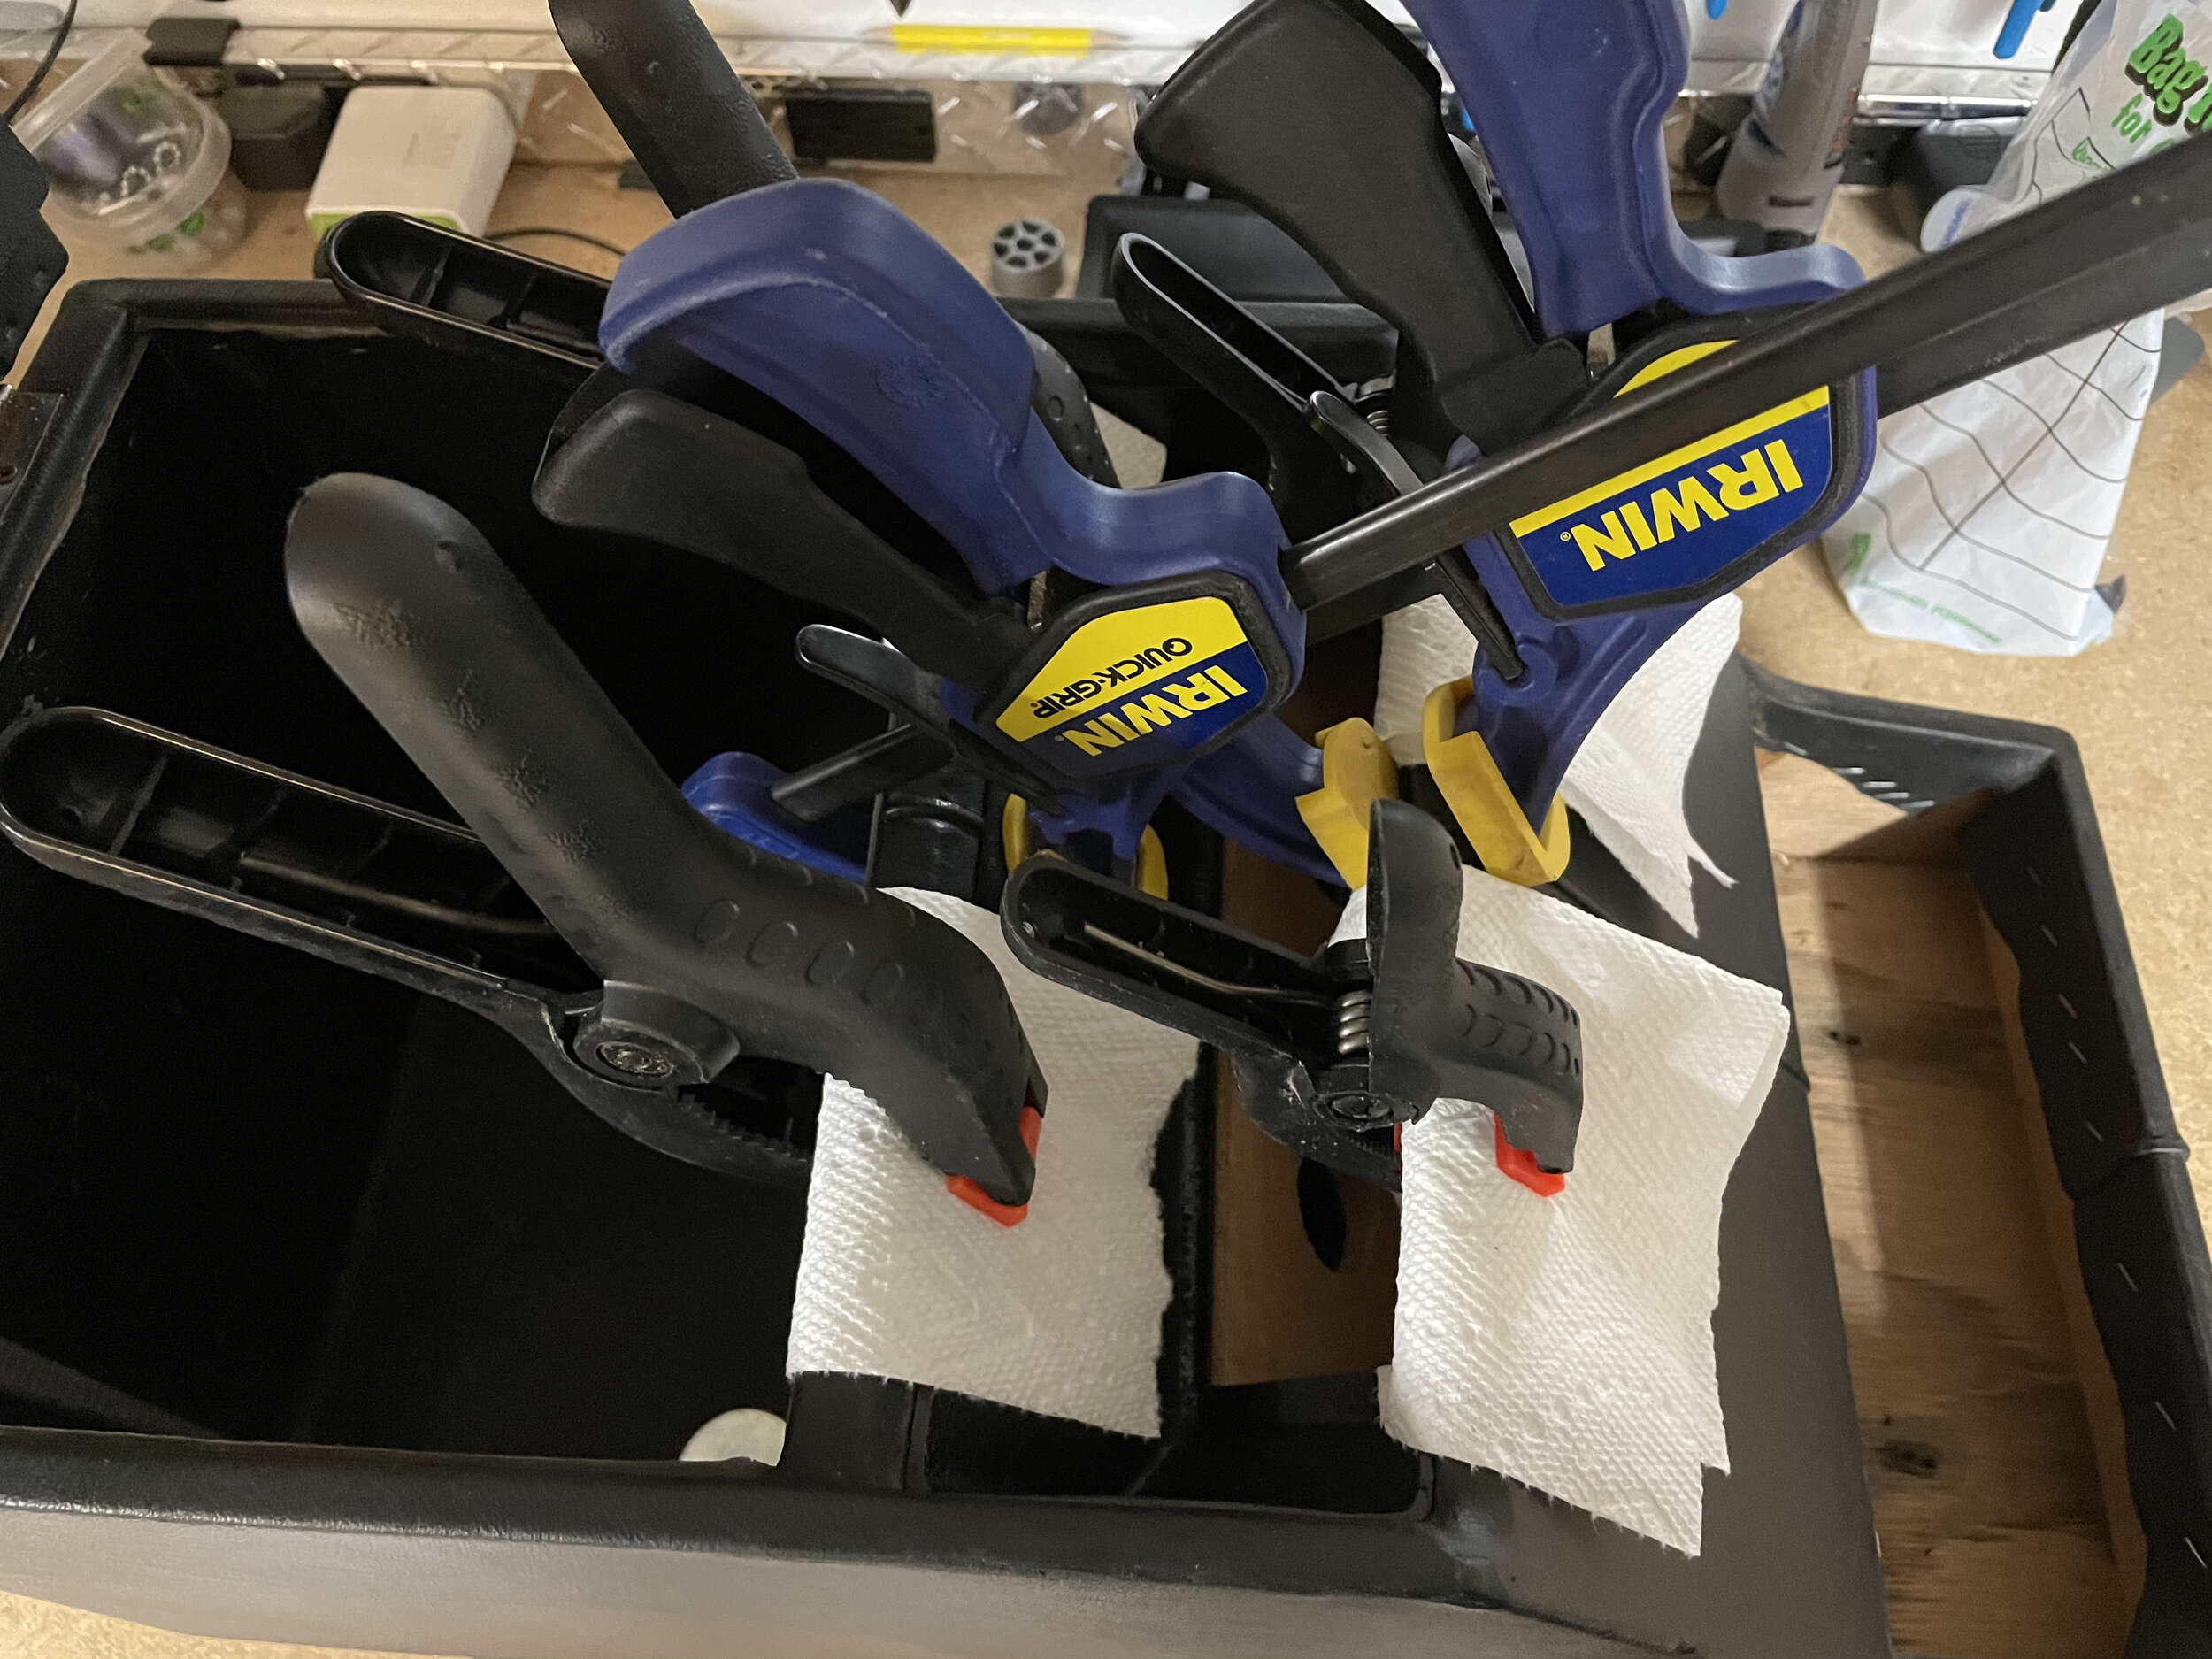
With that as the plan I started out by installing the Mudd subwoofer cage which was easy enough. I had to grind out a small piece of metal to pass through the OEM radio wiring harness. I also had to raise the cage off the floor of the car a bit by stacking some metal washers to make space for the wires. Next I took apart the cubby box and started gluing the plastic trim back together and then hit it with some black paint. Not a pro job but good enough. The original cubby boxes had some wood risers nailed into the bottom which are normally not noticeable but once you raise it up by the Mudd cage all of a sudden those risers were an eyesore. So I removed the risers to bring the cubby box flush to the cage. The cage rises the cubby box by about 4 inches which makes the cubby box more comfortable as an armrest.

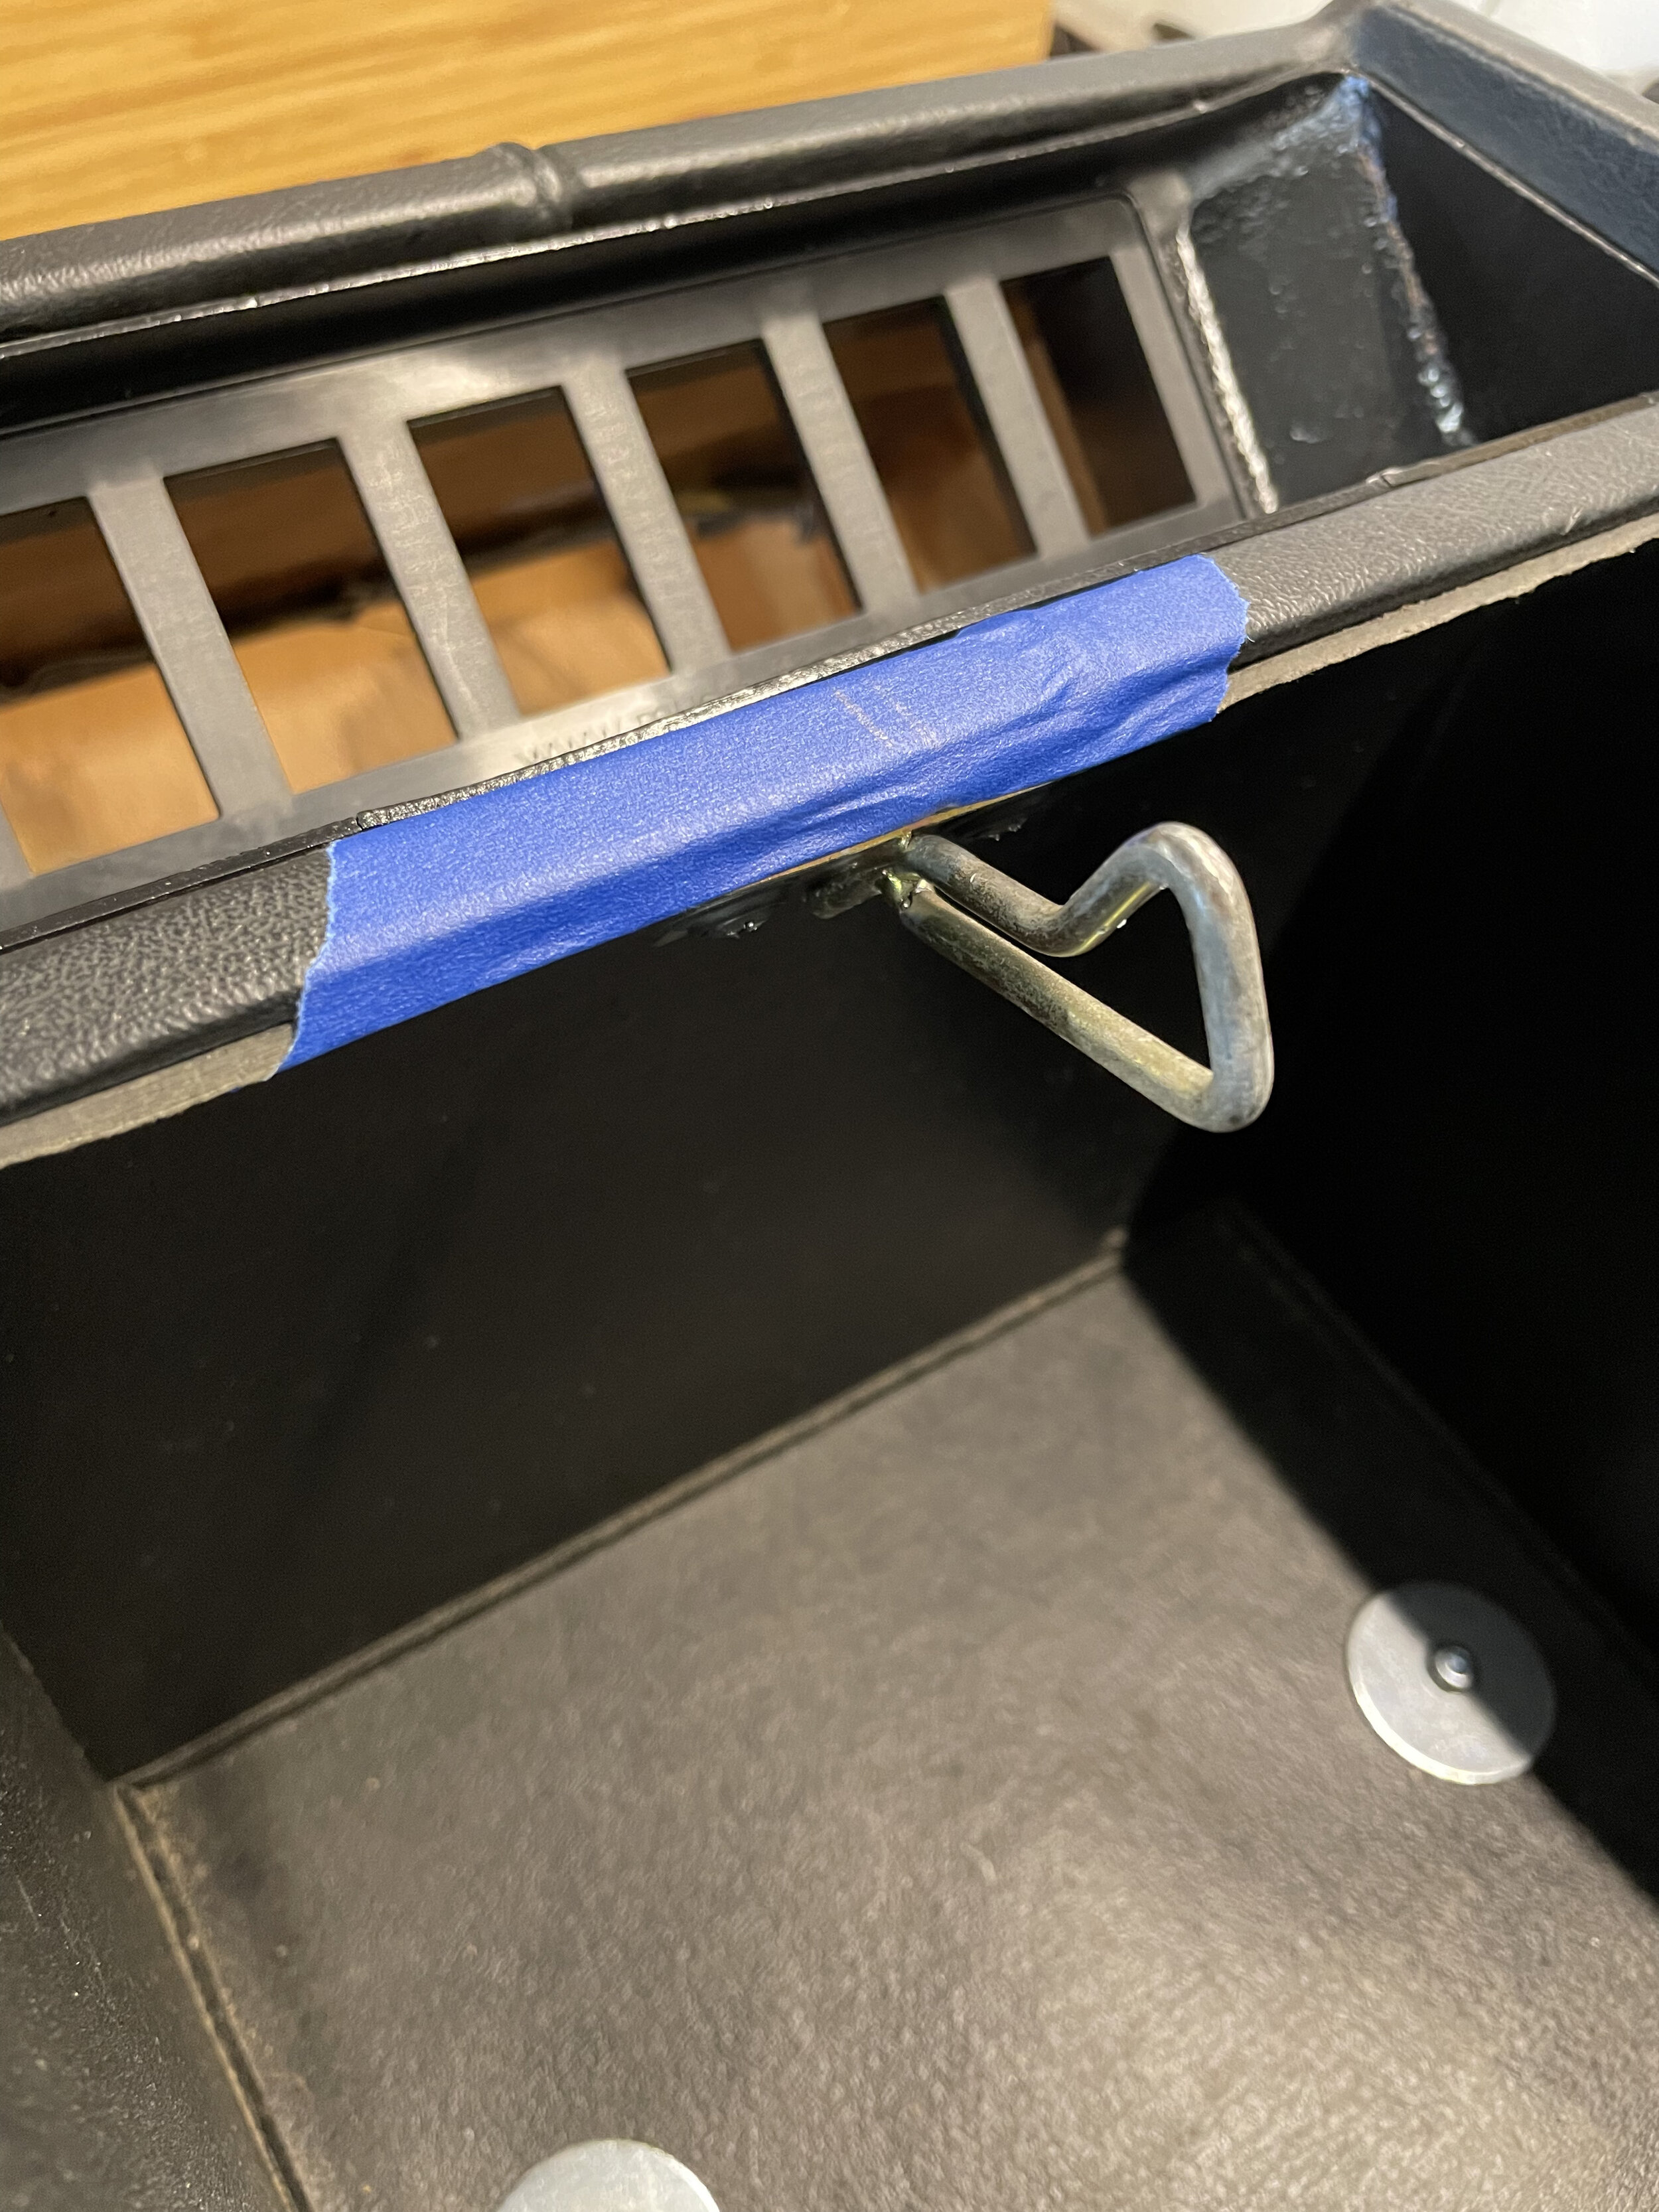
I then spent some time bending and positioning the strike plate so that the lock mechanism would engage properly. After many attempts I finally got it. Next I took the lock mechanism to a locksmith who rekeyed the lock so that it would function properly. Now I have a working lock for the cubby box albeit not overly secure….any child could simply rip these lids off the hinge. For me I just wanted the damn thing to work properly.

IMG_0849.jpeg

For the stereo I tried a couple different headless radio solutions. The first was the Memphis Car Audio. That had a volume issue so I ditched that. I then tried a small Kicker amp with an MTX bluetooth module which worked well but the MTX had a lot of interference in the sound. I tried a few things to reduce that interference but I could not get rid of it and realized it is just the inefficiency of the design…..so I ditched it. I ended up keeping the Kicker amp and simply plugging in my iPhone to the RCA hookups of the amp. That eliminated the interference and gave me great volume control. To make it a bit easier to control the songs and volume while driving I got a bluetooth remote that mounts to the steering wheel. I then replaced the marine grade speakers with more responsive speakers by Kicker.

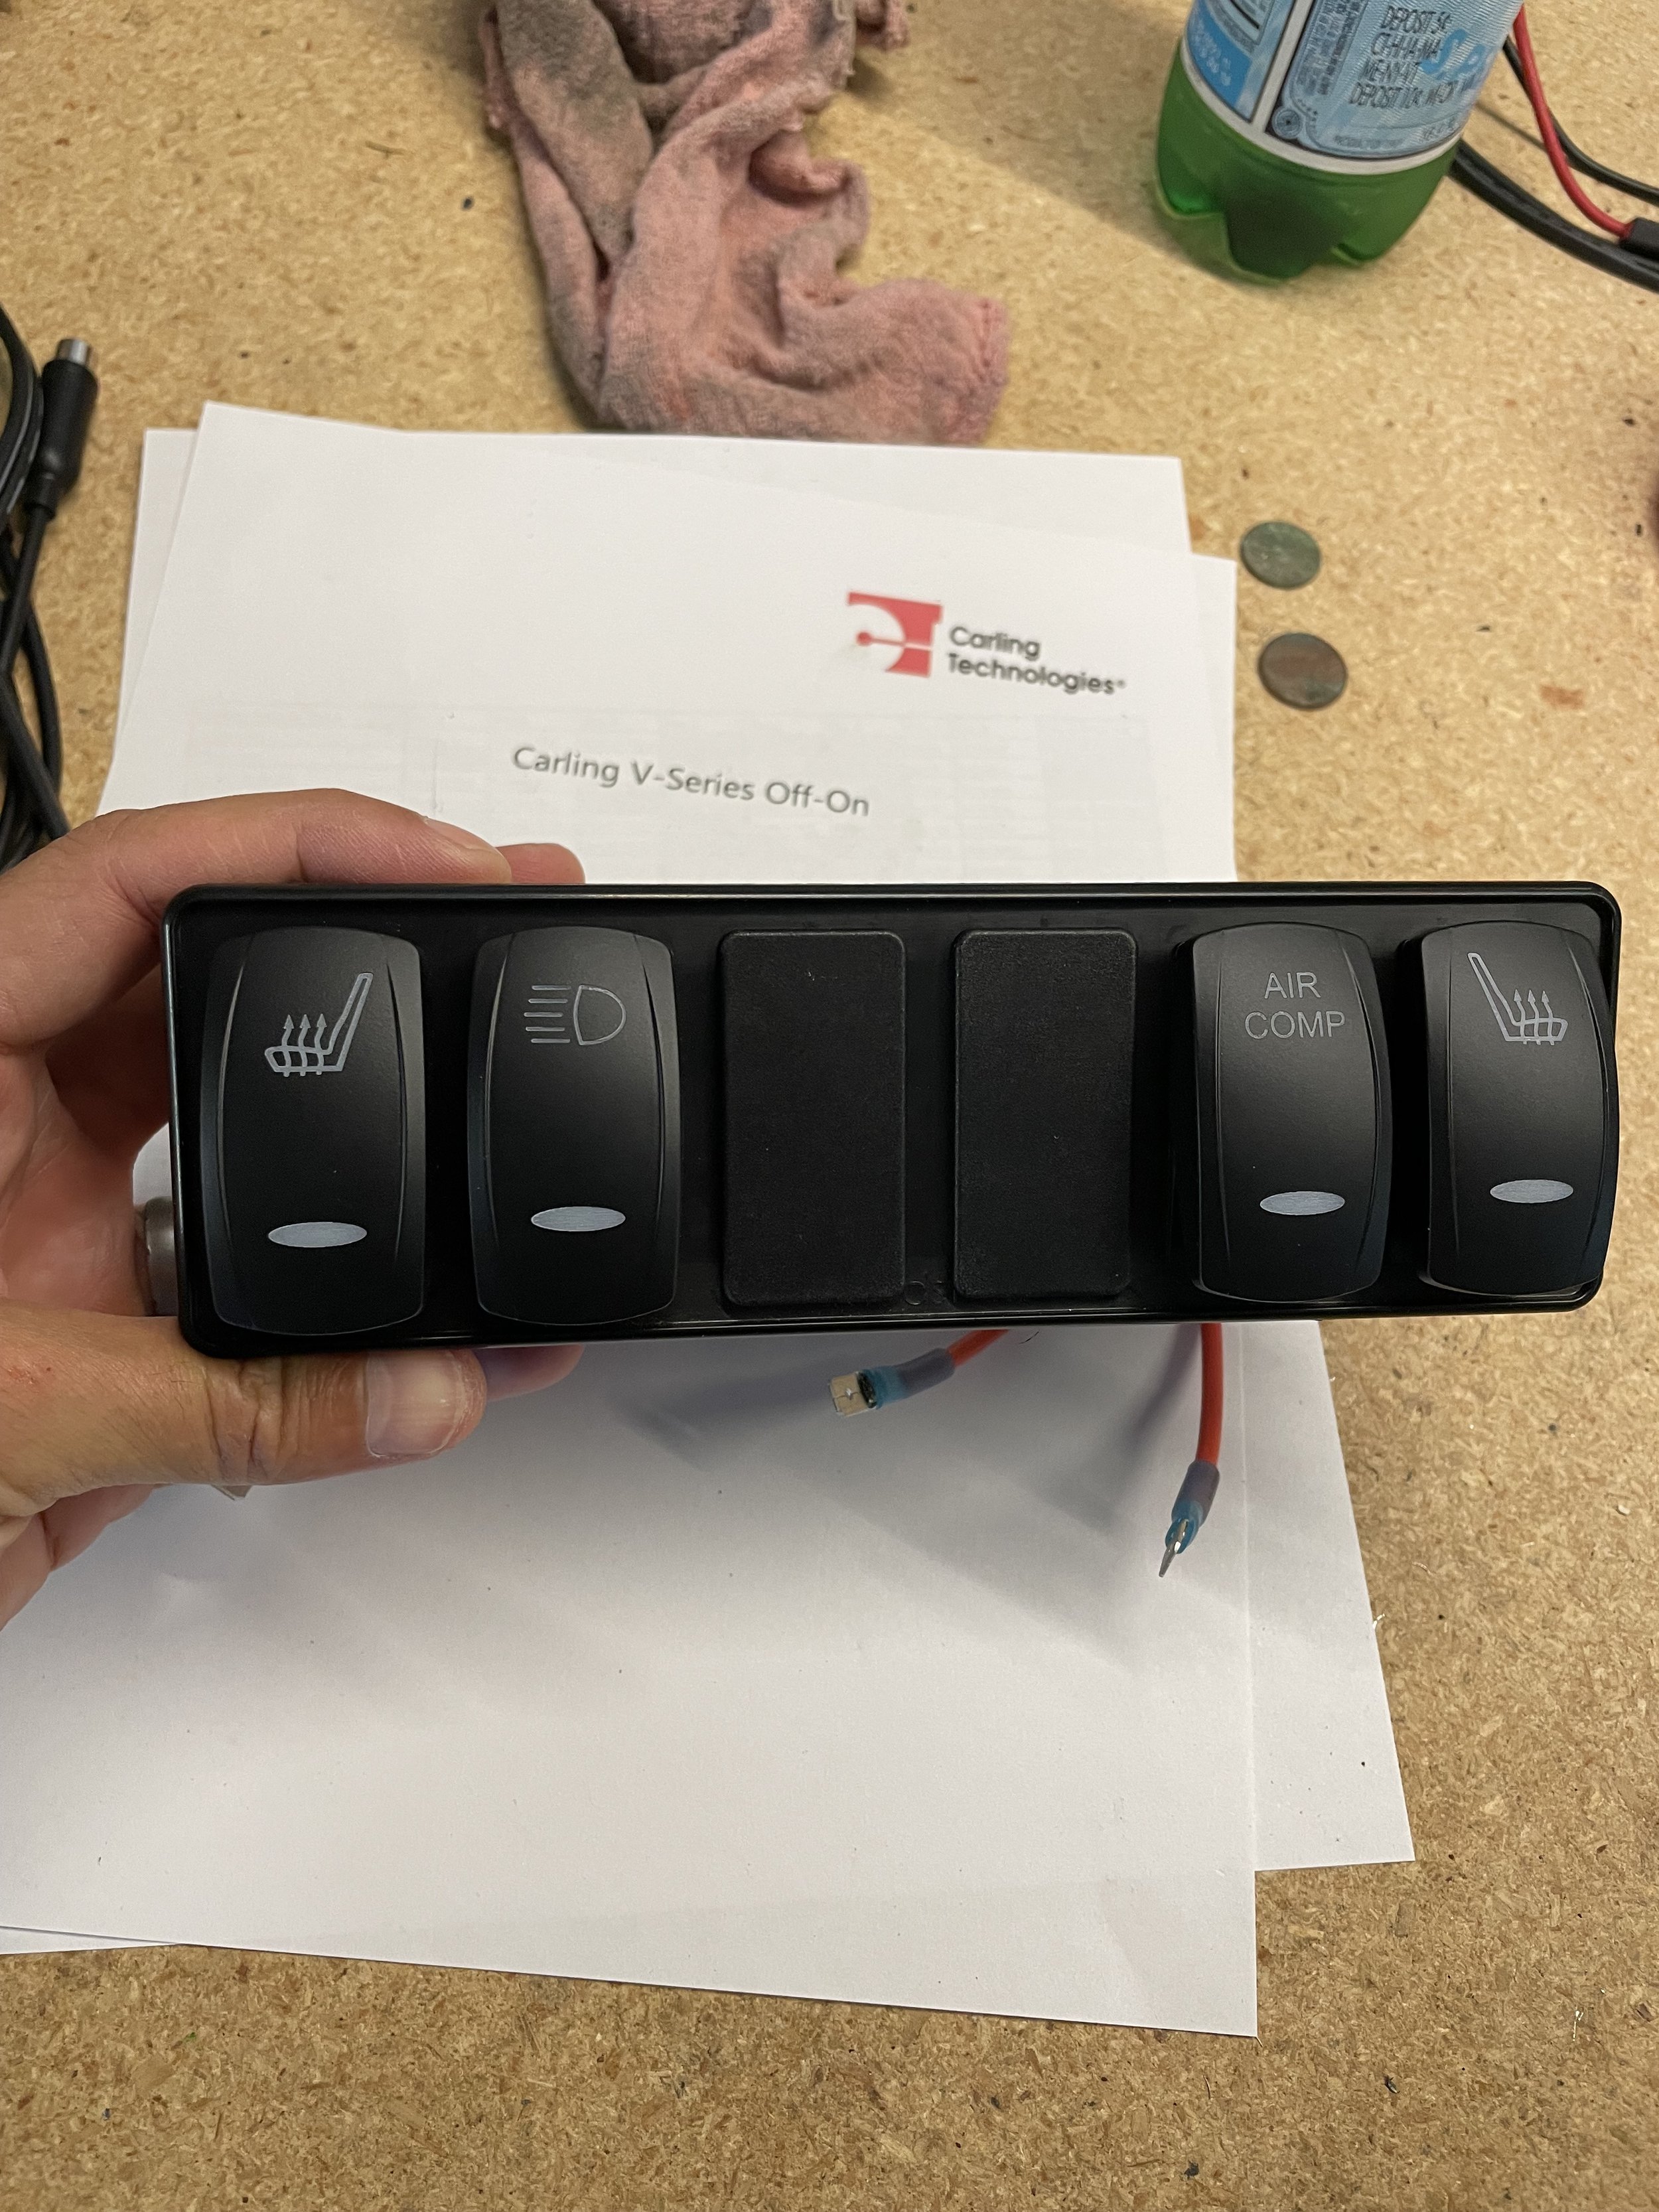
For the switch panel to hold the Carling switches in the cubby box I went with a custom solution by Mudd. The final result is a working locking cubby box that is more comfortable as an armrest since it is raised and I have a hidden radio solution with 6 switches to power my accessories over time. All while keeping the original 90’s look with no damage to the truck.

All in all this was a much bigger project than I had thought. The amount of reworking I had to do to get the system working properly while keeping the original look was a PITA. But I am happy with it.

Defender 90 Build - Electrical

Before we add aux equipment to the D90 we wanted to create an electrical panel designed to fit our needs while not taxing the OEM fuse box or electrical system. This meant adding an aux fuse box and some relays that are wired into the battery without going through the OEM system. This will allow us to add some switches to aux gear and upgrade the stereo system. Since this is an off-roader and run about we don’t need a full overlander system…..for that we have the Sprinter Adventure Wagon. So for the D90 we planned to add some off-road bumper lights, winch, air compressor, upgraded stereo, and enough open slots for future roof rack lights, seat heaters and 1-2 other things.

The first decision was where to put this gear as Defenders are short on space. The battery box under the driver seat had enough space and made the wiring clean and accessible. The driver seat simply lifts up and you can easily access the battery box in seconds. We didn’t want to simply throw gear in the battery box so we built a wood panel that is bolted to the metal wall of the battery box and then mounted all the aux electrical gear to that wood panel. This allows us to build and wire everything outside of the truck and then simply bolt the whole panel in.

We wanted to make it as clean as possible with as few wires as possible with plenty of protection for the battery and systems. The relay systems were built by MGI Speedware who offers extremely nice car electrical components. The fuse box is made by Blue Sea. Here is what the panel includes:

  • positive power distribution block that hooks up to the battery

  • relay control box with 4 relays, this also has an inline fuse for the unit and dedicated fused for each relay

  • a dedicated relay for the air compressor due to the high load, this also has its own inline fuse

  • a fuse box with 6 slots that are all individually fused and the unit has its own inline fuse as well

  • a negative distribution block that grounds to the chassis

The relay control block will allow us to hook up switches for the bumper lights, future roof lights and seat heaters while giving us a couple slots to tap into in the future as needed. The single relay for the air compressor is designed for high load motors. The fuse box will give power to the stereo amp and any other future gear we can think of.

Because we like clean wiring, we decided to install battery terminal distribution blocks so that we don’t need to stack up connectors on the battery terminals. We found a great solution with SDHQ who makes solid block battery terminal distributors where you can easily bolt on multiple connectors. This way we can have the winch, the OEM systems, and the aux panel all wired directly to the battery terminal but on separate mounting points.

In the end I will admit this was a bit overkill to add a few aux equipment. But The goal was to do it once and for it to be ready for any future needs.

Defender 90 Build - Suspension

Defenders are very capable trucks off-road but there is always a bit more performance you can squeeze out with the right mods. When I bought this truck it came with stock OEM suspension and wheels but very wrong tires. The ride was ok but adjustments were needed. It was clear the prior owner didn’t know how to match the right tires for this truck or set up the suspension properly.

Since I needed to replace the tires anyway I might as well get slightly larger. I decided to go with 305/70/16 BFG KO2 All Terrain. I also knew I wanted a winch and that means more weight on the front which means some adjustments are needed to ensure the truck doesn’t nose dive. For the wheels I was torn on what to do. I really like Hutchinson Rock Monster bead lock wheels but they cost a small fortune so I decided to keep the stock wheels for now. I might powder coat them matte black if I decide not to buy the Rock Monsters. But let’s be real…..I will end up with the Rock Monsters at some point. DOT legal bead locks designed for military applications? Who could resist that?

All of that meant we needed the following suspension upgrades:

  • 30mm wheel spacers

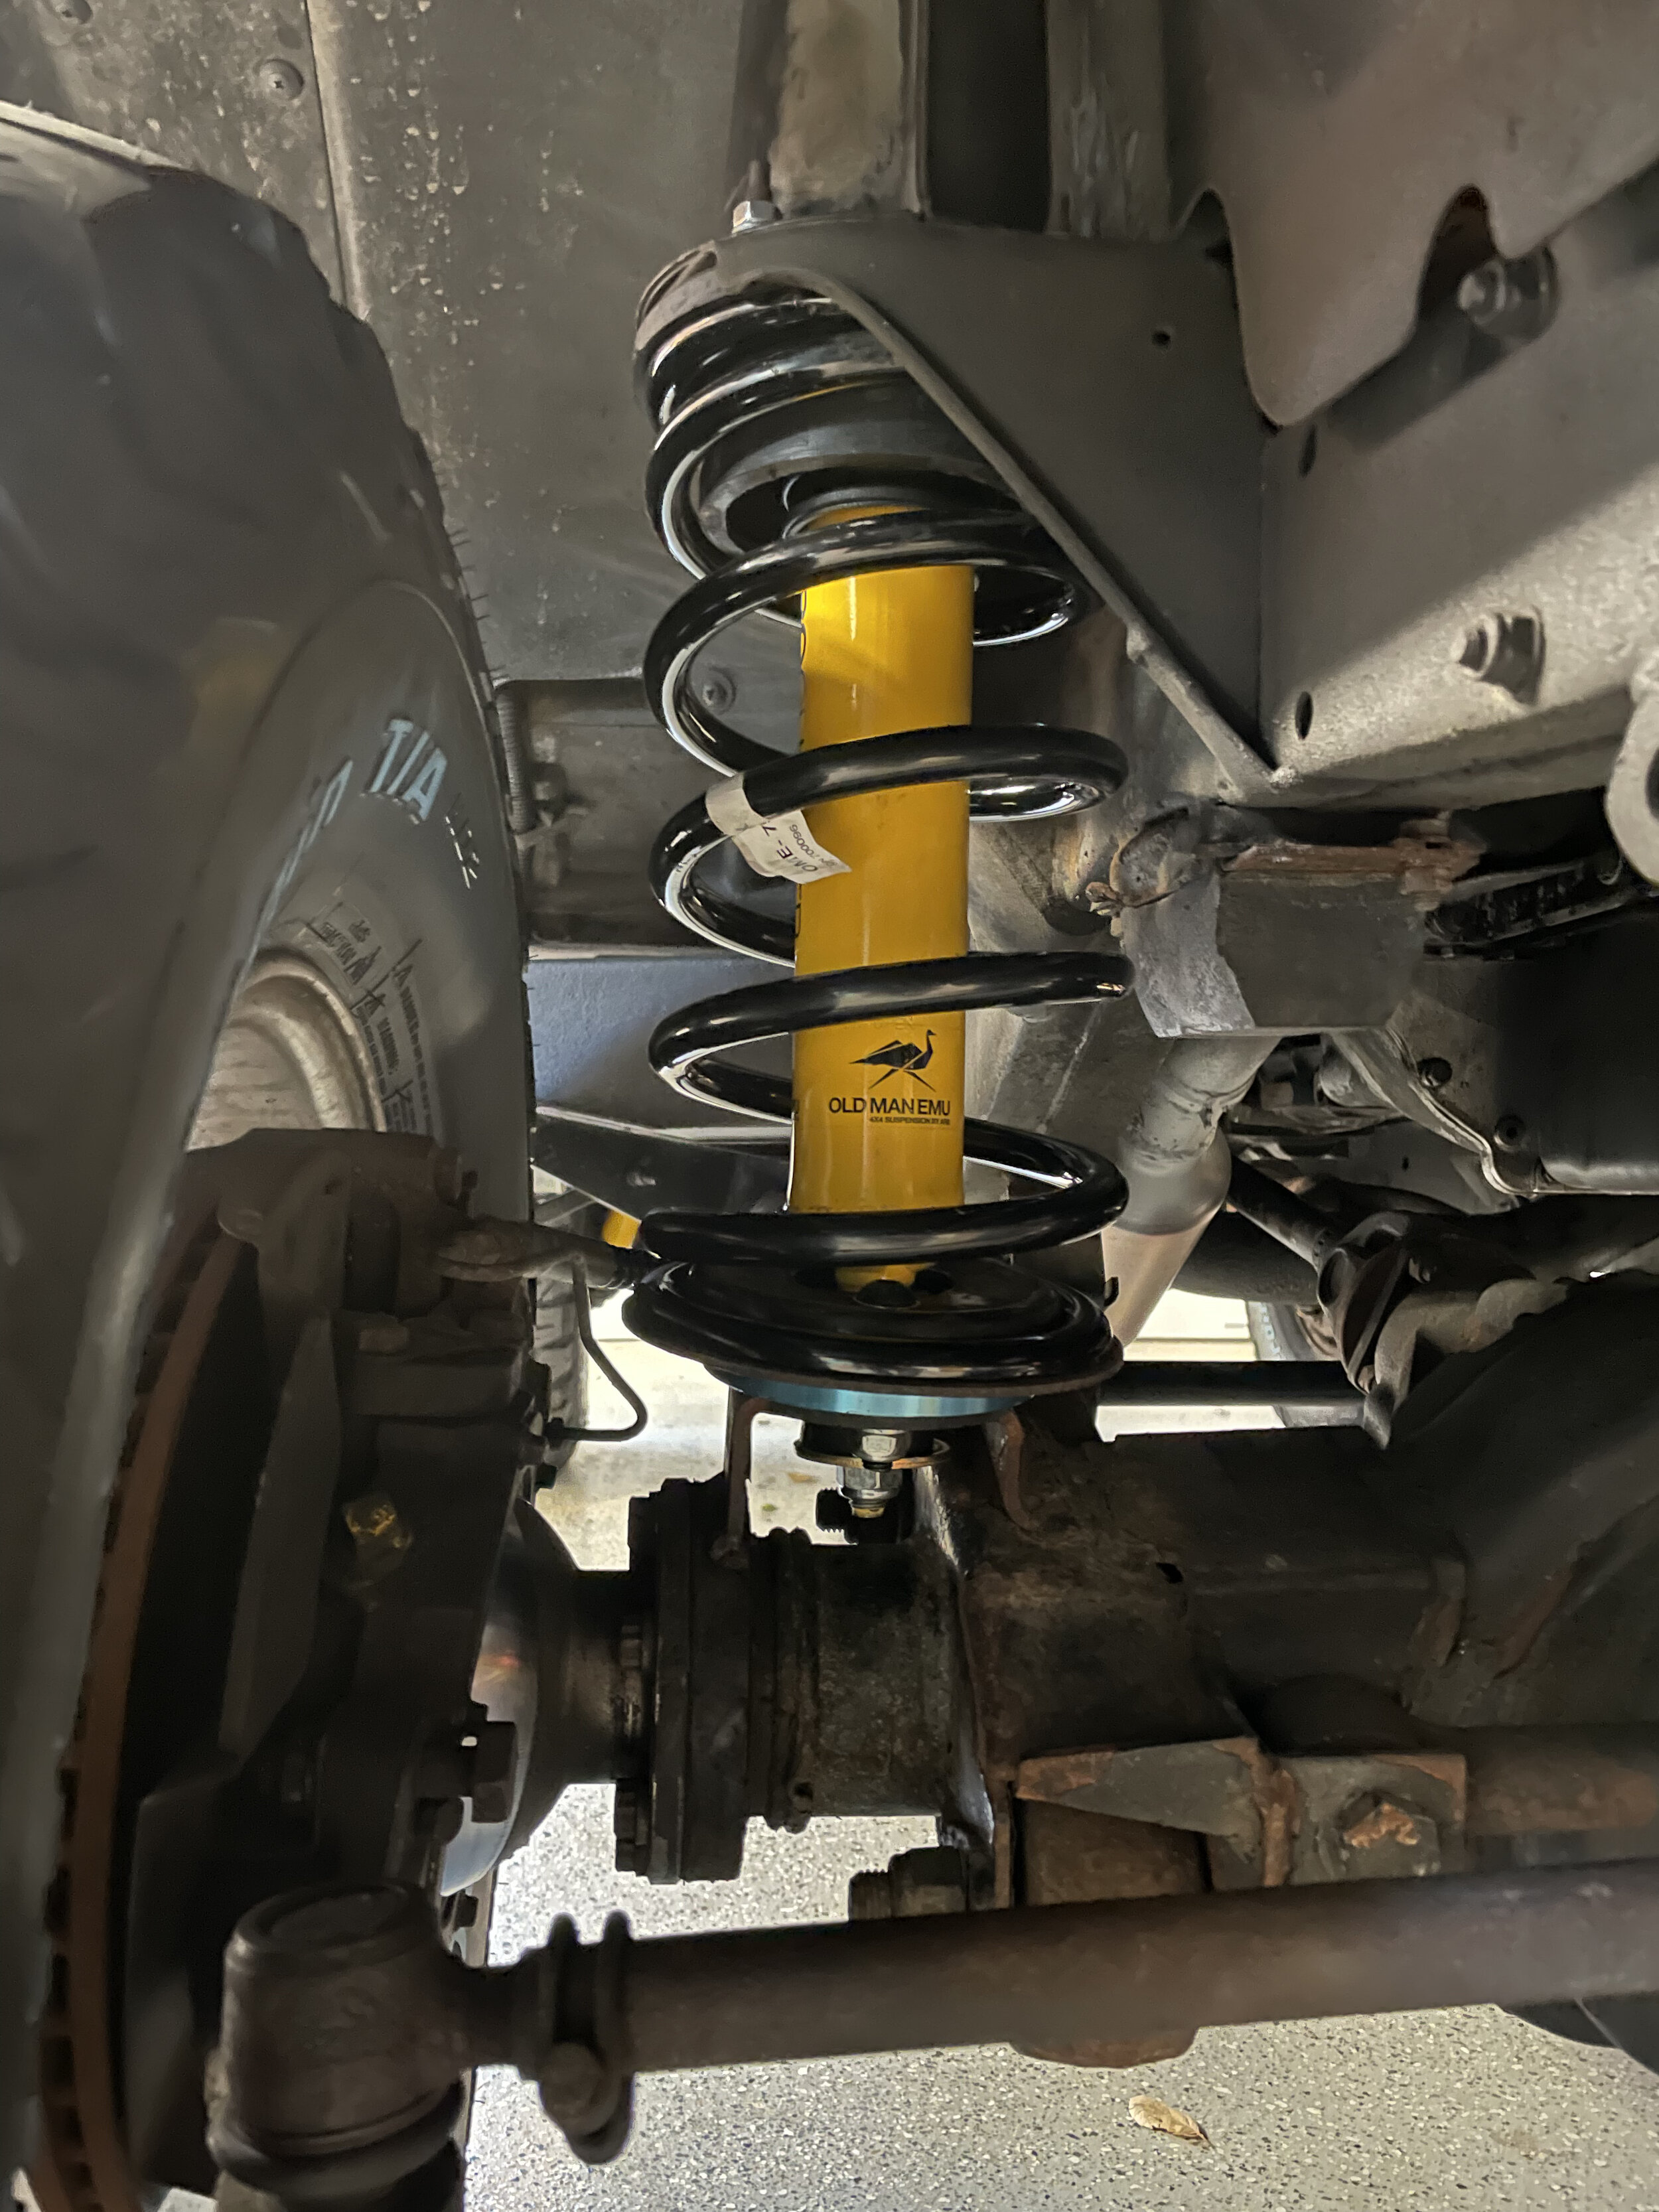
  • OEM HD springs

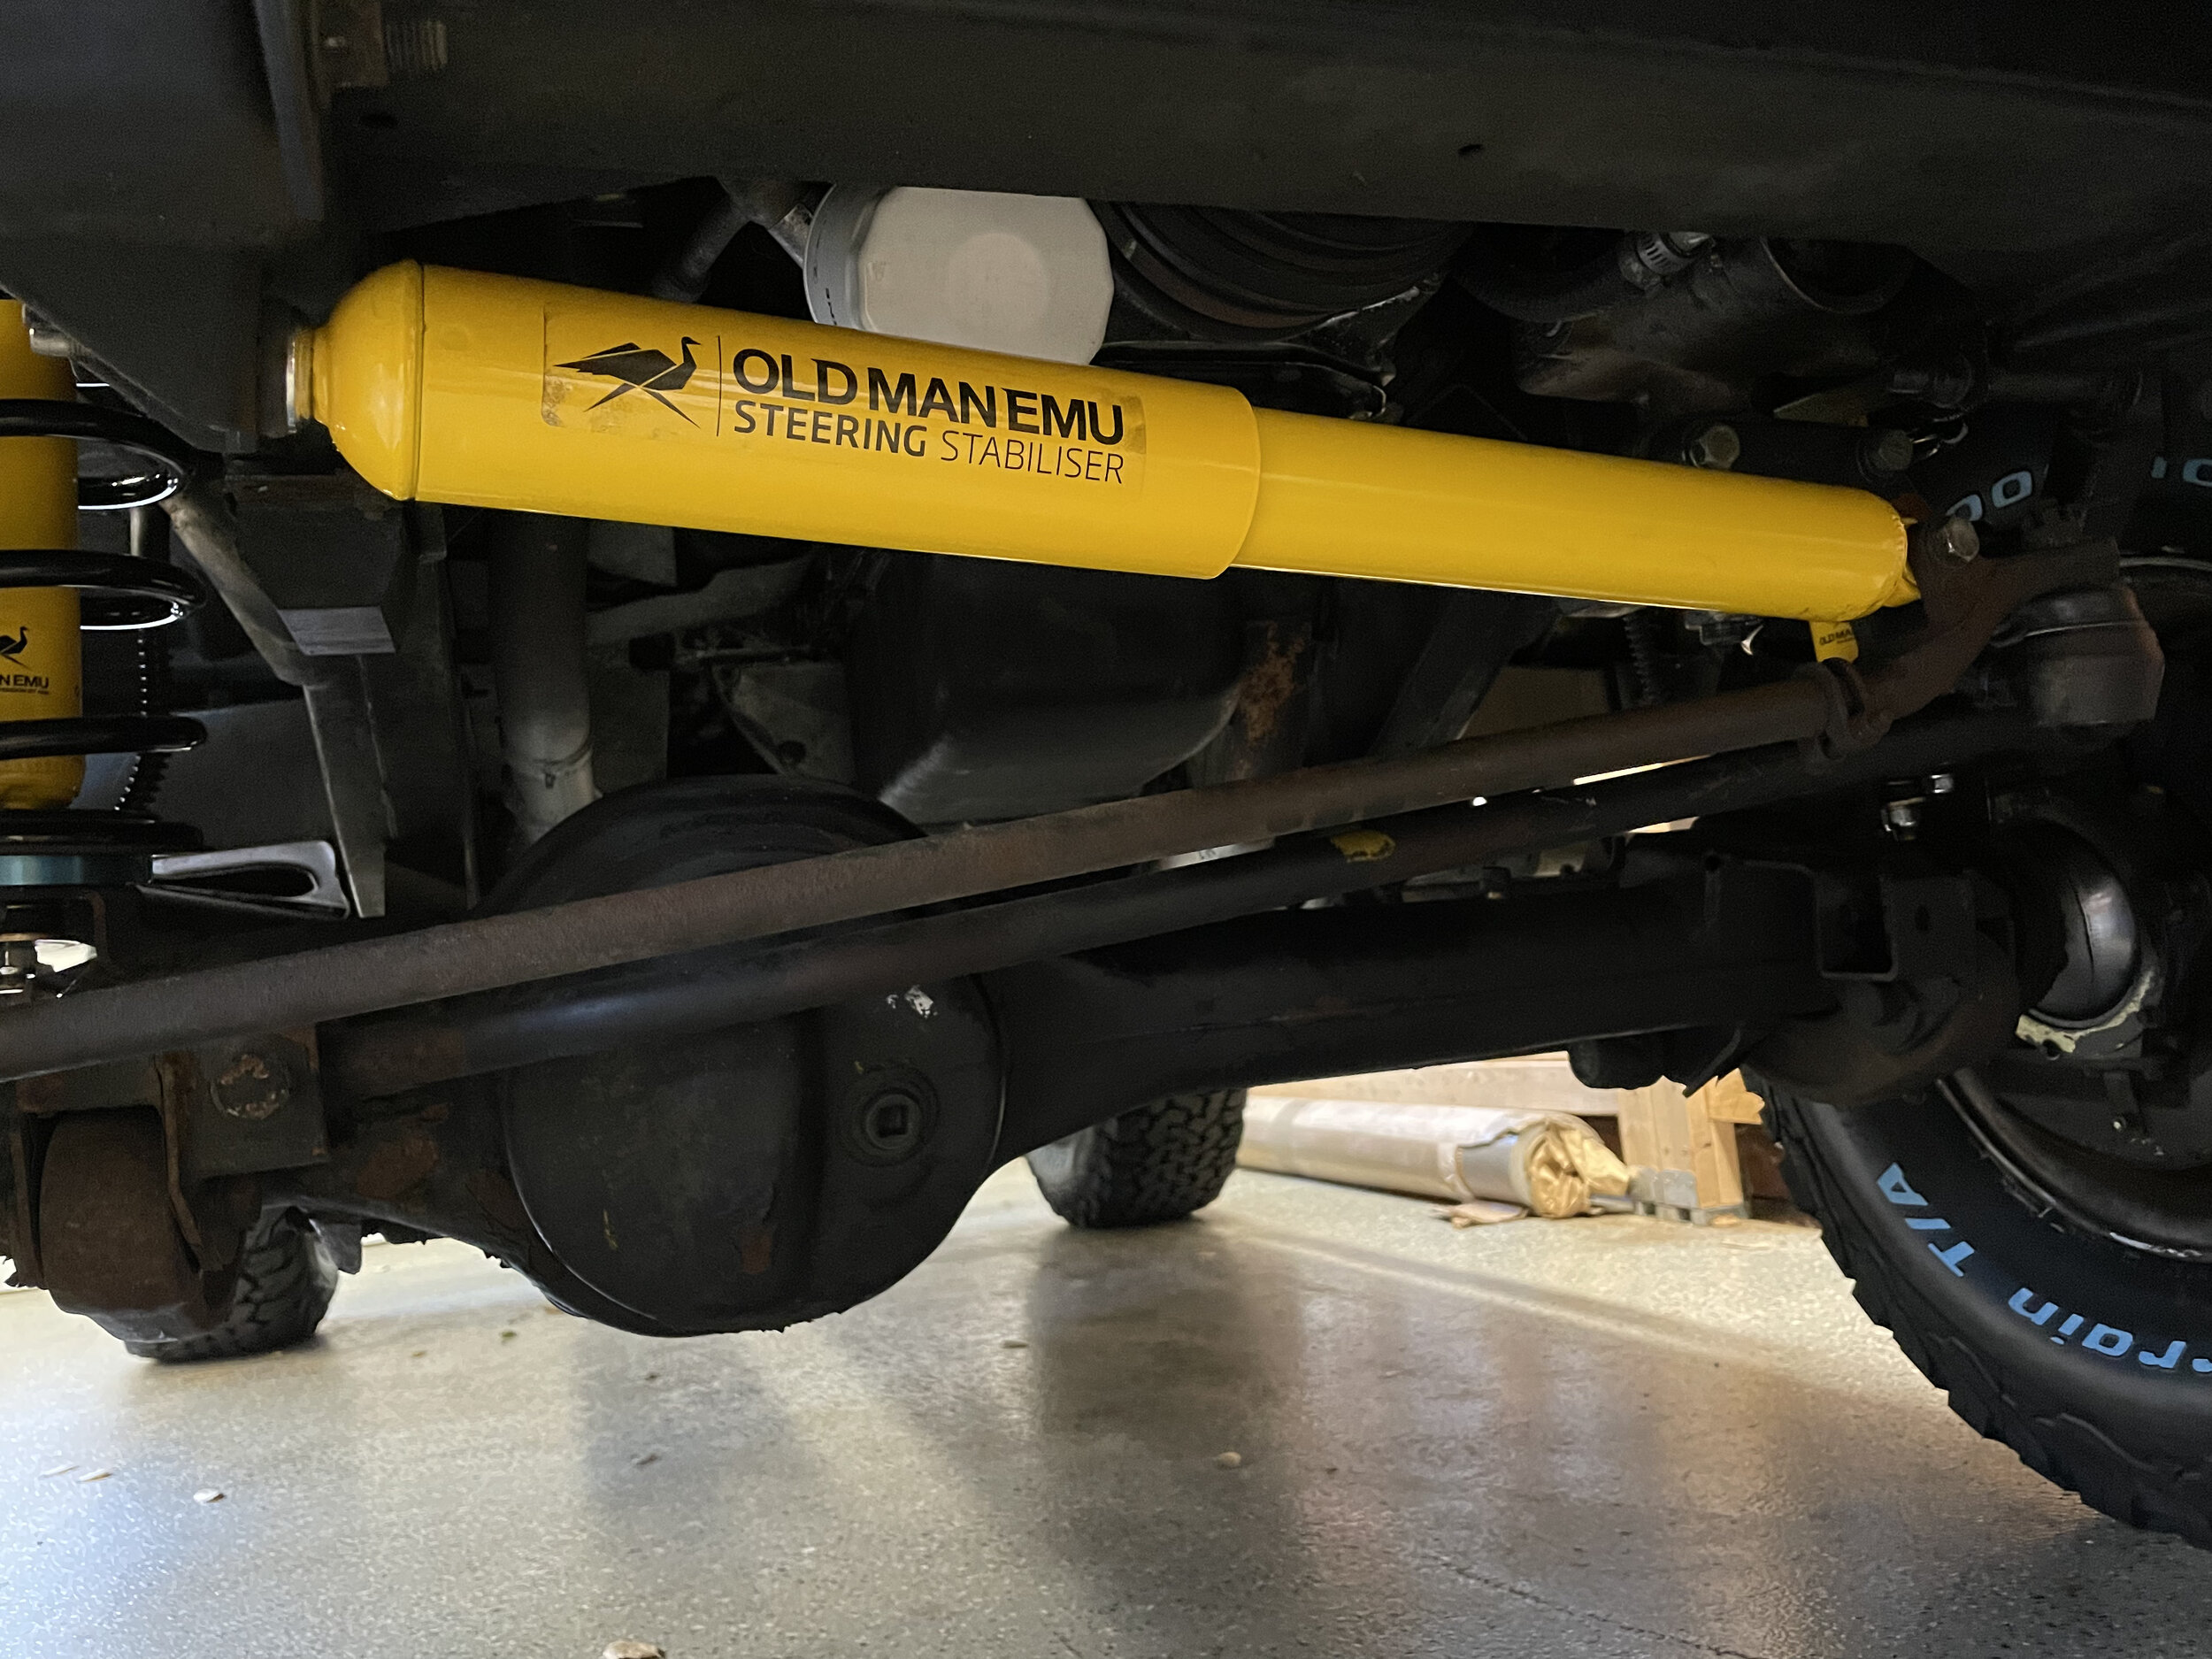
  • Old Man Emu shocks

  • Old Man Emu steering stabilizer

  • 1” spring spacer in the front to prevent nose dive when the winch is put on

Now the truck looks proper (in my eyes) and performs much better on-road and off-road.

UPDATE:

After driving around with this setup I decided to remove the front and rear sway bars. What I found was that the springs and shocks are stiff enough to give me the stability I need on the road so the sway bars were not as important. Also by removing them I will get better articulation off-road. This mod is not for everyone because you are removing a safety feature to some degree. But for how I use this truck this seemed like an acceptable tradeoff.

Defender 90 Build - The Plan

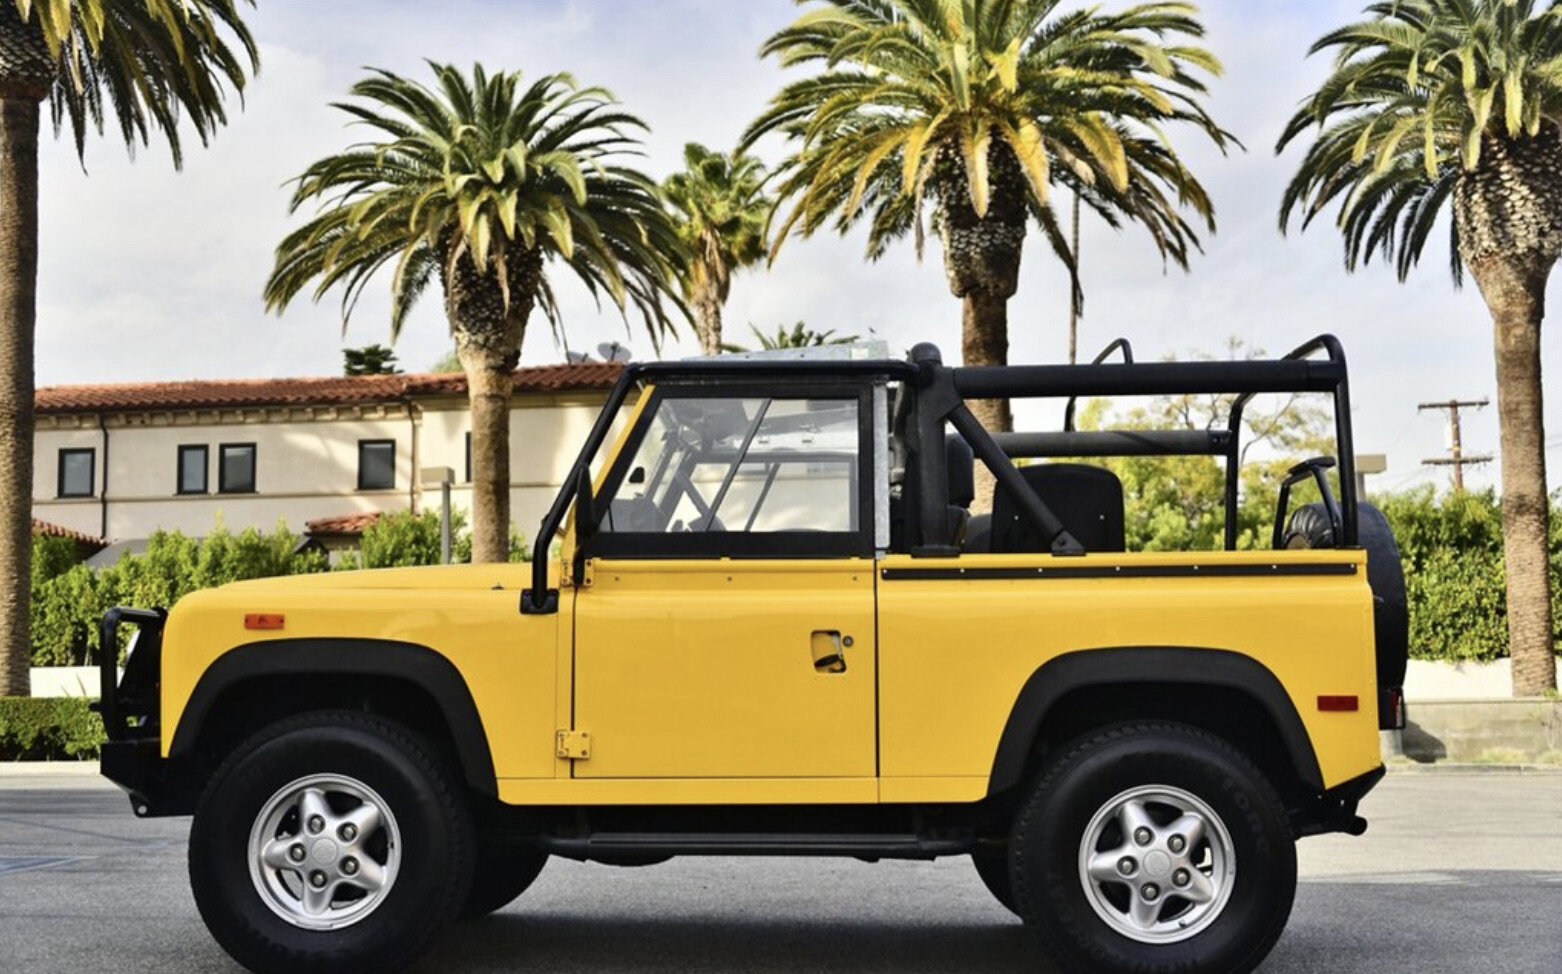
Full restoration, partial restoration, full on modification? What direction to take a car project can be a difficult decision. This D90 is mostly stock but there are a few things that are not original that can not be put back to the factory spec. For instance, the car has been resprayed AA Yellow which is the correct OEM color of this car but it is clearly not original. It has inward facing rear seats which is very Defender….but this configuration was not available with NAS Defenders. So these were clearly added on at some point. This car either came with no rear seats or it had a bench at one point but it has since been lost. This is fixable but with considerable effort and cost due to the lack of seat belt mounting points. That brings us to the biggest non-original element of the car and that is the rear roll cage bar.

IMG_0685.jpeg

NAS Defenders had their roll cage encased in a foam/rubber padding. This padding is not removable and is actually molded onto the roll cage. Only NAS versions had this done to the roll cage and since there are not that many NASes created (since they only were manufactured from 94-97) no one is offering replacement parts. Safety Devices who is the worlds largest roll cage manufacturer for Defenders offers all configurations except the padded NAS version. That means if you are missing any parts or need a replacement roll cage for a NAS you only have two options: 1) you find a NAS junker and pull the parts from that car but this is rare and often the parts are of poor quality or 2) you switch to a non-NAS roll cage.

My truck has the original NAS roll cage on all bars except one bar, the rear hoop. I don’t know what happened as there is no record or evidence of an accident. My best guess is that there was some damage to the rear hoop or the padding started to rip (which is common) and the prior owner decided to replace the hoop with a non-NAS. Another possibility is that this NAS truck only had a front section roll cage and no rear seating (fastback style) but at some point the prior owner wanted rear seating, put in the inward facing seats, and found some NAS and some non-NAS roll cage parts to create a mismatched full cage. Either way, me finding a NAS cage in good shape that I can buy to put my cage back to full original is going to be hard if not impossible.

Screen Shot 2021-04-30 at 7.45.26 AM.jpeg

Because of that non-NAS rear hoop, putting an original rear bench will be expensive, but I am going to do it anyway. The inward facing seats I have now are cool but impractical and not stock. I have found an original NAS bench that needs to be refurbished. I will get new foam inserts and an upholstery kit as well as strip and paint the metal frame of the bench. This will get me a period correct stock rear seat that I can mount. As for the seat belt mounts I will either need to weld on mounting tabs to the rear hoop (which is actually possible since my rear hoop doesn’t have the NAS padding….hello silver lining) or I will mount a four point harness to the floor of the truck.

The last non stock thing on the truck is the bumper. Right now it has a period correct ARB safari bumper versus the original bumper. Mounted to the ARB bumper are some Hella Rallye 2000 off-road lights. This is a great bumper but not the look I am going for. This bumper was designed to accommodate a traditional steel cable winch and as you can see the bumper has a lot of protection….but changes the look of the truck. I have decided to change this bumper out with a Terrafirma Pro Taper bumper which is a more streamlined steel bumper that more easily accepts modern winches. This means we will no longer have grille lights but it also means the boxy Defender front of the car will be more prominent.

Screen Shot 2021-04-30 at 7.37.01 AM.jpeg

Everything else is stock and can easily be maintained or refurbished as needed. But all of this is a long way of saying I don’t think this is a full restoration candidate to be locked away in the garage and babied. I think keeping the spirit of the original truck is key, keeping most of it stock is desirable, but doing some modifications should be considered. Those modifications should be bolt-on whenever possible, tastefully done, and done with a purpose of increasing safety or increasing fun. So with that in mind I move on to building out the project list.

Defender 90 Build - Inspection

Well I took delivery of the D90 and drove it immediately to a local shop for an inspection. I bought this car sight unseen and unfortunately no paper records came with the car. I bought it from a dealer in LA who I talked to by phone and I did an extensive FaceTime session with them to check for rust. I also ran a CarFax to understand prior owners, possible accidents, and to receive some of the service records. Everything checked out in the buying process but you still never know until you get the car…..there is always a few surprises when buying an old car.

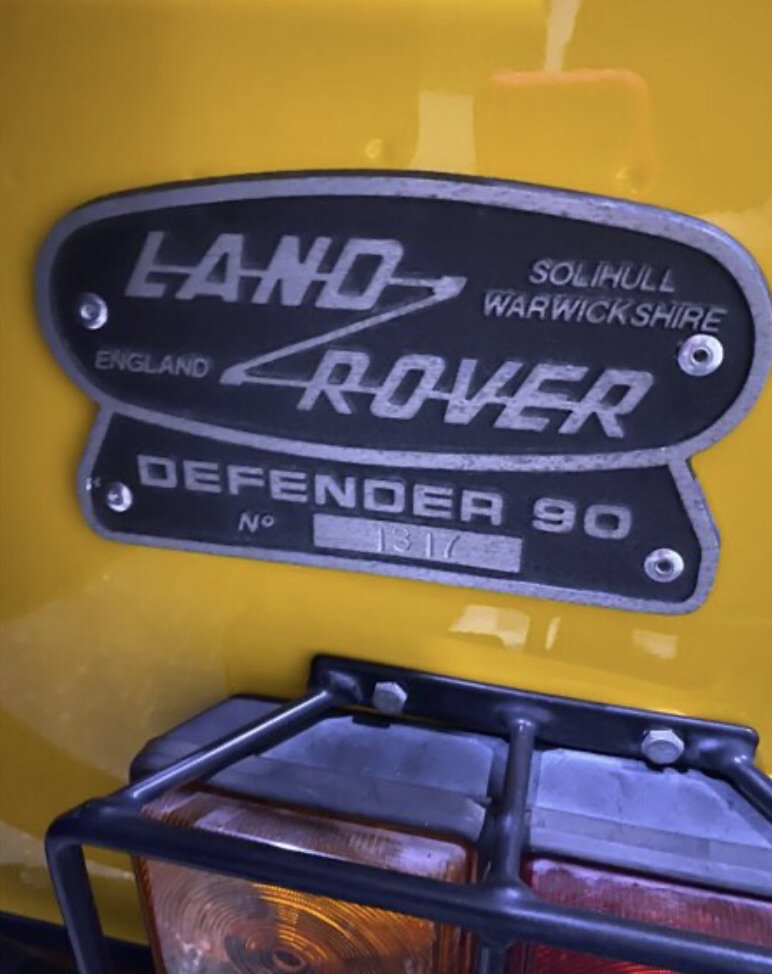
From the research I have done, this #1317 Defender has had three owners and has passed through an auction house and a dealer. The first owner was in Idaho who owned it for 13 years. It was then owned by someone in California from 2007 until 2012 and then sold to someone who also lived in California but who then moved to Florida. In 2021 it passed through an auction house and was picked up by a dealer back in California which is where I found it. All in all this Defender is actually rather well documented and didn’t pass through too many hands.

Since the car only had 83k miles and was a NAS I figured my risk was low to moderate. The FaceTime call gave me confidence that there was little to no rust and the fact that the seller was a dealer made me feel I had at least some level (albeit low) protection if something went wrong. But it felt great when the car showed up from the shipper and indeed there was no rust, it drove, and generally checked out against my expectations. But off to Cerrone’s European nonetheless for a real look over. Cerrone’s is sort of the local Defender whisperer. They have been in business a long time and focus on euro cars but the owner Frank has a 94 D90 NAS and a reputation of working on all the Defenders in the area, so they were the obvious choice for a look over.

I was thrilled to find out that the car was in great shape. They found some loose bolts here and there, some burned out light bulbs, and they suggested coolant flush. The only material thing we found was that the catalytic converters were shot so we are replacing those. There are some minor cosmetic things I will take stock of to figure out what to replace and what to live with. Frank and I talked about what direction I want to take the car and I have decided that light mods that enhance the spirit of the car, make it safer, and increase the fun factor is the goal. This is not a garage queen, it is not a show car, it is not a collector car, it is not a daily driver, it is a fun weekend warrior car.

So in a couple of weeks the first project will be to replace the tires and do a light suspension upgrade. This will allow us to run proper 33” AT tires. We will widen the stance a bit and we will put on Old Man Emu shocks and Heavy Duty springs so that we can accommodate the added weight of a winch down the road. If you are a Defender lover then you know this is sort of the standard suspension upgrade. After this we will simply enjoy the car for awhile to determine what else to do. It is a delicate balance between doing enough mods to achieve the vision you have and doing too many mods. I am not a Defender purest but nor am I looking to have a car that is all show and no go.

Defender 90 Build - A Dream Since The 90s

There are some cars you see and you stop in your tracks and tell yourself “I must have that car”. In the late 90’s that car for me was the Defender 90. At the time I was working for The North Face in Palo Alto and making virtually no money after college. The manager of the nearby San Francisco store, which was The North Face’s flagship store, was a woman named Barb and she was a big deal. Yes she ran The North Face’s largest and most profitable store….but she also owned a Defender 90. I remember meeting her and seeing her in that D90 and telling myself “Wow Barb is a badass” as well as “I must have her car”. But like I said, I was dirt poor so buying a new D90 at $35k was completely out of the question.

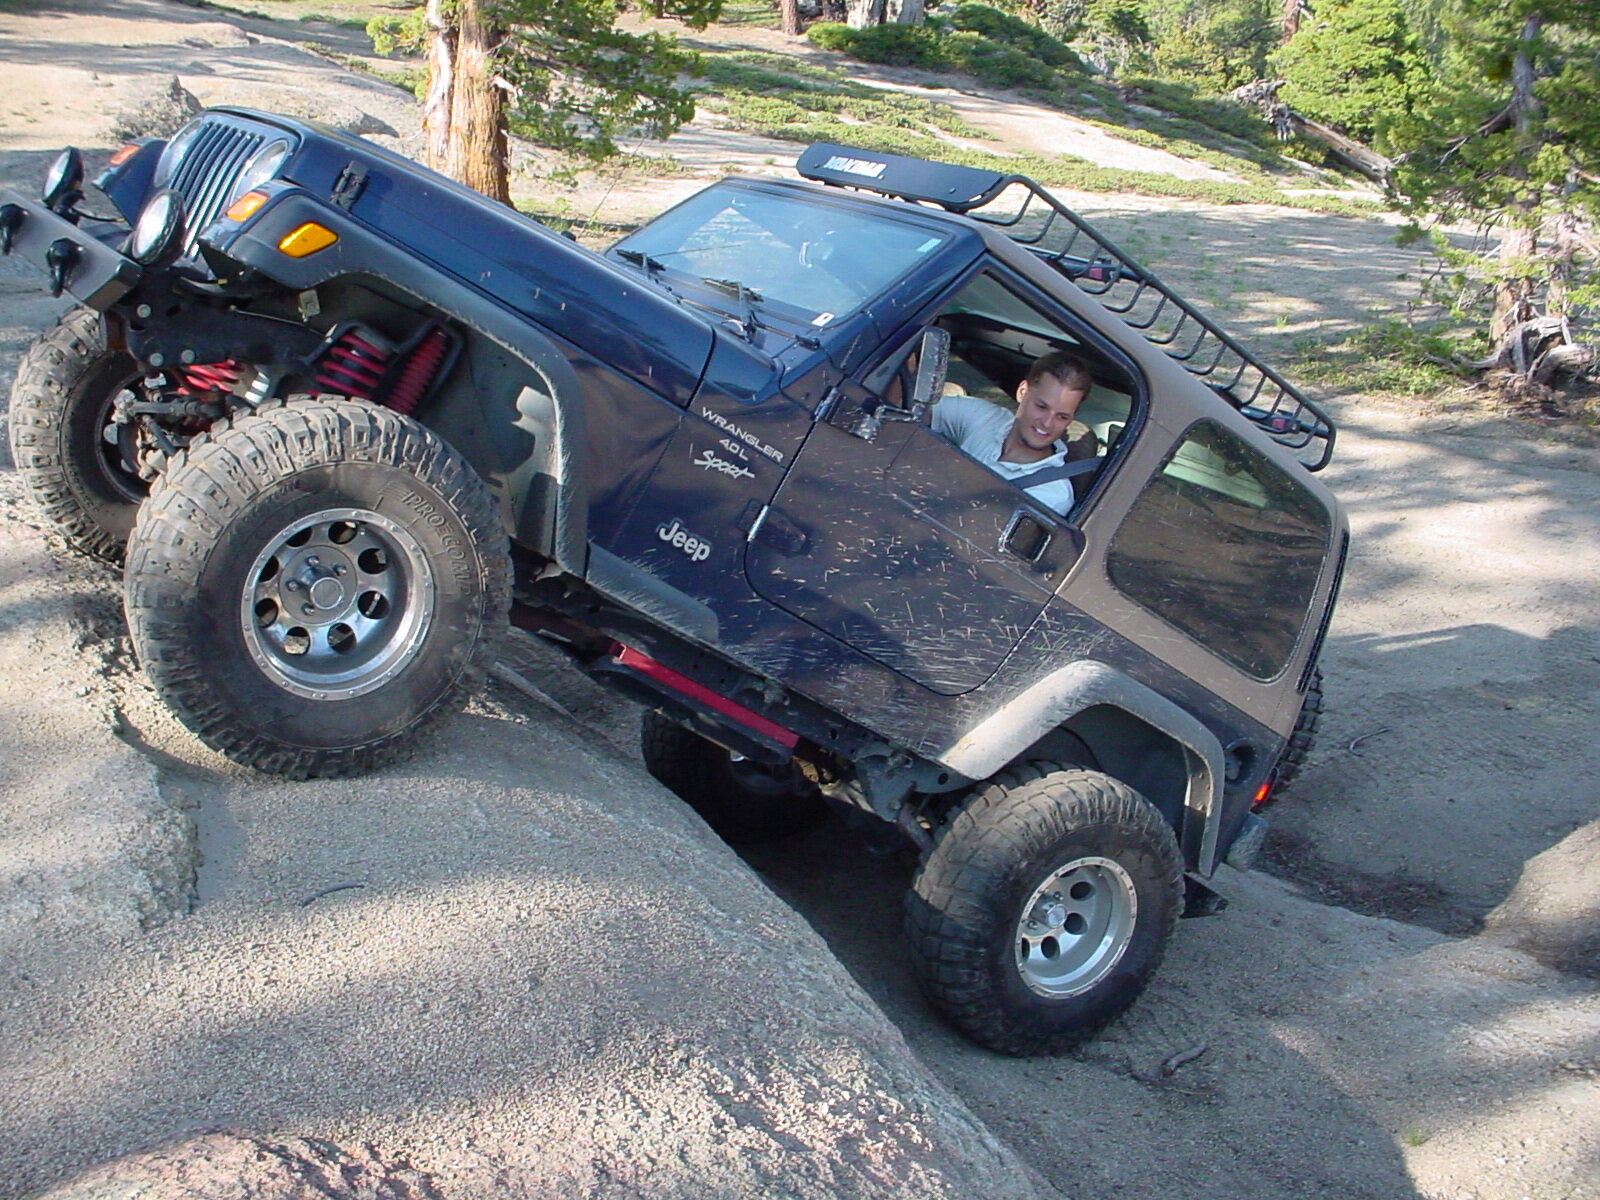
Then in 1997 Land Rover pulled the Defender out of the US and my chances of owning a D90 become even more unlikely as the prices for used D90s shot up almost immediately. I ended up buying a Jeep which I loved…but it was not a Defender. I kept dreaming of owning a Defender and every few months I would poke around on the used market to keep taps on prices. Life then got complicated and I shelved my D90 dreams, but I never stopped looking.

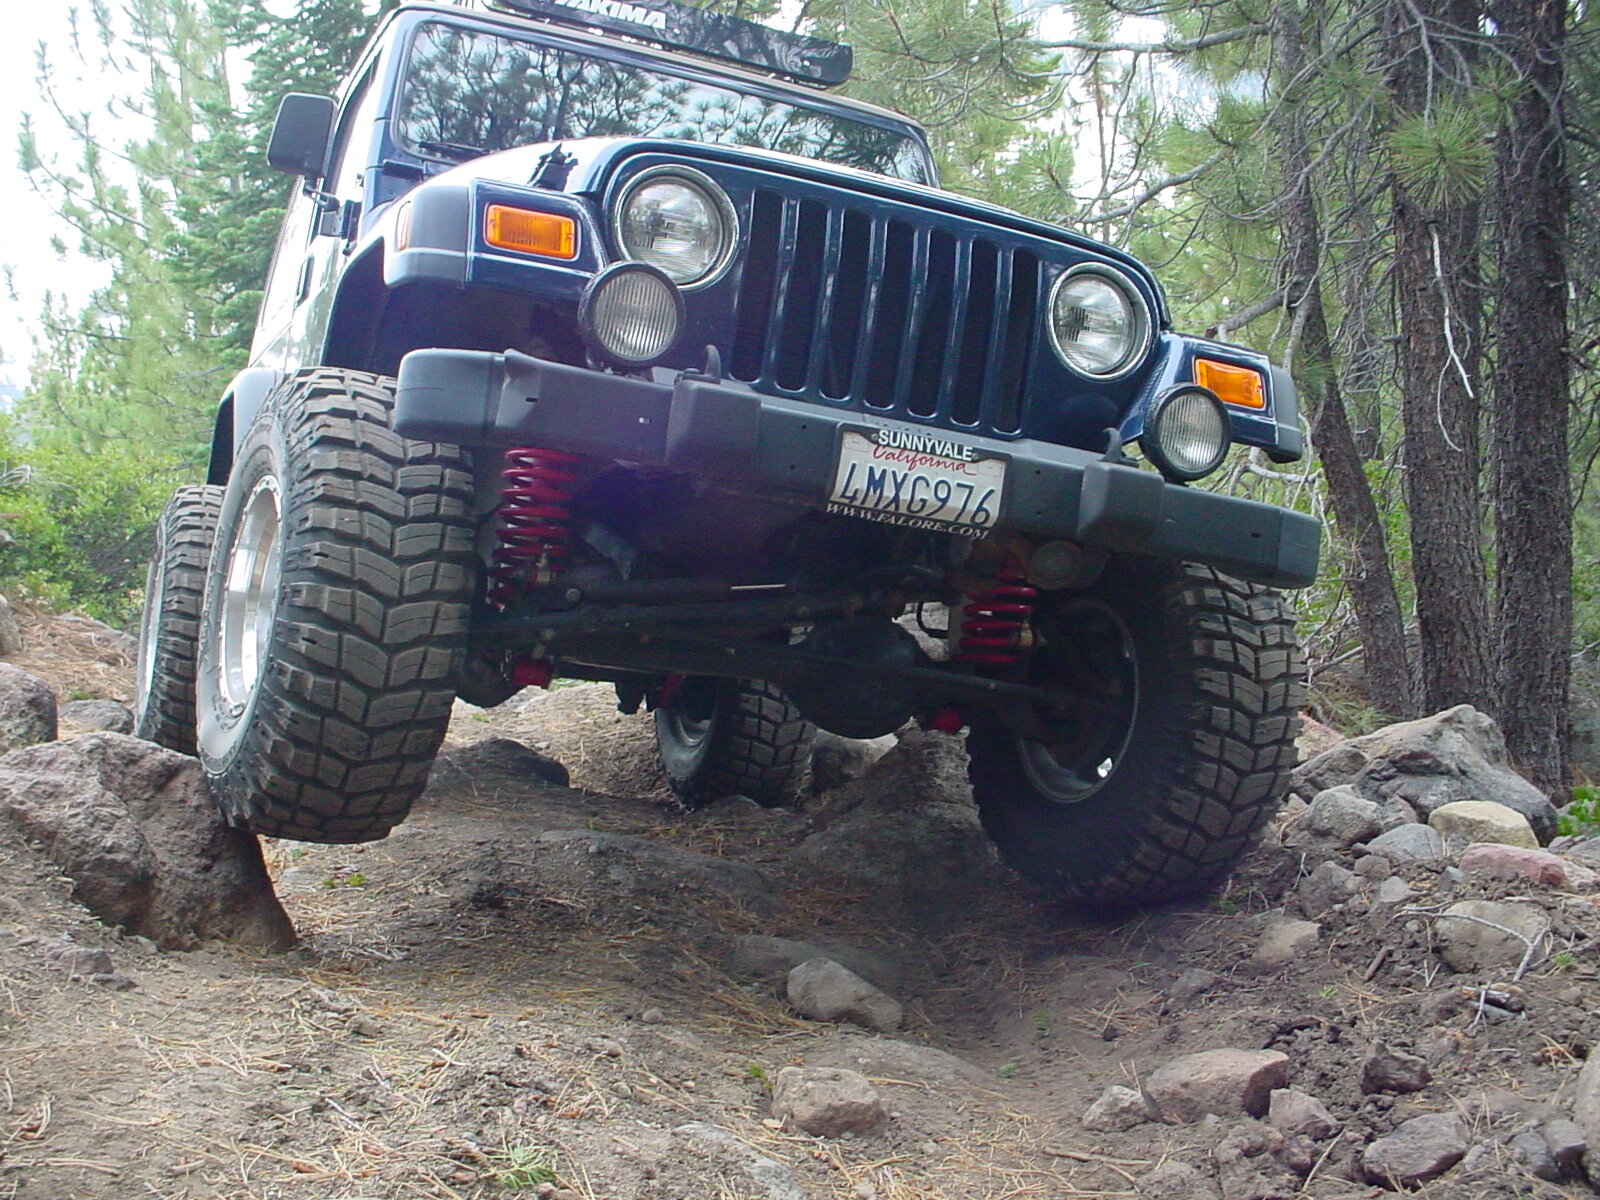
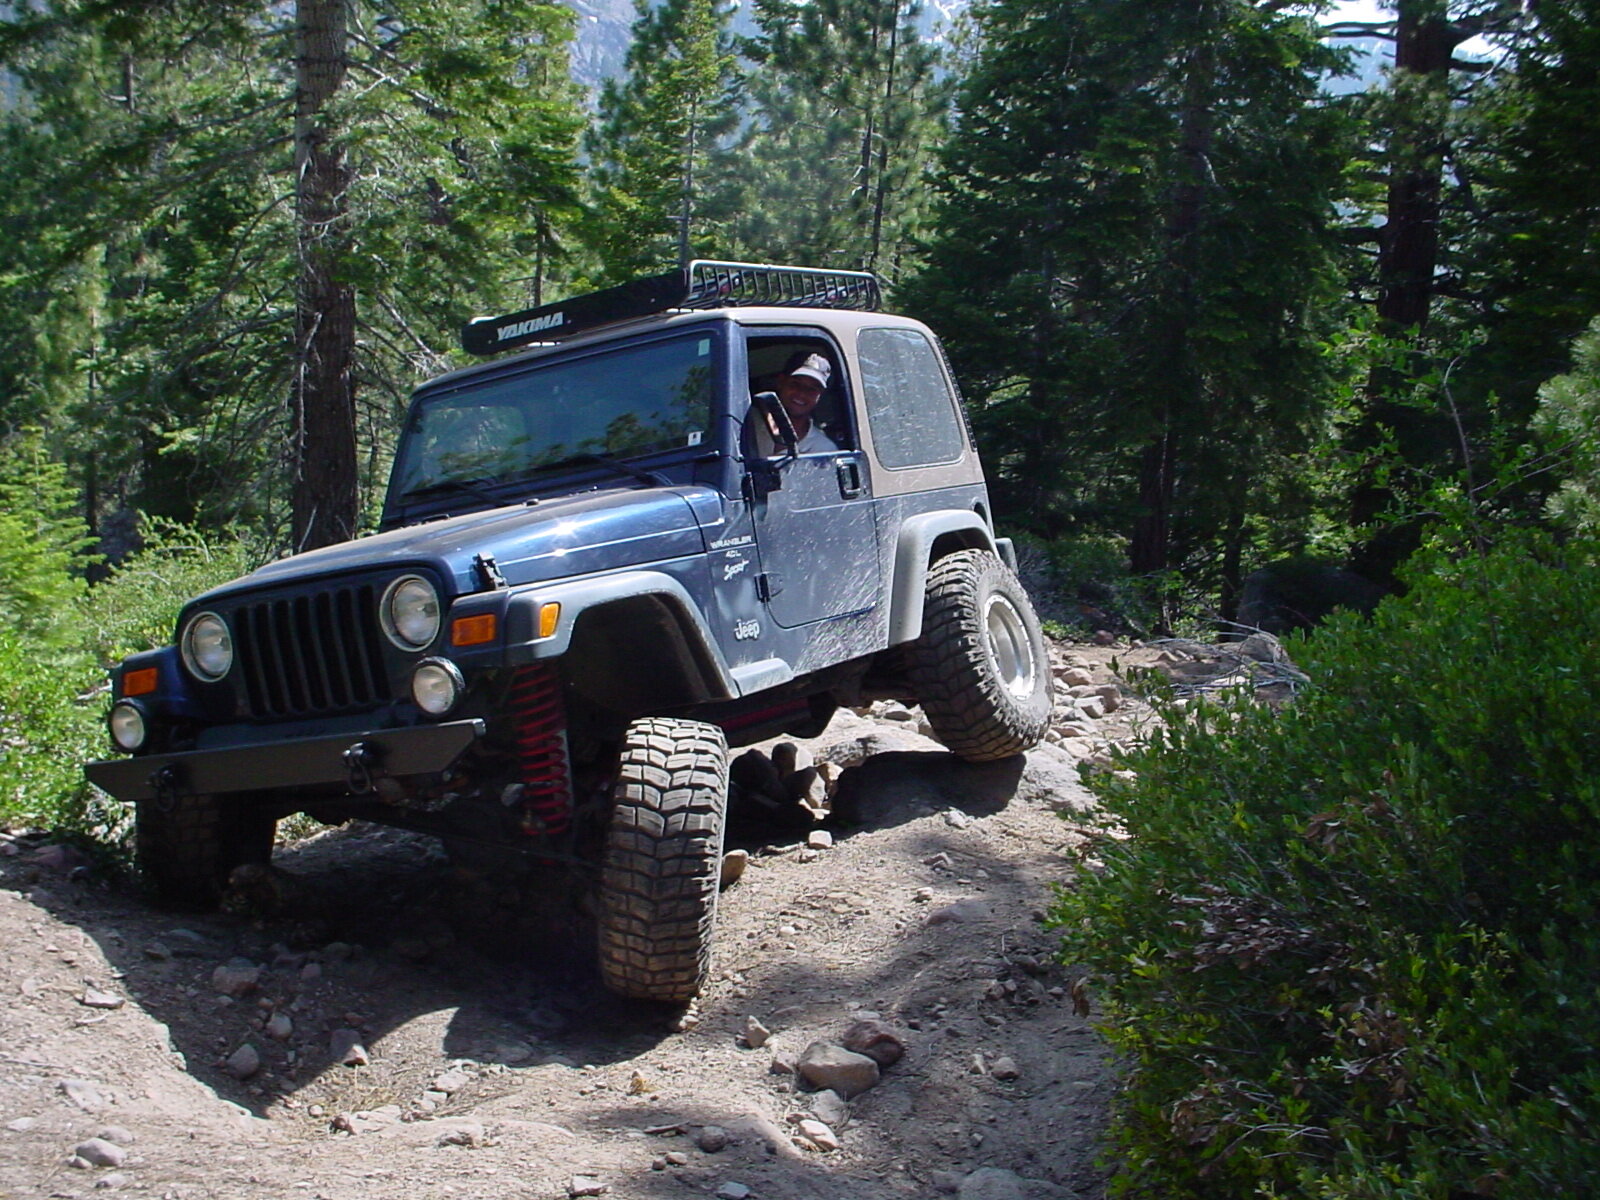
Me with my Jeep in 2003…

As time went on more and more imported Defenders came into the US as they crossed over in age. Once I had the means to buy a Defender (now at a premium) the issue became how to legally acquire one which was not easy since I live in CA. The Defenders that were built for the US market between 94 and 97 were NAS (North America Spec) and thus could be registered in any state. The Defenders built for the rest of world but imported into the US are difficult to register in CA due to CA DMV’s regulation. You could go through the process to get one of these non-NAS Defenders inspected by the DMV, CHP, and registered but it was a long process and you ran the risk of owning a car you could not legally drive. Not to mention many of the imported Defenders came from wet environments like the UK which meant they had more rust than metal. So I focused on other car projects….namely track and race cars.

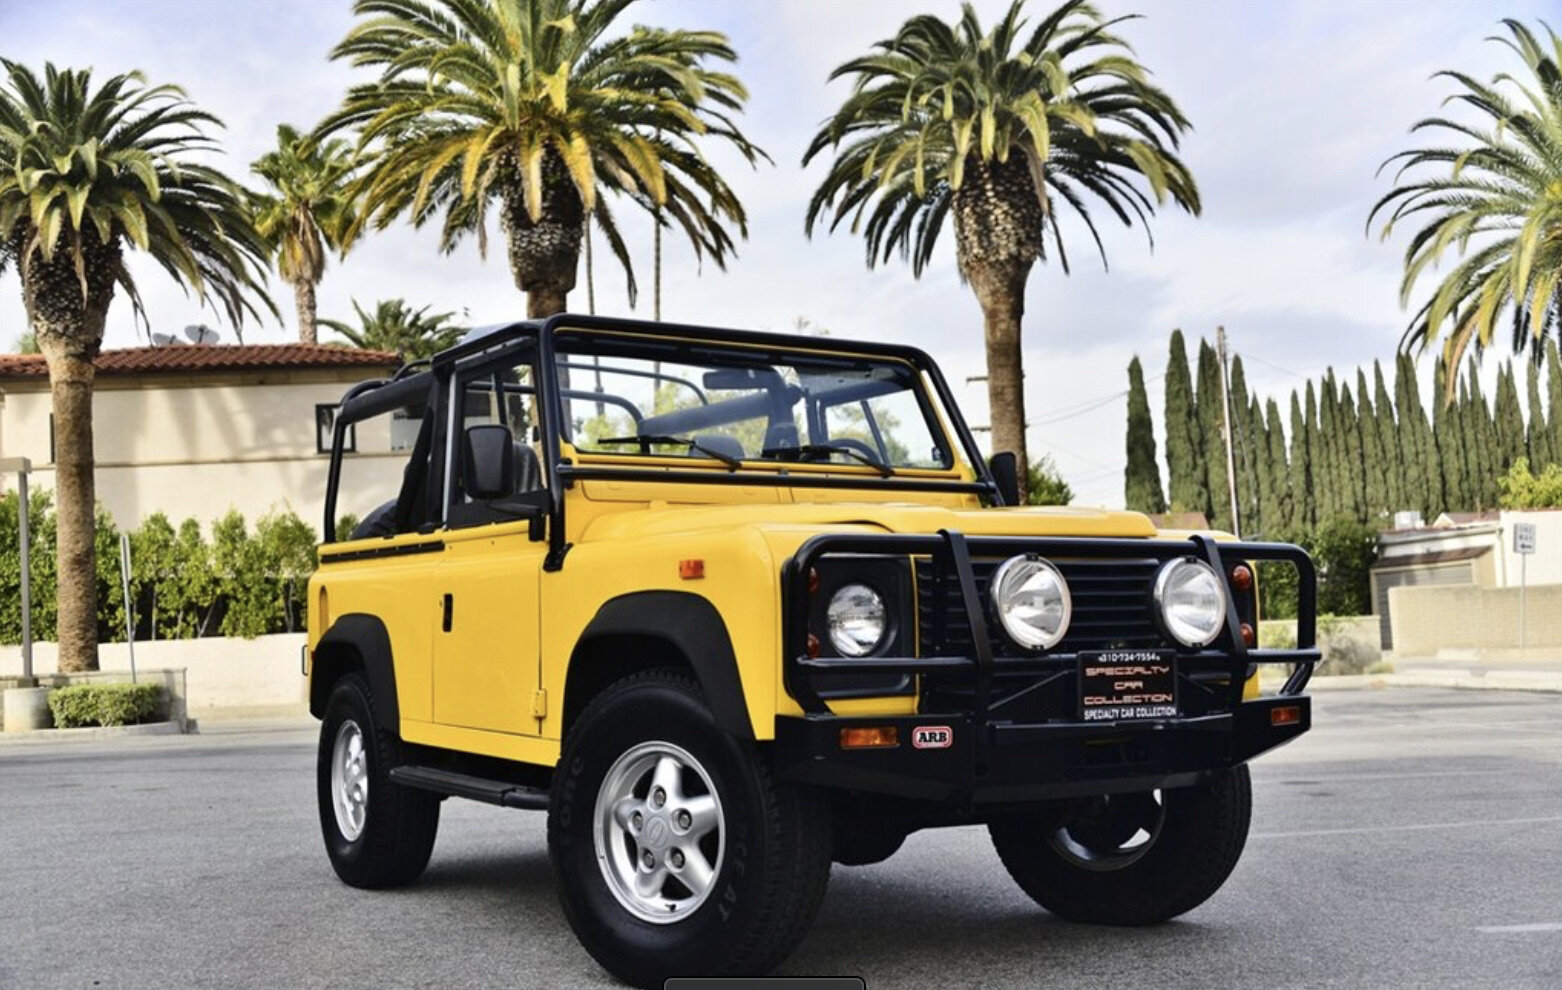
1994 Defender 90 NAS

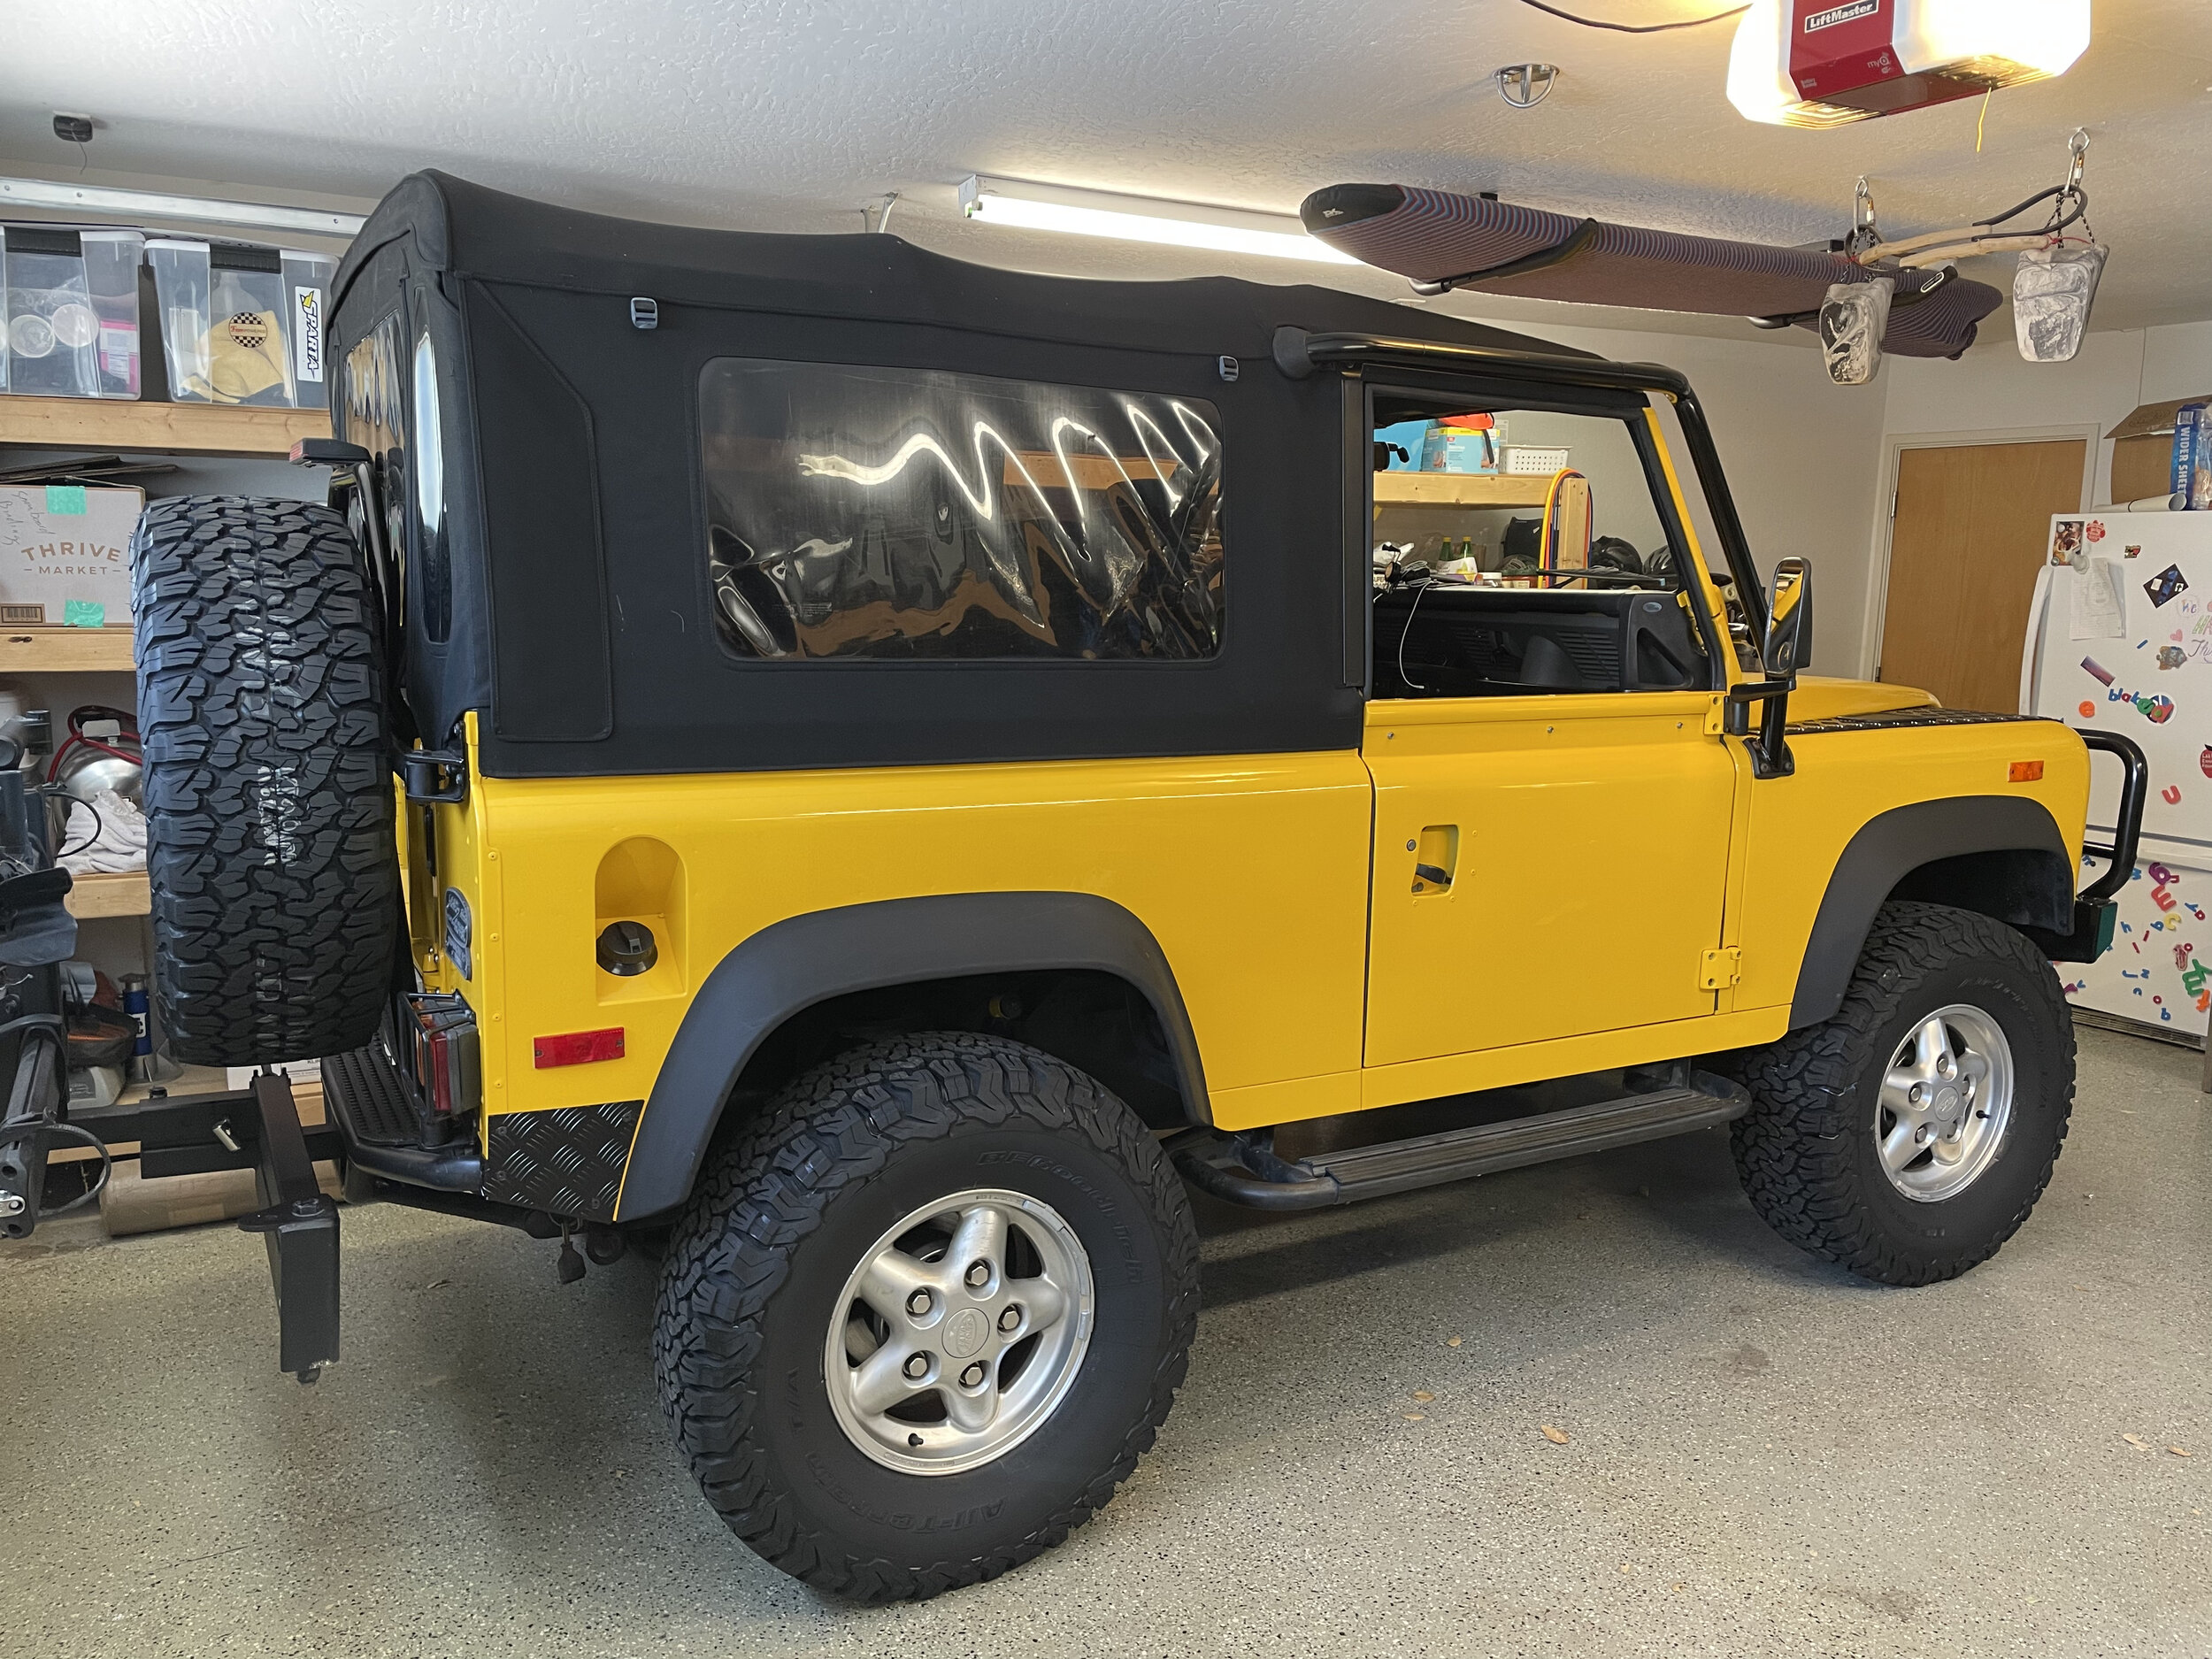
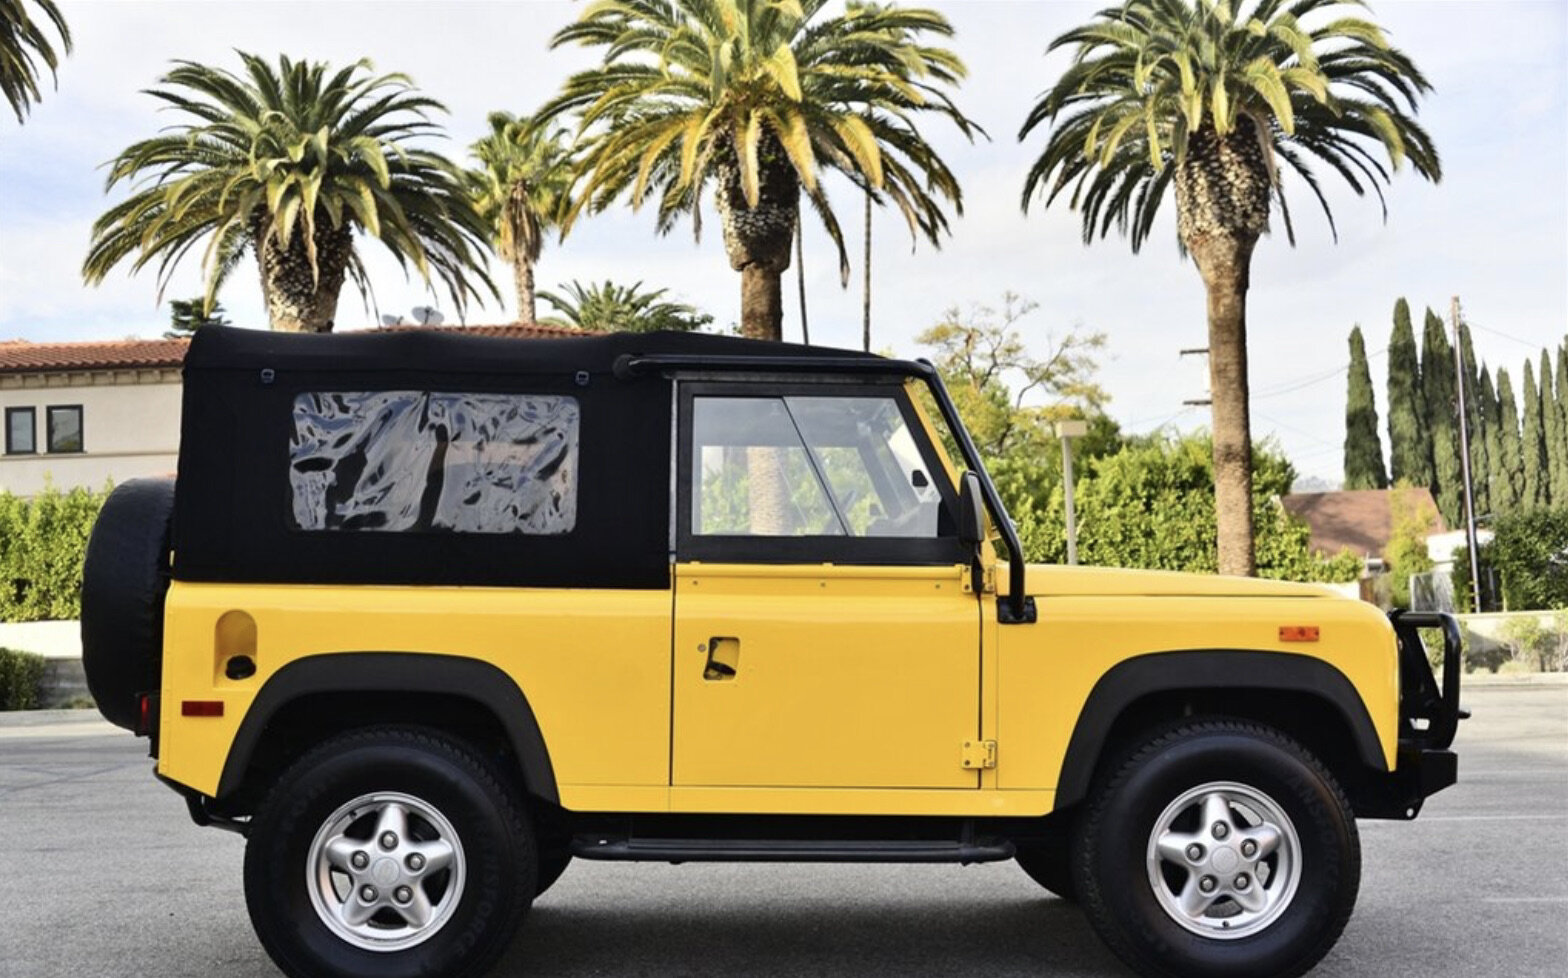
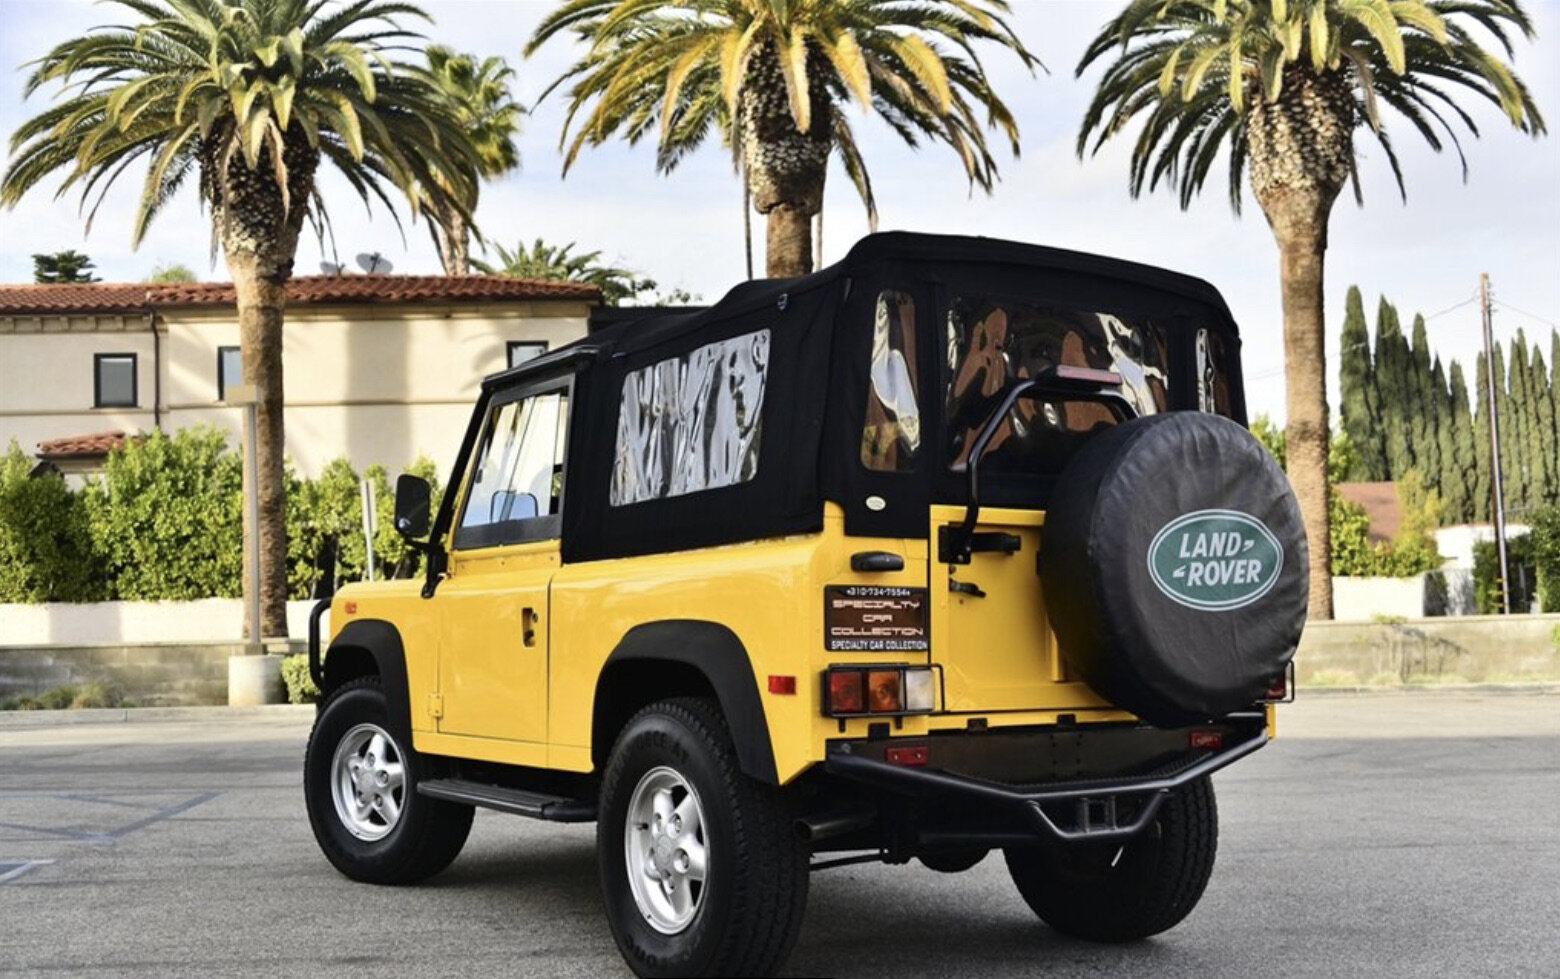
Then one day my wife and I were talking about Defenders and we said F%ck it. You only live once and we wanted a fun weekend car for the family. So I found this beautiful 94 yellow D90 NAS virtually stock in great condition and we immediately bought it. We will do light modifications to this but we will do our best to stay true to the Landy spirit, but hopefully with less oil leaks. This is also a good starting point to go deep into the Defender world as I have also always wanted a Defender 110 with an engine swap, but that is a project for another day. For now we will enjoy our Defender and I will finally make good on the promise I made myself 24 years ago. Barb I am sure you don't remember me but I still remember you as a bad ass…..and now I have your Defender.